
Floor levelling application using TAL Screedmaster
TAL Screedmaster is a high strength, rapid setting, and shrinkage-compensated leveling compound with excellent flow properties that produces smooth, level and hard wearing floor surfaces suitable for the application of floor coverings, with minimum installation time. TAL Screedmaster can be applied from 3mm up to 16mm in a single operation.
It is important to note that TAL Screedmaster is only suitable for underlayment applications. If a durable floor covering (tiles, vinyl, carpet etc) will not be installed over the TAL Screedmaster application, then the cured TAL Screedmaster application must be protected with an epoxy or polyurethane coating. All surface beds must have a damp proof membrane.
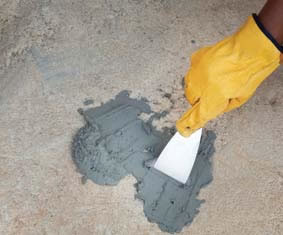 STEP 1
All “lows” and voids in the floor must be identified and cleaned out, and must be filled with TAL Rapidfix prior to applying TAL Screedmaster, and all “highs” or trowel marks must be identified and ground down. All defective areas of concrete/screed must be removed and made good using TAL Rapidfix.
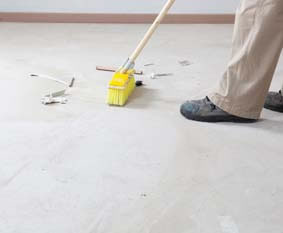 STEP 2
The substrate to be screeded must be in good condition, structurally sound, and free from all traces of contamination such as curing and sealing compounds, grease, grime, old floor coverings, fixatives, paint, etc. The floor must be swept to remove all traces of dust and loose particles. (Vacuuming is preferred.)
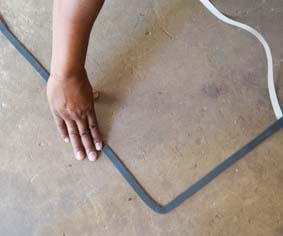 STEP 3
NOTE : All surface beds must have a damp proof membrane, and the substrate must have a moisture content of 5% or less before TAL Screedmaster can be applied.
Mark the area using a chalk line and then apply a foam strip to demarcate the installation area. Coverage is 1.8kg/m2 per millimeter thickness
 STEP 4
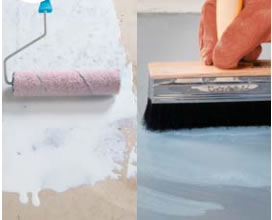
Rough, porous surfaces must be primed with 2 liberal coats of TAL Floor Primer. The second coat must be applied in a cross-direction to the first coat once the first coat has dried. Smooth, dense surfaces must be primed with a slurry consisting of 1 part TAL Floorkey mixed with 2 parts TAL Rapidfix (by volume), which is applied by block brush. Once the TAL Floorkey slurry coat is dry and well anchored to the substrate, a coat of TAL Floor Primer must be applied. The TAL Floor Primer application must be
allowed to cure for 12 hours before the TAL
Screedmaster installation commences.
 STEP 5
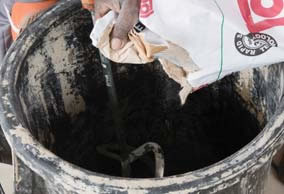
Add 22kg TAL Screedmaster to clean water while stirring slowly using an electric drill (of at least 1.1 Kilowatts) with a mixing paddle attachment. The mixing process and application should be continuous. For best results use a full bag in one mix.
 STEP 6
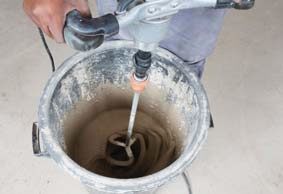
Mix thoroughly until a smooth, lump-free paste is obtained (this should take about 5 minutes). Allow the mix to stand for 3 minutes, and stir again for 1 minute. Also stir the mixture occasionally whilst in use. DO NOT OVER WATER THE MIX. Do not mix up more than can be used in 20 - 30minutes.
 STEP 7
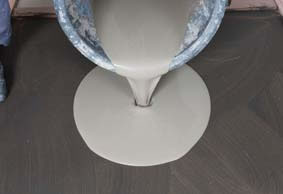
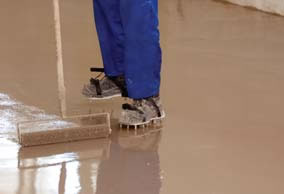
Pour the mix onto the floor and spread with a TAL Notched Floor Rake or a TAL Adjustable Floor Spreader to the required thickness. (The size of the notch of the TAL Floor Rake or the height adjustment of the TAL Adjustable Floor Spreader will determine the thickness). It is recommended to wear TAL Spiked Shoes during the installation.
 STEP 8
Roll the area using a TAL Spiked Roller to facilitate the release of any trapped air to produce a smooth surface, and to allow it to dry.
Allow the screed installation to dry for 24 hours before subjecting to foot traffic (or other trades) or installing floor coverings.
[Back]
blog comments powered by Disqus


