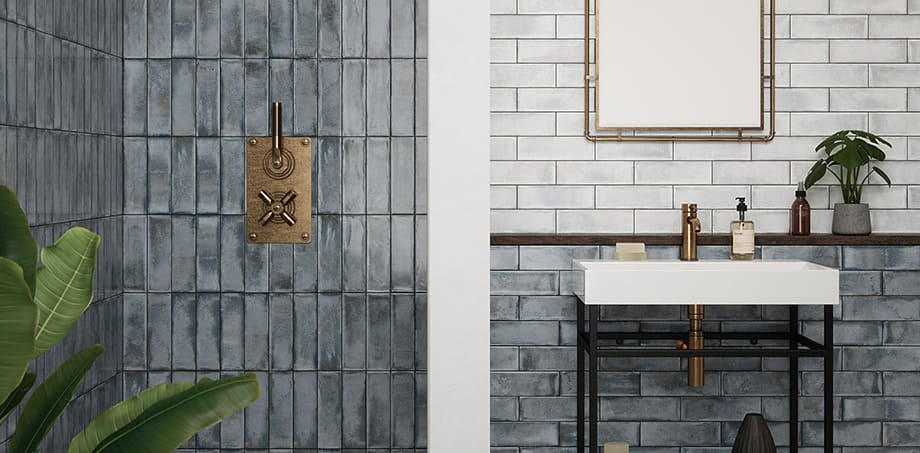
4 key levels when renovating a shower, or bath surrounds
Using a multi-level installation system when renovating a residential bathroom ensures a durable end-result for you, and your customer. The cost of being called back to conduct repairs because water has seeped from the wet areas in the bathroom, through the wall into the room next door, can be significant. It is therefore important that you include waterproofing of the shower and/or bath surrounds in your quote. We recommend the following multi-level system for renovating a shower or bath surrounds, for long-lasting success.
Level 1: Surface Preparation
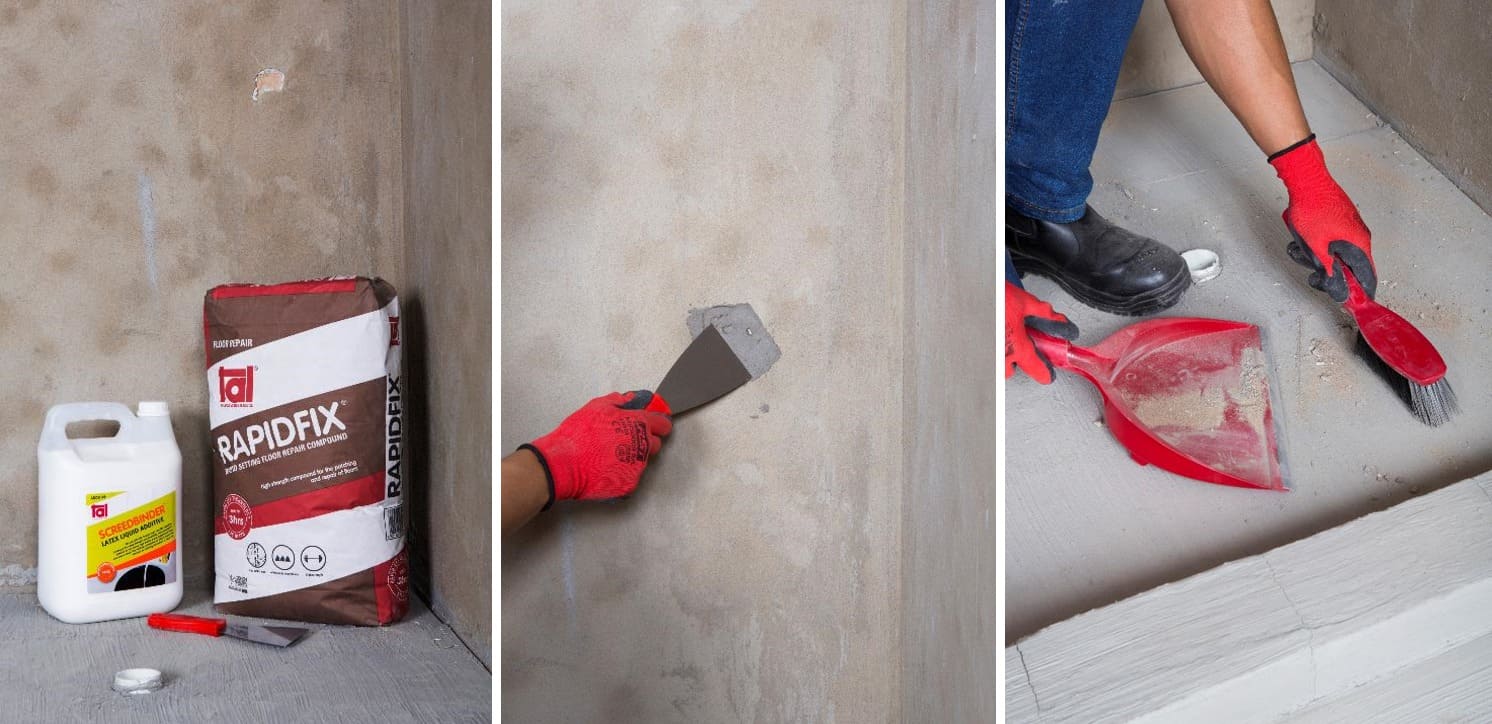
Start by filling any holes or surface defects in the surface with a suitable quick-setting repair compound, like TAL Rapidfix mixed with TAL Screedbinder. Once this has cured, ensure that the surface is clean and free from dust, dirt, waxes or other contamination as this can interfere with the bond of the waterproofing onto the substrate.
Level 2: Priming (if not a rendered surface)
Rendered surfaces that are cured, clean and free from contaminants do not require any primers before applying the waterproofing compound.
When waterproofing a drywall or highly porous surface, you will need to prime with a coat of neat TAL Floor Primer, to create a seal so that the waterproofing doesn’t leach into the surface. If not primed, a porous surface will absorb the waterproofing compound unevenly and ultimately use more product than necessary.
Wooden and metal surfaces should be primed with a TAL Keycoat and TAL Keymix slurry coat to create a key for the waterproofing compound to adhere to.
Level 3: Waterproofing
Use a cementitious waterproofing compound such as TAL Sureproof Shower, as it is fully compatible with TAL tile adhesives.
In a single-story, or ground floor home, the fibre enriched formulation of TAL Sureproof Shower will provide enhanced flexibility as well as crack-bridging properties to fill any small hair-line shrinkage and static cracks (less than 2mm wide). No reinforcing membrane is therefore required for the installation.
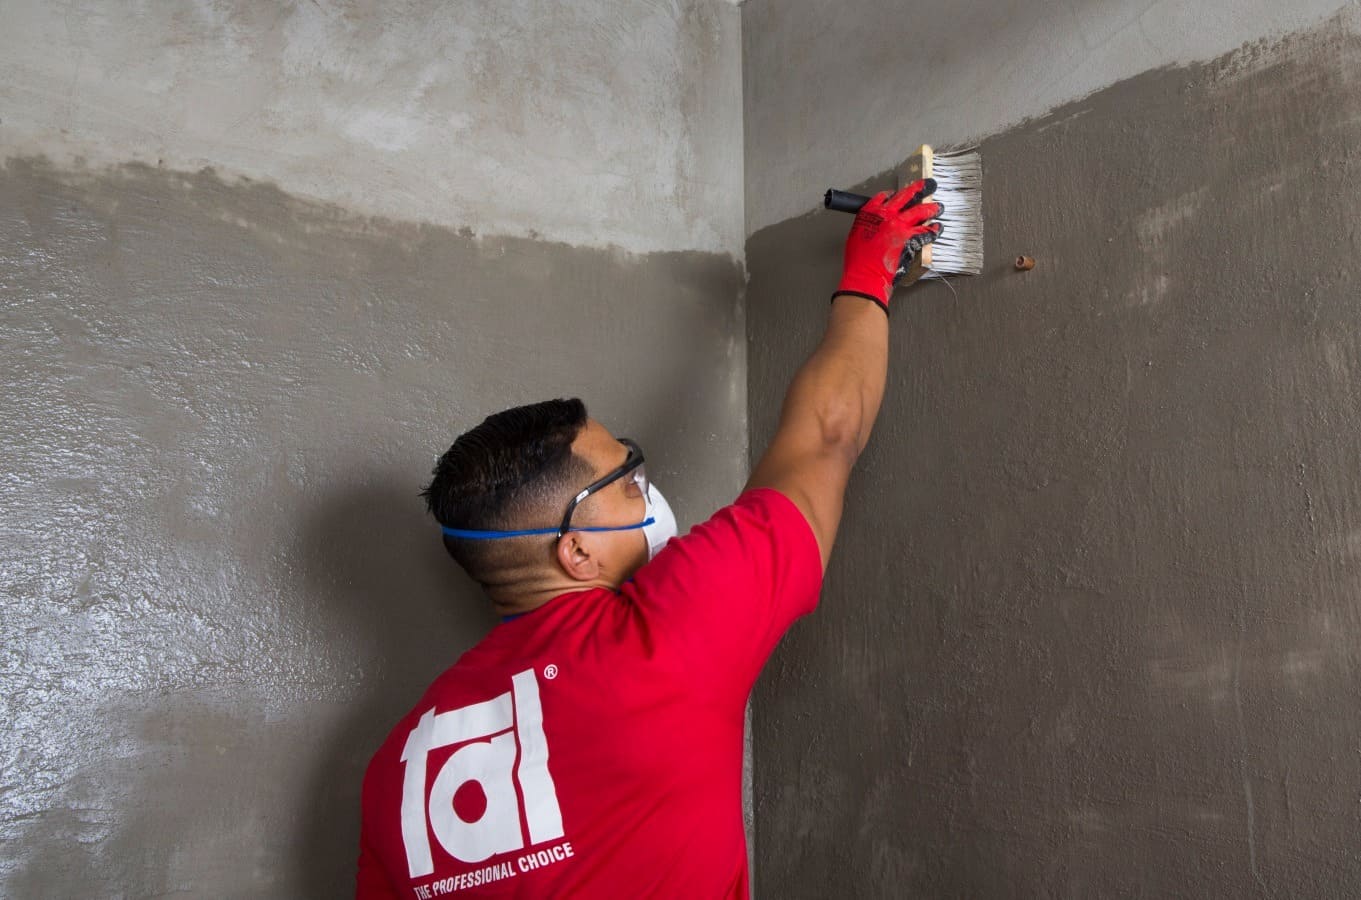
When waterproofing a shower or bath surrounds that is upstairs however, a reinforcing membrane should be used in internal corners, interfaces, around tap and rose plumbing fittings as well as drains.
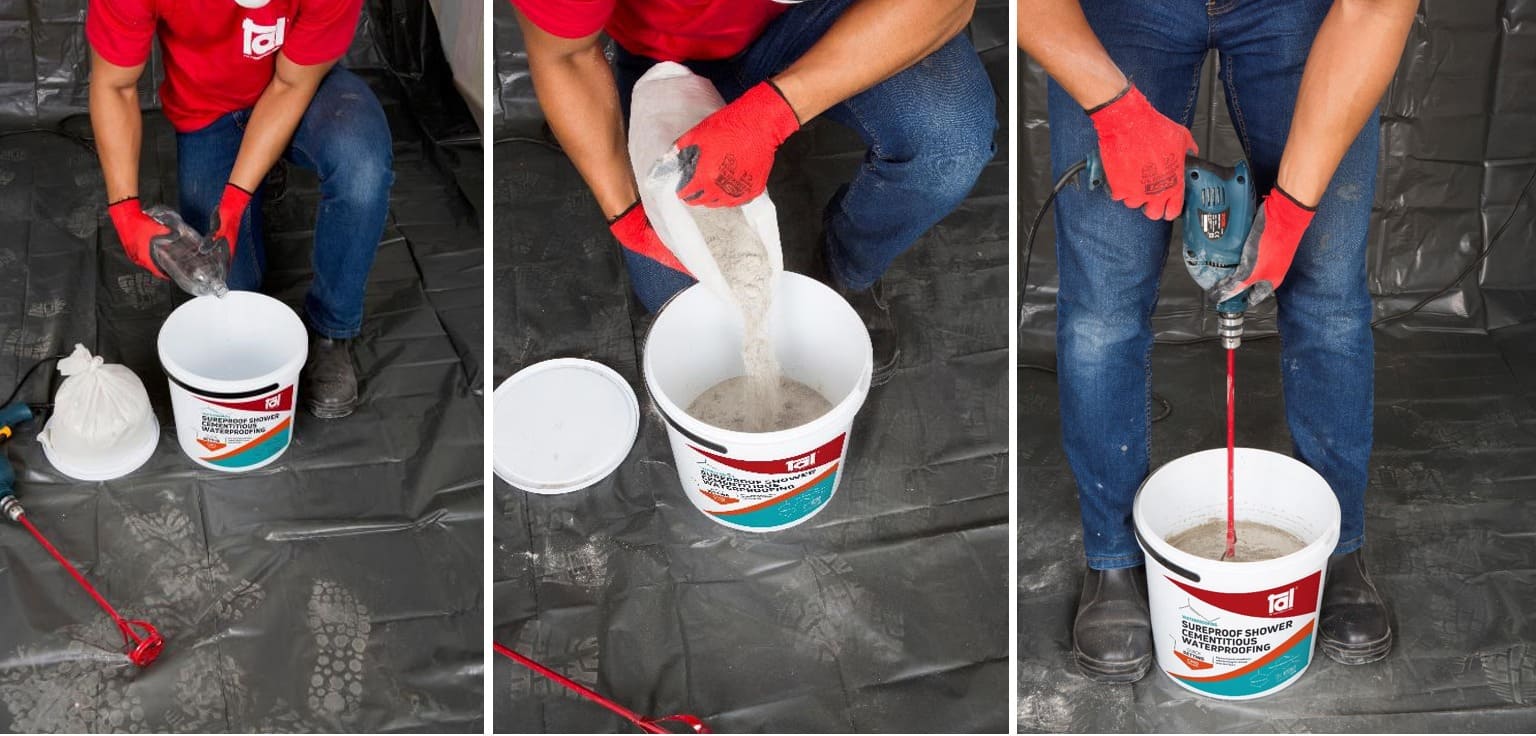
To prepare TAL Sureproof Shower, pour approximately 1.8 - 2L of water into the TAL Sureproof Shower bucket, then, using a mechanical mixer, mix while adding the TAL Sureproof Shower powder. Mix for at least five minutes until the liquid has a smooth, lump free, paint like consistency.
Allow the mix to stand for 3 minutes to allow the product to activate, then mix again.
-
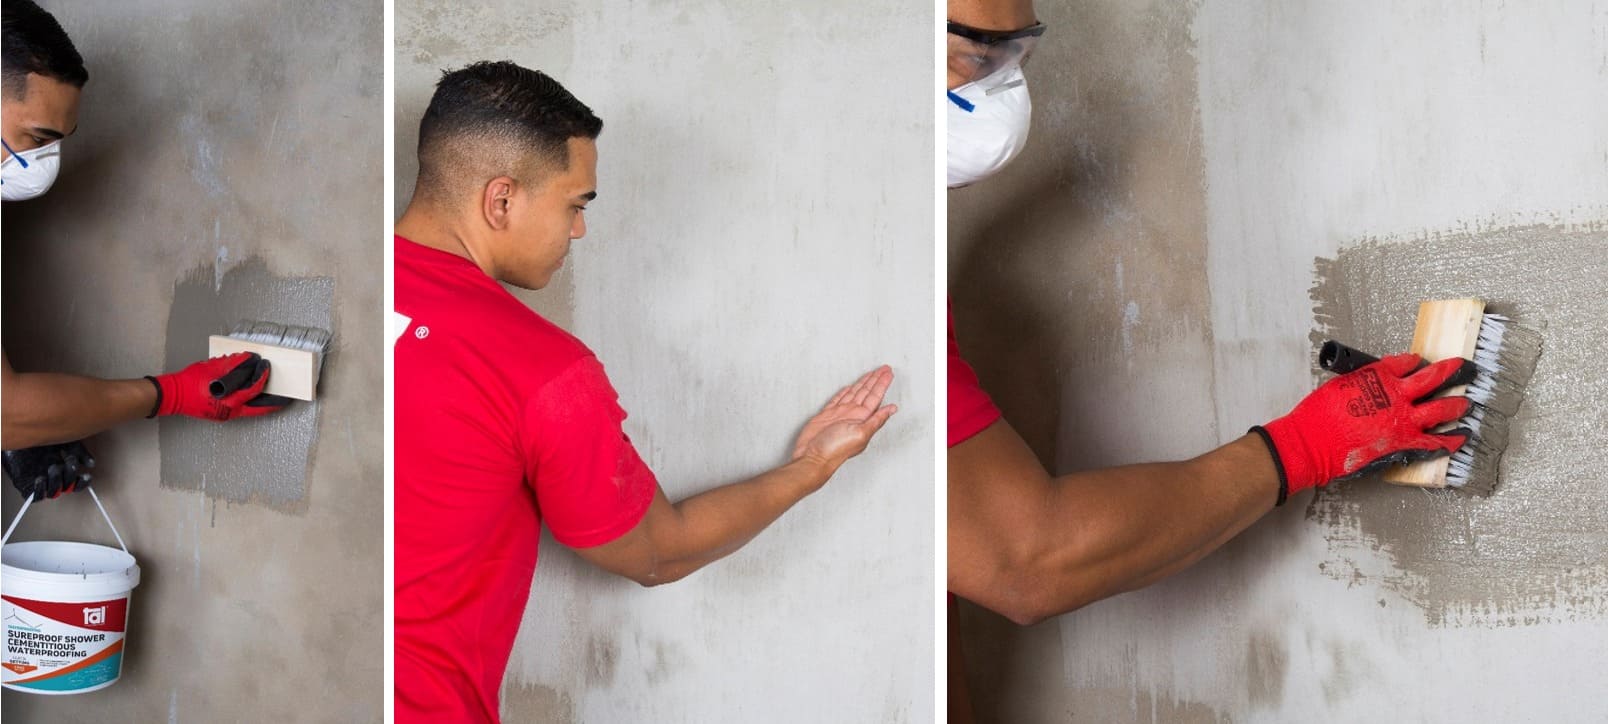
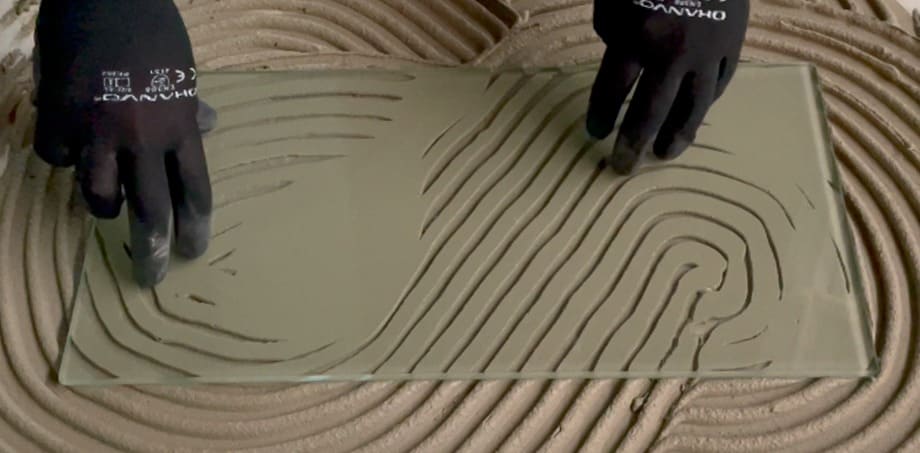
Apply the first coat of TAL Sureproof Shower to the clean dry surface with a block brush in a vertical direction.
Once the first coat is touch dry, (1-2 hours), apply the second coat in a horizontal direction to the first coat to ensure complete coverage
-
Top Tip: Waterproof to a minimum of 100mm above the shower rose.
Level 4: Tiling
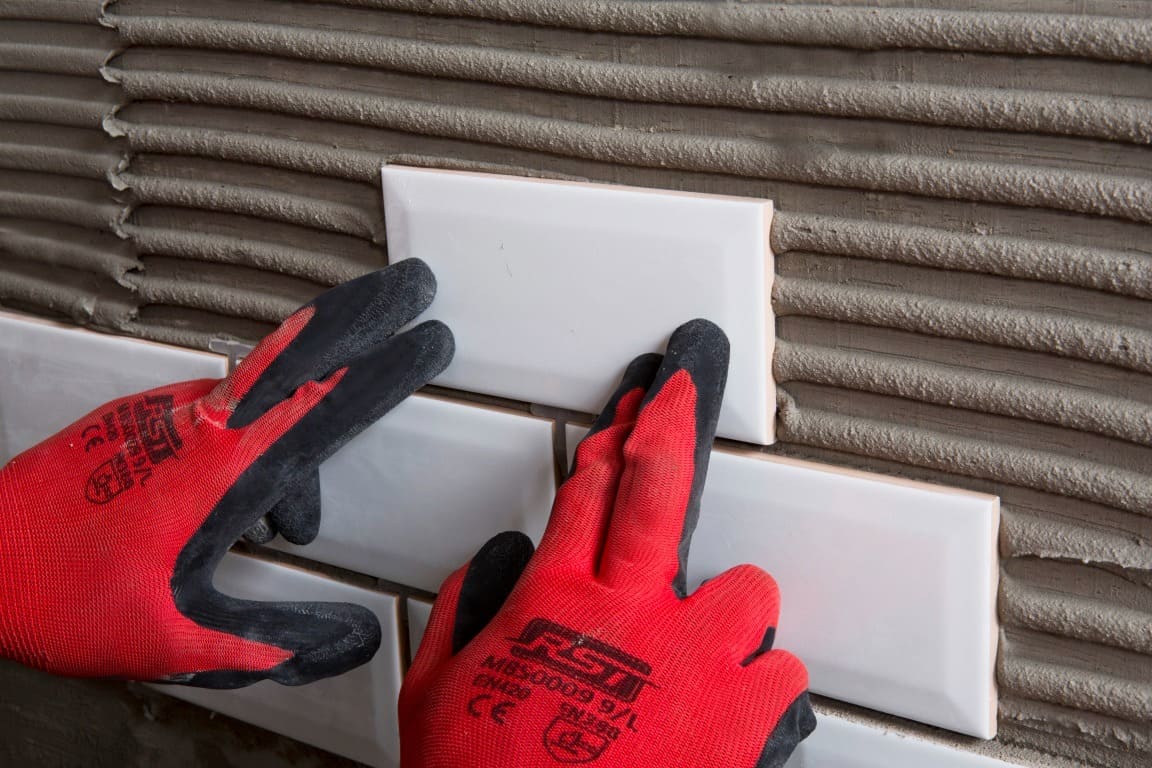
Allow TAL Sureproof Shower to dry completely for 24-36 hours before tiling directly onto the waterproofing. Due to the impervious nature of the waterproofed substrate, only rapid- or quick-setting tile adhesives should be used. To improve the water resistance, flexibility and bond strength of the adhesive, use TAL Bond as a total water replacement in the mix.
When grouting, it is recommended to also replace the water in the TAL grout mix with TAL Bond. Preparing the shower in this manner, level by level, will ensure a long-lasting and water-tight shower installation.
Tiles are not inherently waterproof, which is why it is important to include waterproofing when renovating a shower, or bath surrounds. This multi-level approach not only ensures the durability and longevity of your work, but also results in a happy customer.
Watch our step by step video on how to waterproof a shower on YouTube.
TAL products are available at all major tile merchants and home improvement retailers.
4 POPULAR WALL LAYOUTS
1. Tessellate drama
Intricate geometric designs that repeat seamlessly are the trademark of these patterned tiles. It’s the type of layout that adds a touch of drama and visual interest to a room. Room effect: tessellate tile layouts are used on walls and floors to make a bold statement.

2. Herringbone chic
Characterised by tiles set in a zigzag pattern, this pattern is a timeless choice that adds a touch of classic elegance. Room effect: A versatile layout that suits various styles, from traditional to contemporary. It's a popular choice for accent walls and splashbacks, and for entrances, hallways, and living room floors.
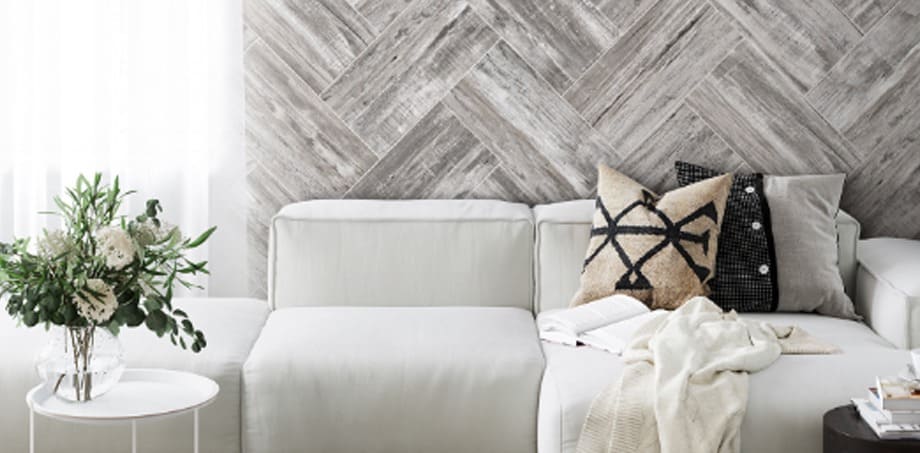
Wood-look tiles used on an accent wall to create a soft and textured look.

Metro tiles arranged in a herringbone pattern for a modern kitchen splashback.
3. Vertical stacked bond pattern
Metro tiles are versatile for creating contemporary looks. Room effect: Also known as subway tiles, they can be arranged in a vertical stacked bond pattern, or a horizontal brick/running bond pattern for a contemporary look.
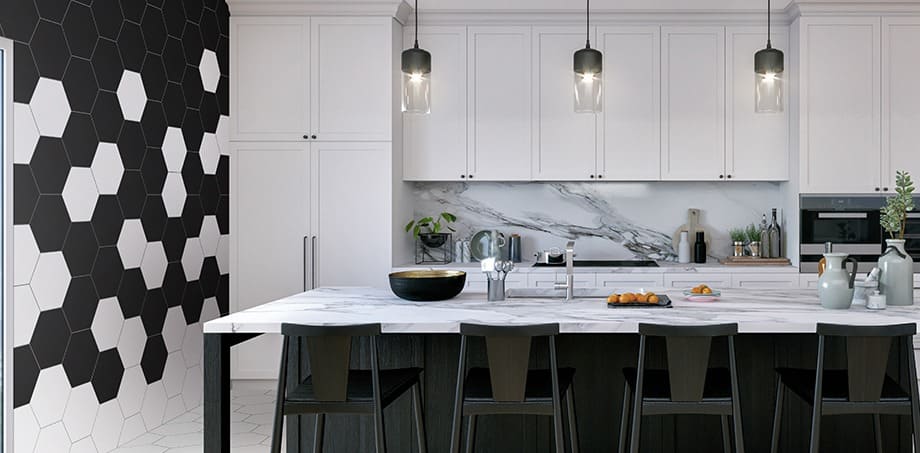
4. Hexagonal honeycomb
Hexagonal tiles arranged in a honeycomb pattern create a chic and contemporary design. Room effect: This layout works well in both small and large spaces, adding a geometric and trendy feel.
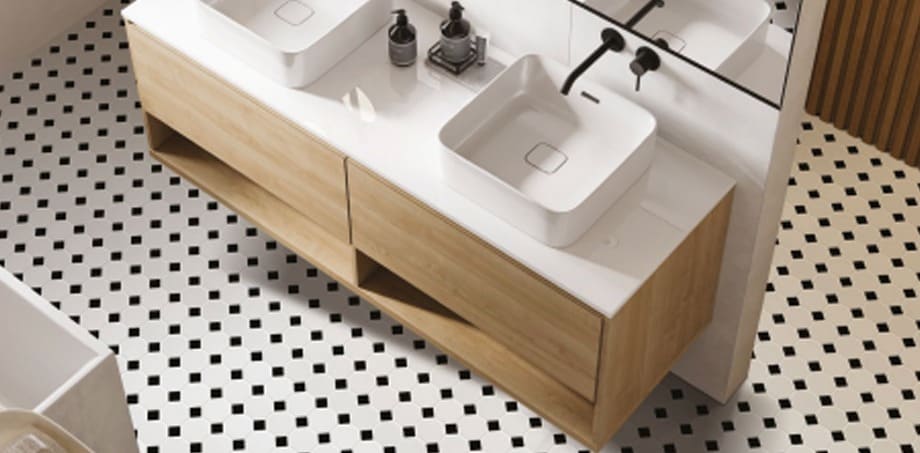
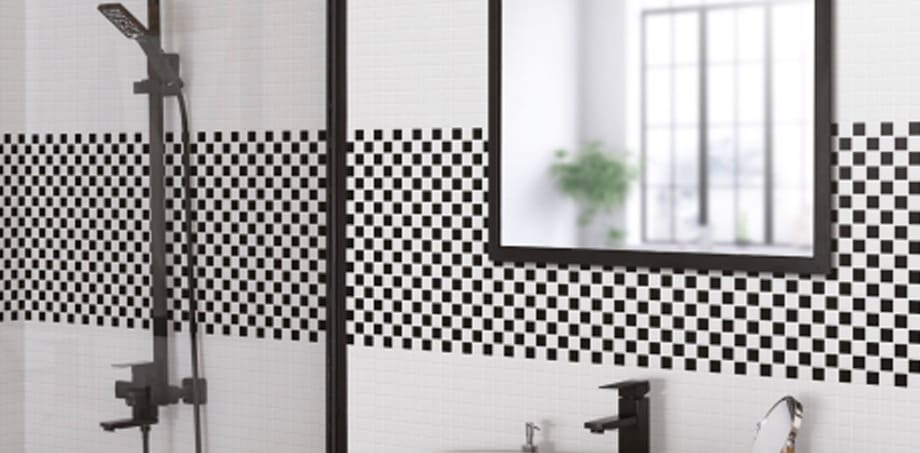
Spot tiles have been used, where white tiles are placed randomly between the black tiles
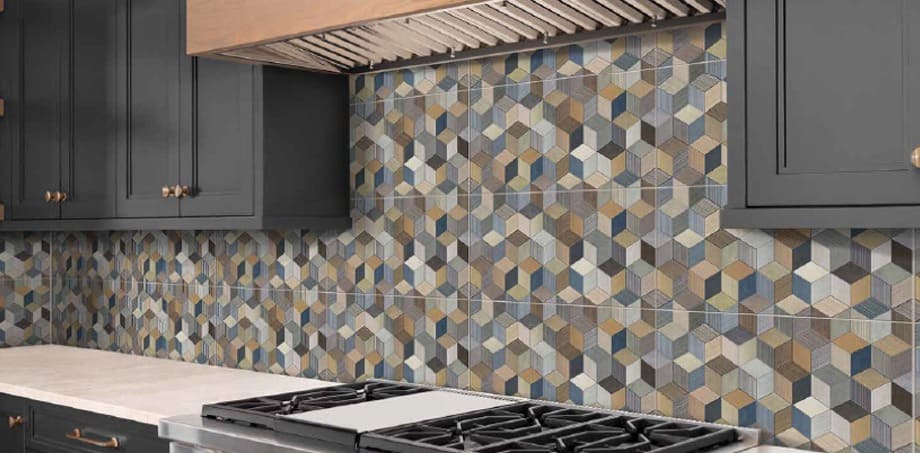
A popular tiling trend is the use of different shaped tiles, not just because they’re appealing to the eye, but all that’s required to change a pattern is to change the colour of a handful of tiles. Try not to overwhelm the space with too many conflicting patterns. Instead, keep your design simple. The effect is still a powerful one, but not one that will detract from the eye. It’s a trend that’s destined to grow as new shapes are introduced – triangle and rhomboid, for example.
Another big walling trend is mosaic. Often considered the domain of artisans, mosaics are understandably a little intimidating. Fortunately, ready-made mosaics are readily available, to which our only advice would be to consult an expert on correctly installing mosaics to walls and floors. Watch our video here.
The alternative is to use small sections of various colours, hues or materials, rather than a full installation. With little effort, the use of these sections or full mosaic sheets between other tiles can really accentuate a space. It’s this technique as well as the use of colour that will dominate future tiling trends.
Do you have what you need?
Now that you have a view of some of the most popular layouts used in the industry, you’re almost ready to go. Before you do, it’s important you use the right materials and equipment to ensure the best results the first time around. Different types of tiles, as well as where they’re being installed, will dictate which adhesive system is required – each fulfilling a specific function.
Should you need DIY advice, or assistance with substrate preparation, screeding, tiling installation or waterproofing, we’ve put together a comprehensive selection of guides for you. Check out any one of our tiling-made-easy guides. Remember, the choice of grout colour also significantly impacts the overall aesthetic. Consult our grout colour chart to make sure you enhance your look.
For technical advice please contact our experts on 0860 000 TAL (825) or email: [email protected]
Photo credits: www.johnsontiles.co.za