Bed thickness explained
LET’S GET DEEPER INTO HOW IT AFFECTS TILE INSTALLATION
When it comes to tile installation, achieving the correct “bed thickness” and contact with the tile ensures that the tile will be securely bonded onto the substrate.
Bed Thickness:
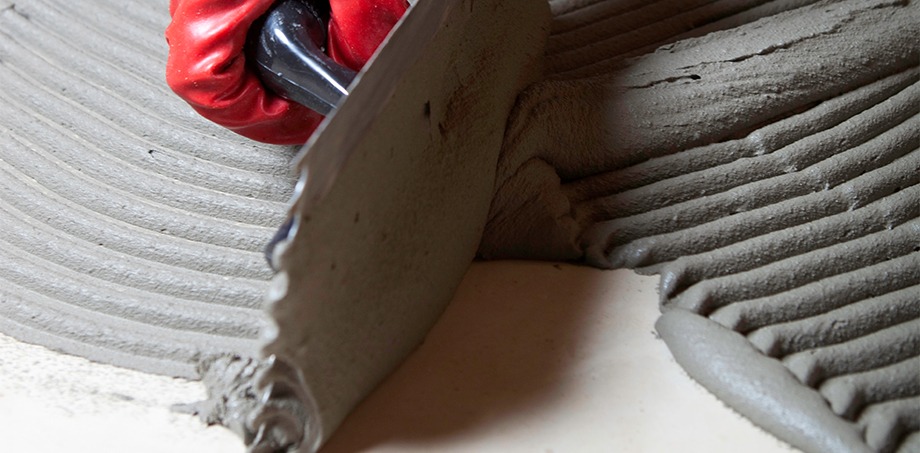
The thickness of the adhesive achieved when bedding the tile into the adhesive applied to the substrate (wall or floor) using an appropriate notched trowel.
CONSIDER THESE FACTORS TO ACHIEVE THE CORRECT BED THICKNESS, ALSO KNOWN AS SPREAD THICKNESS:
LEVELLING UP
The levelness of the substrate is the starting point. If the substrate is slightly uneven or has minor imperfections in levels, the adhesive can be built up, or “packed”, in isolated areas to achieve a level tiled surface. This technique of ‘levelling up’ applies to isolated areas only, and not across the whole surface bed. This compensates for variances in floor levels to achieve a level tiled finish.
However, there are limitations to using a thicker adhesive bed:
-
Working with thicker beds of wet adhesive is more labour intensive, and this higher adhesive consumption has a cost implication on the installation.
-
The maximum adhesive bed thickness as indicated by the adhesive manufacturer should never be exceeded.
-
Should large variations in levels be found due to the condition of the substrate, these should rather be rectified prior to tiling. Tile adhesives do not have the same compressive strength as levelling and screeding compounds and should not be used as such.
-
TAL recommends a maximum bed thickness of:
- 12mm when using standard-setting adhesives
- 20-25mm when using quick- or rapid-setting adhesives which have shrinkage-compensated properties
- This is applicable to isolated areas only, i.e. non-continuous, and not exceeding 20% of the entire surface area to be tiled.
HOW DEEP, HOW THICK, AND HOW MUCH?
The required adhesive bed thickness also depends on the size of tile being used, and whether tiling is to walls or floors.
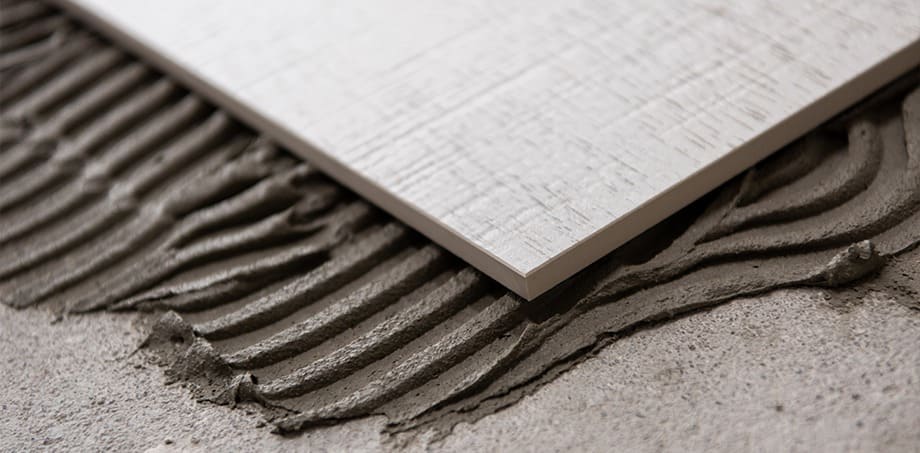
- Notched wall trowels are typically used to apply the adhesive when installing lightweight or small format tiles ceramic wall tiles, where an adhesive coverage/contact area of circa 60% is generally sufficient.
- Notched floor trowels are typically used to the apply the adhesive when installing large format wall tiles, or floor tiles, where an increased adhesive coverage/contact area is required. An adhesive coverage/contact area of minimum 80% is recommended for large format tiles on interior walls, and an adhesive coverage/contact of 100% is advocated for floors and for external walls.
SIZE YOUR TILE
It makes sense that larger, heavier tiles such as natural stone and large format tiles, may require extra support and a thicker adhesive bed.
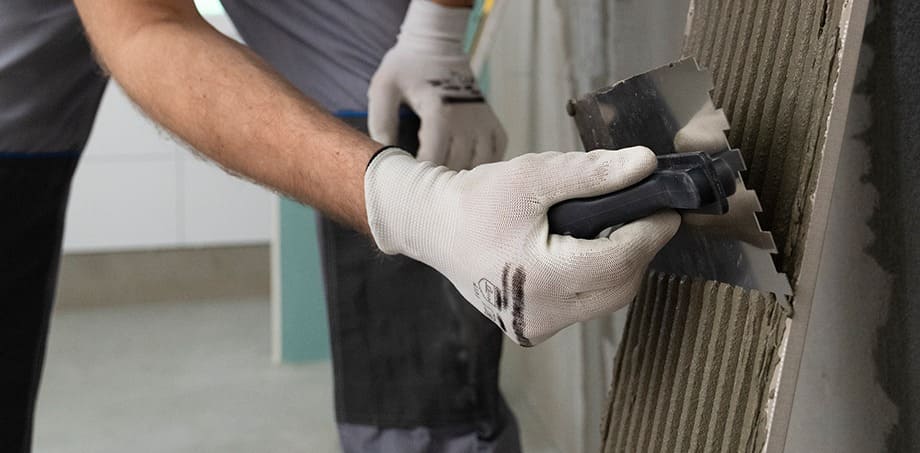
DOUBLE-TROWELLING
This involves applying a layer of tile adhesive directly to the back of each tile as well as the substrate (the surface to which you are attaching something, this could be the wall or floor). Double trowelling helps ensure full coverage and a strong bond, especially for large or uneven tiles.
-
This type of application is recommended when installing large format tiles, specifically ceramic and porcelain tiles, which may have permissible surface flatness irregularities, i.e. the tile surface may be “curved” or “bowed”.
-
In this instance the adhesive is applied using appropriate notched trowels onto both the substrate and back of tile, with due care taken to ensure the corners and edges of the tiles are fully covered with adhesive, to achieve full contact between the substrate, adhesive and tile. This is essential to avoid voids and air pockets in the adhesive bed behind/beneath the tiles.
-
It is imperative that the installation process is seamless to prevent the adhesive on the substrate or back of tile from “skinning”, and an impaired bond. A “wet to wet” installation is essential.
This type of application may also be used when installing heavily lugged tiles, or tiles with a very irregular back profile, to ensure that the grooves or dovetails are filled with adhesive.
NOTCHING UP
Trowel notch size is a key factor in determining the thickness of the adhesive bed. The size and shape of the trowel notches create ridges and valleys in the adhesive, ensuring a consistent bed thickness. Read our blog “Trowel Size Counts”, as a guide to selecting the right trowel for your project.
________________________
✅ #TALTip
Buy 10% more tile adhesive than you think you’ll need. More often than not, we find contractors having to buy additional product due to underestimations.
Remember
The coverages indicated on adhesive bags and data sheets are intended as a guide for ordering purposes only. They are obtained under controlled “ideal” laboratory conditions onto flat/levels surfaces. Actual coverages will be determined by site conditions, substrate levels, workmanship, etc.
________________________
All factors considered, be sure to buy the right adhesive for your project.
Click here for a link to TAL’s adhesive range and a guide on which adhesive to use for specific tile installations.
ALWAYS REFER TO THE TAL INSTRUCTIONS ON THE BAG!
Contact TAL’s Technical Advice Line as your go-to resource for tiling and flooring advice. Call us for support on 0860 000 825 or email us at [email protected].
Use our handy Grout Calculator to determine how much grout you’ll need.
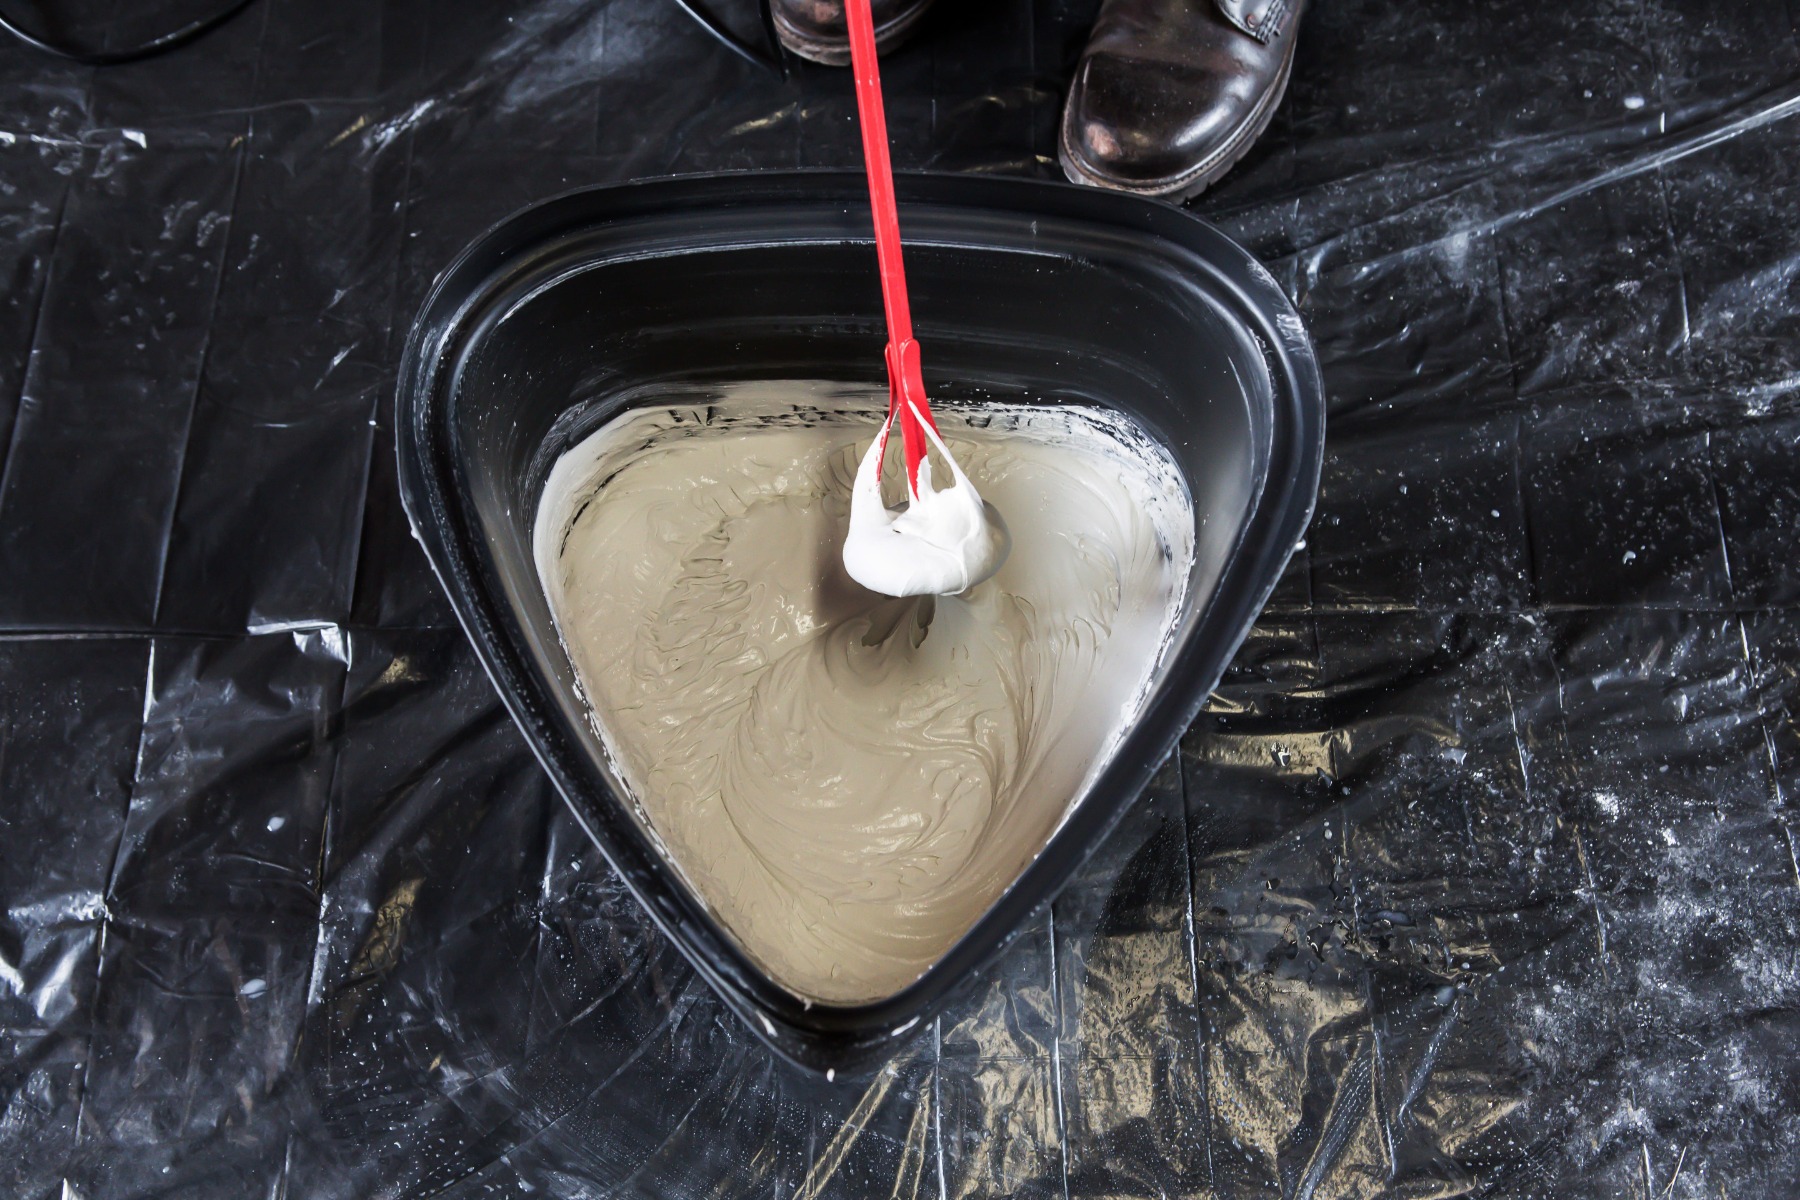
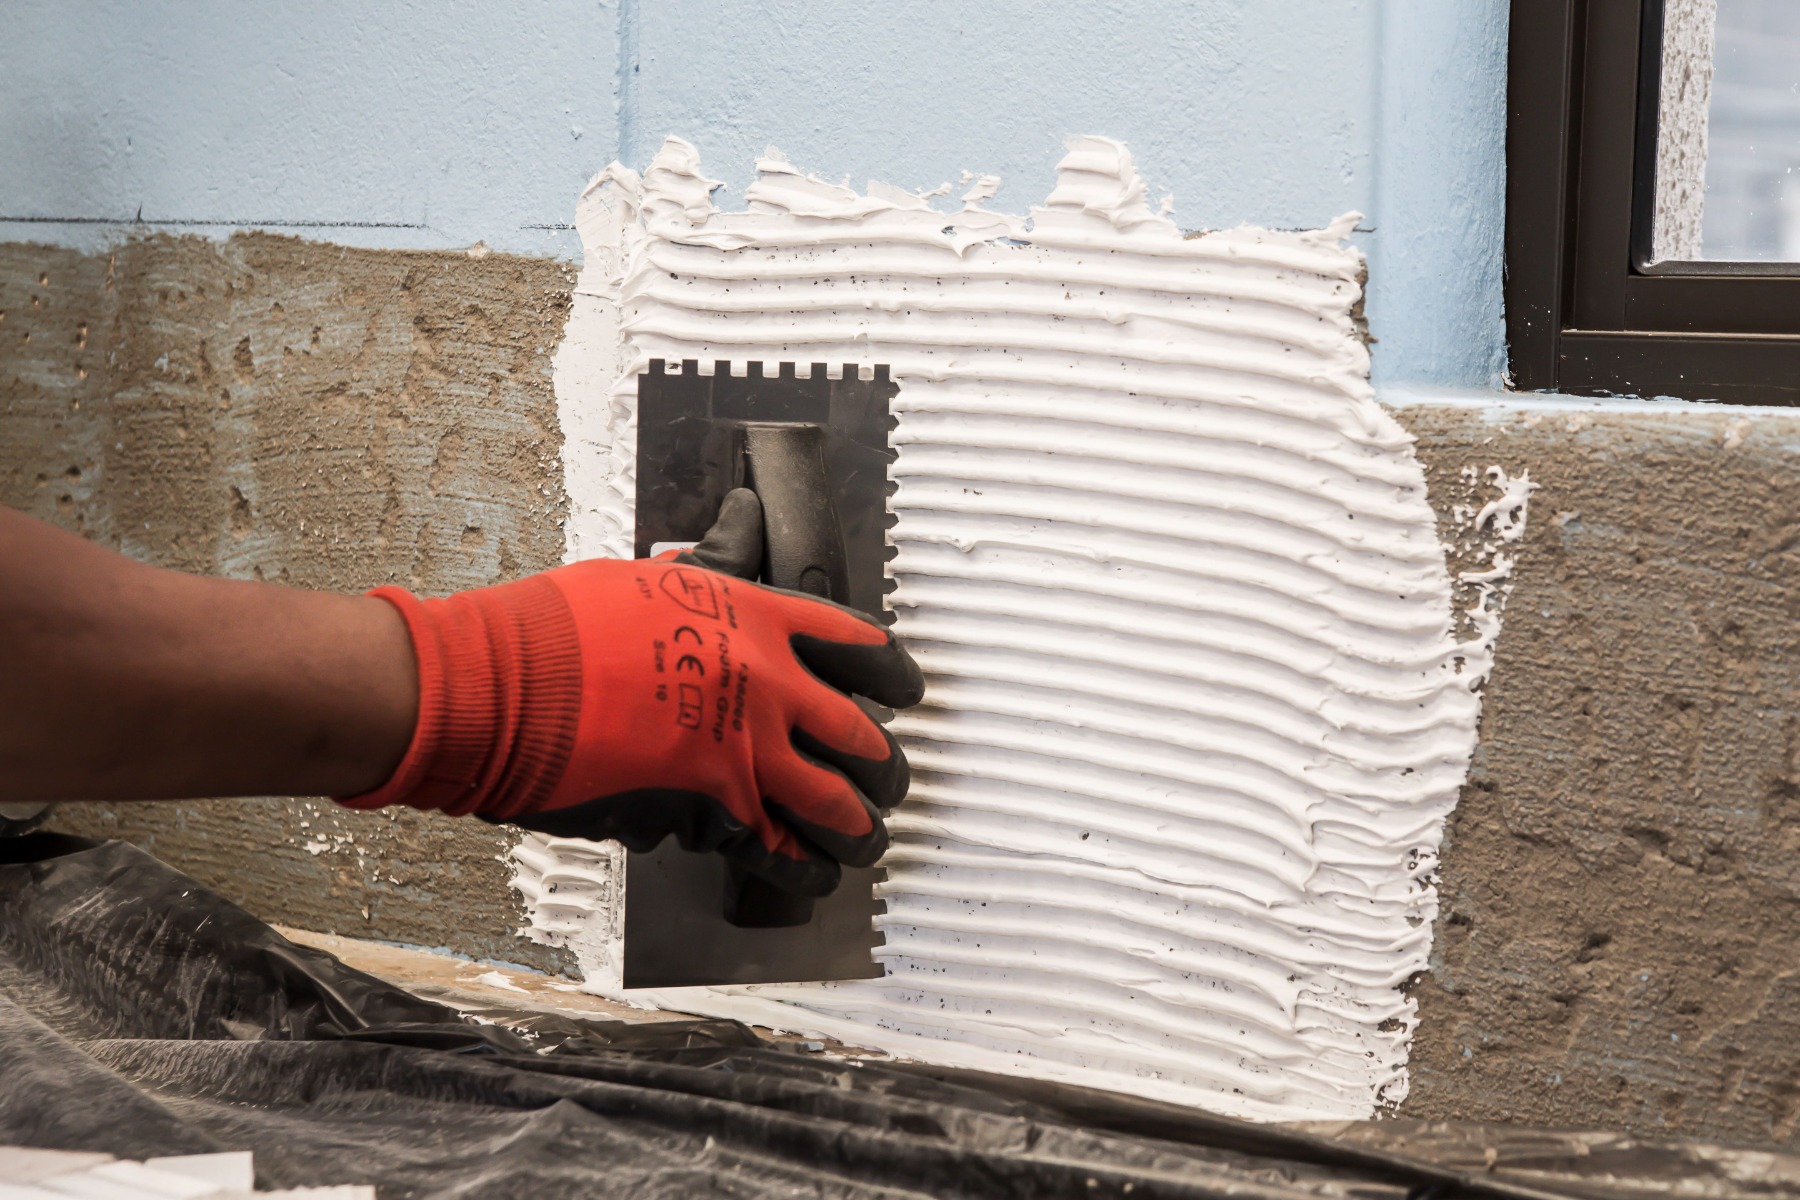
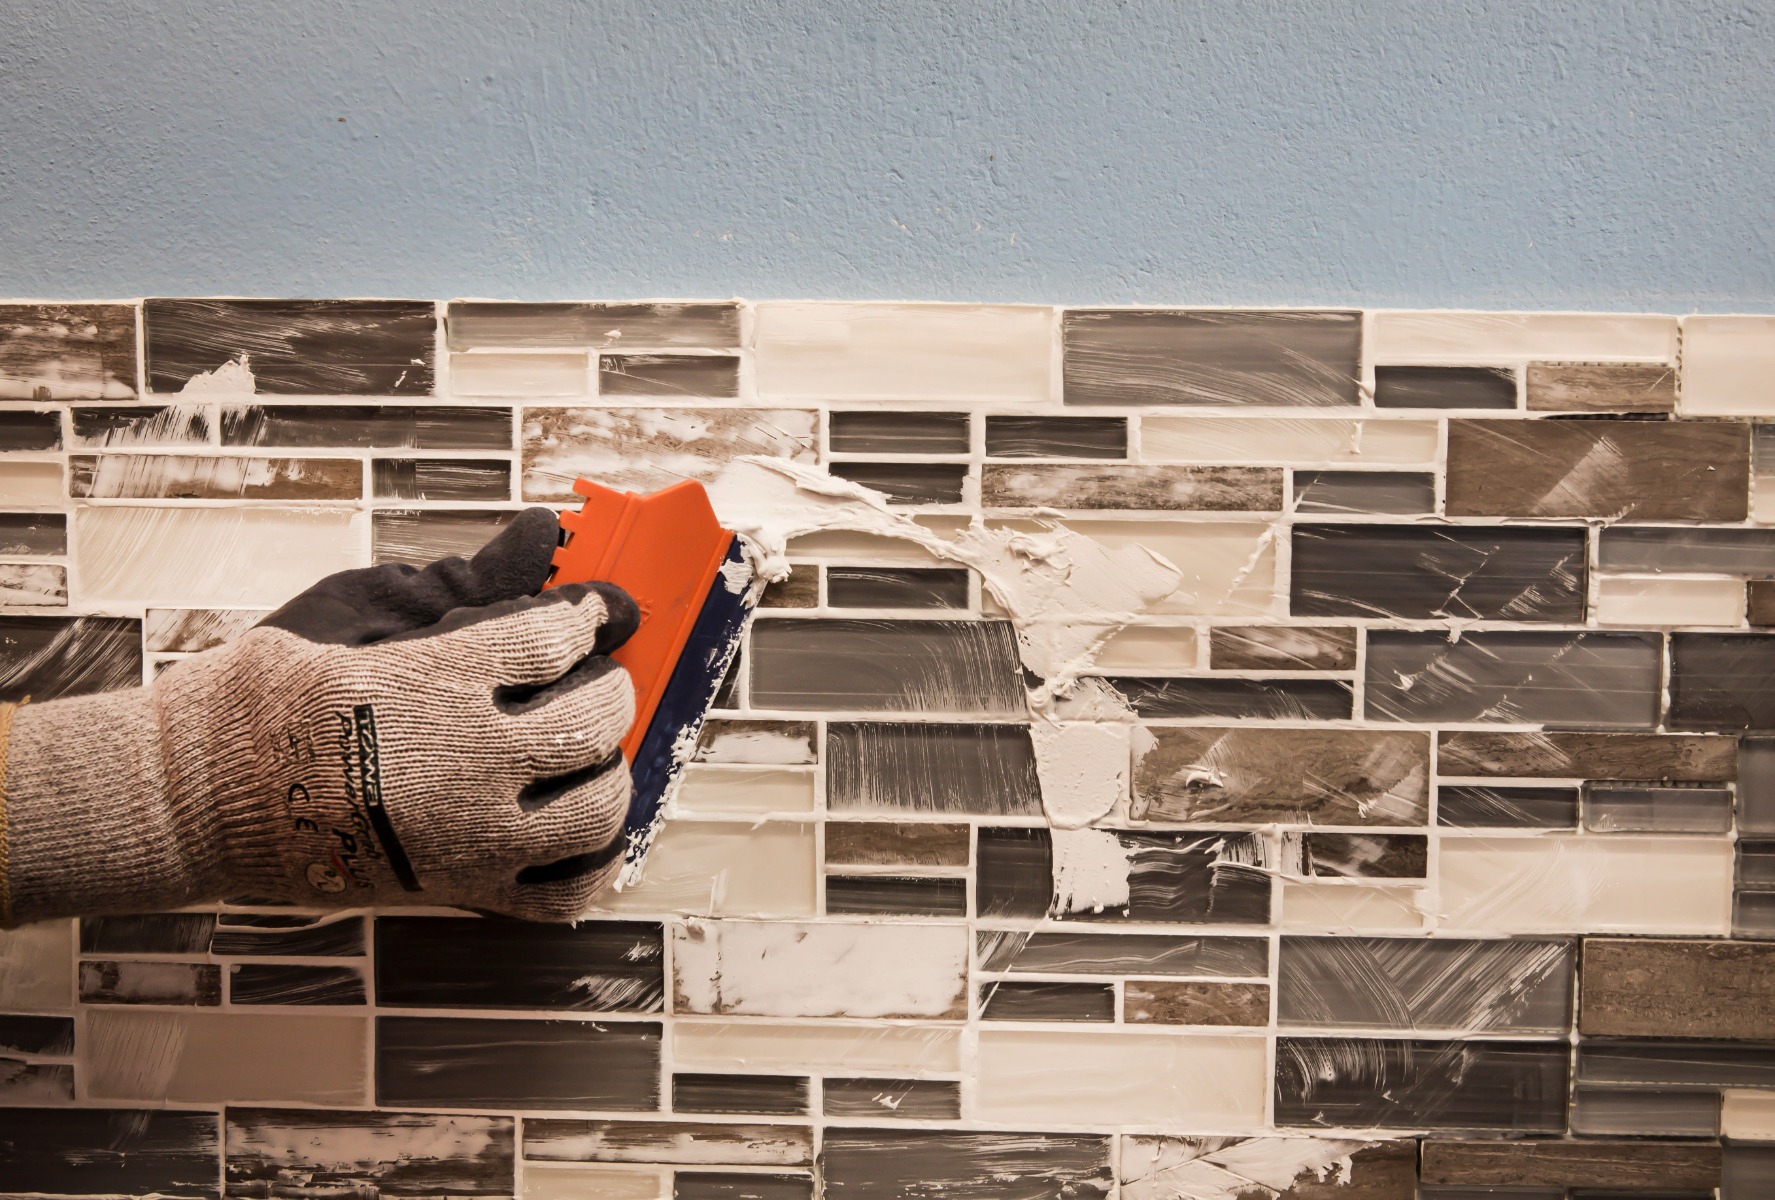
Now, apply the adhesive over a small area using the notched side of a wall trowel to create a solid bed of 4mm to 6mm. Once the adhesive is applied, you must install the mosaic sheets immediately, pressing them firmly into the wet adhesive. Never apply more adhesive than you can tile in 10-15 minutes, usually about a square meter.
Use a wooden beating block or a rubber grout float to embed the mosaic into the adhesive.
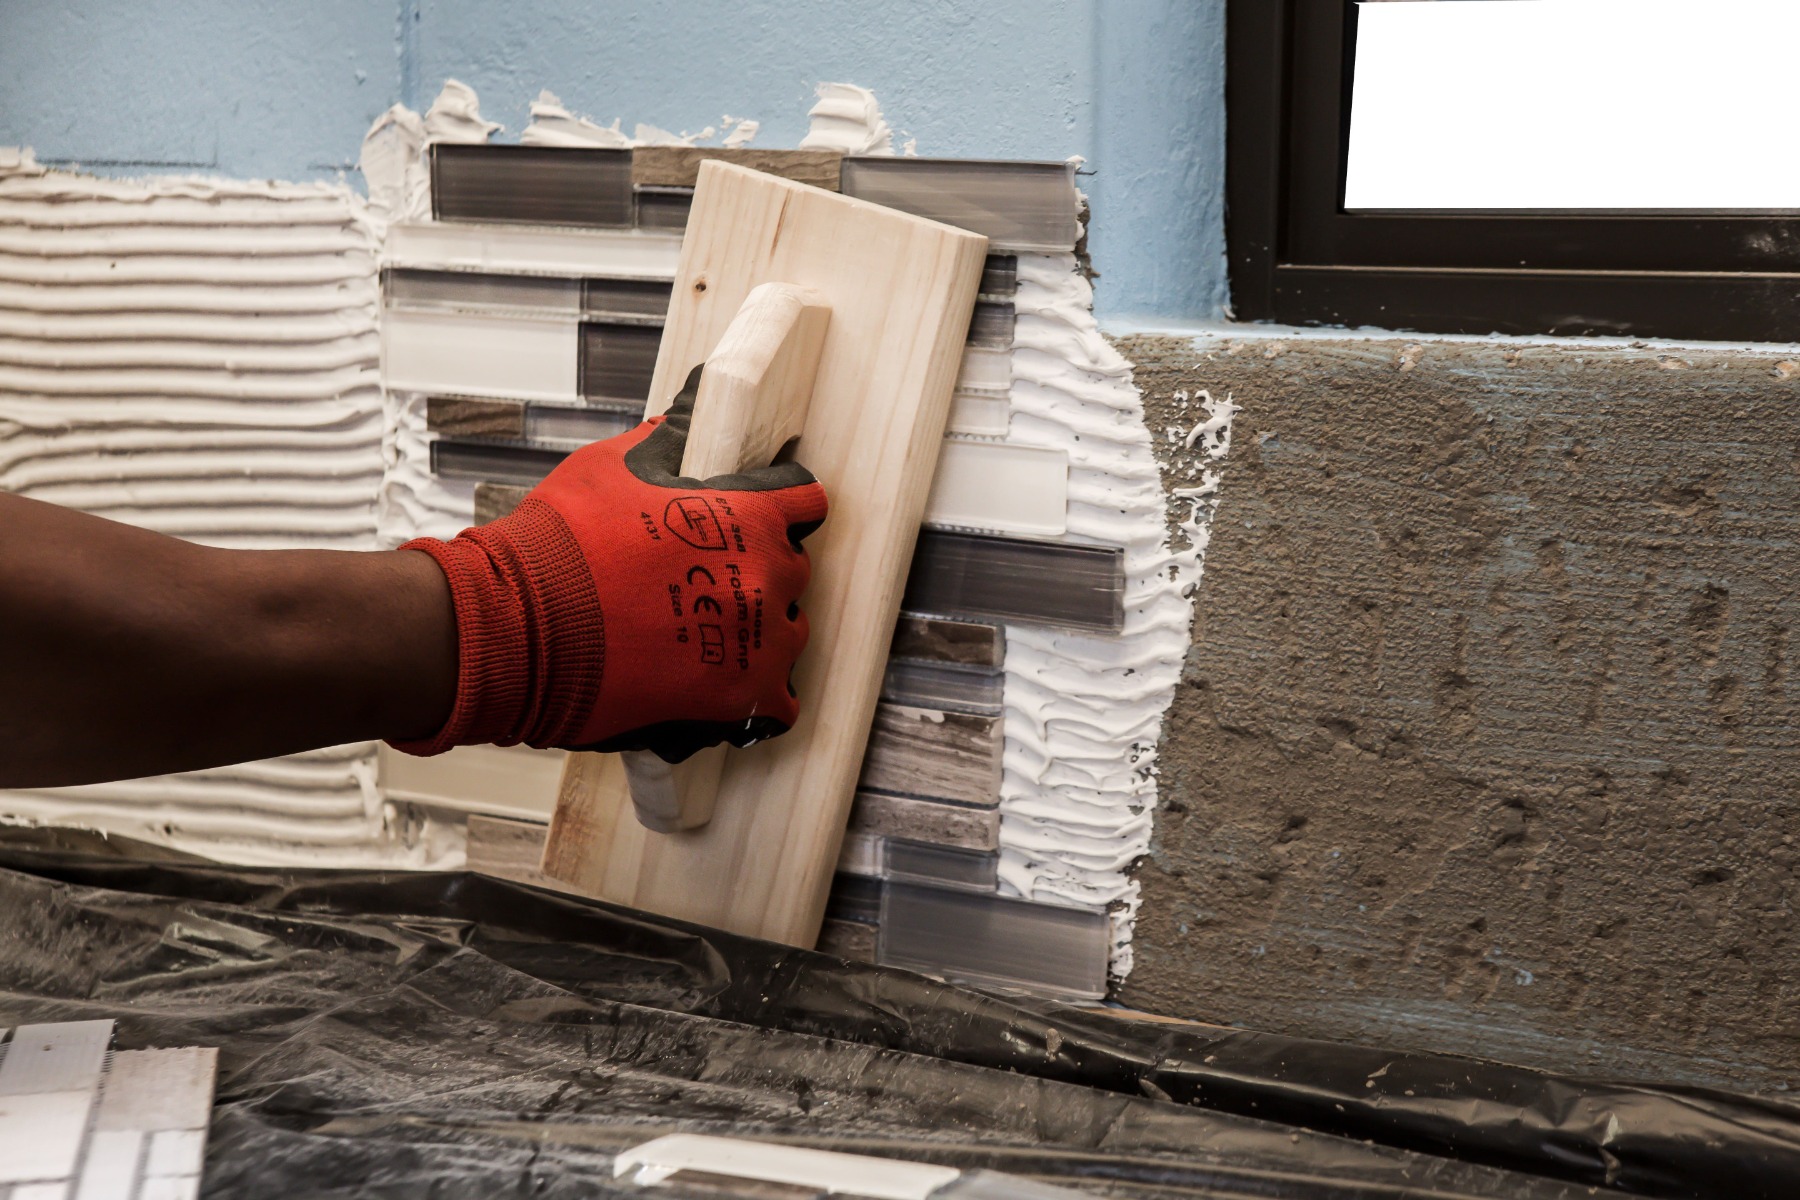
Allow the adhesive to squeeze through the joints between the mosaics, to ensure a good bond between adhesive and mosaics, and to form the grout. Place a tile spacer between the countertop and mosaic, as well as between the mosaic sheets, to keep them evenly spaced.
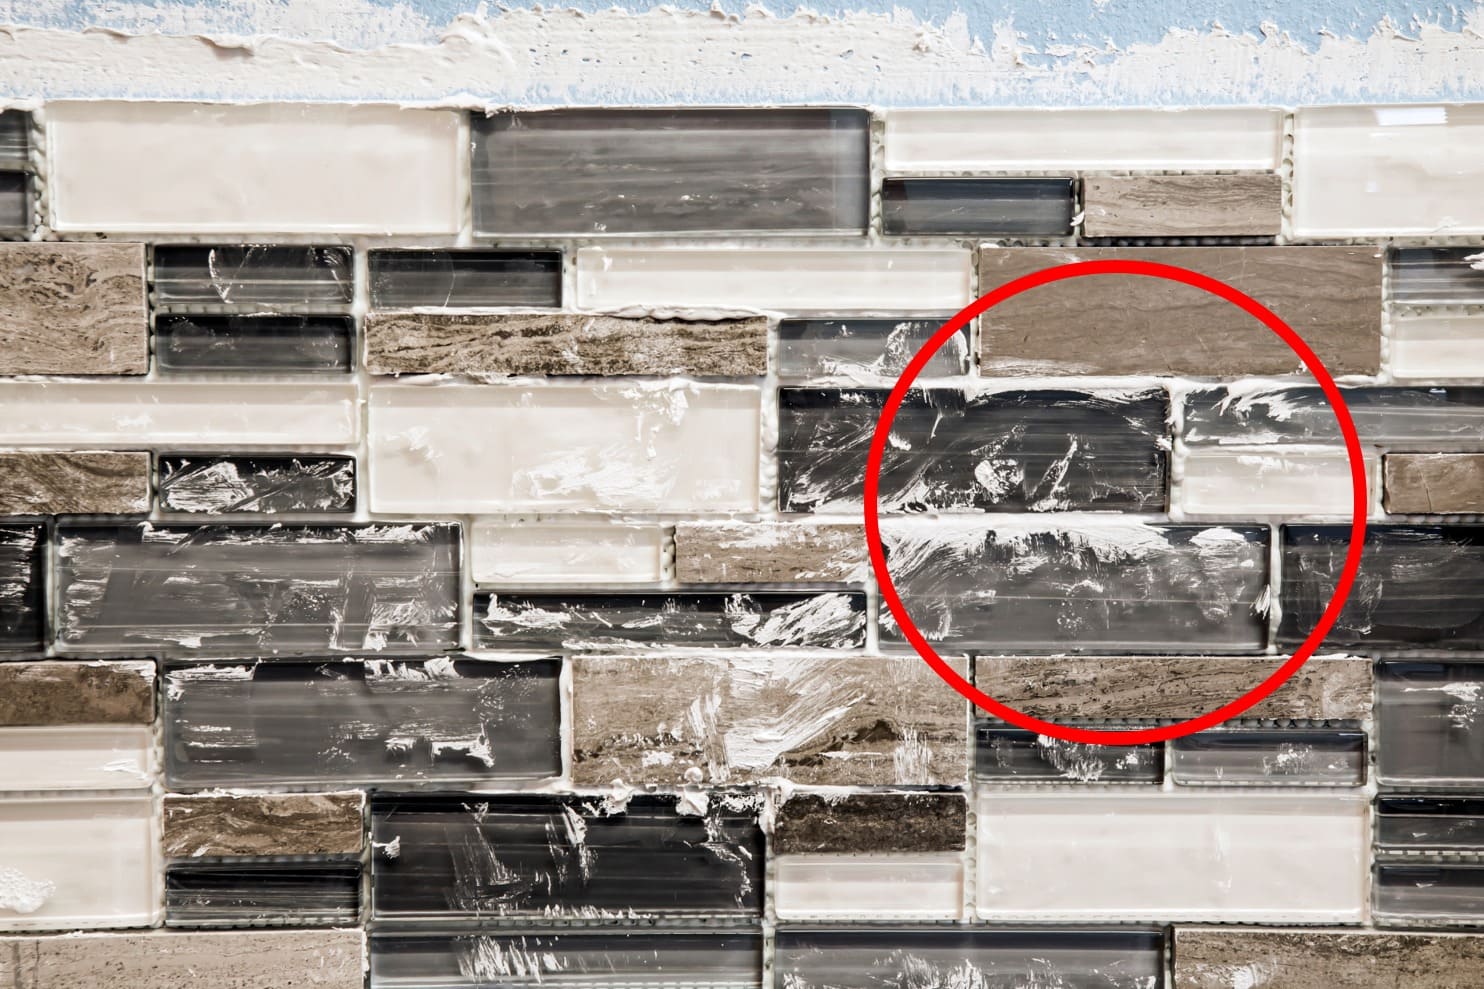
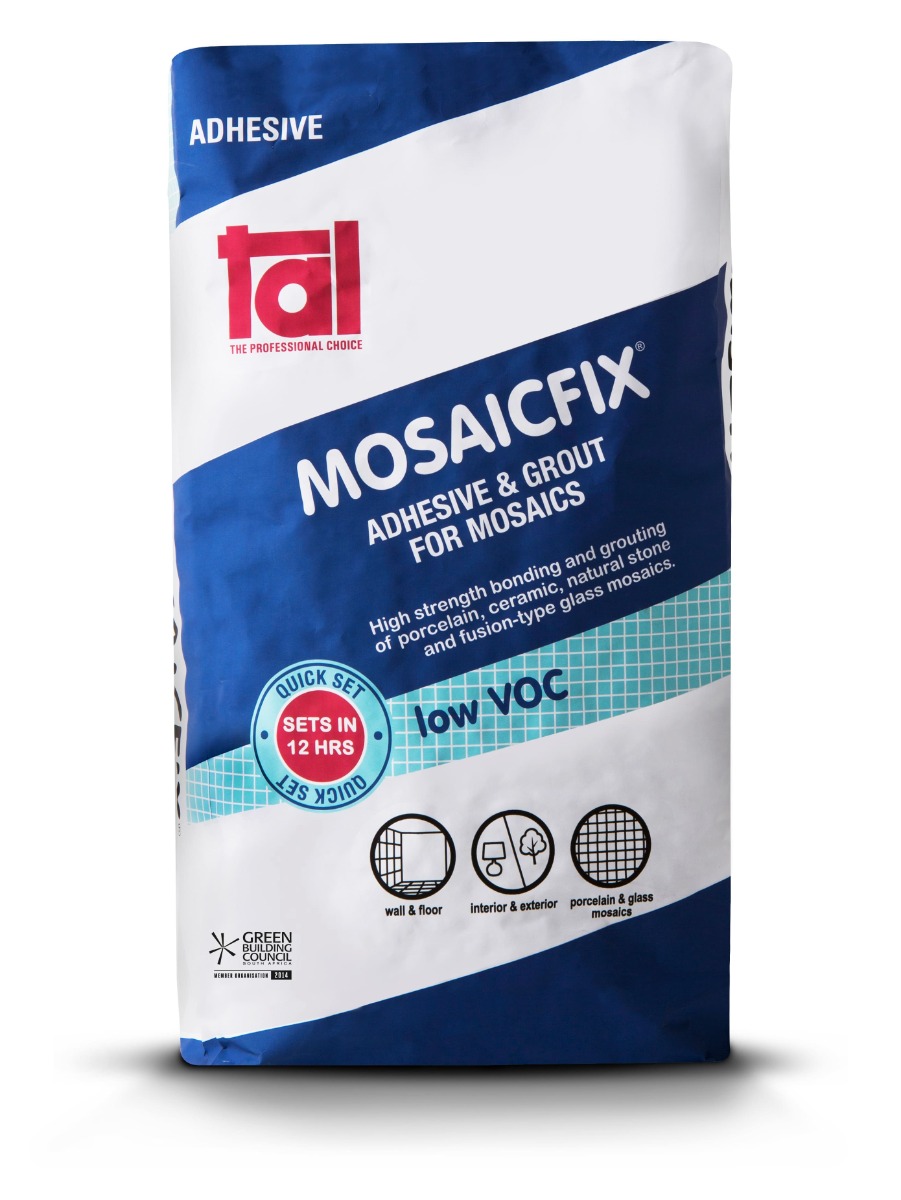
Wait 20 minutes, then, where necessary, fill in any low areas in the grout joints with extra adhesive. TAL Mosaicfix is available in super white and light grey, so choose the colour that will best suit the aesthetic you want to achieve. Work carefully to avoid scratching the tile surface, especially when installing metallic tiles.
Wait 20 minutes, then, where necessary, fill in any low areas in the grout joints with extra adhesive. TAL Mosaicfix is available in super white and light grey, so choose the colour that will best suit the aesthetic you want to achieve. Work carefully to avoid scratching the tile surface, especially when installing metallic tiles.
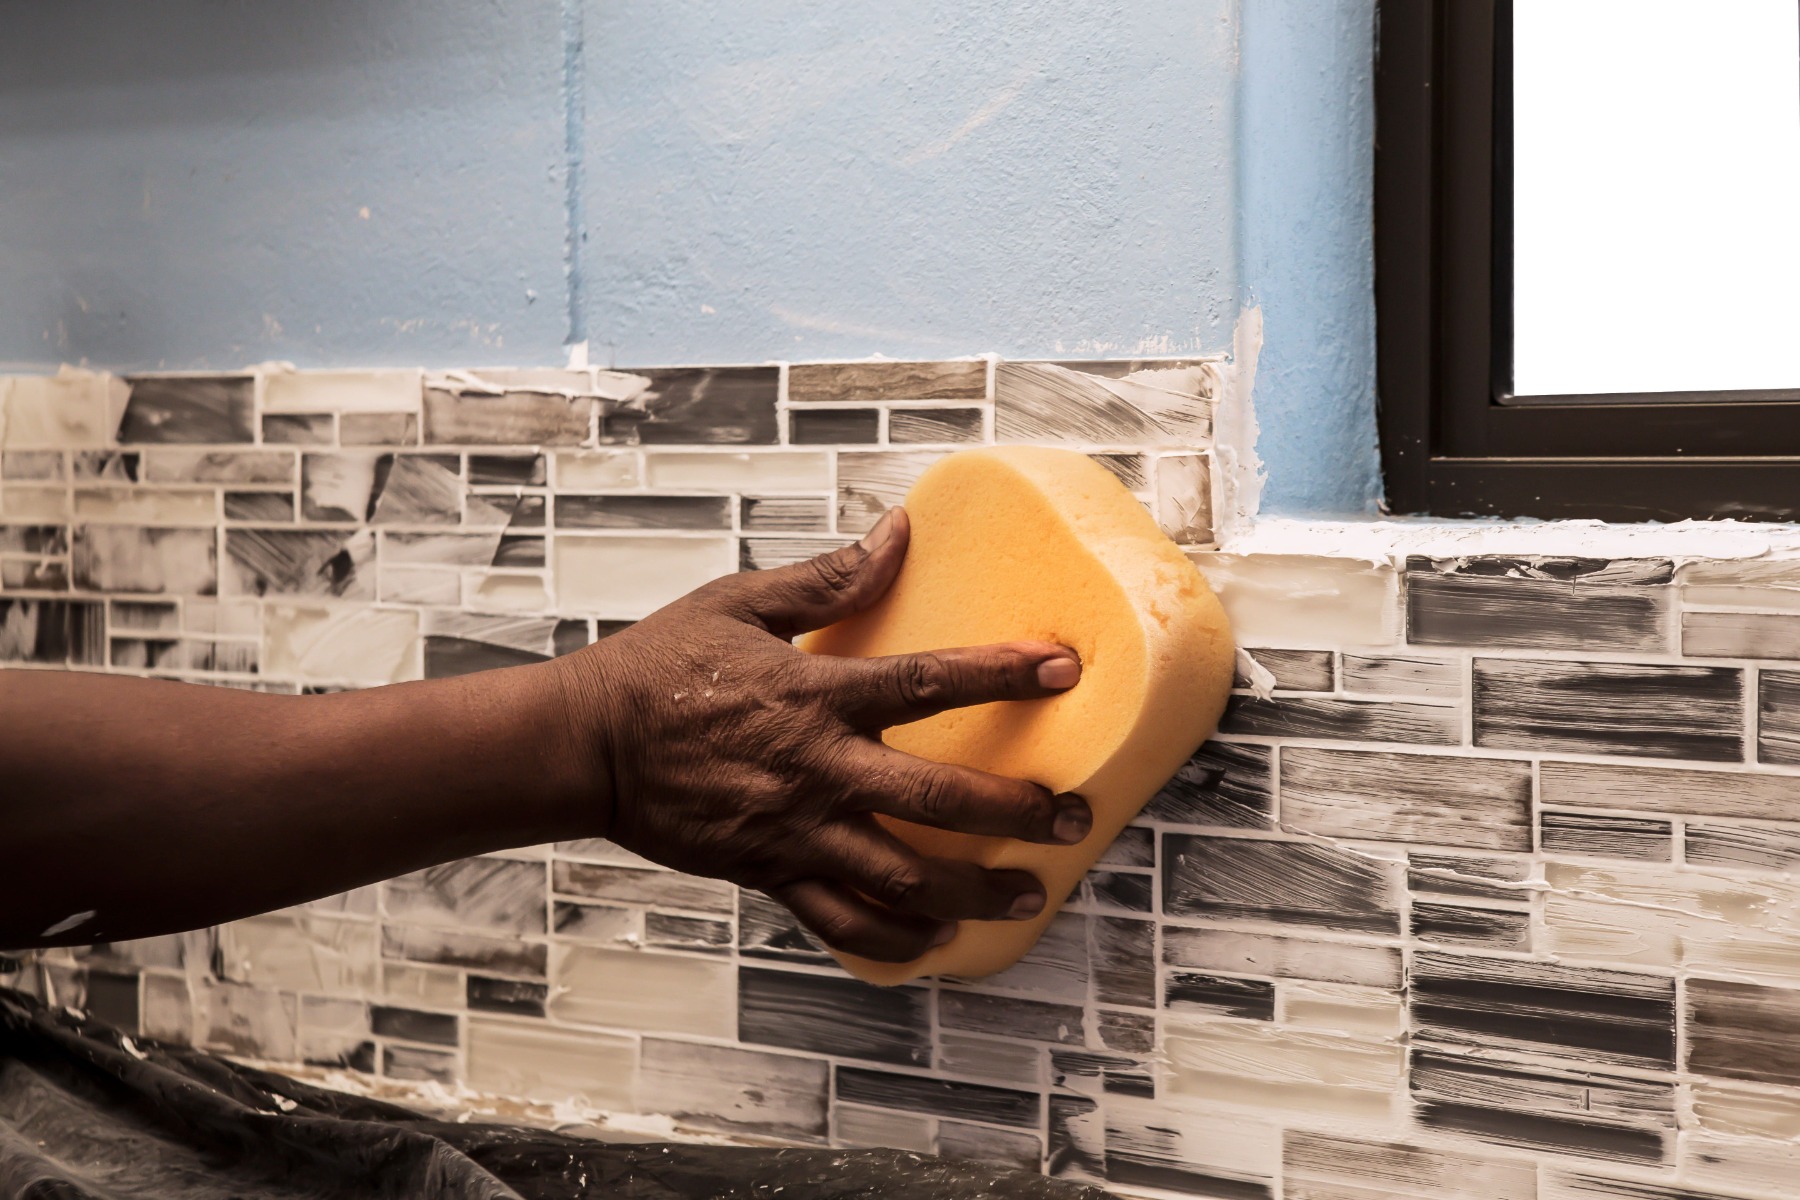
Once fully set, gently polish the face of the mosaics with a dry cloth

Apply a silicone sealant into the perimeter joint between the mosaics and countertop, and in any corners.
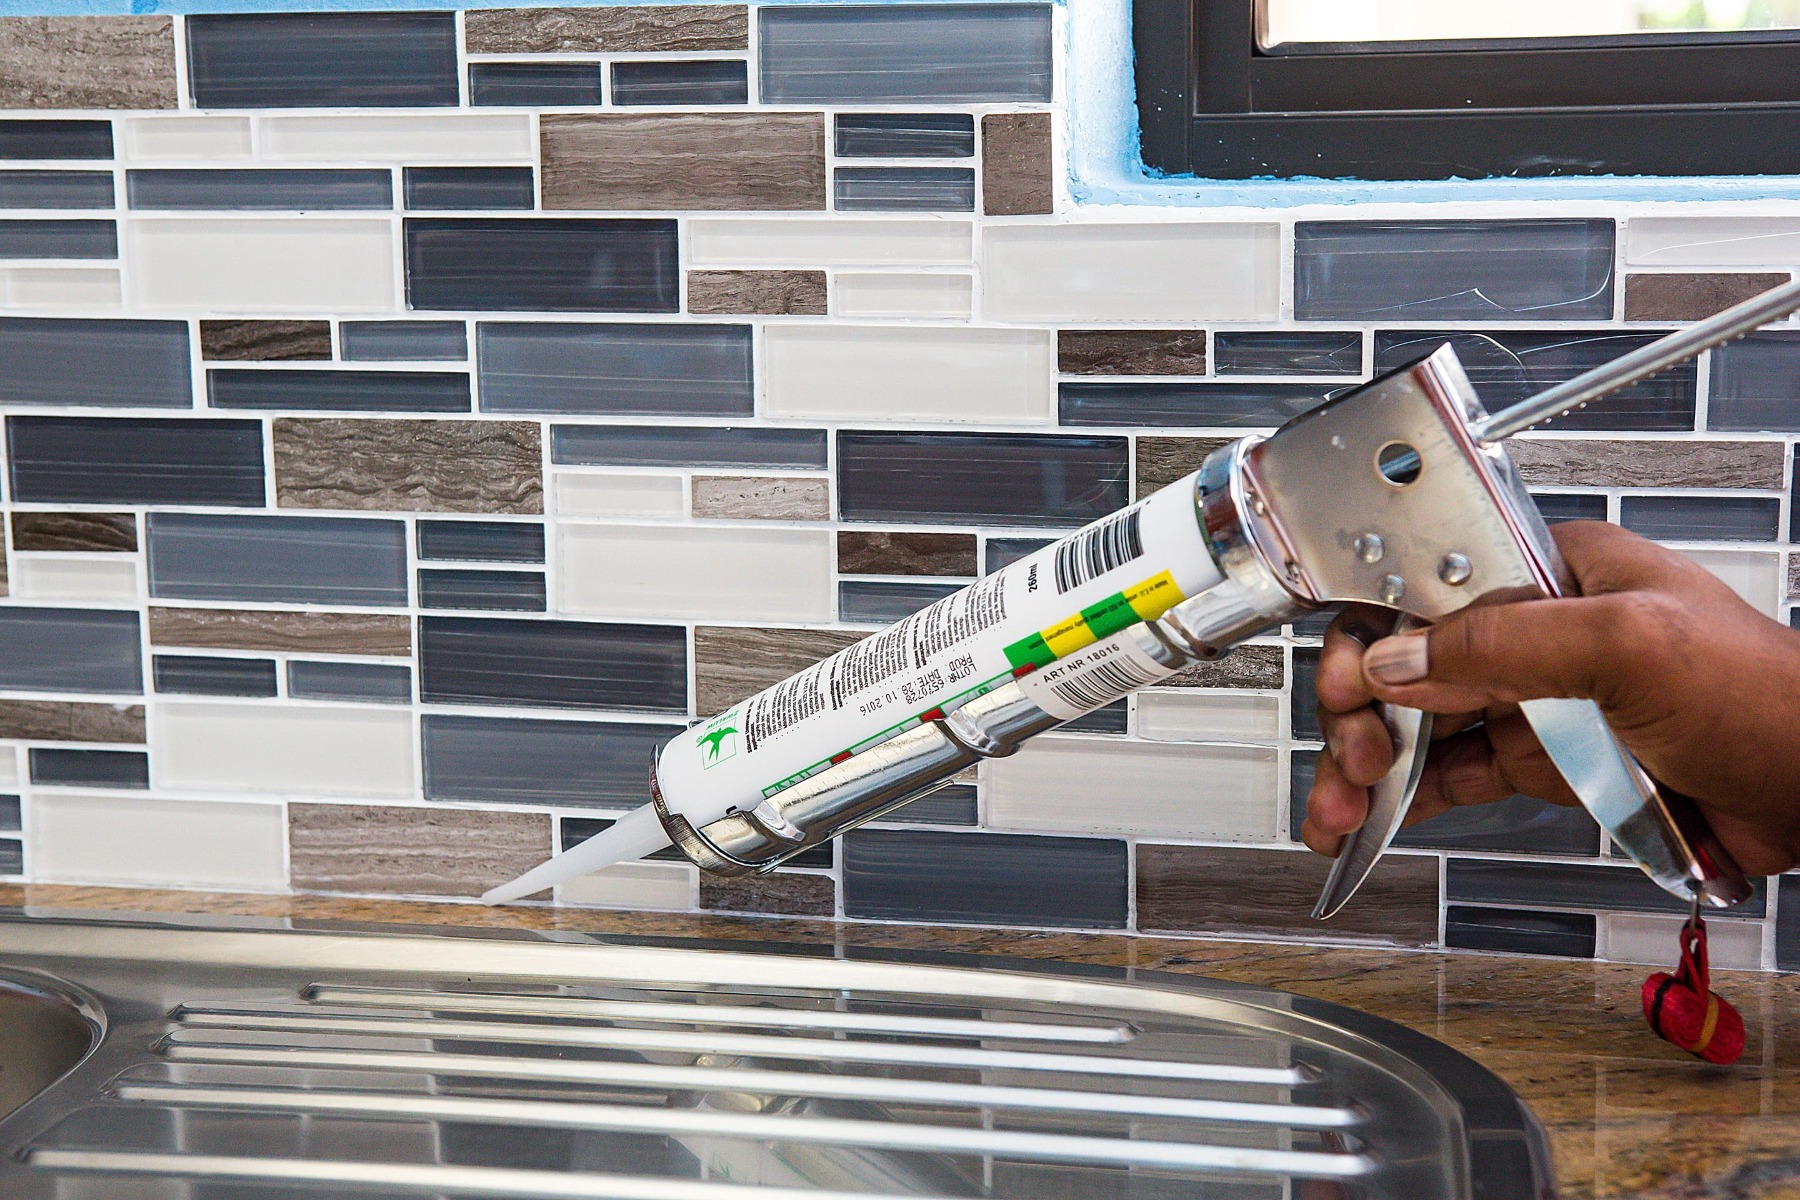
By choosing a kitchen splashback, not only have you managed to successfully upgrade your kitchen into a beautifully modern space, you’ve also ensured that your wall is protected against moisture and food stains. For more information on tile installation, contact the TAL Technical Advisory Service during office hours, visit our website, or send us an email.