Bespoke fixing solution created by TAL for the Ndzundza/Nzunza portrait
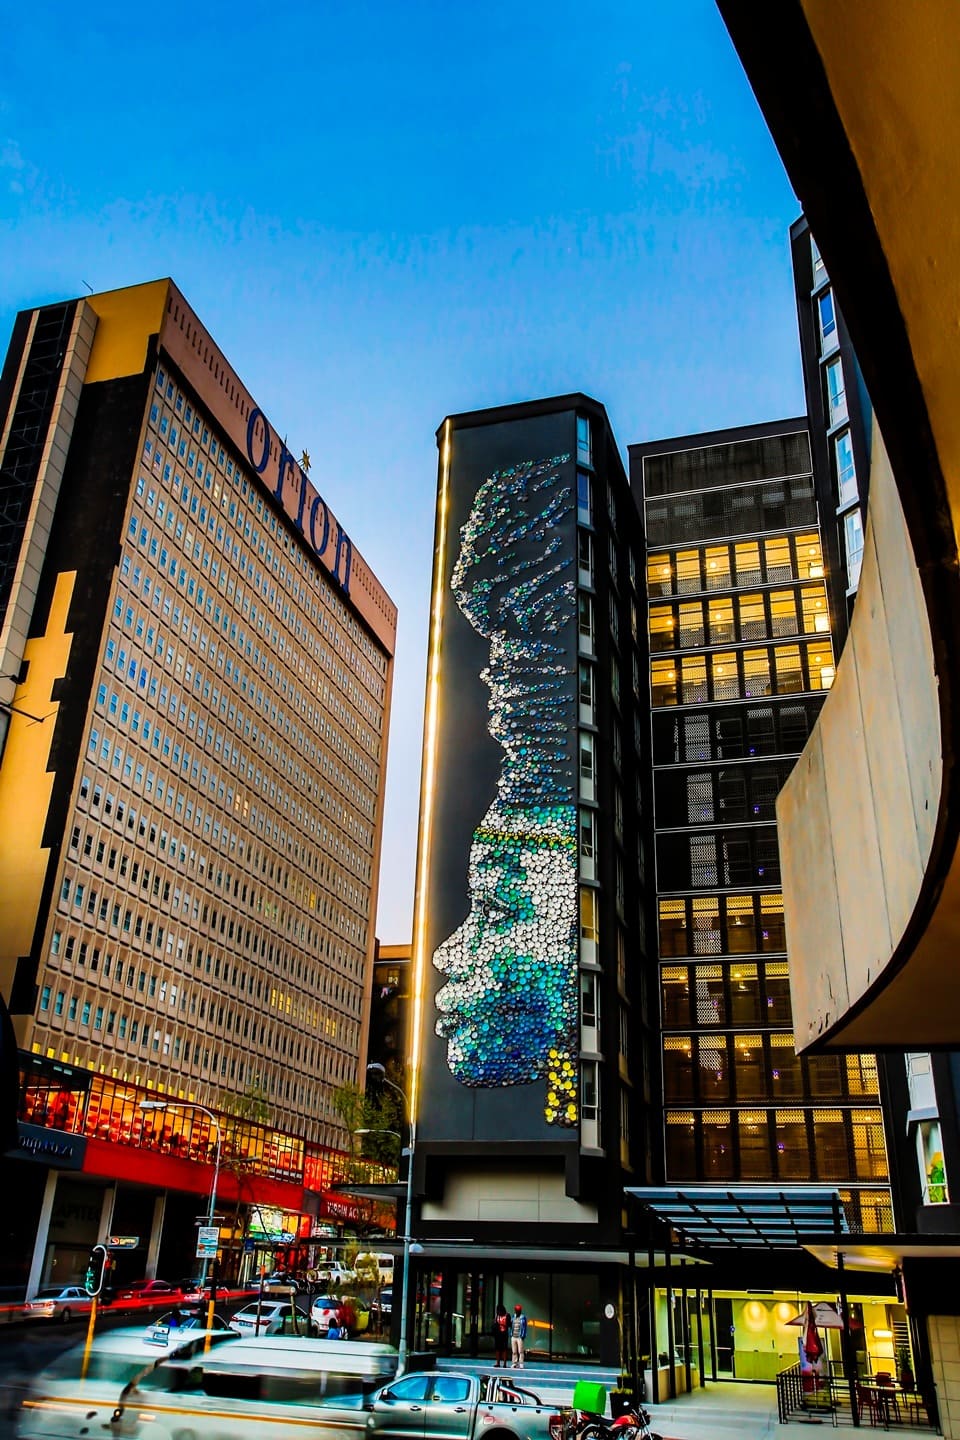
TAL is proud to have supplied a bespoke fixing solution for the Ndzundza/Nzunza Portrait, a larger than life art installation on the west wall of City Property’s North City House in Braamfontein, now renamed Nzunza House. Working closely with artist, Hannelie Coetzee, a bespoke fixing solution was developed exclusively for this installation which was officially unveiled on Women’s Day, 9th August 2018.
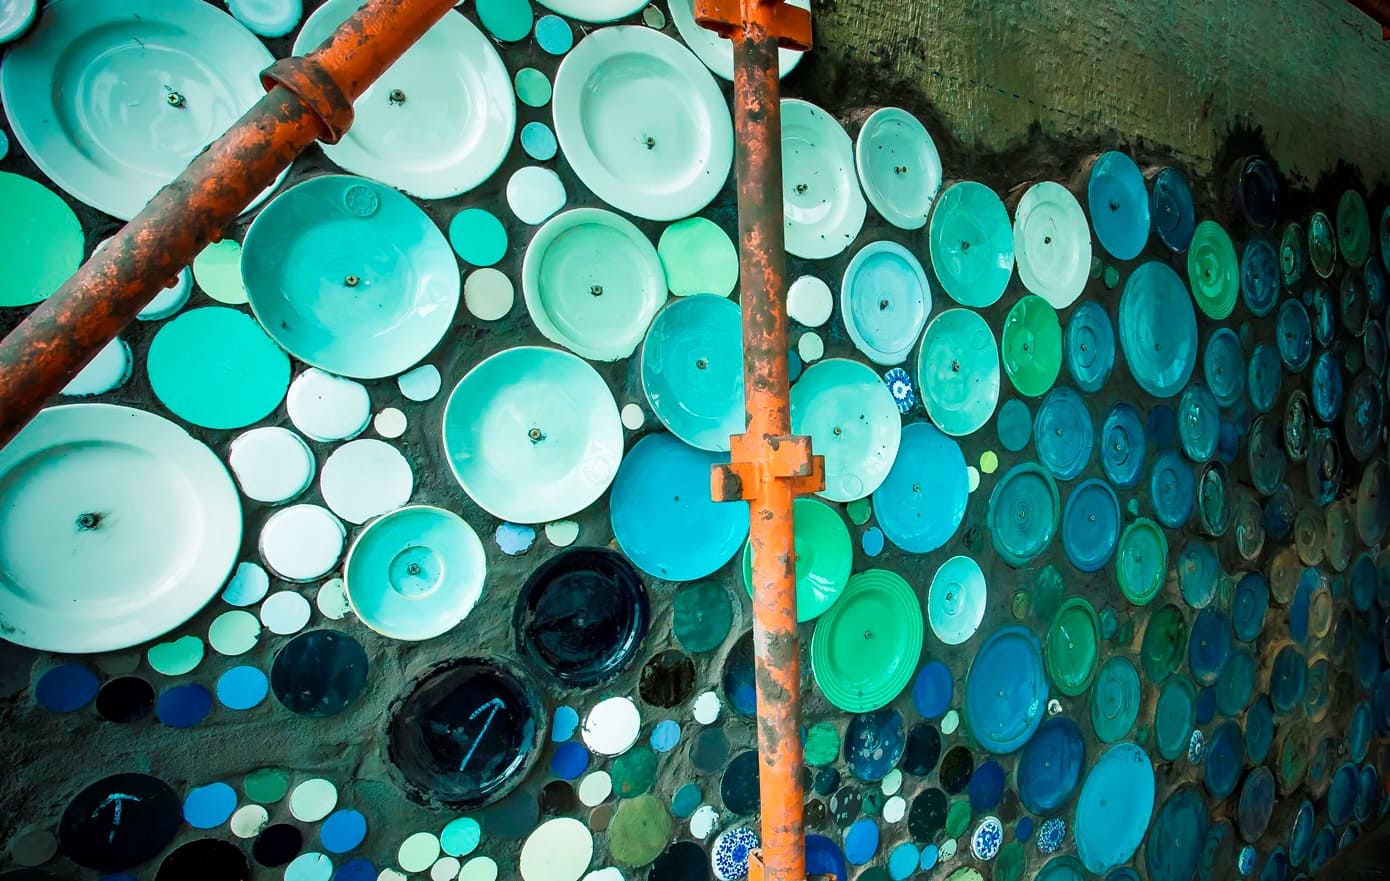
Using the concept of pixels as inspiration, Hannelie created the portrait using ceramic plates, bowls and cups from the Johannesburg-based manufacturer Liebermann Pottery. Each piece of crockery represents an individual pixel which together created the stunning image of an Ndzundza/ Nzunza woman in profile. This awe-inspiring art installation extends some 5.5 metres wide, by 33 metres in height.
The Ndzundza/Nzunza Ndebele lived in the area that is now Johannesburg and its immediate surroundings, in the 17th century. They were an inclusive society who embraced diverse influences, including Swazi and Zulu, whose cultural influences could be seen in their pottery and beadwork. This portrait harks back to that culture of diversity but also embraces the modern city of Johannesburg where people from all over Africa, and indeed the world, live and call home.
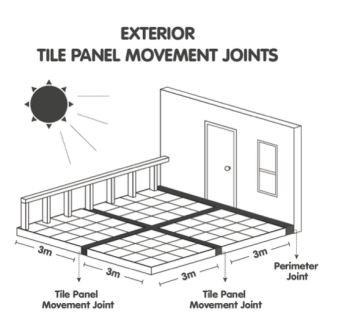
The challenges of bringing the Ndzundza/Nzunza Portrait to Johannesburg were many, requiring a very specific solution, which TAL was happy to develop and manufacture. The first issue was that the installation is on an exterior, west facing wall of the building, subject to direct sun in the afternoons, as well as rain and frost as the season’s change. Furthermore, the ‘tiles’ were pieces of crockery where the individual items were pre-assembled onto a mesh backing, effectively creating a giant mosaic mural. Finally, Hannelie required a specific colour finish between the individual items to complete the aesthetic impact of the portrait. After much consultation and rigorous testing both a suitable product and a technical specification for the installation was developed.
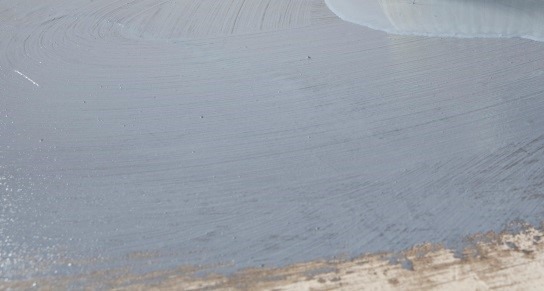
Nzunza House was previously covered with mosaics which had been removed, so a TAL Keymix and TAL Keycoat primer slurry coat was applied to the entire façade to prepare the surface for the installation. This slurry coat provides a level of water resistance to the installation as well as providing a suitable surface for the adhesive system to bond onto.
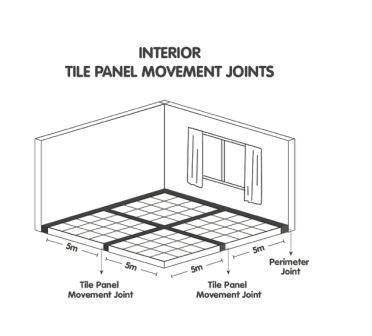
Secondly, a highly flexible installation system was essential so that the installation could flex and move with the anticipated thermal expansion and contraction, without fear of cracking or delamination of the crockery items. Equally important, movement joints which extend all the way to the substrate throughout the installation were specified and established at regular intervals.
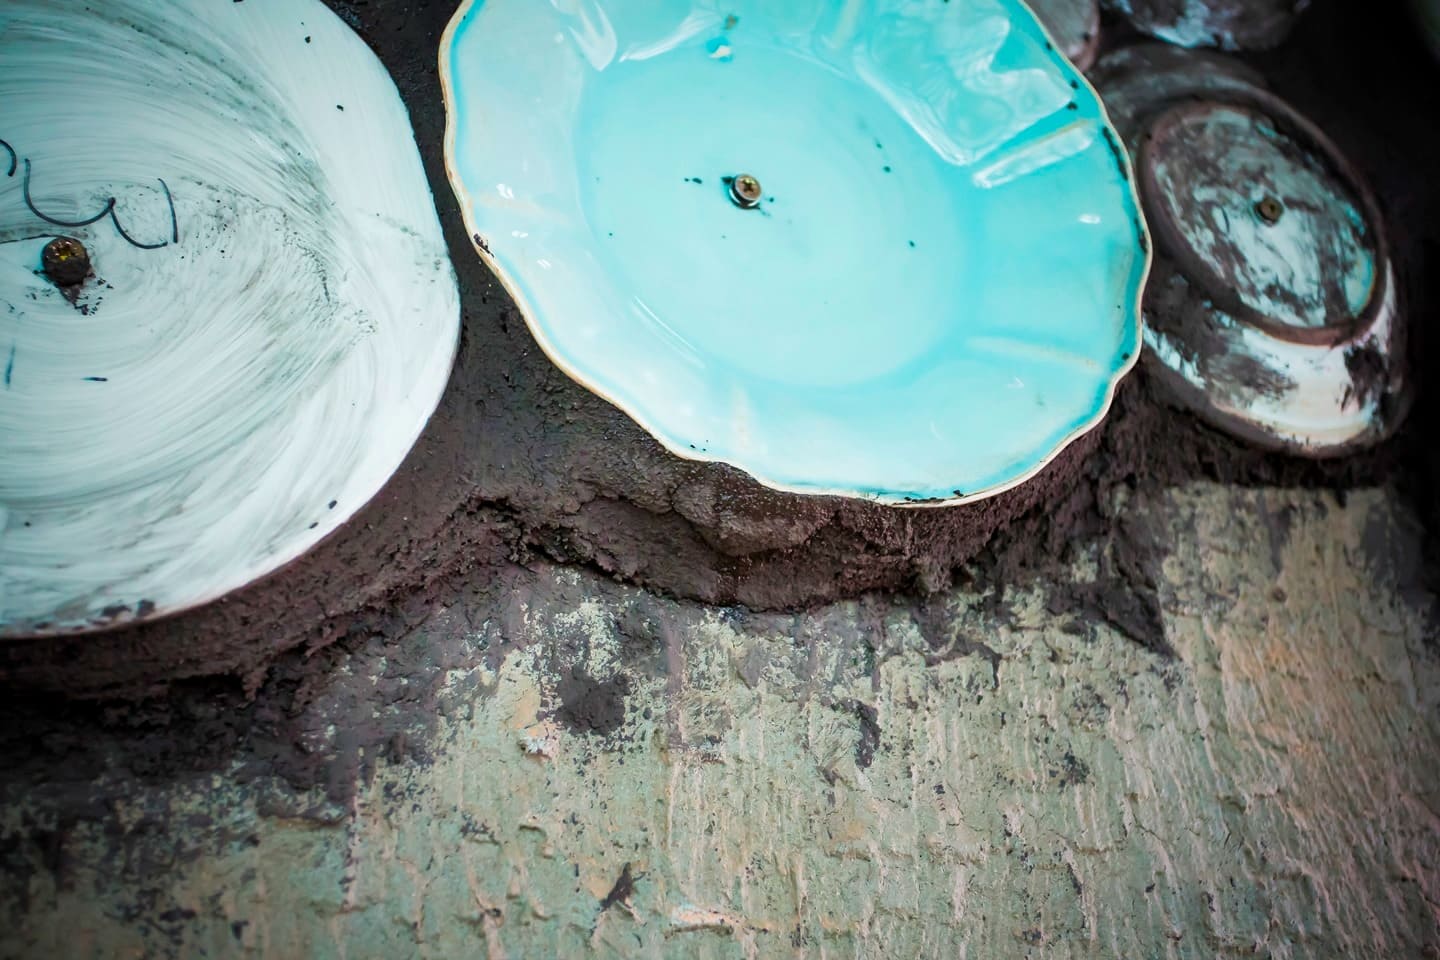
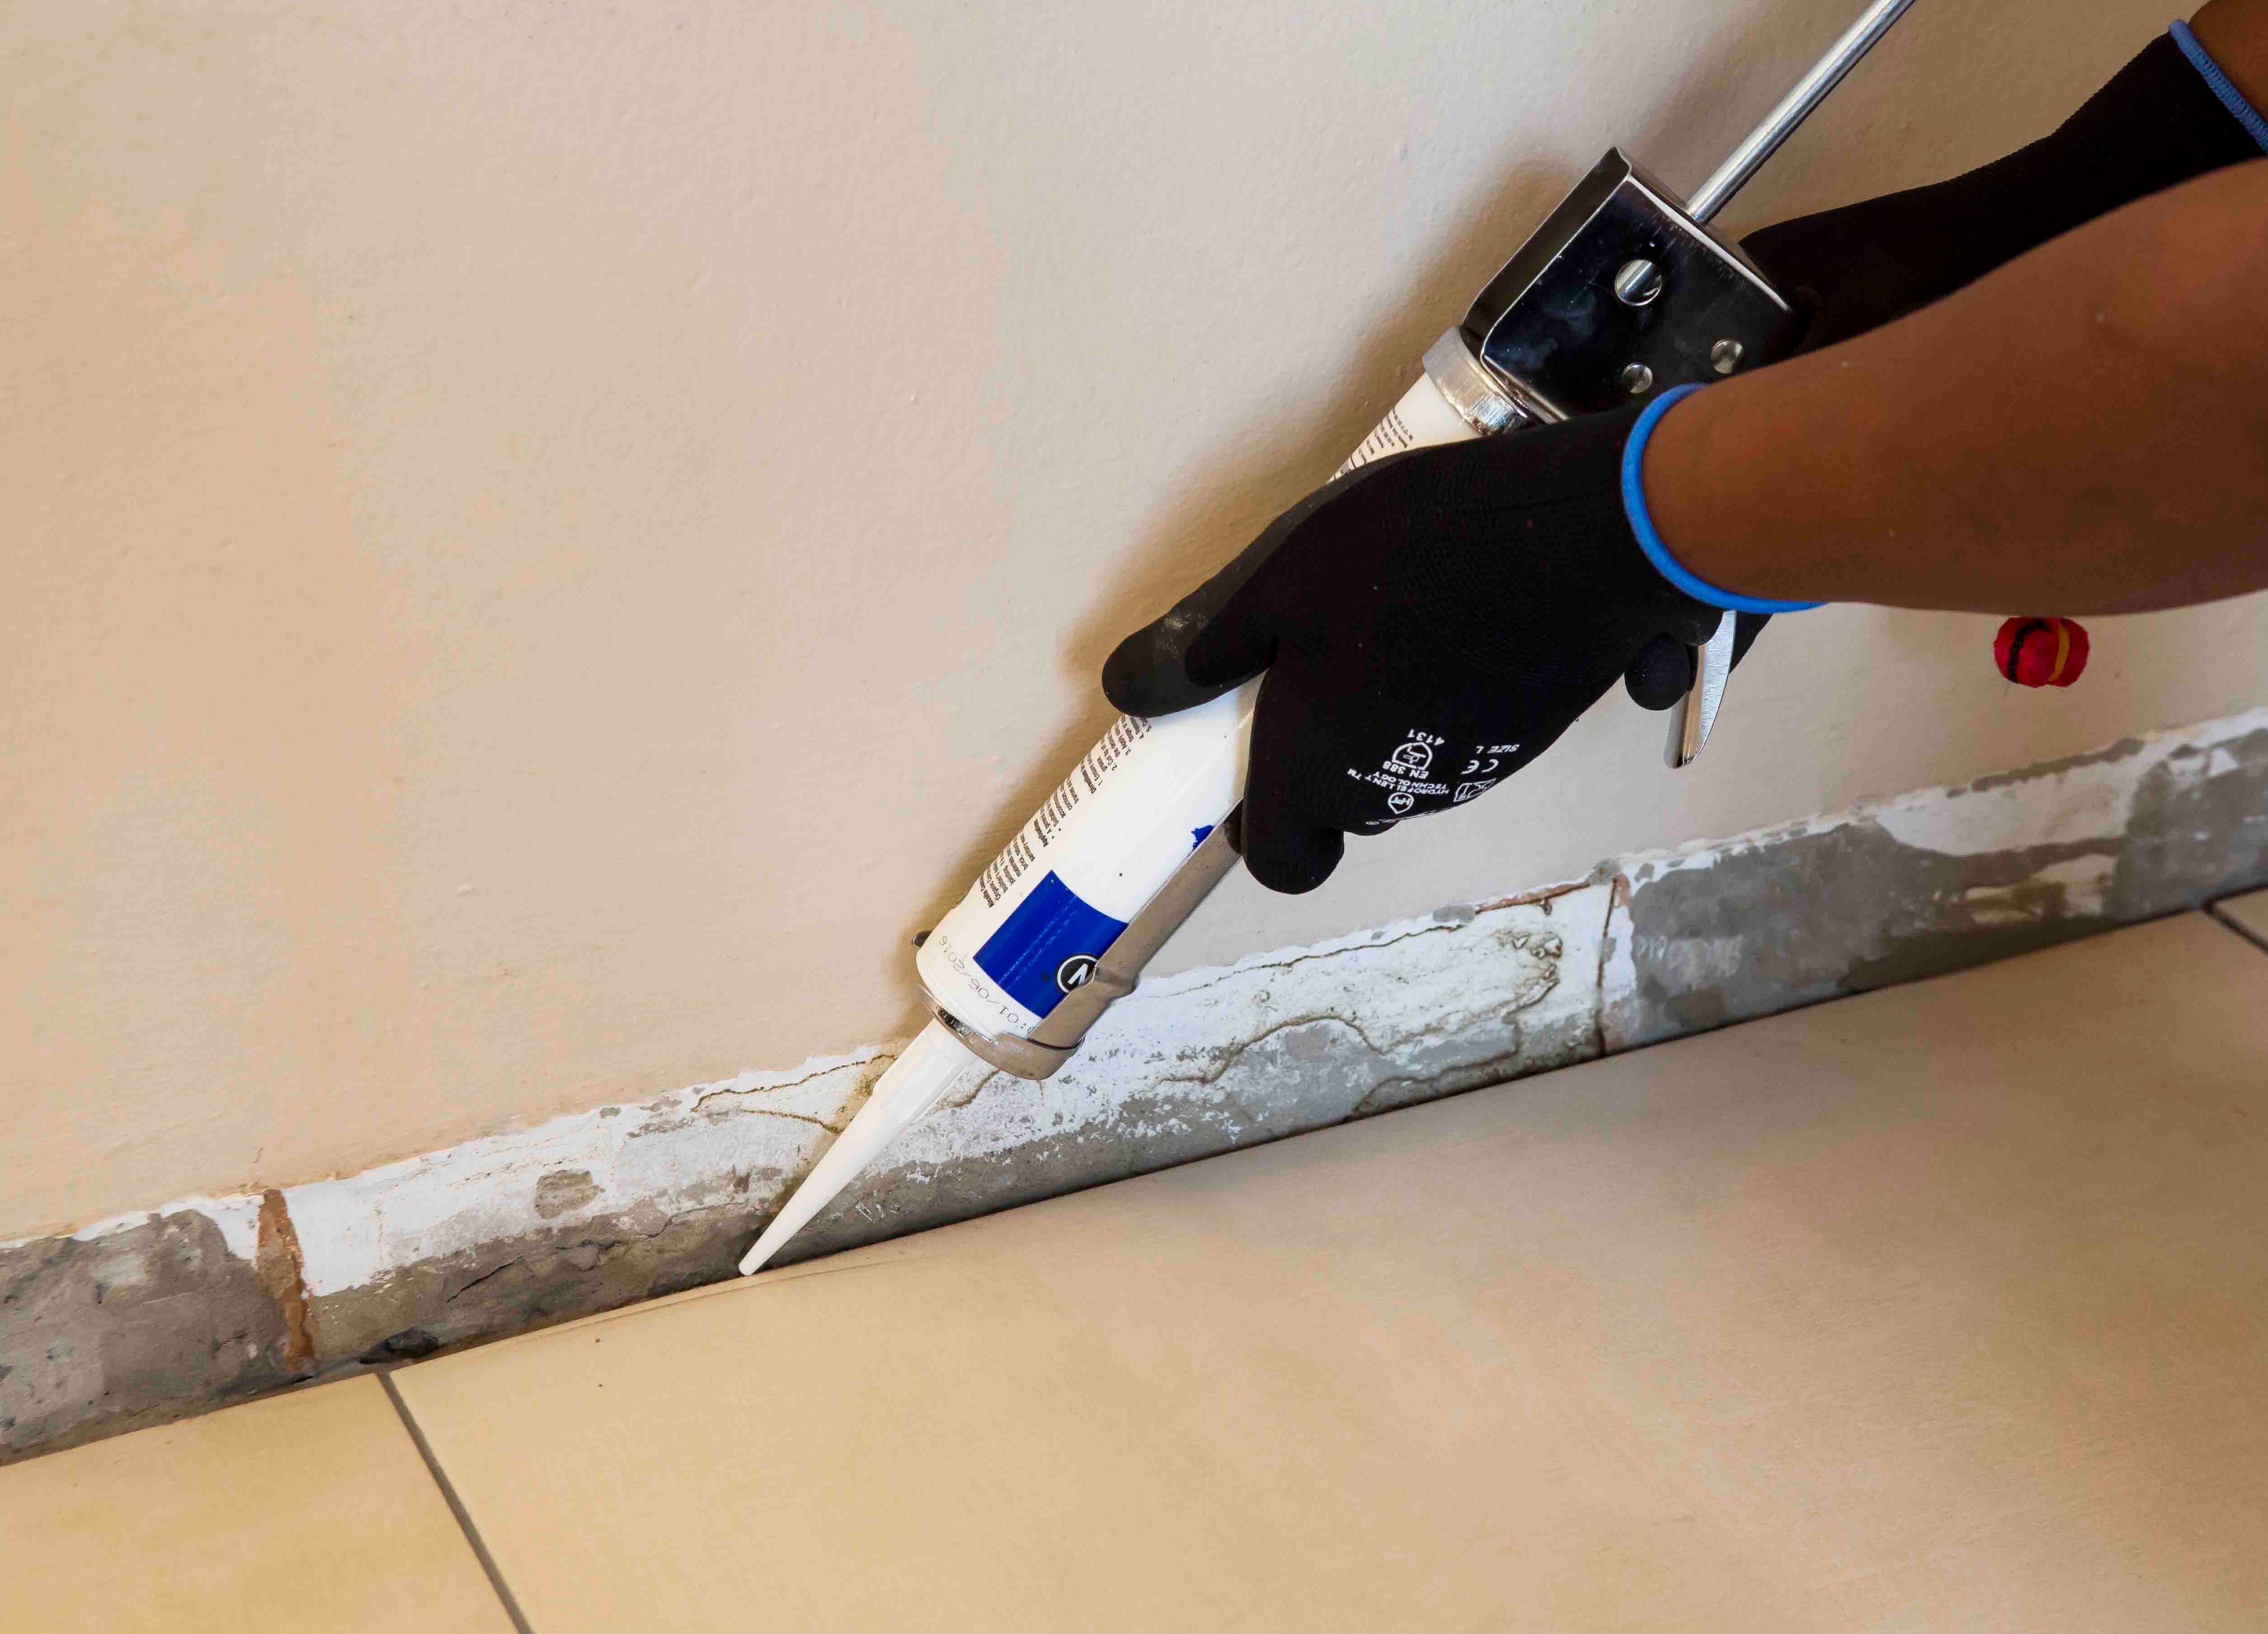
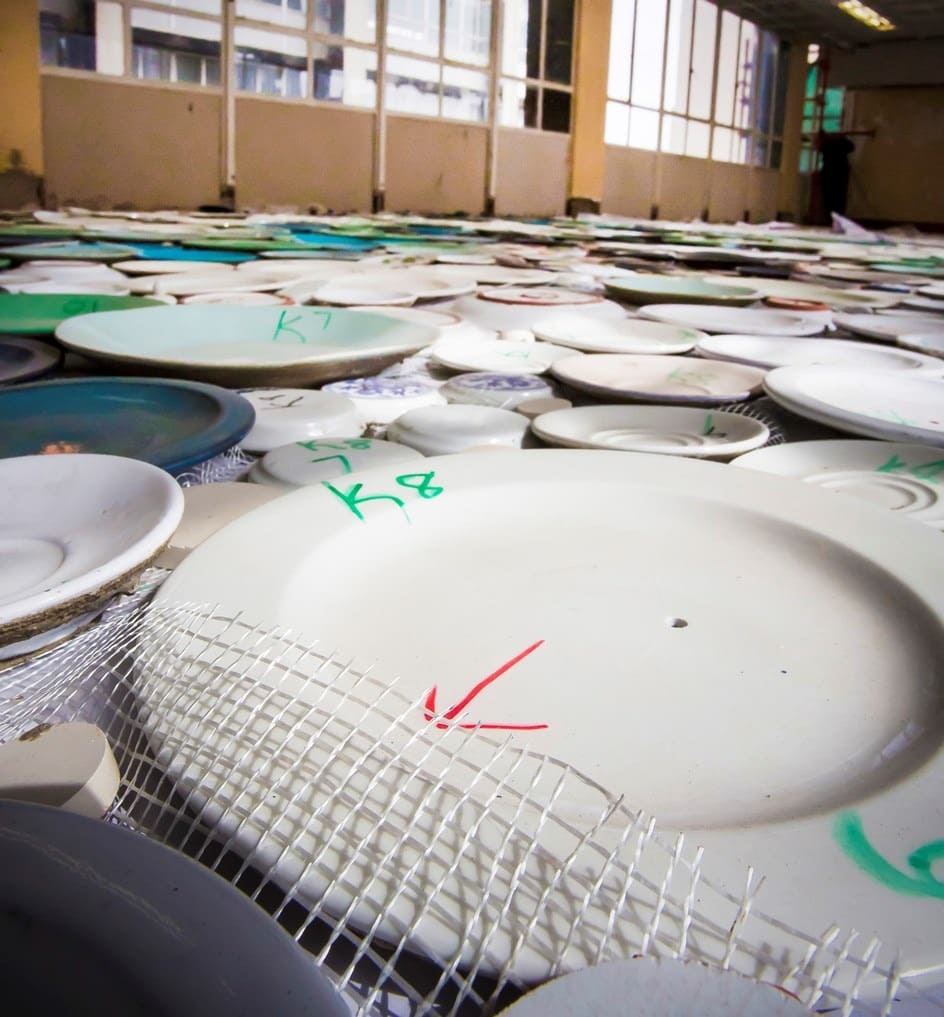
As Johannesburg experiences hailstorms, the larger pieces of crockery within the artwork were treated with a poly-propylene coating to protect them from damage. To ensure a strong bond between these pieces and the tile adhesive and grouting system, a TAL Keymix and TAL Keycoat primer slurry was applied to the back of each individual piece before being assembled onto the mesh backing. Additionally, these were positively fixed to the surface through carefully drilling through the larger plates and bowls, anchoring them not only with the tile adhesive but also with screws into the wall. When installing mosaics or items like this, the bonding and grouting is generally done in one application to ensure a good bond. Thus, any voids between the plates, cups and bowls within the installation were filled with the bespoke adhesive and grout from TAL, delivering a smooth finish.
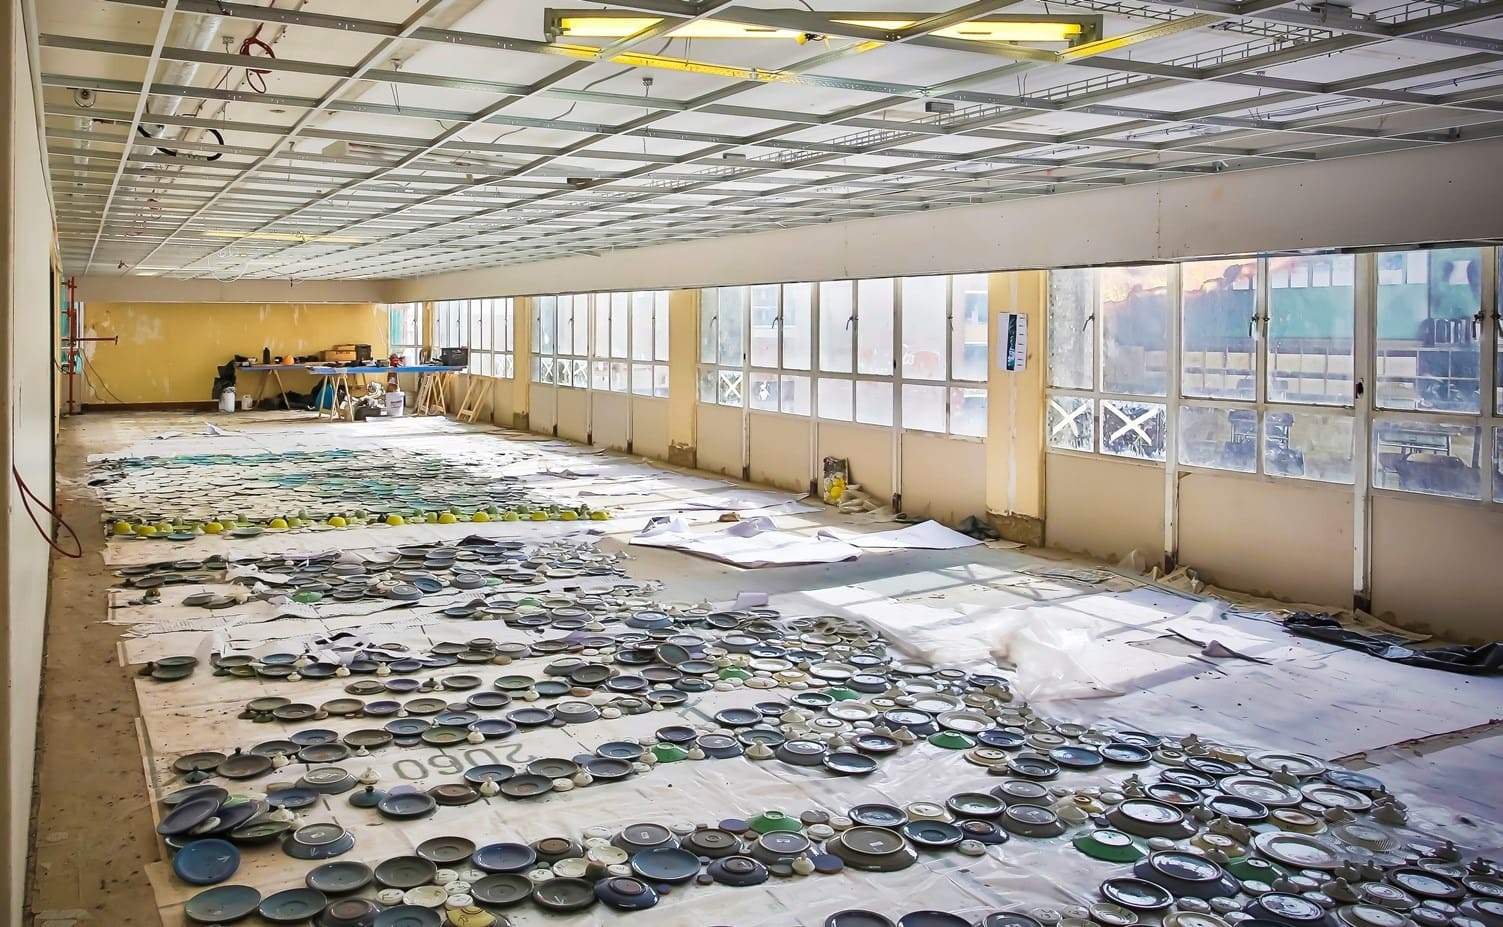
Each individual item of crockery was originally plotted and laid out on the floor inside the building. Then using a pattern, portions of the giant mosaic mural were carefully moved and placed correctly on the wall outside. This meant that work had to progress in small sections. To accommodate this slower, more methodical installation, TAL supplied the product in 10kg bags, rather than the traditional 20kg bags, to avoid ‘skinning’ of the product and preventing wastage. Furthermore, as work on the portrait was done from a scaffold many metres above the ground, smaller bags were more manageable in the limited space.
Regular visits to site by TAL Technical Representatives, ensured that any unforeseen challenges with the installation were addressed in good time. It was important to keep the momentum going on the project and to complete the portrait on time. Work on the portrait was completed in June 2018 on a tight 10-week schedule.
As a company with over 40 years of working in the tile adhesive industry, to be able to contribute to this project was a great privilege. To have played our small part in bringing this artwork to the city gives us great pride.
Visit www.tal.co.za to find out more about TAL products, specifications and value-added on-site service offering. Alternatively, contact the TAL Technical Advisory Service on 0860 000 TAL (825)
When using large format tiles (a tile with the length of at least one edge equal to/greater than 600mm, or a facial area greater than 3500cm²) there will be a smaller number of grout joints, compared with the same area of normal format tiling. As a result, less stress (movement) can be accommodated at tile joints.
Considering a wood-look tile installation? Give us a call or send usan email and we’ll give the right advice, no matter how big or small your tile installation: 0860000 TAL (825) or [email protected]. If this TAL Talk blog post interested you, you may want to take a look at this TAL Talk blog post: The 101 on wood-look tiles.
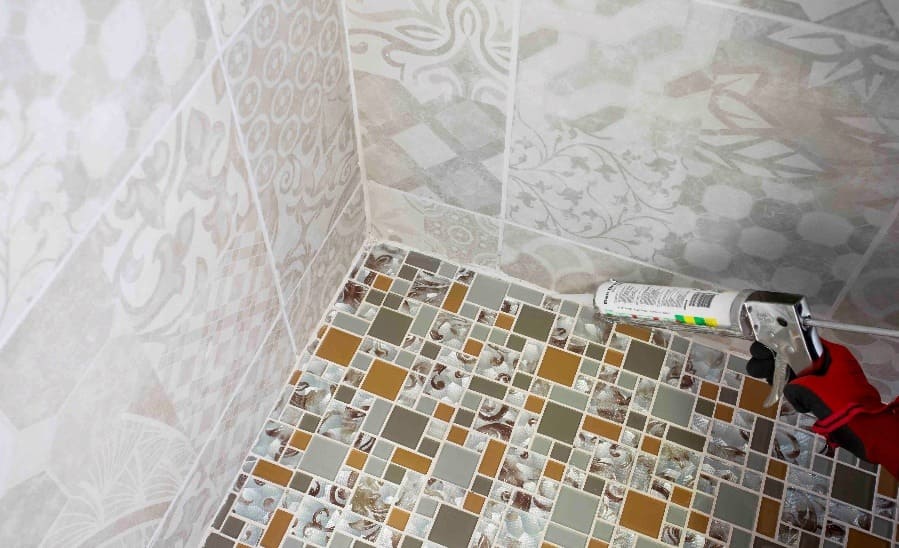
Complete the waterproofing system by replacing the water in the grout mix with TAL Bond, a latex additive, as this further increases the water resistance and flexibility of the installation.
Get the job right the first time and avoid future headaches from water seeping through and damaging the walls and floors of your home. The additional cost and effort of properly waterproofing your shower is an investment in your property and will ensure a beautiful and functional bathroom for years to come.
For more information on multi-level waterproofing systems, contact a TAL Expert on 0860 000 TAL (825), email us or watch our how-to video on YouTube for step-by-step advice on how to waterproof a shower.
STEP 8
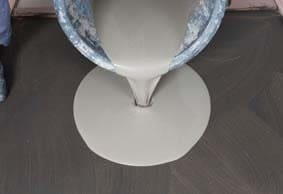
Roll the area using a TAL Spiked Roller to facilitate the release of any trapped air to produce a smooth surface, and to allow it to dry.
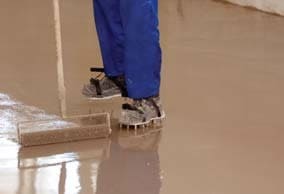
Allow the screed installation to dry for 24 hours before subjecting to foot traffic (or other trades) or installing floor coverings.
TAL MOSAICFIX is available in 20 kg and 5 kg bags from leading retail outlets.
Designed to be 100% compatible, using the TAL range of products ensures fully guaranteed multi-level tiling systems from a single source. TAL products are manufactured in South Africa to suit local climatic conditions.
If you are in any doubt, contact the TAL Technical Advisory Service on 0860 000 TAL (825), email [email protected]. Alternatively, employ the services of an experienced and skilled mosaic tiling contractor.
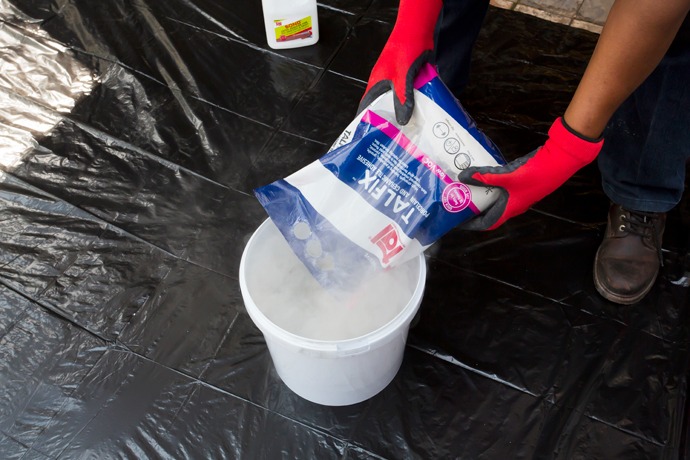
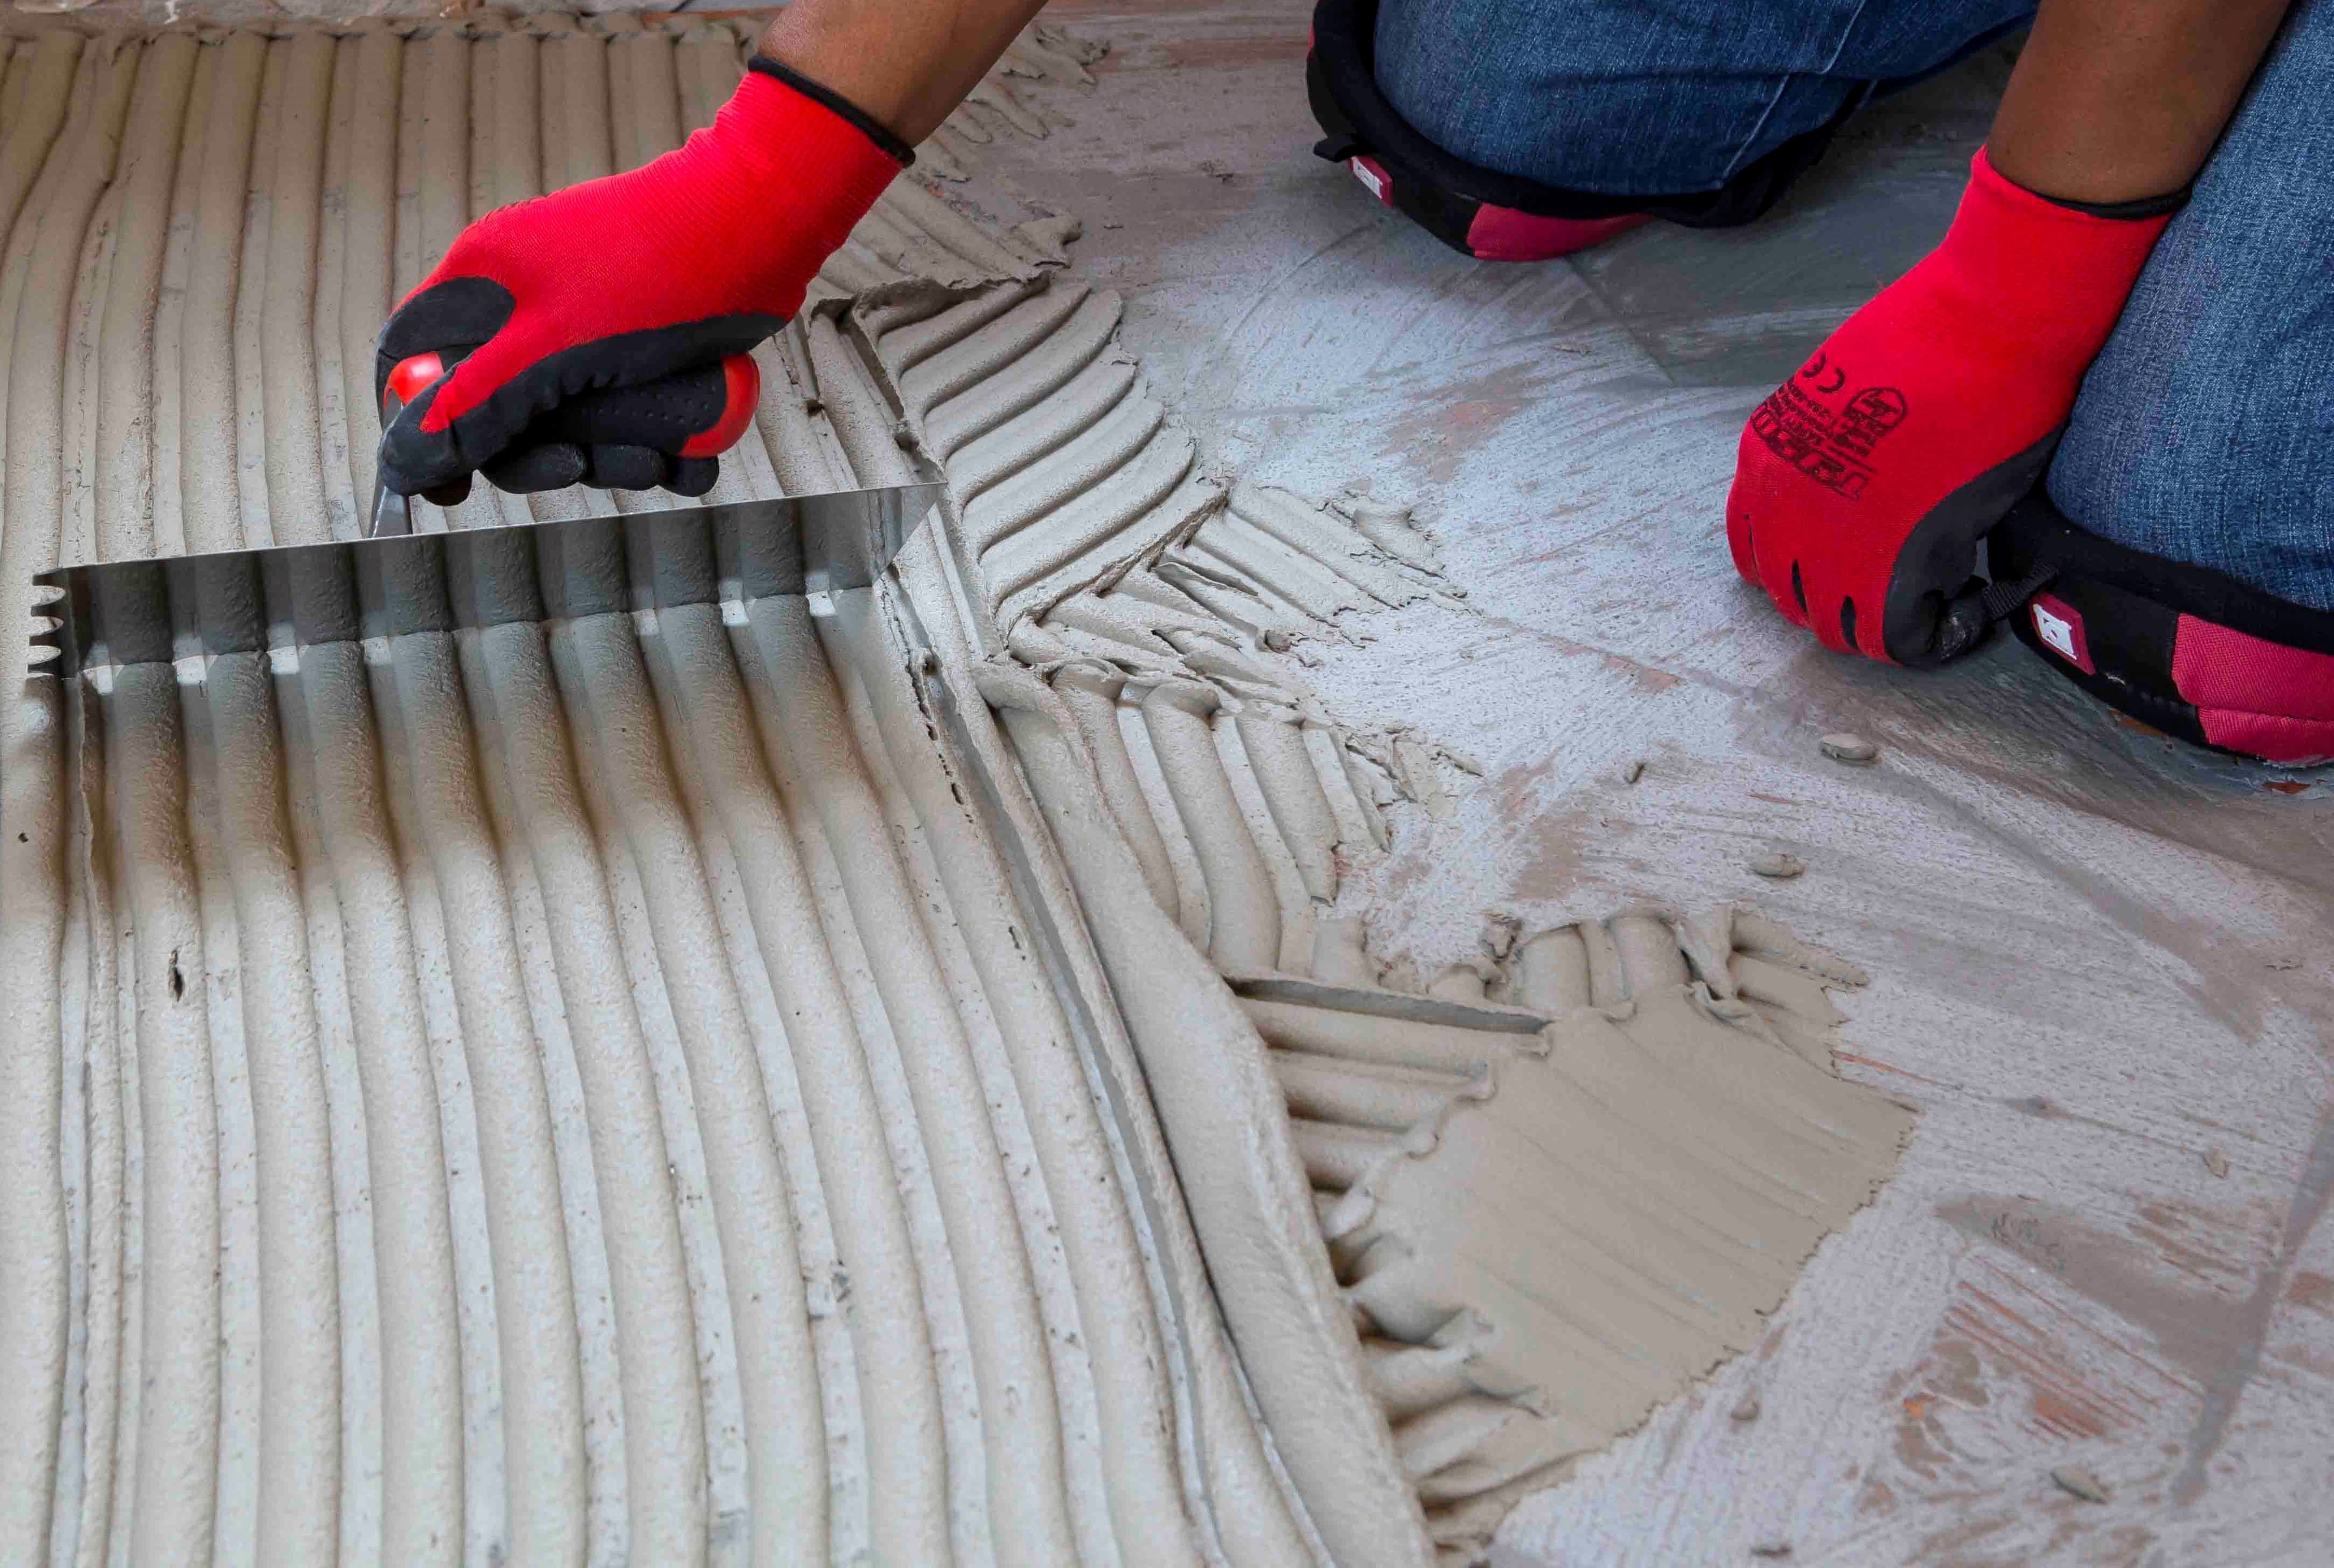
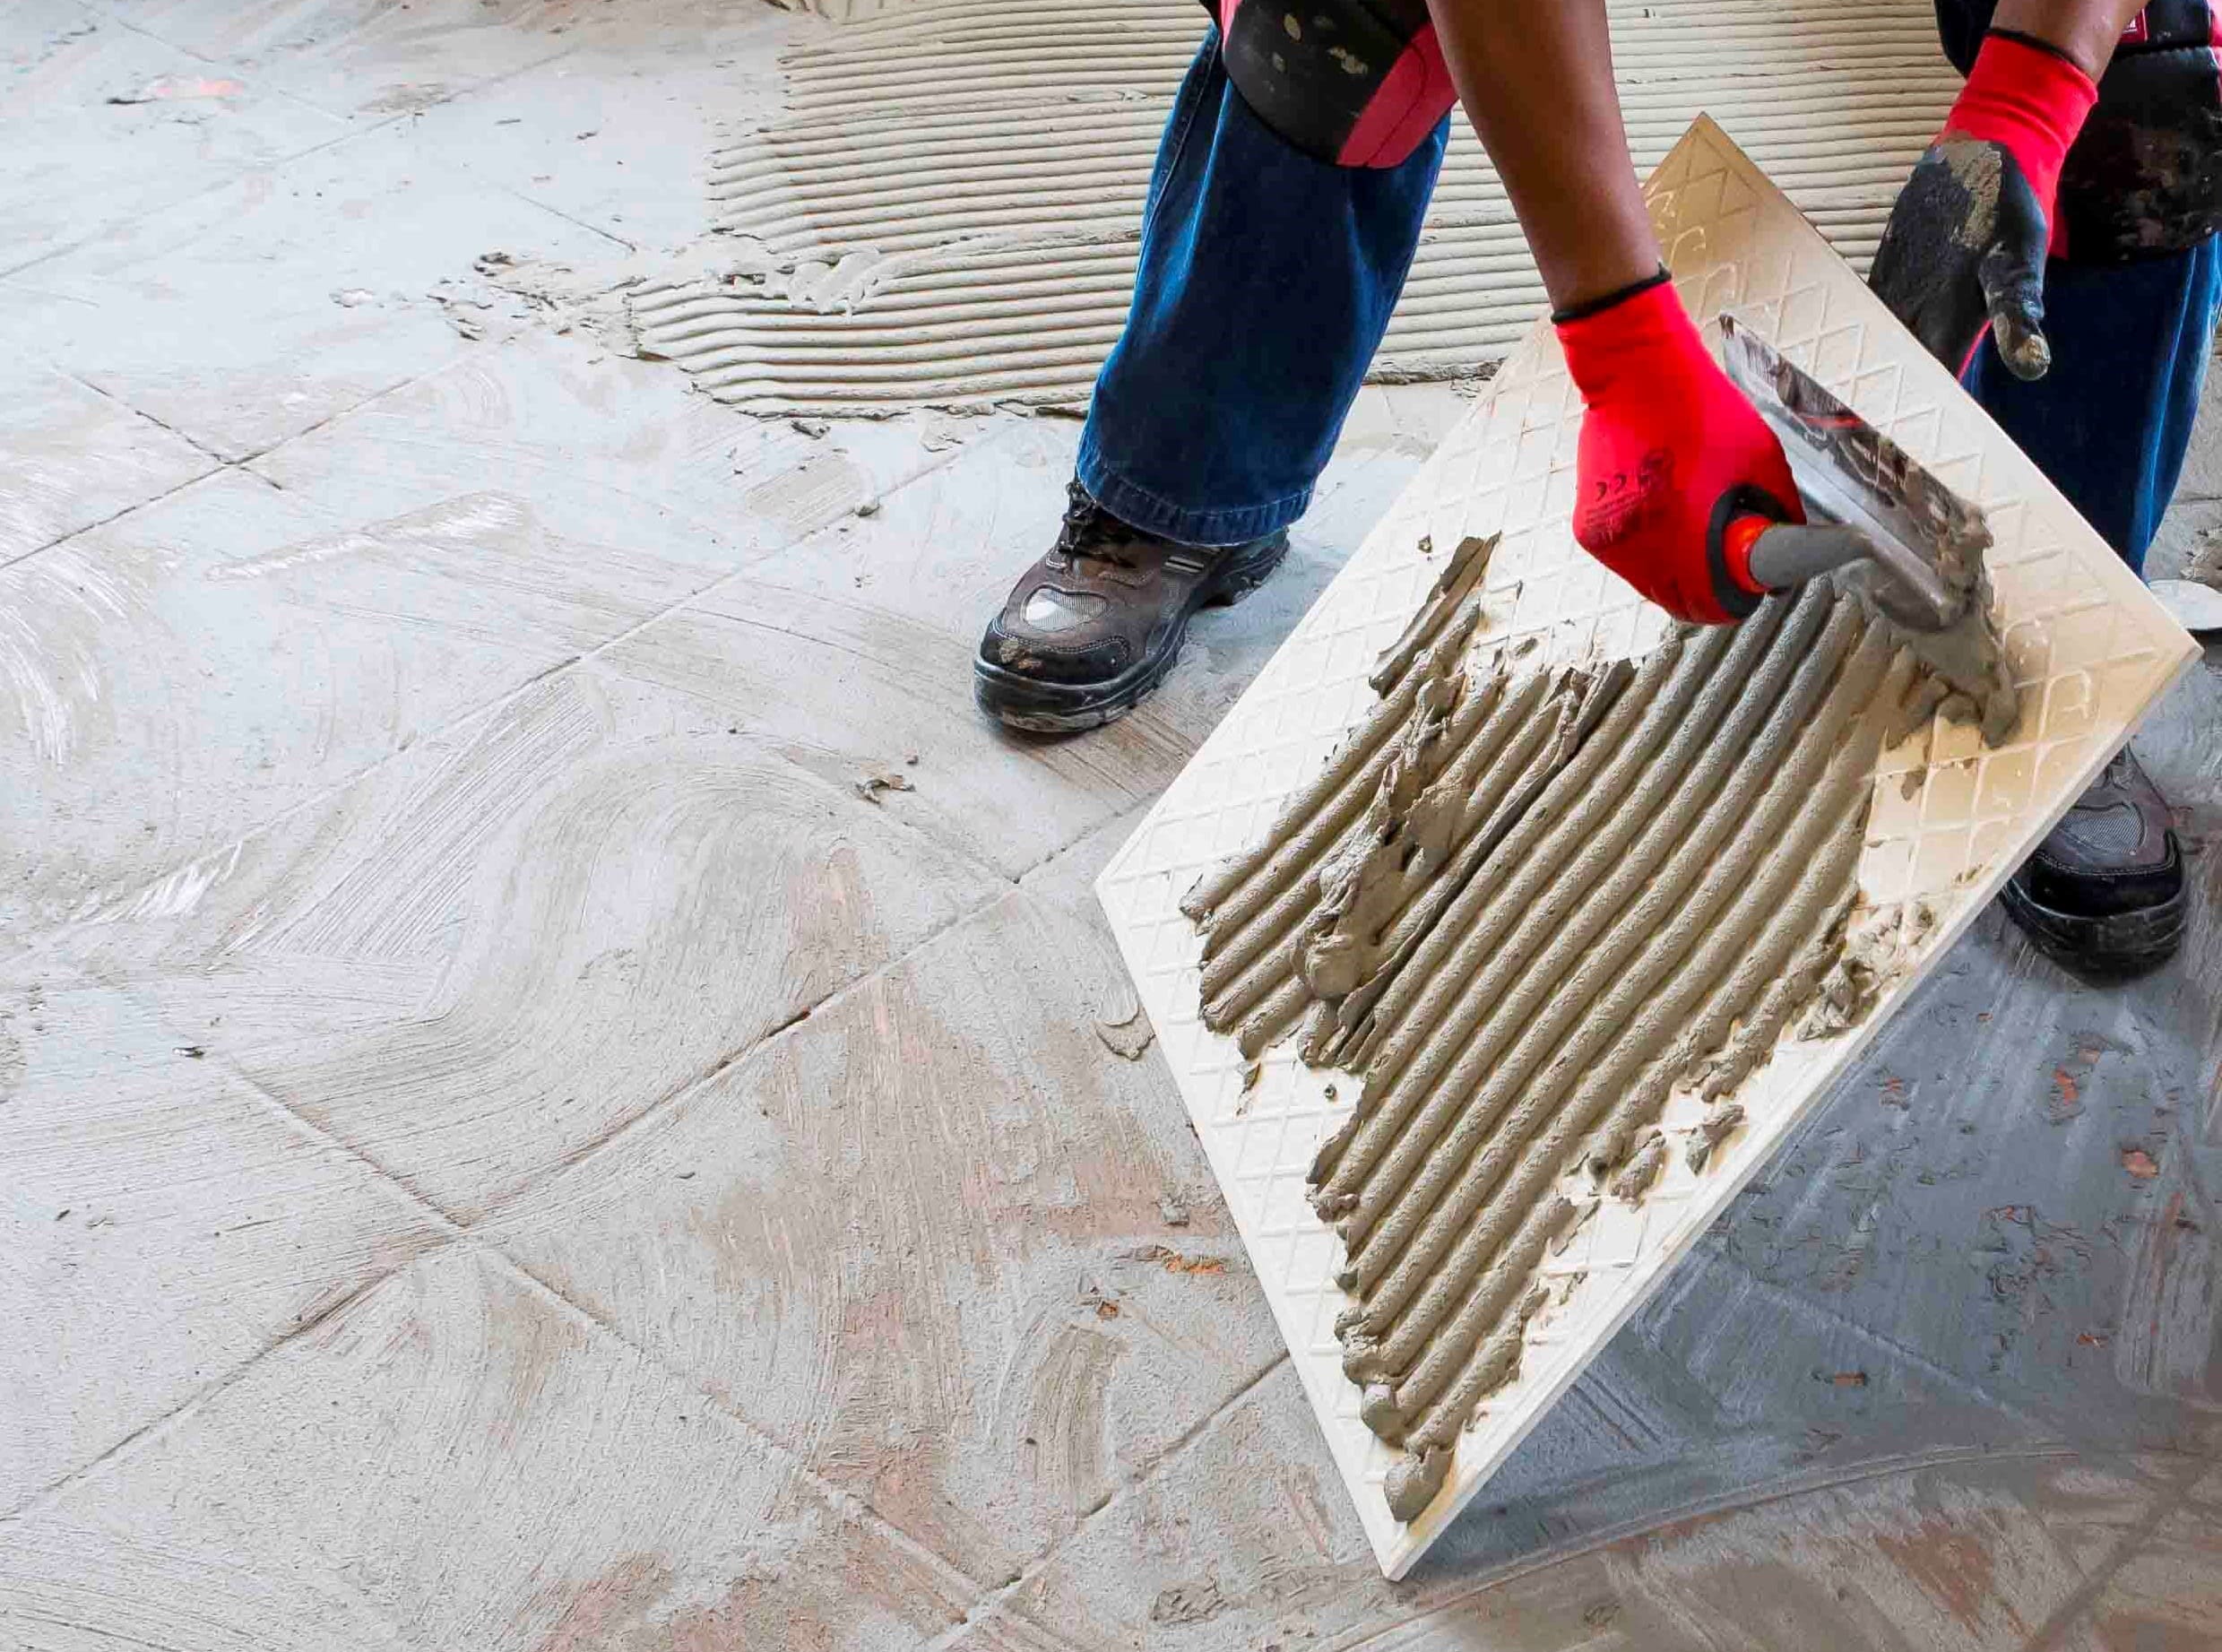
When replacing tiles, it is not always possible to apply the TALFIX directly to the floor, in which case apply the adhesive in a solid bed onto the back of the tile, ensuring complete coverage. Gently trace the notched side of a floor trowel through the adhesive to create ‘ridges’.
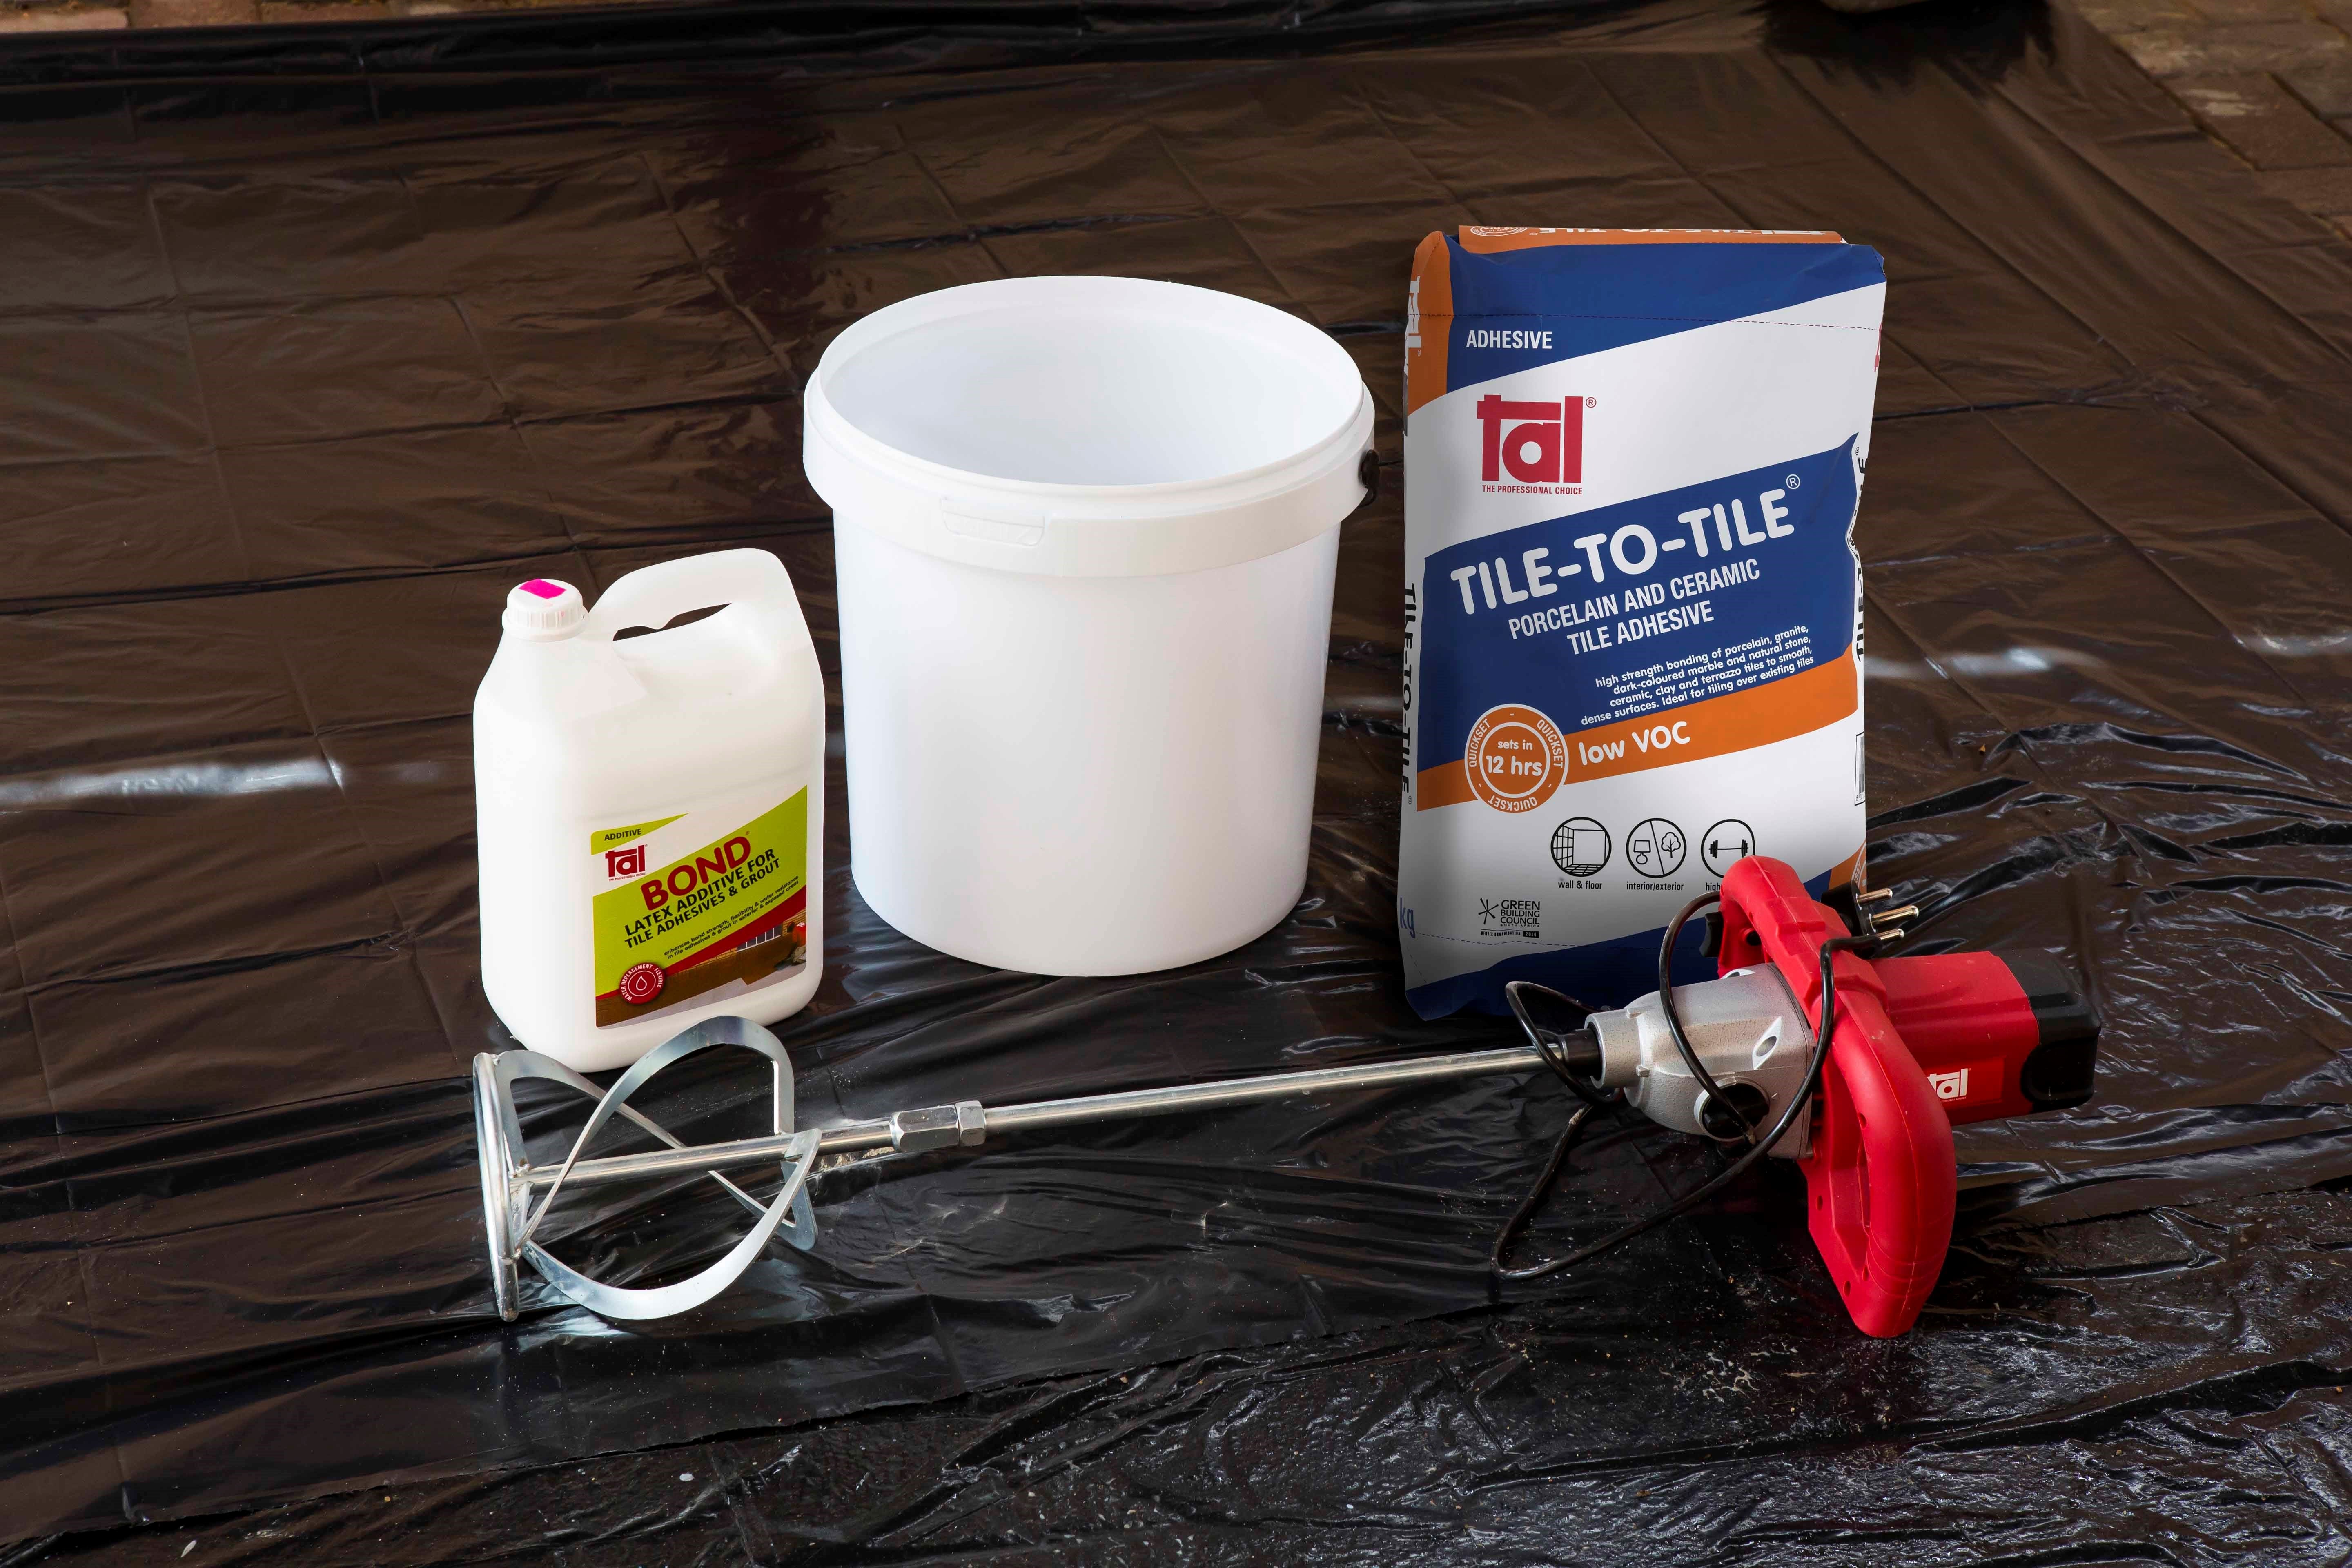
Adhesive system
When tiling onto existing tiles, it is important to only use a quick- or rapid-setting adhesive, as the existing tiles will present a dense, impervious surface, and standard-setting adhesives will take longer to dry. Too early trafficking of newly-installed tiles before the adhesive has set sufficiently can result in hollow-sounding or loose tiles.
Use TAL Tile-To-Tile quick-setting adhesive for tiling onto interior surface beds. When tiling onto suspended slabs and for external installations mix the TAL Tile-To-Tile with TAL Bond, replacing the water in the mix. Alternatively, TAL Bond Powder can be added to the adhesive mixing water.
Ensure that there is a solid bed of adhesive at least 6 mm thick beneath each tile.
Back buttering with a thin coat of adhesive may also be required when using large-format tiles to ensure full contact with the adhesive bed.
Grouting
Grouting should not be carried out until the adhesive has set sufficiently to prevent the tile installation from being disturbed during the grouting operation (always refer to the adhesive packaging for setting times). When using TAL TAL Tile-To-Tile, allow a minimum of six hours before grouting.
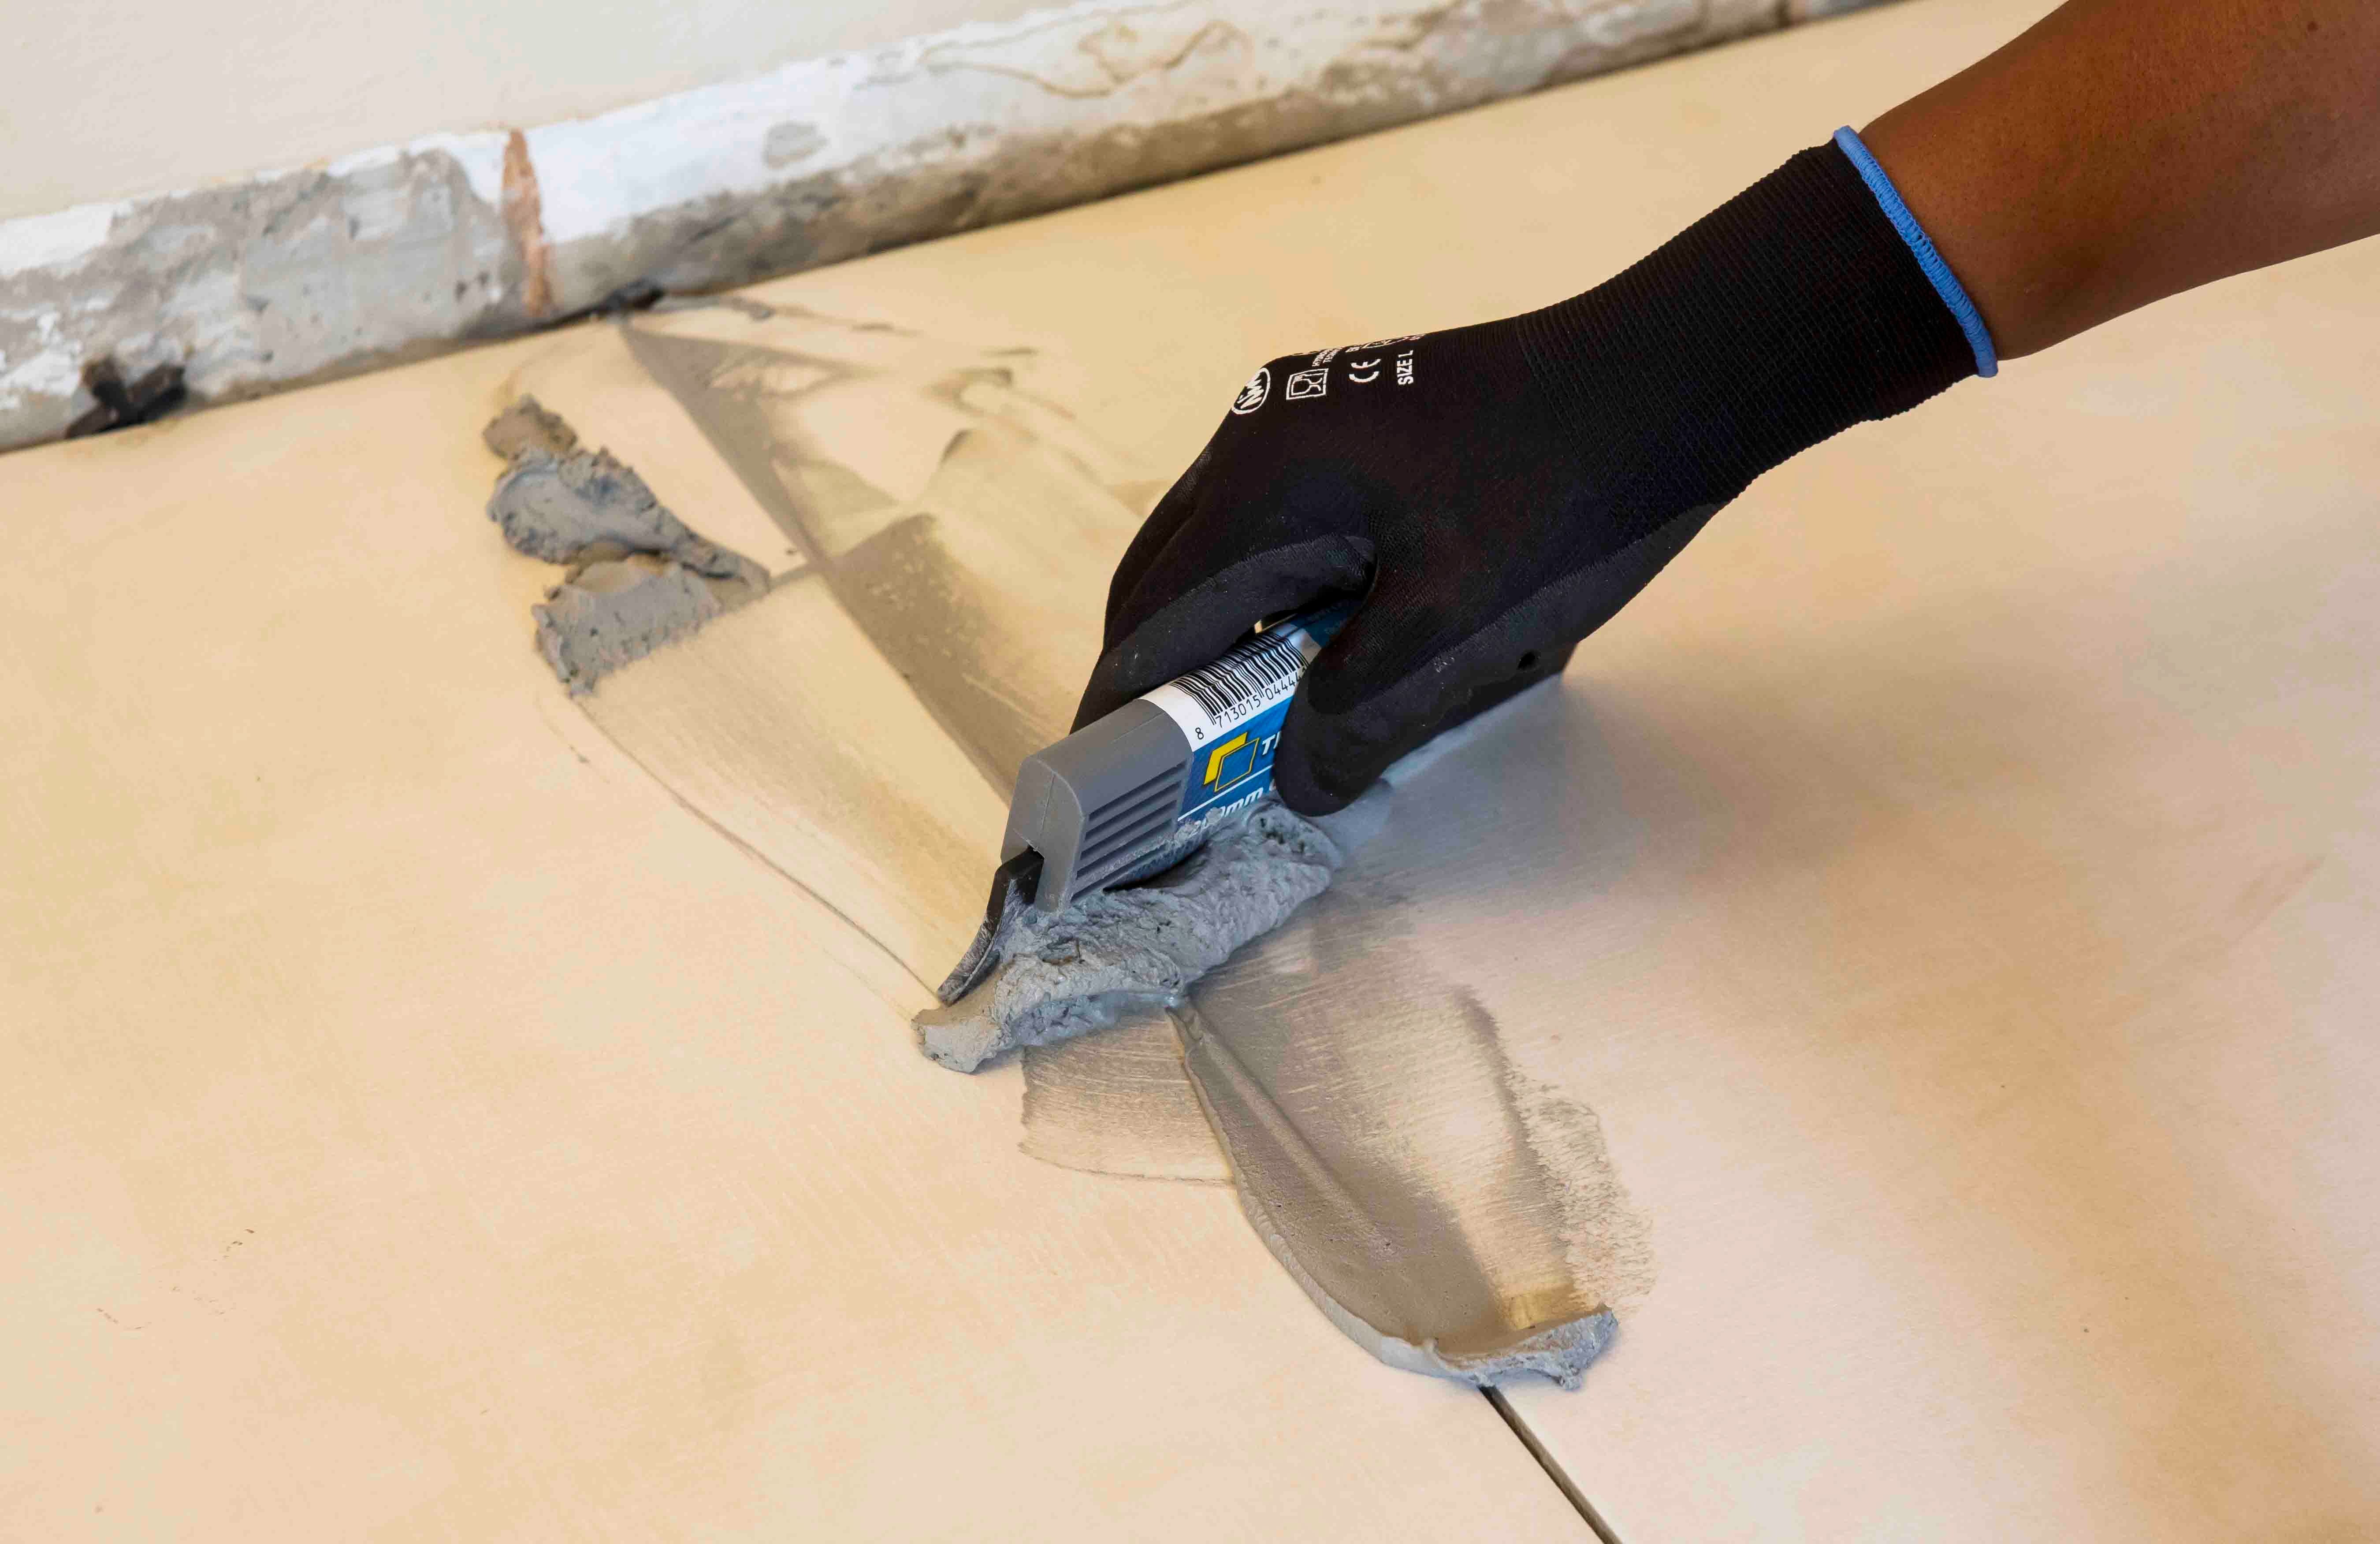
For interior surface beds, use TAL Wall & Floor Grout for filling tile joints up to 8 mm wide. TAL Quarry Grout can be used in wider joints up to 25 mm wide. On suspended slabs and for external installations, replace the water in the grout mix with TAL Bond, or add TAL Bond Powder to the grout mixing water.
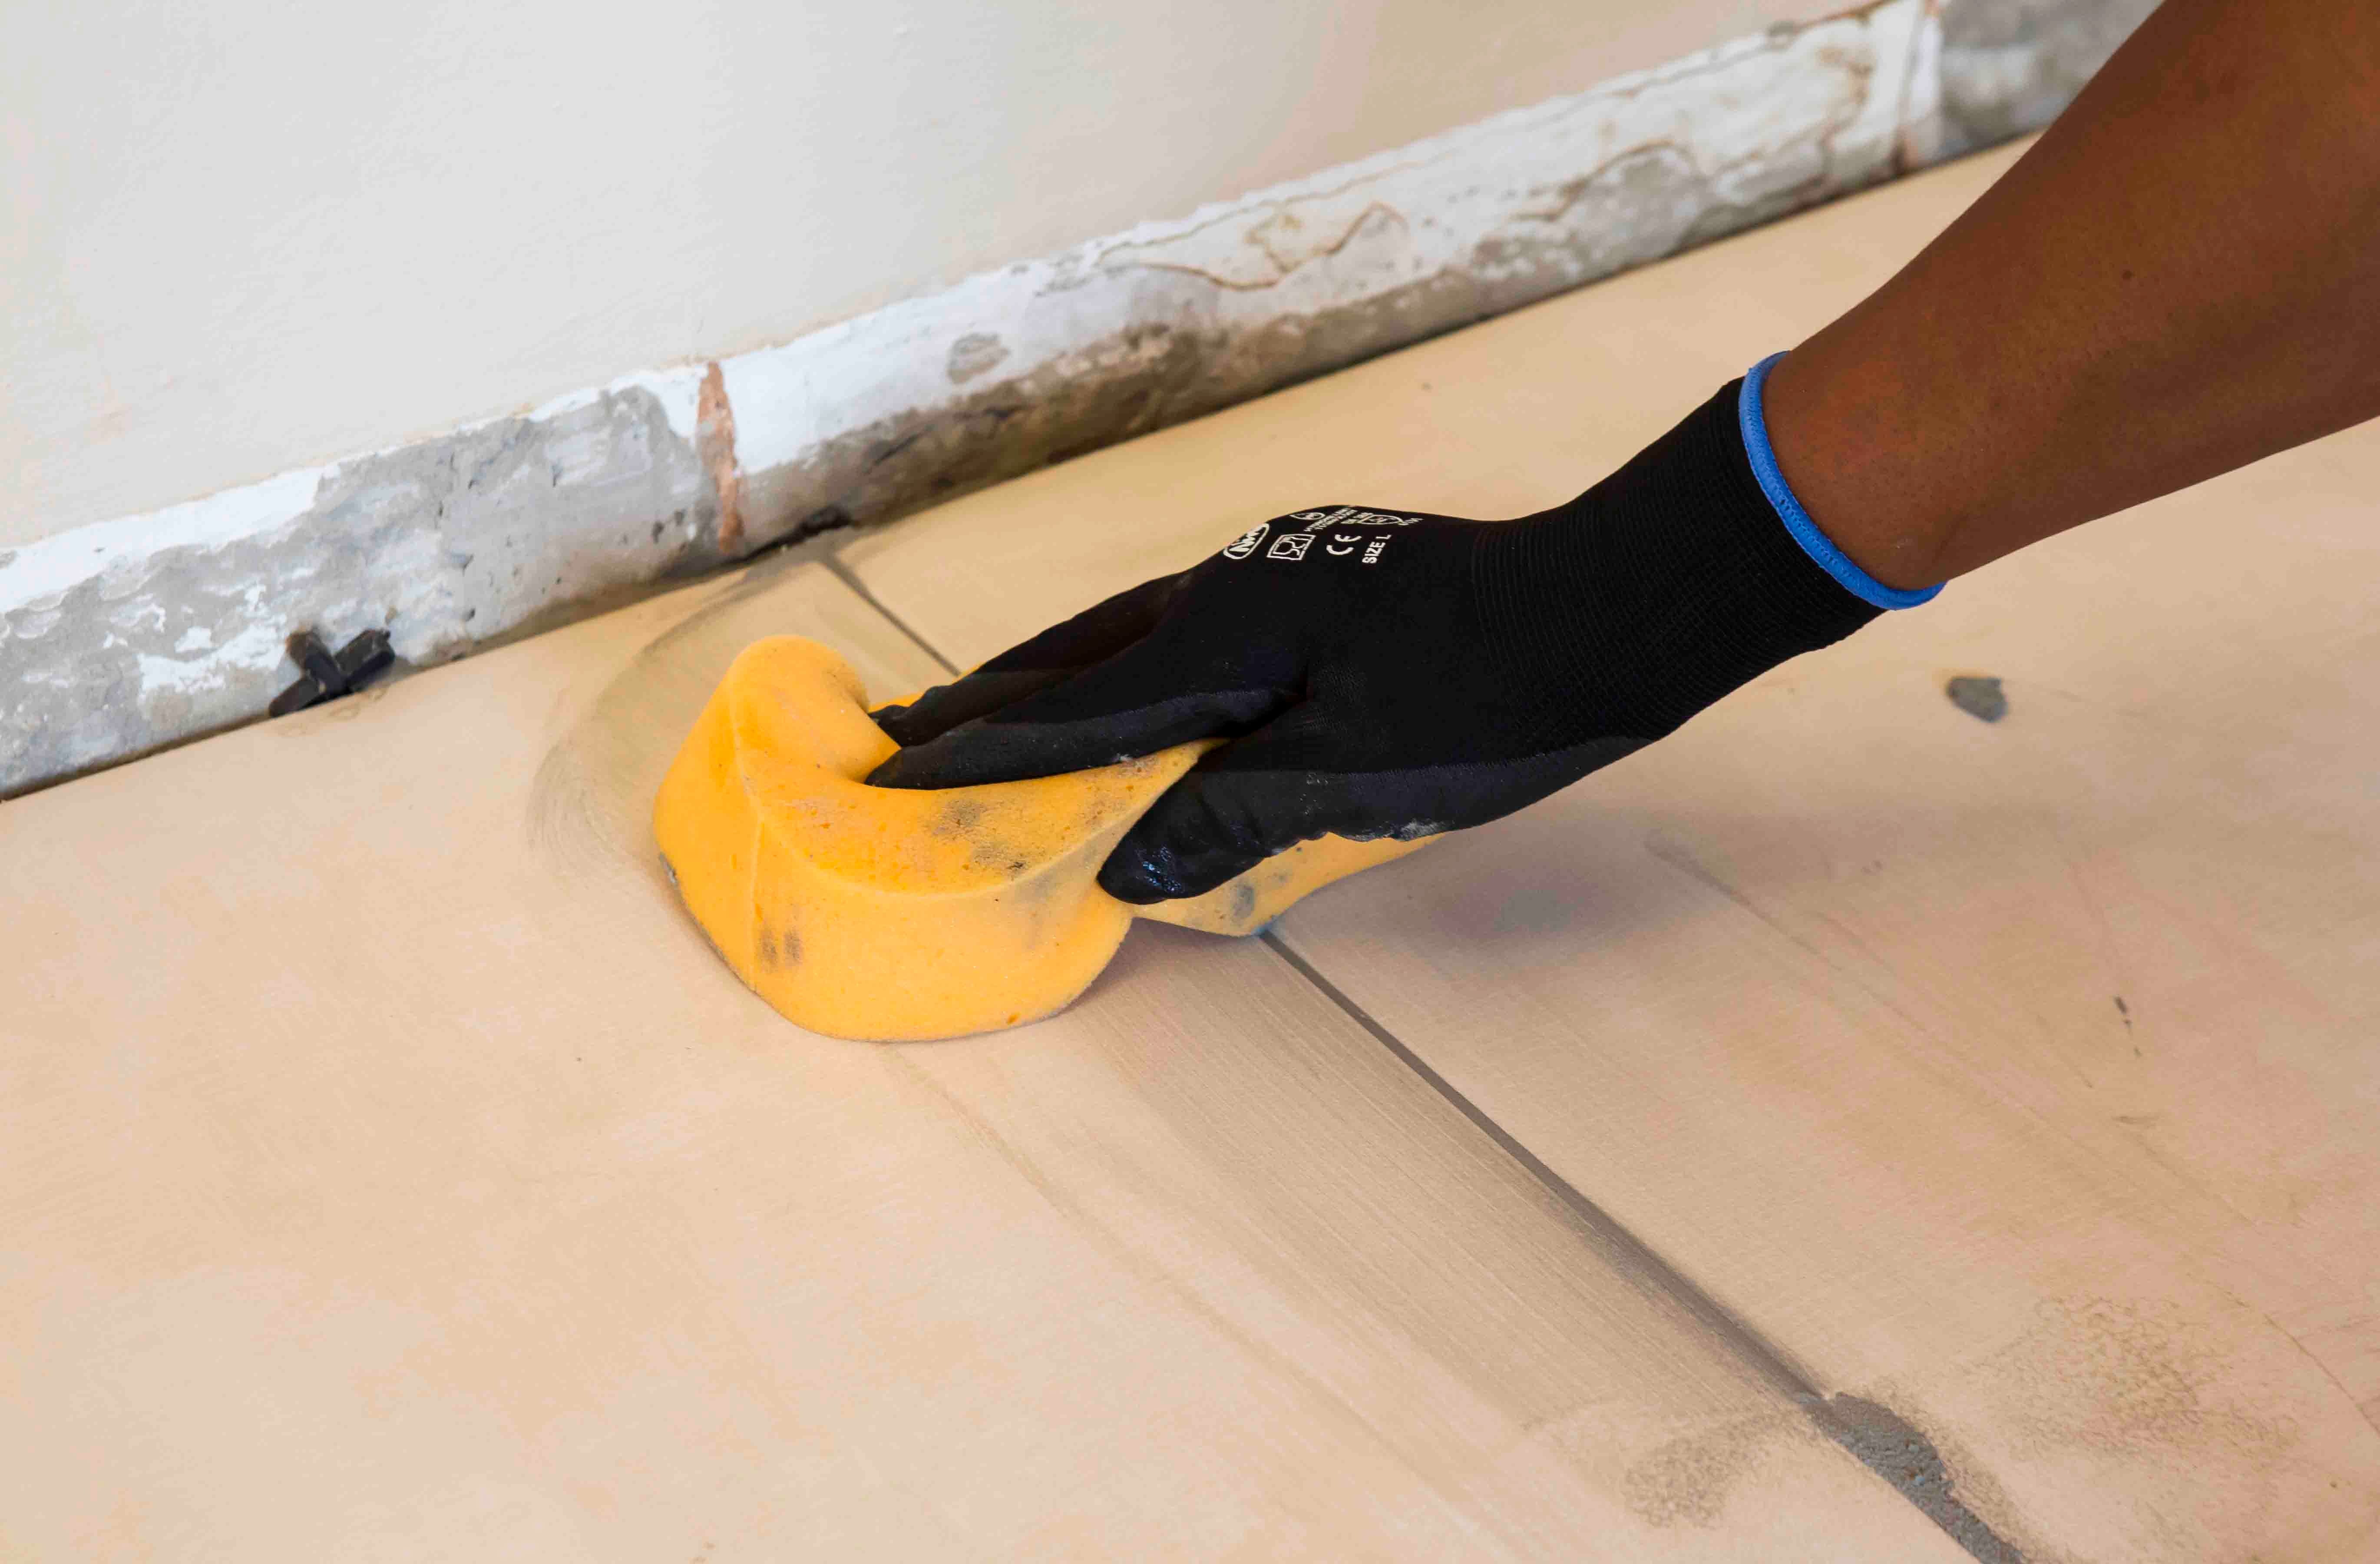
Particular care must be taken to clean the grout off the tile face before it hardens completely. This is especially important when an additive such as TAL Bond or TAL Bond Powder has been used. A tile sample should be tested beforehand to ensure that no grout is absorbed through the glaze or into the tile body, thereby staining the tiles permanently.
Movement joints
The lack of movement joints in tile installations is a major cause of tile failure. When tiling over existing tiles, the existing structural and movement joints must be maintained in the new tile installation. The movement joints should be at least 5 mm wide and extend through the adhesive and both tile layers.