Essential tools for a professional tiling job
A subway tile is a popular style of glazed ceramic tile originally used on the walls of the New York City subway stations in the early 20th century. First seen in 1904, the gleaming white, 75mm x 150mm tiles covered the walls of new subway platforms and were often accented with colourful tile mosaics forming the names of the subway stations, or prominent buildings in the area.

The design aesthetic of the subway tile quickly became fashionable in pre-war bathrooms and kitchens around the United States. State-owned institutional buildings such as prisons and hospitals soon caught on too, and not because of the tile’s aesthetic, but because it was easy to clean, stain resistant and light-reflective (the pale colour and high gloss was a way of bringing light into the dark recesses of the subterranean subway).
Around the same time, from 1904 to 1914, the now-famous bevelled white tiles were also chosen for their effective reflection of ambient light in the Paris underground, leading to the name 'metro' tile, which we use in South Africa today. In the Parisian underground, the white metro tile was complemented by arches of coloured tile over the vault and garland-like swags on the walls. This complementary tiling was colour-coordinated: brown for normal stations and green for terminal and transfer station.
METRO TILES IN 2021
More than a century later, ceramic metro tiles are a firm favourite for homeowners, designers and craftsmen alike. Available in just about every colour, texture and finish imaginable, metro tiles are excellent for creating a current, contemporary look that still feels timeless.
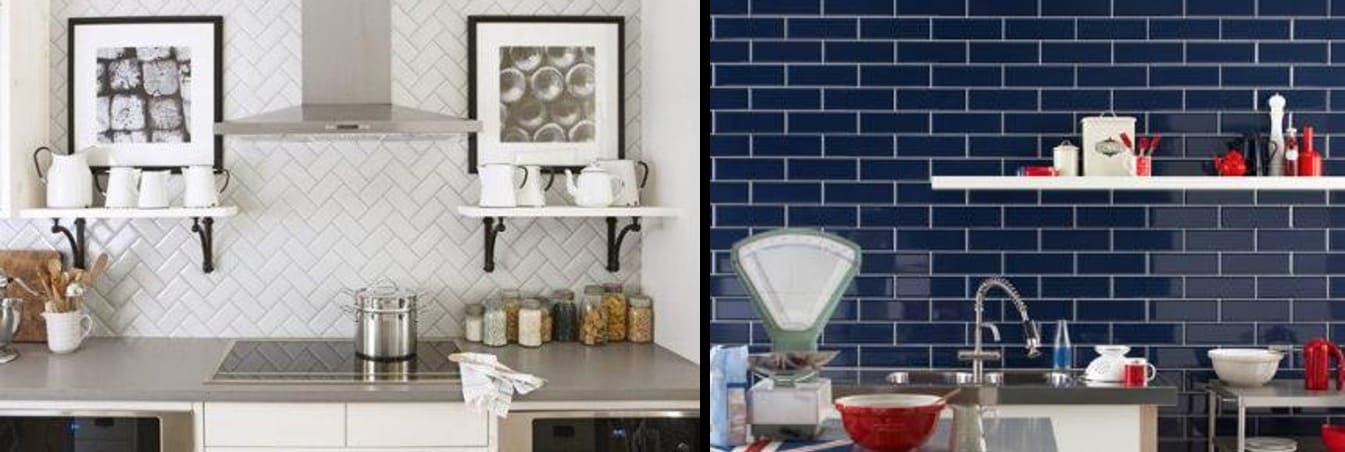
Metro tiles are being used in everything from splashback designs, bathroom renovations to counter tops and much more. Visually, the shape of the metro tile draws the eye upward, which makes the space seem wider and the ceilings appear higher. This is especially true for the larger-sized metro tiles. Many homeowners are choosing to install metro tiles vertically, as well as in a herringbone pattern. This trend is especially being utilised in bathrooms and kitchens.
TIPS ON SELECTING THE RIGHT METRO TILE FOR YOUR HOME
Tip 1: Choose your space
Metro tiles are a good choice of tile for just about any space in your home owing to its small size. From bathrooms to kitchen splashbacks, the metro tiles is your ideal choice owing to its versatile small size. Metro tiles are generally not recommended for flooring applications.
Tip 2: Consider different sizes and colours
The most popular sizes of metro tiles are 75mm x 150mm, 100mm x 200mm, 100mm x 300mm, 100mm x 400mm and 100mm x 600mm. Whilst traditional colours include classic white or black, modern metro tiles are available in a variety of trend-forward colours.
Tip 3: Create some contrast
A standard-edge or bevelled-edge metro tile can be used with either matching or contrasting grout to create the look you want with this tile design. A dark grout, for example, will accentuate the running brick pattern for an industrial-style look, or use a lighter colour grout for a homogenous effect. You can also try alternating these tiles or developing a pattern using a number of different colour tiles. Try using a contrasting tile every five to ten tiles.
Tip 4: Installing metro tiles in your home
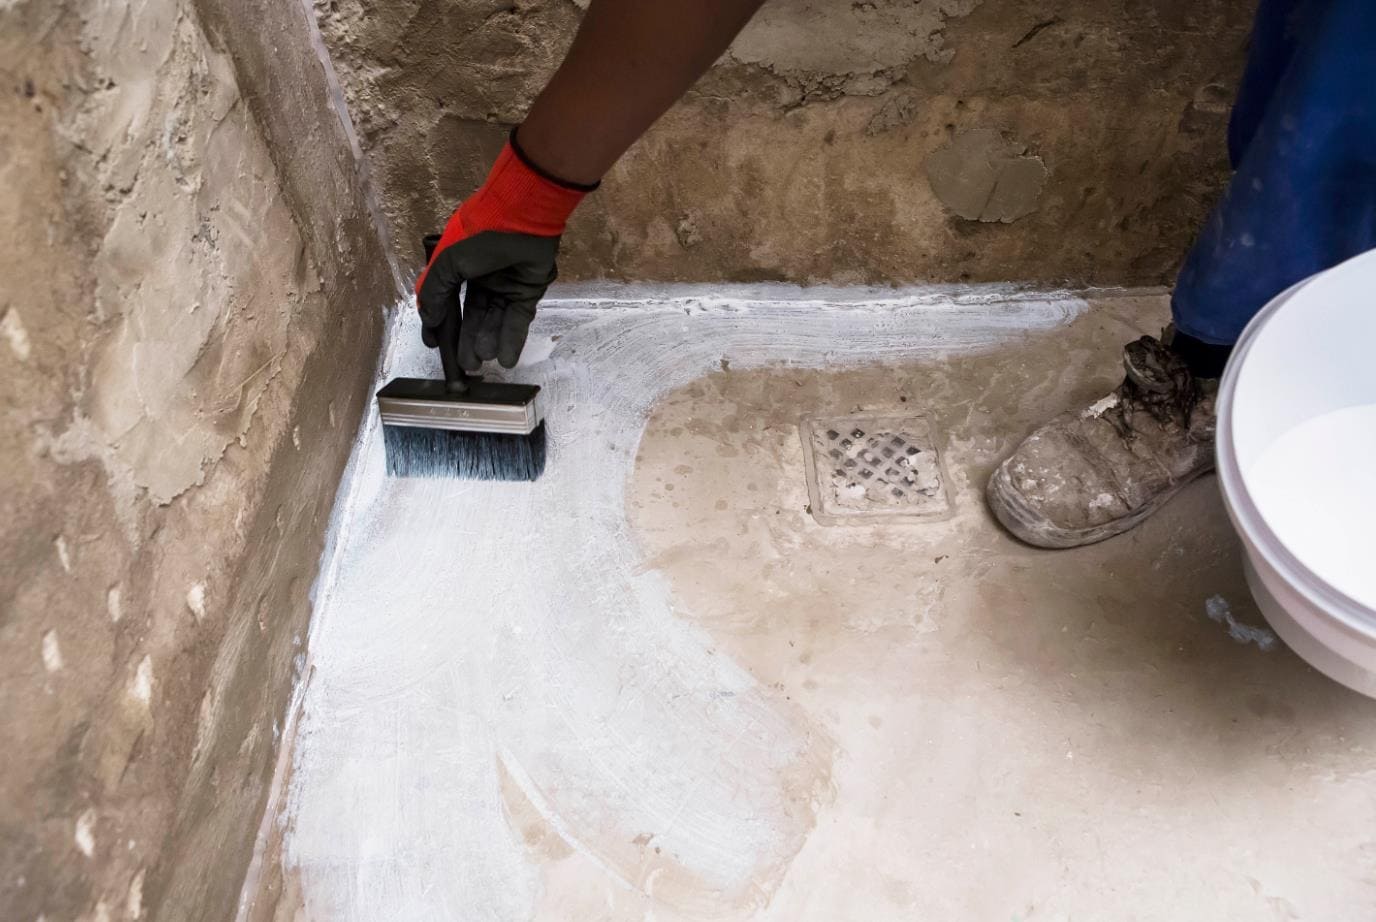
Installing metro tiles with a multi-level installation system ensures a long-lasting result. Each level builds on the previous, to accommodate the requirements of where the tiles are being installed. From surface preparation and priming of the wall, to waterproofing in applications where the metro tiles will be exposed to water, and the correct choice of tile adhesive and grout. We recommend TAL Mosaicfix when installing metro tiles, in either Super White or Light Grey.
Some light-coloured tiles are susceptible to glaze discolouration due to moisture pull-through, where the grey adhesive shows through the light-coloured body of the tile, and is often viewed as 'staining'. If you have chosen a white, or light coloured metro tile, the Super White variant of TAL Mosaicfix will ensure that the tile colour is unaffected.
Considering a metro tile installation? Give us a call or send us an email and we'll give the right advice, no matter how big or small your tile installation: 0860 000 TAL (825) or [email protected] za.
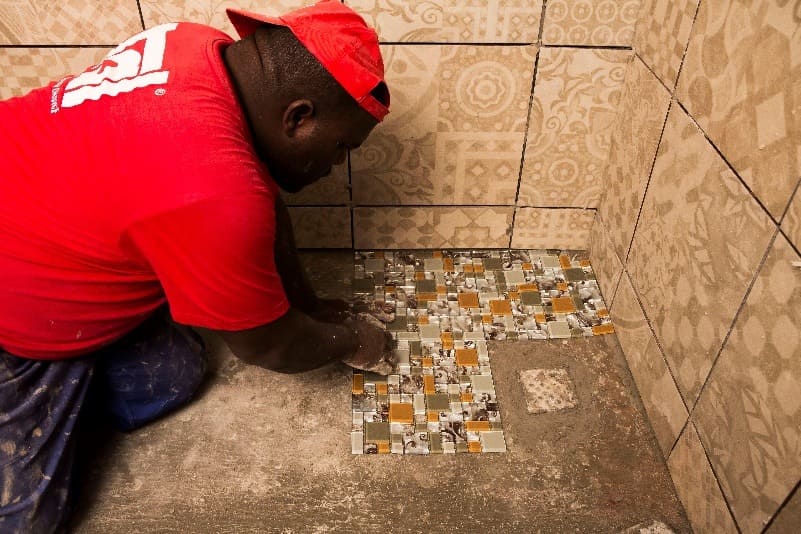

Step 2. In the meantime, plan the layout of the mosaic sheets and cut them to fit around the waste.
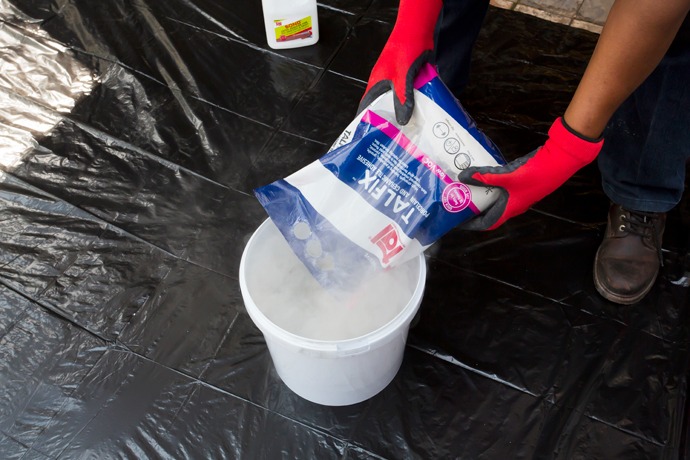
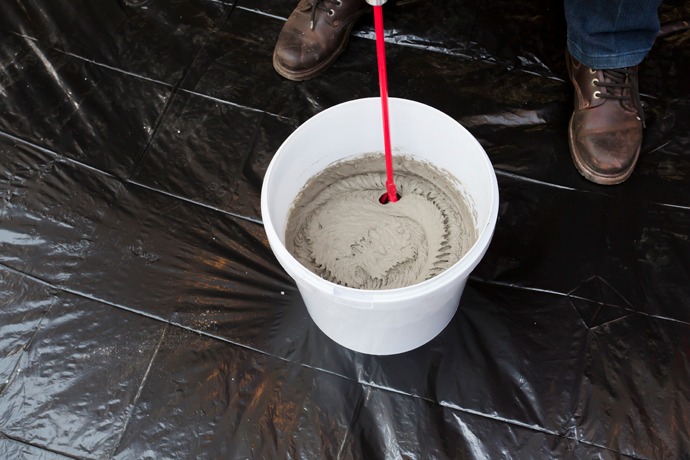
Tip: For enhanced flexibility and water resistance, it is recommended that the adhesive water mix be replaced with TAL BOND. This is important in installation areas that will be exposed to water, heat and humidity. Add TAL MOSAICFIX to the liquid and mix well to a creamy, lump-free consistency. Let it stand for three minutes and stir again.

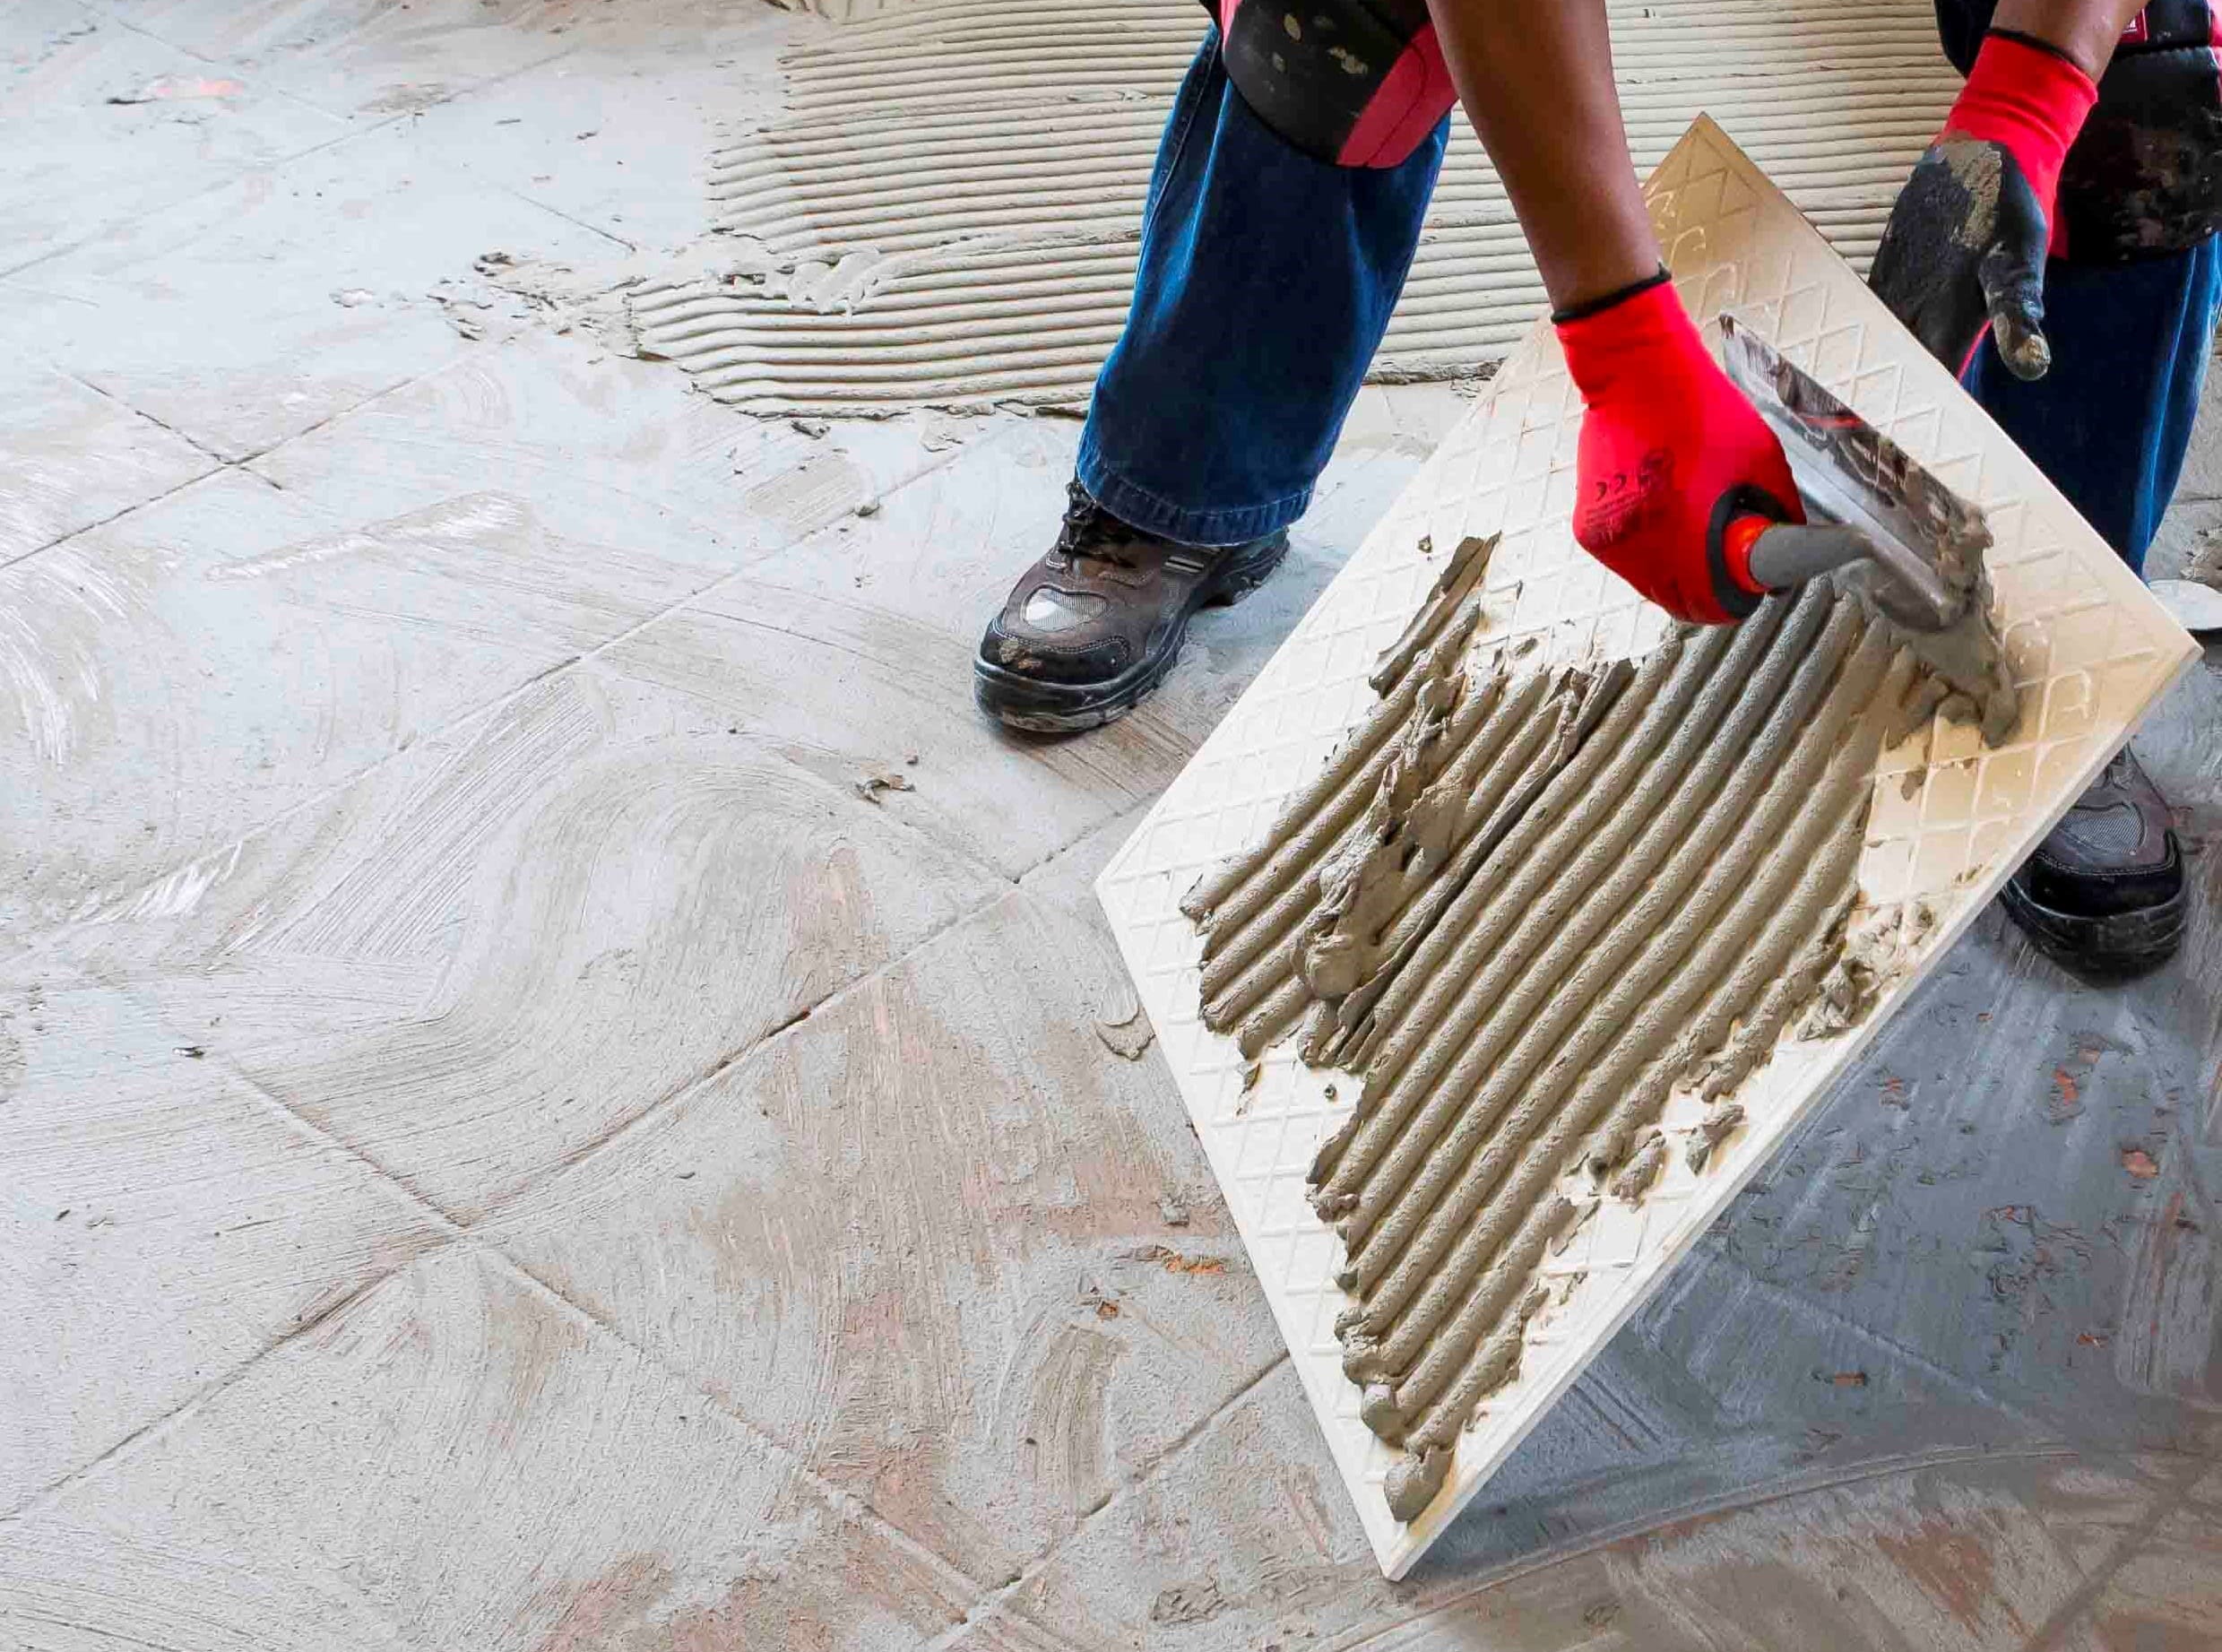
Step 3. Once mixed well, apply the adhesive to the surface in a solid bed of 4 mm to 6 mm, working in small areas of a square metre at a time.
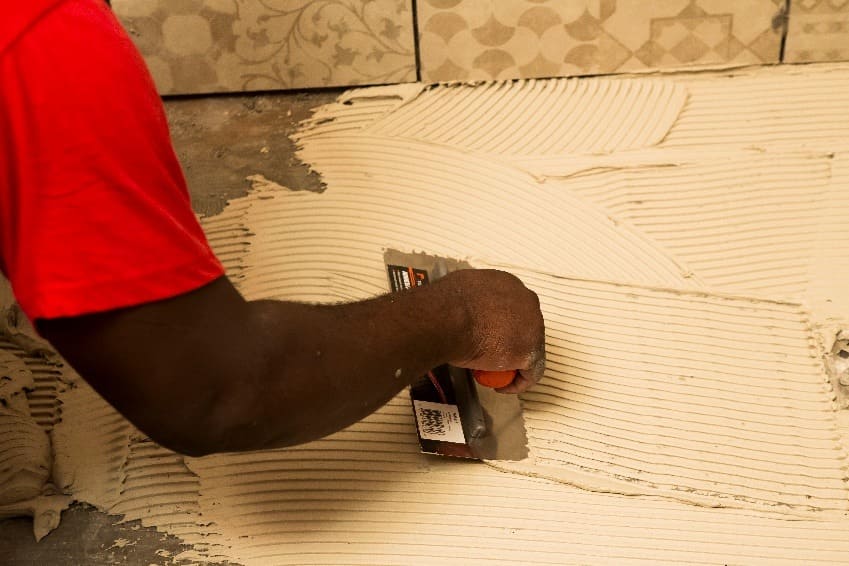
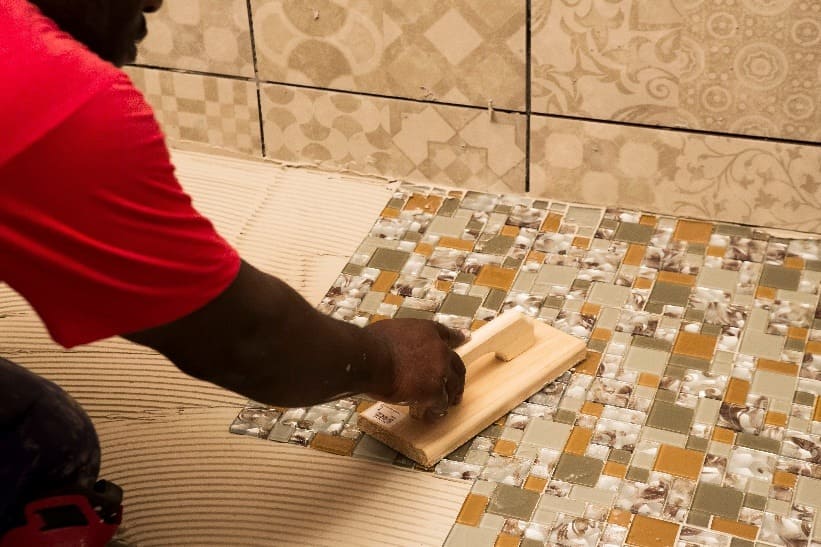
Step 4. Bed the mosaics immediately, pressing them firmly into the adhesive. Use a wooden beating block or rubber grouting float to tap them in and create a level surface. Using tile spacers between the individual mosaic sheets will maintain the joints.
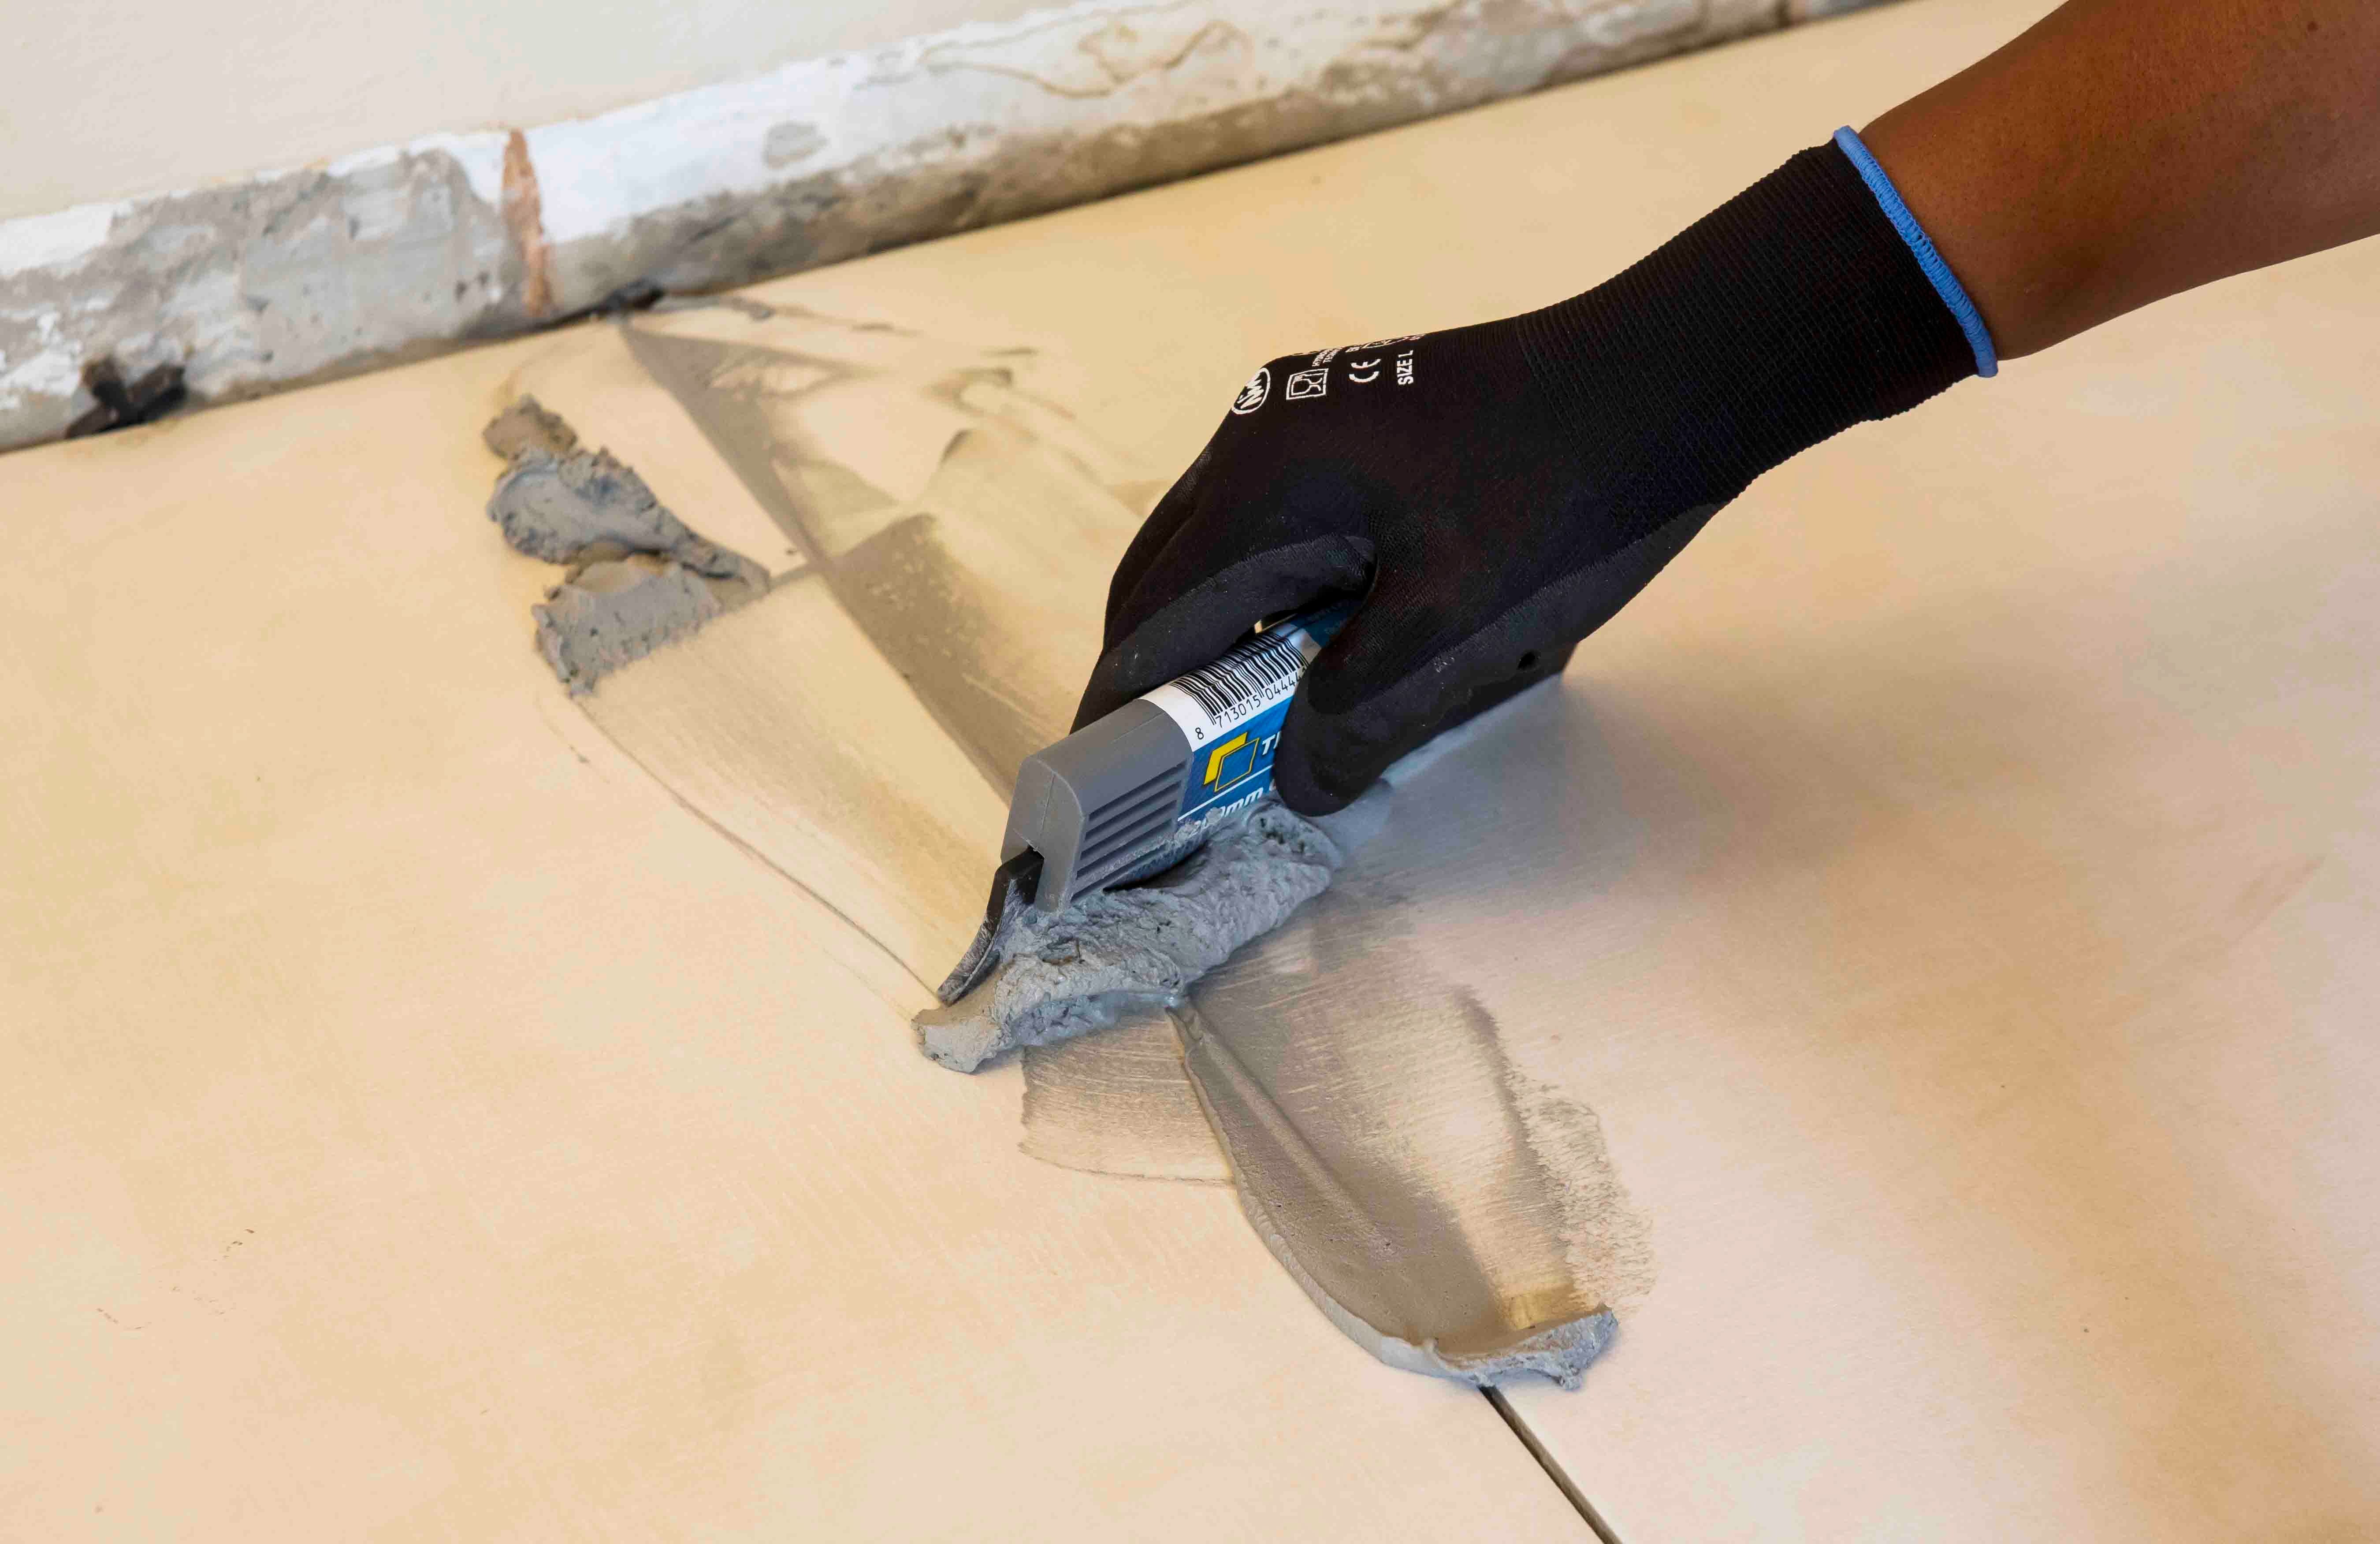
Where necessary, use a grout squeegee to apply additional adhesive to fill in any voids in the grout joints.
Step 5. Allow the adhesive to squeeze through the joints between the mosaics to form the grout and, if necessary, fill in any low areas in the joints with extra adhesive.
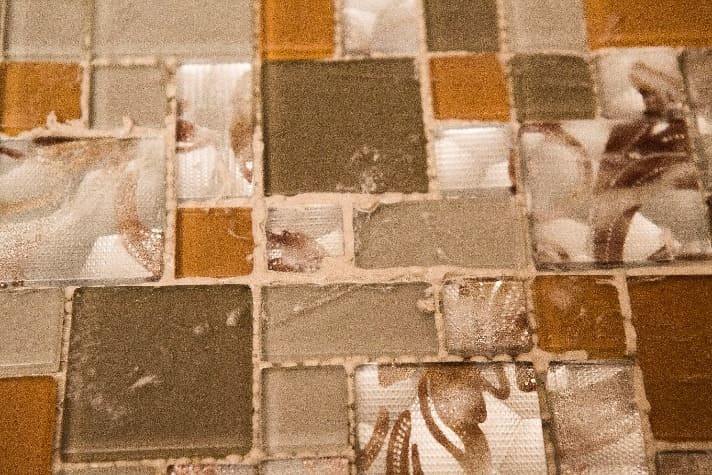
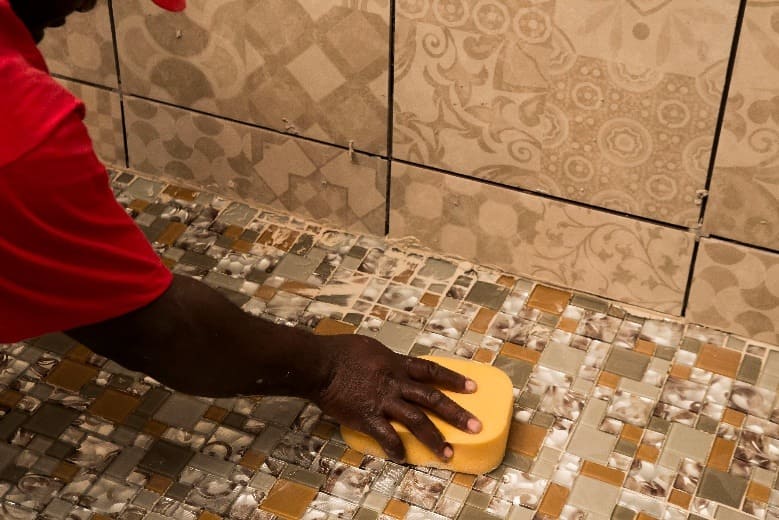
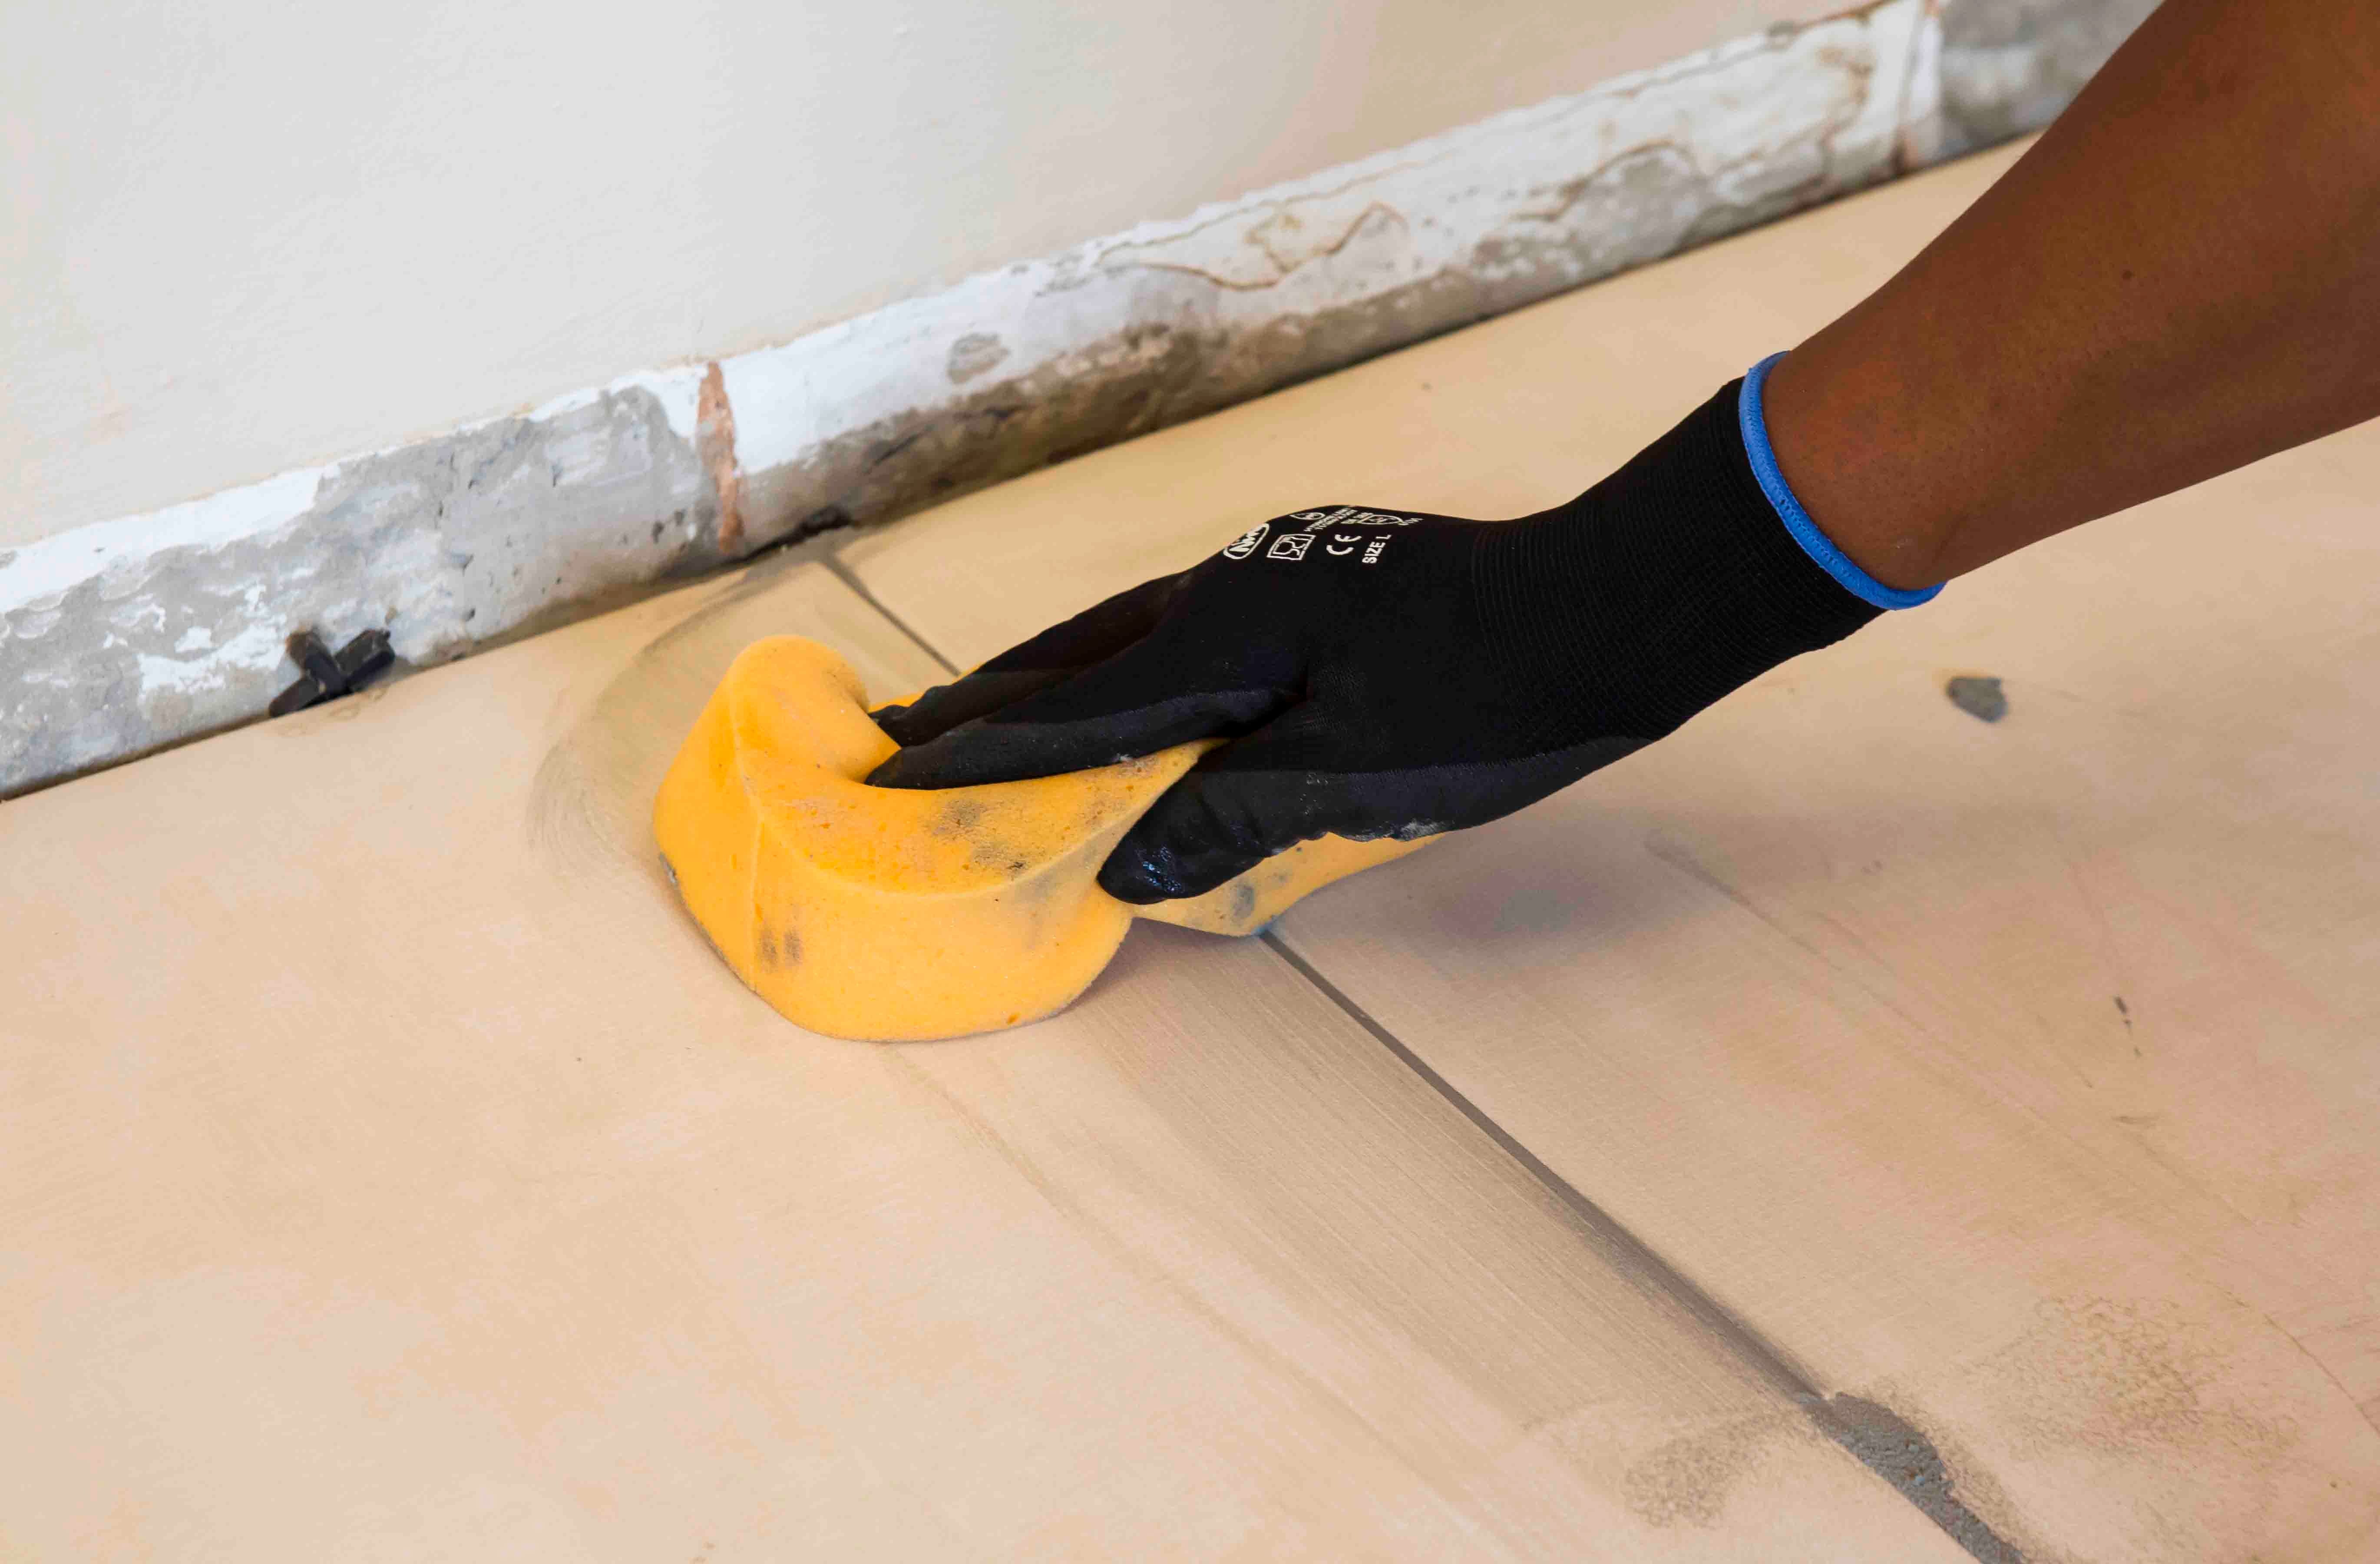
Step 6. Clean the excess adhesive off the face of the mosaics gently with a lightly dampened sponge, and leave to dry for a few hours.Work carefully to ensure that the mosaic installation is not disturbed, and that the glass mosaics are not scratched during application and cleaning. Polish the mosaic tiles with a dry cloth to remove any grout haze.
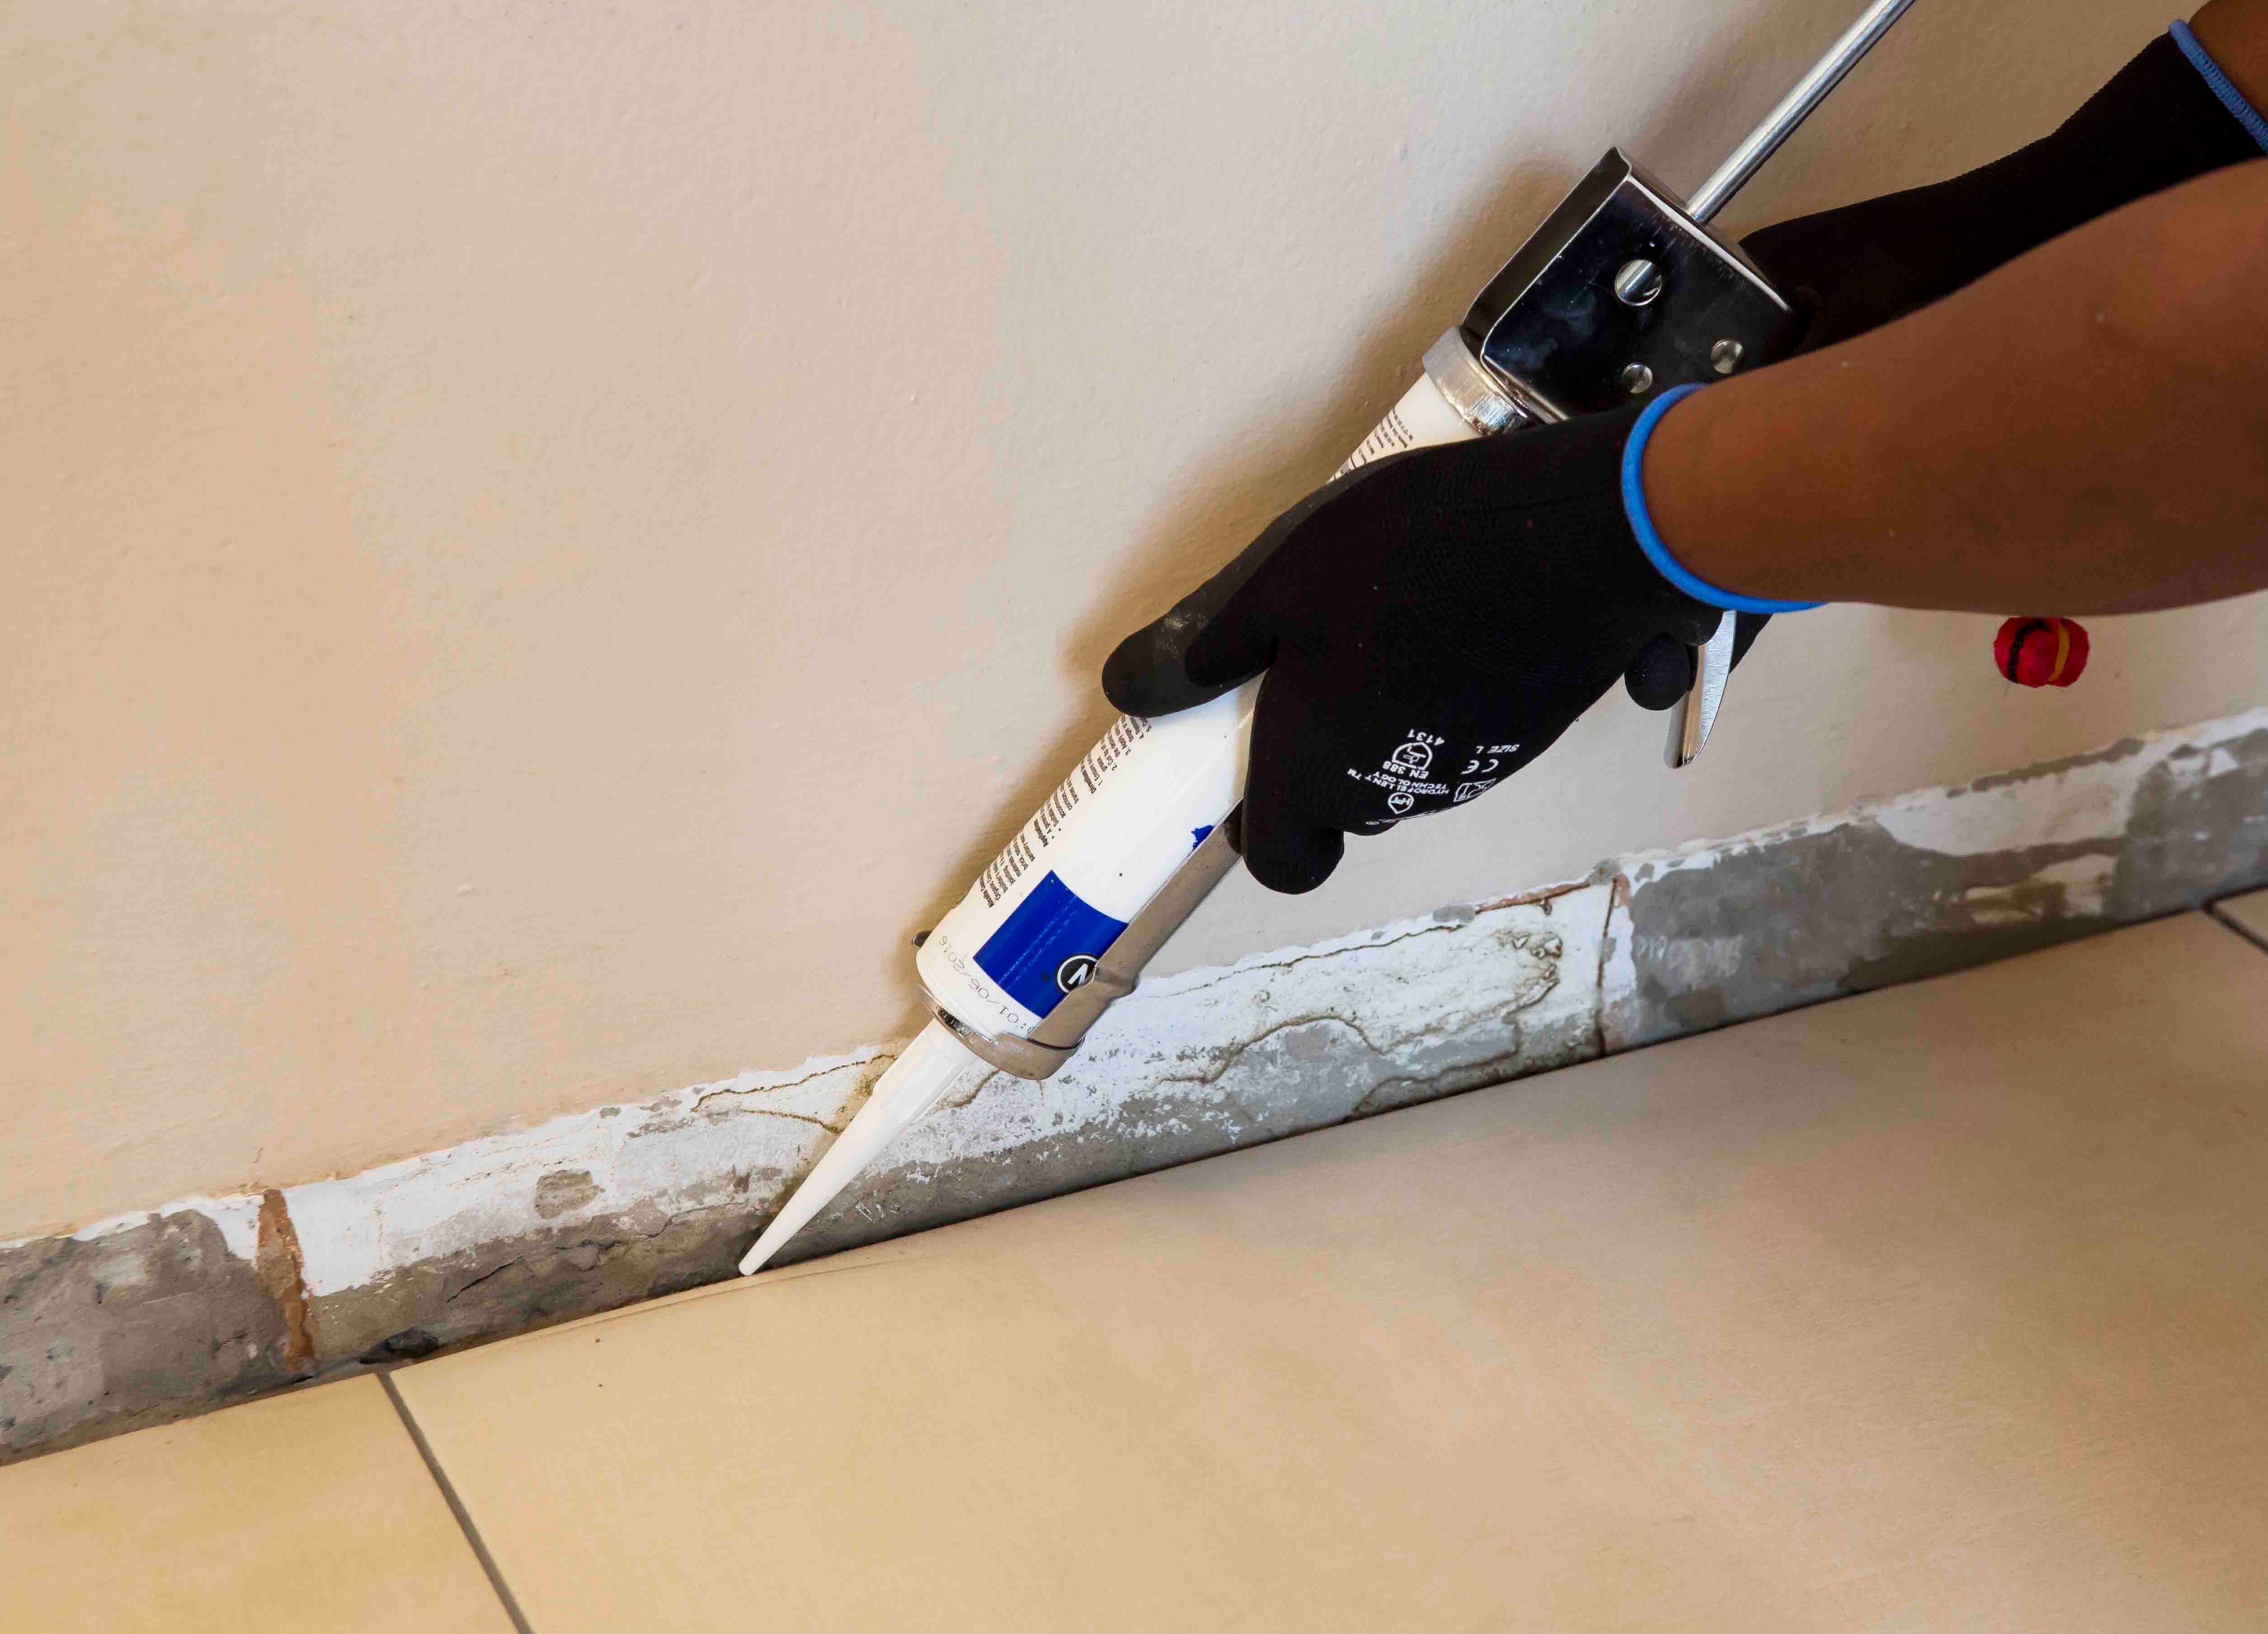
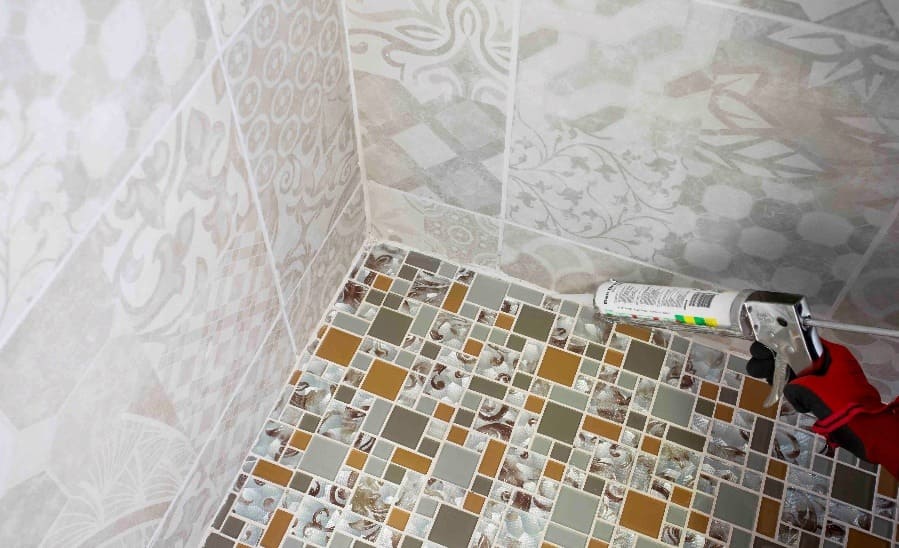
Step 7. Apply a silicone sealant to all the perimeter joints.
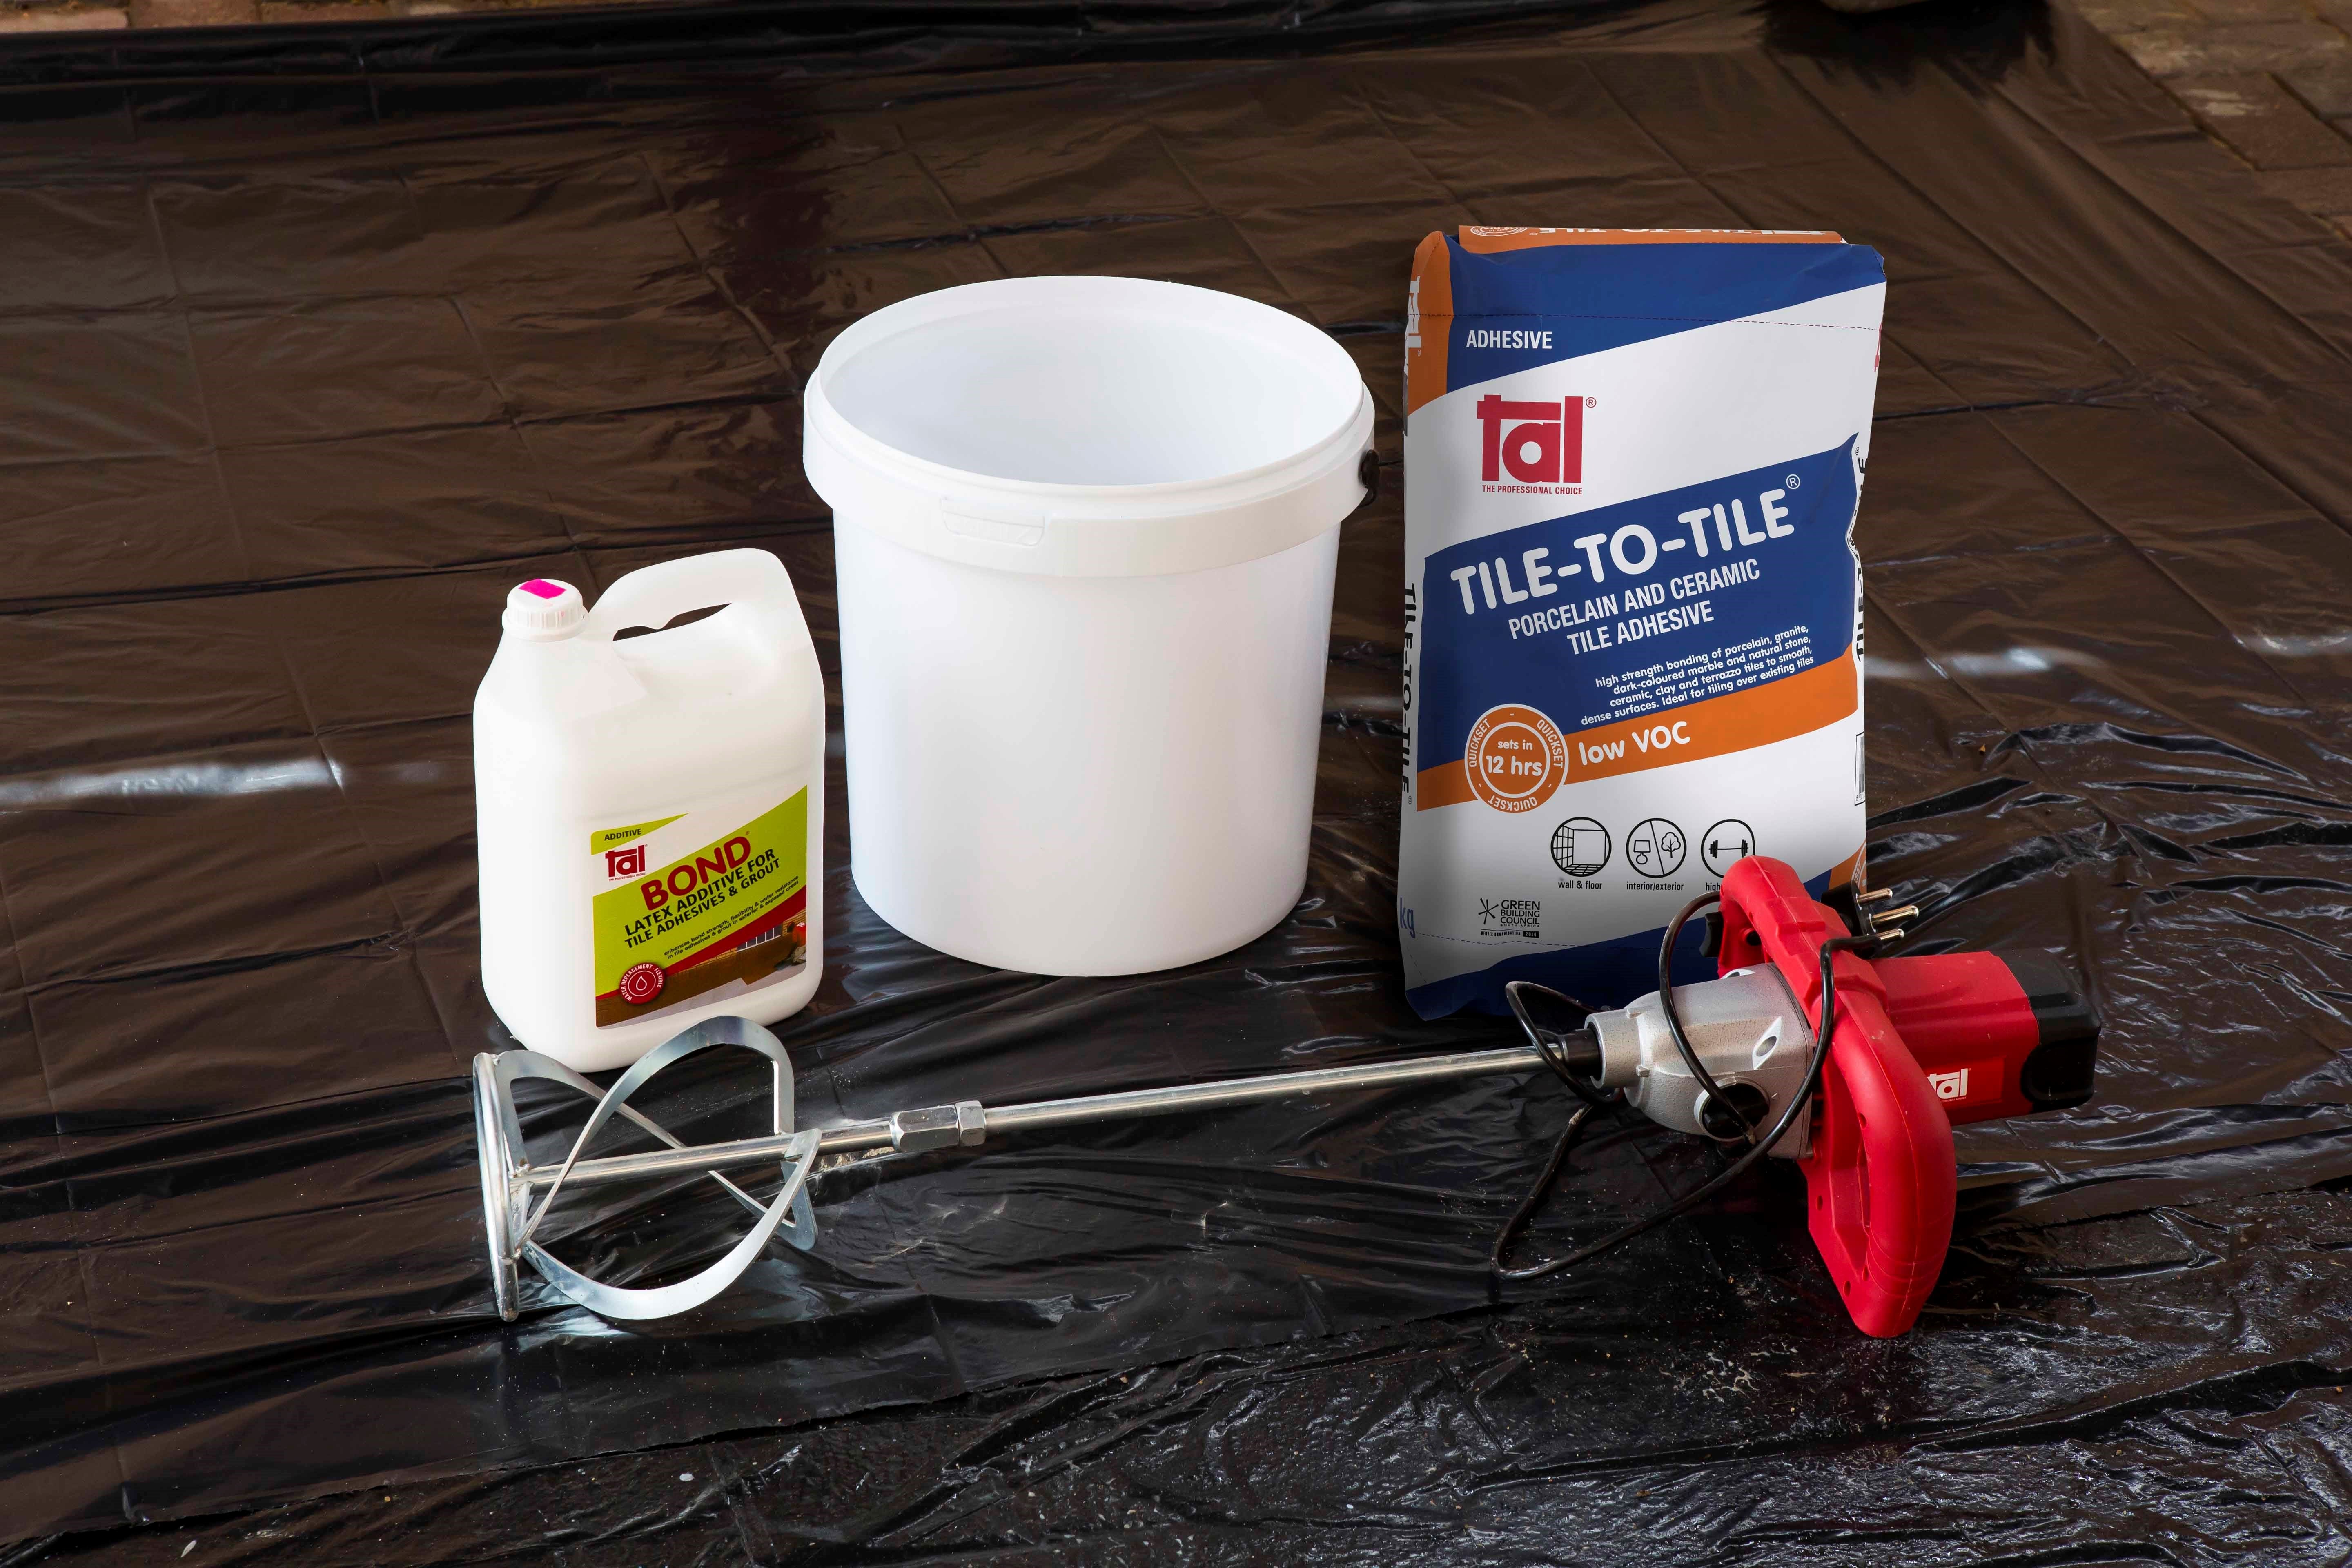
TAL MOSAICFIX is available in 20 kg and 5 kg bags from leading retail outlets.
Designed to be 100% compatible, using the TAL range of products ensures fully guaranteed multi-level tiling systems from a single source. TAL products are manufactured in South Africa to suit local climatic conditions.
If you are in any doubt, contact the TAL Technical Advisory Service on 0860 000 TAL (825), email [email protected]. Alternatively, employ the services of an experienced and skilled mosaic tiling contractor.
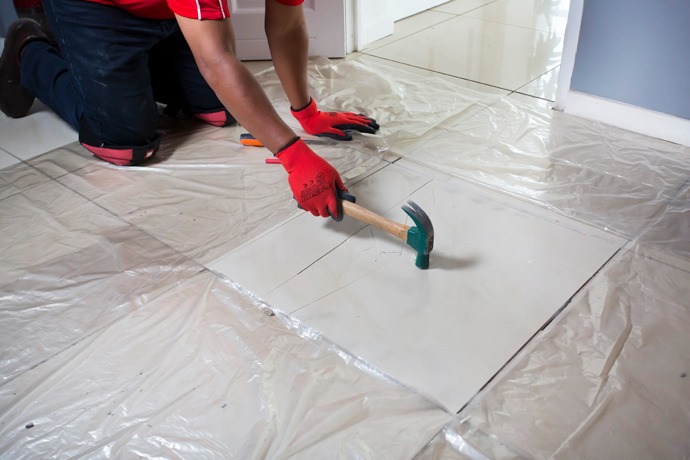
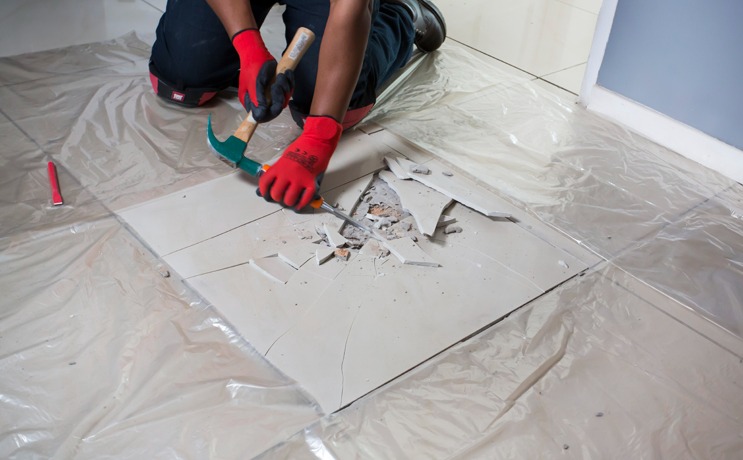
When replacing tiles, it is not always possible to apply the TALFIX directly to the floor, in which case apply the adhesive in a solid bed onto the back of the tile, ensuring complete coverage. Gently trace the notched side of a floor trowel through the adhesive to create ‘ridges’.
Adhesive system
When tiling onto existing tiles, it is important to only use a quick- or rapid-setting adhesive, as the existing tiles will present a dense, impervious surface, and standard-setting adhesives will take longer to dry. Too early trafficking of newly-installed tiles before the adhesive has set sufficiently can result in hollow-sounding or loose tiles.
Use TAL Tile-To-Tile quick-setting adhesive for tiling onto interior surface beds. When tiling onto suspended slabs and for external installations mix the TAL Tile-To-Tile with TAL Bond, replacing the water in the mix. Alternatively, TAL Bond Powder can be added to the adhesive mixing water.
Ensure that there is a solid bed of adhesive at least 6 mm thick beneath each tile.
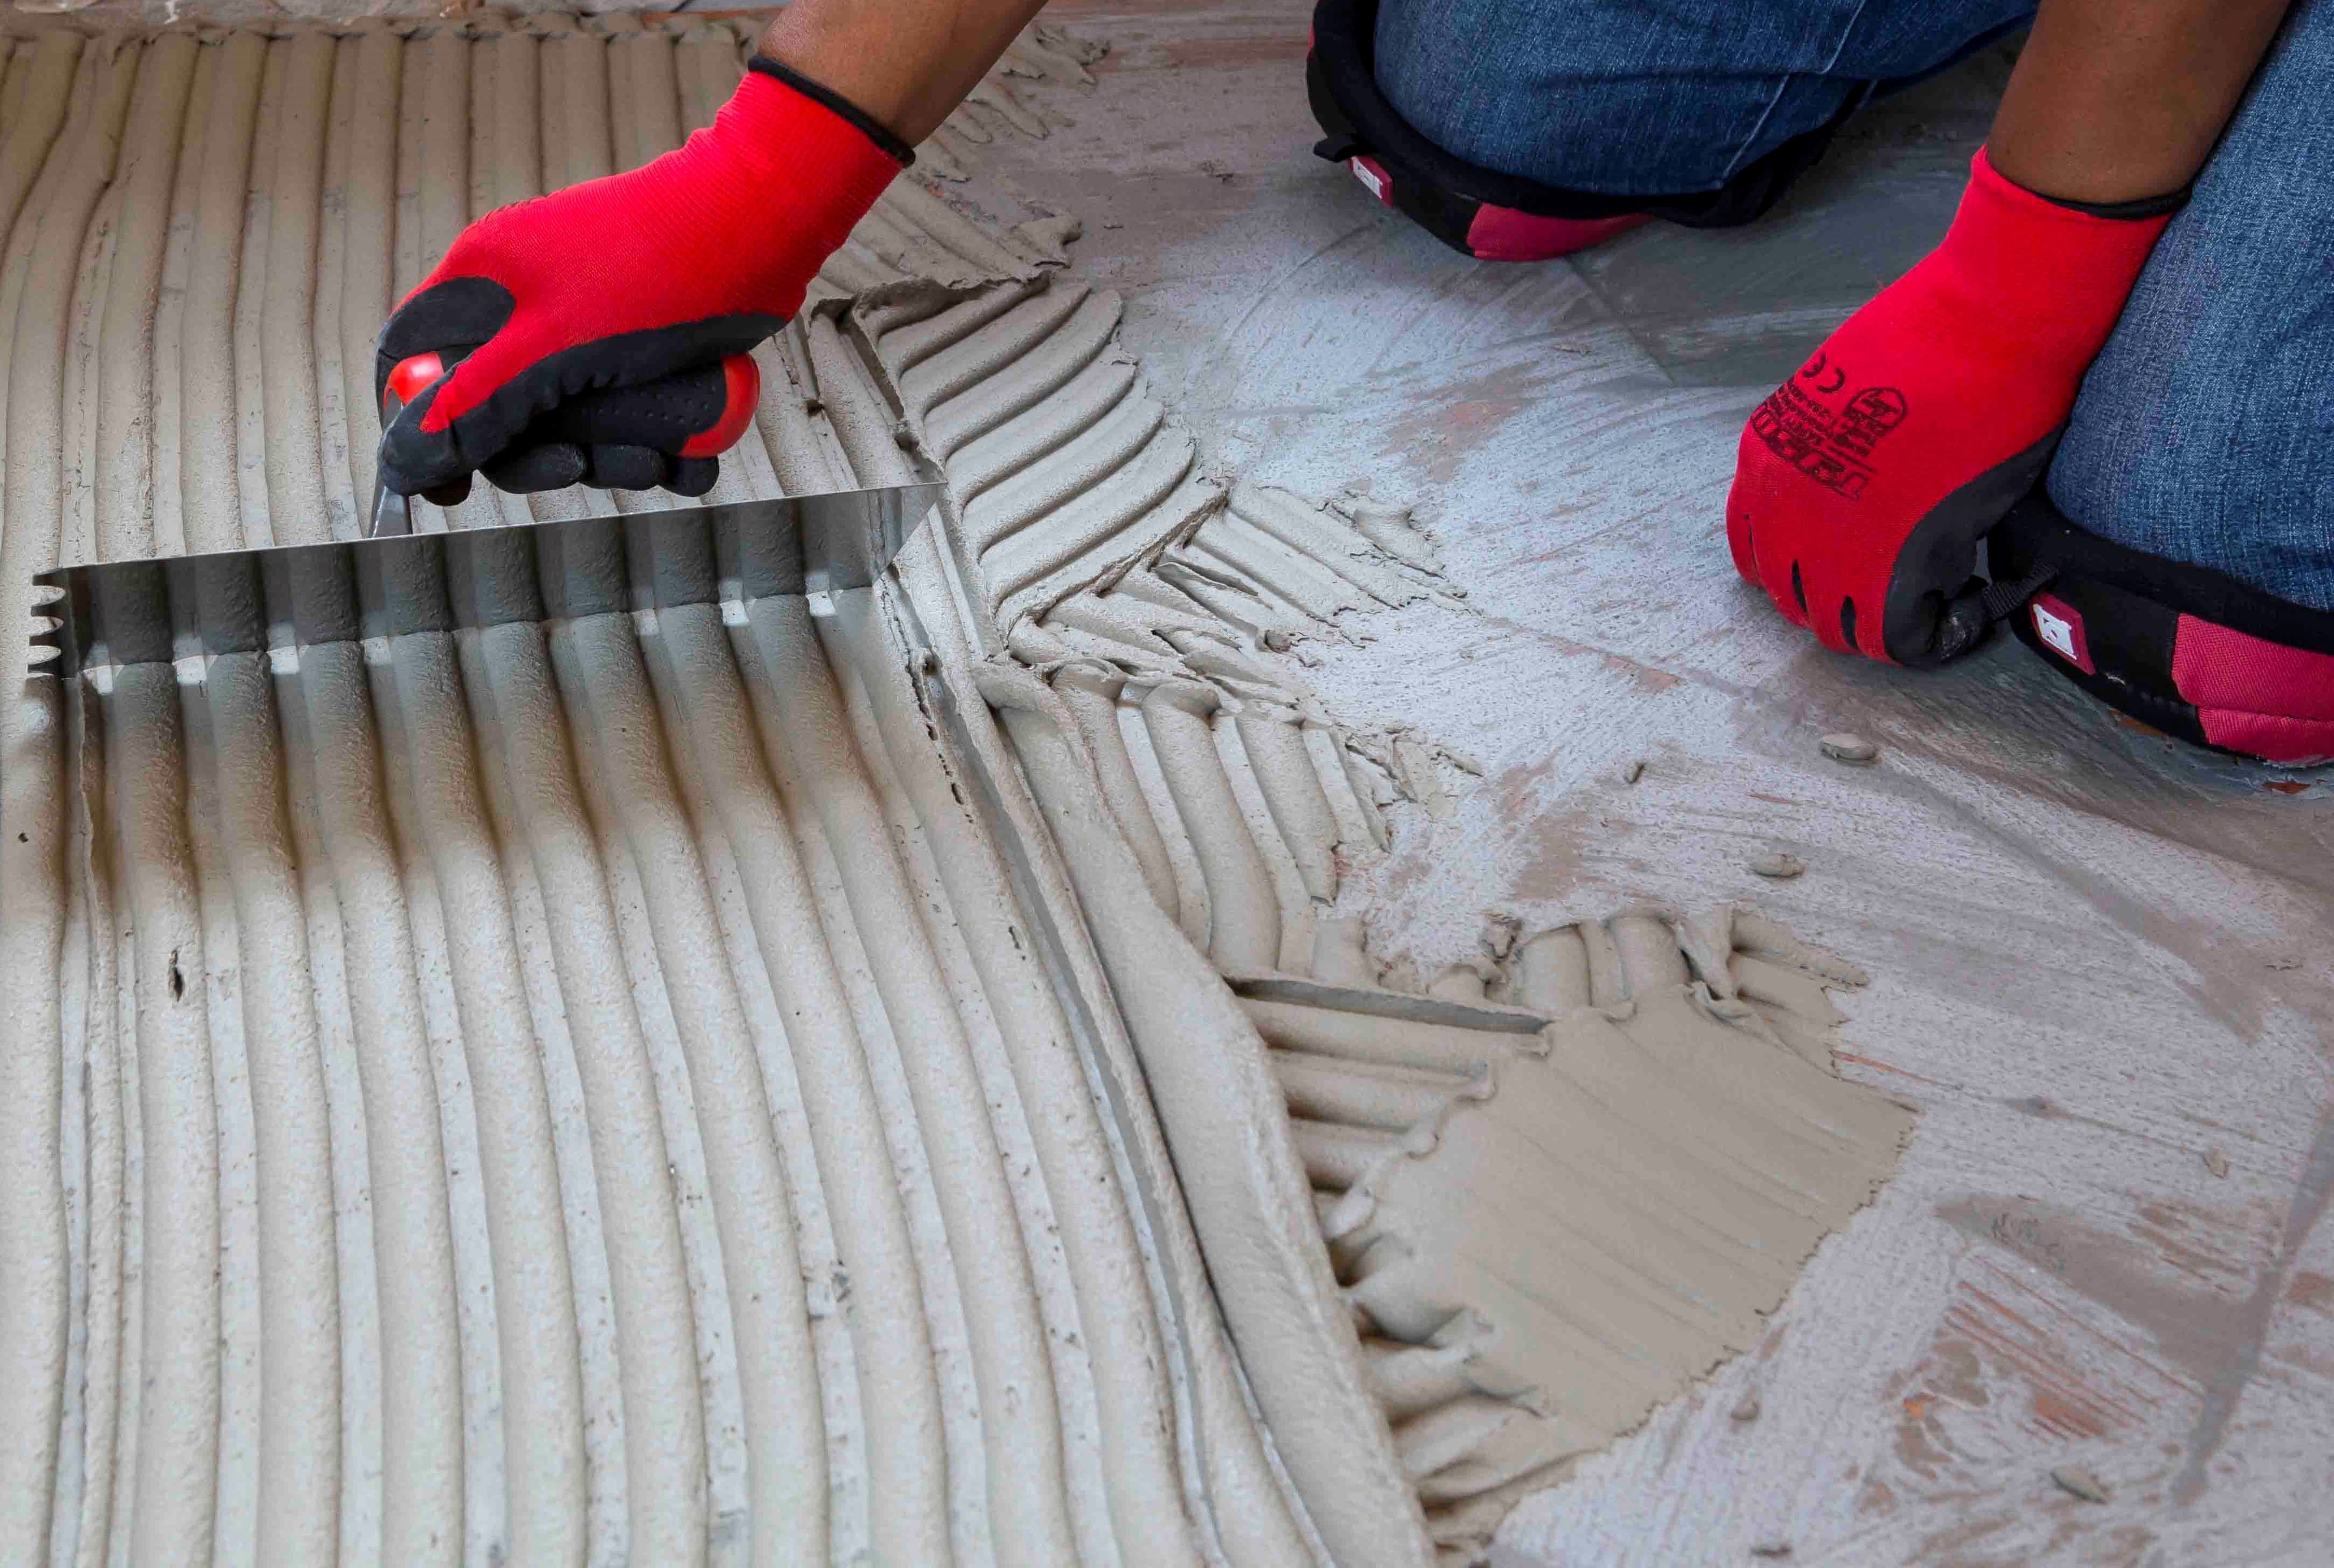
Back buttering with a thin coat of adhesive may also be required when using large-format tiles to ensure full contact with the adhesive bed.
Grouting
Grouting should not be carried out until the adhesive has set sufficiently to prevent the tile installation from being disturbed during the grouting operation (always refer to the adhesive packaging for setting times). When using TAL TAL Tile-To-Tile, allow a minimum of six hours before grouting.
For interior surface beds, use TAL Wall & Floor Grout for filling tile joints up to 8 mm wide. TAL Quarry Grout can be used in wider joints up to 25 mm wide. On suspended slabs and for external installations, replace the water in the grout mix with TAL Bond, or add TAL Bond Powder to the grout mixing water.
Particular care must be taken to clean the grout off the tile face before it hardens completely. This is especially important when an additive such as TAL Bond or TAL Bond Powder has been used. A tile sample should be tested beforehand to ensure that no grout is absorbed through the glaze or into the tile body, thereby staining the tiles permanently.
Movement joints
The lack of movement joints in tile installations is a major cause of tile failure. When tiling over existing tiles, the existing structural and movement joints must be maintained in the new tile installation. The movement joints should be at least 5 mm wide and extend through the adhesive and both tile layers.