Five top tips for tiling around a fire pit
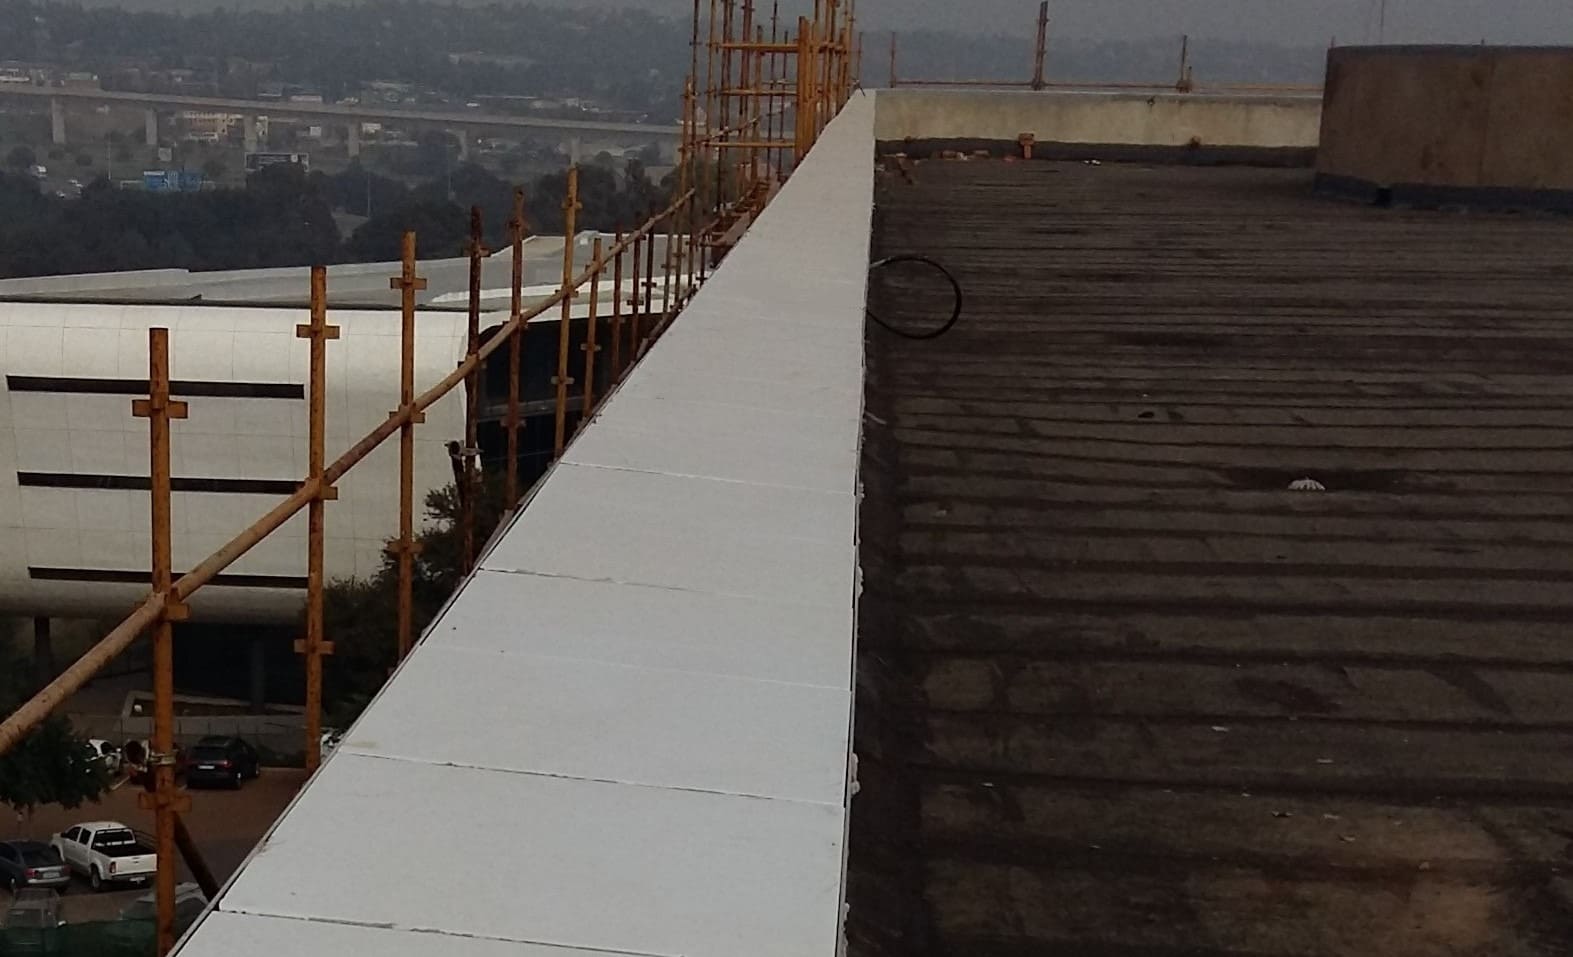
With the arrival of seasonal rains you may find that your flat roof structure or exposed parapets are not waterproofed correctly, leading to the ingress of water. The result is water damage shown on ceilings and walls of the rooms below. It must be noted that this could also happen it the water outlet on the roof is not draining properly, thereby flooding the lower levels.
To prevent water seeping through the substrate, it should be waterproofed with a fibre-enriched acrylic-based liquid waterproofing compound. TAL offers TAL Superflex Fibre 1K, a flexible waterproofing system that can be left exposed on non-trafficable roof slabs and parapet walls. The product is available in grey or white and is UV resistant. It may also be painted over, using a high-quality exterior grade acrylic paint.
It should be noted that the application of waterproofing compounds is a skilled operation and should only be carried out by experienced artisans with the correct training.
Preparation
Carrying out the proper background preparation procedures in waterproofing exterior suspended slabs, whether leaving them exposed or prior to tiling, is essential. New substrates should be allowed sufficient curing time and prevailing moisture levels need to attain 3% or less. Any surface defects must be made good. Small holes and voids can be filled using TAL Rapidfix mixed with TAL Screedbinder, as a total water replacement.
Priming
Priming of concrete, screed or render substrates that are clean and dry and free of all traces of curing agents, laitance, dust, loose particles and surface contaminants is not usually required. However, highly porous surfaces should be primed with a neat coat of TAL Floor Primer, ensuring complete coverage of the surface.
Where applicable, a suitable flanged metal upstand should be placed around pipes or vents on the roof. This should be lightly sanded and primed with an anti-corrosive agent (e.g. zinc chromate). Once it is dry, a TAL Floorkey slurry should be applied, and again left to dry.
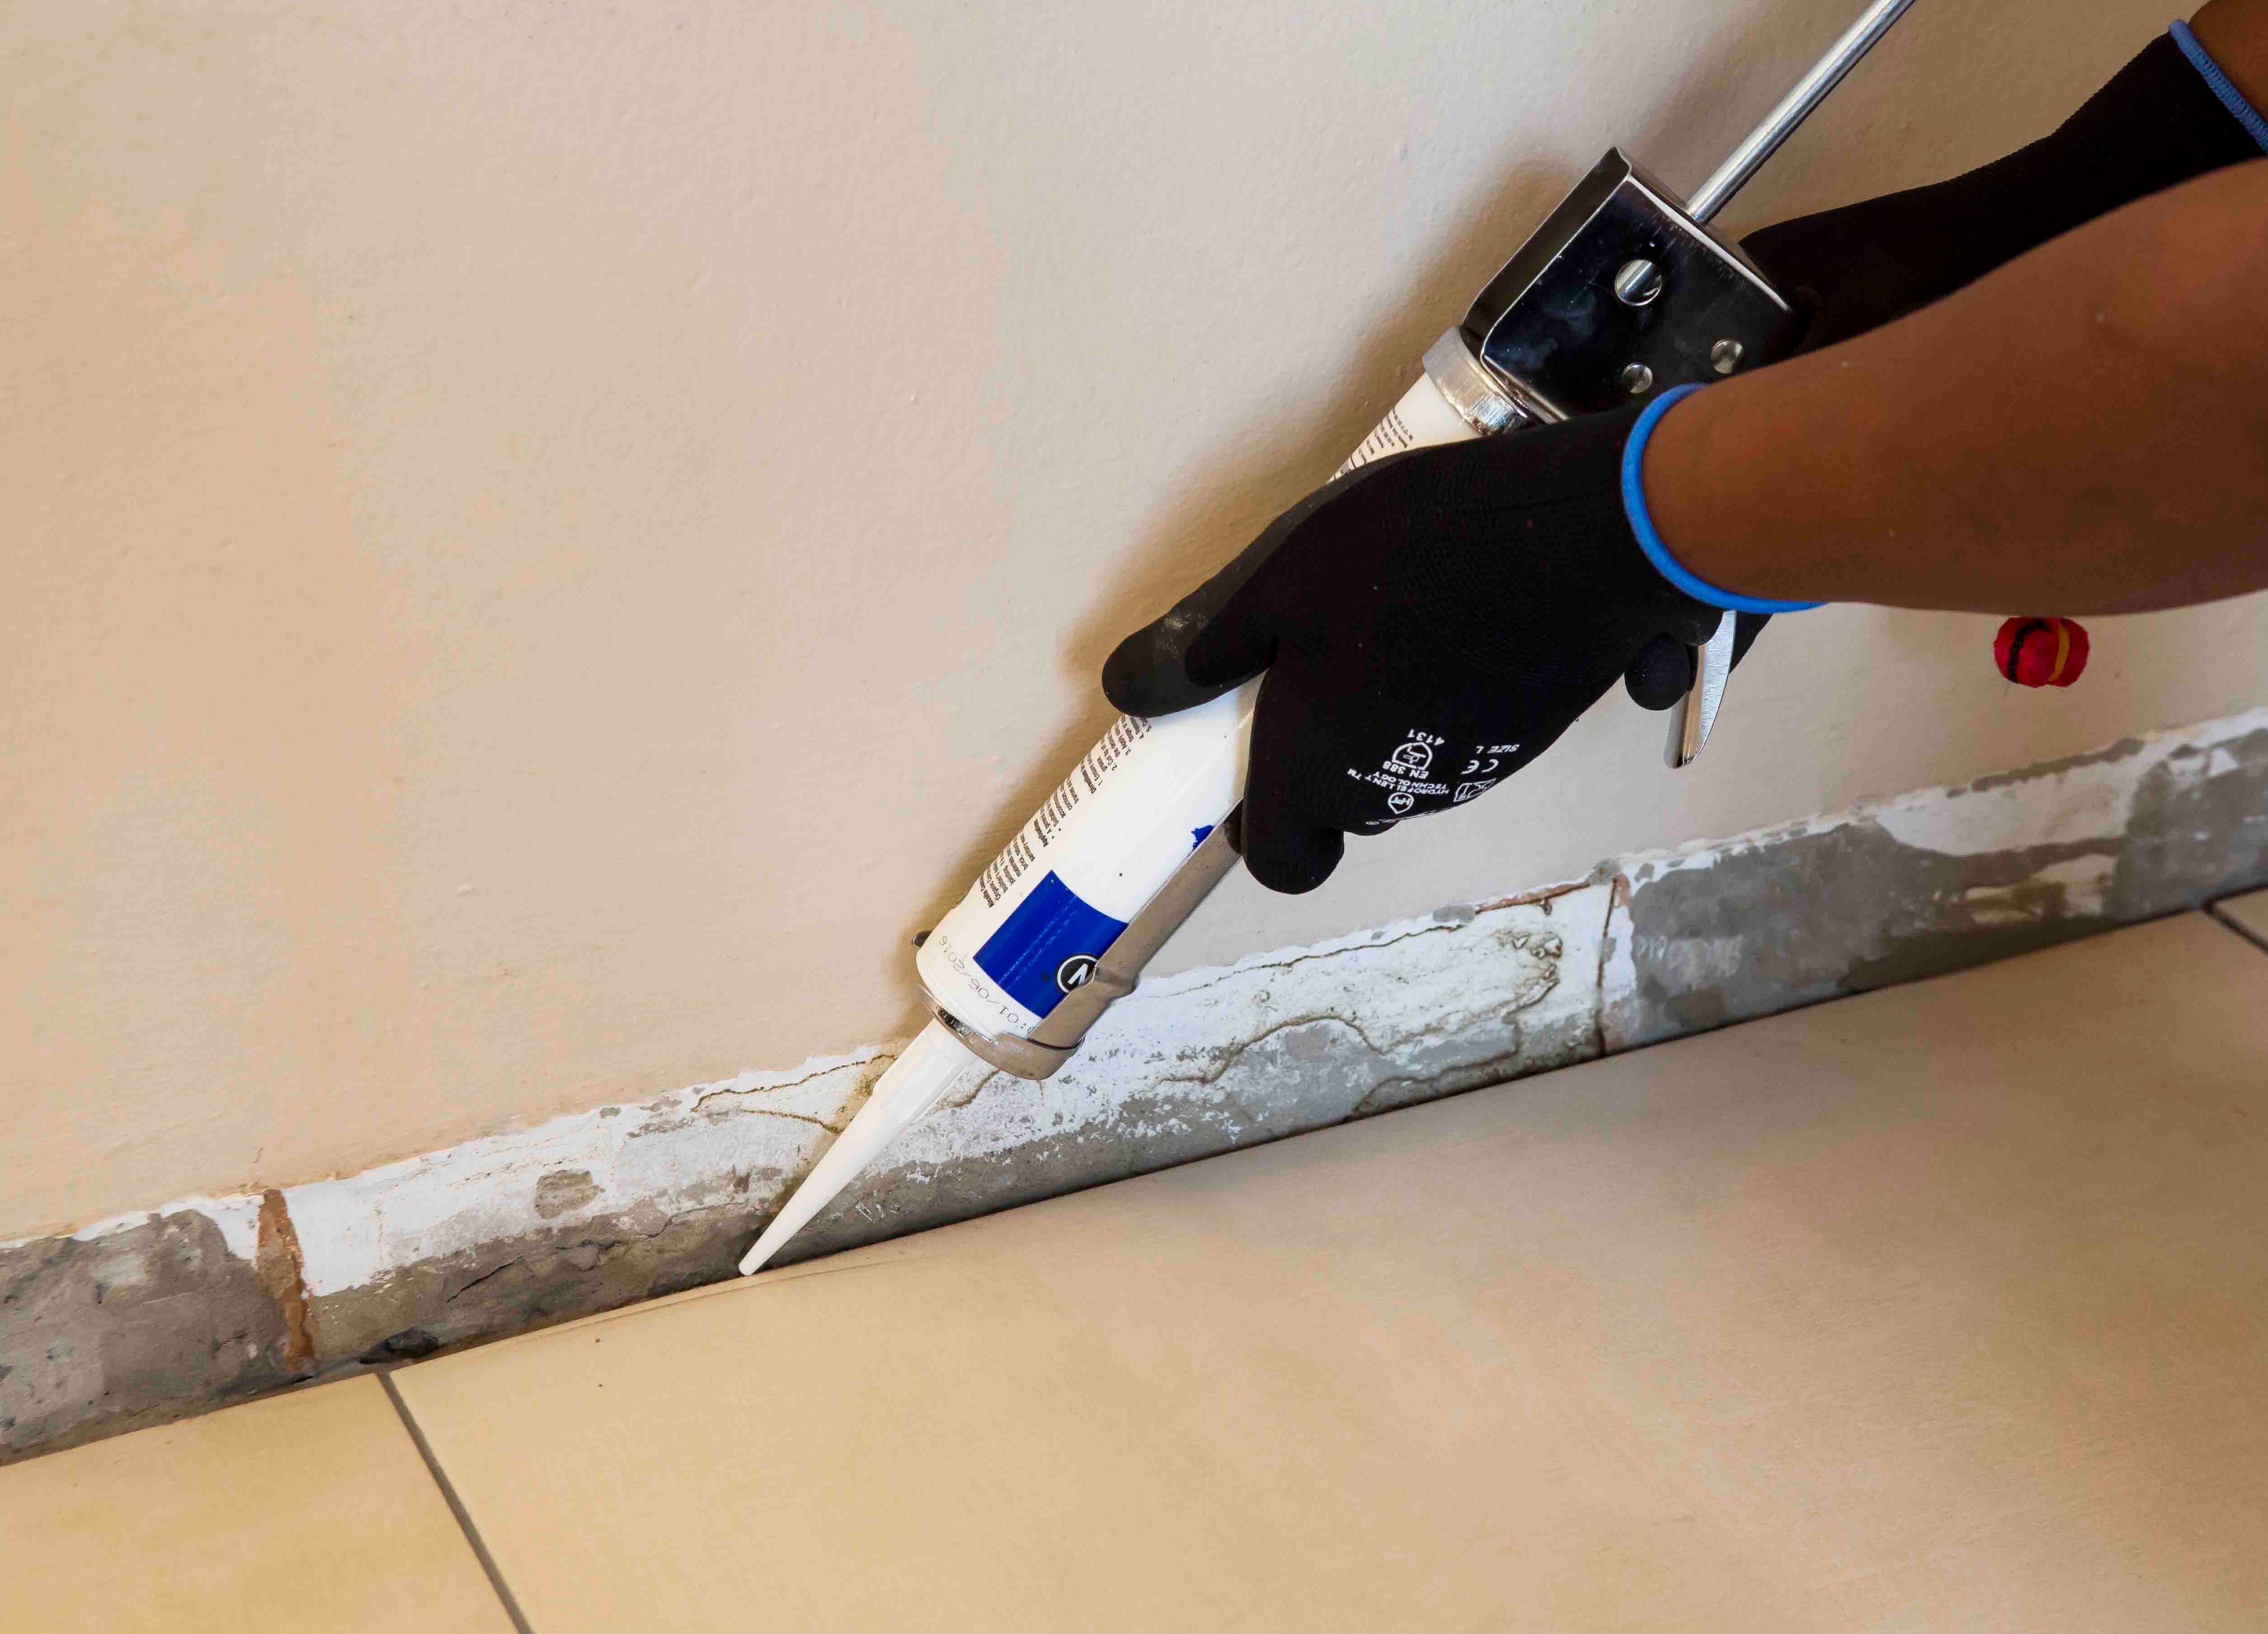
Roof penetrations
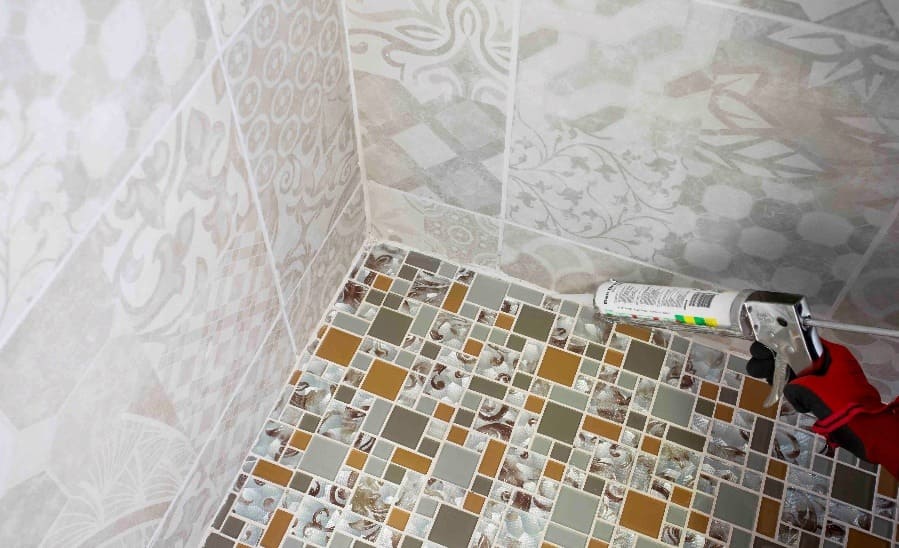
To allow for movement, apply a 10mm bead of flexible silicone sealant around the base of the pipe. Due care must be taken to ensure that the silicone bead is not flattened out – i.e. the silicone must be allowed to cure for approximately 12 – 24 hours.
Apply the first coat of TAL Superflex Fibre 1K using a short pile (mohair) roller, then immediately bed TAL Superflex Membrane around the pipe and surrounding substrate. The membrane must be pushed into the corners, ensuring that the entire interface is covered with TAL Superflex Membrane.
Apply a heavy topcoat coat of TAL Superflex Fibre 1K to completely saturate the membrane before the first coat dries.
Allow the TAL Superflex Fibre 1K application to dry, before placing a suitable flashing collar around the penetration, sealing it to the pipe with a suitable flexible sealant. Due to its excellent flexibility, the product will accommodate normal building movement. A membrane should be used as reinforcing for the whole installation only where significant building movement is anticipated.
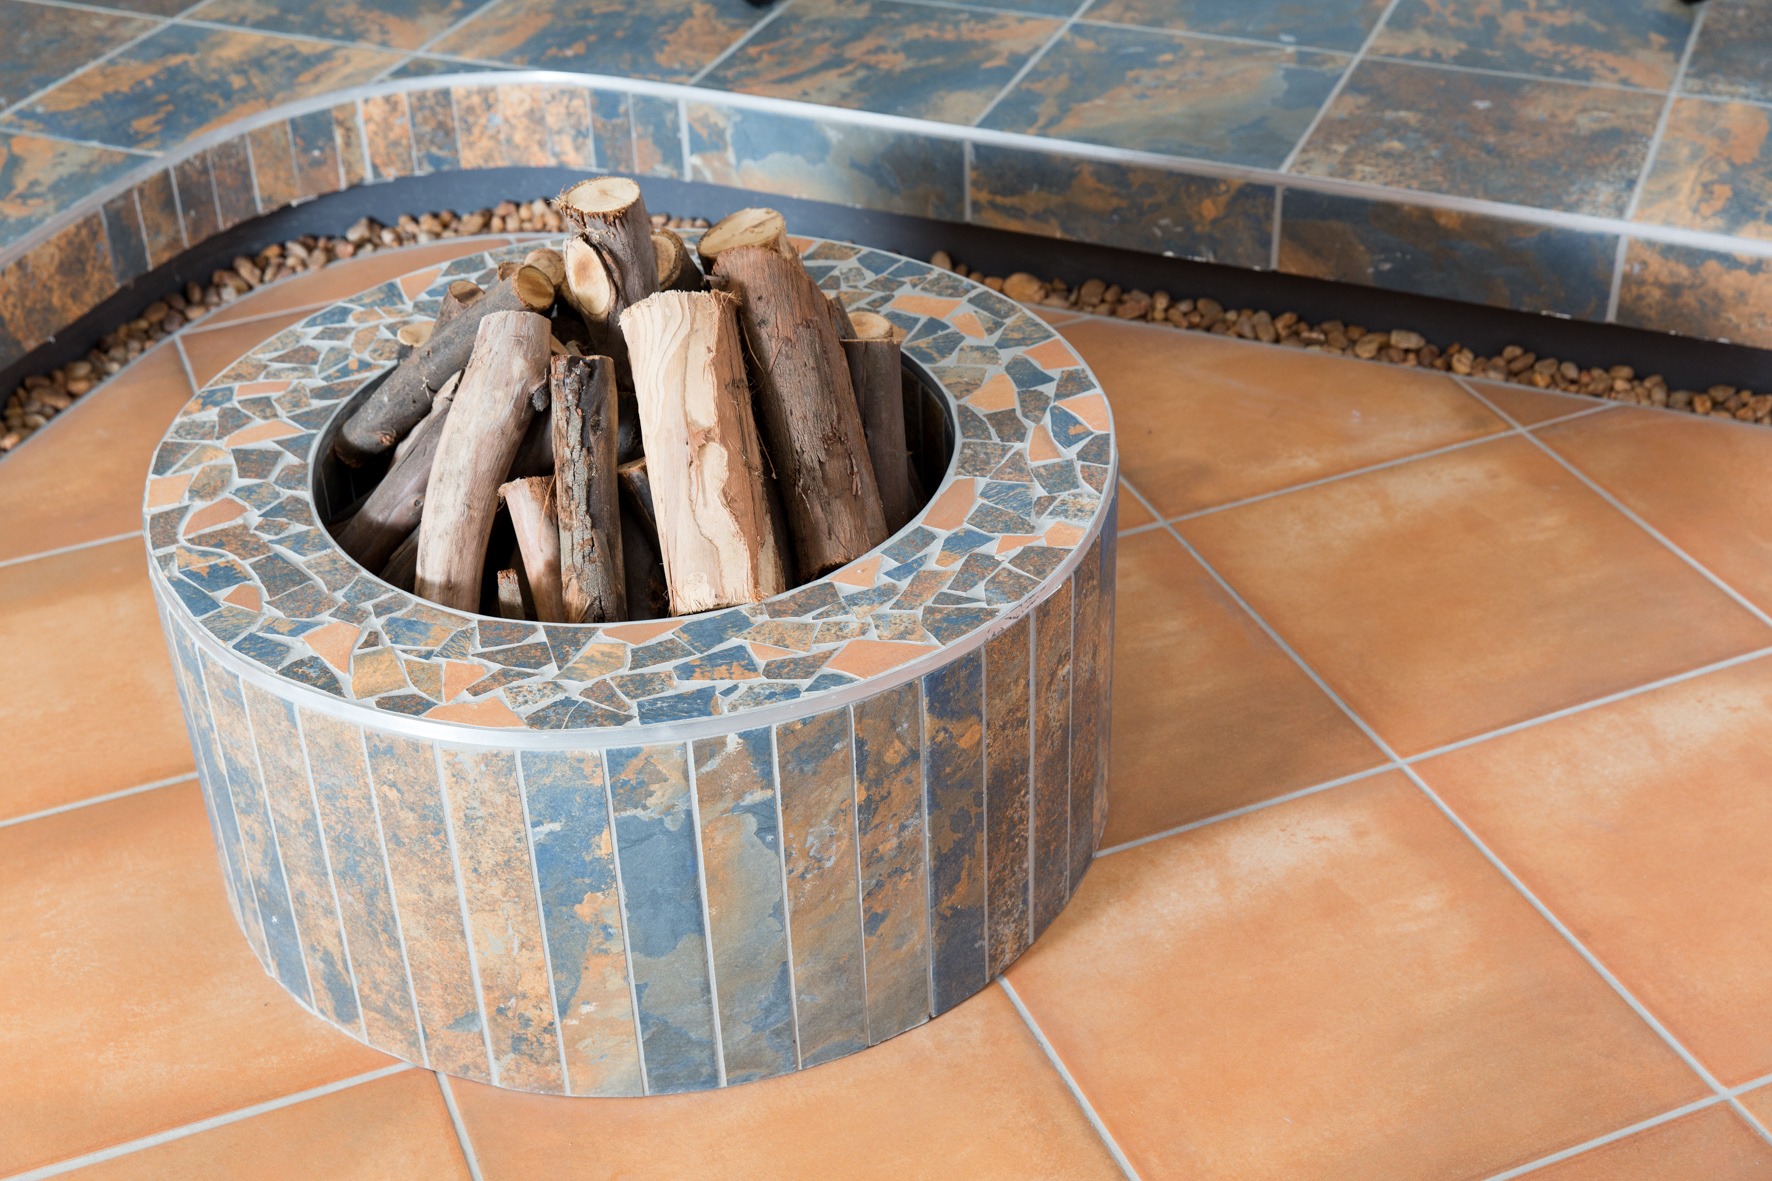
Is there anything more South African than sharing the inviting glow of a fire pit? A tiled fire pit is a popular feature in many homes but it requires a suitable installation system to ensure a long-lasting result. Read on for our 5 top tips for this project.
1. Tile options for a fire pit
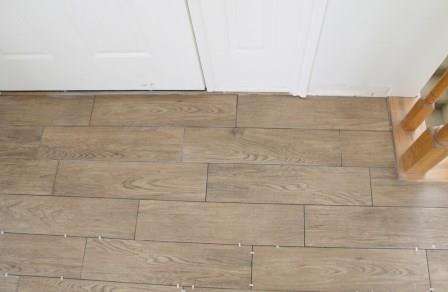
Stone, cement and even wood-look tiles are excellent choices when tiling round a fire pit, or an outside entertainment area. Before purchasing your tiles however, check with the tile manufacturer/ supplier that the tile you like is suitable for this type of installation.
2. Outside not inside the fire pit
You should only ever tile the outside of the fire pit and around the pit area, but not inside the fire pit itself. The elevated temperatures of the fire will most certainly result in degradation of the adhesive and damage to the tiles over time. Basically, if the installation area is too hot to touch, it is too hot to tile with a cementitious tile adhesive.
3. Getting started with the fire pit project
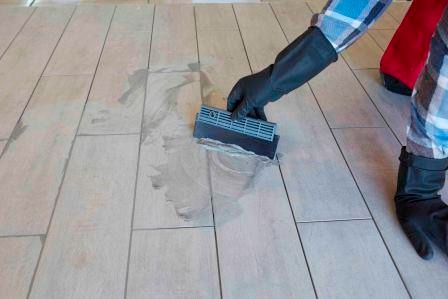
Before tiling your fire pit, ensure that the substrate is firm, clean, dry, and free from dust and contaminants. This is to ensure a good bond onto the substrate.
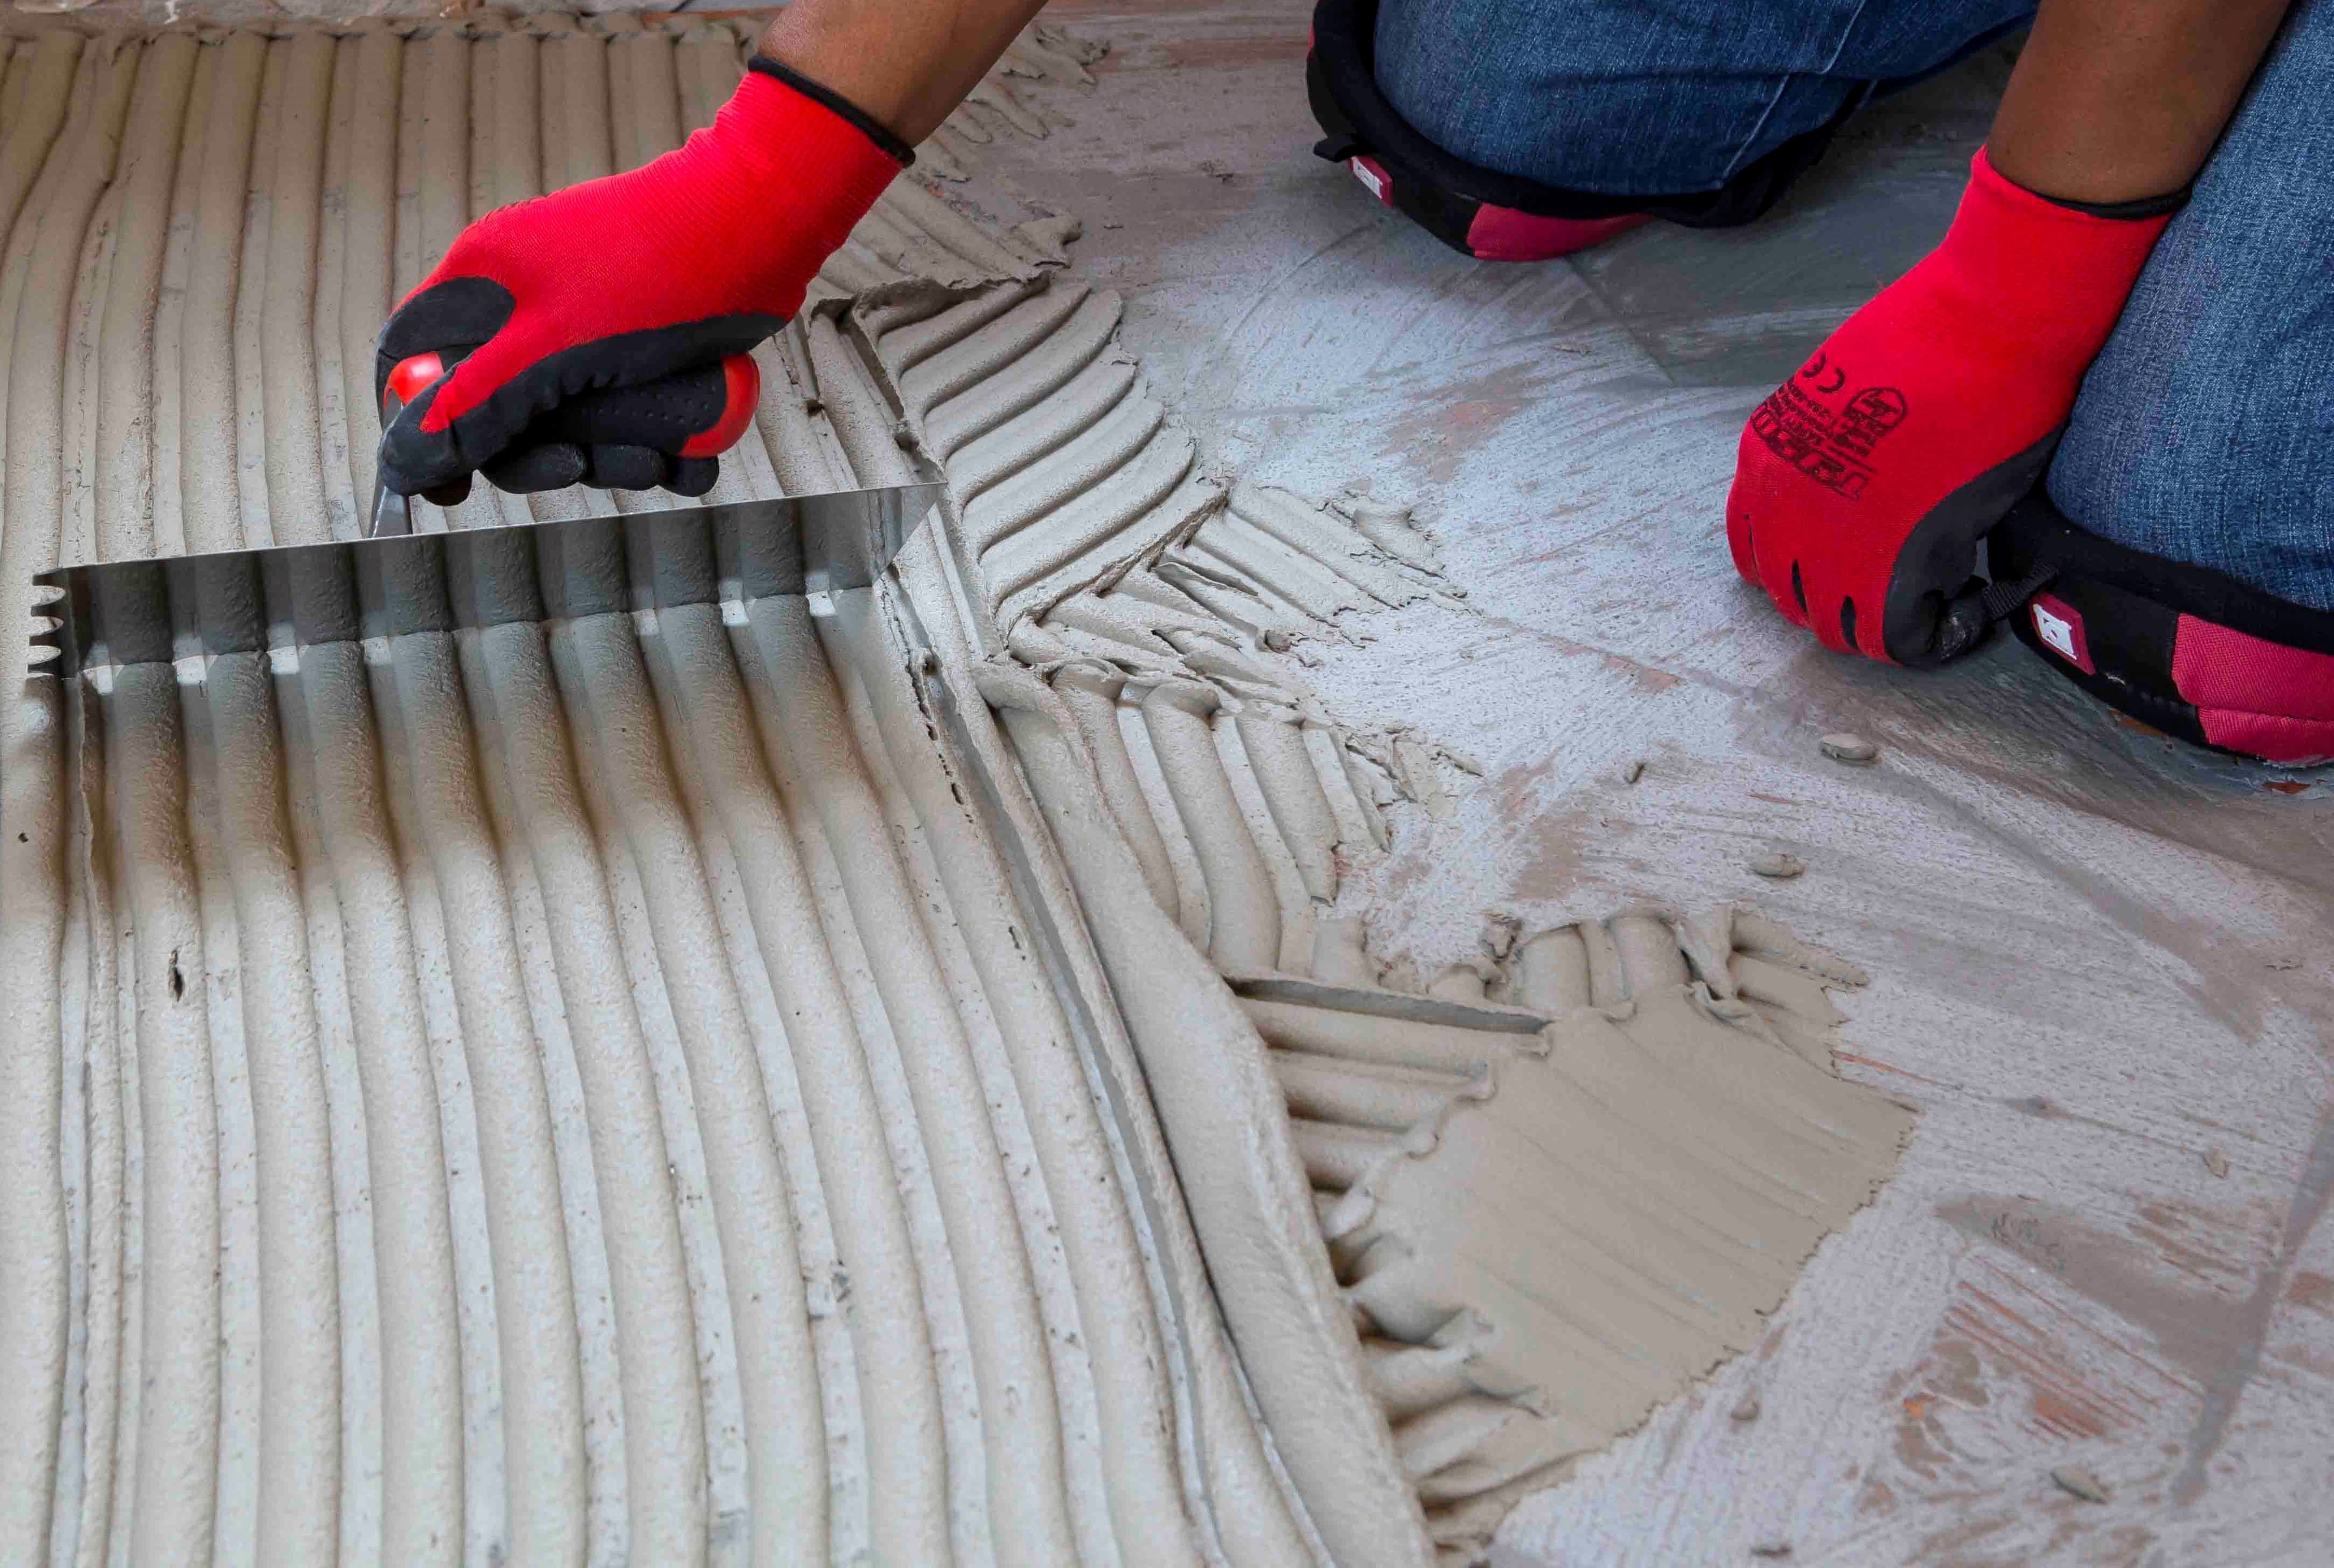
Prime your surface to ensure better adhesion onto the substrate before tiling, particularly if the surface is steel floated (i.e. a smooth, dense finish). Use a primer slurry coat consisting of 1 part TAL Keycoat mixed with 2 parts TAL Keymix powder primer (by volume) and apply with a block brush. Allow the slurry coat to dry before you install the tiles.
4. Adhesive systems that can handle the heat of a firepit
Modified adhesive and grout systems, which can handle the heat and resultant thermal expansion and contraction of the tiles, are important for this type of installation.
Use a high-strength adhesive system, such as TAL Goldstar 6, modified with TAL Bond, as a total water replacement in the adhesive mix for enhanced flexibility. TAL Wall and Floor Grout should similarly be modified with TAL Bond. This modified adhesive and grout system will withstand exposure to temperatures of up to 65°C – 70°C for prolonged periods. If higher temperatures are anticipated, it would be best to use a special heat-resistant, or high alumina cement for your fire pit.
5. Finishing the fire pit
The installation should be allowed to dry for a minimum of 7 days before you light that first inviting fire. Then all that’s left to do is put out the chairs, and invite a few friends or family over, to enjoy your new fire pit.
If you have any questions or are in doubt about how to tile your outdoor entertainment area, call our Technical Advice Line or send us an email.
Our fast-curing formulation means that follow-on coverings of TAL Primercoat and TAL Screedmaster can be applied the same day thus reducing the overall installation time.
TAL Vapourscreen WB is available in 2.5L and 5L kits.
For more information contact the TAL Technical Advice Centre.
Contact the TAL Technical Advisory Service on 0860 000 (TAL) 825 for details and specialist contractors who can apply TAL X-Calibur X-Tech SuperFlow. For more information visit www.x-calibur.co.za and www.tal.co.za
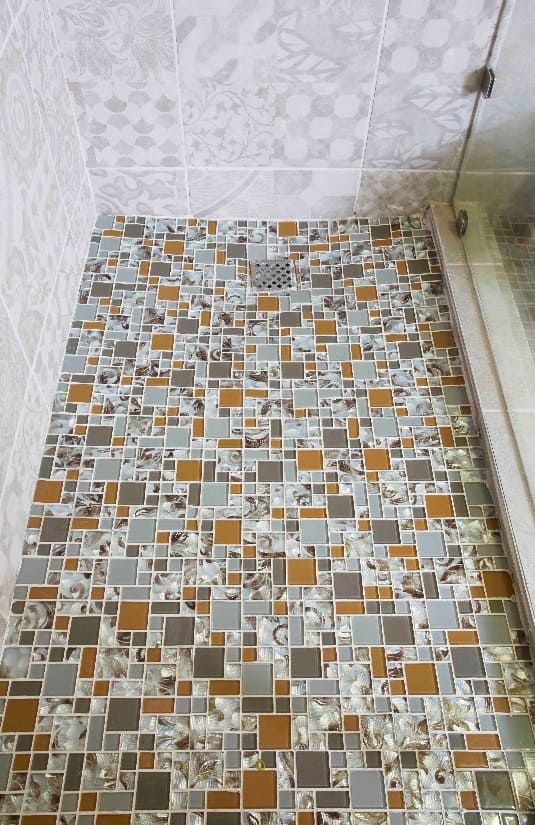
Also ensure that the spacer size you use is correct for the type of tile you have selected; the joint width between glazed ceramic floor tiles should be a minimum of 5mm wide, and a minimum of 3mm wide between porcelain tiles, including rectified porcelain tiles. To achieve the natural look, opt for grout colour that is darker than the tile itself. Click here to find out more about how to select the perfect grout colour.
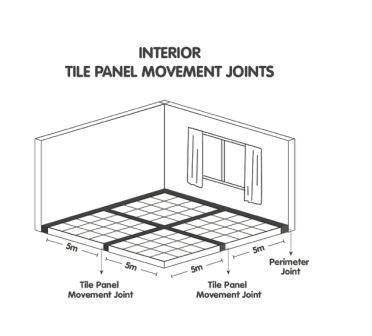
MOVEMENT JOINTS
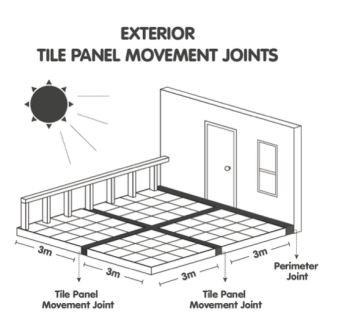
Allowance for movement (building, thermal and moisture) must be made in all tile installations. Perimeter joints must be installed around the perimeter of all floors and around any fixtures protruding through the tile installation, such as walls, columns and stairs. Intermediate tile panel movement joints should also be installed at maximum 5 metre centres in both directions for interior surface bed applications, and maximum 3 metre centres for suspended slabs and exterior applications. These joints must be a minimum of 5mm wide, must extend through the tile and tile adhesive layers to the substrate, and must be filled with a good quality resilient joint sealant and suitable backing cord.
When using large format tiles (a tile with the length of at least one edge equal to/greater than 600mm, or a facial area greater than 3500cm²) there will be a smaller number of grout joints, compared with the same area of normal format tiling. As a result, less stress (movement) can be accommodated at tile joints.
Considering a wood-look tile installation? Give us a call or send usan email and we’ll give the right advice, no matter how big or small your tile installation: 0860000 TAL (825) or [email protected]. If this TAL Talk blog post interested you, you may want to take a look at this TAL Talk blog post: The 101 on wood-look tiles.
Complete the waterproofing system by replacing the water in the grout mix with TAL Bond, a latex additive, as this further increases the water resistance and flexibility of the installation.
Get the job right the first time and avoid future headaches from water seeping through and damaging the walls and floors of your home. The additional cost and effort of properly waterproofing your shower is an investment in your property and will ensure a beautiful and functional bathroom for years to come.
For more information on multi-level waterproofing systems, contact a TAL Expert on 0860 000 TAL (825), email us or watch our how-to video on YouTube for step-by-step advice on how to waterproof a shower.
STEP 8
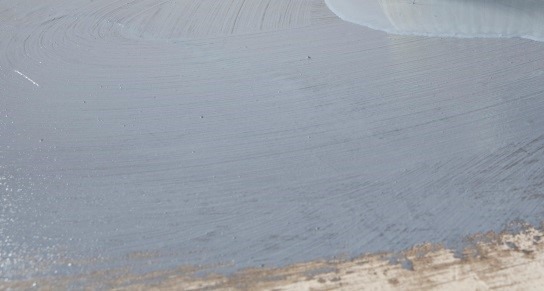
Roll the area using a TAL Spiked Roller to facilitate the release of any trapped air to produce a smooth surface, and to allow it to dry.
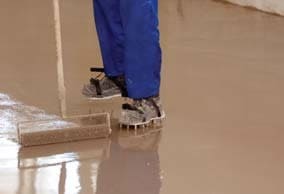
Allow the screed installation to dry for 24 hours before subjecting to foot traffic (or other trades) or installing floor coverings.
TAL MOSAICFIX is available in 20 kg and 5 kg bags from leading retail outlets.
Designed to be 100% compatible, using the TAL range of products ensures fully guaranteed multi-level tiling systems from a single source. TAL products are manufactured in South Africa to suit local climatic conditions.
If you are in any doubt, contact the TAL Technical Advisory Service on 0860 000 TAL (825), email [email protected]. Alternatively, employ the services of an experienced and skilled mosaic tiling contractor.
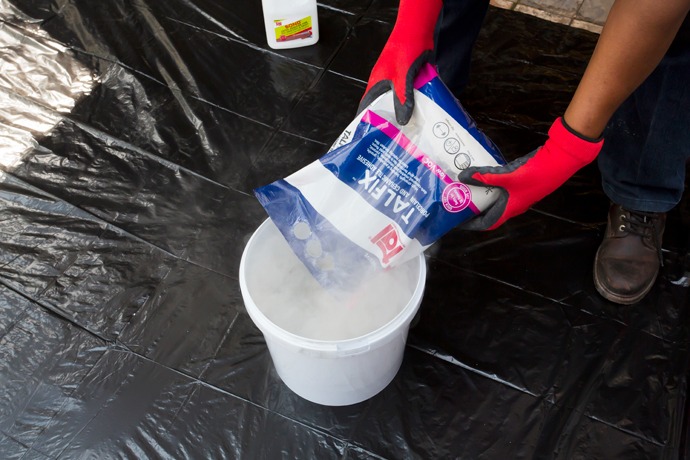
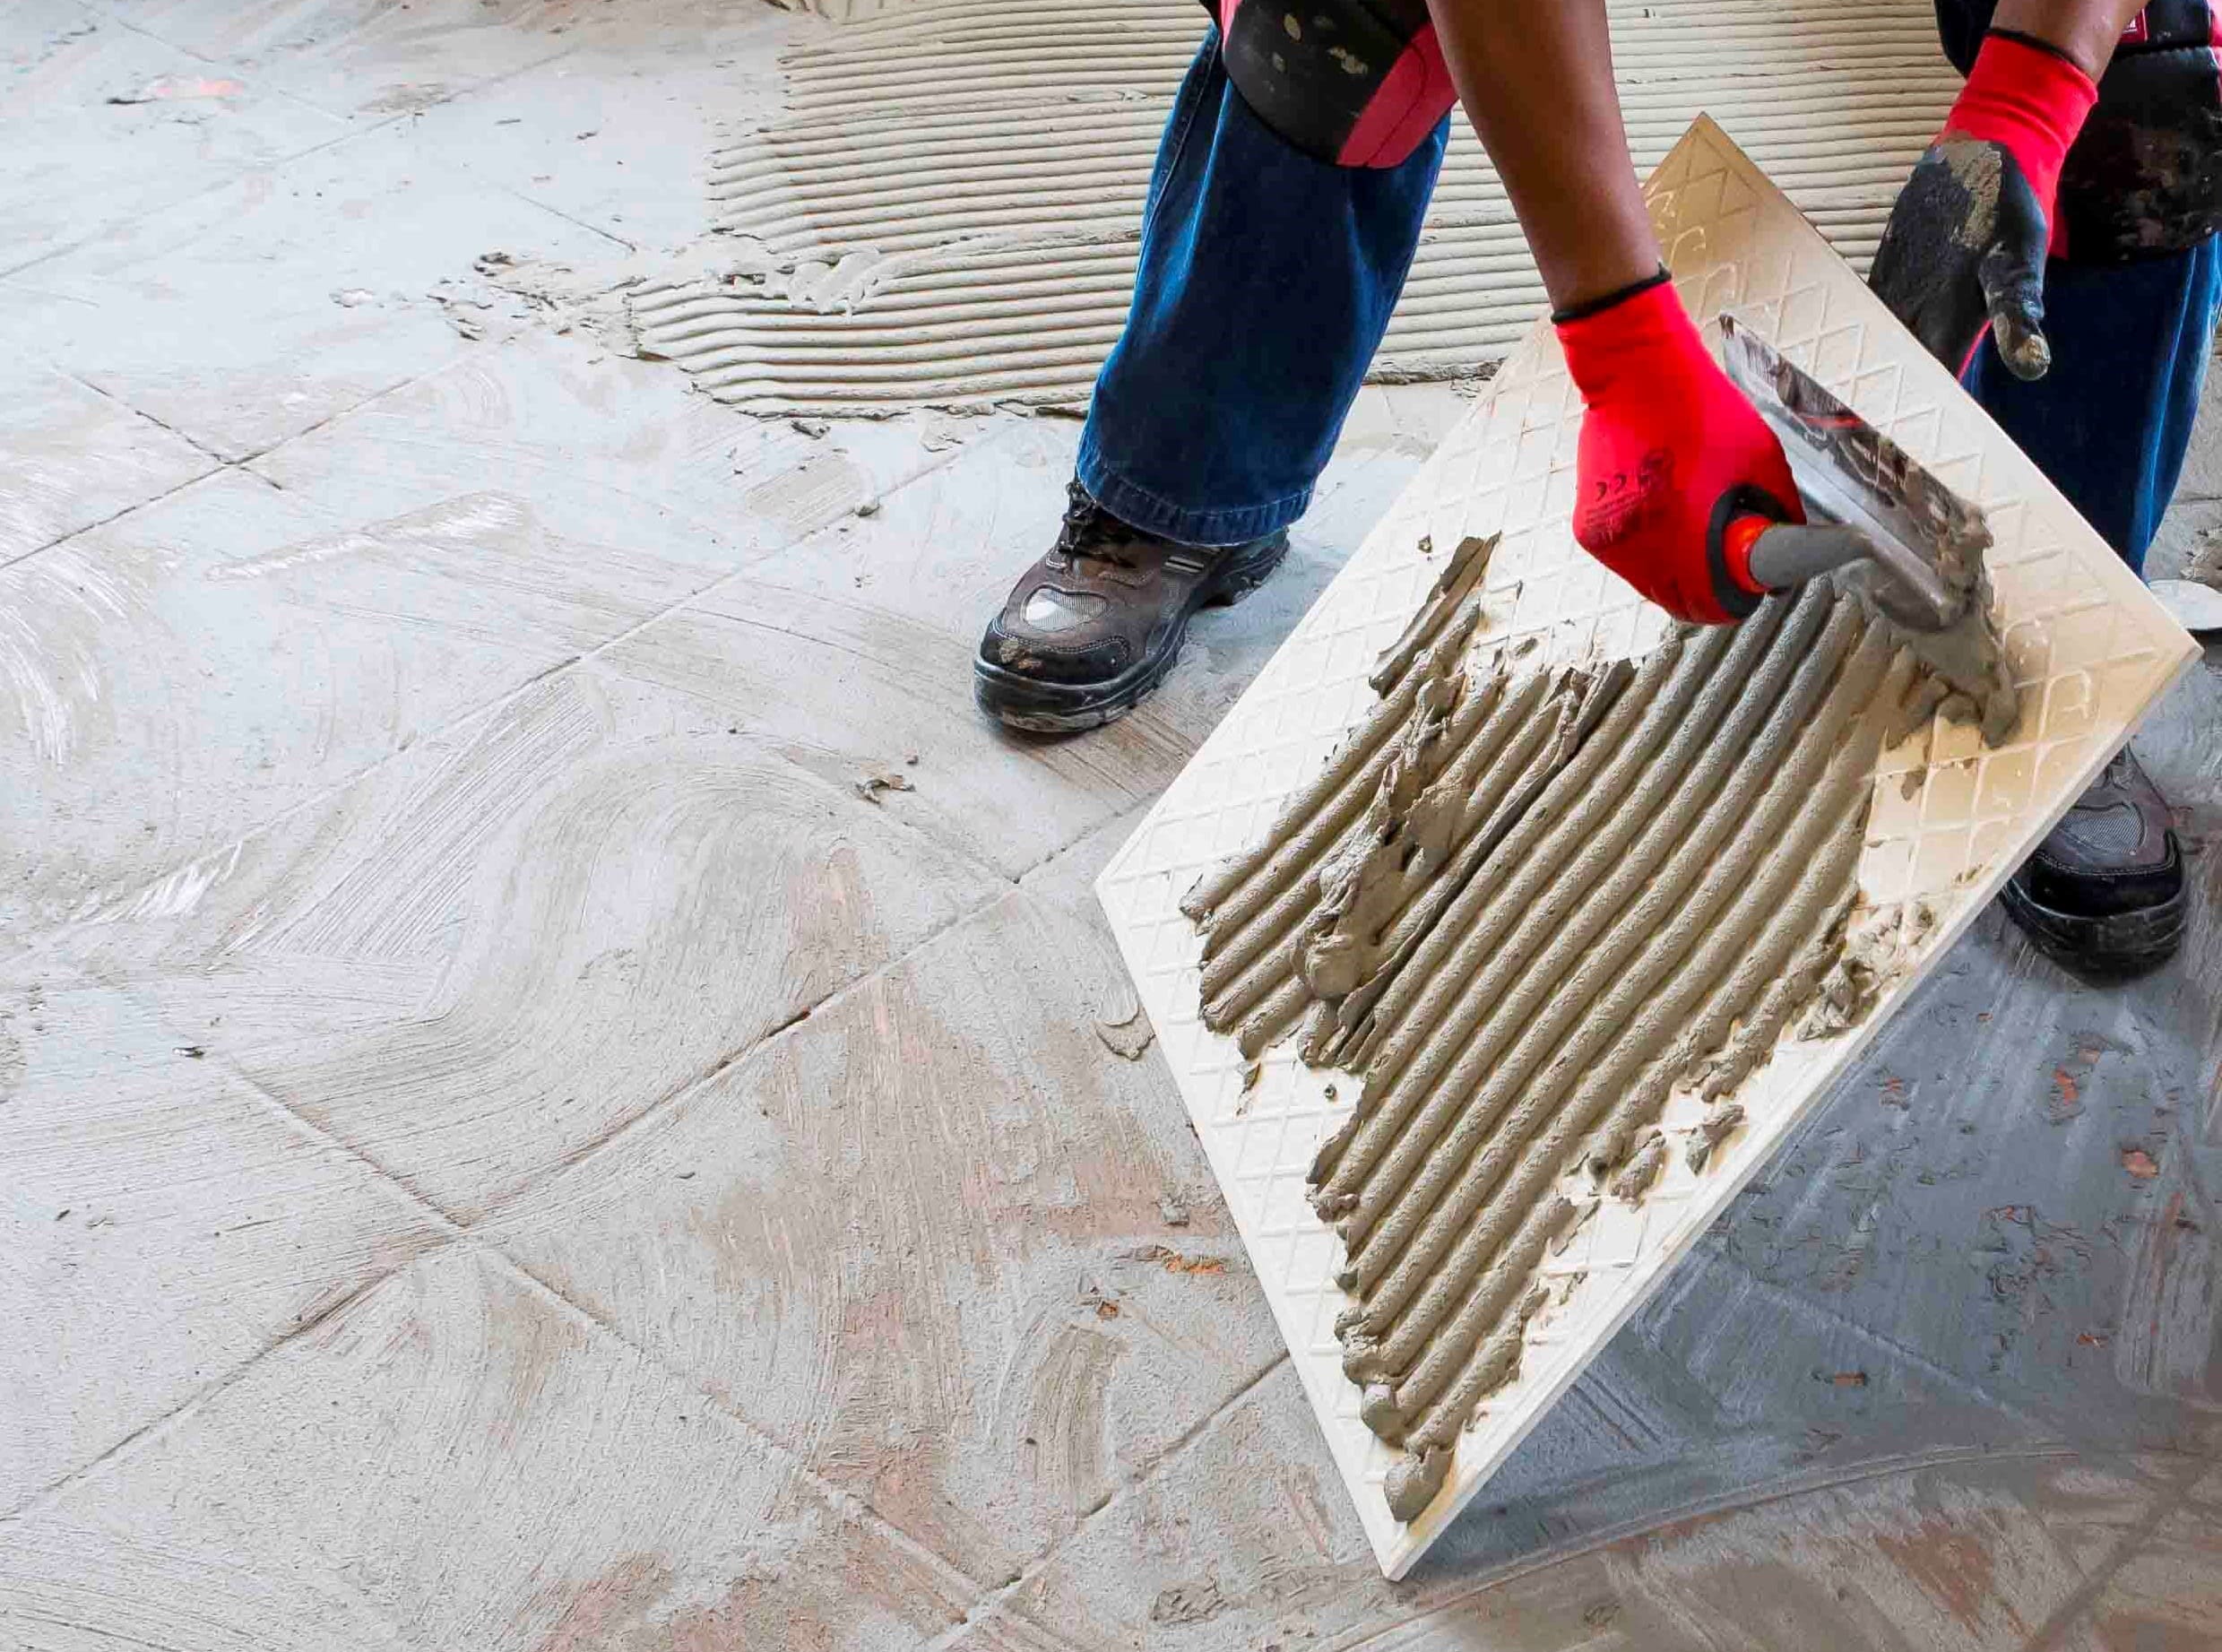
When replacing tiles, it is not always possible to apply the TALFIX directly to the floor, in which case apply the adhesive in a solid bed onto the back of the tile, ensuring complete coverage. Gently trace the notched side of a floor trowel through the adhesive to create ‘ridges’.
Adhesive system
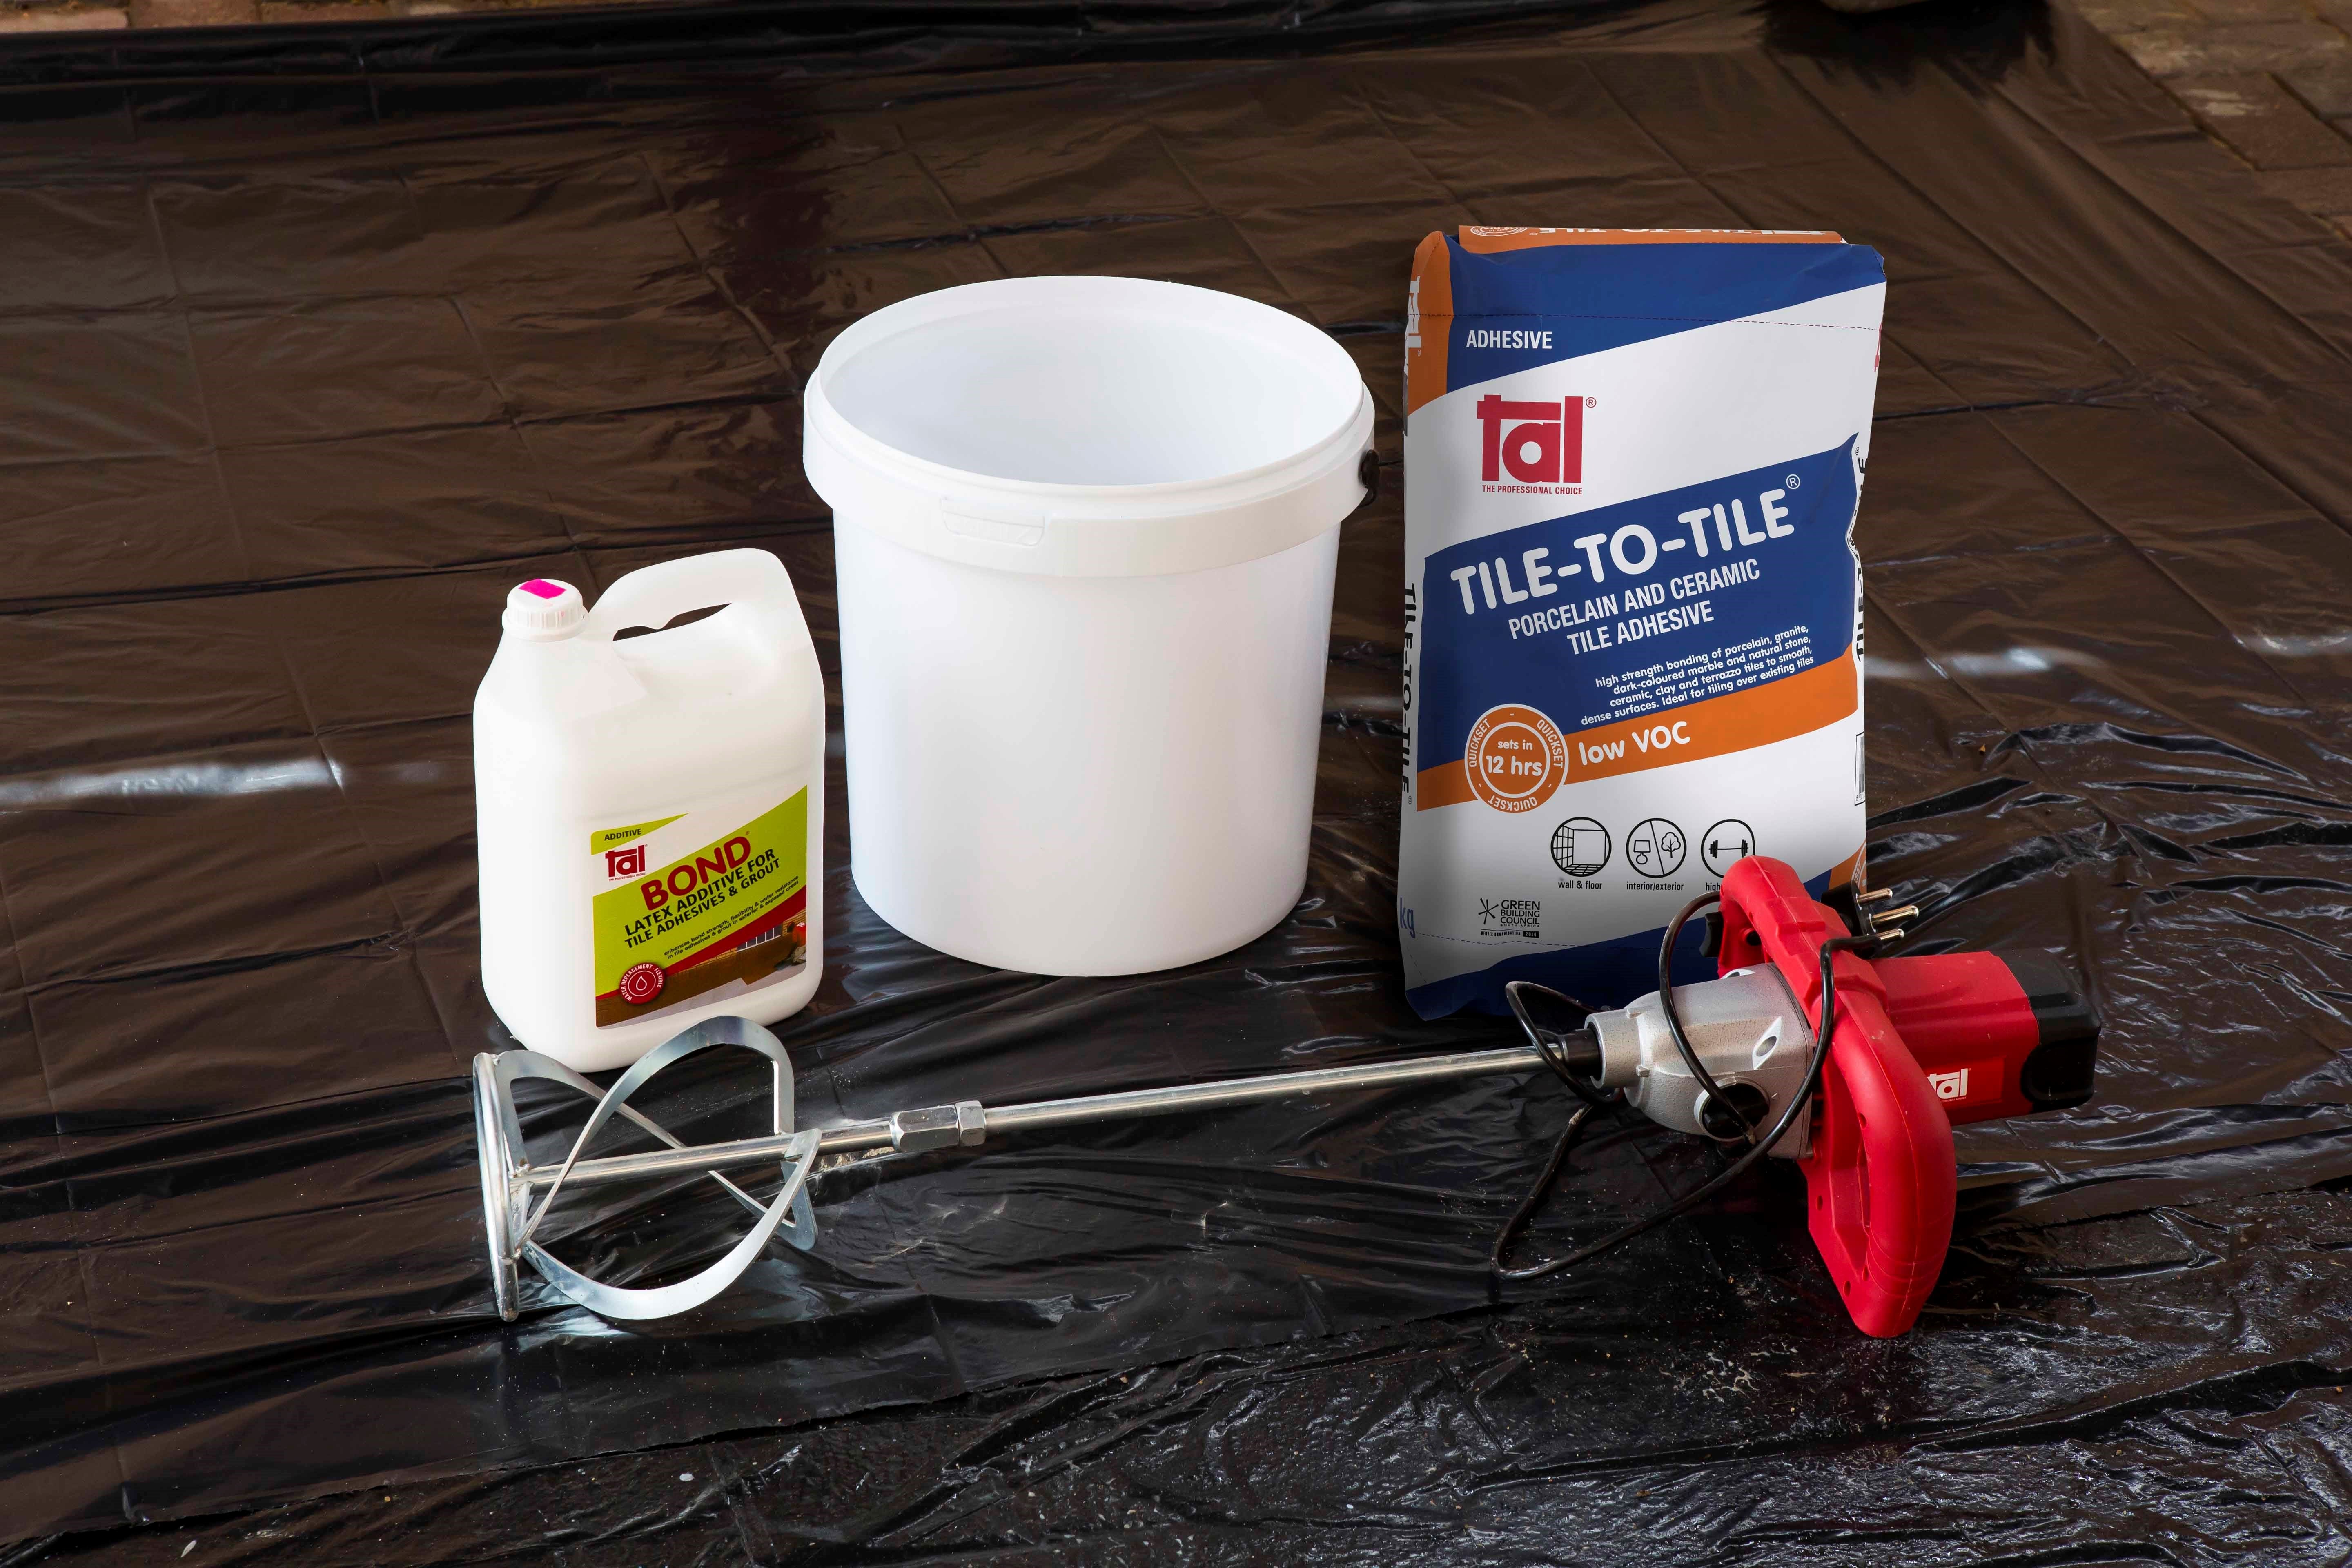
When tiling onto existing tiles, it is important to only use a quick- or rapid-setting adhesive, as the existing tiles will present a dense, impervious surface, and standard-setting adhesives will take longer to dry. Too early trafficking of newly-installed tiles before the adhesive has set sufficiently can result in hollow-sounding or loose tiles.
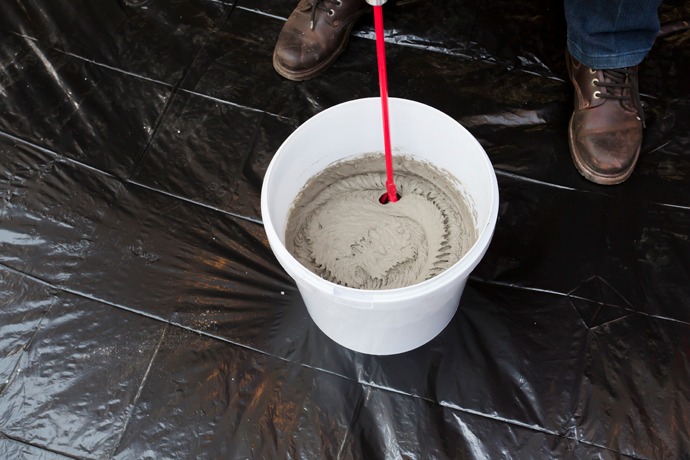
Use TAL Tile-To-Tile quick-setting adhesive for tiling onto interior surface beds. When tiling onto suspended slabs and for external installations mix the TAL Tile-To-Tile with TAL Bond, replacing the water in the mix. Alternatively, TAL Bond Powder can be added to the adhesive mixing water.
Ensure that there is a solid bed of adhesive at least 6 mm thick beneath each tile.
Back buttering with a thin coat of adhesive may also be required when using large-format tiles to ensure full contact with the adhesive bed.
Grouting
Grouting should not be carried out until the adhesive has set sufficiently to prevent the tile installation from being disturbed during the grouting operation (always refer to the adhesive packaging for setting times). When using TAL TAL Tile-To-Tile, allow a minimum of six hours before grouting.
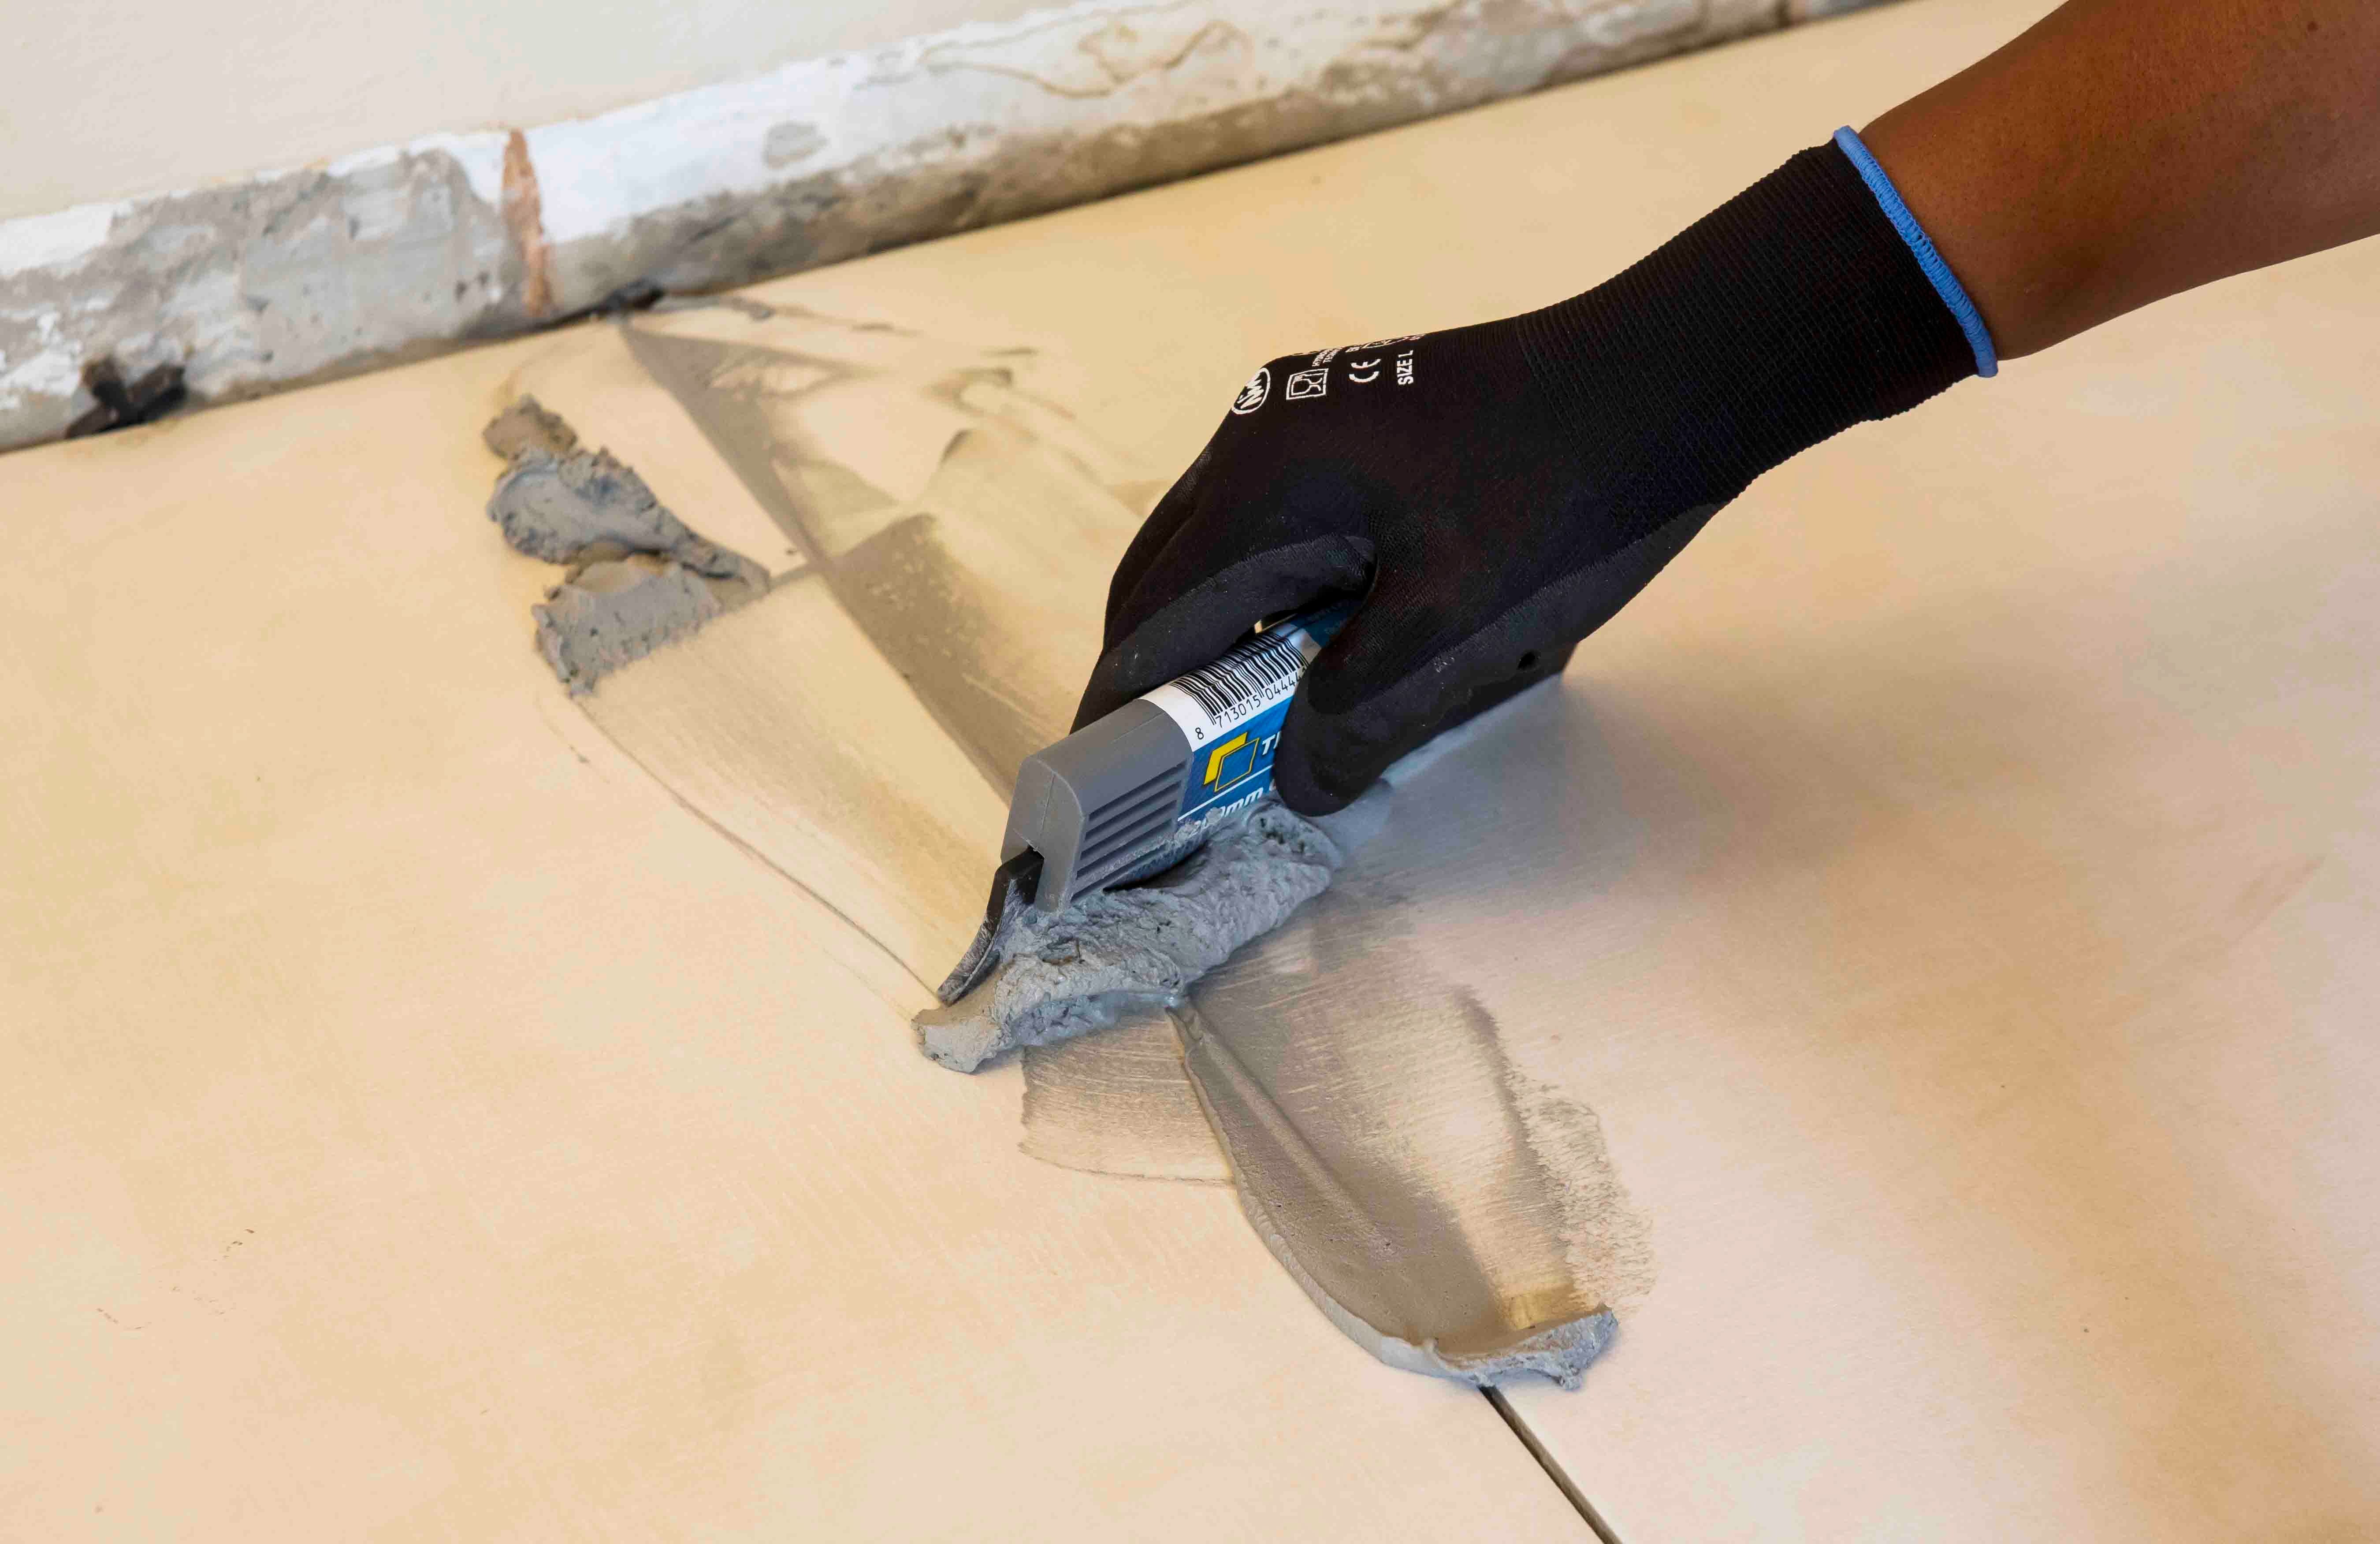
For interior surface beds, use TAL Wall & Floor Grout for filling tile joints up to 8 mm wide. TAL Quarry Grout can be used in wider joints up to 25 mm wide. On suspended slabs and for external installations, replace the water in the grout mix with TAL Bond, or add TAL Bond Powder to the grout mixing water.
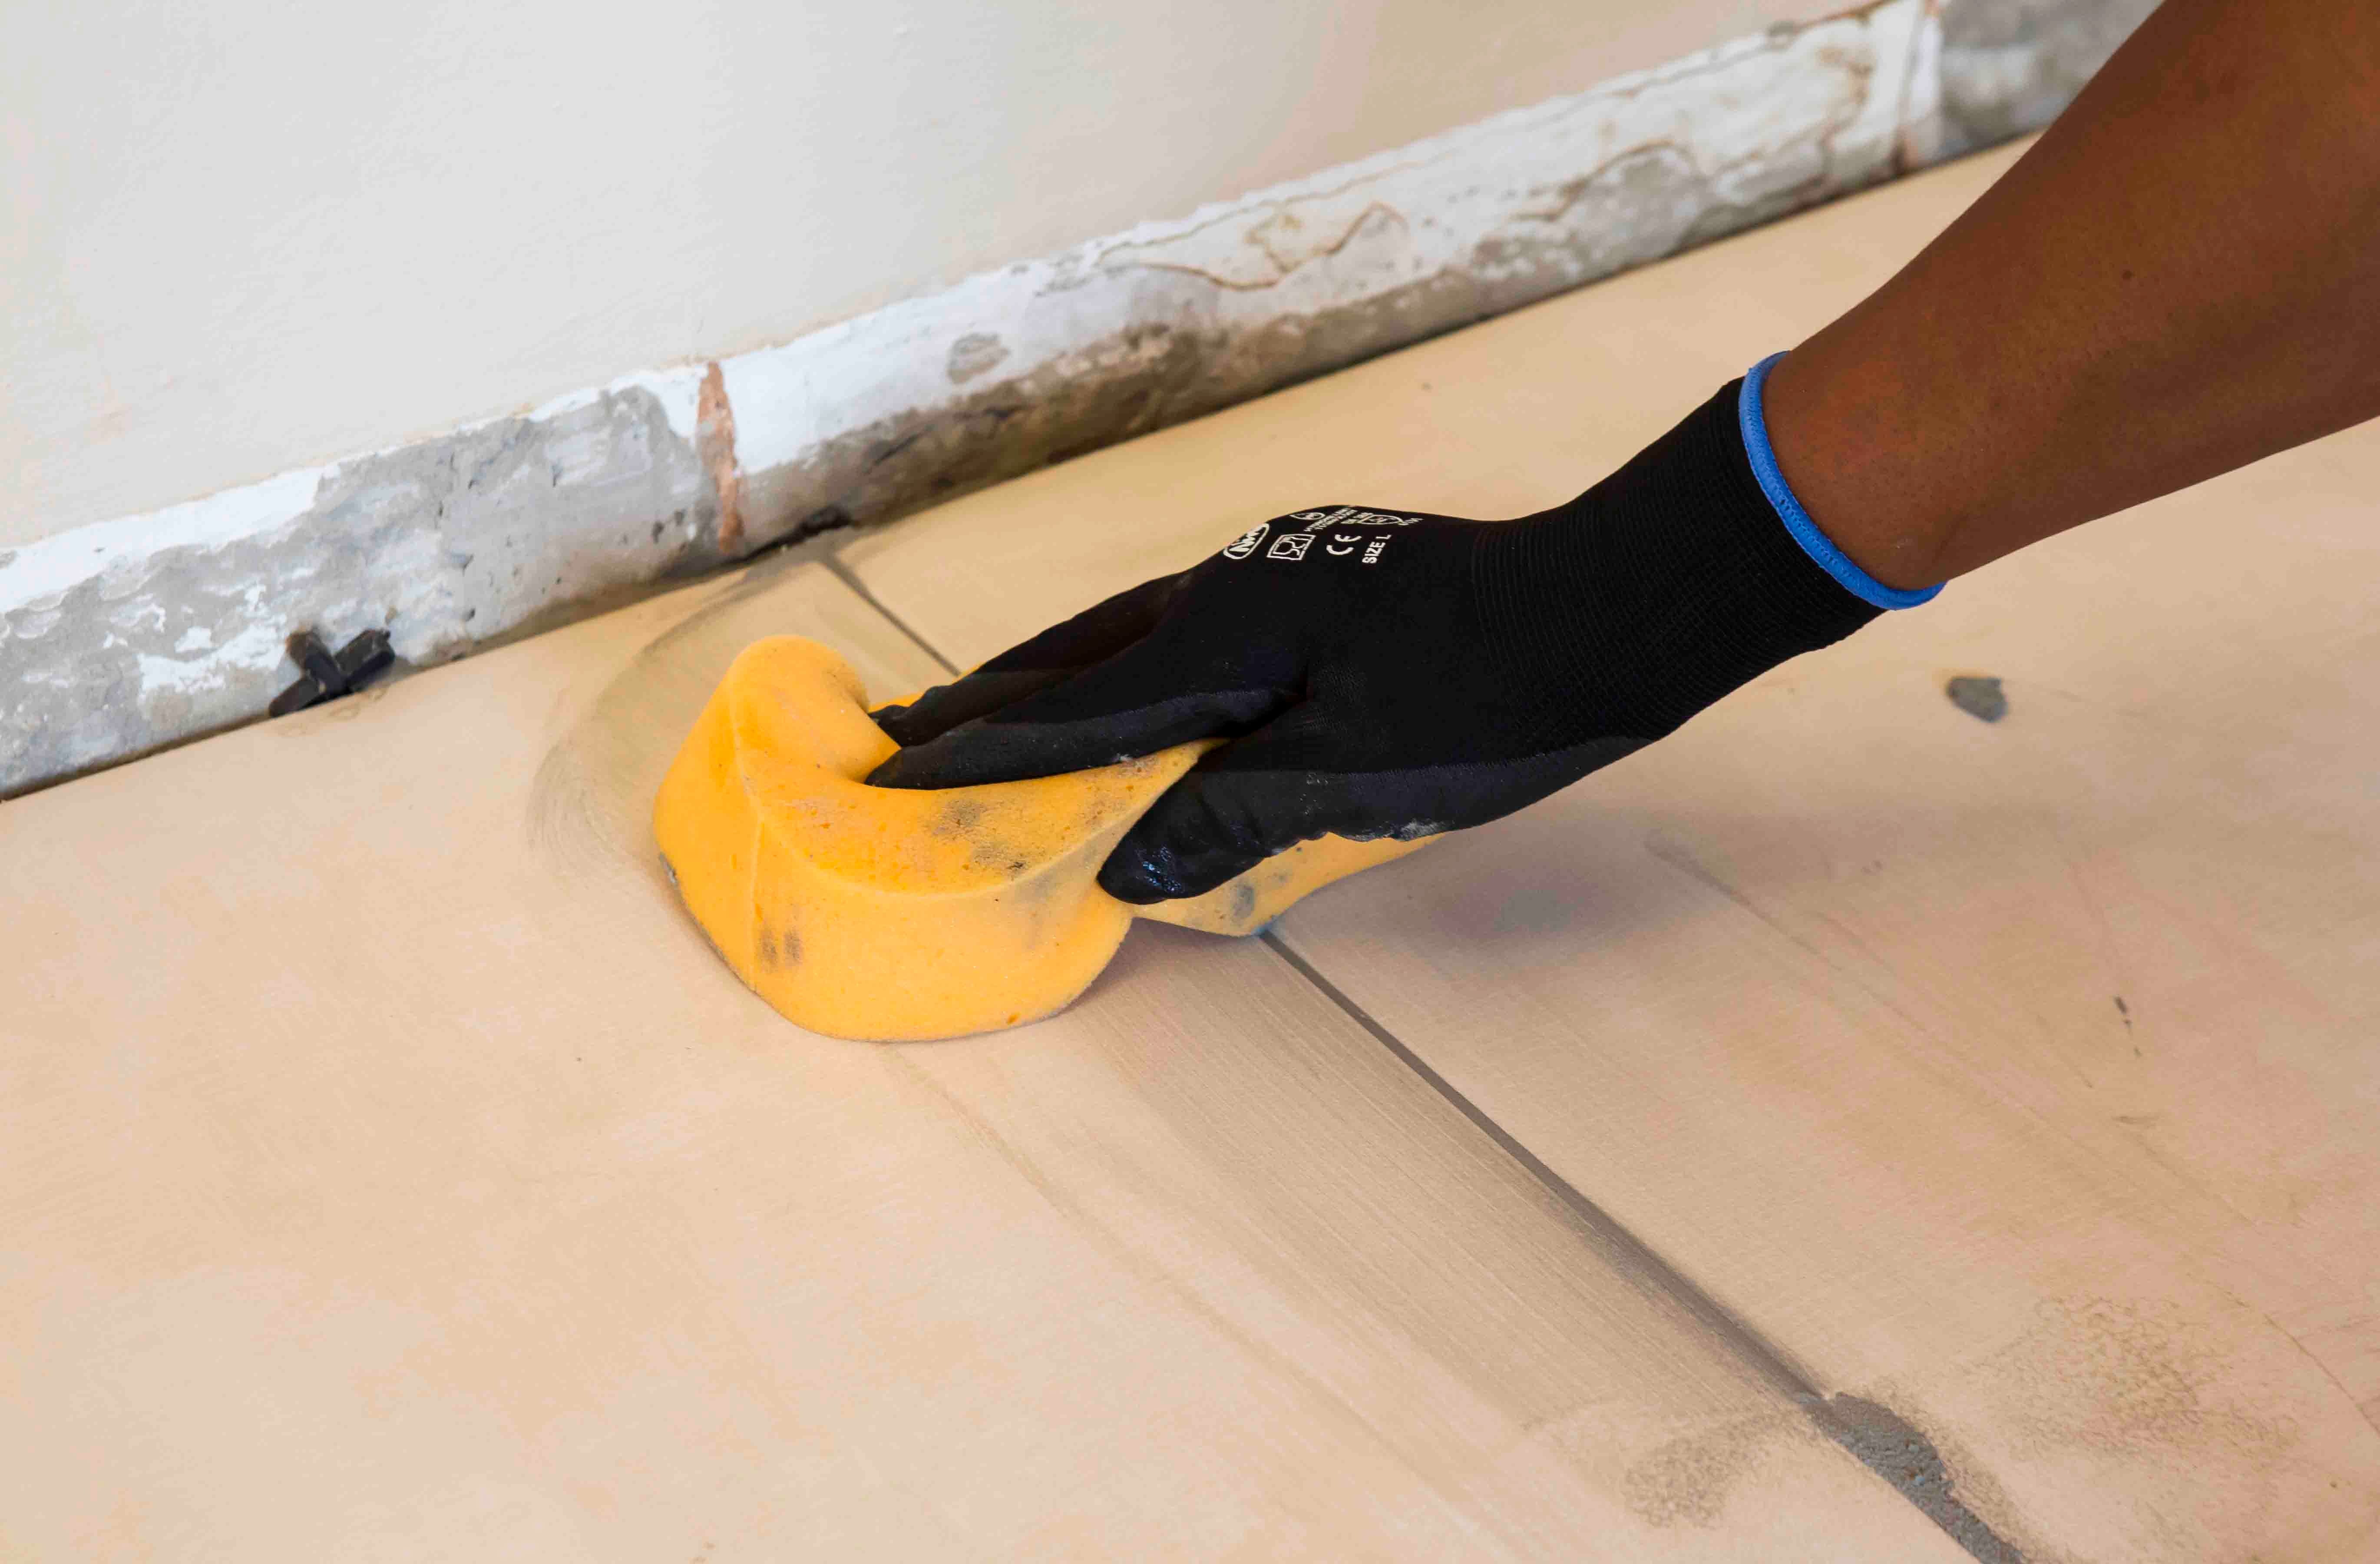
Particular care must be taken to clean the grout off the tile face before it hardens completely. This is especially important when an additive such as TAL Bond or TAL Bond Powder has been used. A tile sample should be tested beforehand to ensure that no grout is absorbed through the glaze or into the tile body, thereby staining the tiles permanently.
Movement joints
The lack of movement joints in tile installations is a major cause of tile failure. When tiling over existing tiles, the existing structural and movement joints must be maintained in the new tile installation. The movement joints should be at least 5 mm wide and extend through the adhesive and both tile layers.