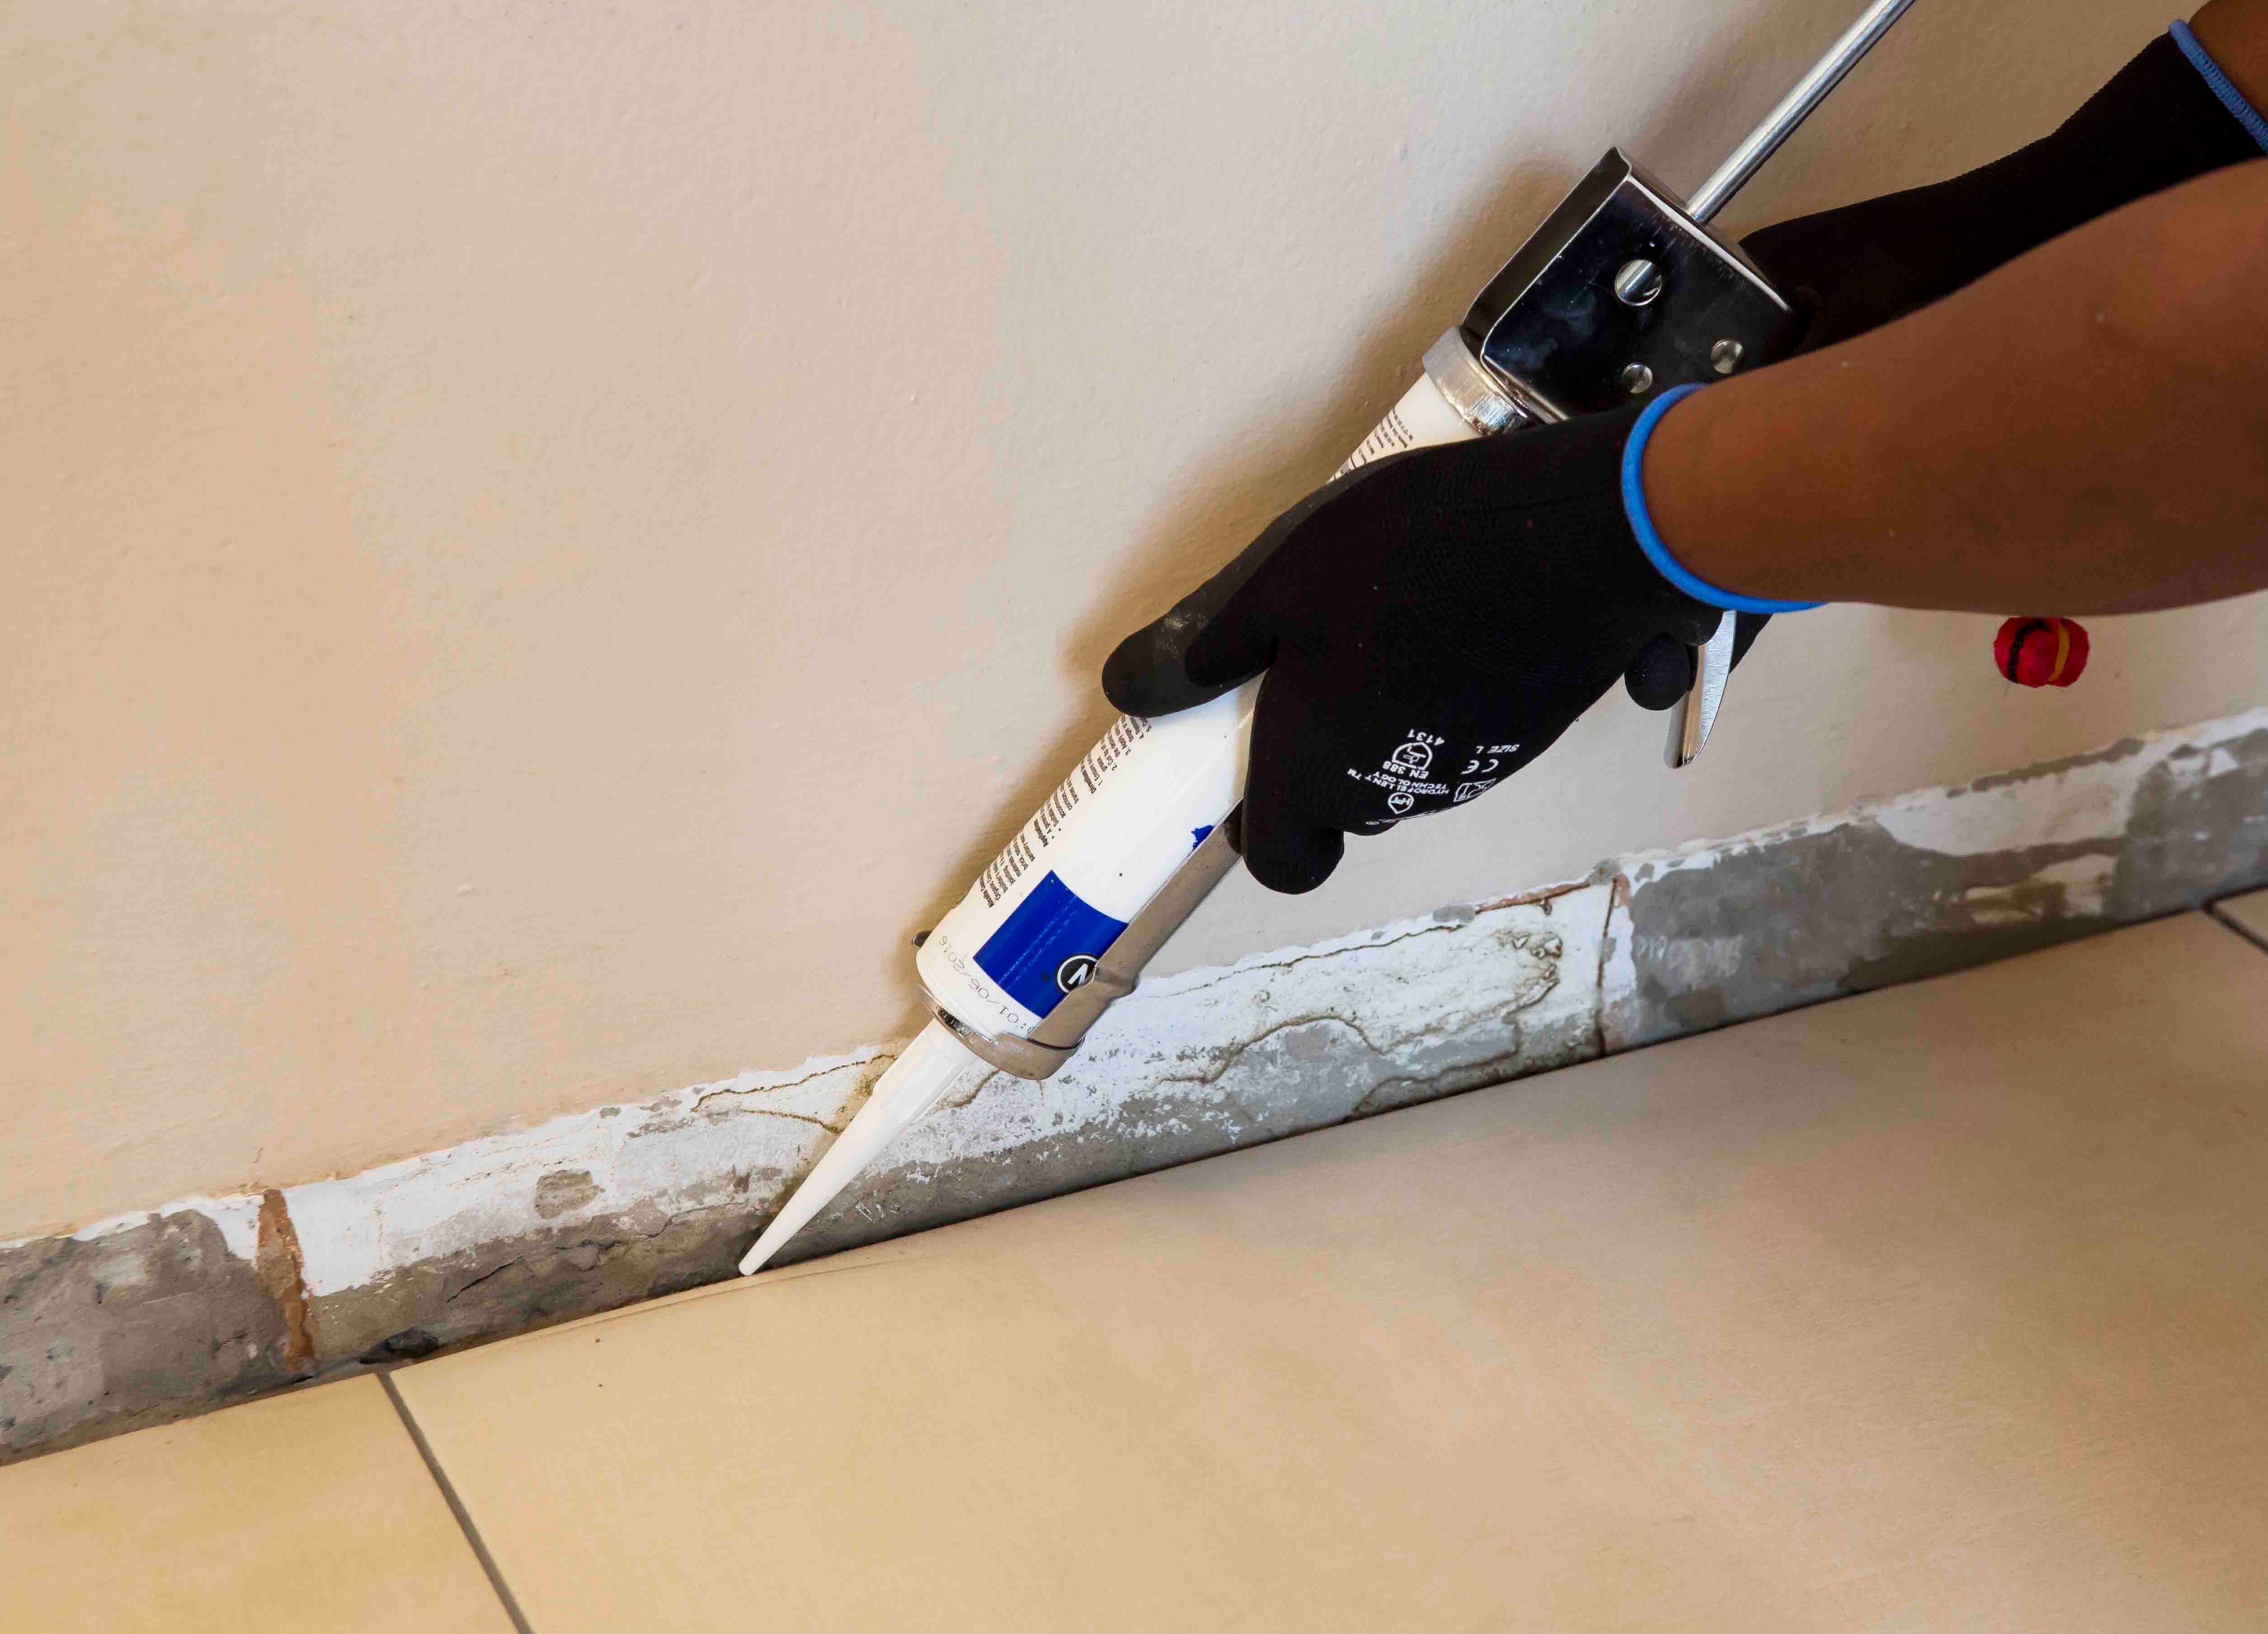
Floor levelling application using TAL Screedmaster
TAL Screedmaster is a high strength, rapid setting, and shrinkage-compensated leveling compound with excellent flow properties that produces smooth, level and hard wearing floor surfaces suitable for the application of floor coverings, with minimum installation time. TAL Screedmaster can be applied from 3mm up to 16mm in a single operation.
It is important to note that TAL Screedmaster is only suitable for underlayment applications. If a durable floor covering (tiles, vinyl, carpet etc) will not be installed over the TAL Screedmaster application, then the cured TAL Screedmaster application must be protected with an epoxy or polyurethane coating. All surface beds must have a damp proof membrane.
STEP 1
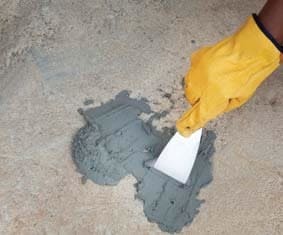
All “lows” and voids in the floor must be identified and cleaned out, and must be filled with TAL Rapidfix prior to applying TAL Screedmaster, and all “highs” or trowel marks must be identified and ground down. All defective areas of concrete/screed must be removed and made good using TAL Rapidfix.

STEP 2
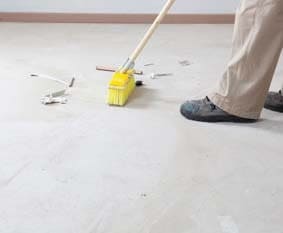
The substrate to be screeded must be in good condition, structurally sound, and free from all traces of contamination such as curing and sealing compounds, grease, grime, old floor coverings, fixatives, paint, etc. The floor must be swept to remove all traces of dust and loose particles. (Vacuuming is preferred.)

STEP 3
NOTE : All surface beds must have a damp proof membrane, and the substrate must have a moisture content of 5% or less before TAL Screedmaster can be applied.
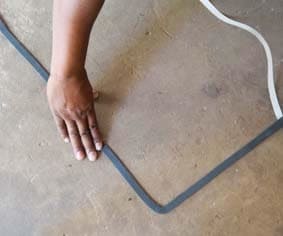
Mark the area using a chalk line and then apply a foam strip to demarcate the installation area. Coverage is 1.8kg/m2 per millimeter thickness

STEP 4
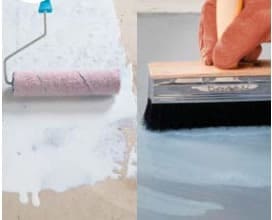
Rough, porous surfaces must be primed with 2 liberal coats of TAL Floor Primer. The second coat must be applied in a cross-direction to the first coat once the first coat has dried. Smooth, dense surfaces must be primed with a slurry consisting of 1 part TAL Floorkey mixed with 2 parts TAL Rapidfix (by volume), which is applied by block brush. Once the TAL Floorkey slurry coat is dry and well anchored to the substrate, a coat of TAL Floor Primer must be applied. The TAL Floor Primer application must be
allowed to cure for 12 hours before the TAL
Screedmaster installation commences.

STEP 5
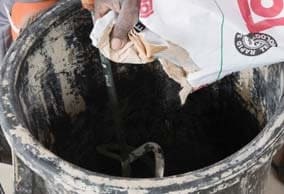
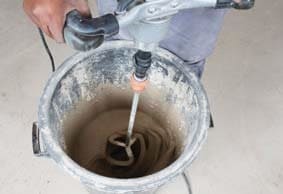
Add 22kg TAL Screedmaster to clean water while stirring slowly using an electric drill (of at least 1.1 Kilowatts) with a mixing paddle attachment. The mixing process and application should be continuous. For best results use a full bag in one mix.

STEP 6
Mix thoroughly until a smooth, lump-free paste is obtained (this should take about 5 minutes). Allow the mix to stand for 3 minutes, and stir again for 1 minute. Also stir the mixture occasionally whilst in use. DO NOT OVER WATER THE MIX. Do not mix up more than can be used in 20 - 30minutes.


Where necessary, use a grout squeegee to apply additional adhesive to fill in any voids in the grout joints.

STEP 7
Pour the mix onto the floor and spread with a TAL Notched Floor Rake or a TAL Adjustable Floor Spreader to the required thickness. (The size of the notch of the TAL Floor Rake or the height adjustment of the TAL Adjustable Floor Spreader will determine the thickness). It is recommended to wear TAL Spiked Shoes during the installation
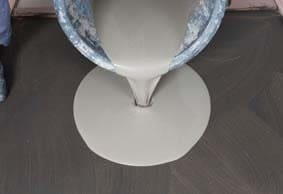

STEP 8
Roll the area using a TAL Spiked Roller to facilitate the release of any trapped air to produce a smooth surface, and to allow it to dry.
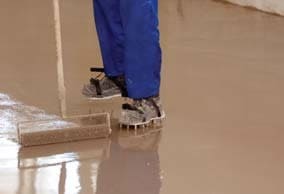

Allow the screed installation to dry for 24 hours before subjecting to foot traffic (or other trades) or installing floor coverings.


TAL MOSAICFIX is available in 20 kg and 5 kg bags from leading retail outlets.
Designed to be 100% compatible, using the TAL range of products ensures fully guaranteed multi-level tiling systems from a single source. TAL products are manufactured in South Africa to suit local climatic conditions.
If you are in any doubt, contact the TAL Technical Advisory Service on 0860 000 TAL (825), email [email protected]. Alternatively, employ the services of an experienced and skilled mosaic tiling contractor.


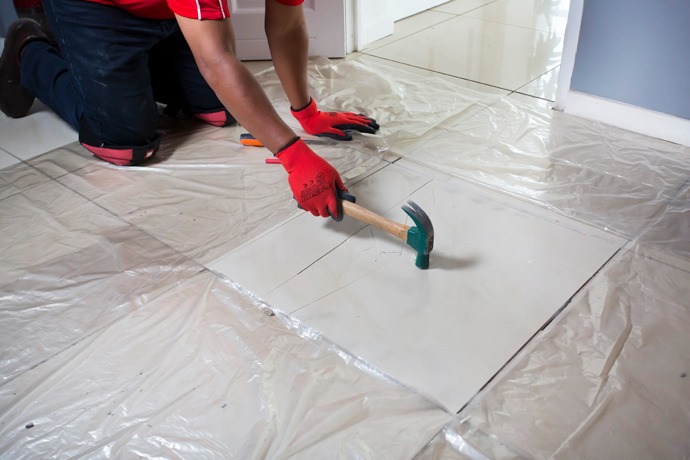
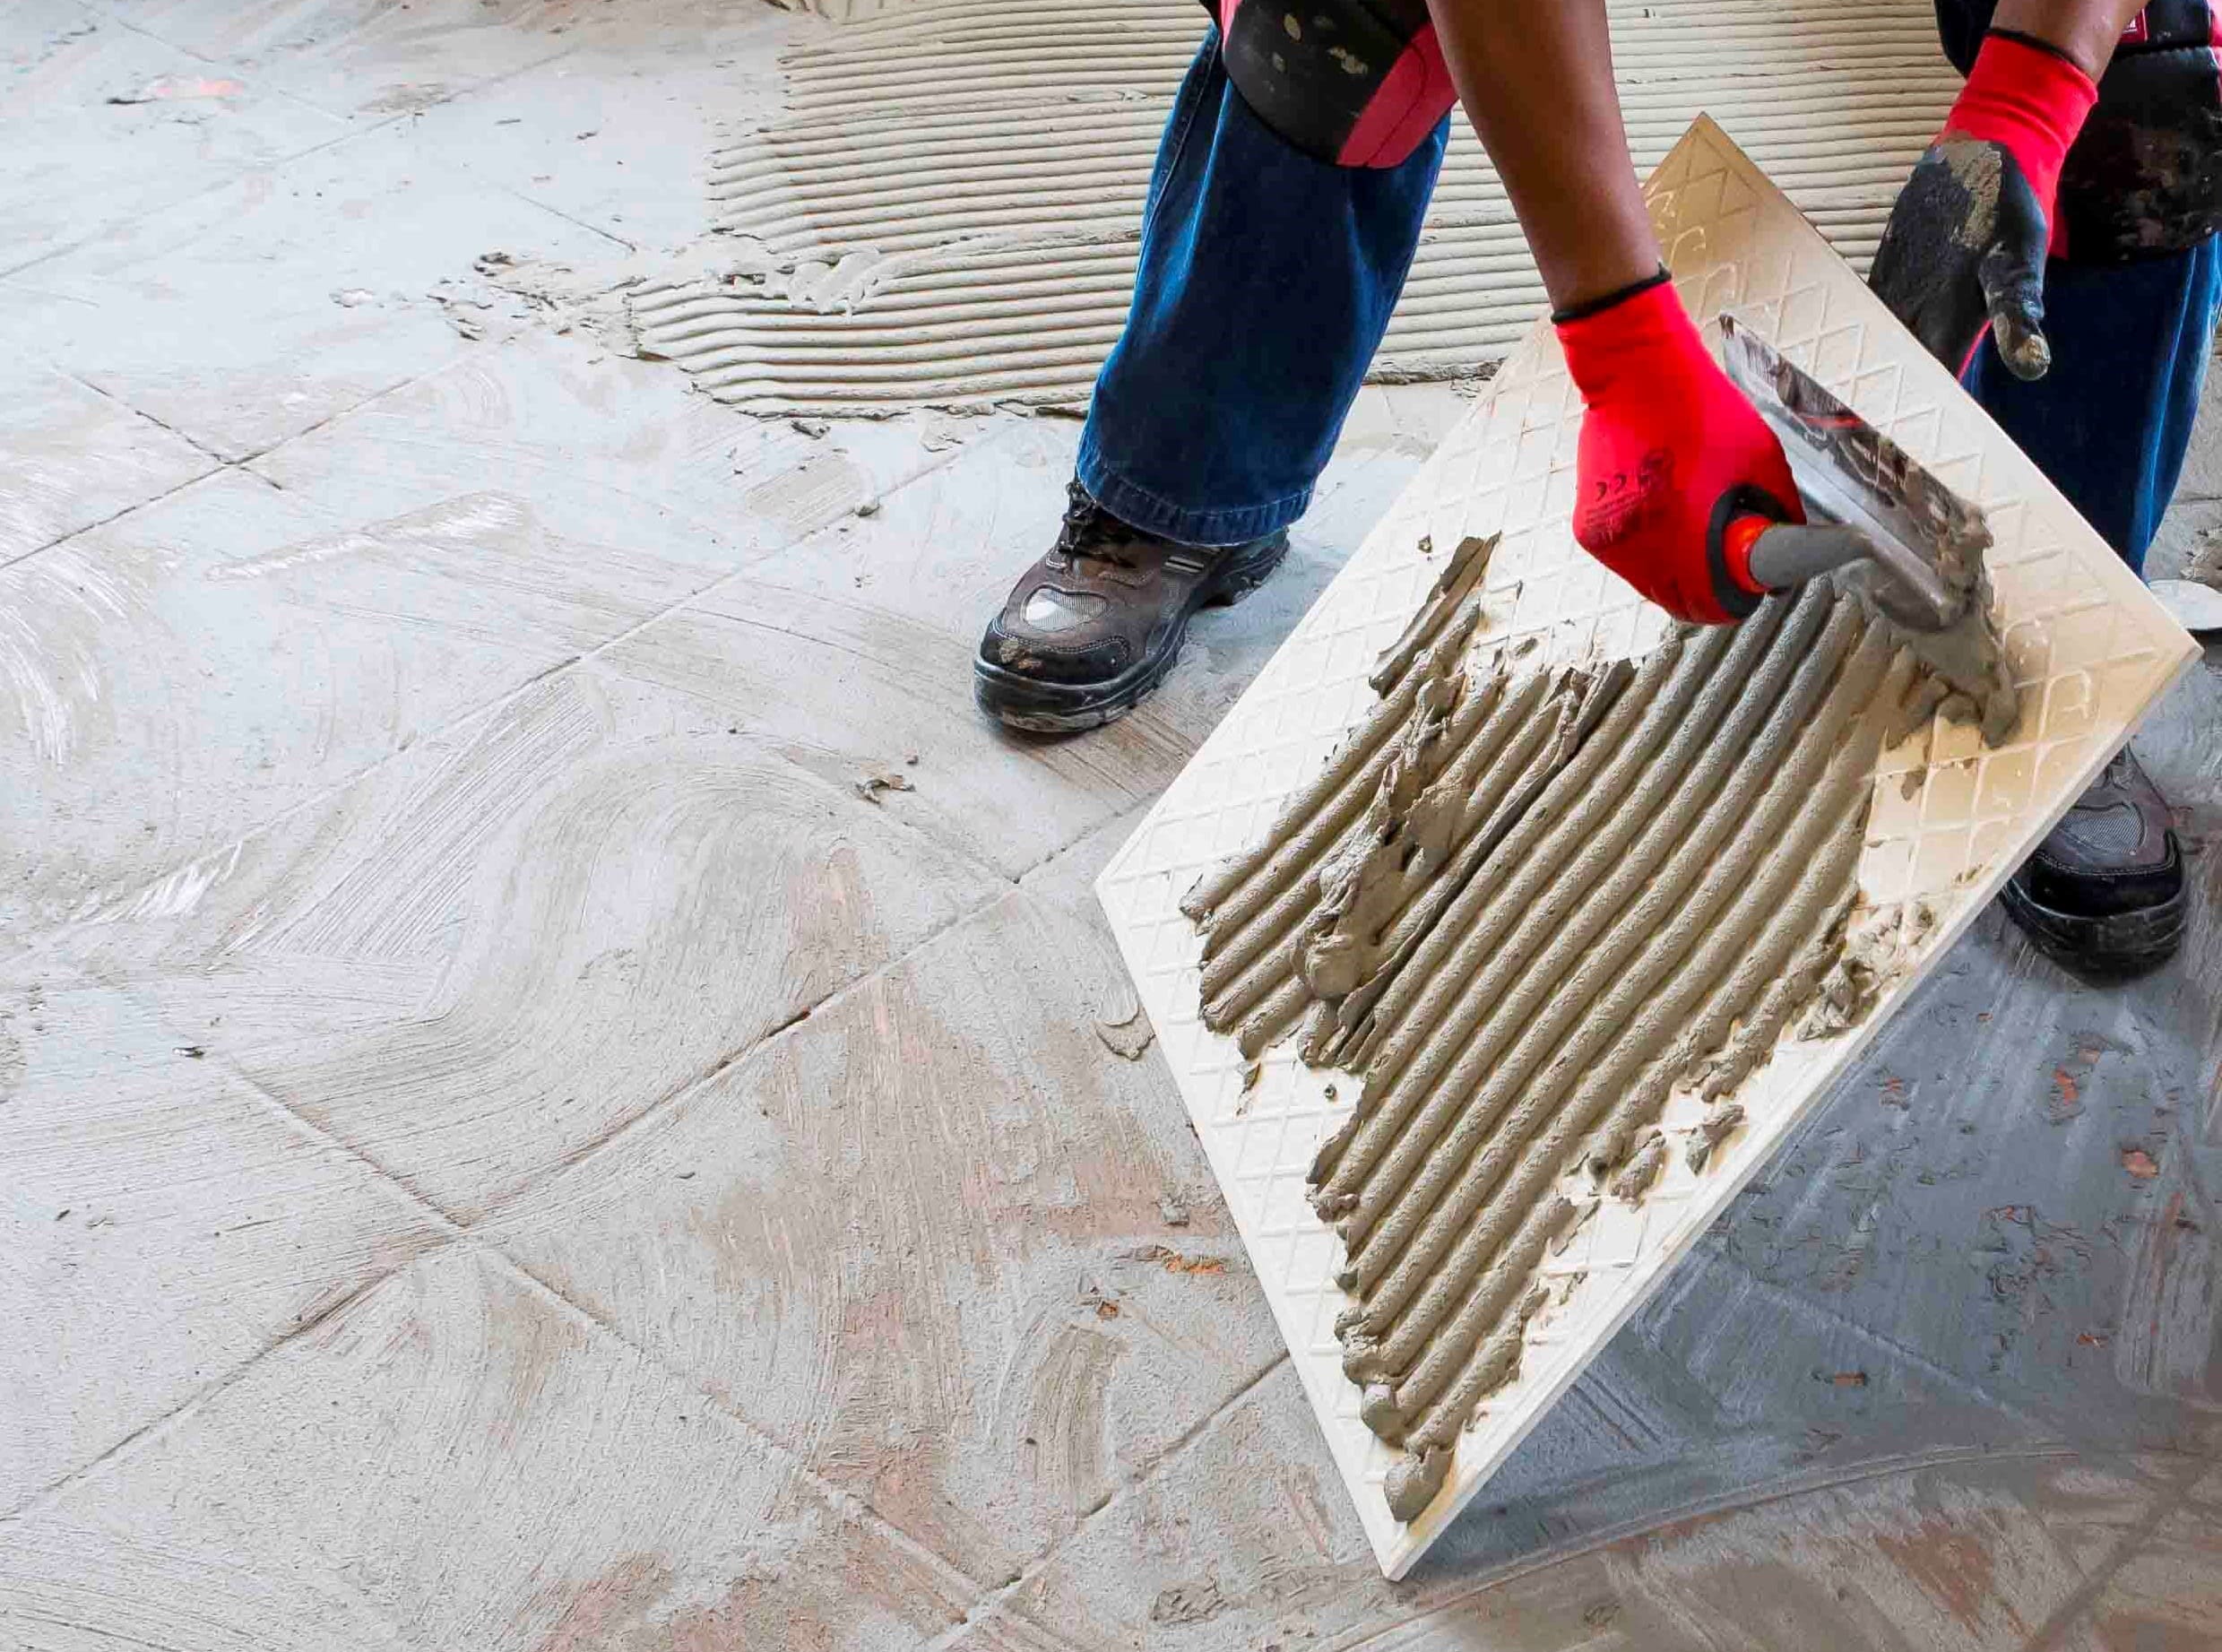
When replacing tiles, it is not always possible to apply the TALFIX directly to the floor, in which case apply the adhesive in a solid bed onto the back of the tile, ensuring complete coverage. Gently trace the notched side of a floor trowel through the adhesive to create ‘ridges’.


Adhesive system
When tiling onto existing tiles, it is important to only use a quick- or rapid-setting adhesive, as the existing tiles will present a dense, impervious surface, and standard-setting adhesives will take longer to dry. Too early trafficking of newly-installed tiles before the adhesive has set sufficiently can result in hollow-sounding or loose tiles.
Use TAL Tile-To-Tile quick-setting adhesive for tiling onto interior surface beds. When tiling onto suspended slabs and for external installations mix the TAL Tile-To-Tile with TAL Bond, replacing the water in the mix. Alternatively, TAL Bond Powder can be added to the adhesive mixing water.
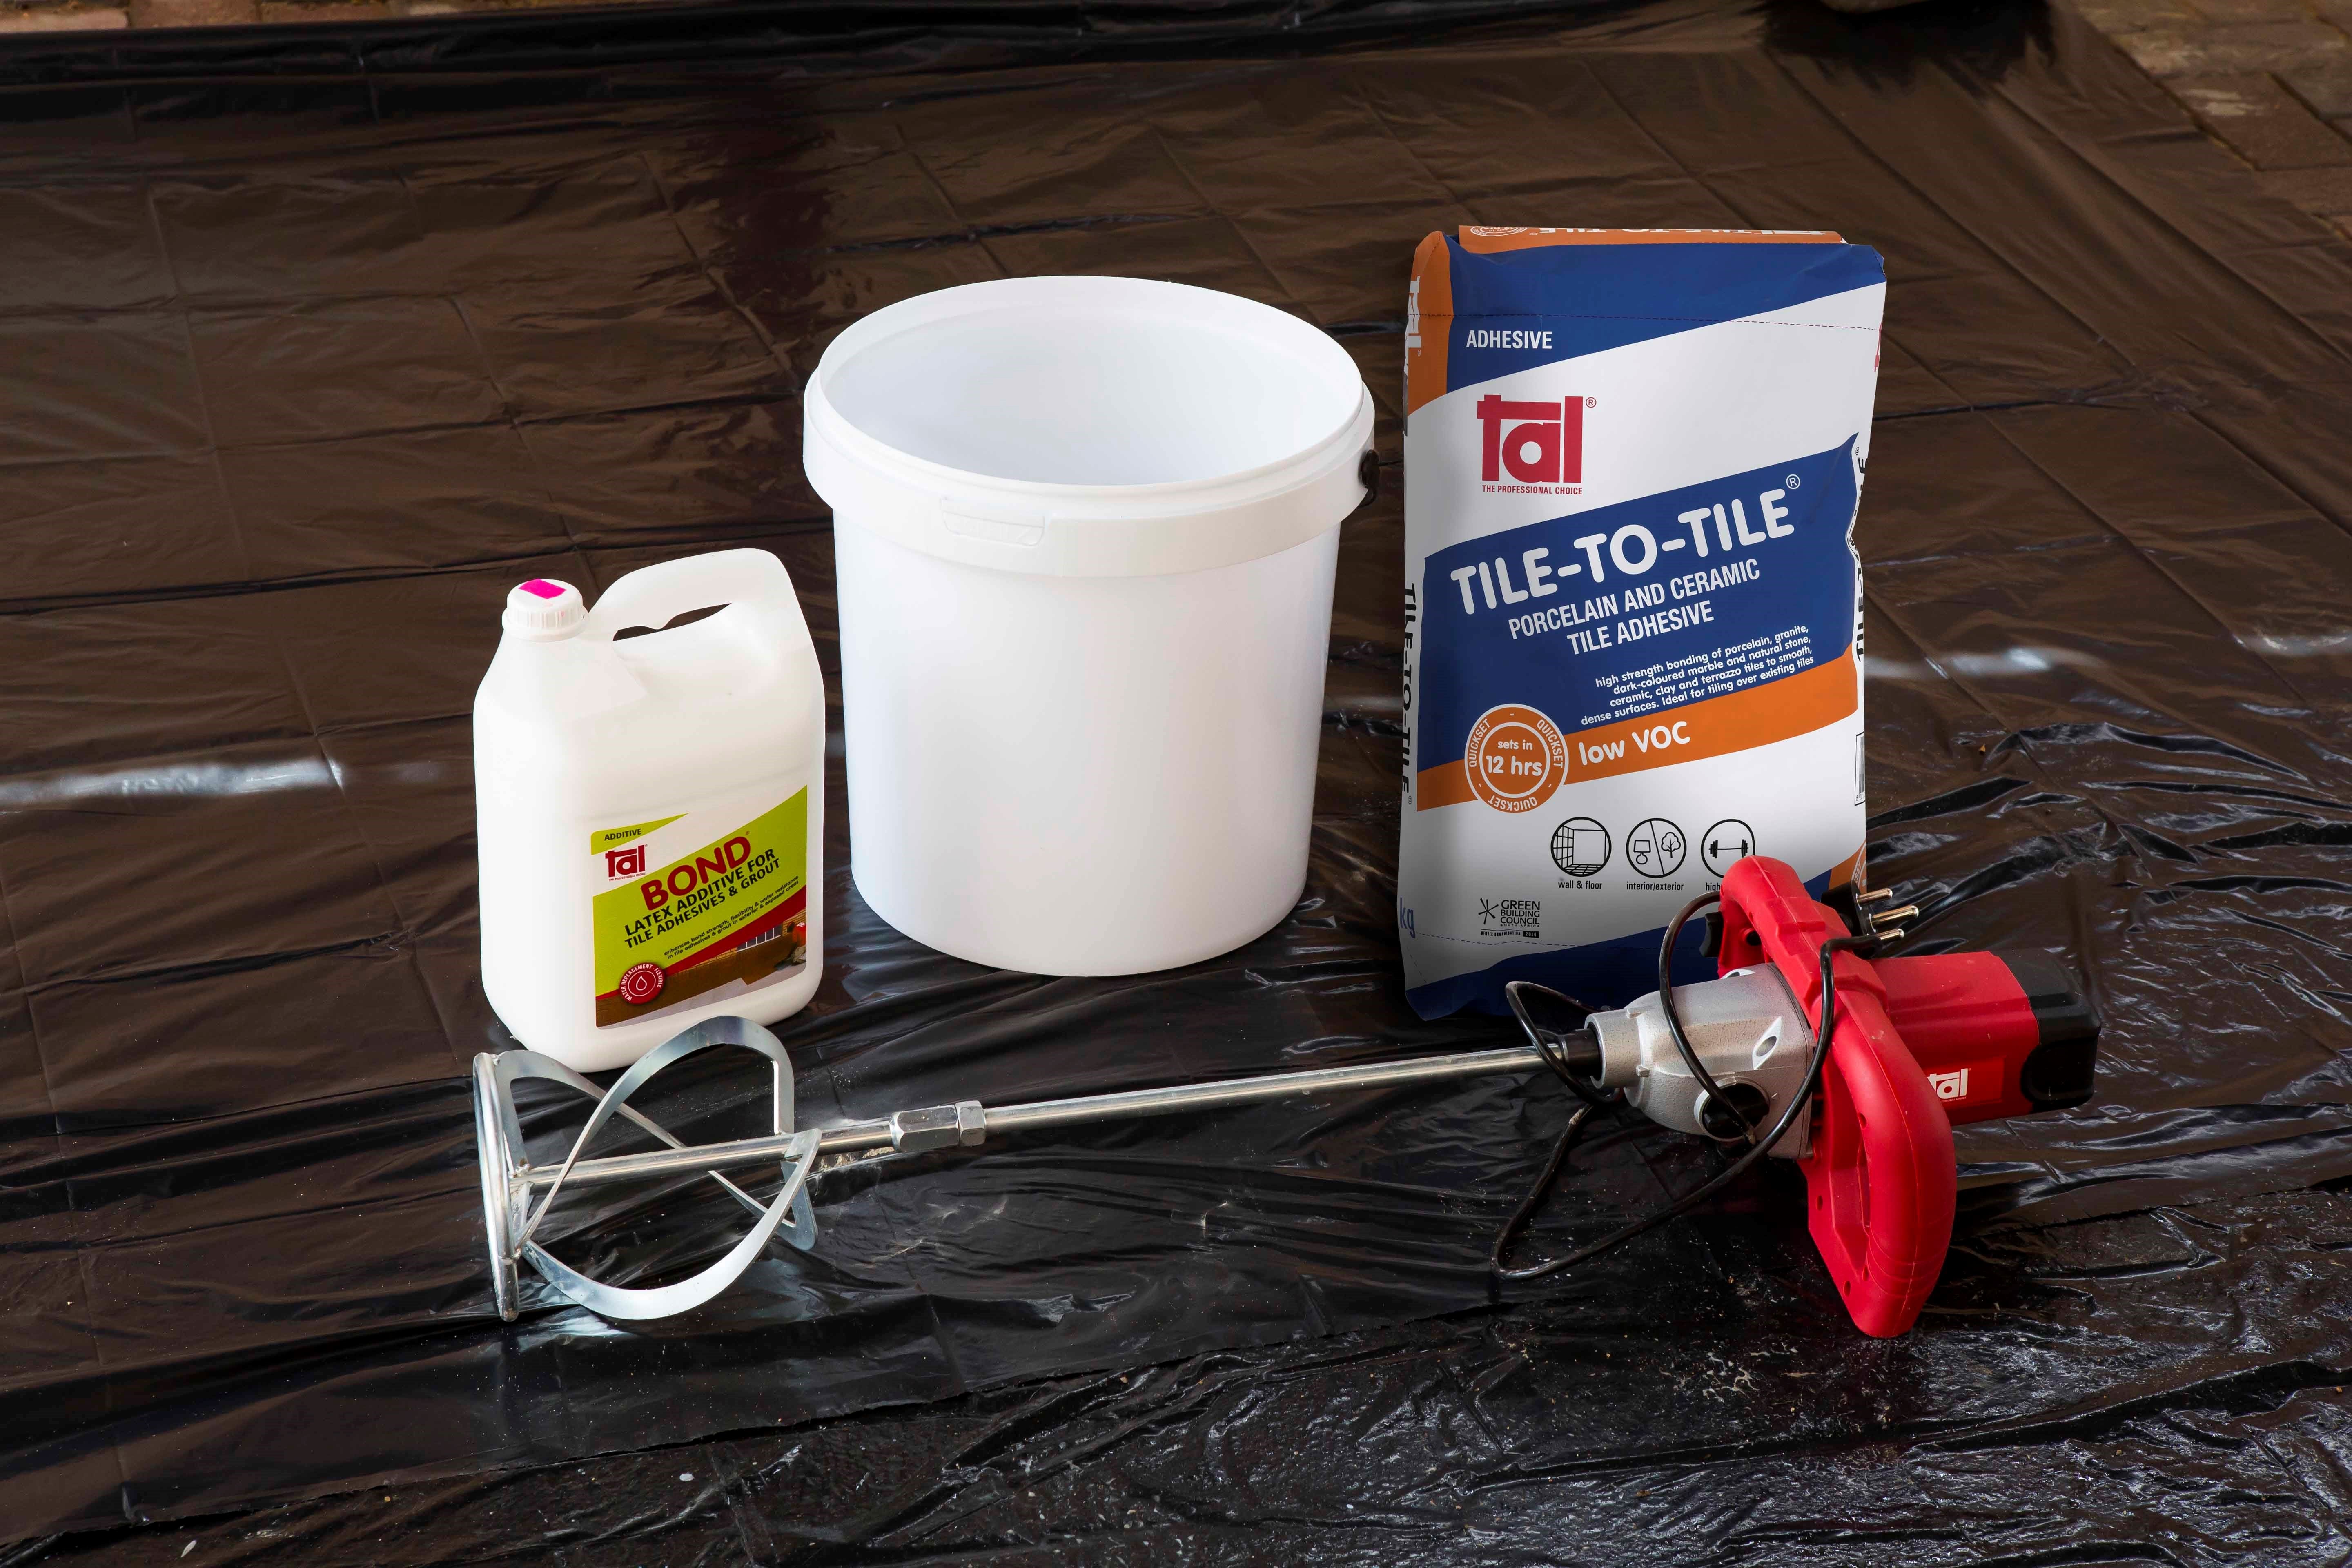

Ensure that there is a solid bed of adhesive at least 6 mm thick beneath each tile.
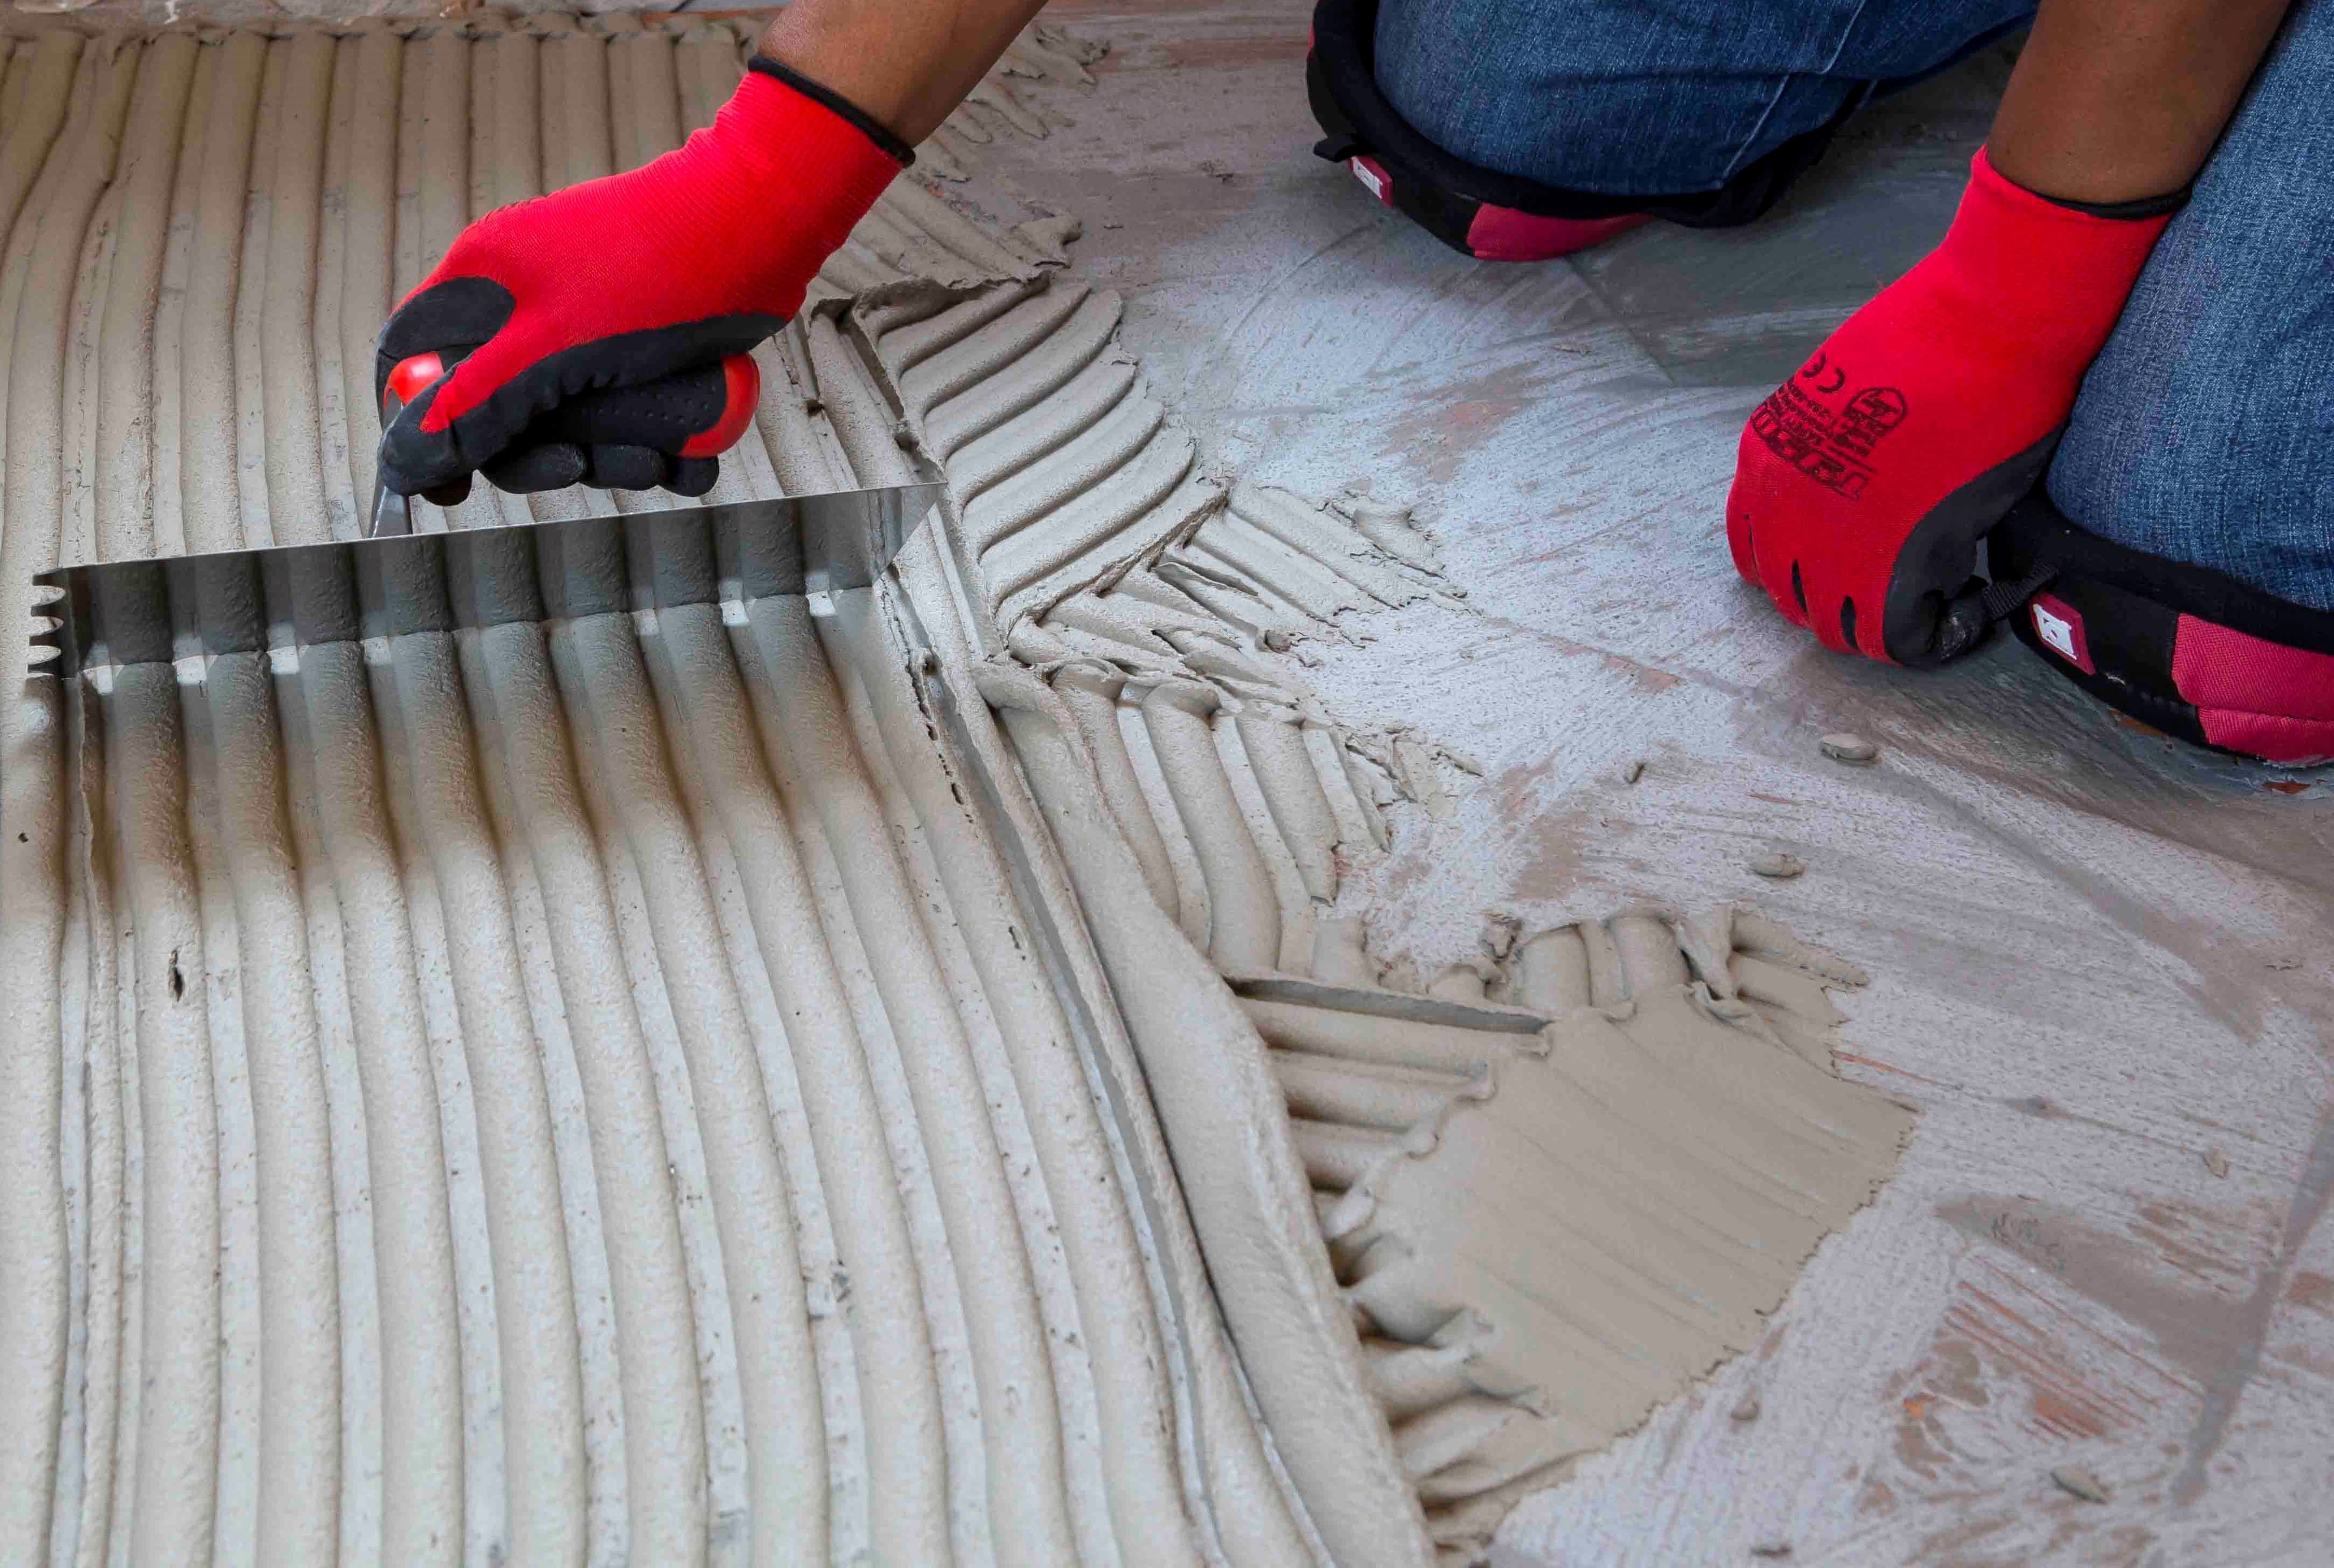

Back buttering with a thin coat of adhesive may also be required when using large-format tiles to ensure full contact with the adhesive bed.

Grouting
Grouting should not be carried out until the adhesive has set sufficiently to prevent the tile installation from being disturbed during the grouting operation (always refer to the adhesive packaging for setting times). When using TAL TAL Tile-To-Tile, allow a minimum of six hours before grouting.
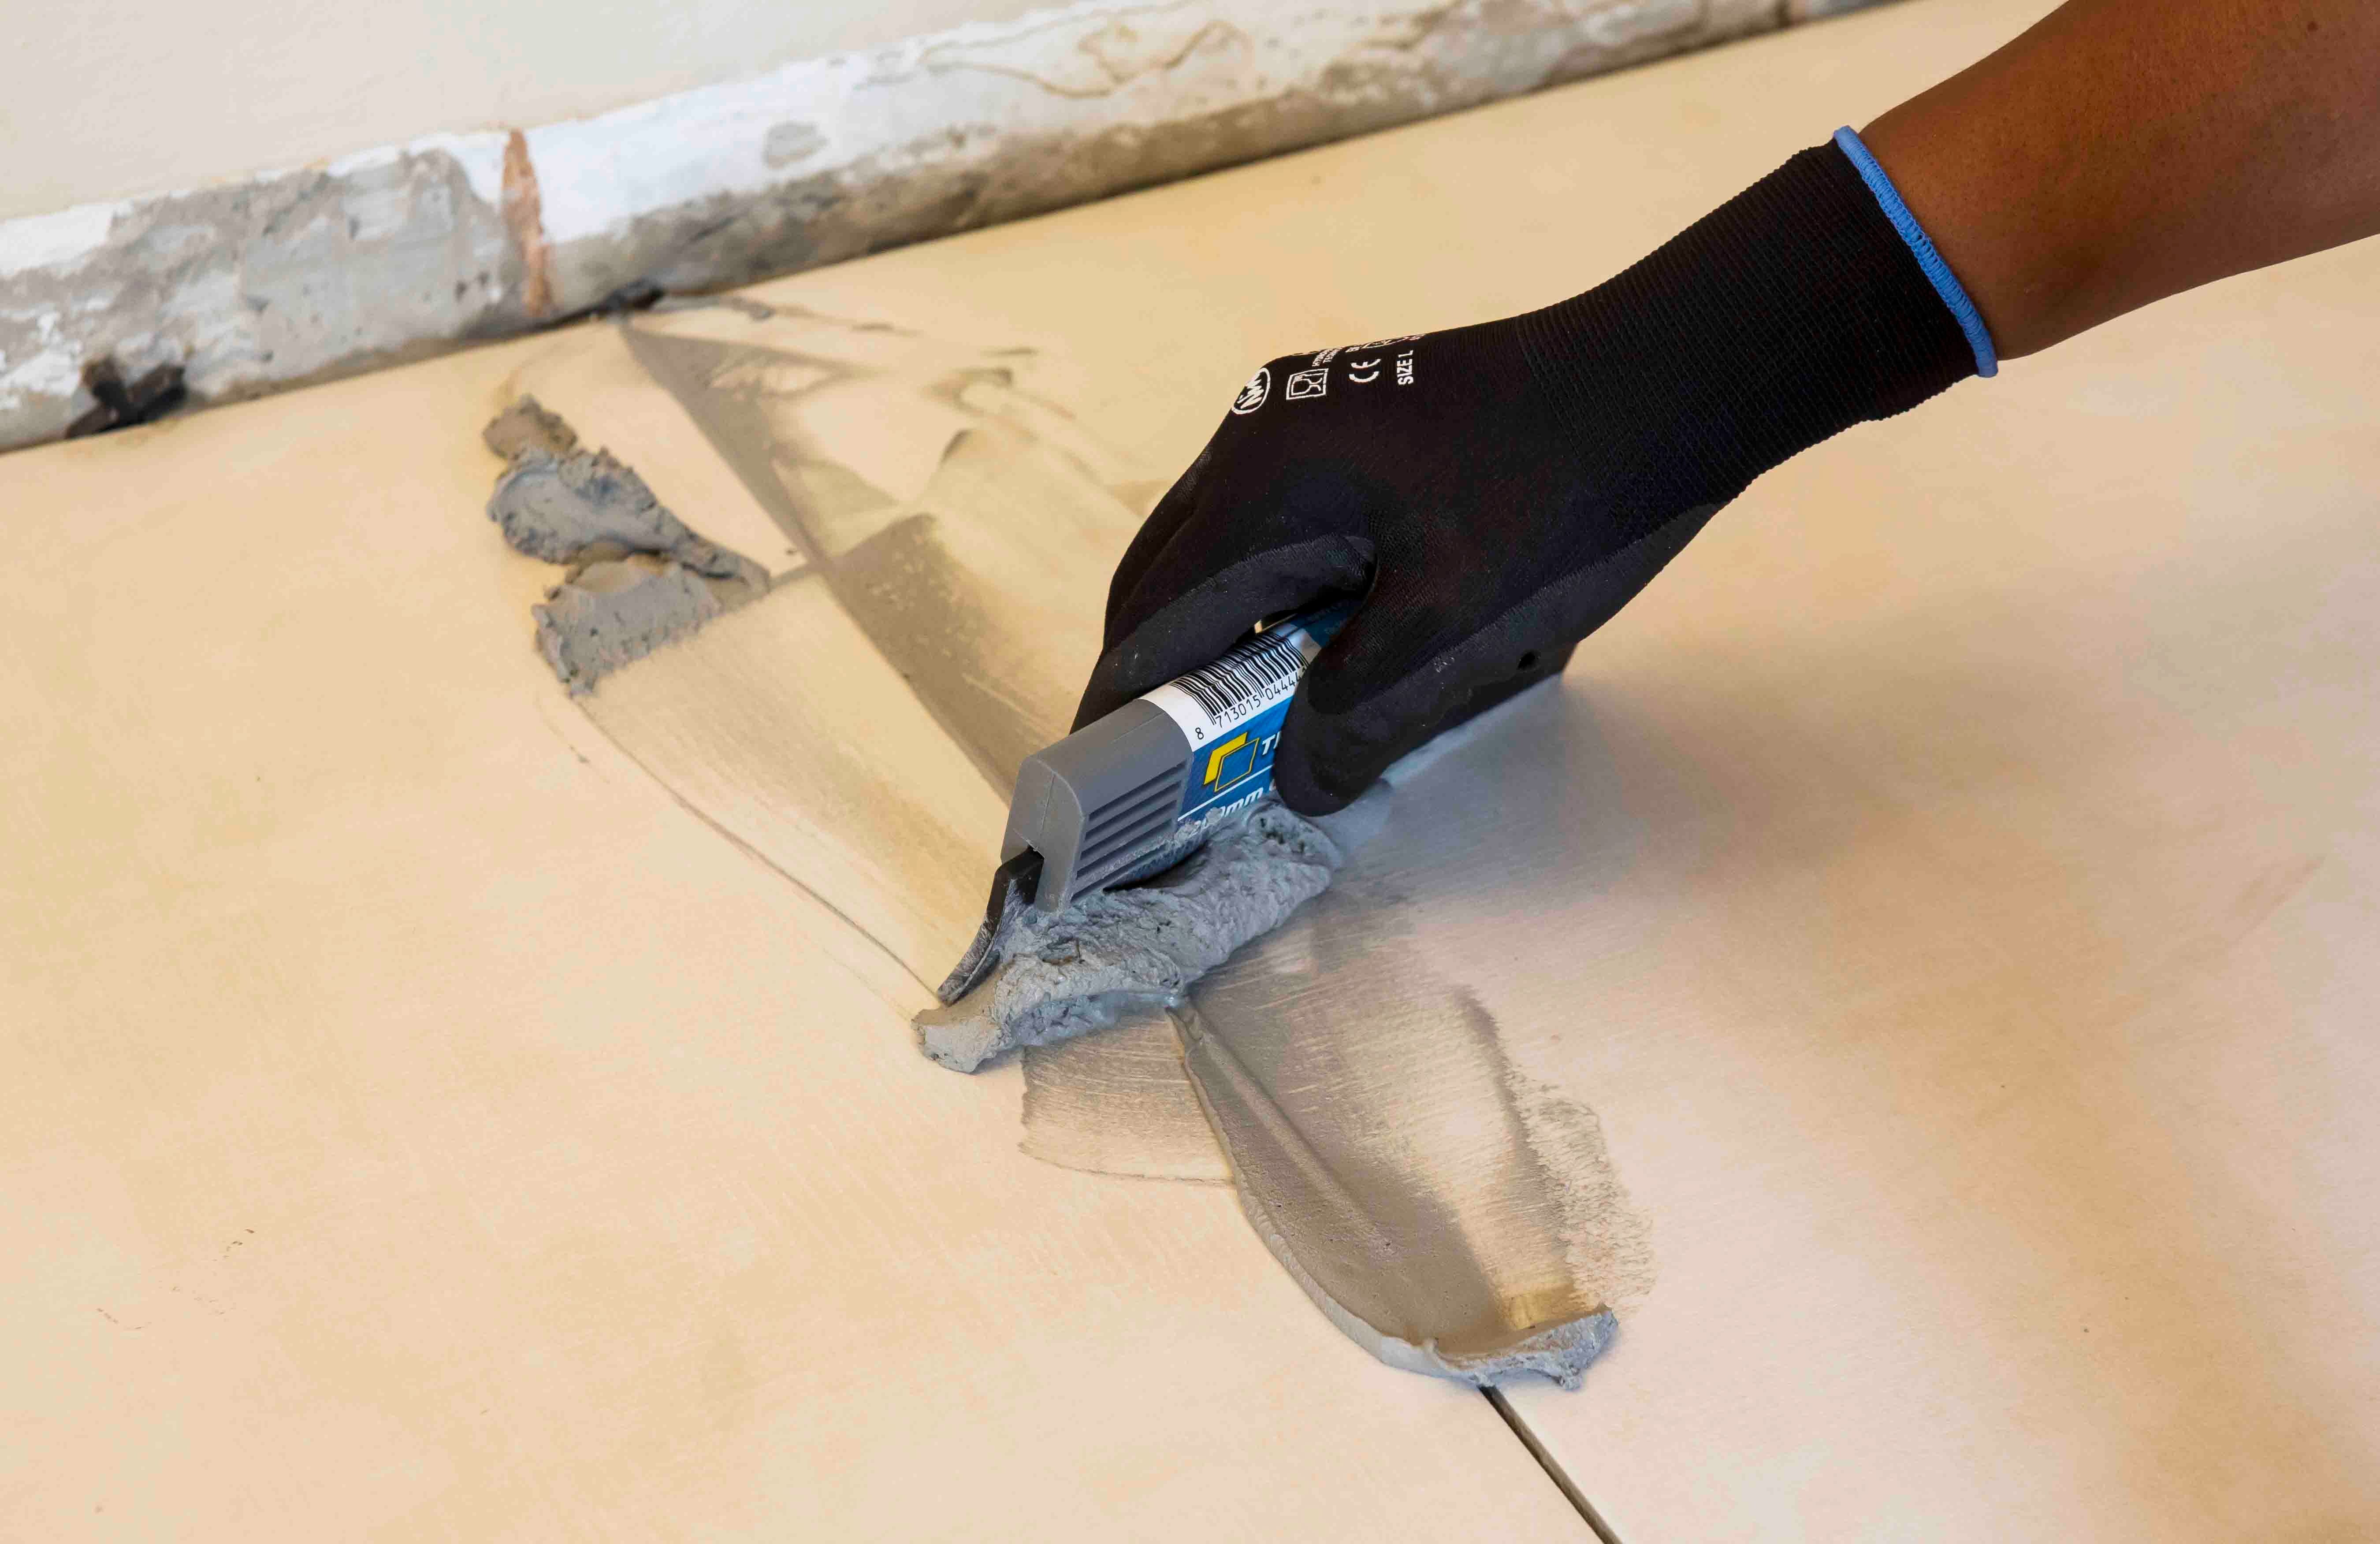

For interior surface beds, use TAL Wall & Floor Grout for filling tile joints up to 8 mm wide. TAL Quarry Grout can be used in wider joints up to 25 mm wide. On suspended slabs and for external installations, replace the water in the grout mix with TAL Bond, or add TAL Bond Powder to the grout mixing water.
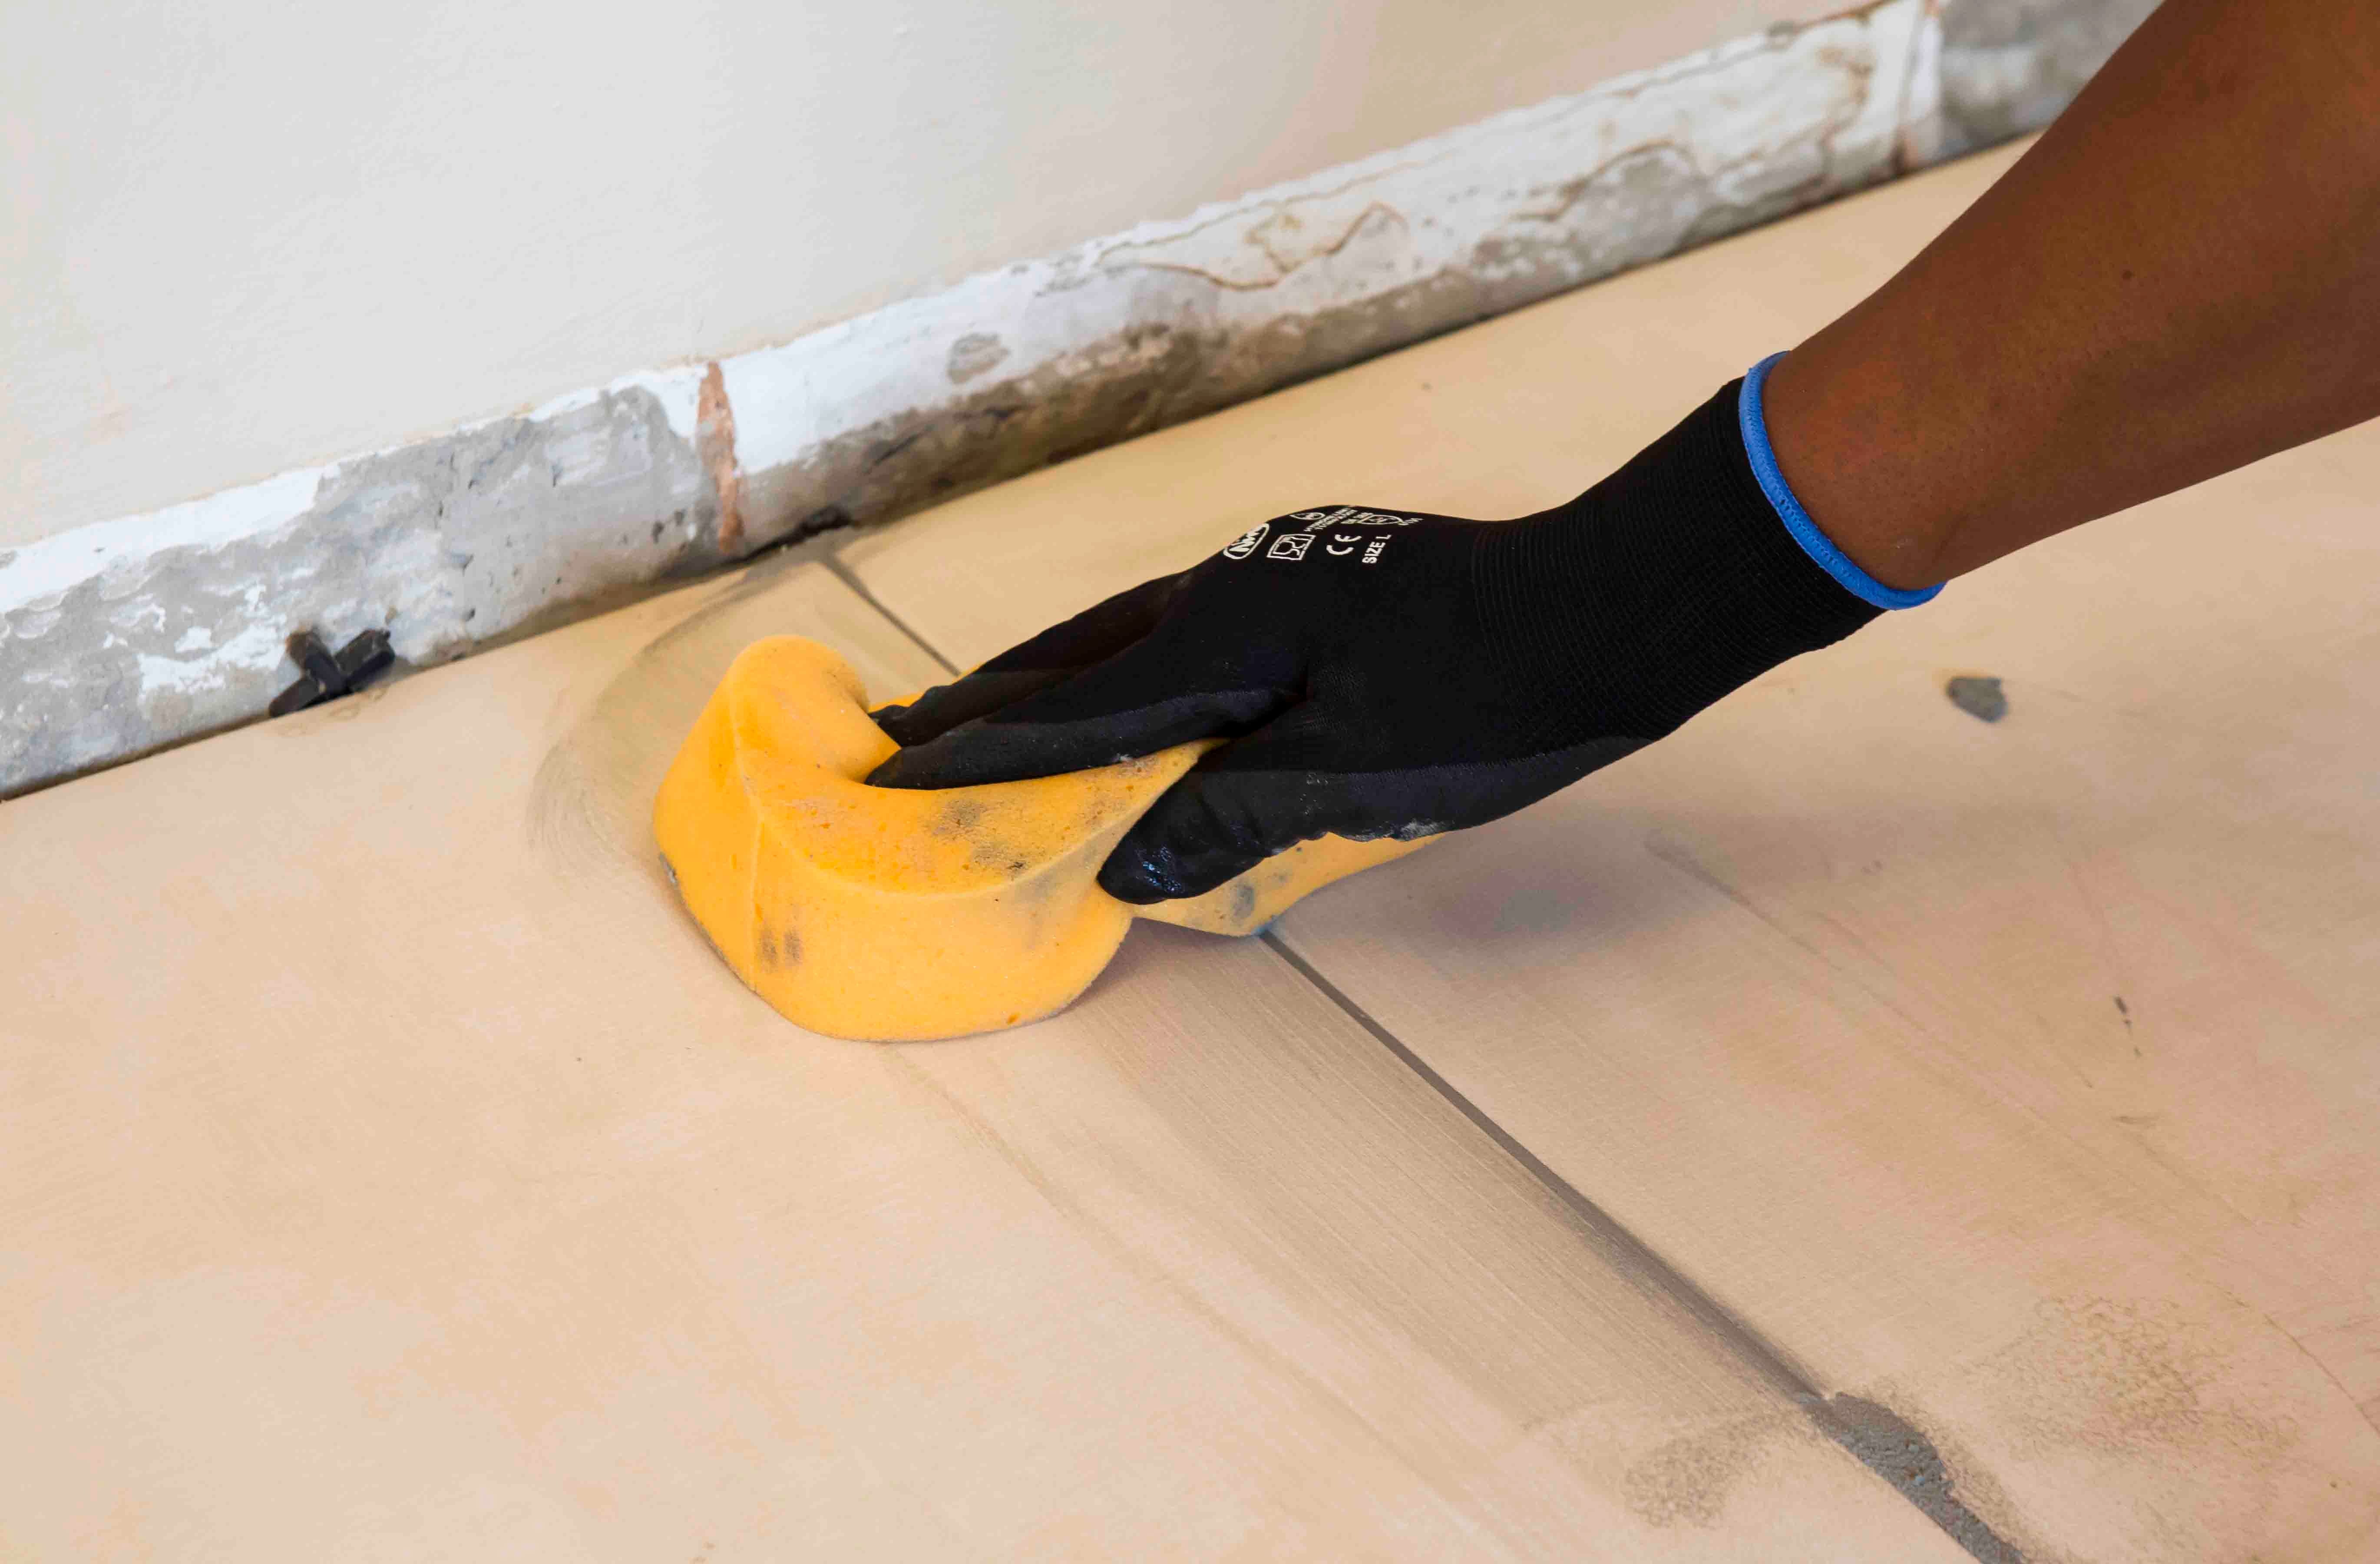
Particular care must be taken to clean the grout off the tile face before it hardens completely. This is especially important when an additive such as TAL Bond or TAL Bond Powder has been used. A tile sample should be tested beforehand to ensure that no grout is absorbed through the glaze or into the tile body, thereby staining the tiles permanently.

Movement joints
The lack of movement joints in tile installations is a major cause of tile failure. When tiling over existing tiles, the existing structural and movement joints must be maintained in the new tile installation. The movement joints should be at least 5 mm wide and extend through the adhesive and both tile layers.
