How to tile a curved floor
Another option to achieve a professional tile installation around a curve is to cut square or rectangular tiles into several pieces to fit around the curve.

Cutting a tile in pieces to fit the curve
1. Measure the curve with a Tilemate profile gauge and transfer the measurement onto the tile.
2. Work out the number of straight cuts the tile will require to fit around the curve and in the current tile layout. Remember to leave space for grout.
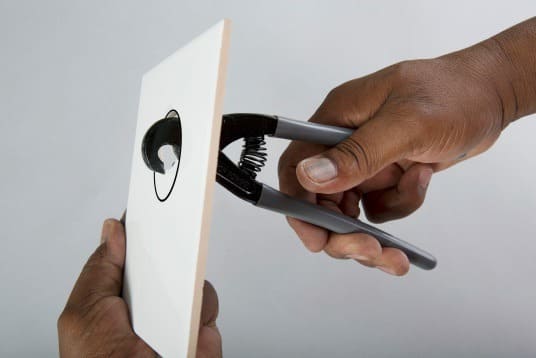
- Use a Tilemate pencil cutter to score the glazed surface of the tile on the measured mark, using another tile as a straight edge.
- Use a tile breaker to apply pressure on the scored tile to achieve a clean break. Use a Tilemate tile grate to neaten the cut area.
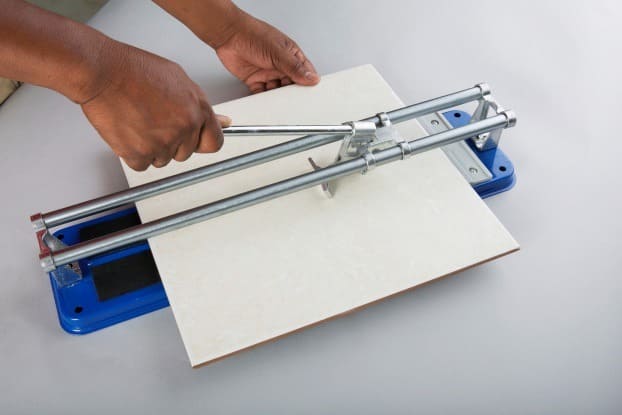
If you have to make more than one cut, consider using a Tilemate manual tile cutter:
To score the tile, place the tile on the cutting surface. Place the cut line over and parallel to the raised metal bar, called the fulcrum.
Raise the handle and align the tile precisely with the cutting wheel.
Press the blade down onto the surface of the tile. Press it hard enough to score the surface of the tile and push the blade away from you while maintaining the pressure.
After the surface is scored, lift the handle of the tile cutter and position the metal foot over the tile, at its centre. Set the foot in position and pull the handle down with enough force to snap the tile in two.
Use a Tilemate tile grate to smooth the edge of the cut tile.
- A tile cutter is recommended for smooth ceramic and porcelain tiles. A tile saw is recommended for textured tiles.
- Regularly visit TAL Talk for handy tiling tips.
TAL products and Tilemate tiling tools are available from major tile merchant and home improvement retailers.

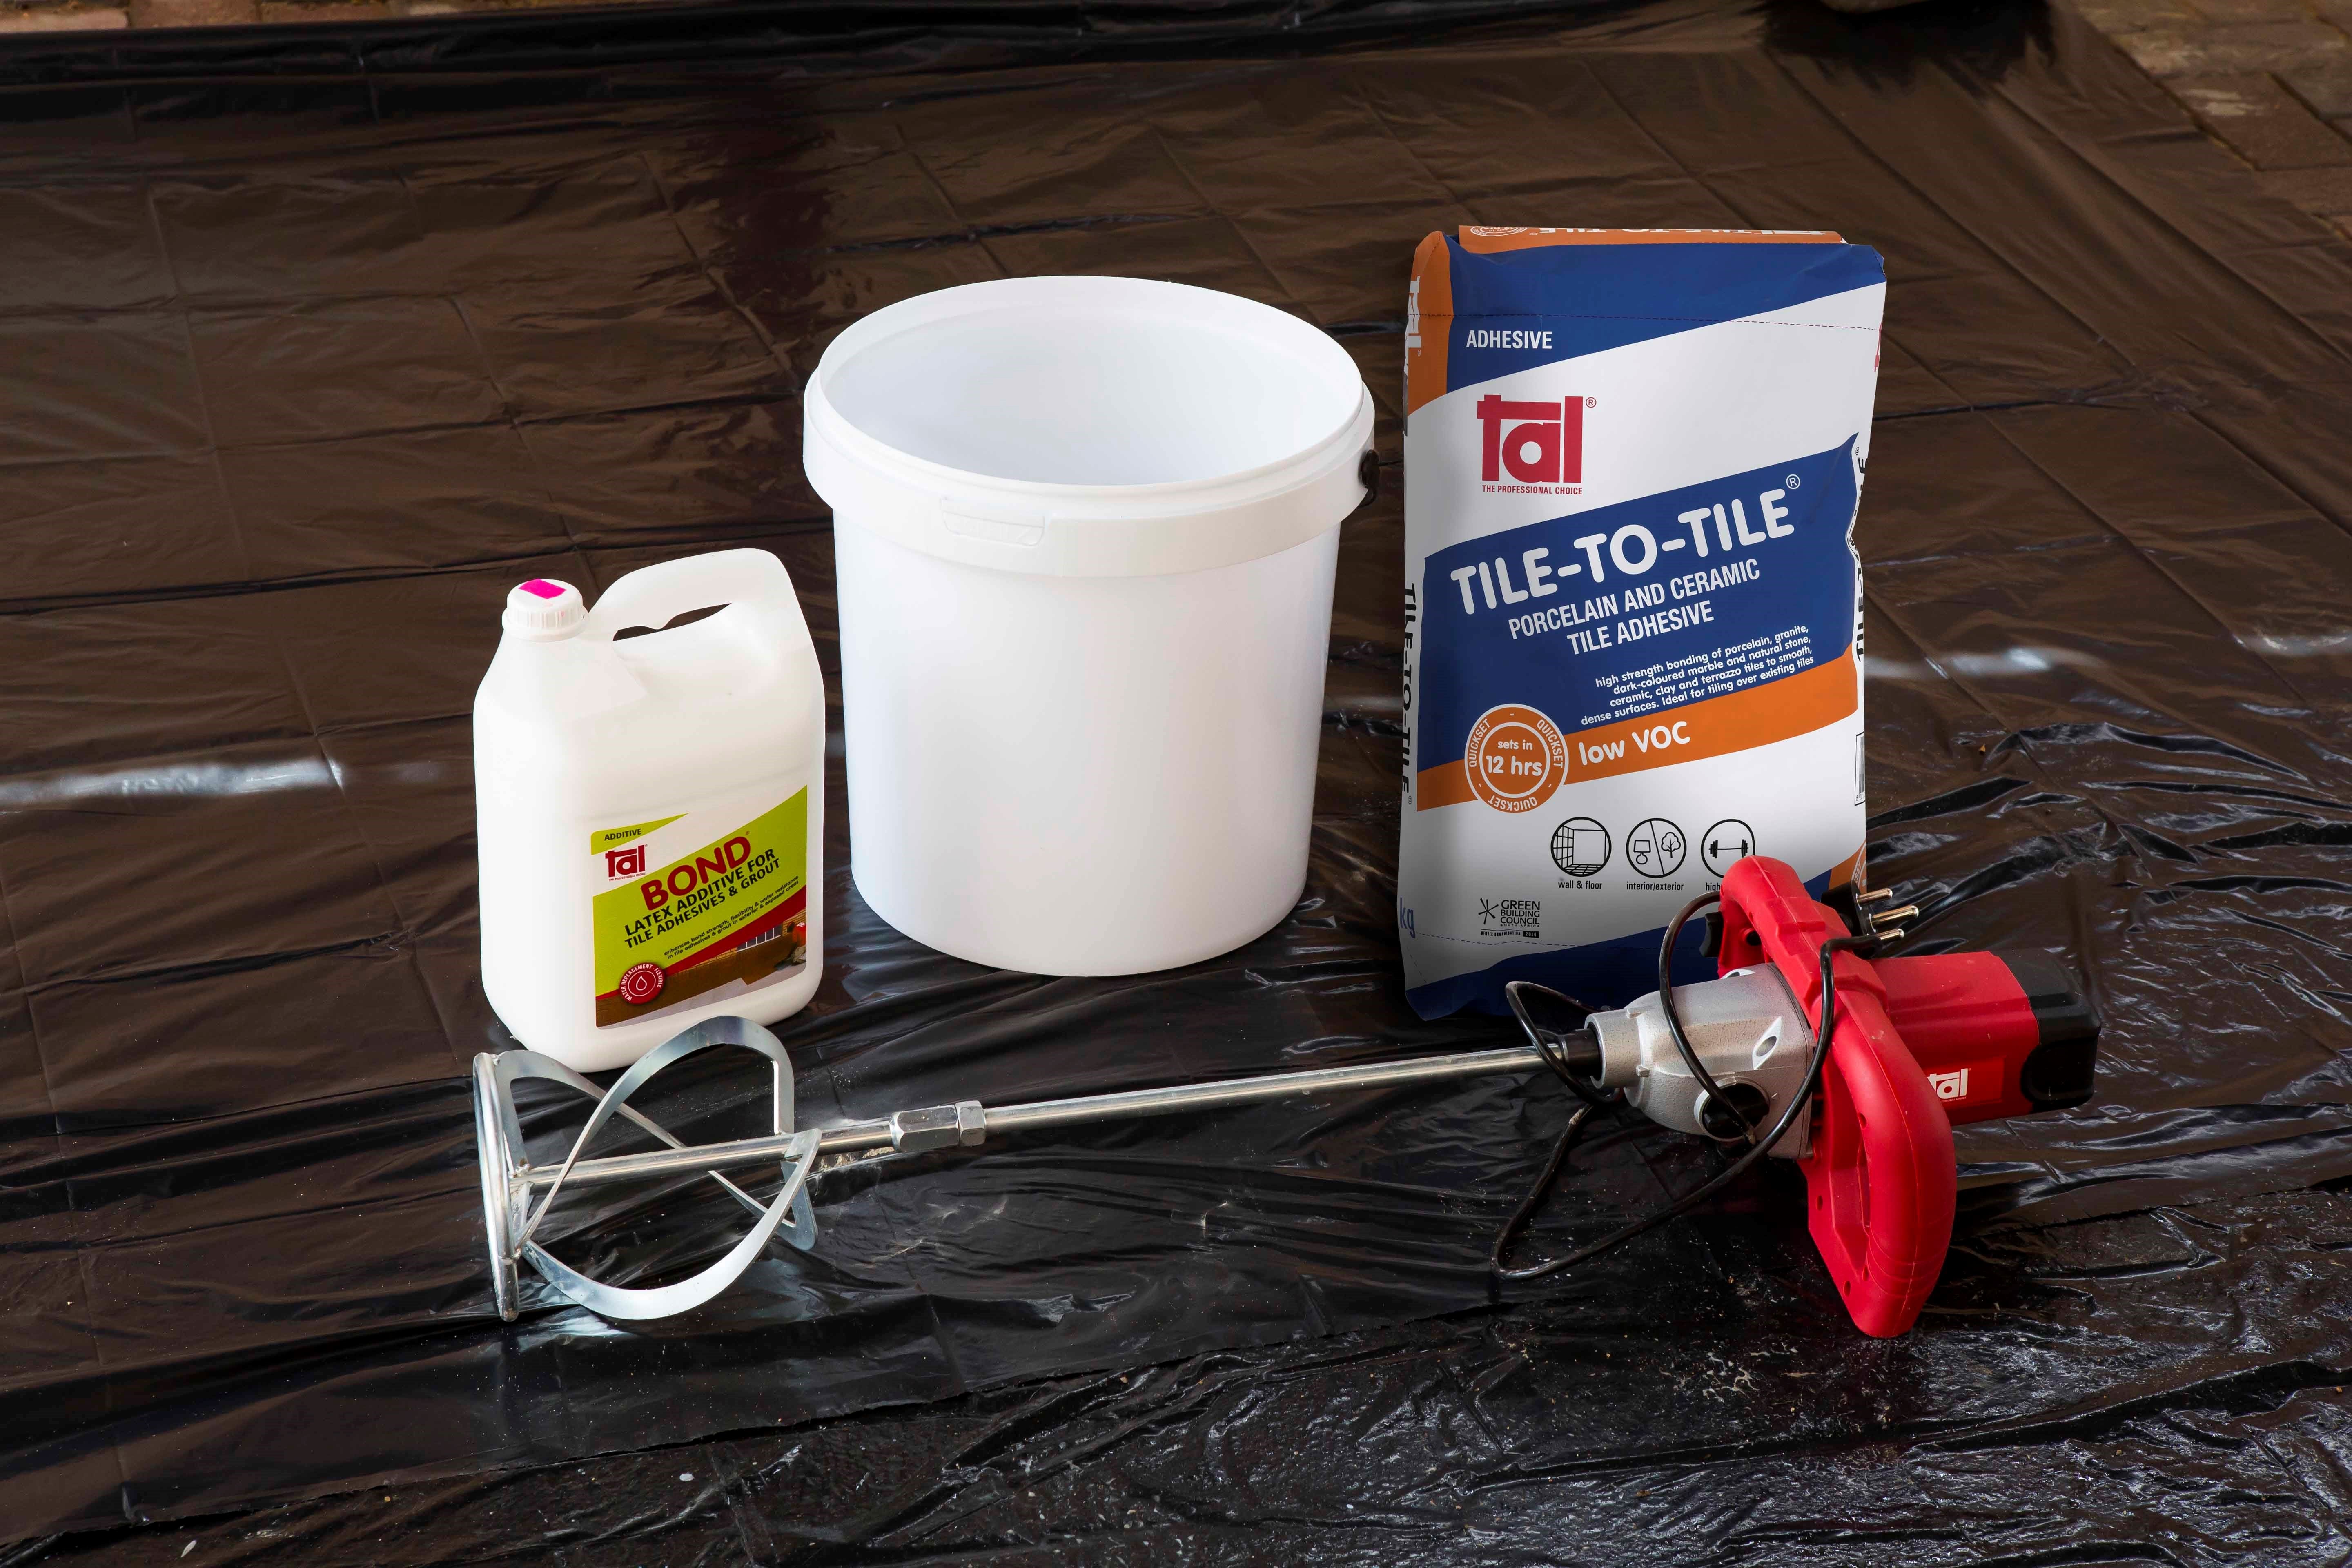
Some of the essential materials required to make the tiling job last include: A primer, such as TAL Keycoat (for mixing a priming slurry with either adhesive or cement), tile adhesive, such as TAL Goldstar 6; grout, such as TAL Wall & Floor Grout or TAL Quarry Grout; a latex additive for the adhesive or grout, such as TAL Bond or clean, cool water if you’re not using a latex additive.
Use a grout such as TAL Wall & Floor Grout for narrow wall and floor grout joints (between 2 and 8mm) and a grout such as TAL Quarry Grout for wider joints (up to 25mm).
High-traffic areas such as the kitchen, passage and entrance halls as well as wet areas such as the bathroom and shower require a water-resistant and flexible tile installation. Replace the water in the cementitious adhesive and grout mixes with a latex additive such as TAL Bond, to improve water resistance, flexibility and bond strength of the mix.
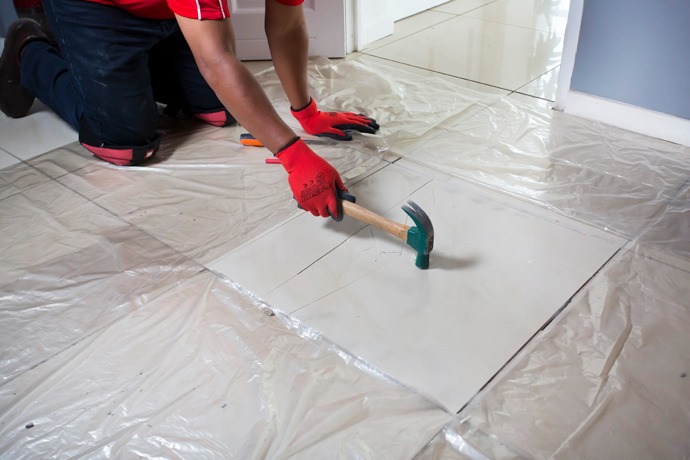
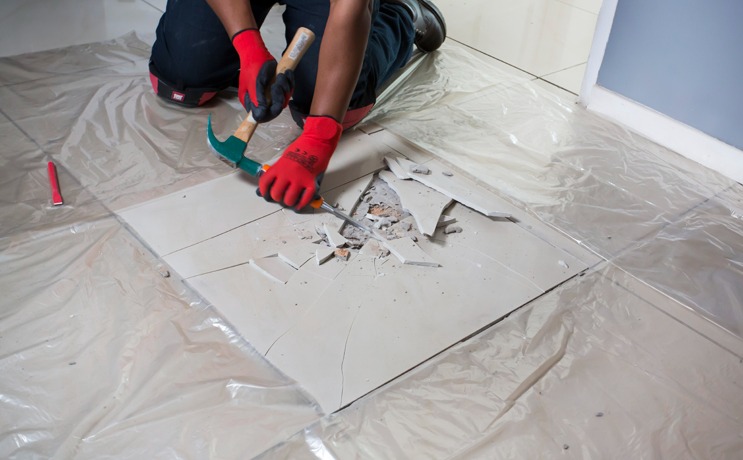
If you’re tackling a renovation project and will be removing broken tiles or replacing existing tiles, consider how you are going to remove the tiles. There are a number of tools that can be used to remove existing tiles:
- 3 in 1 Tile Nipper: This multifunctional three-in-one tiling tool is perfect for replacing broken tiles. It consists of a tile nipper with tipped jaws for cutting and shaping wall tiles, a tile pry bar for lifting and re-positioning tiles and a tile breaking chisel for breaking tiles when removing broken tiles.
- Heavy Duty Tile Remover: A professional quality tool which can be used to remove wall and floor tiles as well as carpets and vinyl tiles. This tool is made with reinforced steel and can be used in conjunction with a hammer.
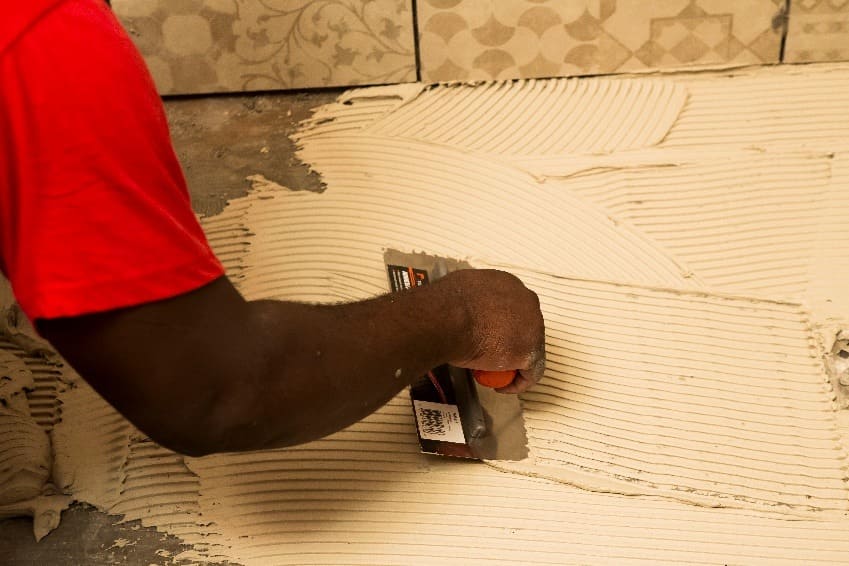
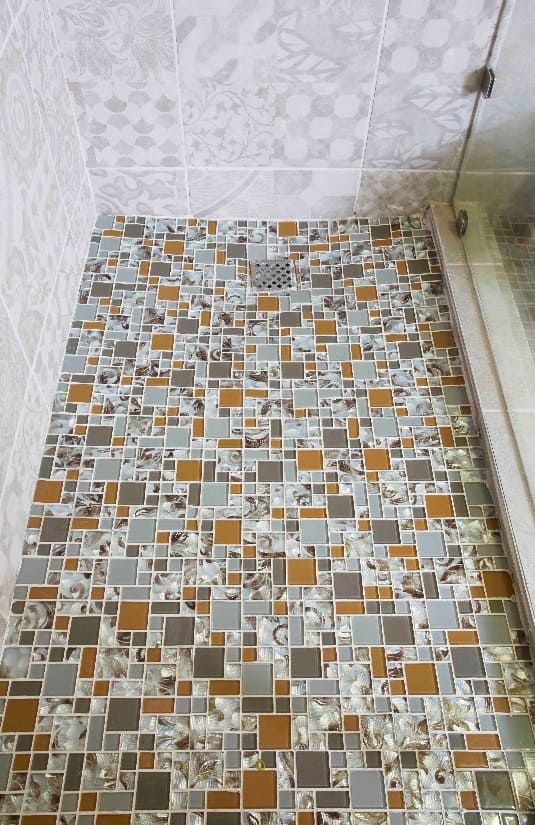
Step 3. Once mixed well, apply the adhesive to the surface in a solid bed of 4 mm to 6 mm, working in small areas of a square metre at a time.
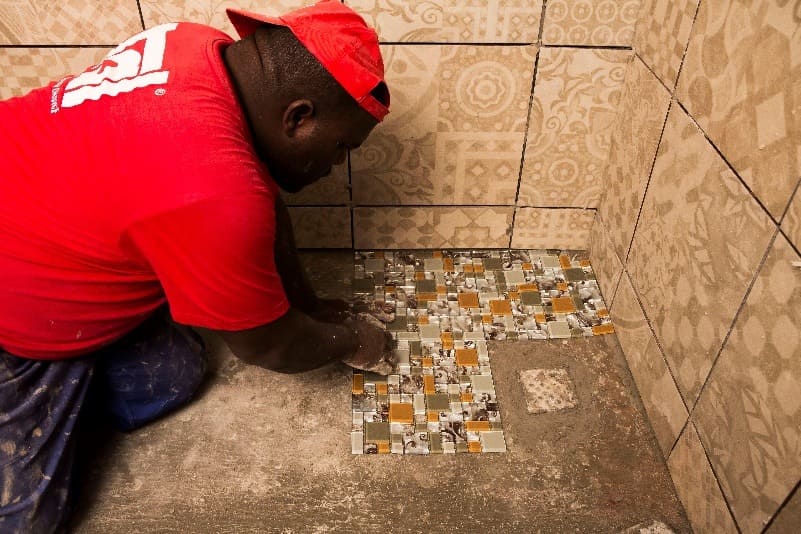
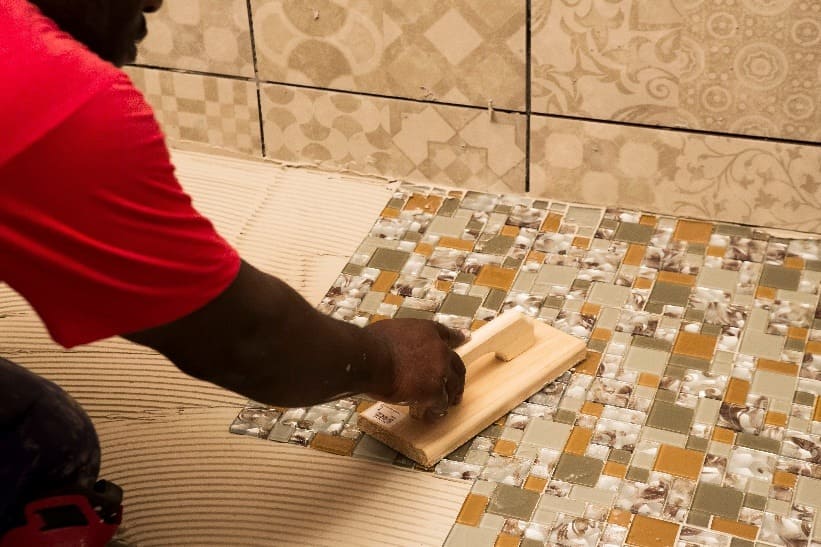
Step 4. Bed the mosaics immediately, pressing them firmly into the adhesive. Use a wooden beating block or rubber grouting float to tap them in and create a level surface. Using tile spacers between the individual mosaic sheets will maintain the joints.
Where necessary, use a grout squeegee to apply additional adhesive to fill in any voids in the grout joints.
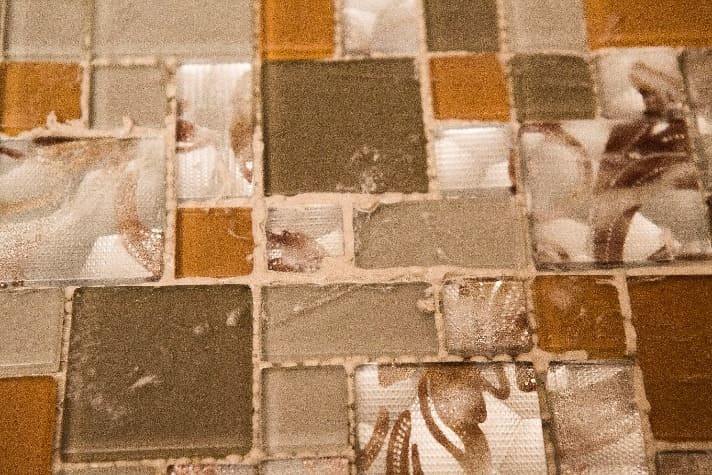
Step 5. Allow the adhesive to squeeze through the joints between the mosaics to form the grout and, if necessary, fill in any low areas in the joints with extra adhesive.
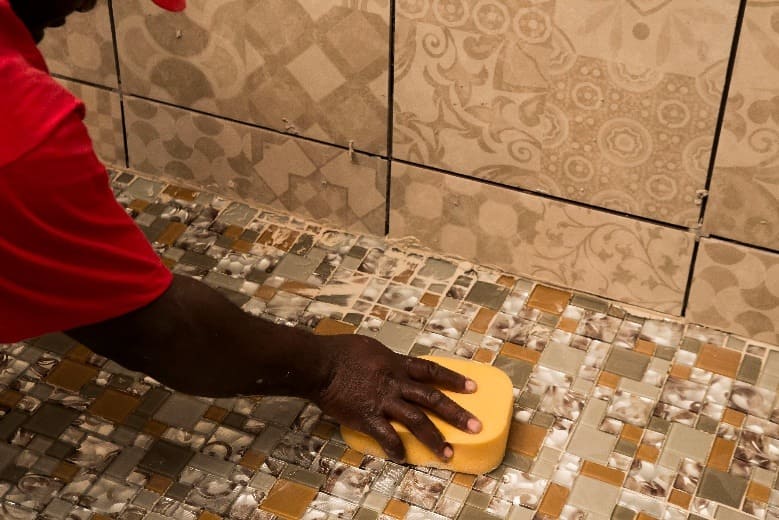
Step 6. Clean the excess adhesive off the face of the mosaics gently with a lightly dampened sponge, and leave to dry for a few hours.Work carefully to ensure that the mosaic installation is not disturbed, and that the glass mosaics are not scratched during application and cleaning. Polish the mosaic tiles with a dry cloth to remove any grout haze.
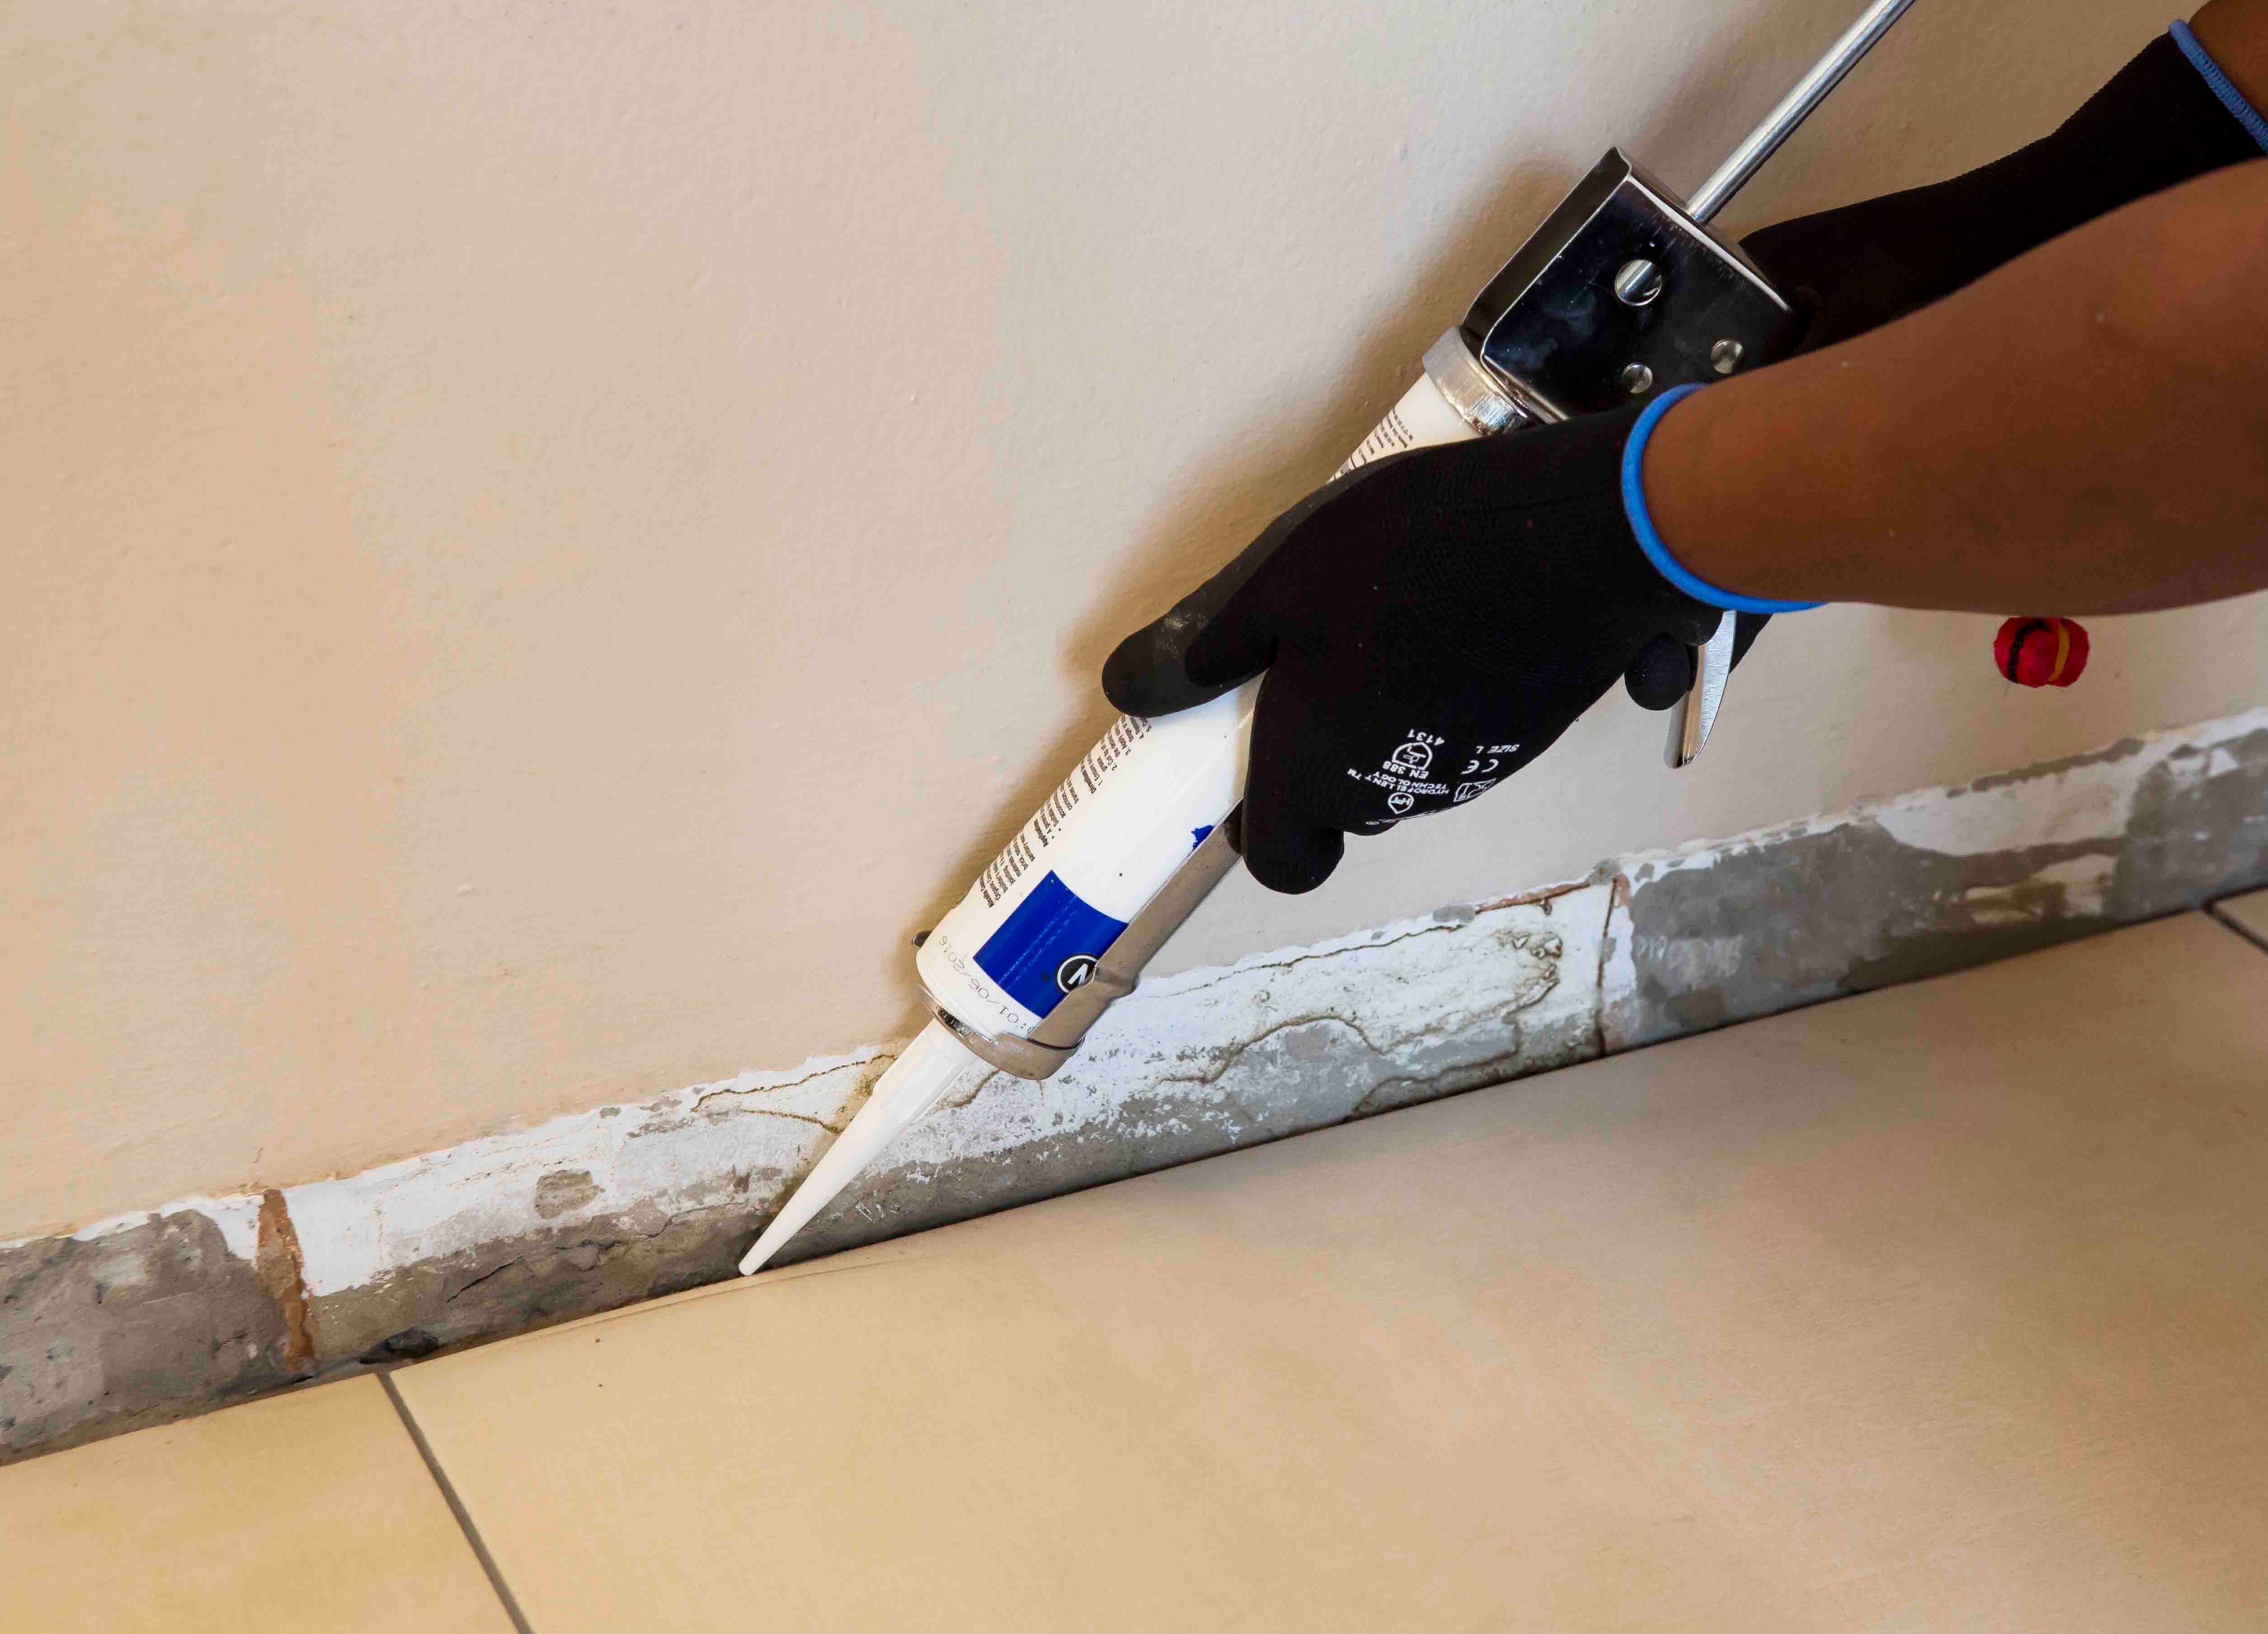
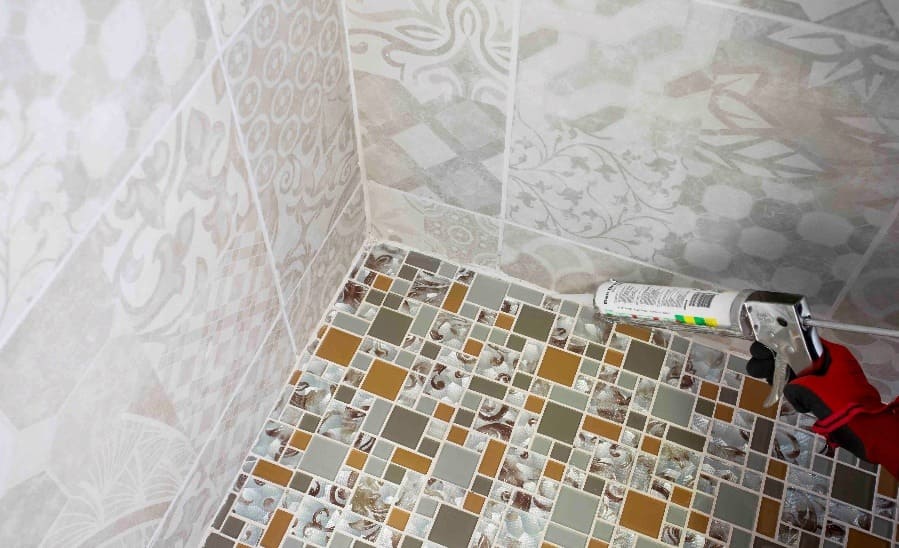
Step 7. Apply a silicone sealant to all the perimeter joints.
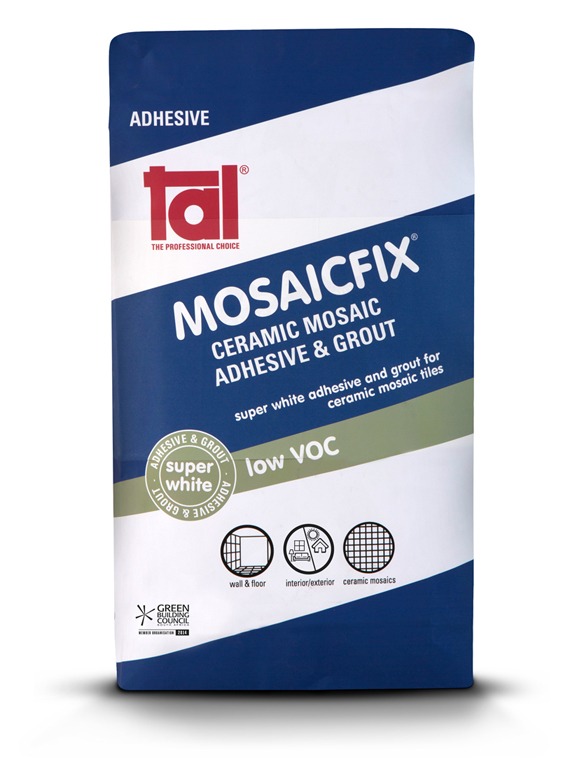
TAL MOSAICFIX is available in 20 kg and 5 kg bags from leading retail outlets.
Designed to be 100% compatible, using the TAL range of products ensures fully guaranteed multi-level tiling systems from a single source. TAL products are manufactured in South Africa to suit local climatic conditions.
If you are in any doubt, contact the TAL Technical Advisory Service on 0860 000 TAL (825), email [email protected]. Alternatively, employ the services of an experienced and skilled mosaic tiling contractor.
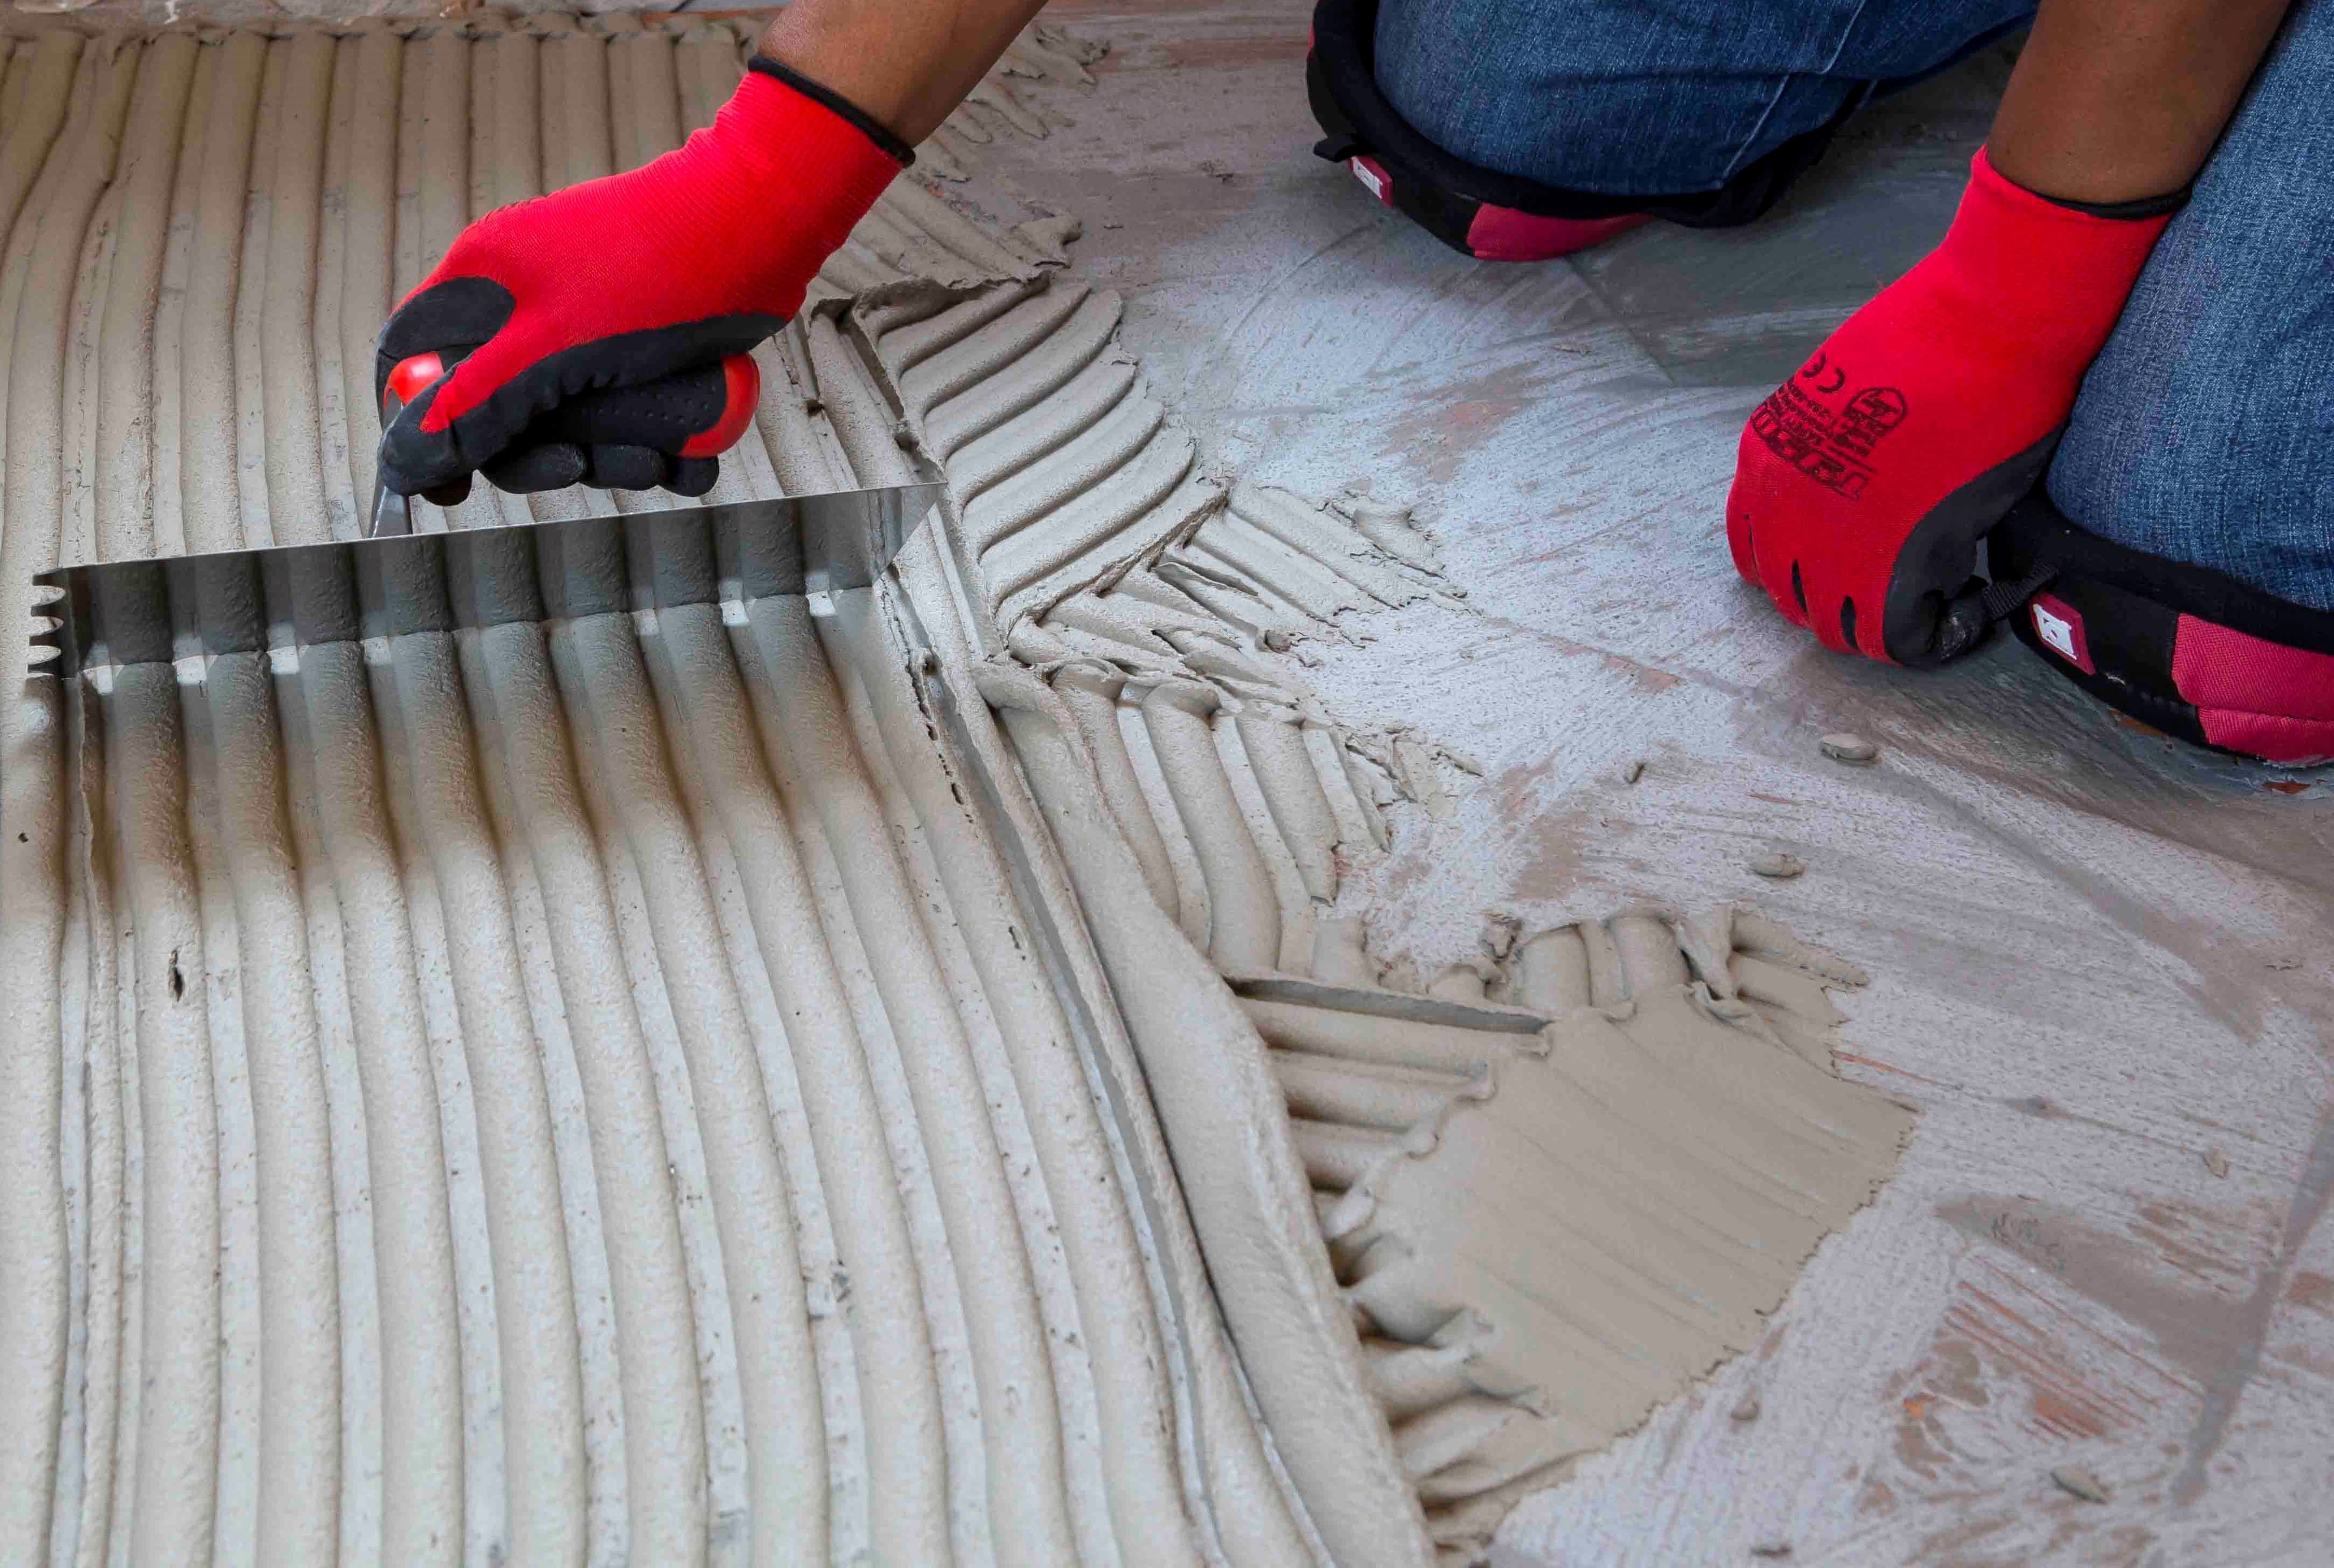
When replacing tiles, it is not always possible to apply the TALFIX directly to the floor, in which case apply the adhesive in a solid bed onto the back of the tile, ensuring complete coverage. Gently trace the notched side of a floor trowel through the adhesive to create ‘ridges’.
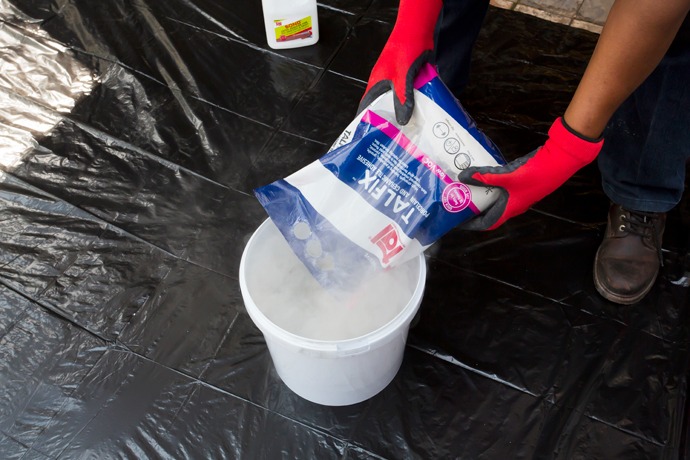
Adhesive system
When tiling onto existing tiles, it is important to only use a quick- or rapid-setting adhesive, as the existing tiles will present a dense, impervious surface, and standard-setting adhesives will take longer to dry. Too early trafficking of newly-installed tiles before the adhesive has set sufficiently can result in hollow-sounding or loose tiles.
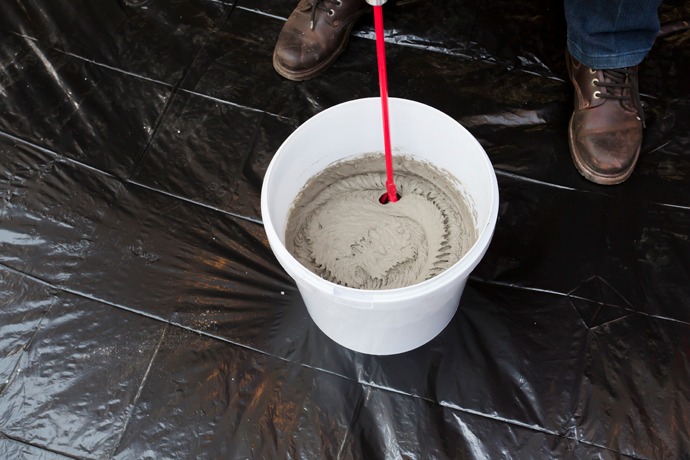
Use TAL Tile-To-Tile quick-setting adhesive for tiling onto interior surface beds. When tiling onto suspended slabs and for external installations mix the TAL Tile-To-Tile with TAL Bond, replacing the water in the mix. Alternatively, TAL Bond Powder can be added to the adhesive mixing water.
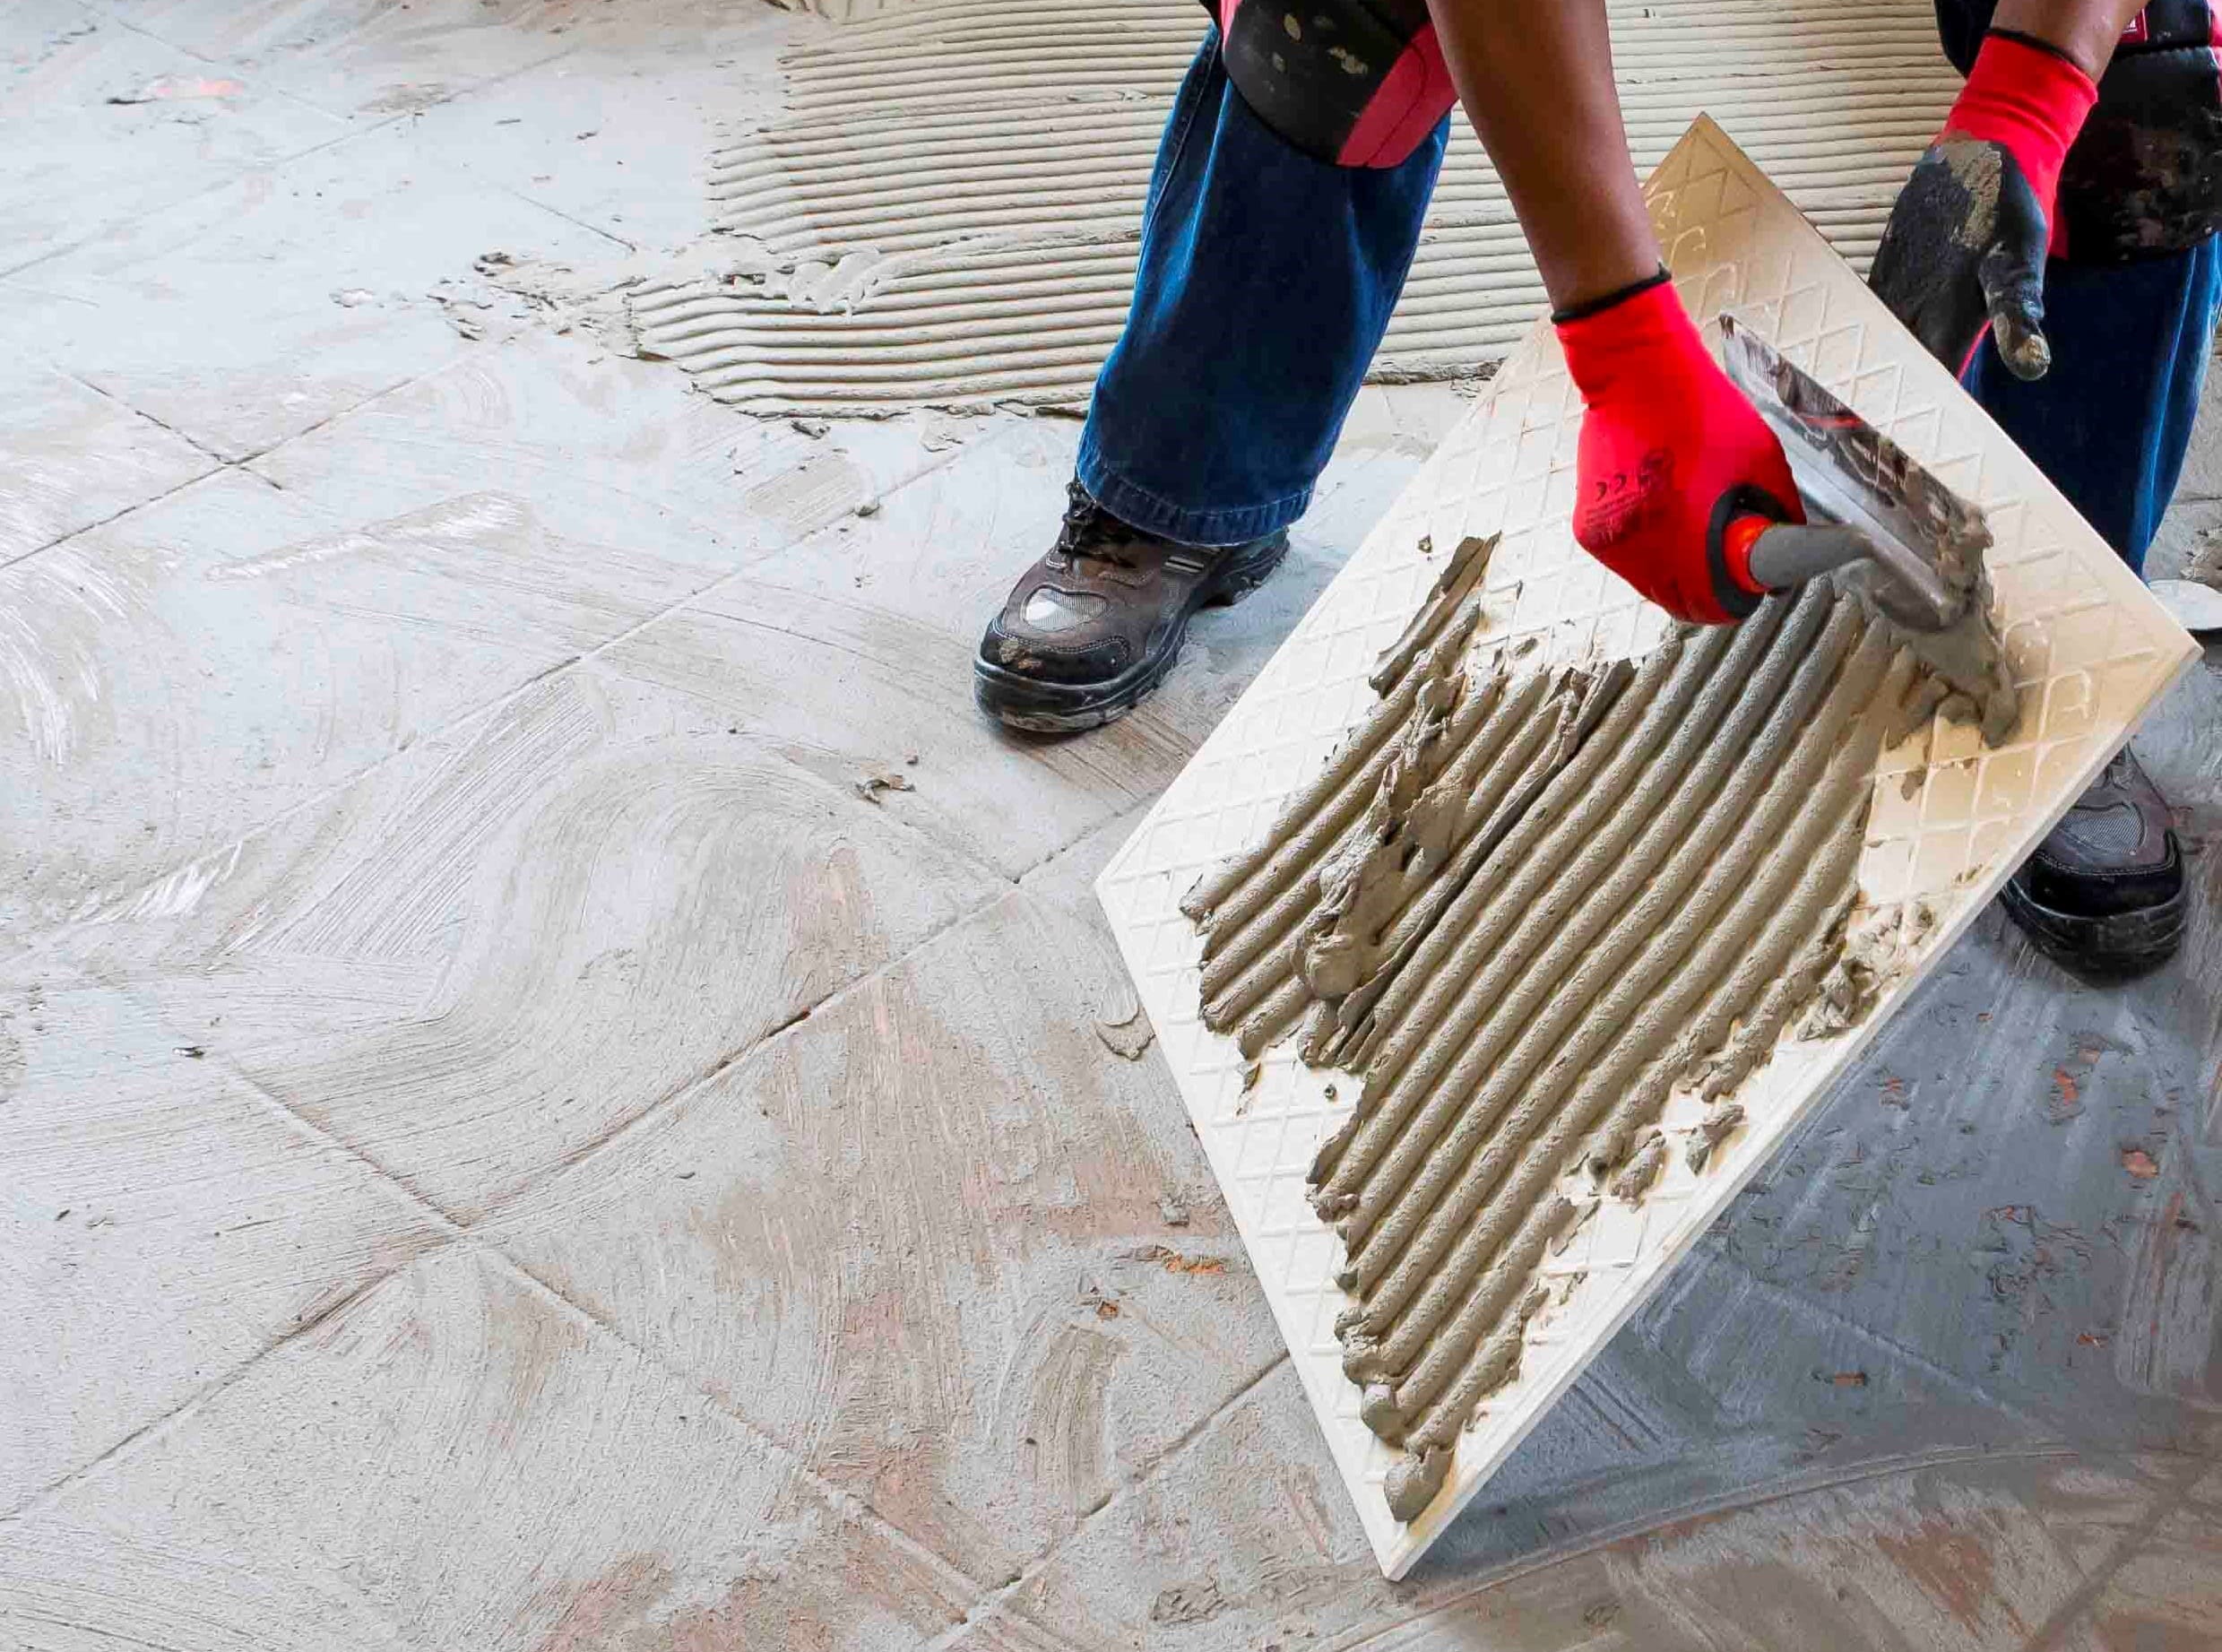
Ensure that there is a solid bed of adhesive at least 6 mm thick beneath each tile.
Back buttering with a thin coat of adhesive may also be required when using large-format tiles to ensure full contact with the adhesive bed.
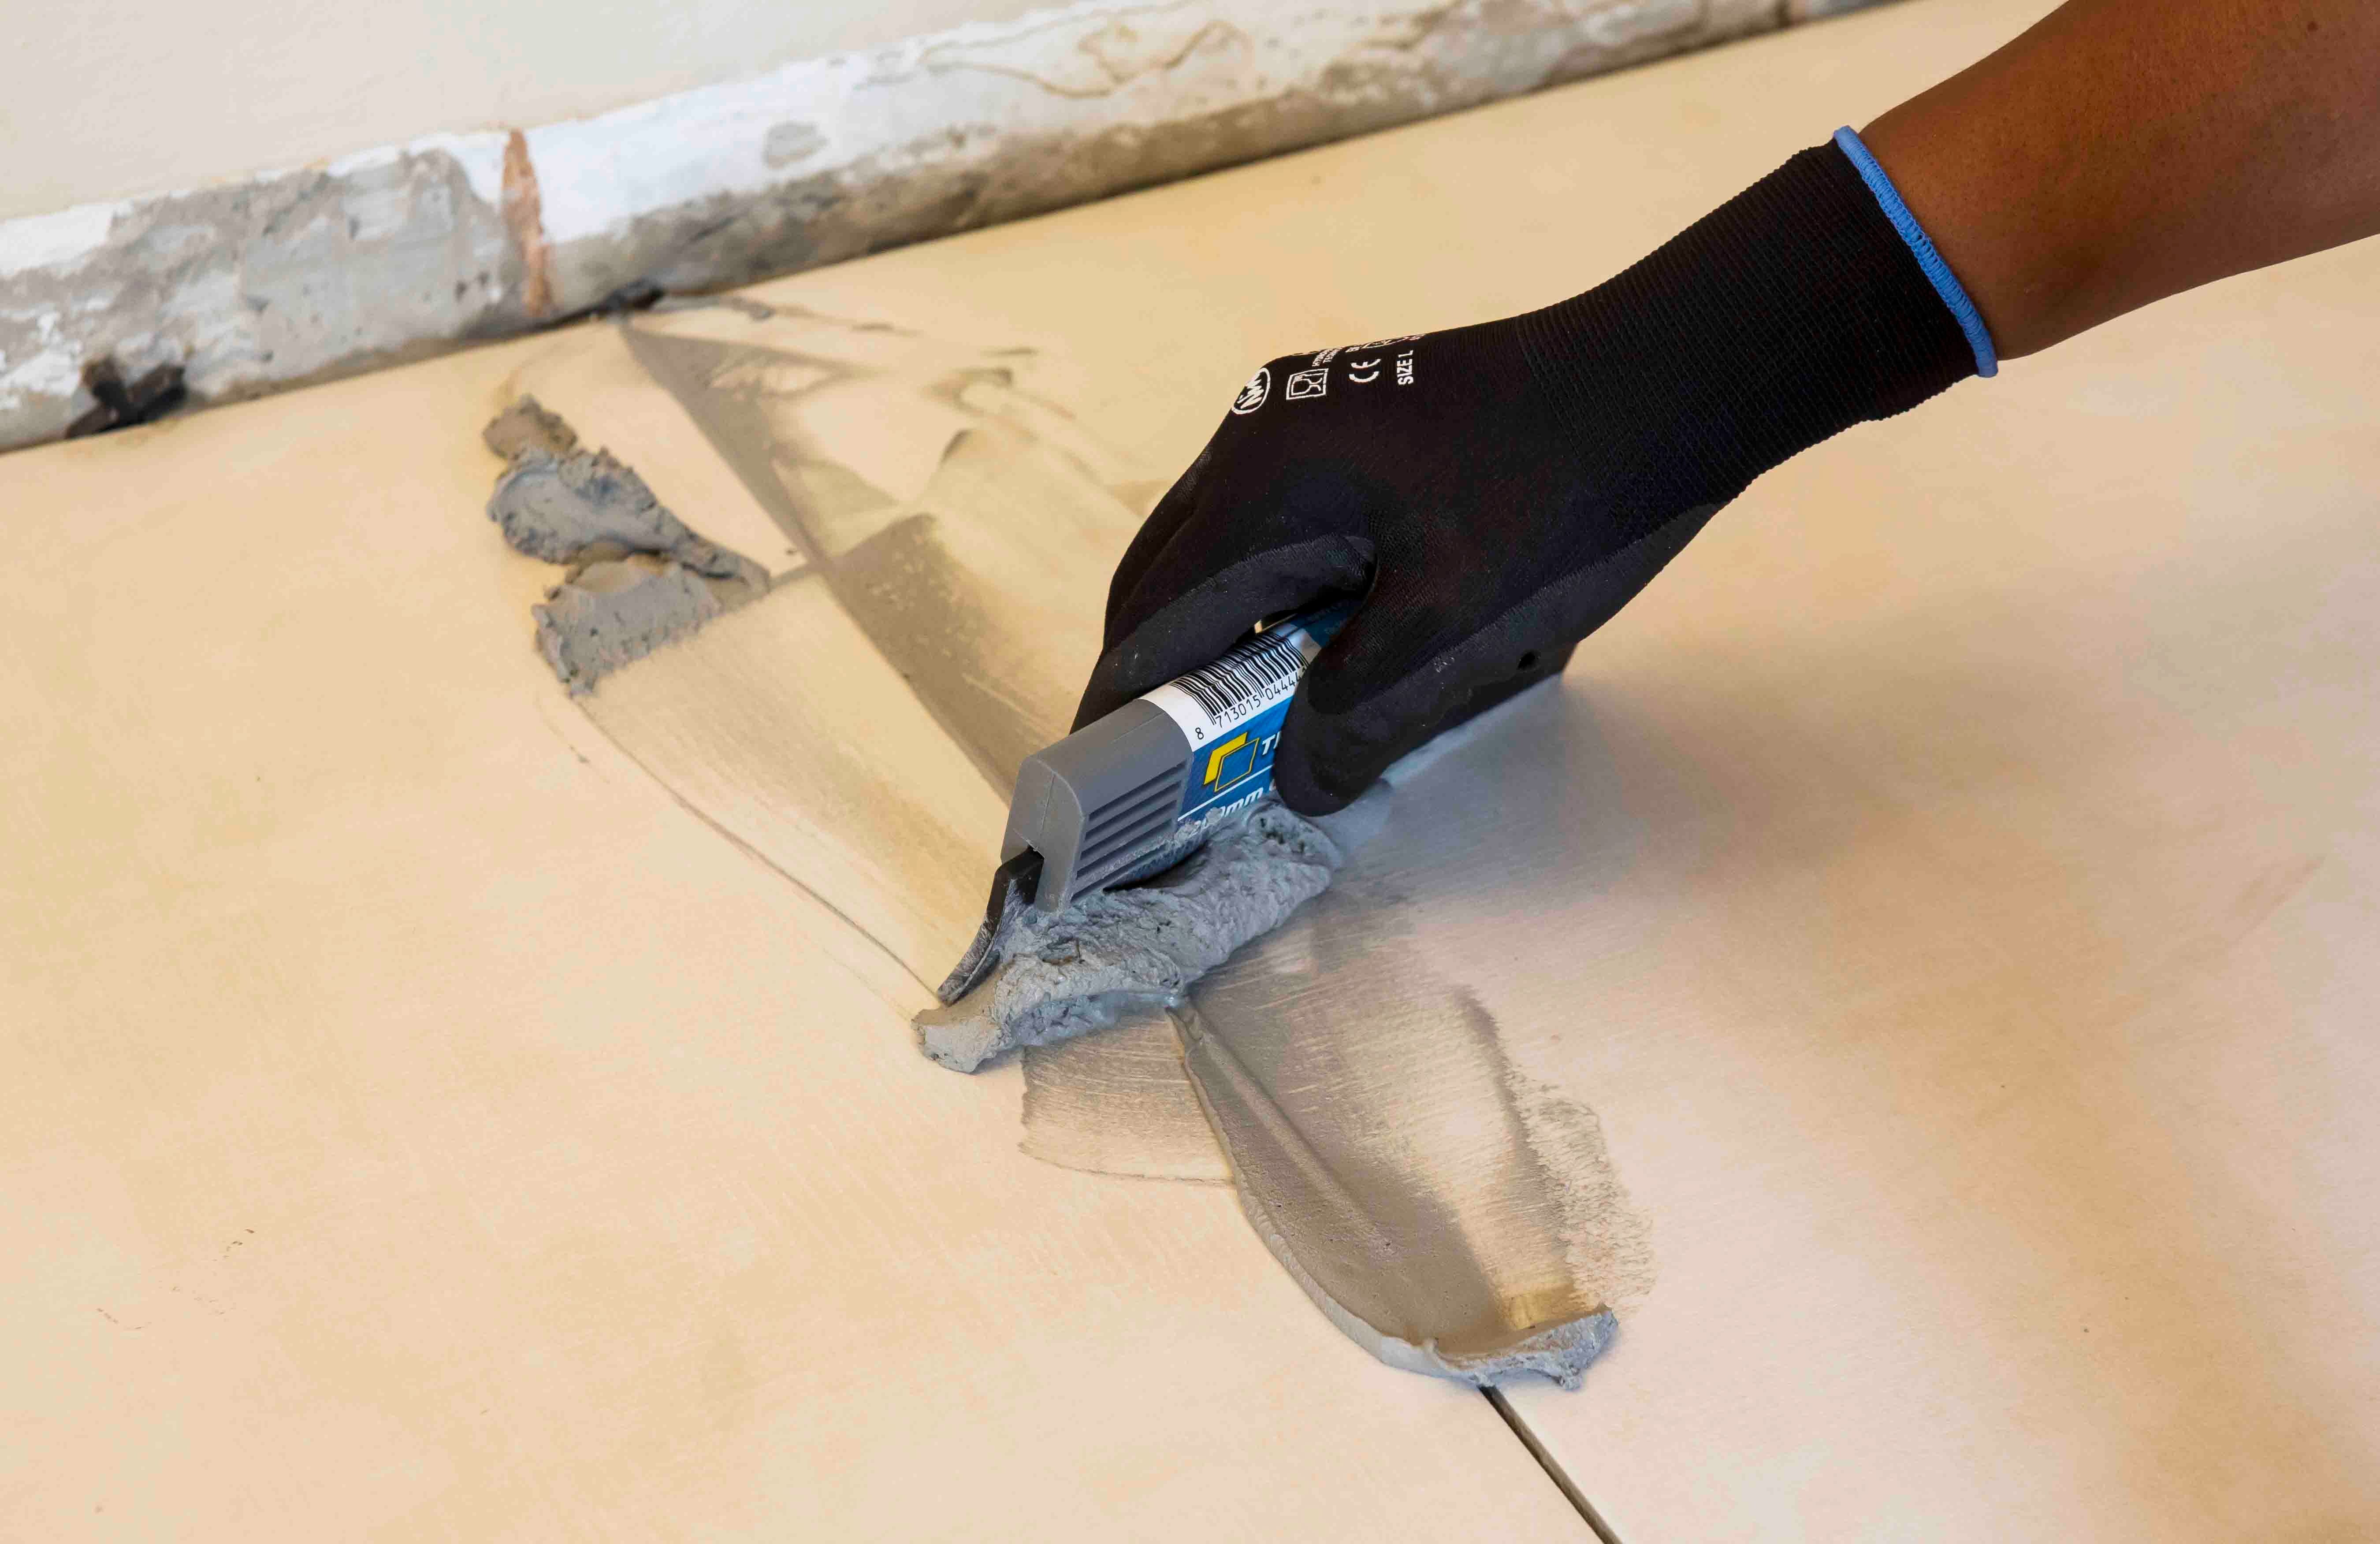
Grouting
Grouting should not be carried out until the adhesive has set sufficiently to prevent the tile installation from being disturbed during the grouting operation (always refer to the adhesive packaging for setting times). When using TAL TAL Tile-To-Tile, allow a minimum of six hours before grouting.
For interior surface beds, use TAL Wall & Floor Grout for filling tile joints up to 8 mm wide. TAL Quarry Grout can be used in wider joints up to 25 mm wide. On suspended slabs and for external installations, replace the water in the grout mix with TAL Bond, or add TAL Bond Powder to the grout mixing water.
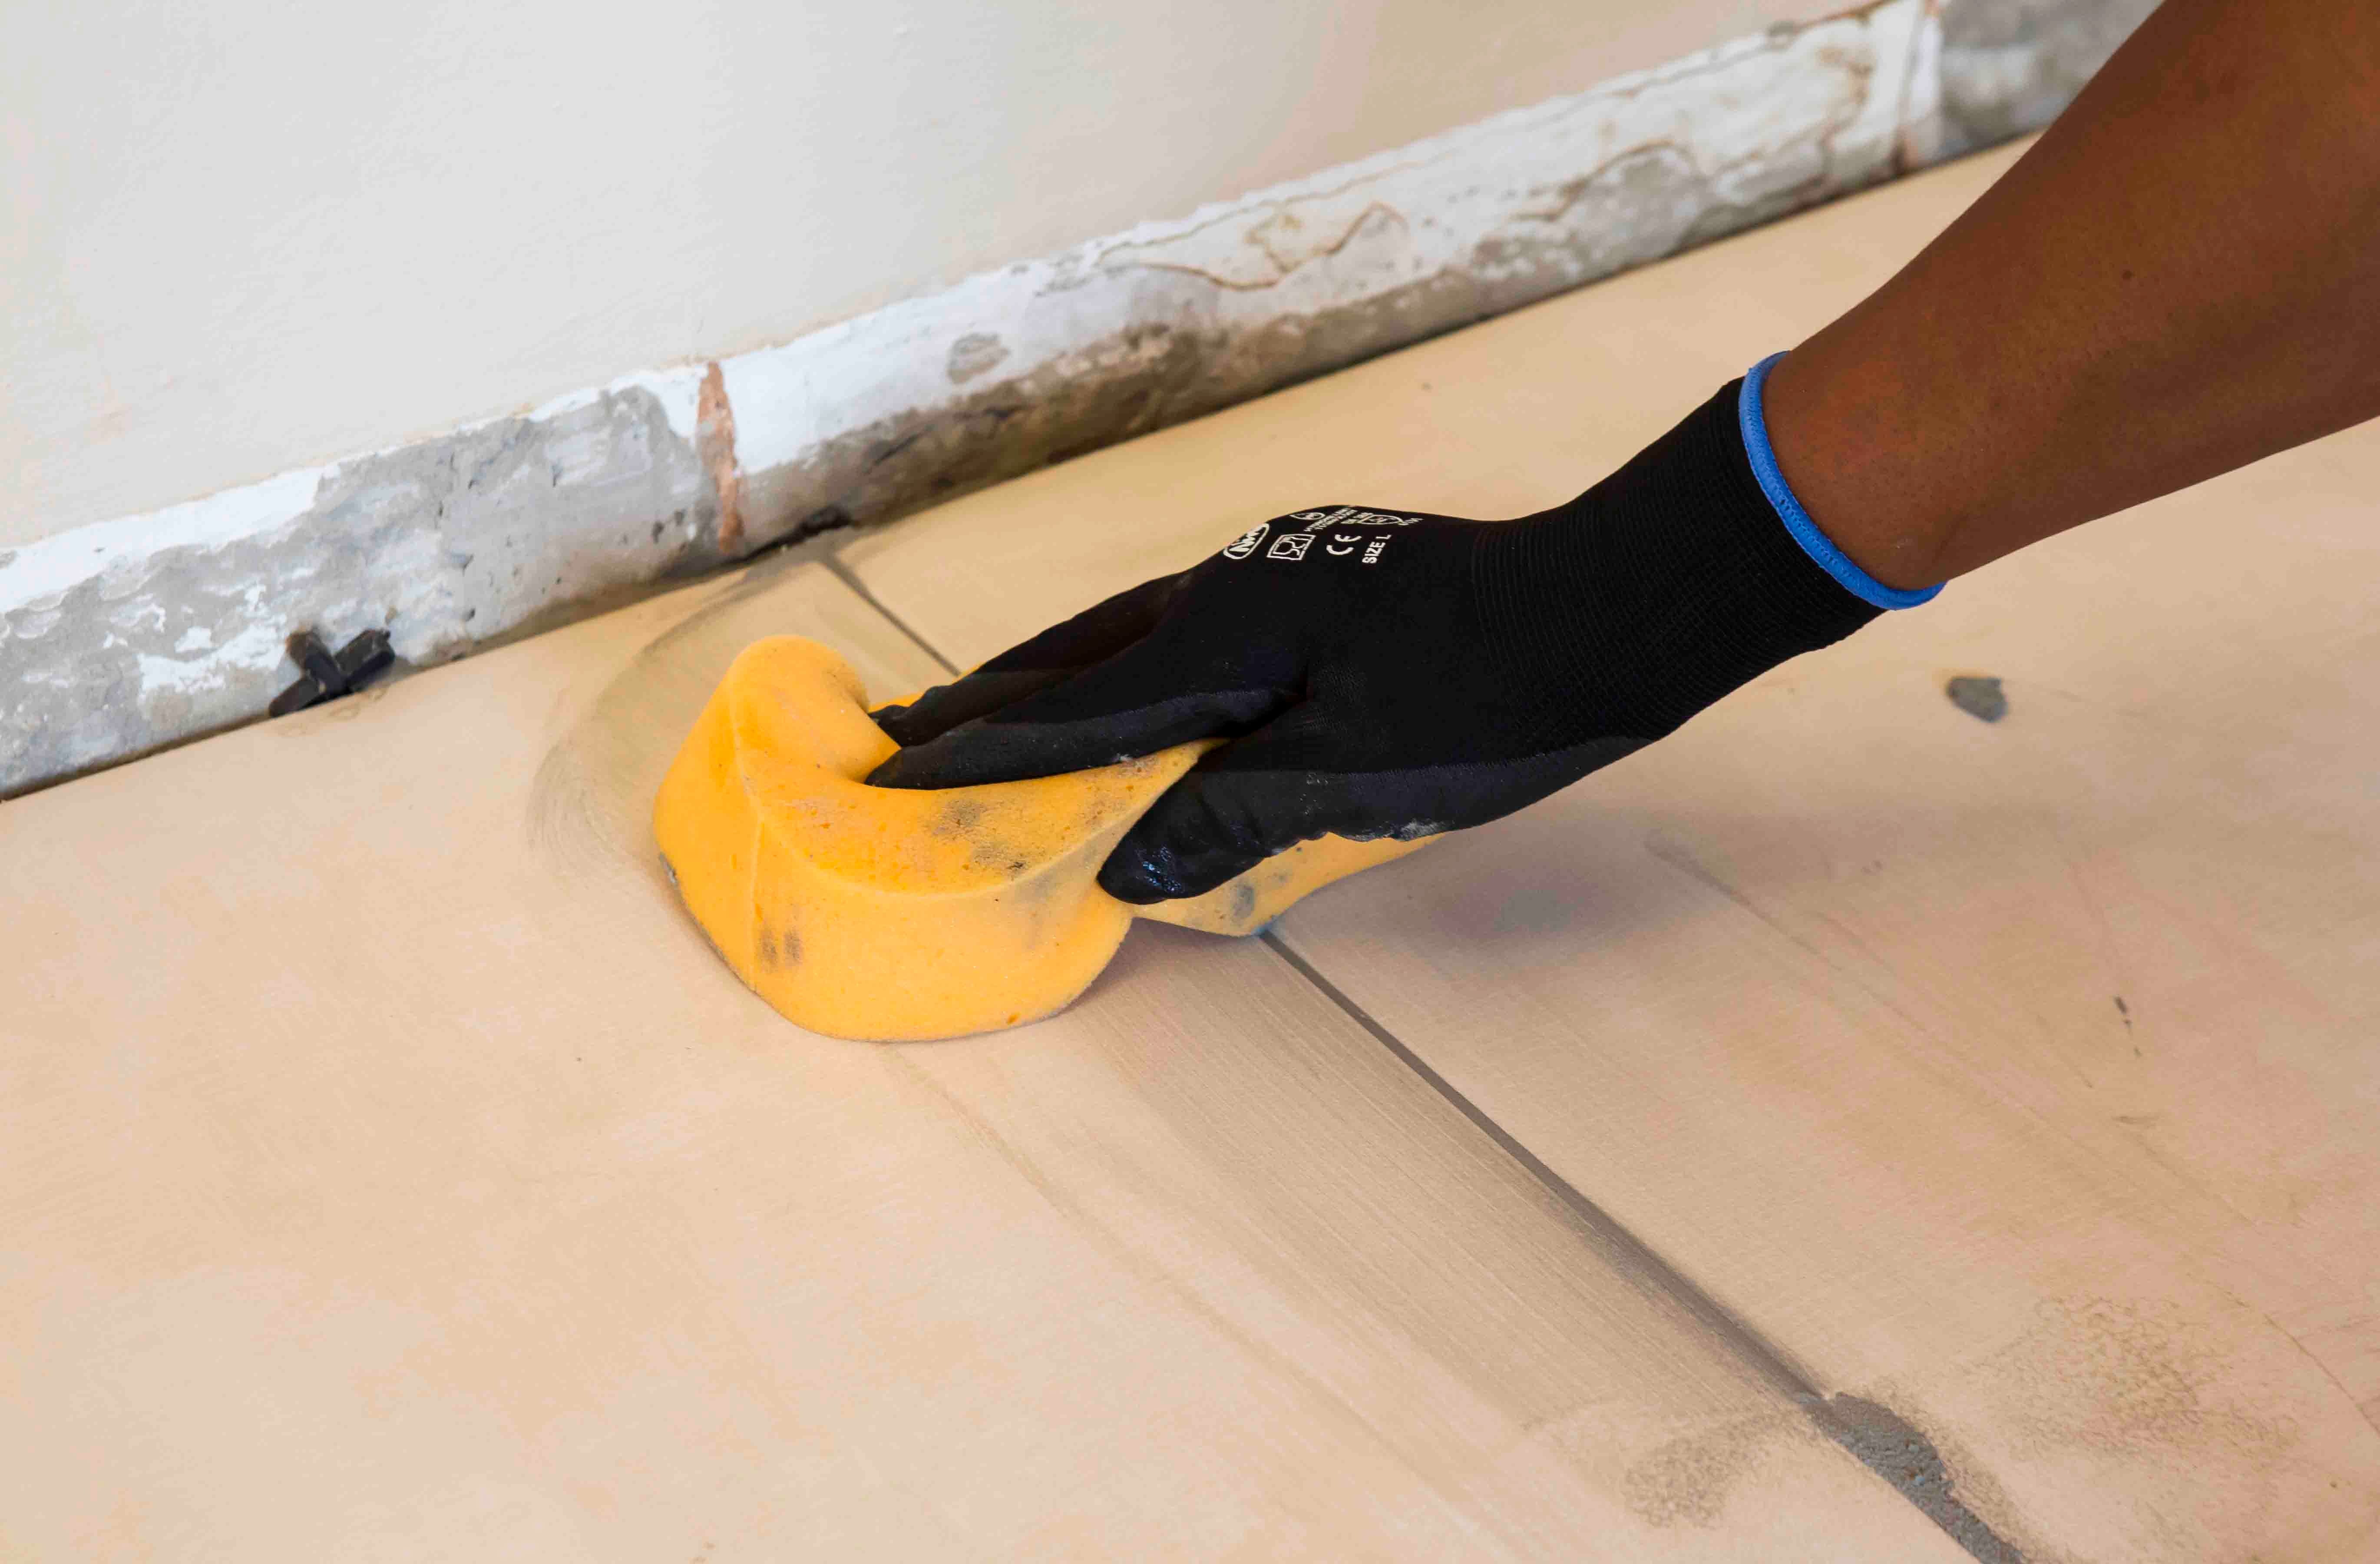
Particular care must be taken to clean the grout off the tile face before it hardens completely. This is especially important when an additive such as TAL Bond or TAL Bond Powder has been used. A tile sample should be tested beforehand to ensure that no grout is absorbed through the glaze or into the tile body, thereby staining the tiles permanently.
Movement joints
The lack of movement joints in tile installations is a major cause of tile failure. When tiling over existing tiles, the existing structural and movement joints must be maintained in the new tile installation. The movement joints should be at least 5 mm wide and extend through the adhesive and both tile layers.