How to tile a wall with square or rectangular tiles
Tiles make for the perfect wall covering as they are hygienic and easy to clean. They’re also cost-effective because they are durable and will therefore last for many years. Tiles are especially suited to the bathroom and kitchen due to their resistance to moisture
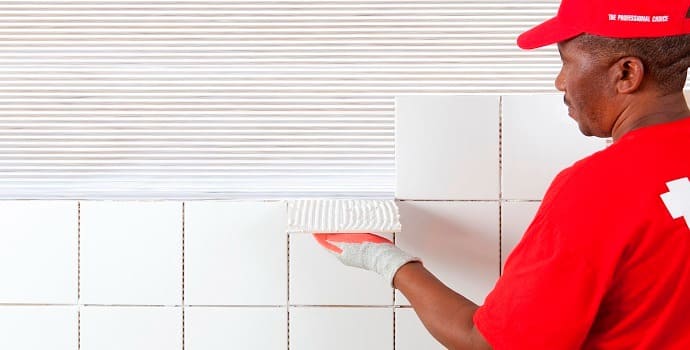

STEP-BY-STEP ON HOW TO TILE A WALL
-
Determine how many tiles will fit the wall by measuring the area. This will assist you in identifying whether a cut tile (half tile) is required at each end.
-
For wall tiling, use two battens to form a corner.
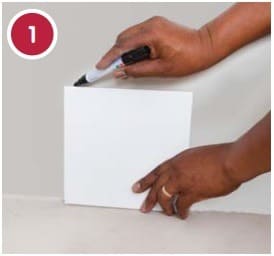
- Find the lowest point on the floor line and mark the wall one tile high from the floor.

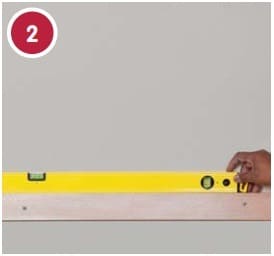
- Nail a horizontal batten with a straight edge to the wall so that the top edge of the batten coincides with the mark. Use a spirit level to ensure that the batten is horizontal.

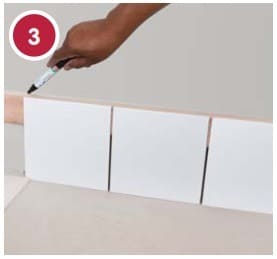
- Set out a row of tiles across the wall over the batten and adjust so that equal cuts at least half a tile wide will be made in each corner. Mark the batten where the first tile will be placed. Remember to leave room for TileMate Tile Spacers.

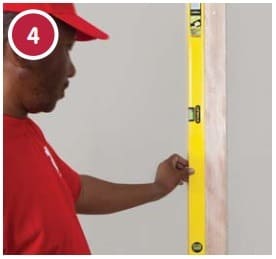
- Nail a vertical batten to the wall so that the inside edge of the batten coincides with the mark for the first tile. Check with a spirit level to ensure the batten is perfectly vertical.

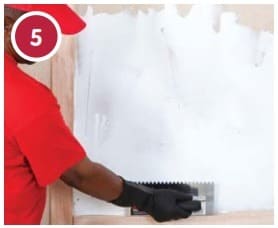
- Use the appropriate tile adhesive and commencing in the corner spread the adhesive onto the wall with the straight edge of a TileMate Wall Trowel.


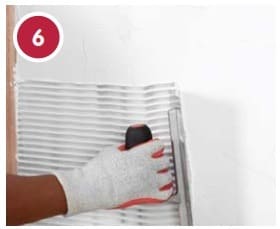
- In a horizontal direction, notch the adhesive with a TileMate Notched Trowel. Hold the blade of the notched trowel at a 45-degree angle. Work away from the vertical batten with horizontal strokes. The ridges produced by the notched trowel will ensure that there is an equal quantity of adhesive behind each tile, making it easier to set them all level.
- Do not spread more adhesive than can be tiled onto in approximately 15 minutes or more than one square metre at a time as the adhesive may dry before all the tiles are in place

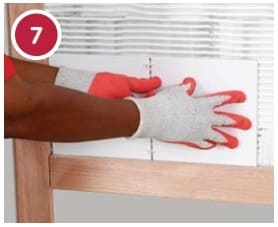
- Using dry tiles begin in the corner of the battens placing tiles horizontally.
- TileMate Tile Spacers ensure even joints between tiles. Leave a minimum 3mm grout joints between porcelain, marble and granite and 5mm between natural stone and ceramic tiles. Remove before grouting.
- Leave cut tiles until last.

- Bed the tiles in firmly using a TileMate Rubber Mallet. Remove the occasional tile to check that good contact with the adhesive is being made.
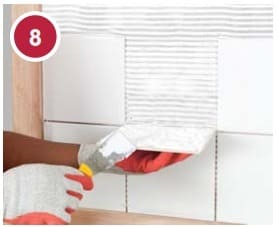

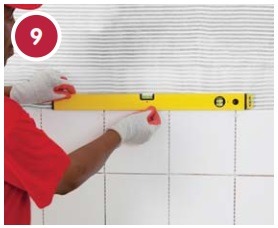
- Check tiling regularly with a spirit level to ensure that horizontal fixing is being maintained.
- After the adhesive has set, remove horizontal and vertical battens.
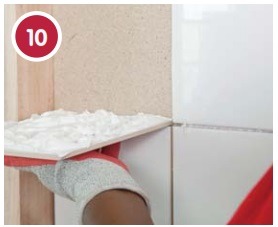
- Measure and cut each tile required to fill in corners and bottom row, leaving room for TileMate Tile Spacers.

- Butter the back of the tile with adhesive, place cut edge into the corner and press firmly into place.


- Allow the adhesive to dry before grouting.
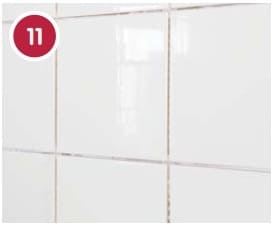

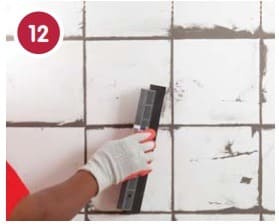
- Use TAL Wall & Floor Grout, available in a variety of colours. Work grout well into joints with a TileMate Rubber Squeegee.

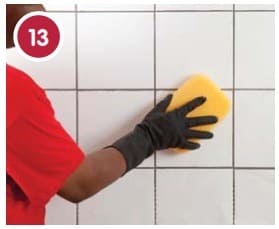
- Remove the excess grout with a TileMate Grouting Sponge. Allow the grout to dry and then polish with a dry cloth.
- Provide movement joints in all horizontal and vertical corners and in large tiled areas approximately five metres apart. Rake out joints and leave ungrouted.

- Fill with a joint sealant such as TAL Goldstar Sealmaster 1000 polyurethane flexible joint sealant.


For more helpful tiling tips visit the DIY tab on TAL’s website.