Mosaic in modernity: the 19th century and beyond
Mosaic in Modernity: The 19th Century and Beyond
In our last blog post, we explored the colourful history of mosaic from the world’s very earliest examples in ancient Mesopotamia, Greece and Rome, and throughout the art of the early Islamic Empire. These classical examples are what automatically come to mind when most people think of mosaic, but this beautiful technique’s universal appeal didn’t end there.
Throughout the Middle Ages in Europe, mosaic seemed to fall out of fancy, with only limited examples of tesserae being used in certain abbeys and other ecclesiastical buildings during this period. However, with the dawning of the 19th Century, a renewed interest in Byzantine style art and architecture breathed new life into the practice, and is still evident today in such breath-taking European landmarks as the Sacré Coeur Basilica in Paris and London’s Westminster Cathedral.

The Byzantine revival sparked yet another wave of creativity in the use of mosaic that would continue until the present day, with the Art Nouveau movement acting as a bridge between the 19th and 21st Century mosaic movements.
20th Century Art Nouveau
Art Nouveau design is characterised by bright colours, with building facades often clad in polychromatic tiles. It was only natural, therefore, that mosaic would be embraced by the artists of the time, with both purpose-made and waste tiles being used to cover large expanses. Some beautiful examples of this work can be found in Spain, where the work of Antoni Gaudi and Josep Maria Jujol stands as some of the finest examples of Art Nouveau architecture anywhere in the world.

This was the first time that broken crockery and other found objects were routinely included into mosaic practices, and paved the way for the craft-movement’s adoption of small-scale mosaicking as creative expression that remains popular today.
Into Modernity: the 21st Century
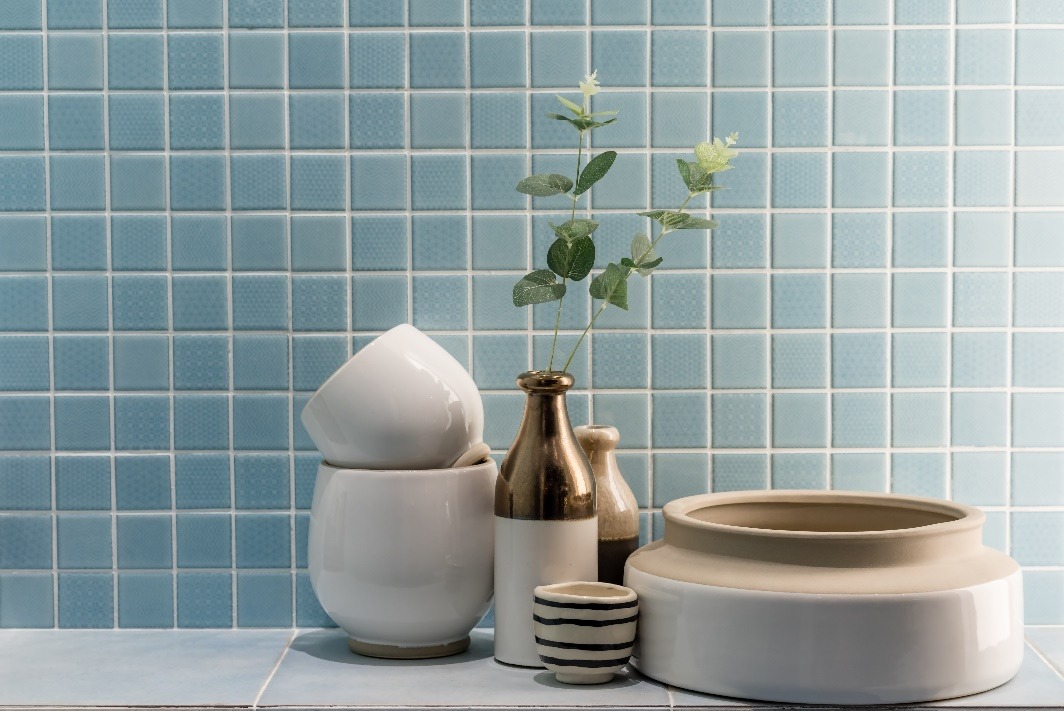
Today, the concept of mosaic straddles a fine line between art, architecture and handicraft, simply because of the versatility of uses. Small tesserae, in uniform or non-uniform colour schemes, remain a popular option in kitchens and bathrooms, and on feature walls where look and functionality are important. Mosaic floors and ceilings are also popular, with the small tiles being used to add interest and texture to otherwise plain surfaces.
At the same time, mosaicking as a hobby and form of artistic expression continues to gain popularity because of the up-cycled nature of mosaic handicrafts, and because of the ease and accessibility that mosaicking represents to even inexperienced crafters.
For thousands of years, mosaic has been one of the world’s favourite ways to embellish both interior and exterior spaces. From the simple arrangement of pebbles to signify a pathway or boundary, to elaborate artworks revealing our most closely held religious, cultural and aesthetic beliefs, this versatile technique will always have a place in our most beautiful spaces, whether private or public.
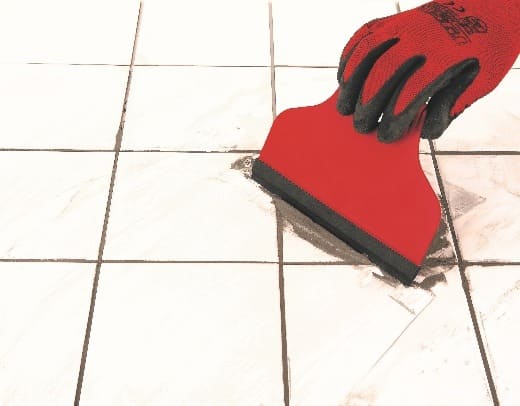
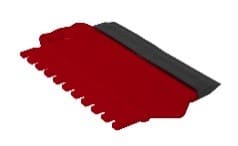
Squeegee
A good squeegee will help deliver a professional looking finish. Use the flexible edge to work the grout into the tile joints, wipe the excess grout from the tile face and smooth the surface of the grout once the joint is filled.
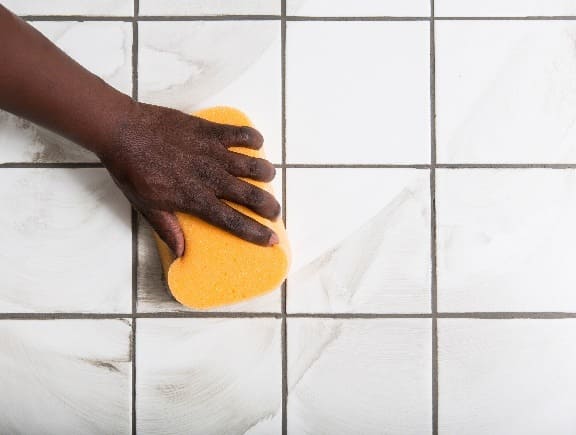
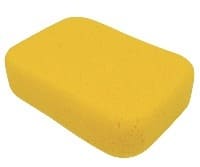
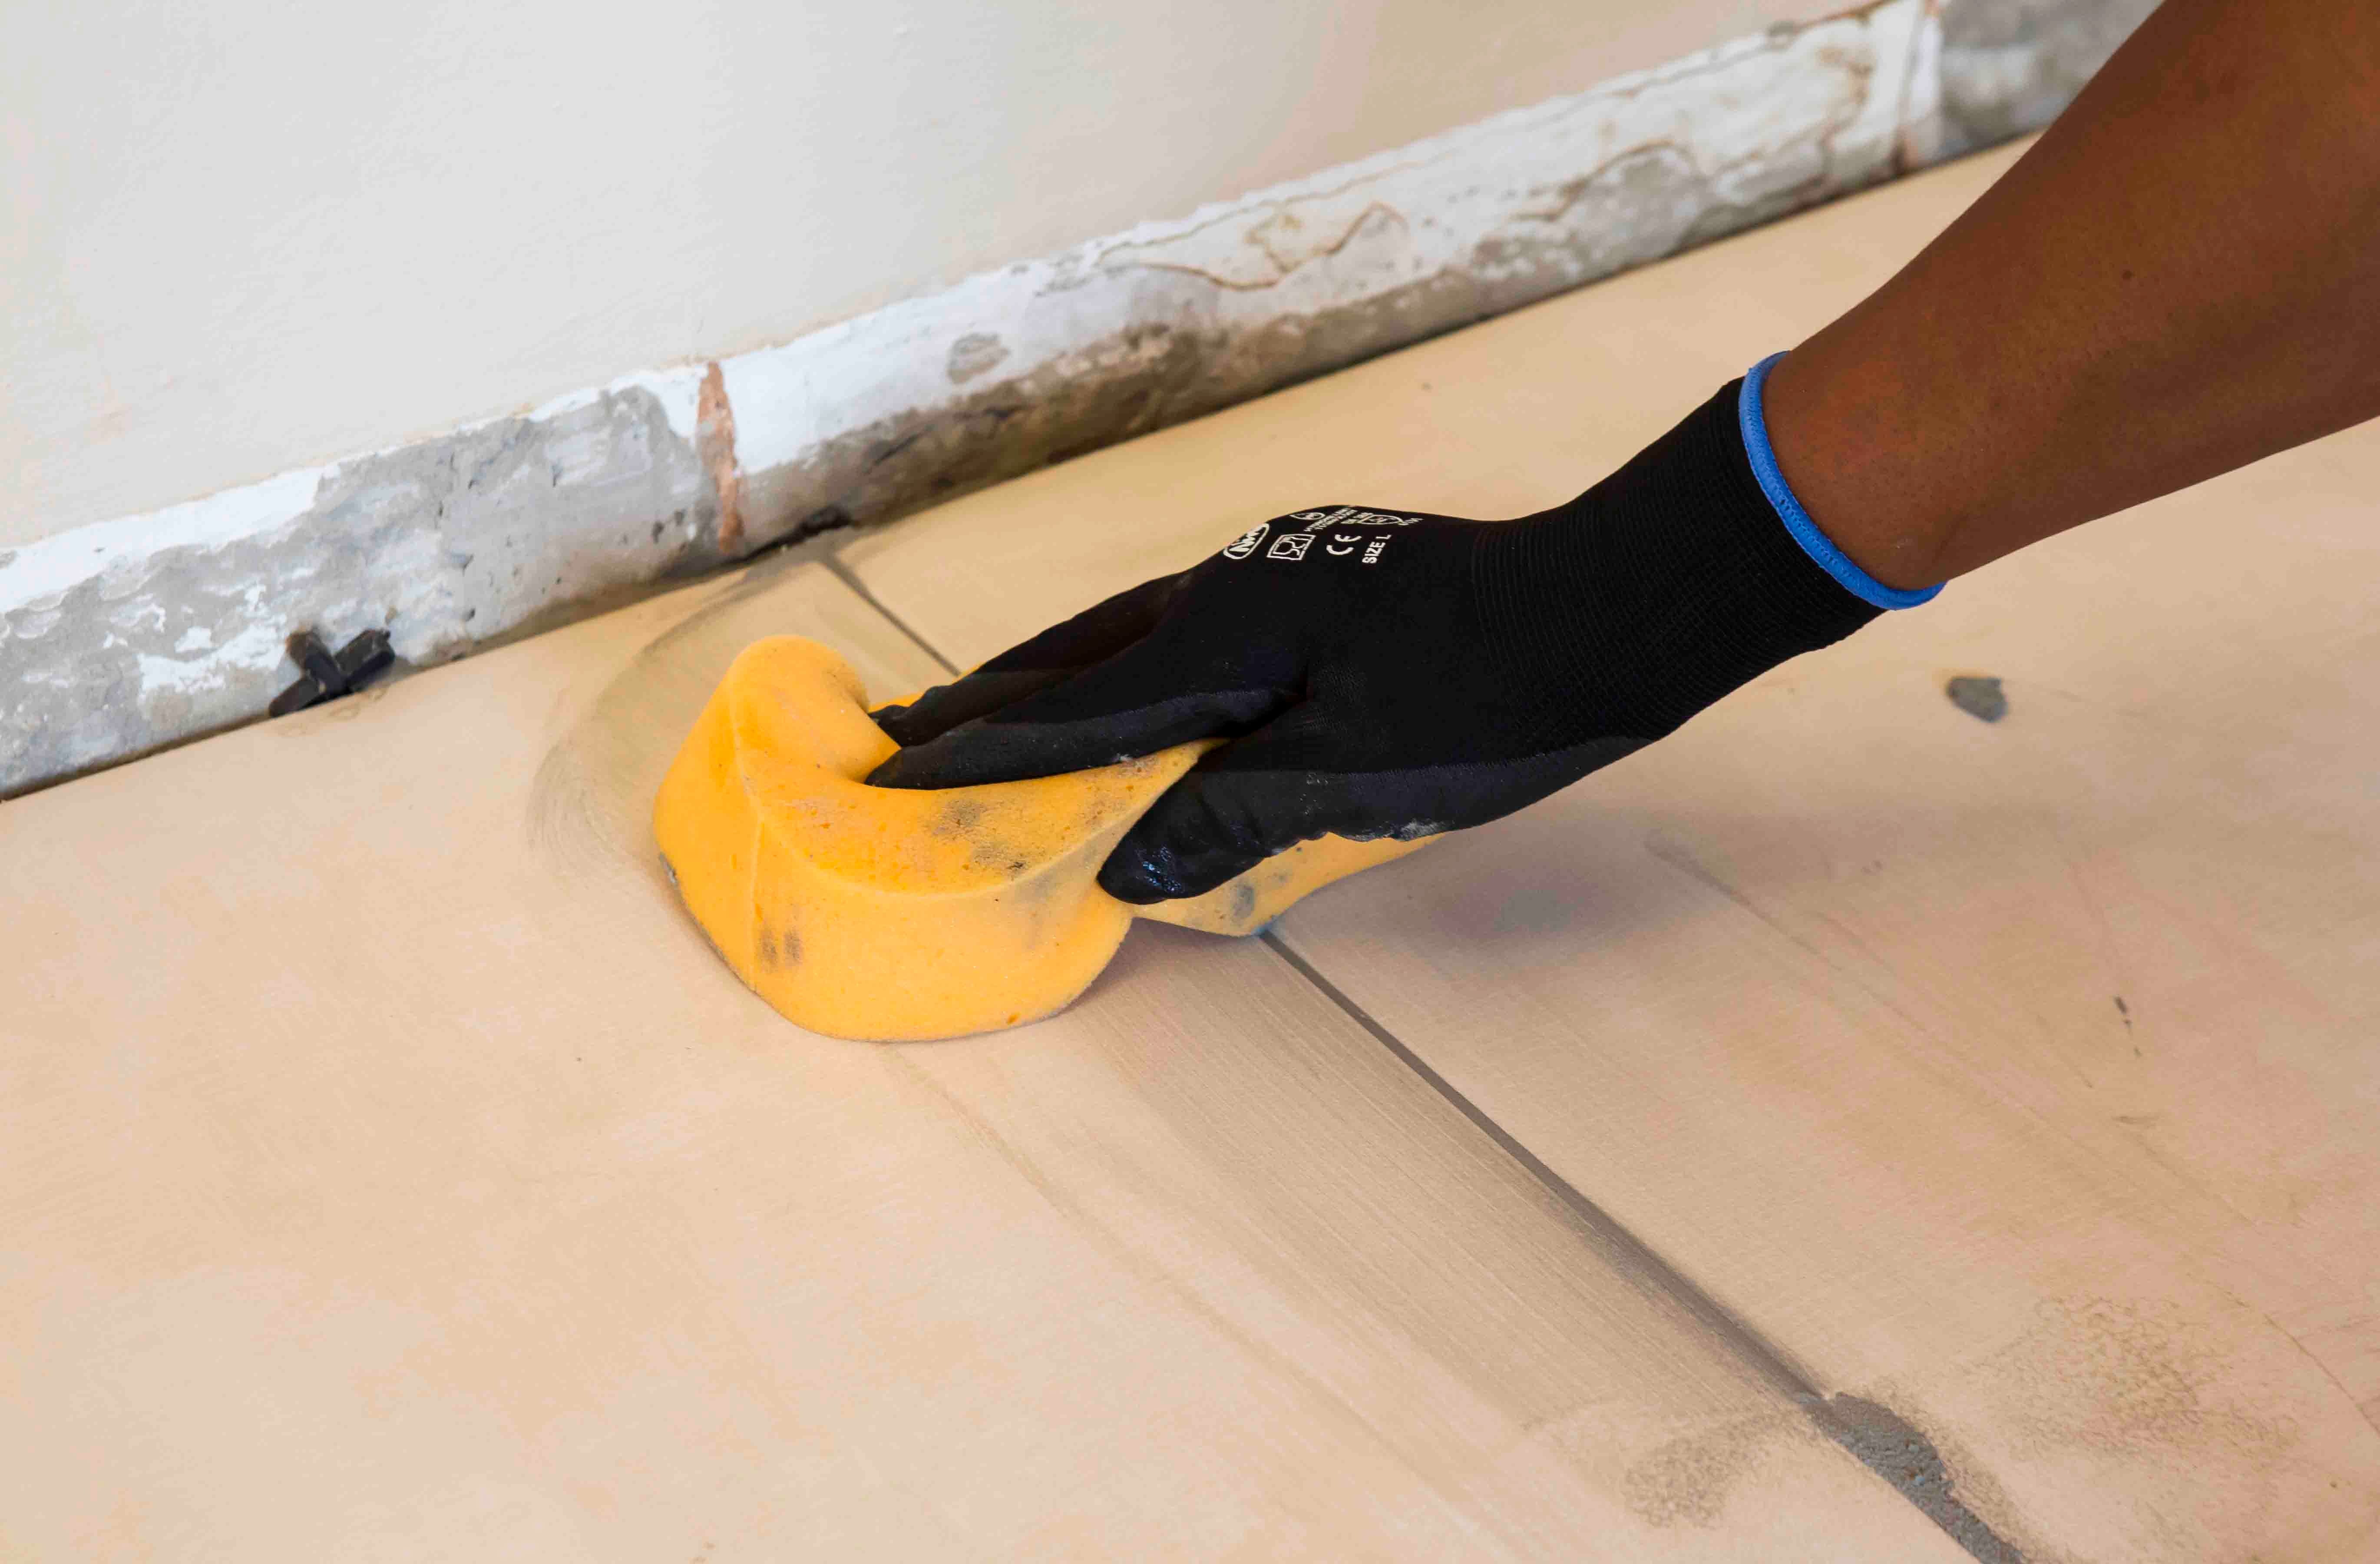
Grouting Sponge
Made from dense foam, a damp grouting sponge helps remove the excess grout from the tiles once you have finished grouting. The rounded edges help avoid gouging out your newly installed grout while cleaning. Use a new sponge for each project, particularly if the grout colour is different.
Now that you’re all kitted out, here are some tips for keeping your tiling toolkit looking and performing like new, no matter how many tiling installations you take on. Firstly, only purchase good quality products from reputable manufacturers, and only use the right tool for a specific job. Improvising only makes the task more difficult and time-consuming.
Keeping your tools clean is another way to ensure they last longer. Never allow any grout or adhesive to dry on your tools.
Wash them after every use, and dry them thoroughly to discourage any rust from forming. Replace worn trowels as necessary.
As the old saying goes, failing to prepare is preparing to fail. But with the right products and tools at your disposal, as well as a little extra guidance from the professionals, you are already halfway to achieving a magazine-worthy tiling installation.
Where necessary, use a grout squeegee to apply additional adhesive to fill in any voids in the grout joints.
Keeping it clean
A good quality sponge is your secret weapon to remove excess adhesive from the face of your newly installed mosaics. Use one with rounded edges to prevent grout being gouged out of the joints during cleaning. Ensure the sponge is damp, not wet, as excessive water can affect the performance and integrity of the adhesive, potentially ruining the installation
The bottom line
Mosaics’ small size and wide variety of home applications make them a stylish feature in your home. For the best results, it’s important not to neglect attention to detail, as well as the specialised tools and products that are needed to achieve a beautiful and long-lasting installation.
This is applied using a builder’s block brush and ensuring complete coverage of the existing tiles.
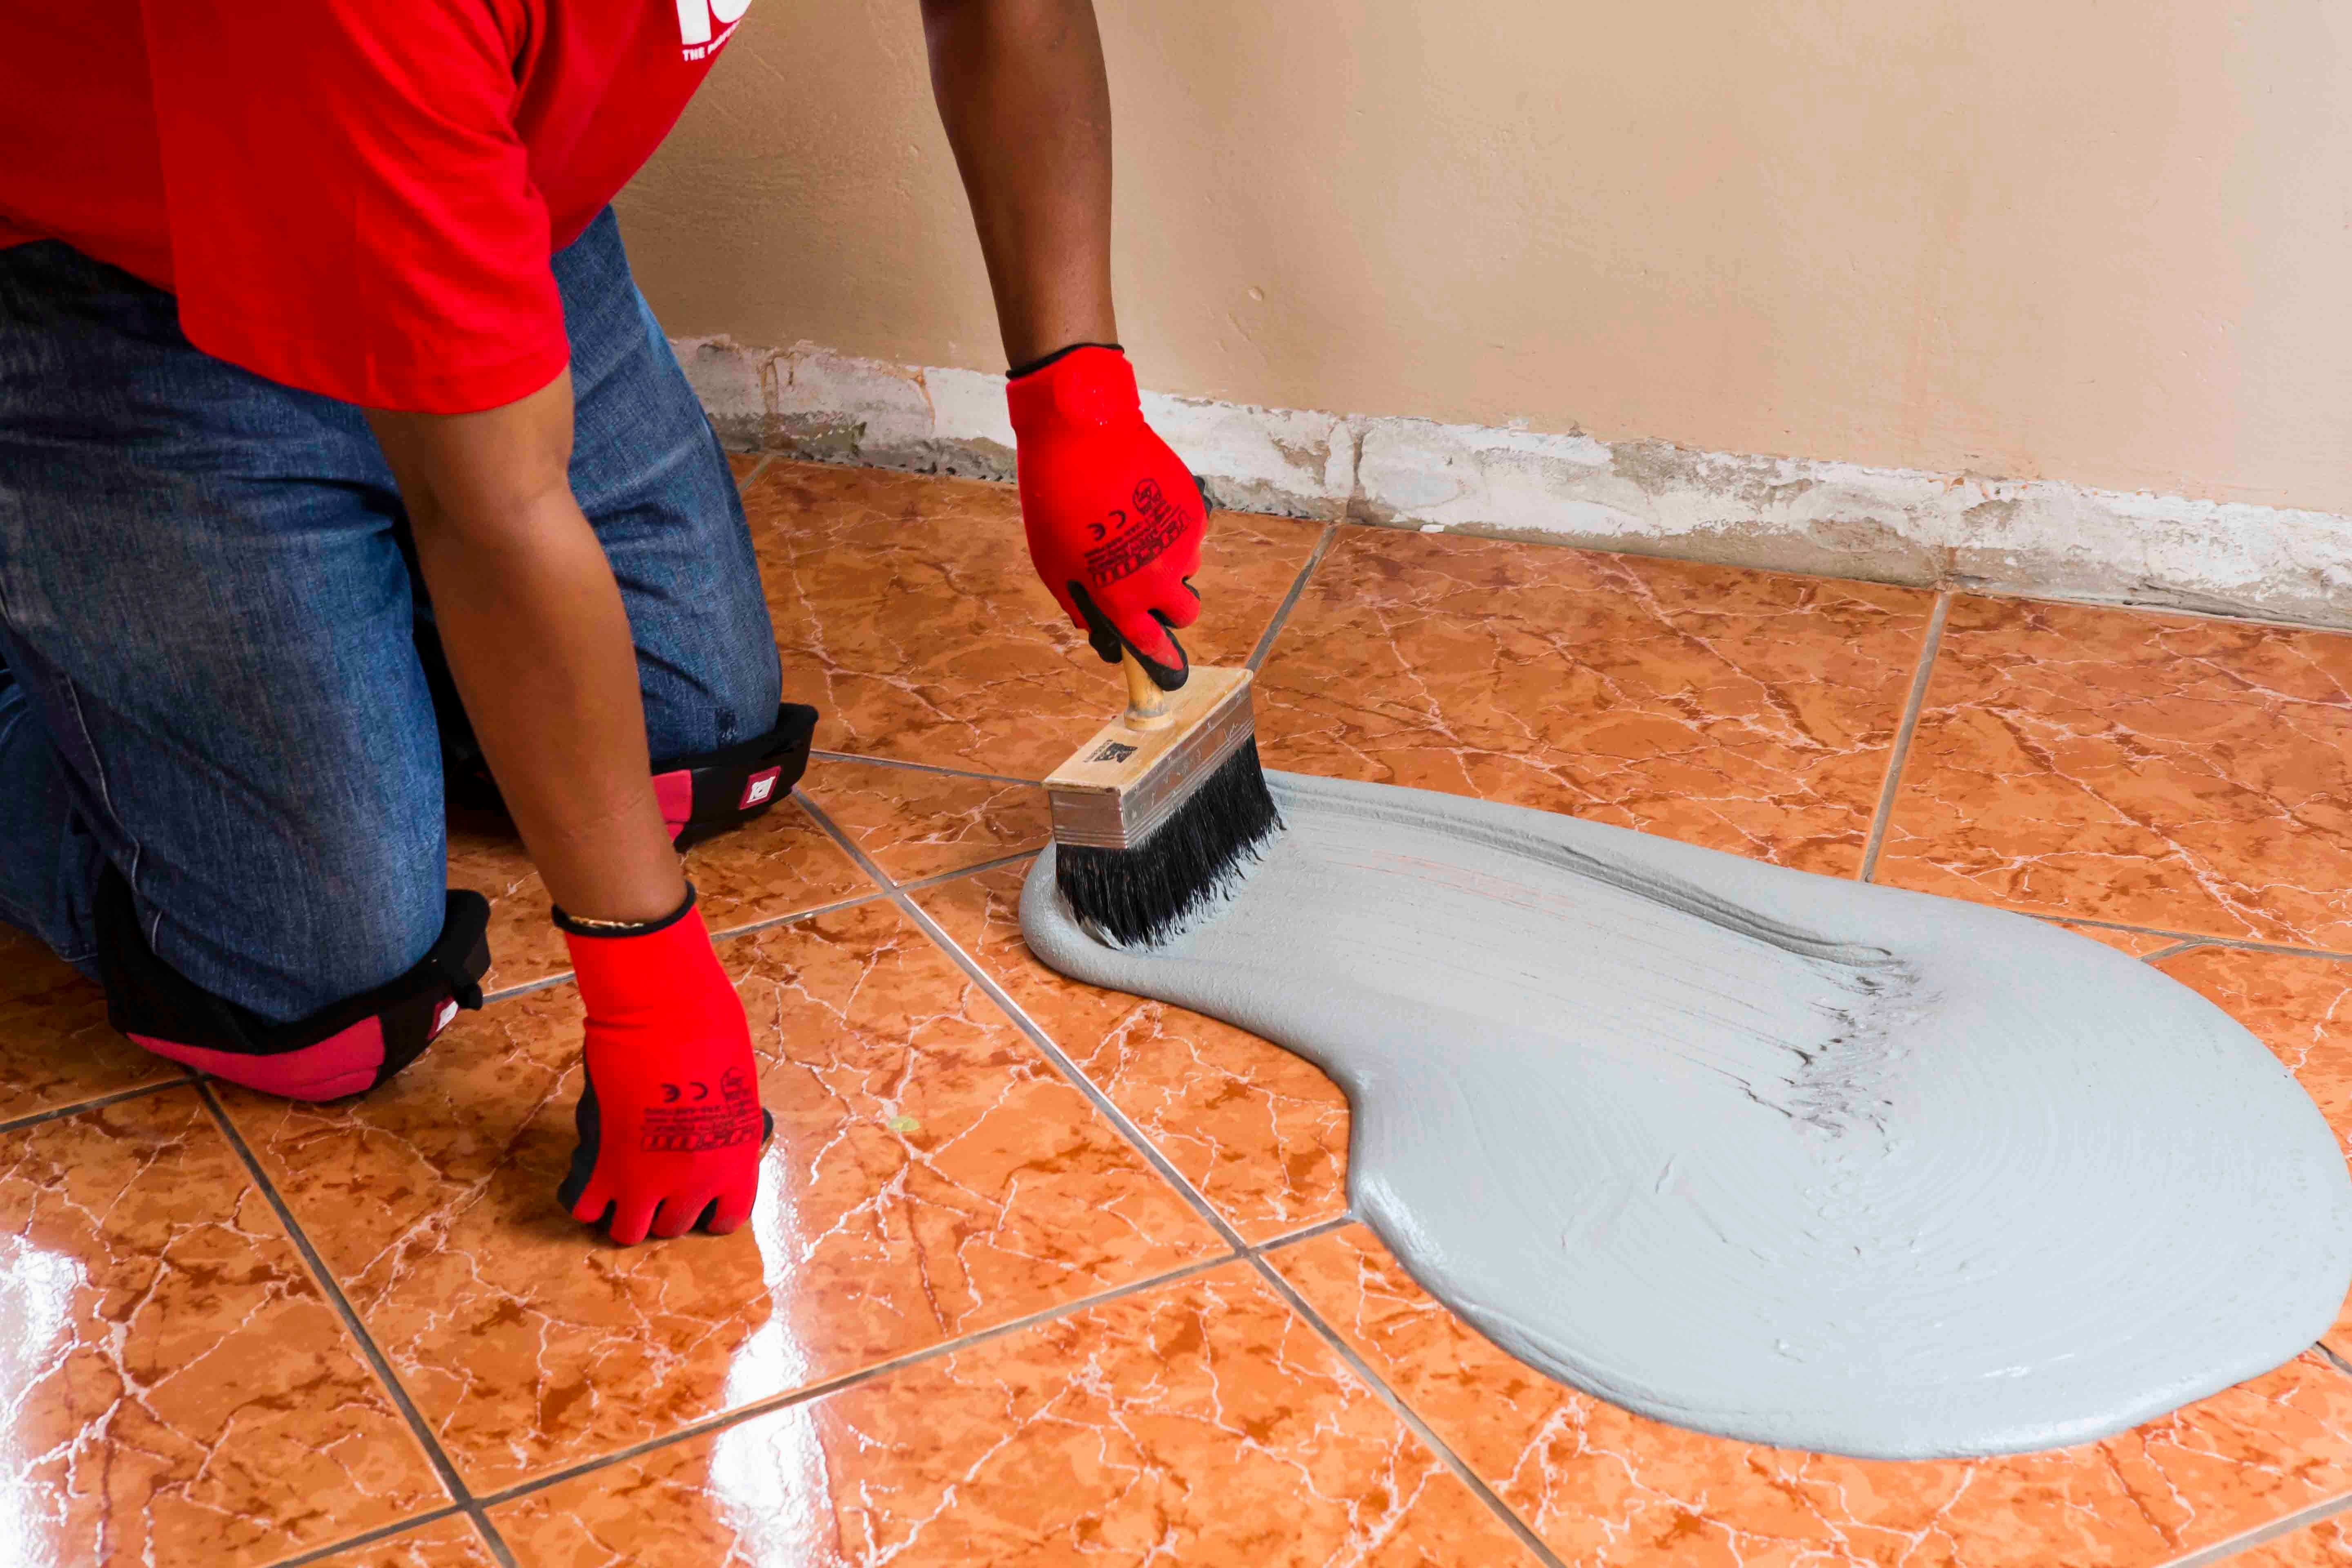
The adhesive can be applied once the slurry priming coat is touch-dry (i.e. no visible transfer when wiped or rubbed).
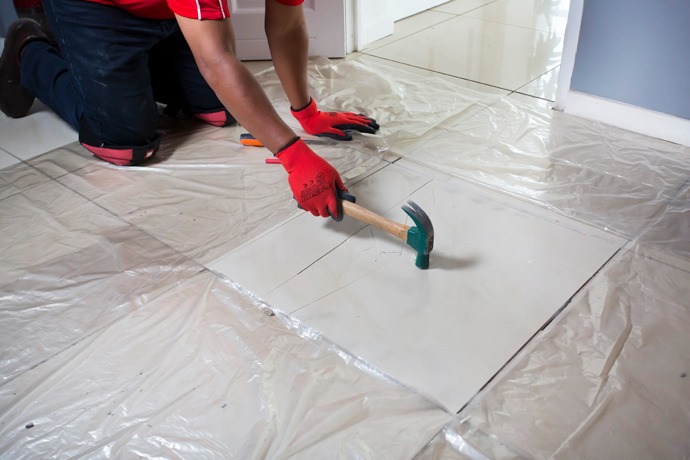
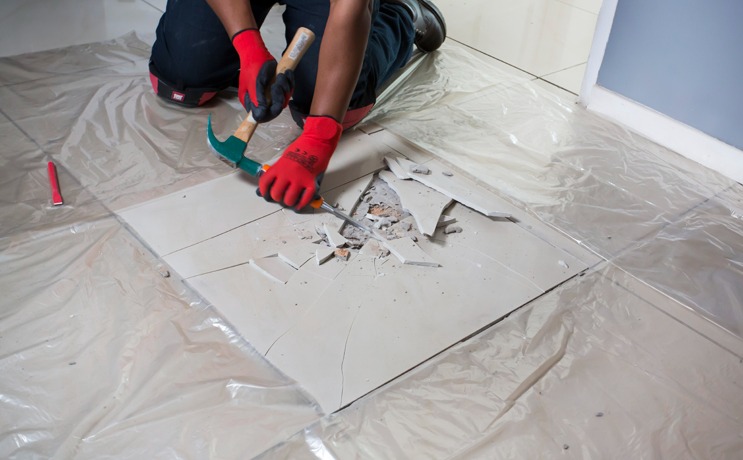
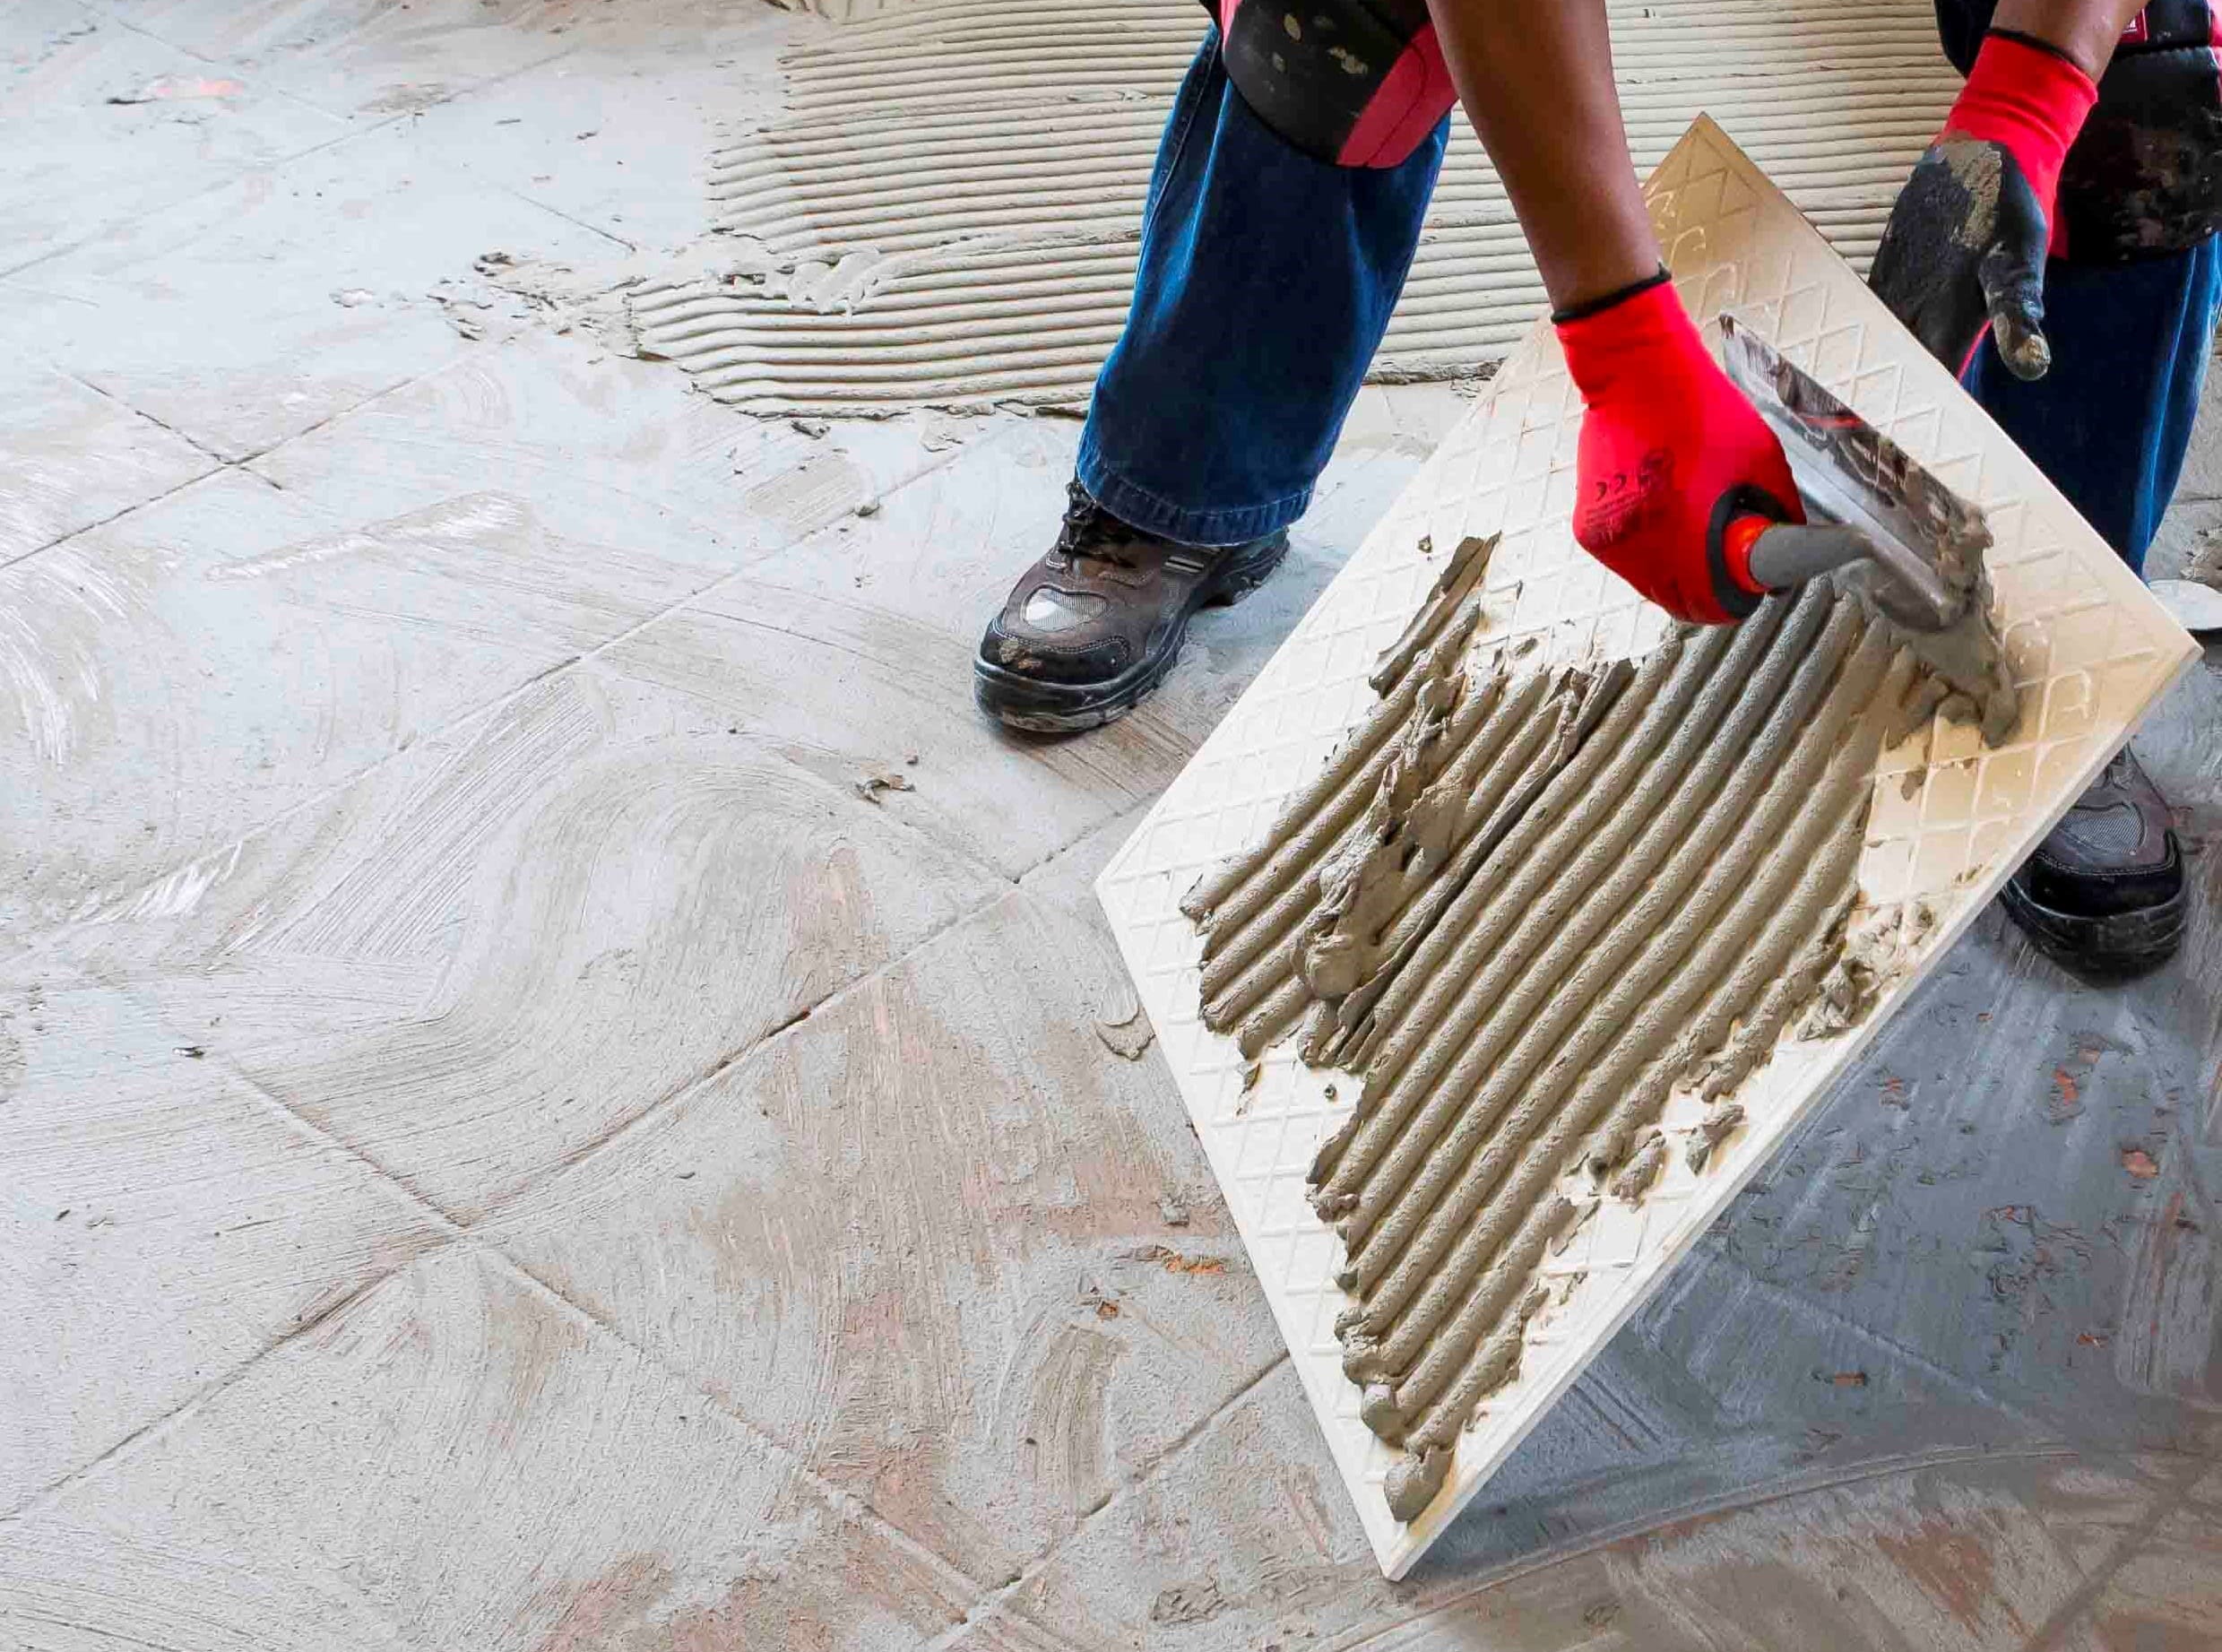
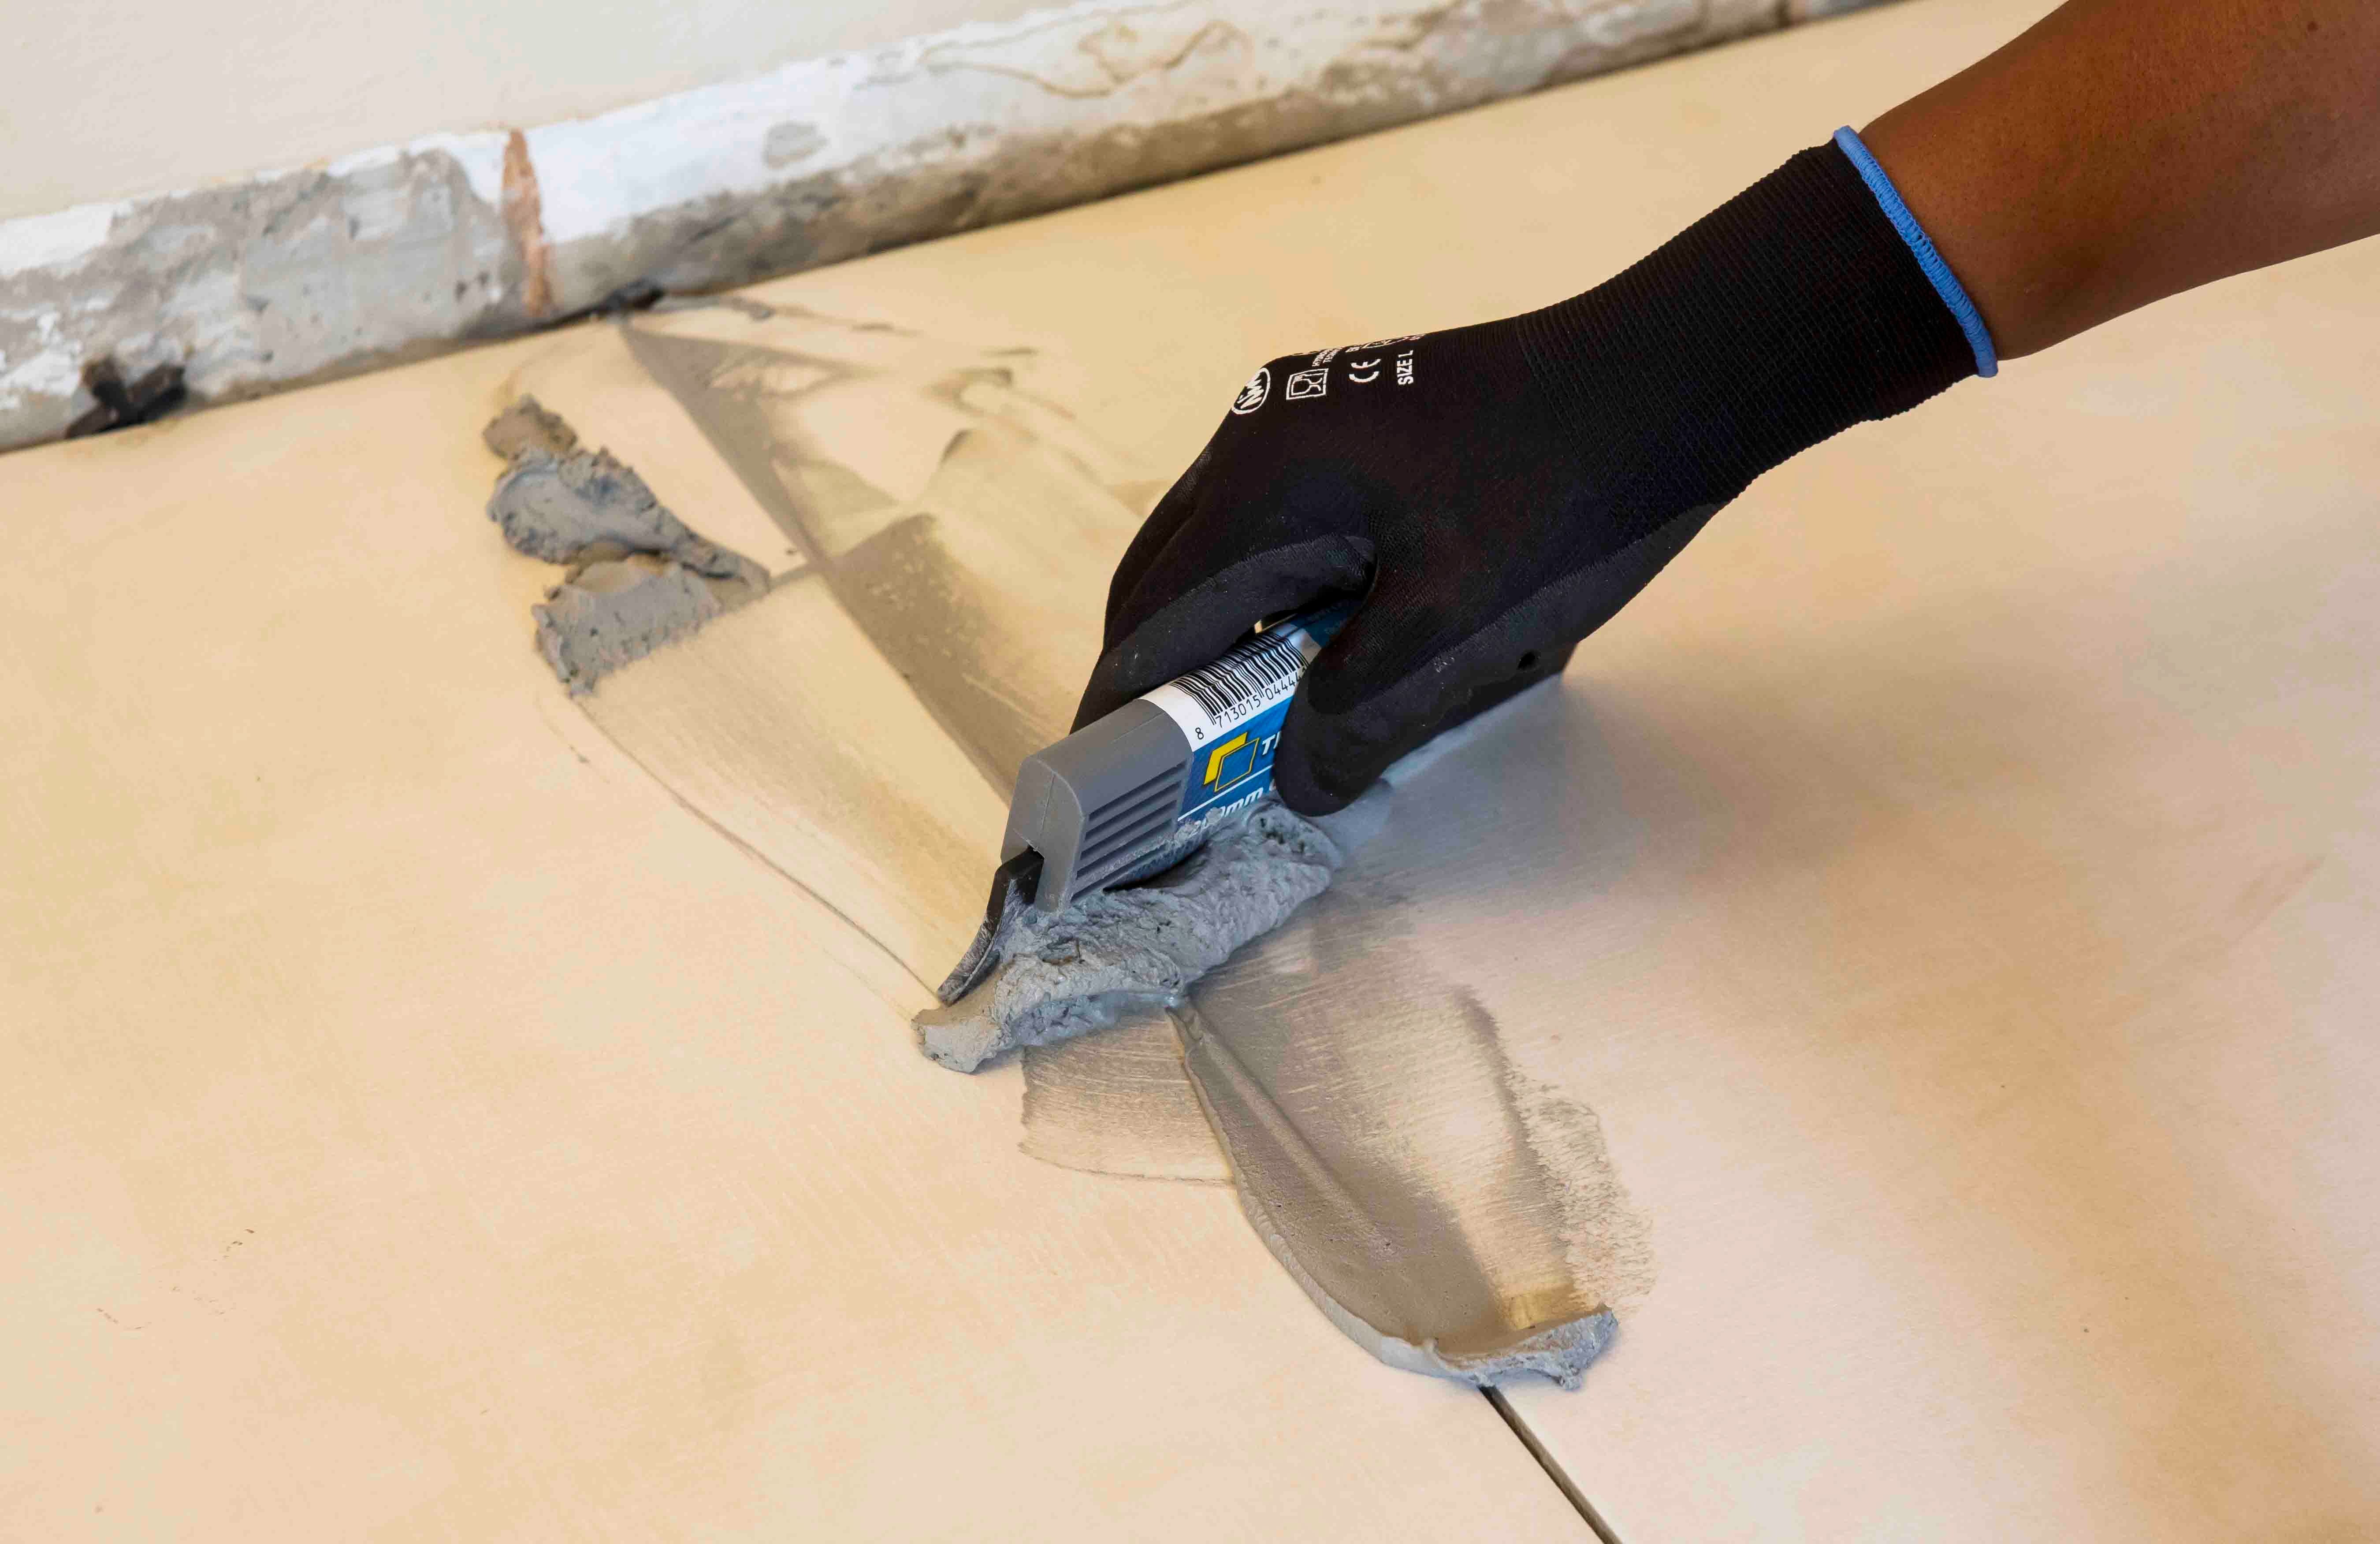
When replacing tiles, it is not always possible to apply the TALFIX directly to the floor, in which case apply the adhesive in a solid bed onto the back of the tile, ensuring complete coverage. Gently trace the notched side of a floor trowel through the adhesive to create ‘ridges’.
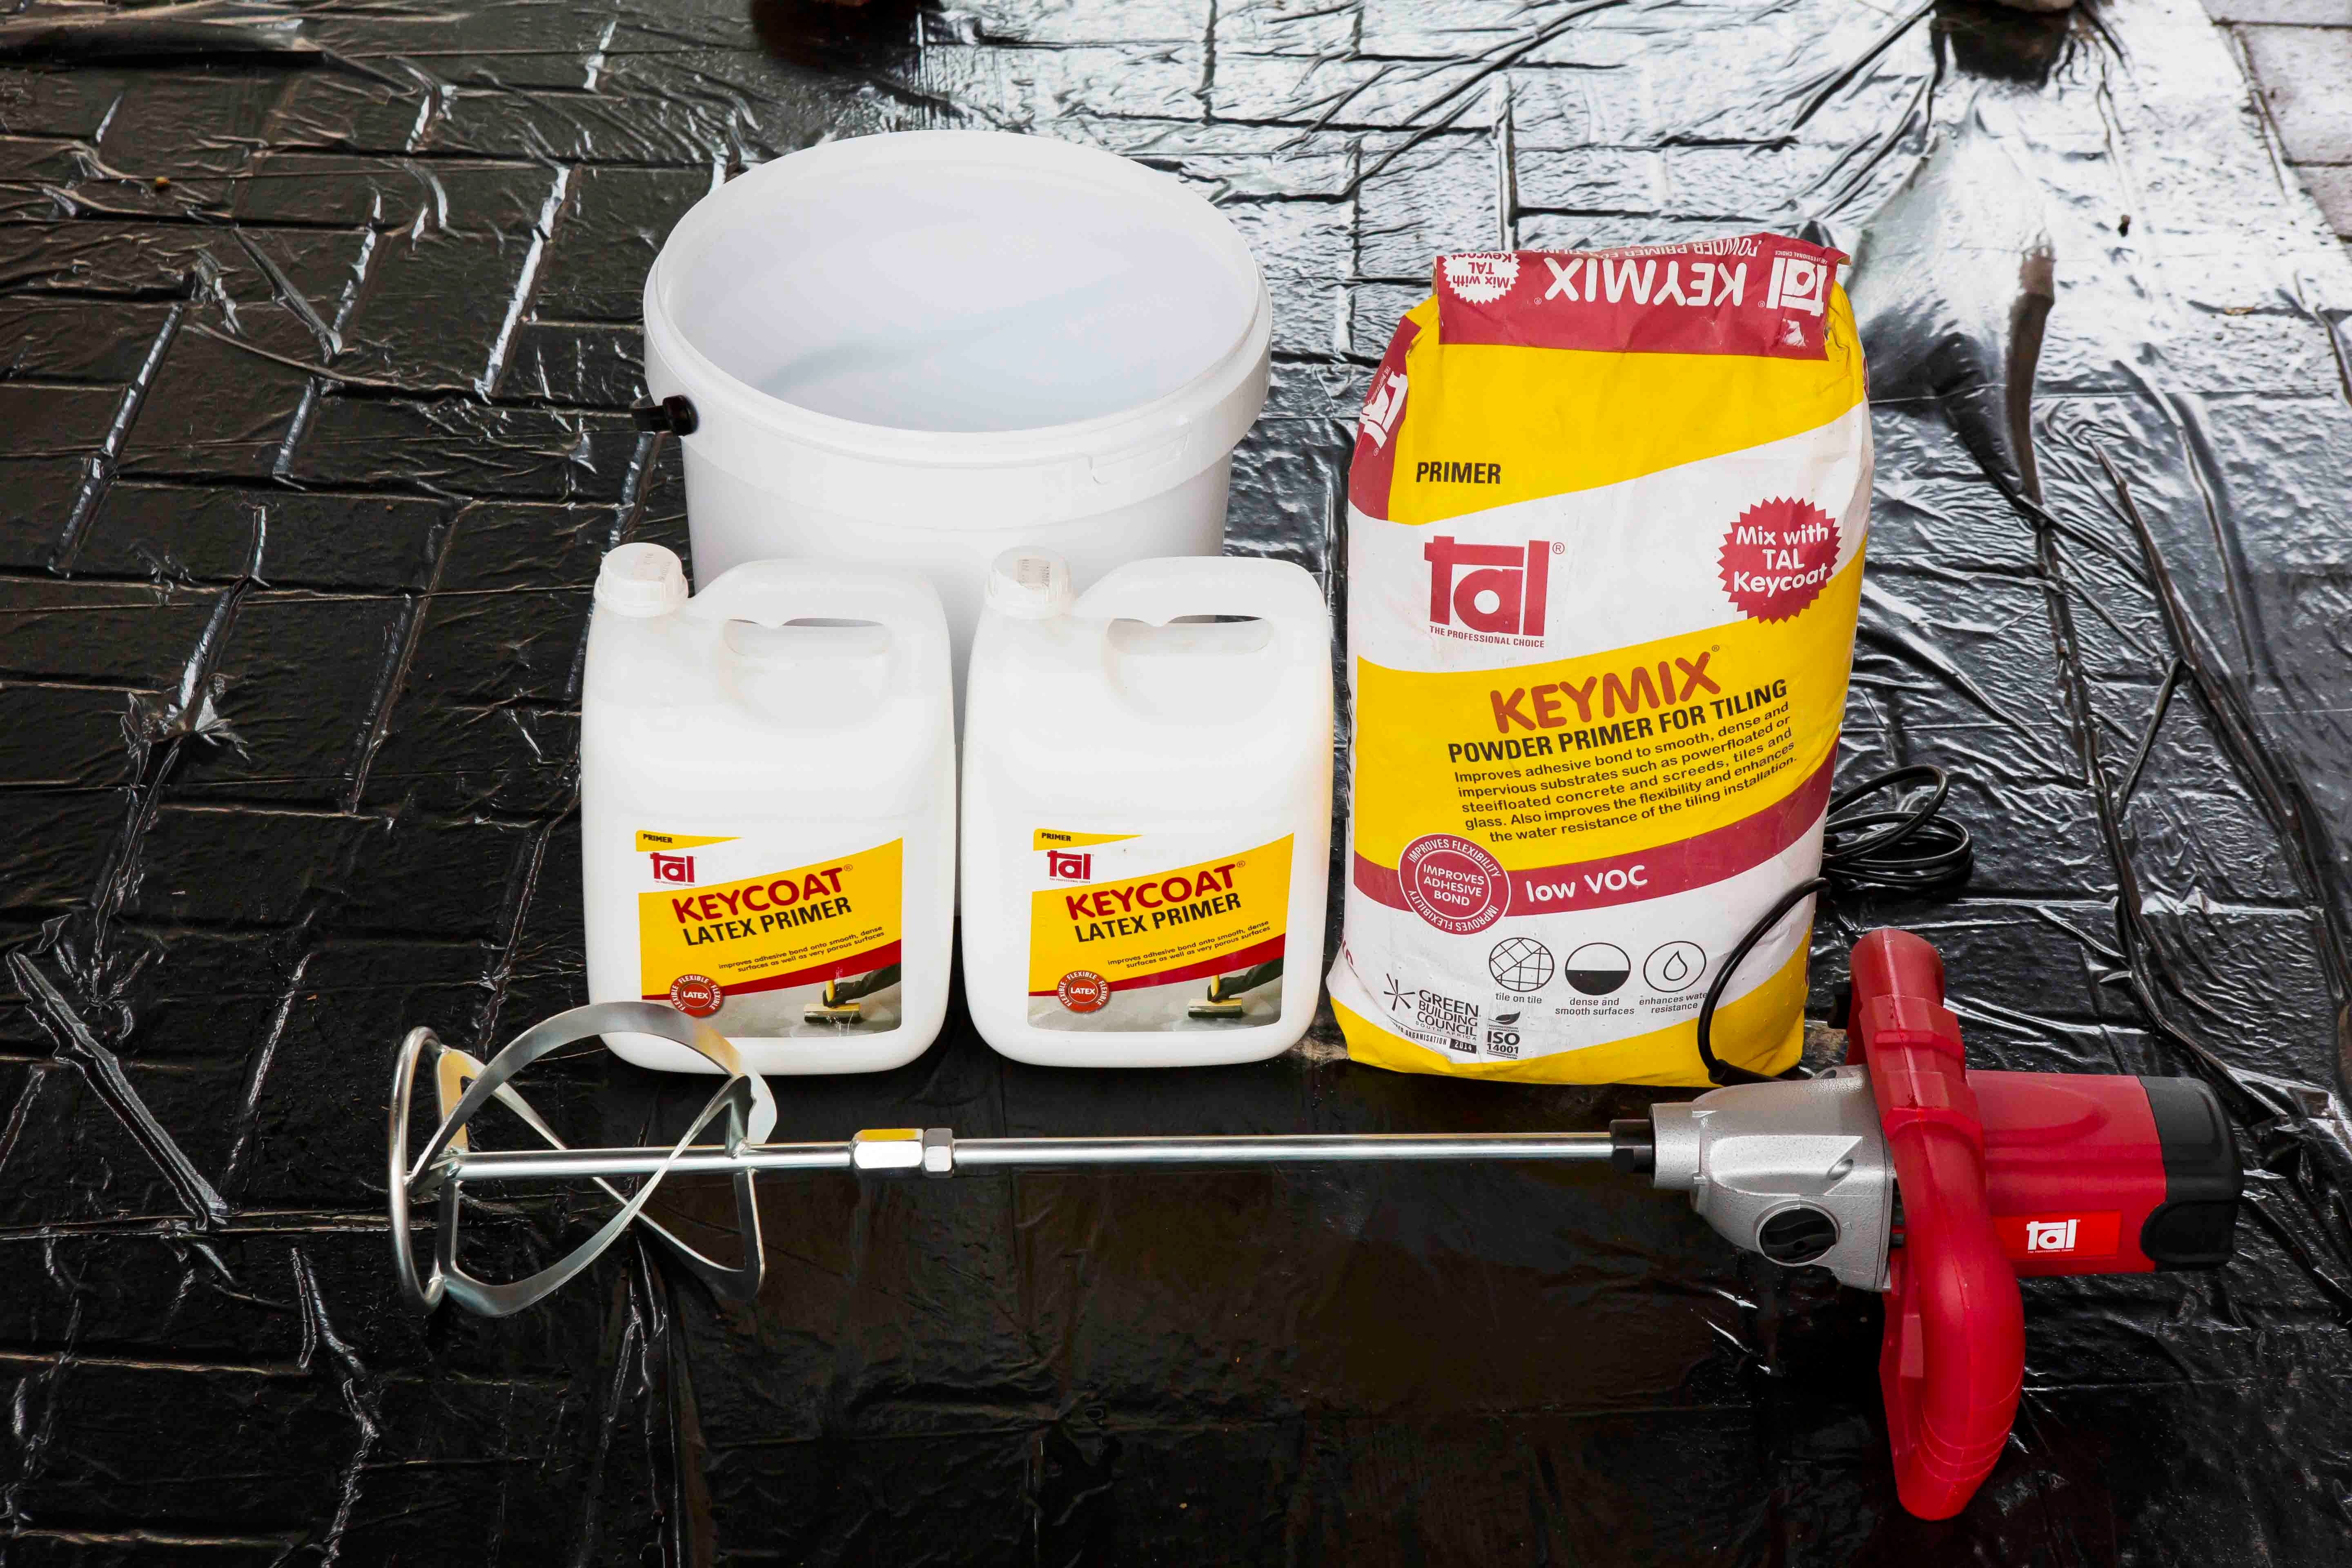
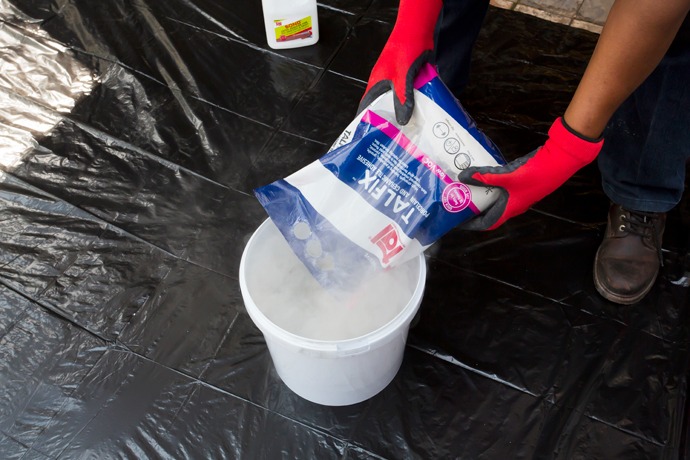
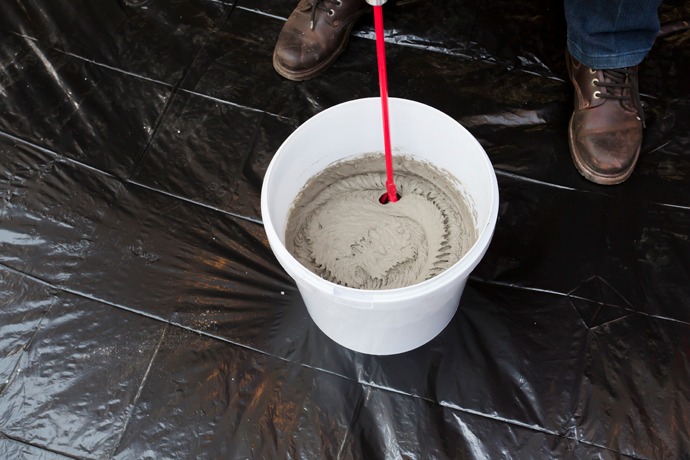
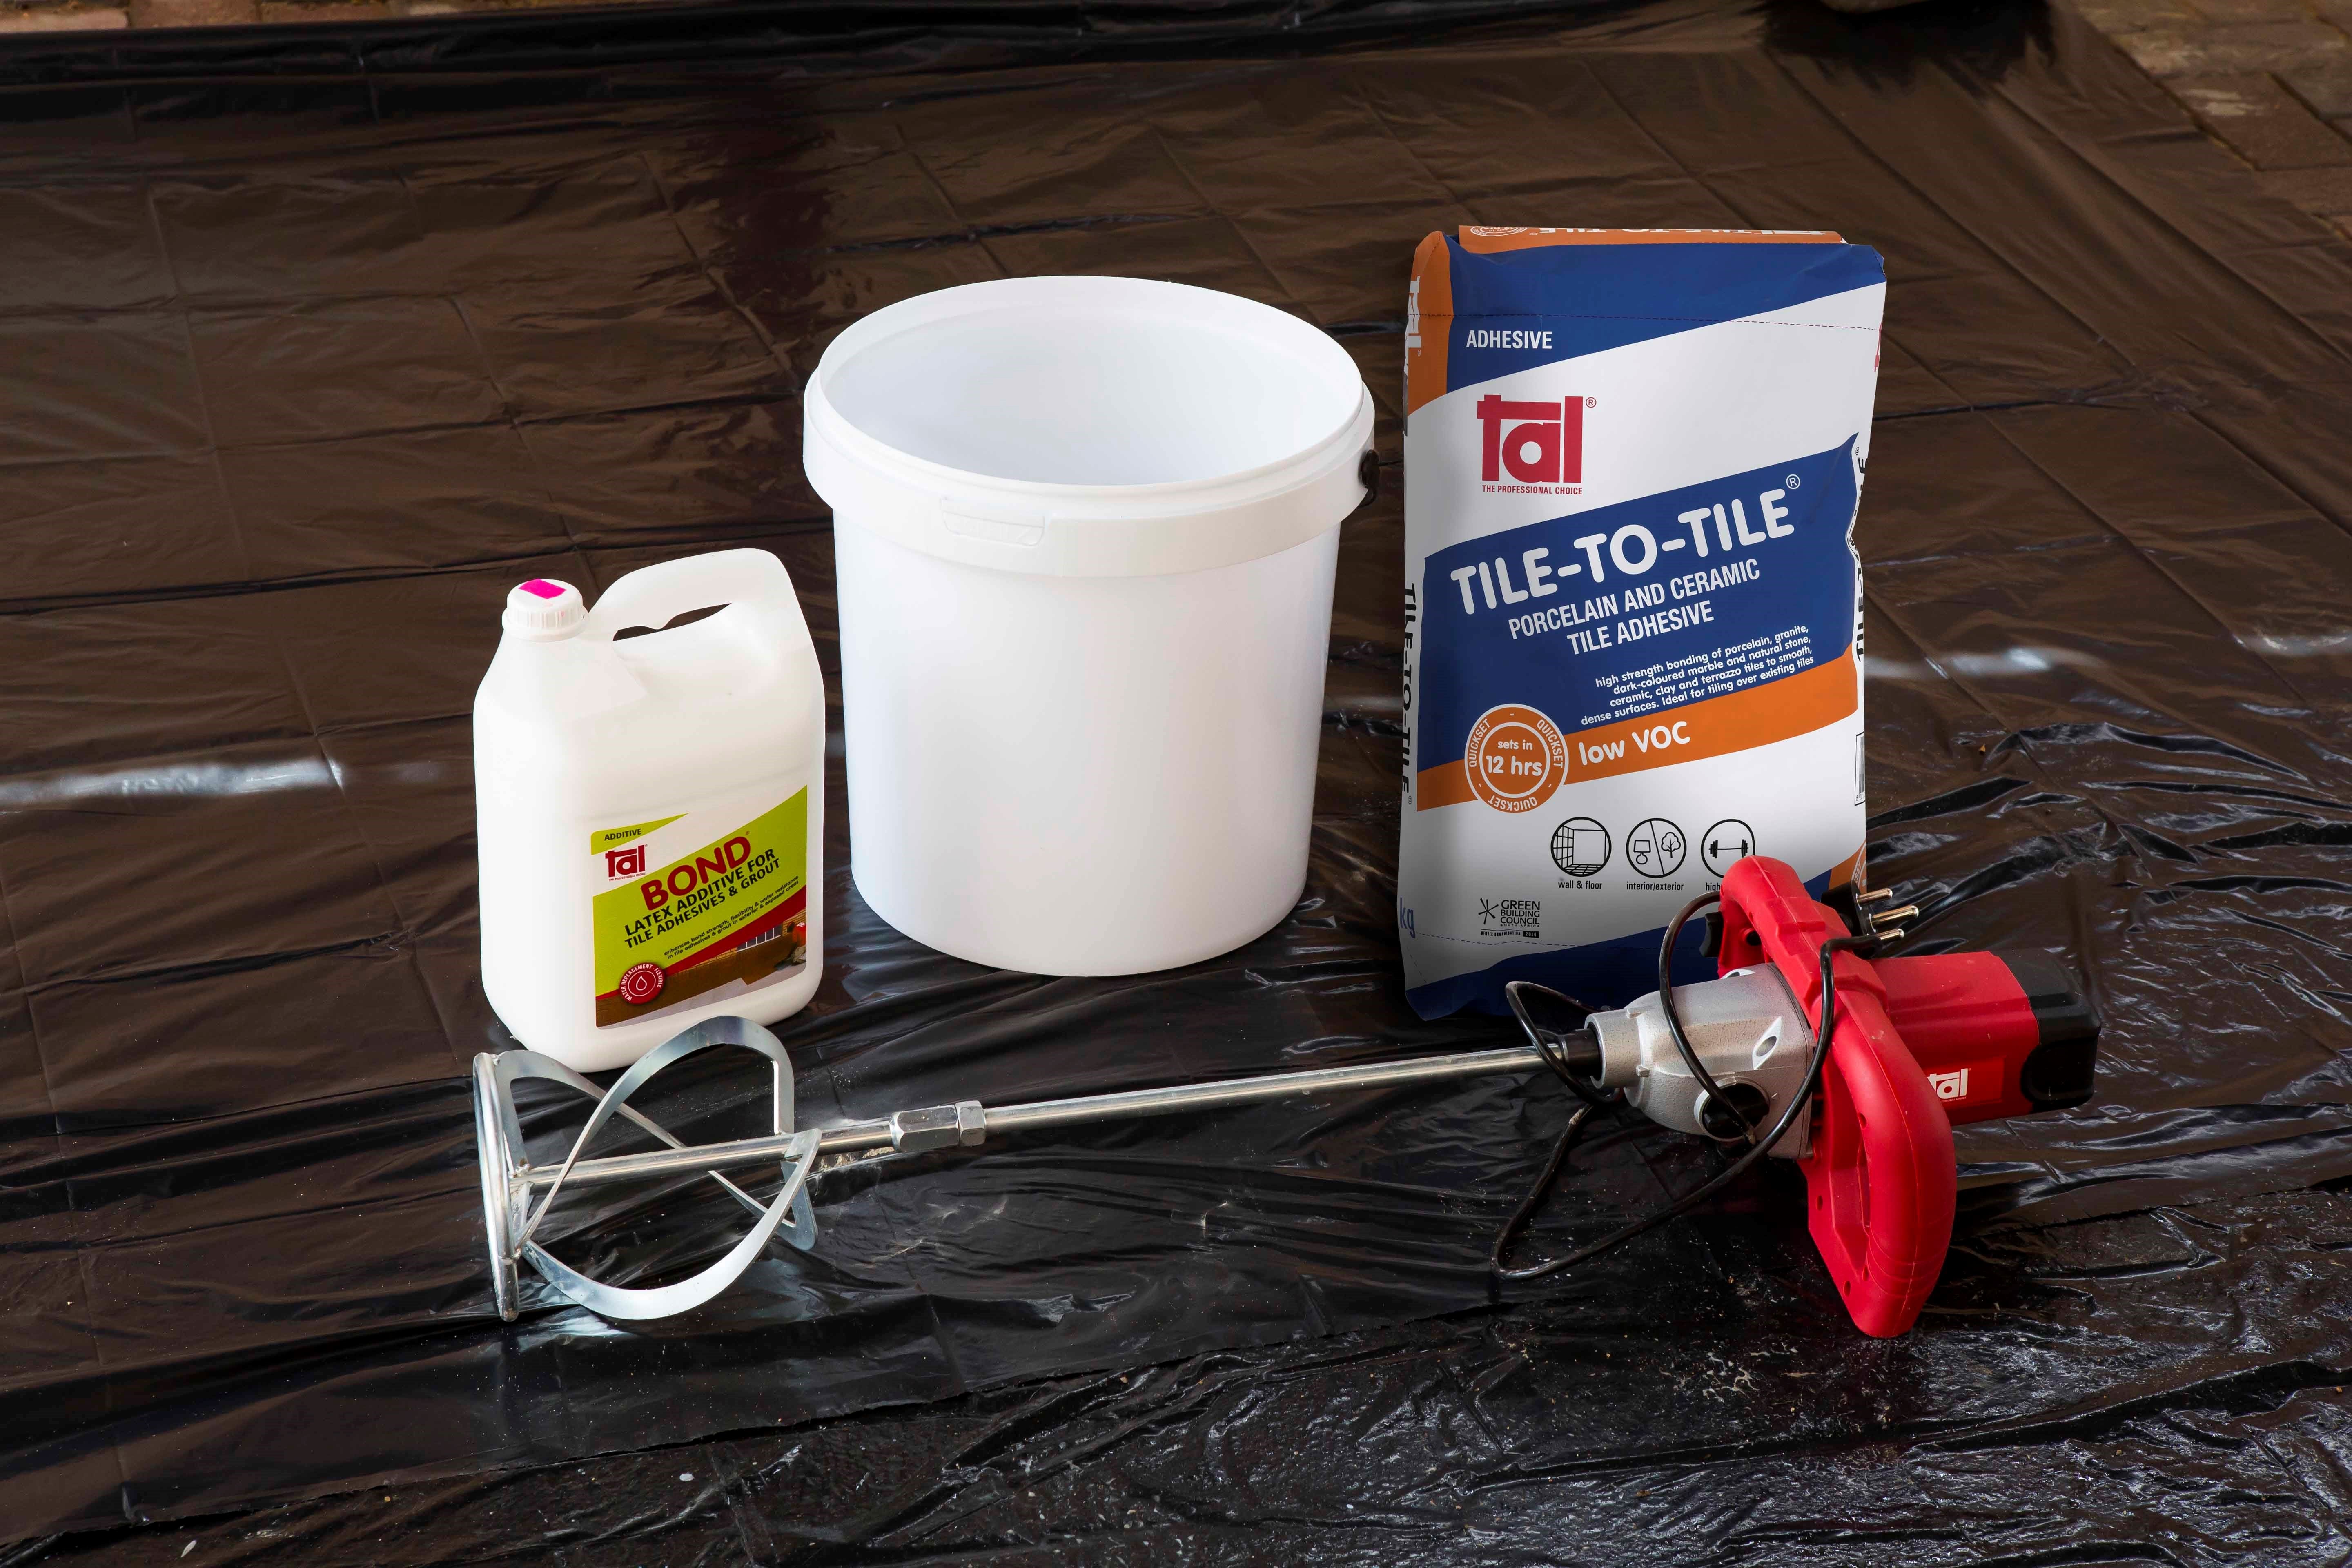
Adhesive system
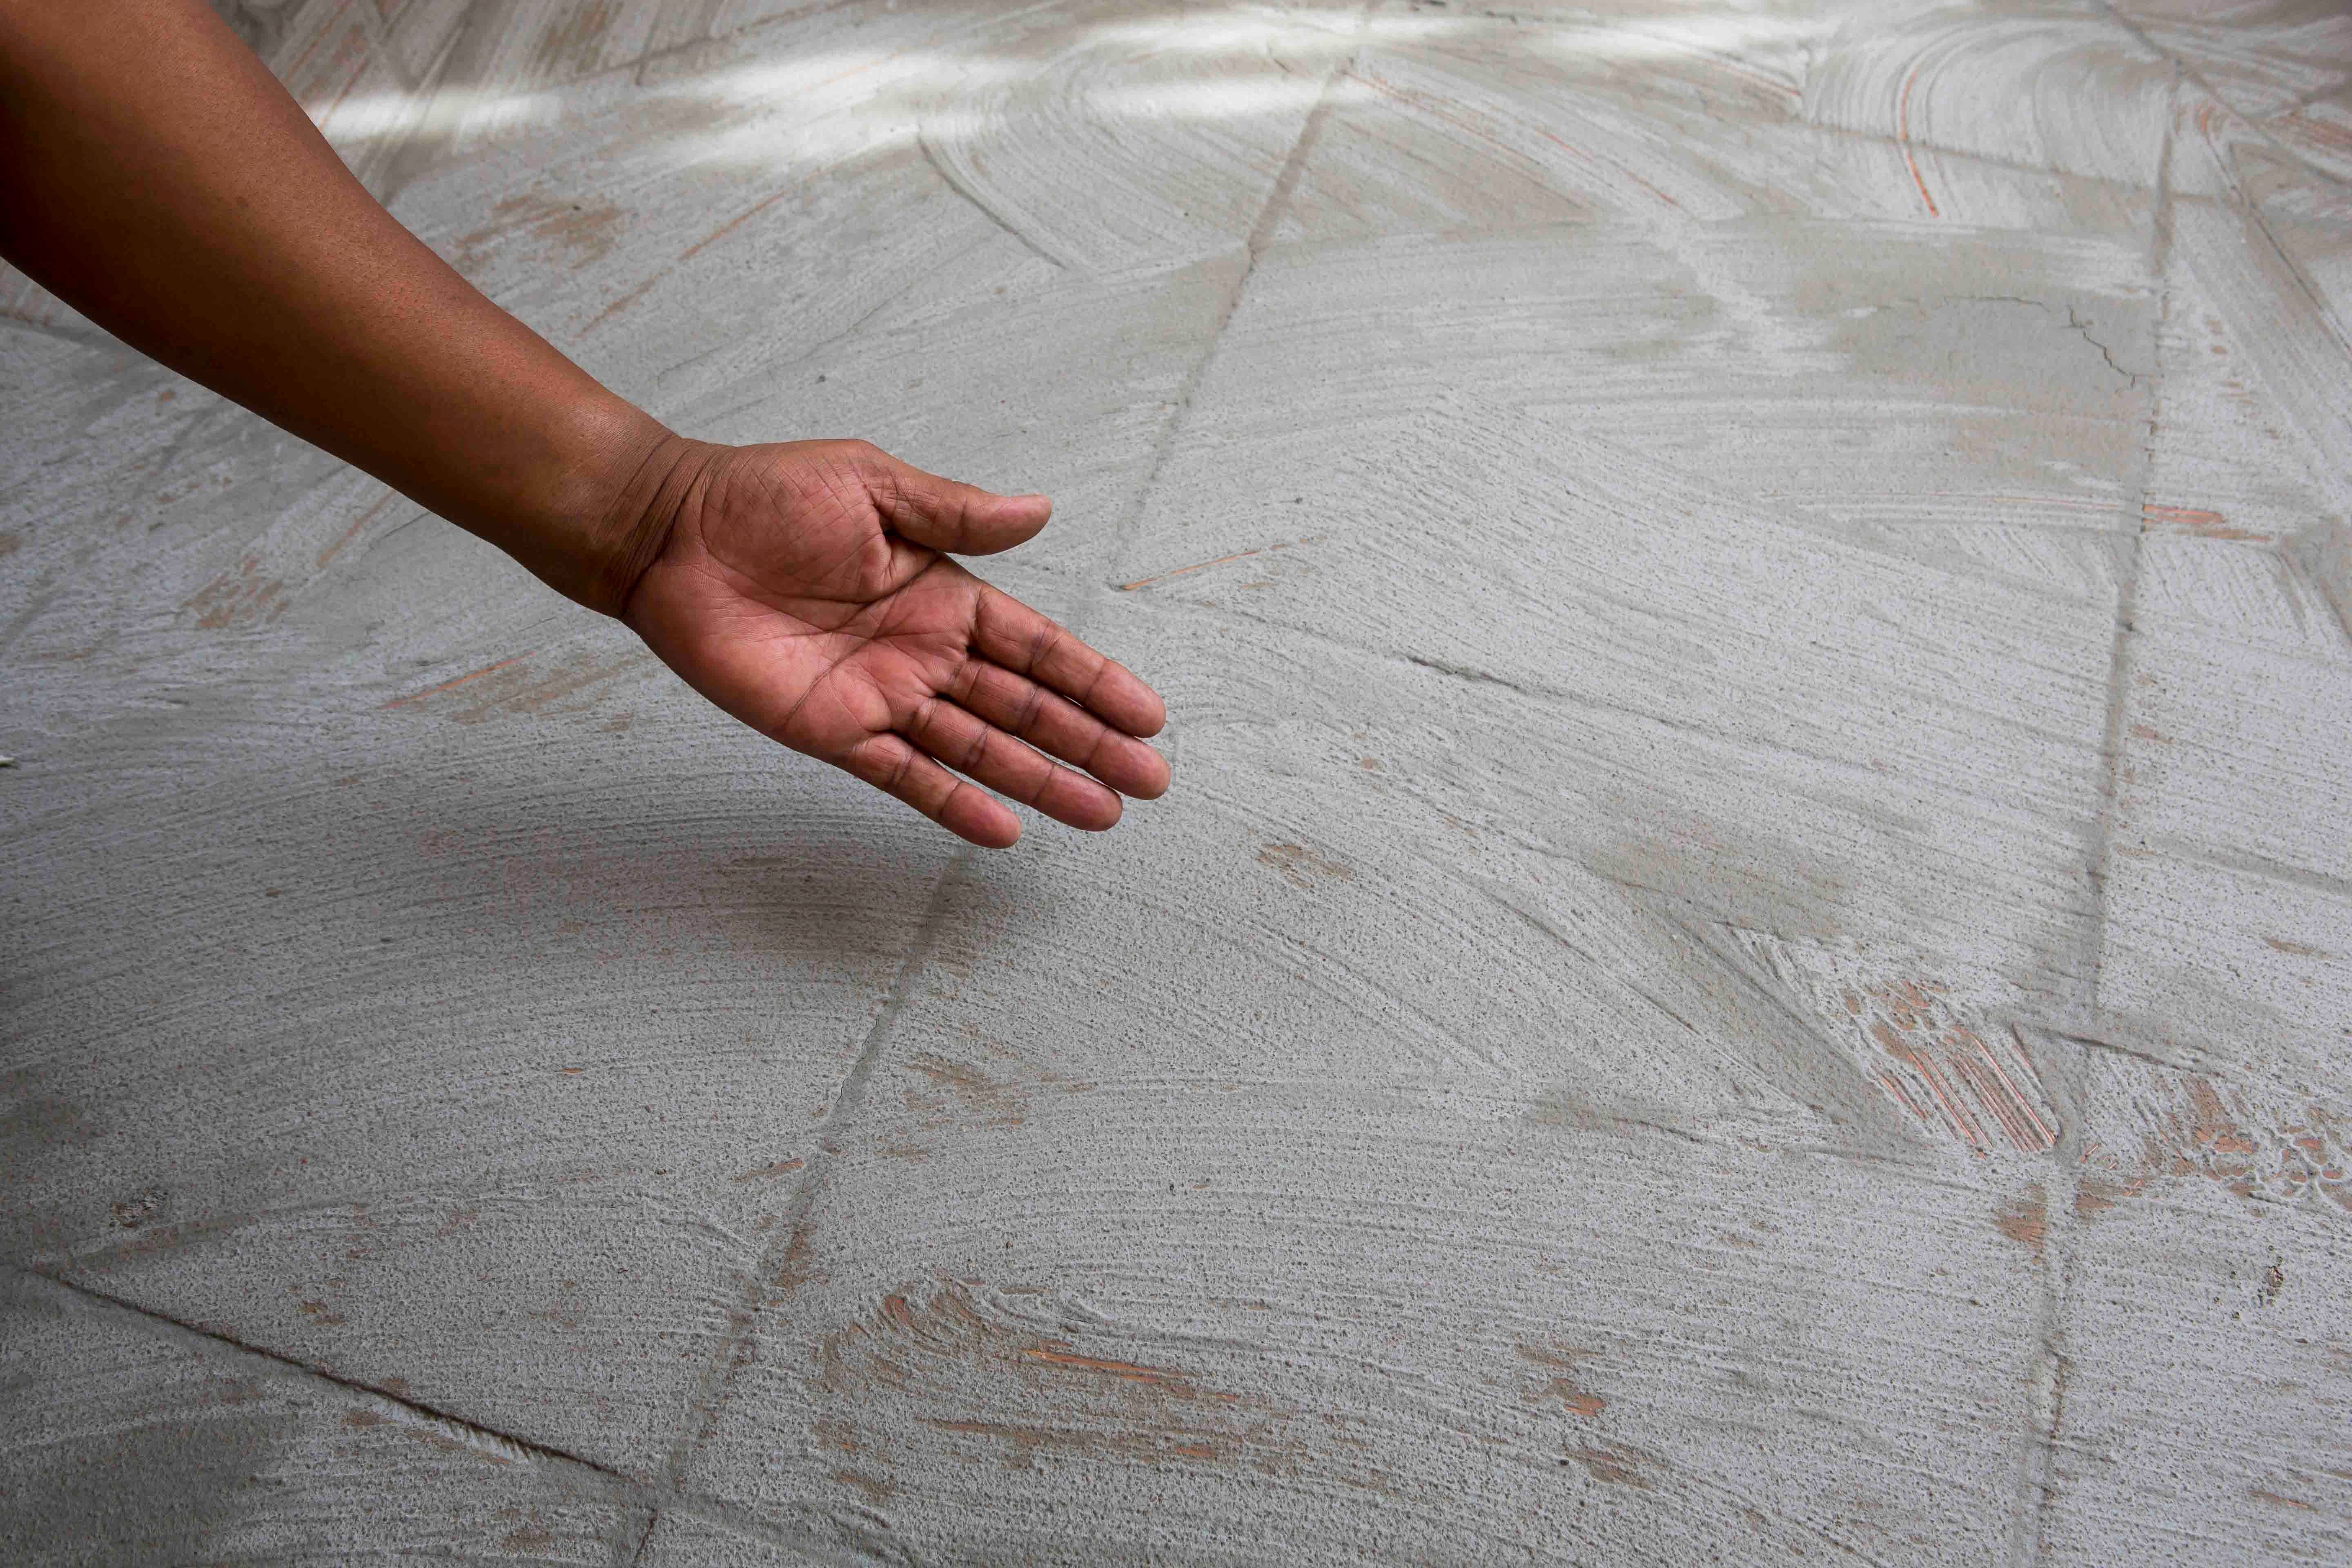
When tiling onto existing tiles, it is important to only use a quick- or rapid-setting adhesive, as the existing tiles will present a dense, impervious surface, and standard-setting adhesives will take longer to dry. Too early trafficking of newly-installed tiles before the adhesive has set sufficiently can result in hollow-sounding or loose tiles.
Use TAL Tile-To-Tile quick-setting adhesive for tiling onto interior surface beds. When tiling onto suspended slabs and for external installations mix the TAL Tile-To-Tile with TAL Bond, replacing the water in the mix. Alternatively, TAL Bond Powder can be added to the adhesive mixing water.
Ensure that there is a solid bed of adhesive at least 6 mm thick beneath each tile.
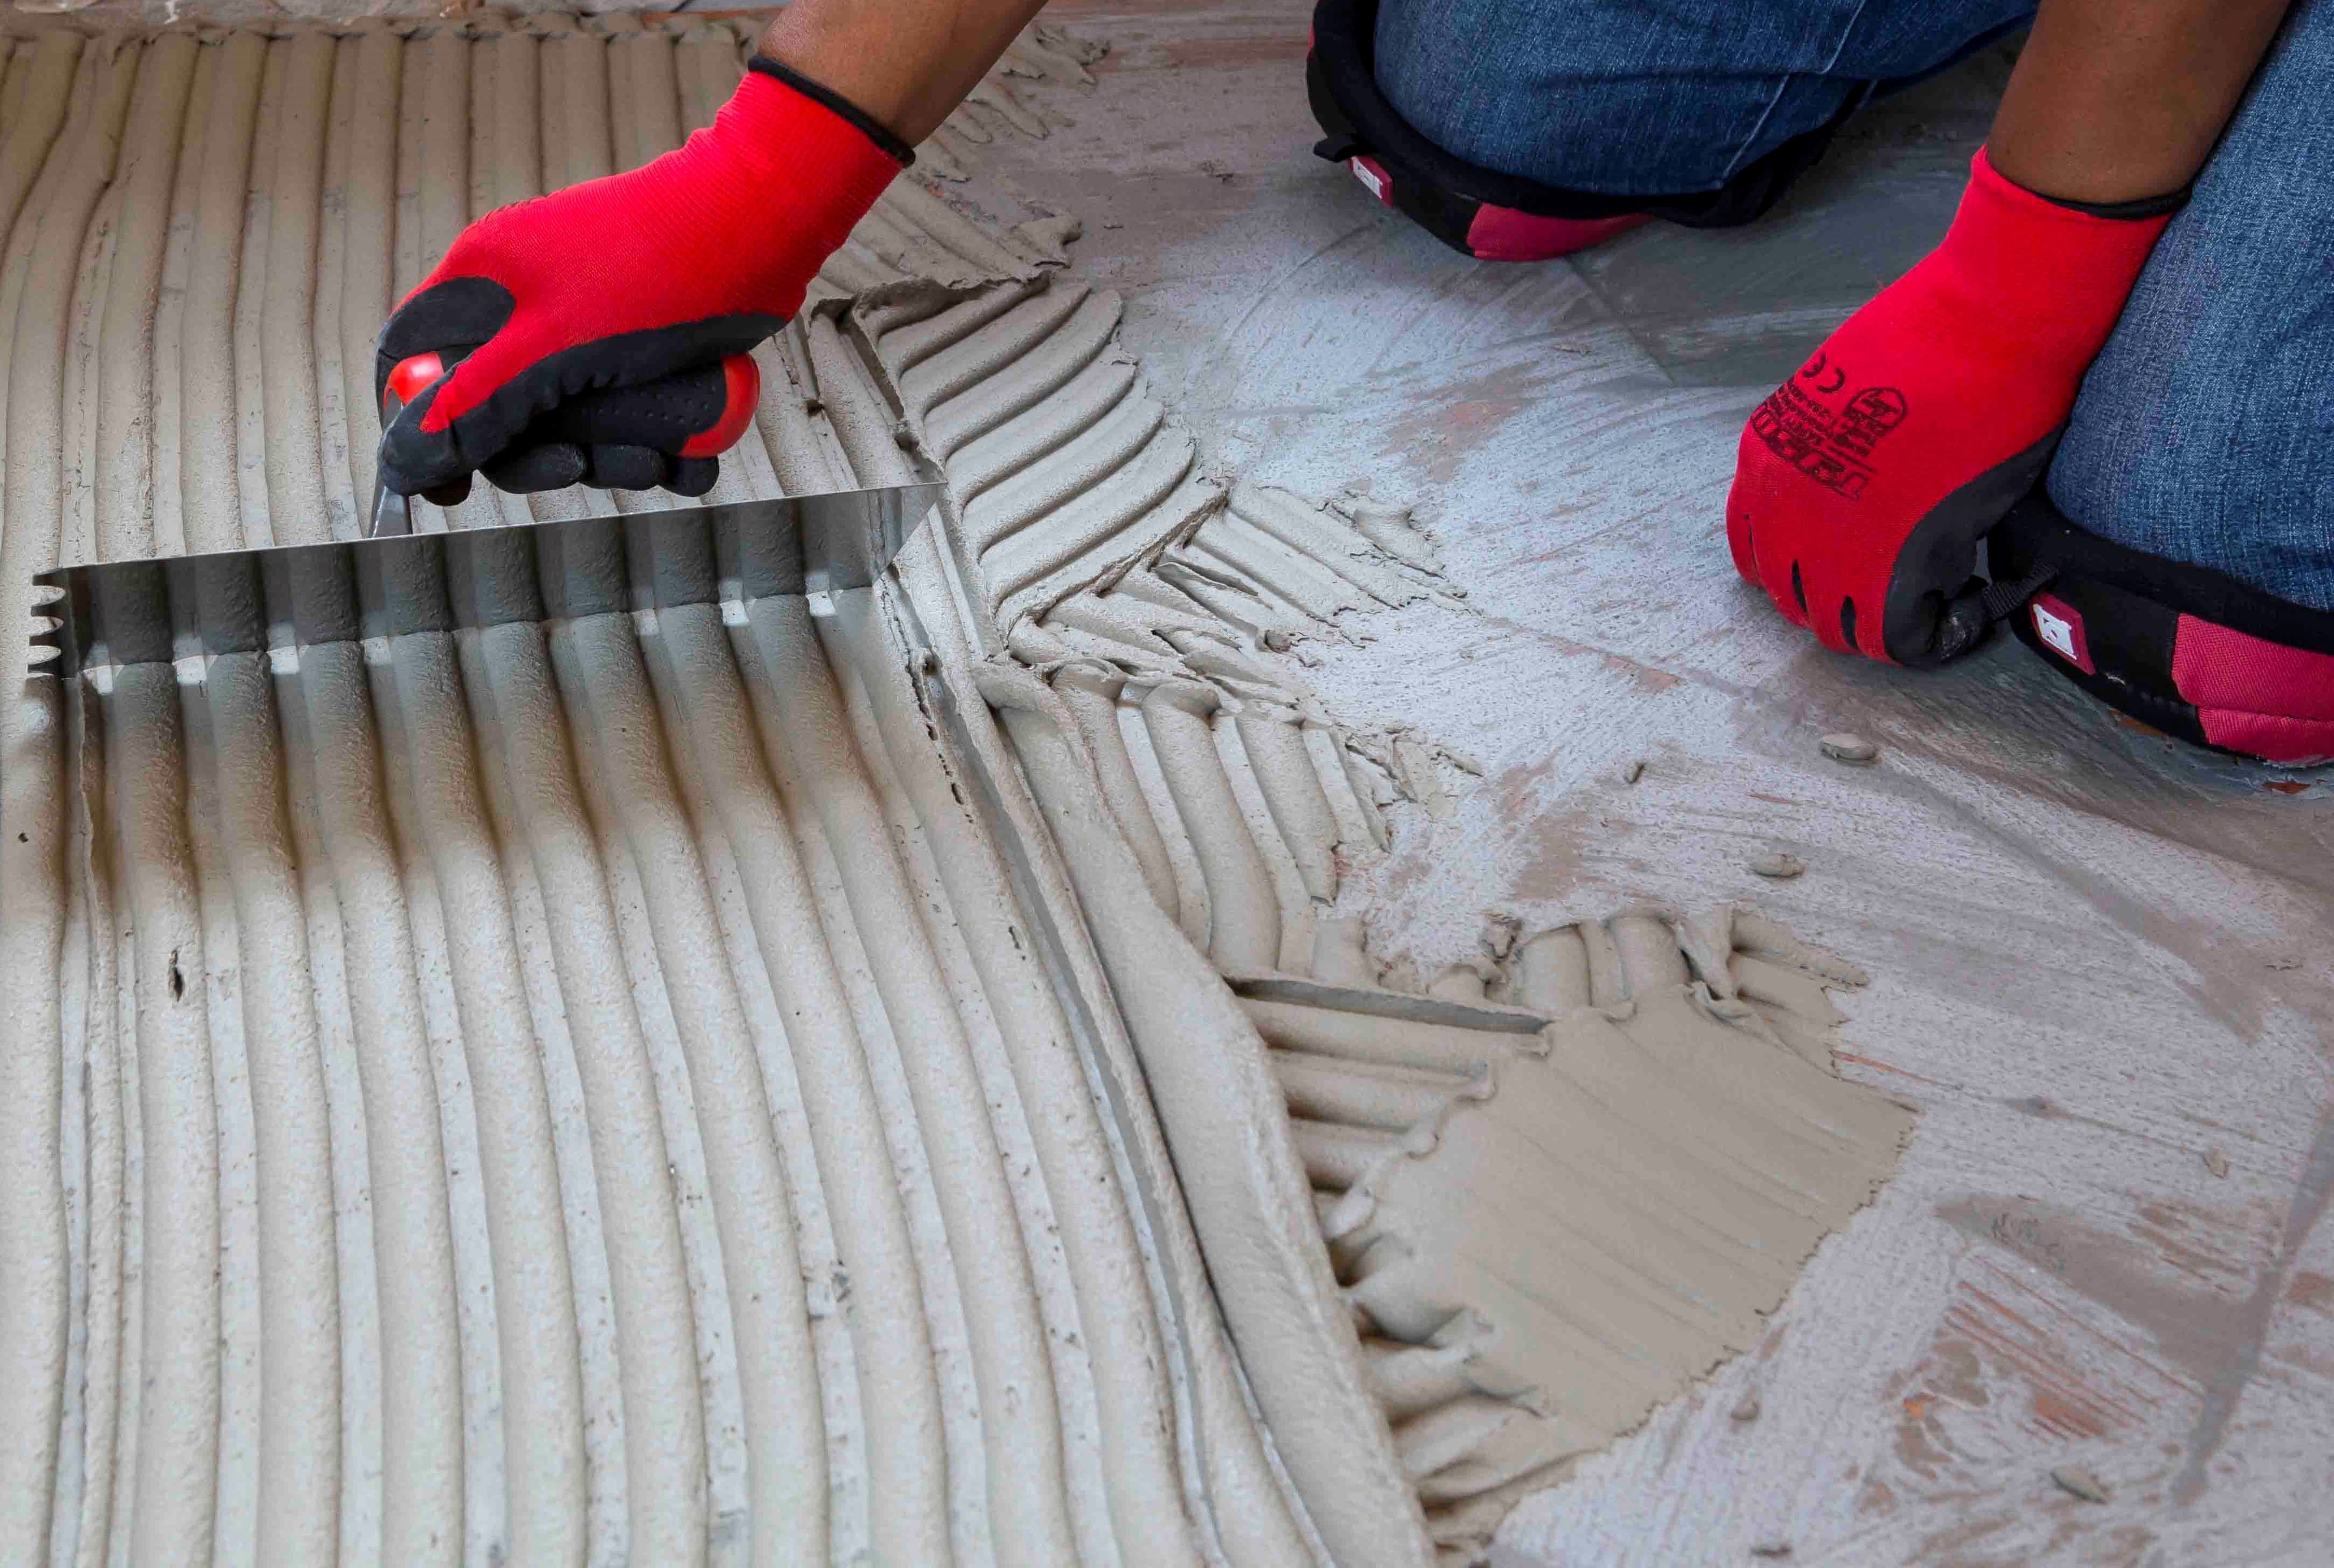
Back buttering with a thin coat of adhesive may also be required when using large-format tiles to ensure full contact with the adhesive bed.
Grouting
Grouting should not be carried out until the adhesive has set sufficiently to prevent the tile installation from being disturbed during the grouting operation (always refer to the adhesive packaging for setting times). When using TAL TAL Tile-To-Tile, allow a minimum of six hours before grouting.
For interior surface beds, use TAL Wall & Floor Grout for filling tile joints up to 8 mm wide. TAL Quarry Grout can be used in wider joints up to 25 mm wide. On suspended slabs and for external installations, replace the water in the grout mix with TAL Bond, or add TAL Bond Powder to the grout mixing water.
Particular care must be taken to clean the grout off the tile face before it hardens completely. This is especially important when an additive such as TAL Bond or TAL Bond Powder has been used. A tile sample should be tested beforehand to ensure that no grout is absorbed through the glaze or into the tile body, thereby staining the tiles permanently.
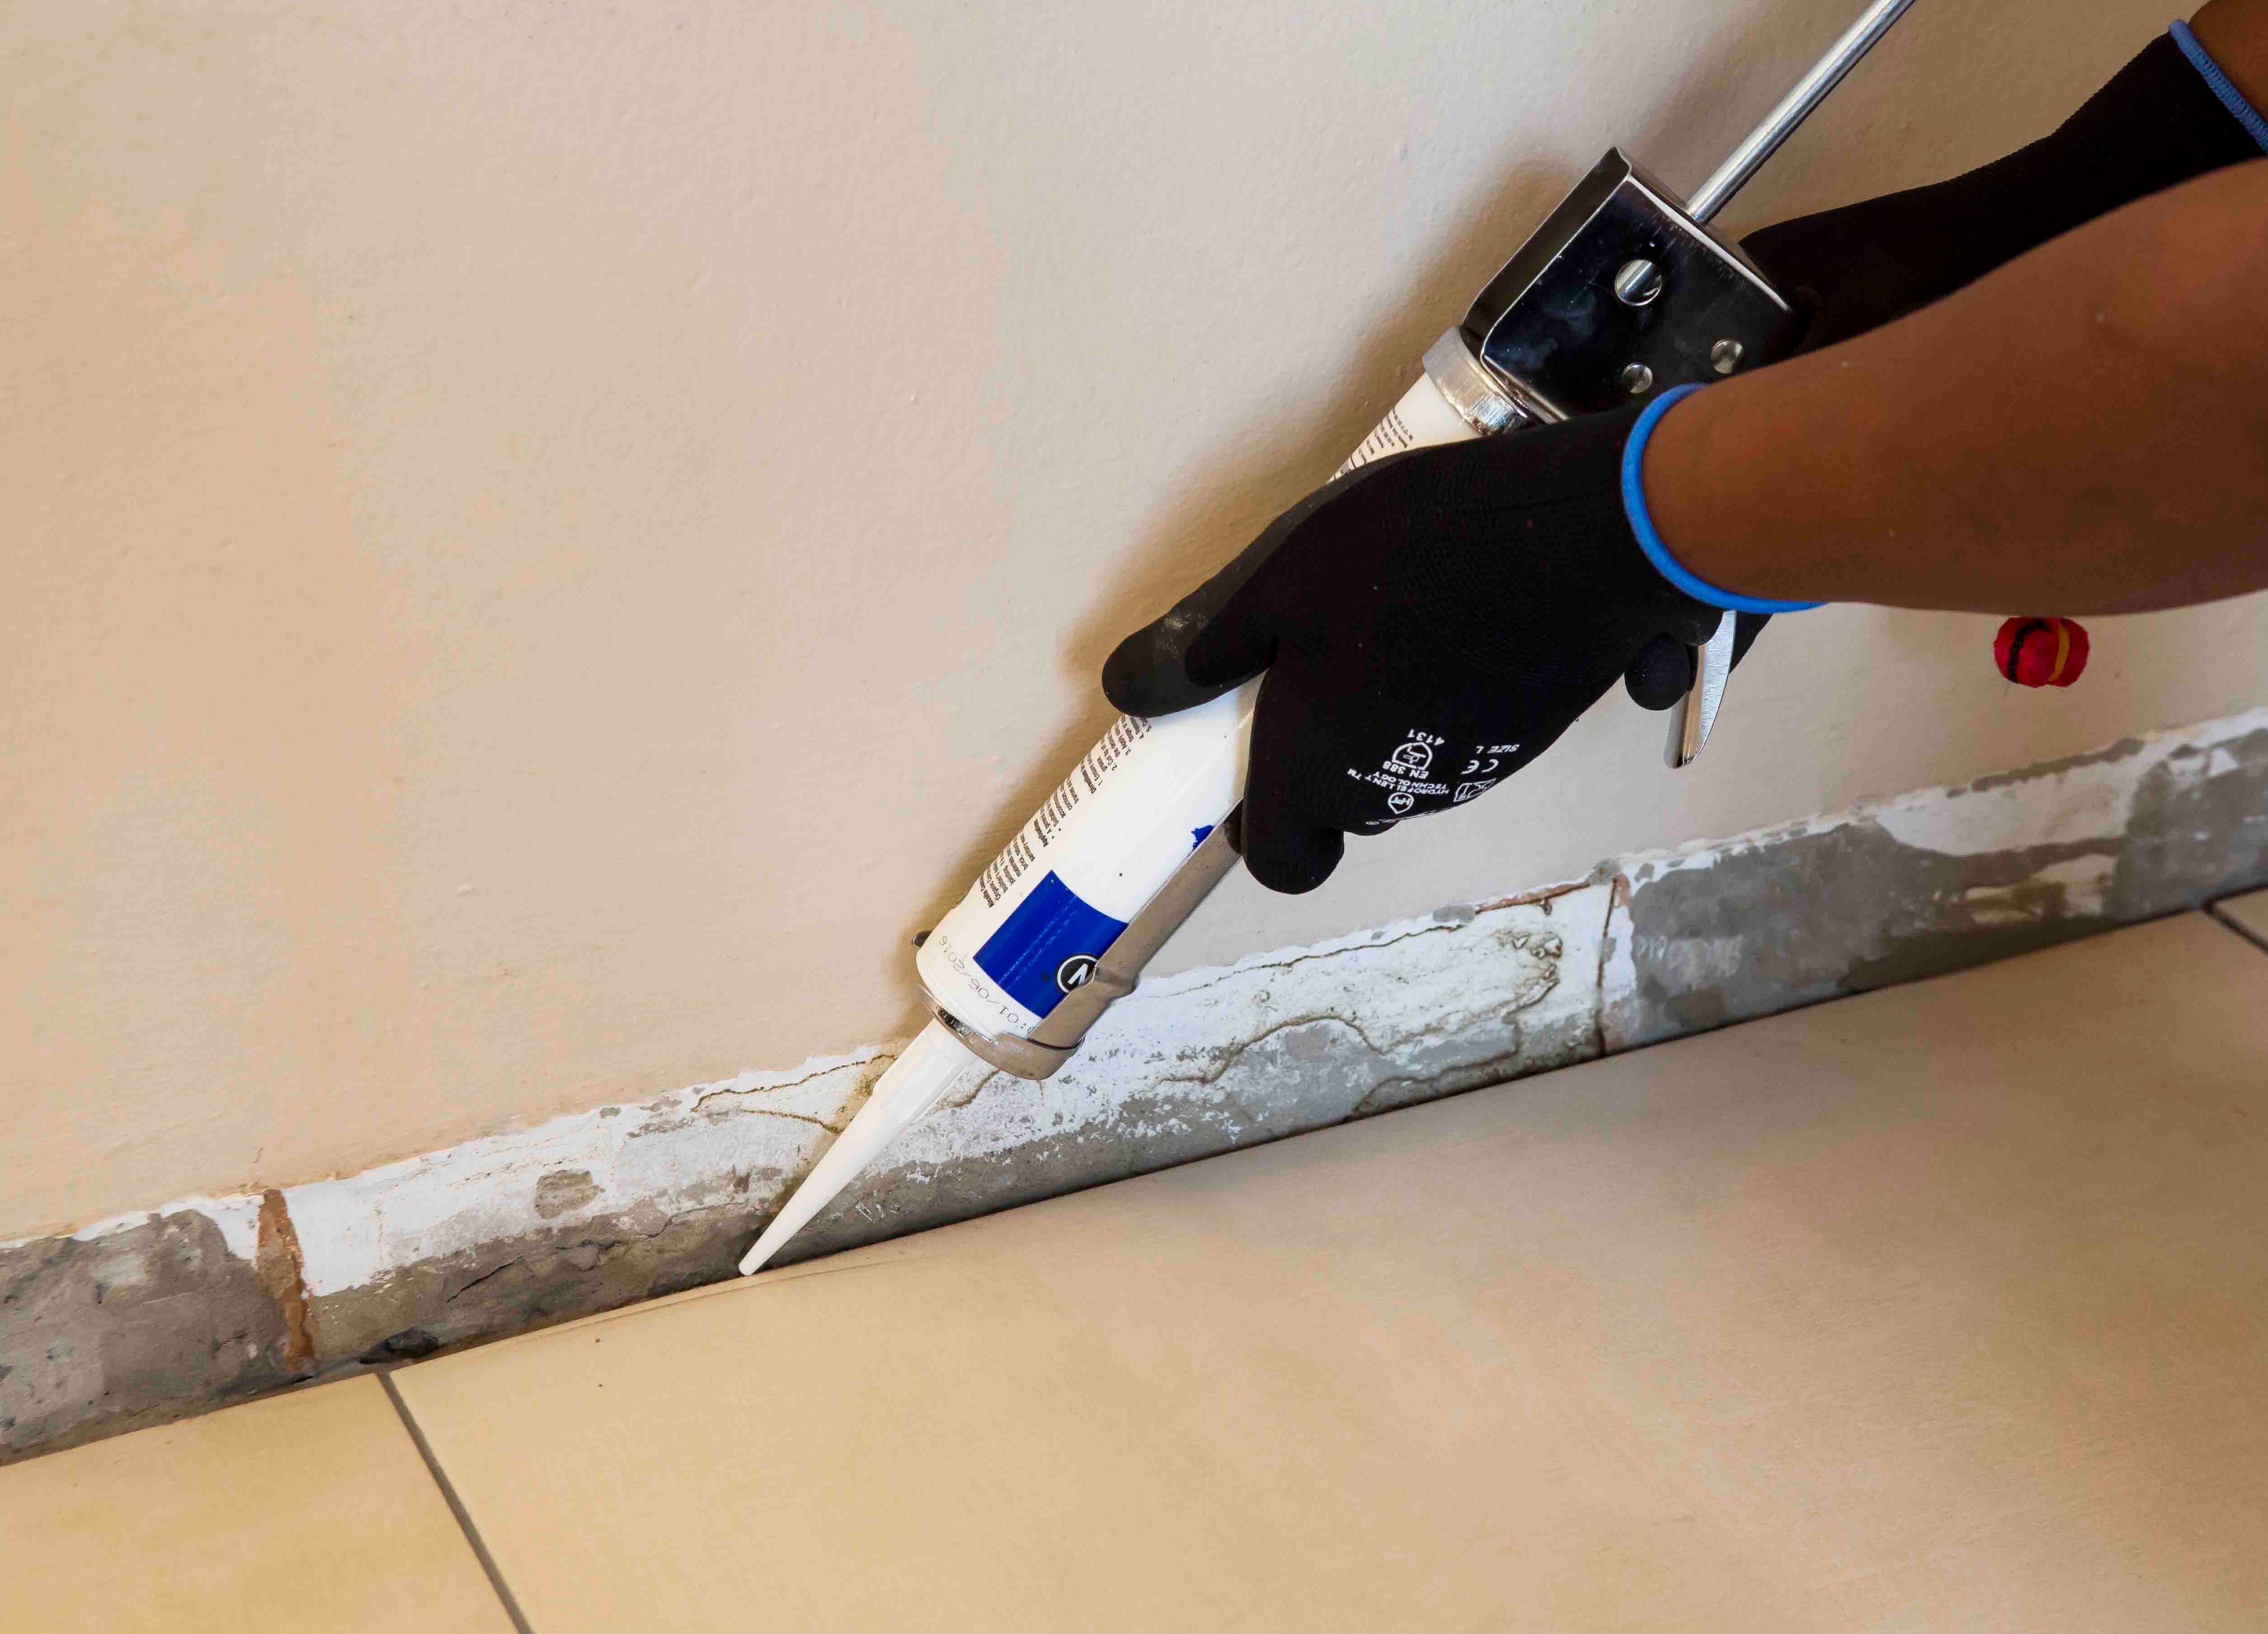
Movement joints
The lack of movement joints in tile installations is a major cause of tile failure. When tiling over existing tiles, the existing structural and movement joints must be maintained in the new tile installation. The movement joints should be at least 5 mm wide and extend through the adhesive and both tile layers.