TAL attends largest global tiling, sanitaryware fair in italy
As part of its drive to introduce the latest international trends to the local market, leading construction and tile adhesive specialist TAL attended Cersaie 2016 in Bologna, Italy from 25 to 29 September. Billed as the largest tiling and sanitaryware fair in Europe, TAL was in attendance to cement its reputation in the local market as a trendsetter with its thumb on the pulse of the latest developments.
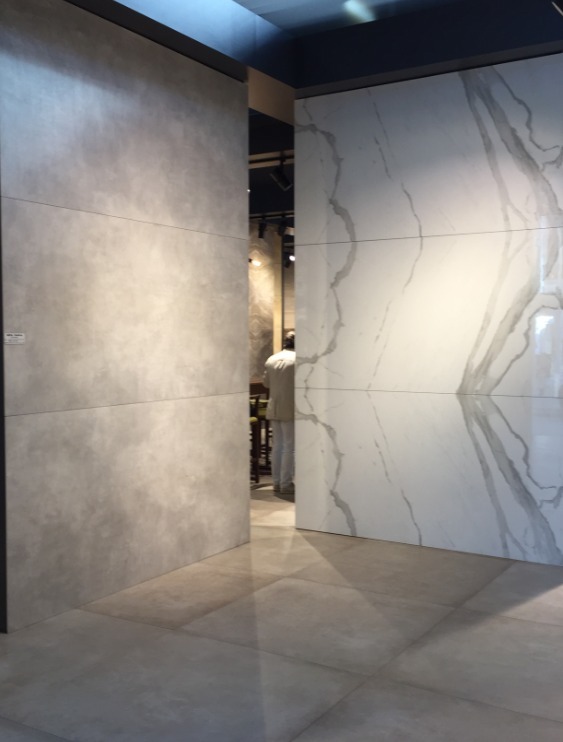
A notable trend at Cersaie 2016 was large-format tiles, with tiles as large as 3.2 m by 2.4 m installed on walls and floors, and even showcased as furniture. The end result is a seamless look in the overall design of a room.
Asso Posa, the Italian tiling installers’ association, demonstrated the specialised installation of these large-format tiles in a shower. Considerable skill and experience is required in measuring, cutting and fixing these tiles without cracking or breaking them, specifically when cutting the holes for the taps/mixers and shower rose. Placing adhesive onto the wall and back-buttering these giant tiles, and then fixing them in place, requires good timing and coordination in order to prevent the adhesive from skinning.
General tiling trends at Cersaie 2016 focused on a ‘warm’ colour palette. Display colours ranged from natural and muted to dark charcoal and even black. Wood has progressed from a petrified or fossilised look to encompass warm, golden tones akin to the giant Sequoia trees.
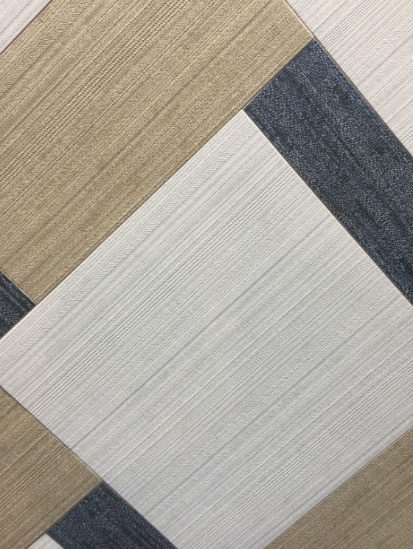
Cement and concrete designs remain popular. Tile designs at Cersaie 2016 also incorporated a lot of fabric print, such as tweed or denim, but again in a muted manner that meant it was only noticeable up close. Metallics were also evident as veining in some tiles, or as inlays, with rose gold being the most popular. Texture is created by the tile surface itself, in the form of raised geometric shapes such as triangles, circles or squares.
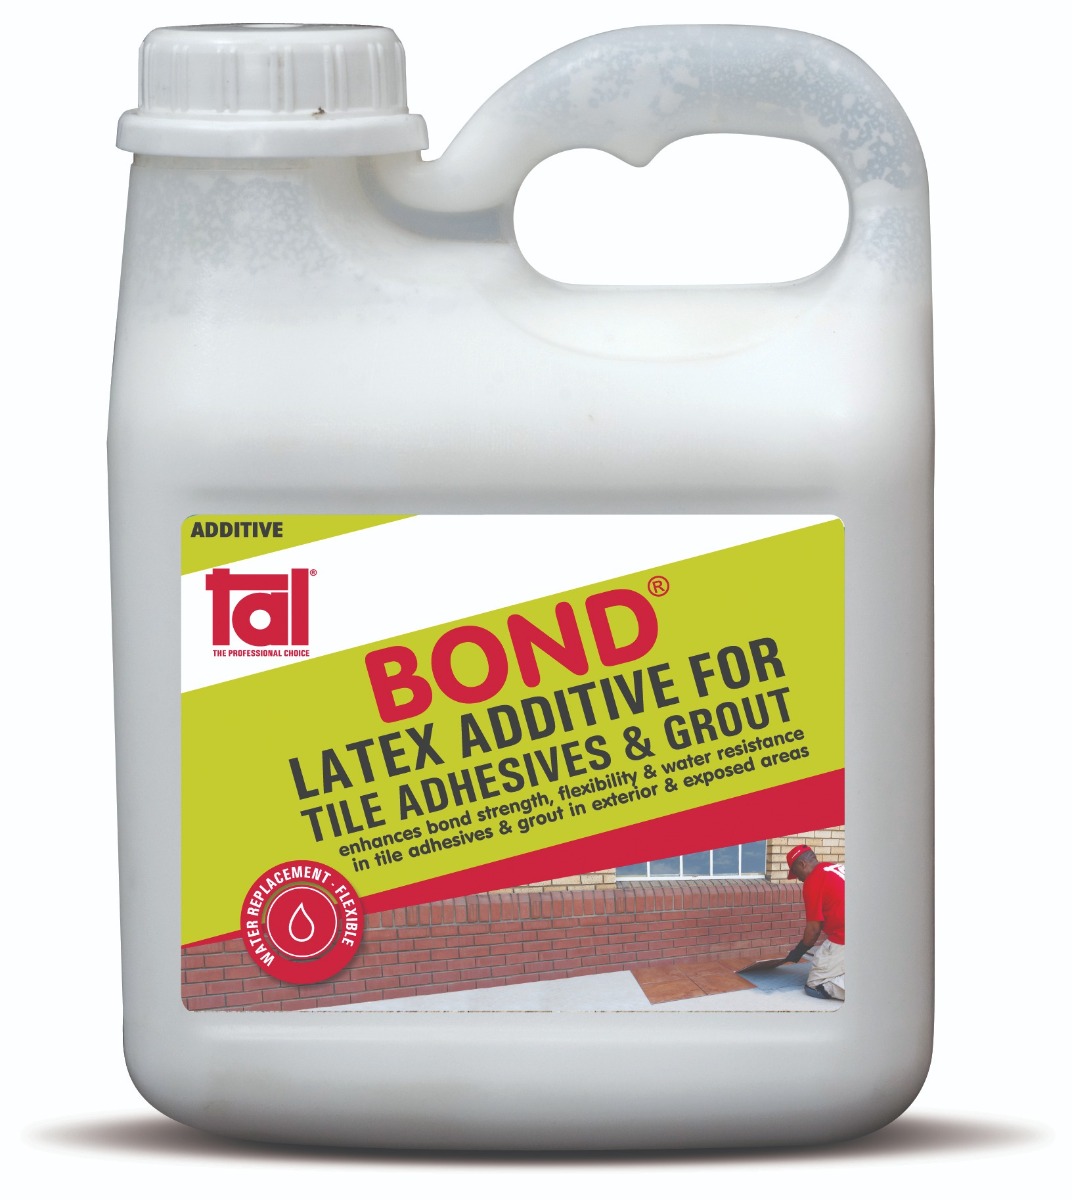
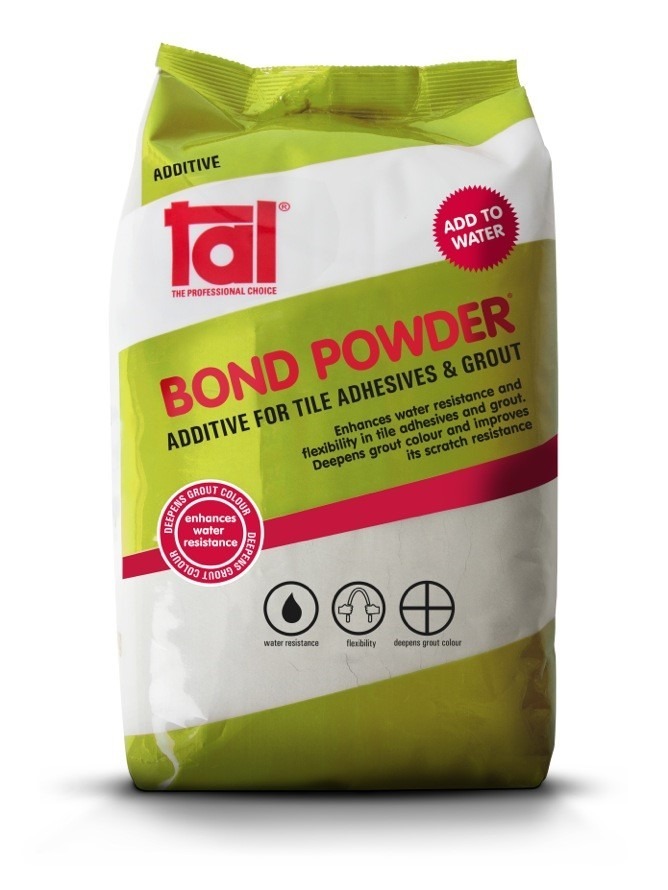
We recommend that TAL Bond, a latex additive, be used as a total water replacement in the mix when tiling behind a sink. Alternatively, TAL Bond Powder can be added to the adhesive mixing water. This will ensure increased water resistance, bond strength and flexibility, for a more durable splashback.
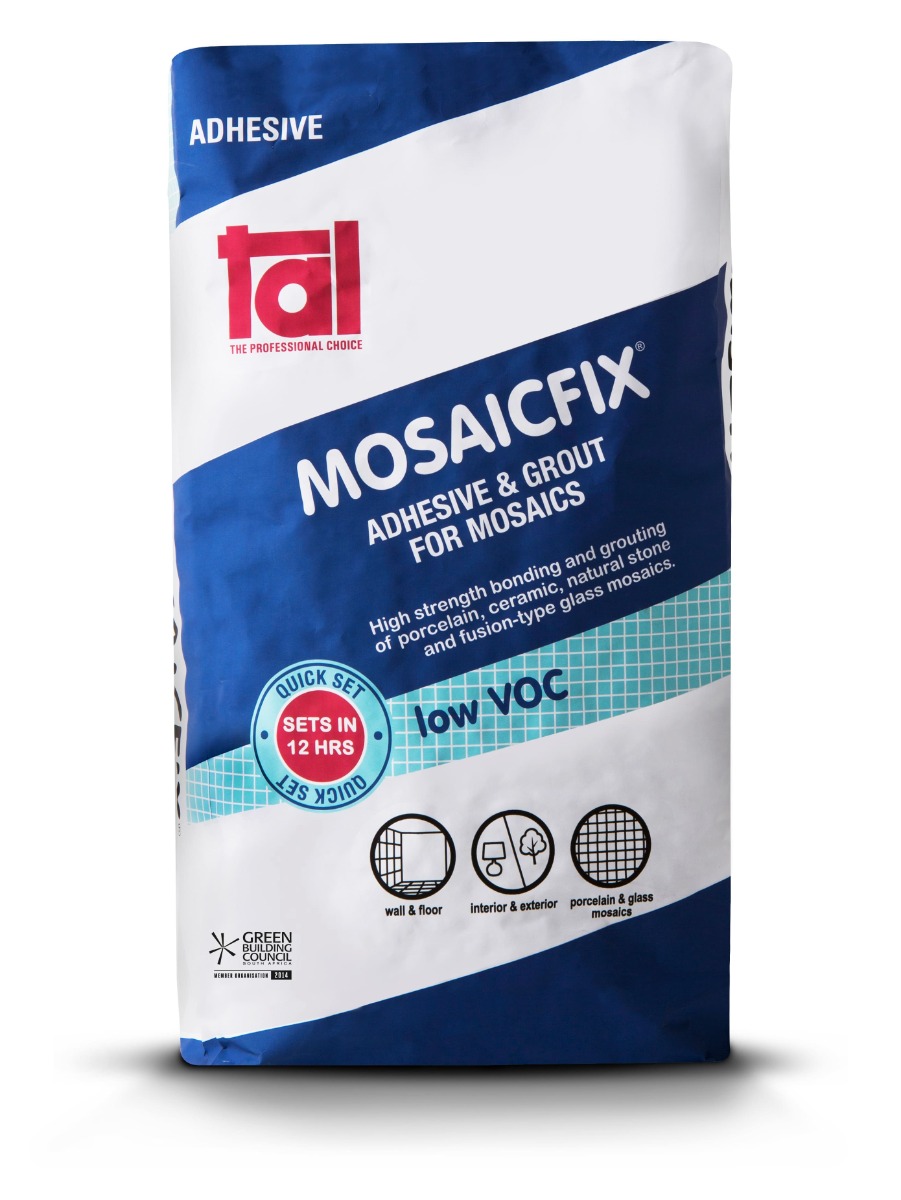
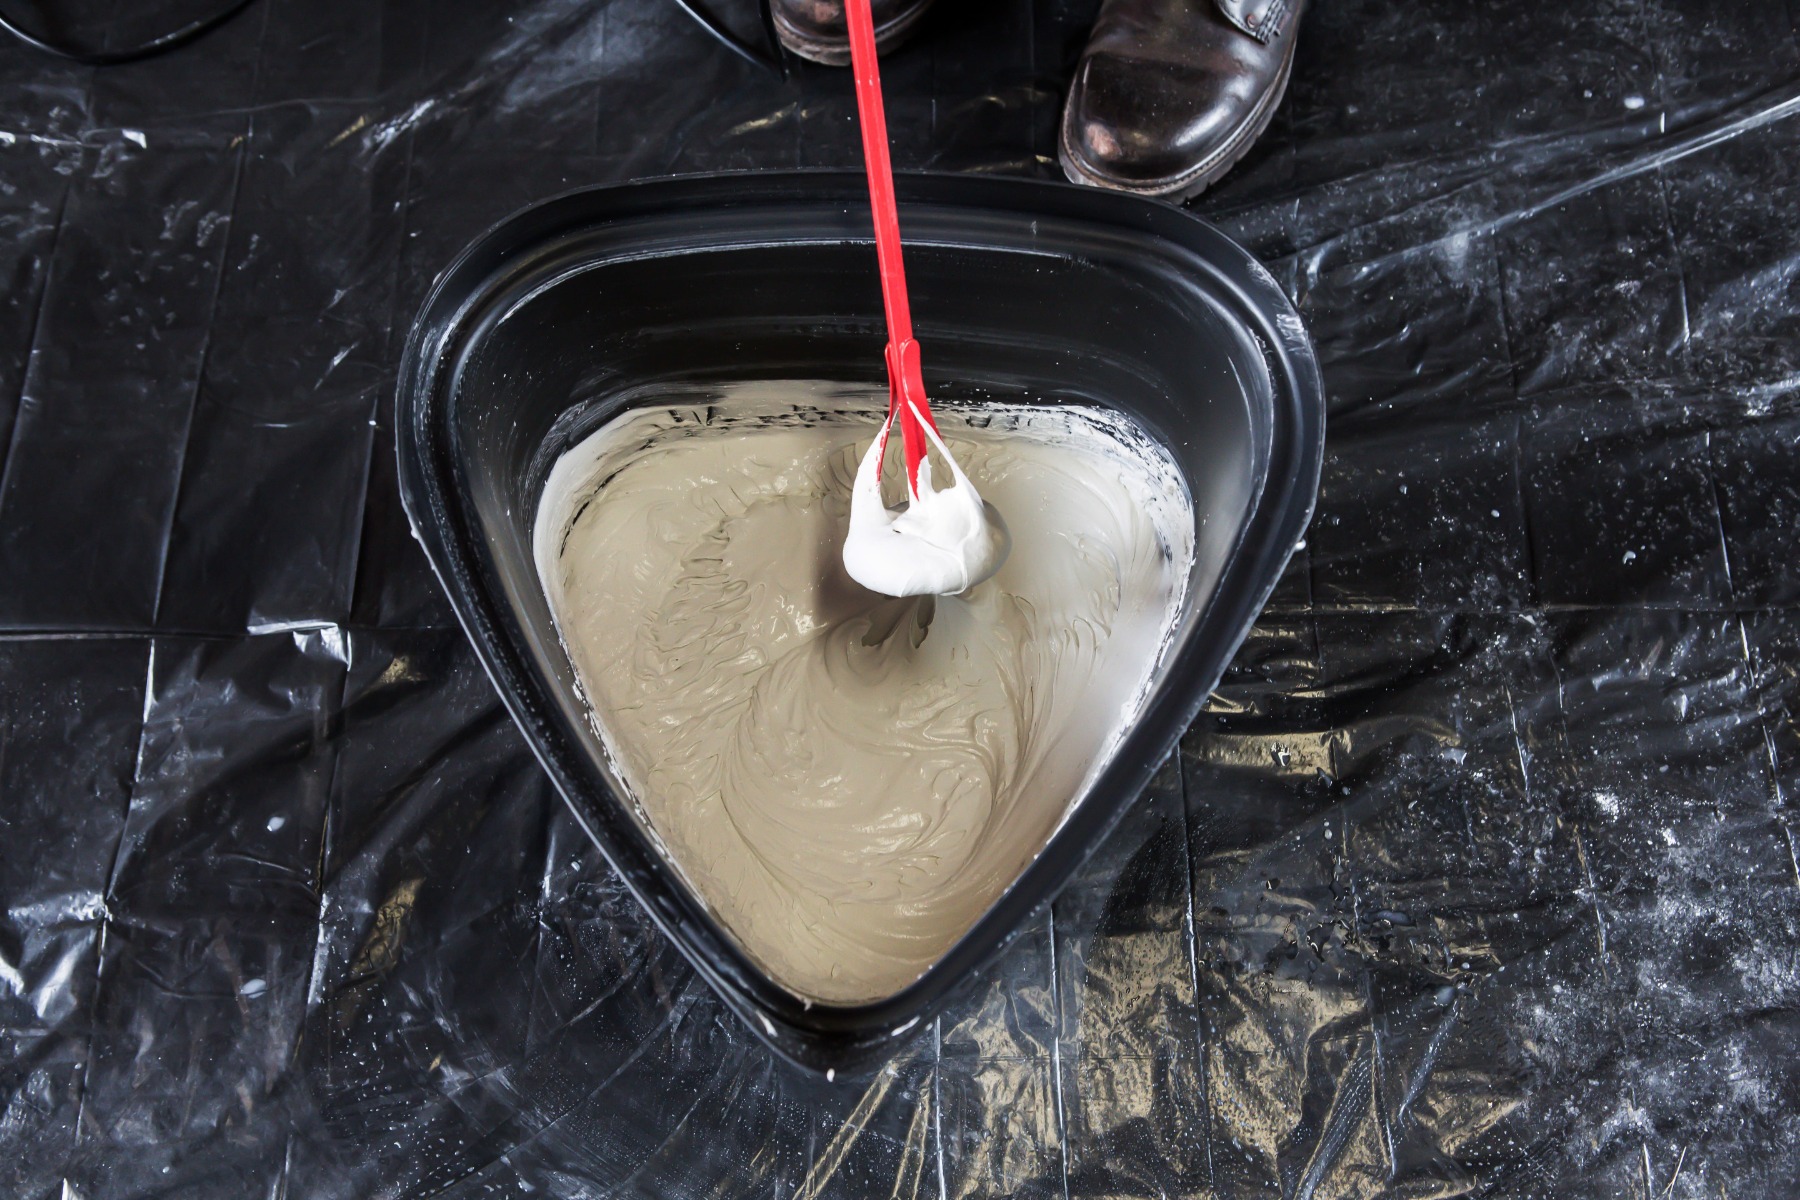
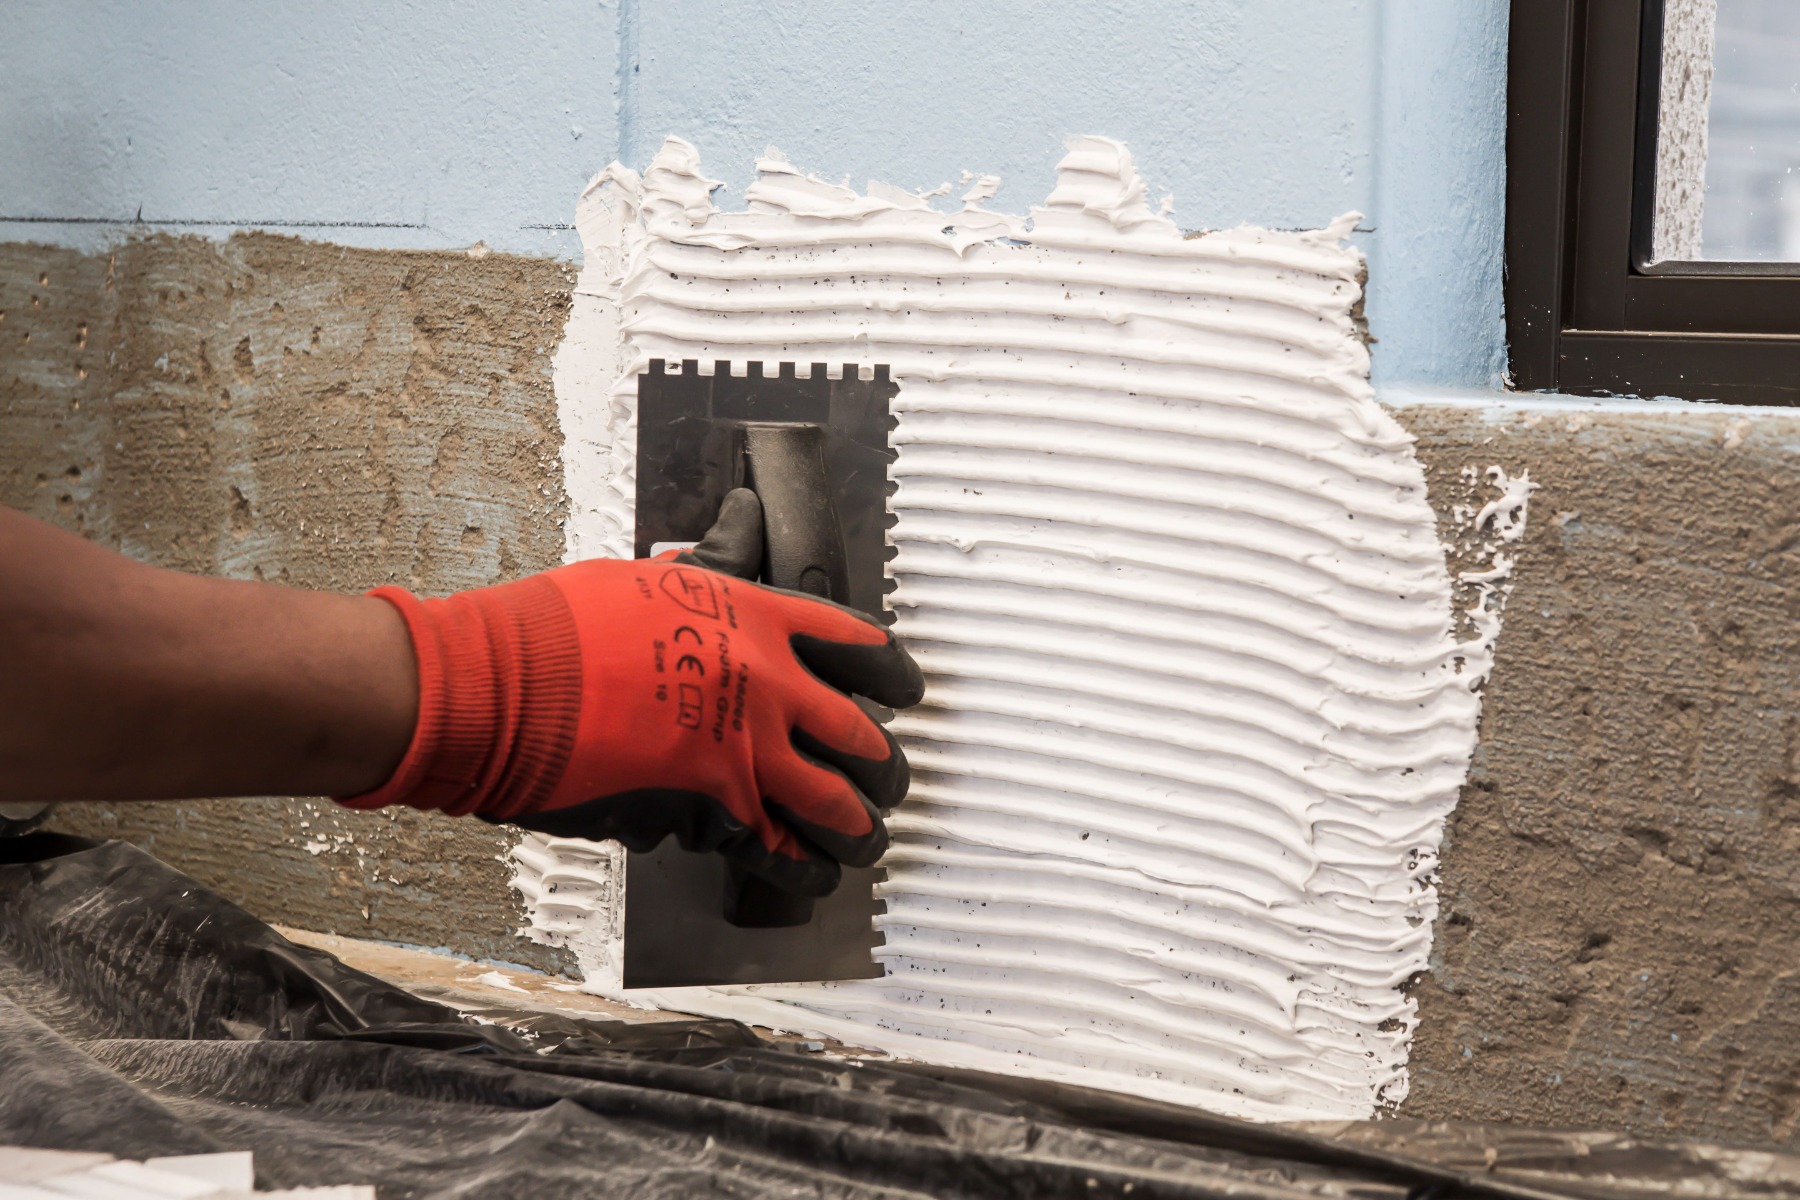
Mix the TAL Mosaicfix as per the instructions on the bag until a creamy, lump-free consistency develops. Let the mixture stand for 3 to 5 minutes before stirring again.
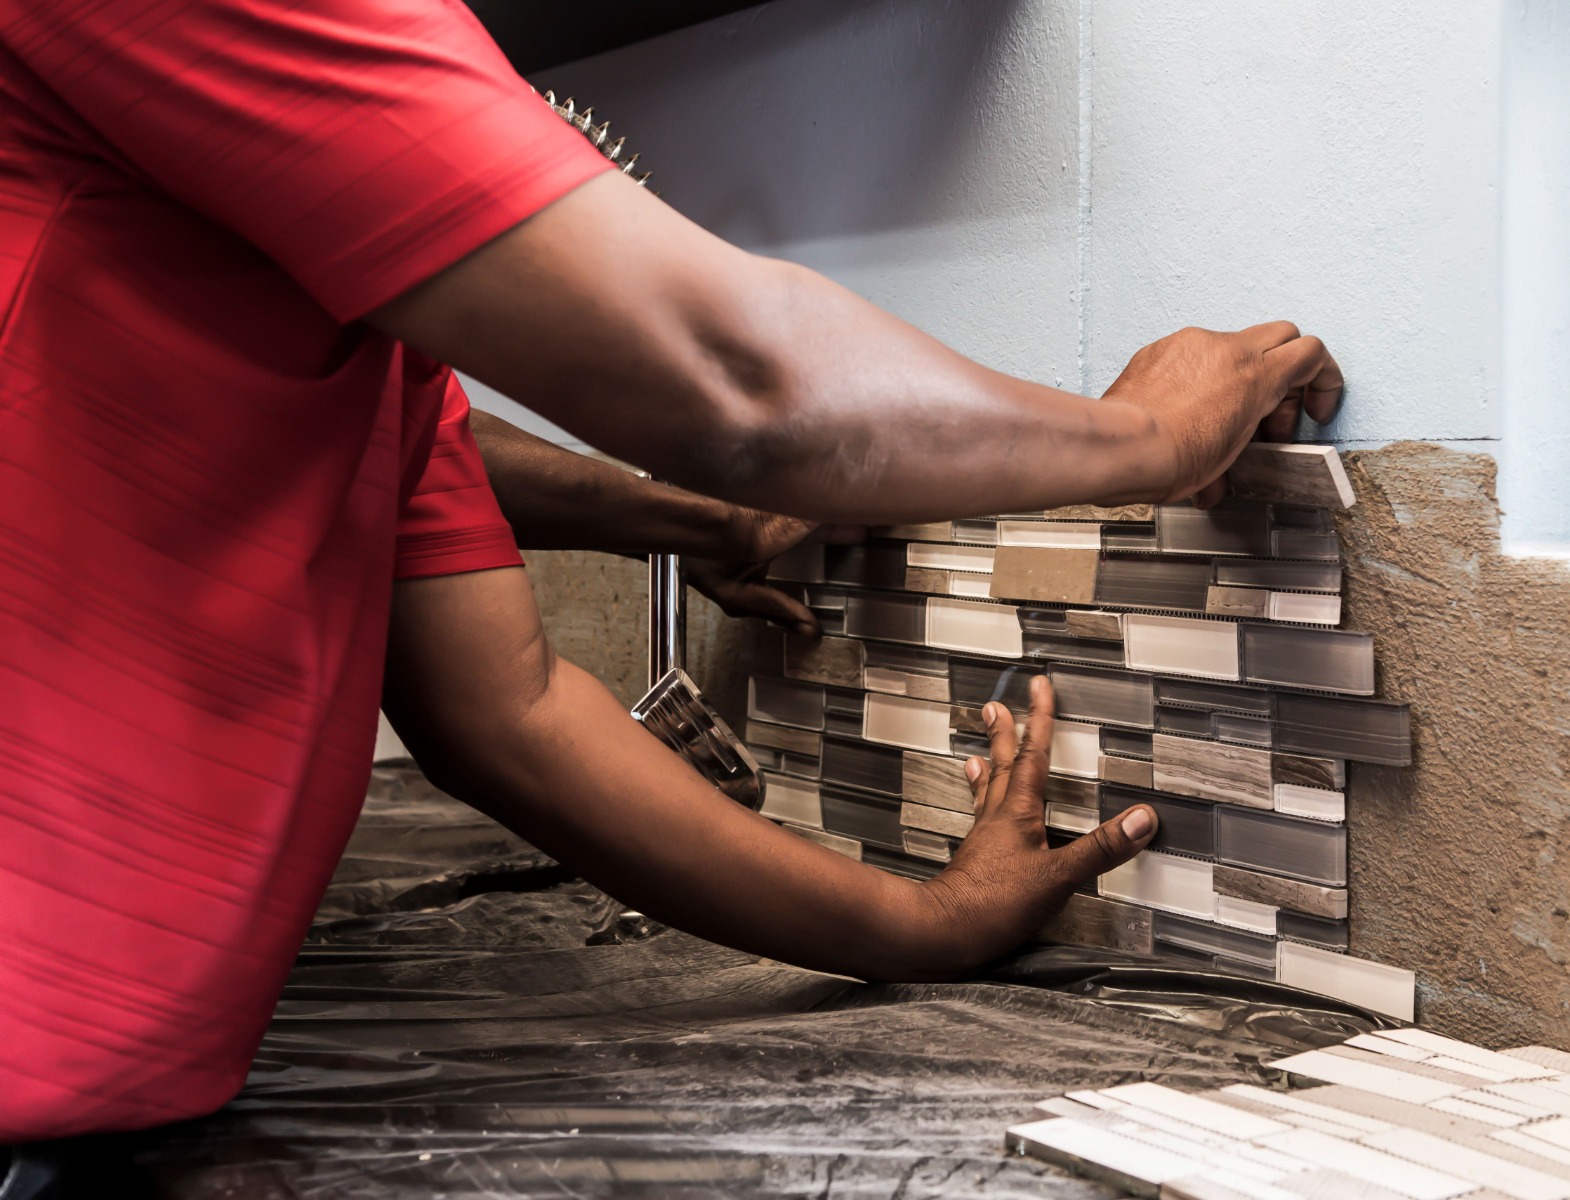
Now, apply the adhesive over a small area using the notched side of a wall trowel to create a solid bed of 4mm to 6mm. Once the adhesive is applied, you must install the mosaic sheets immediately, pressing them firmly into the wet adhesive. Never apply more adhesive than you can tile in 10-15 minutes, usually about a square meter.
Now, apply the adhesive over a small area using the notched side of a wall trowel to create a solid bed of 4mm to 6mm. Once the adhesive is applied, you must install the mosaic sheets immediately, pressing them firmly into the wet adhesive. Never apply more adhesive than you can tile in 10-15 minutes, usually about a square meter.
Use a wooden beating block or a rubber grout float to embed the mosaic into the adhesive.
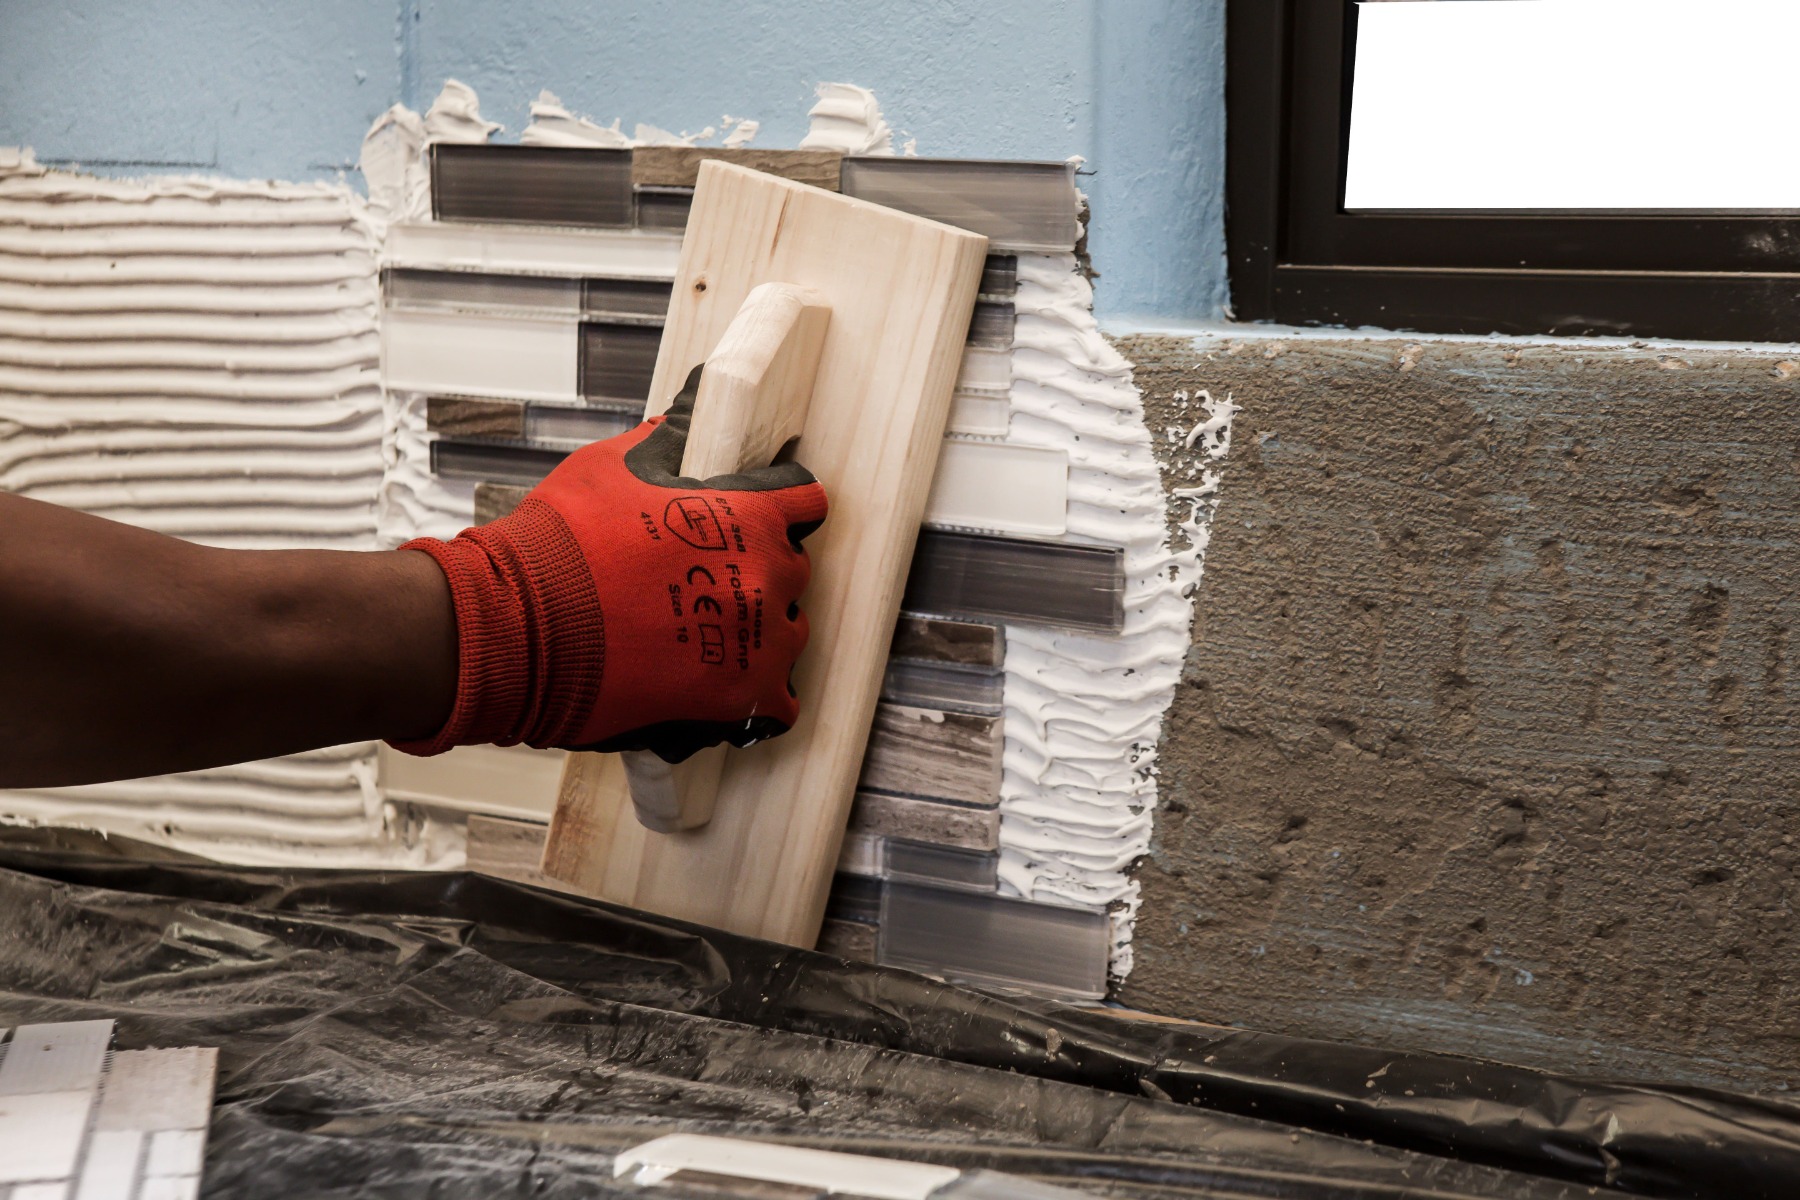
Allow the adhesive to squeeze through the joints between the mosaics, to ensure a good bond between adhesive and mosaics, and to form the grout. Place a tile spacer between the countertop and mosaic, as well as between the mosaic sheets, to keep them evenly spaced.
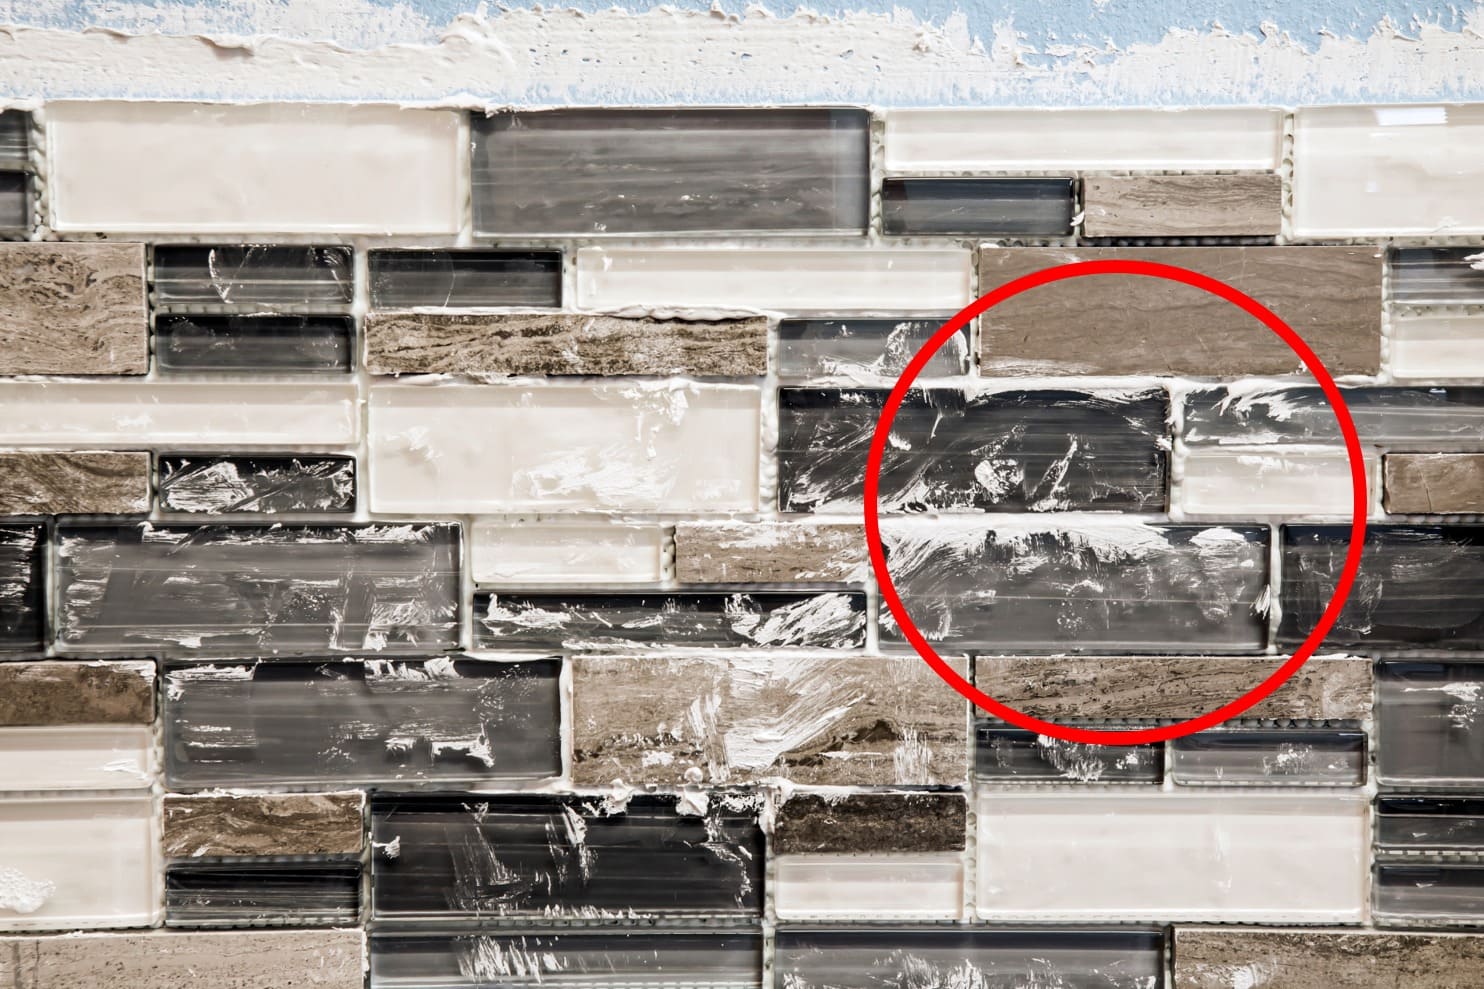
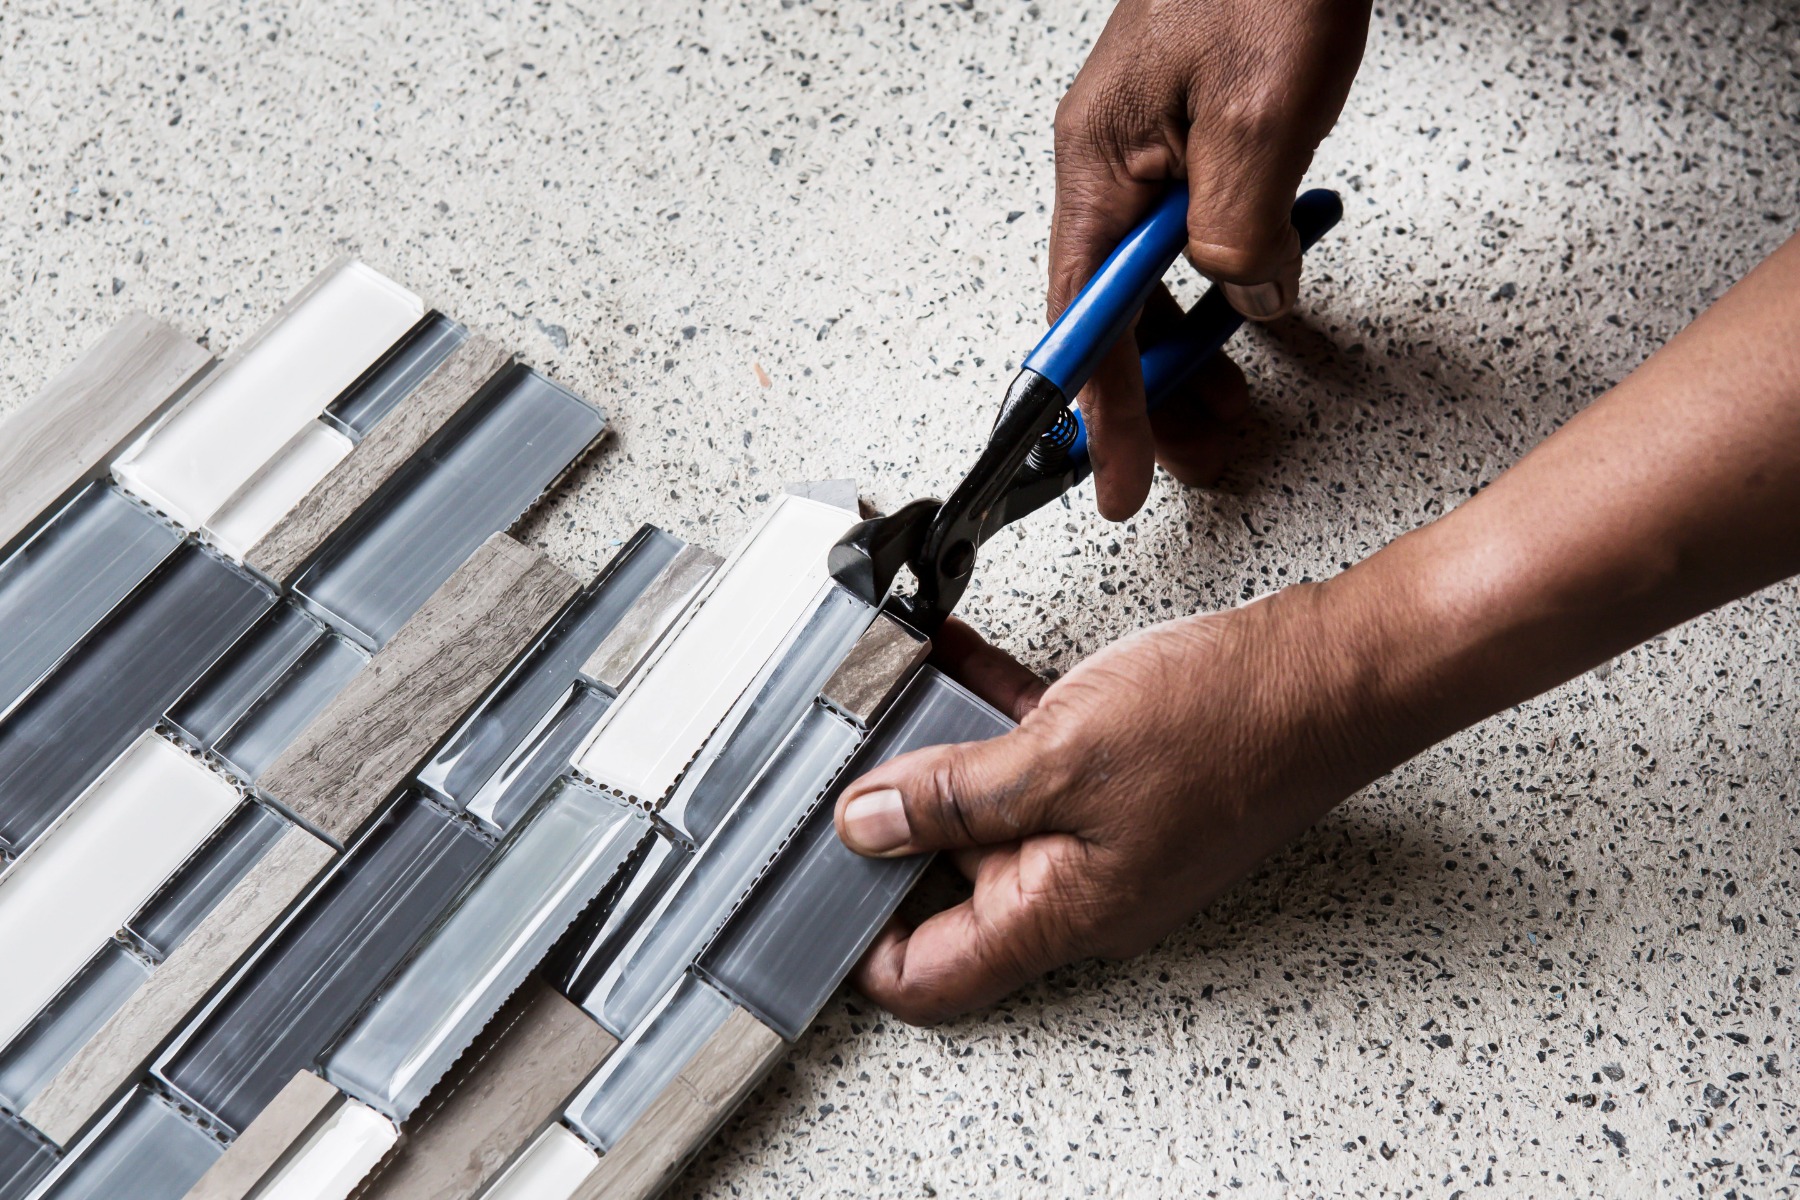
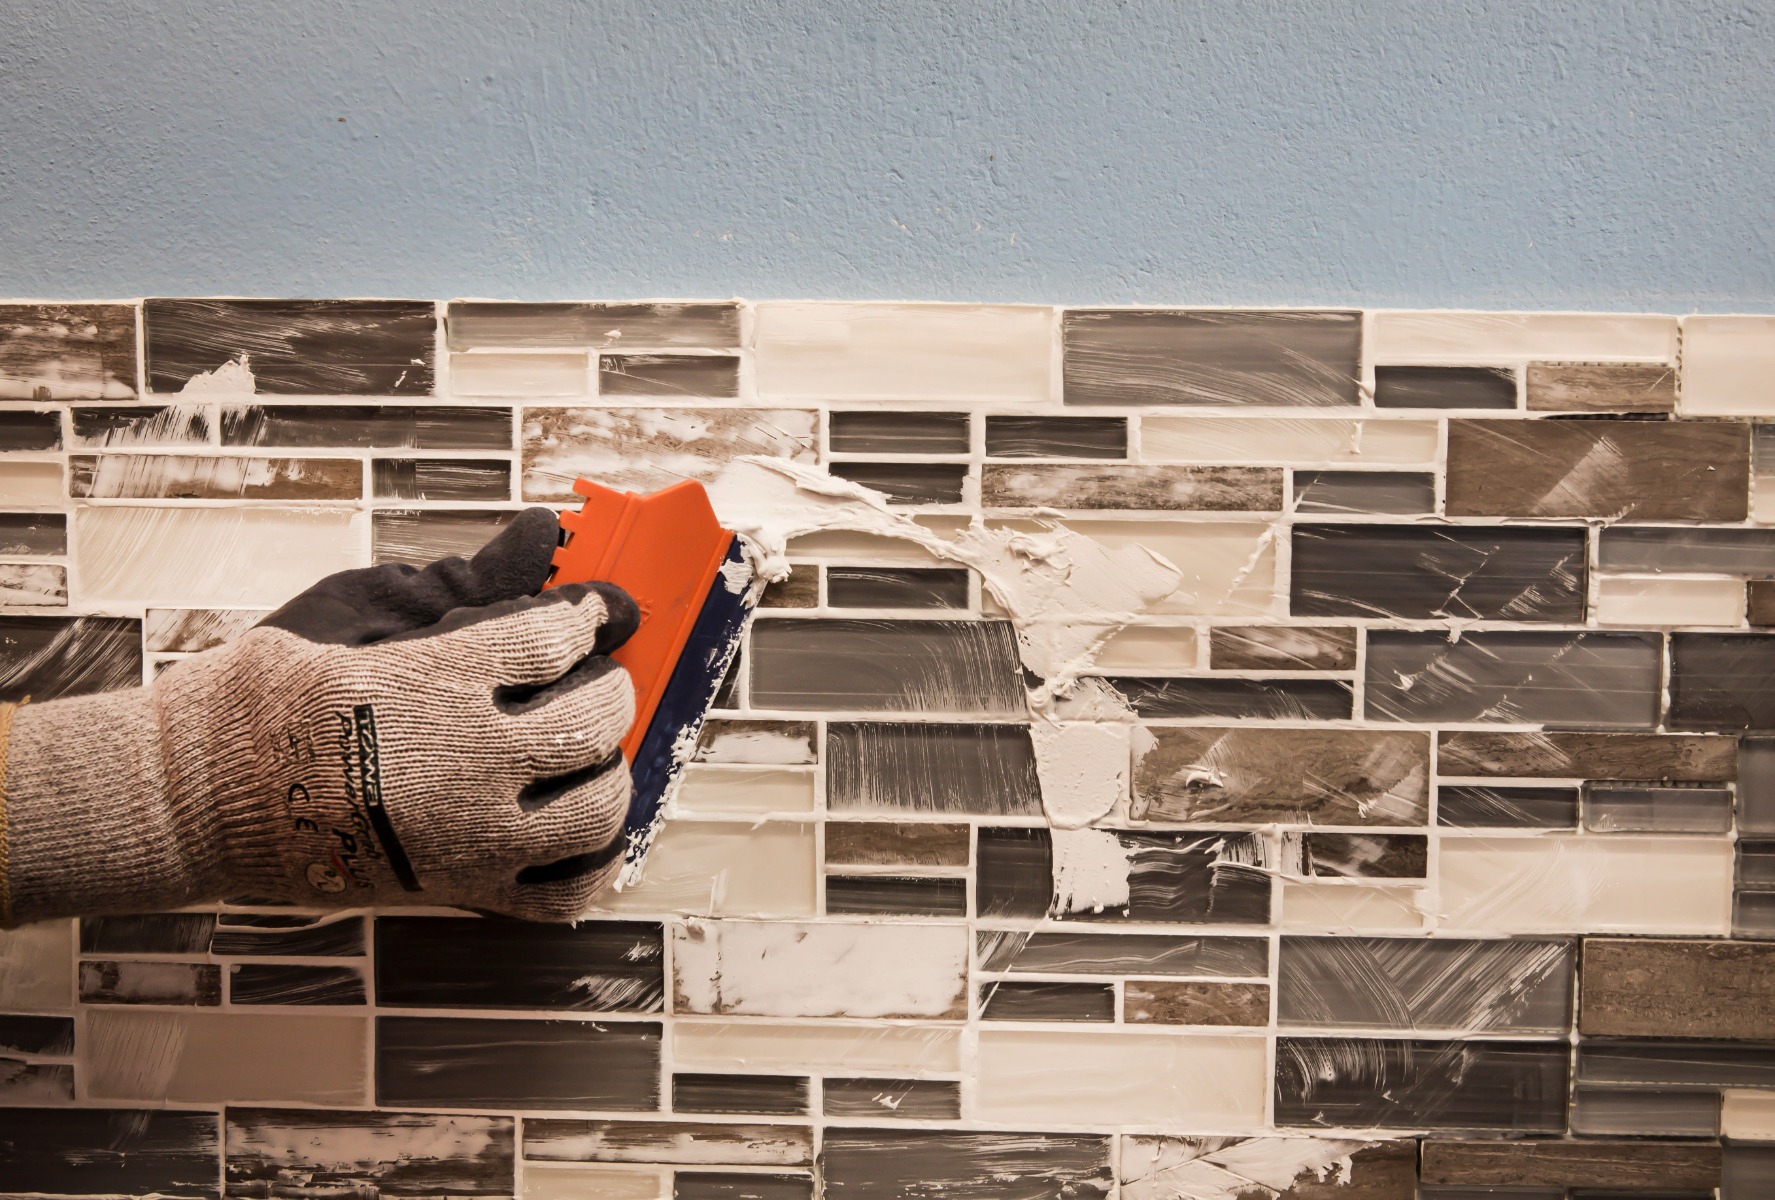
Wait 20 minutes, then, where necessary, fill in any low areas in the grout joints with extra adhesive. TAL Mosaicfix is available in super white and light grey, so choose the colour that will best suit the aesthetic you want to achieve. Work carefully to avoid scratching the tile surface, especially when installing metallic tiles.
Wait 20 minutes, then, where necessary, fill in any low areas in the grout joints with extra adhesive. TAL Mosaicfix is available in super white and light grey, so choose the colour that will best suit the aesthetic you want to achieve. Work carefully to avoid scratching the tile surface, especially when installing metallic tiles.
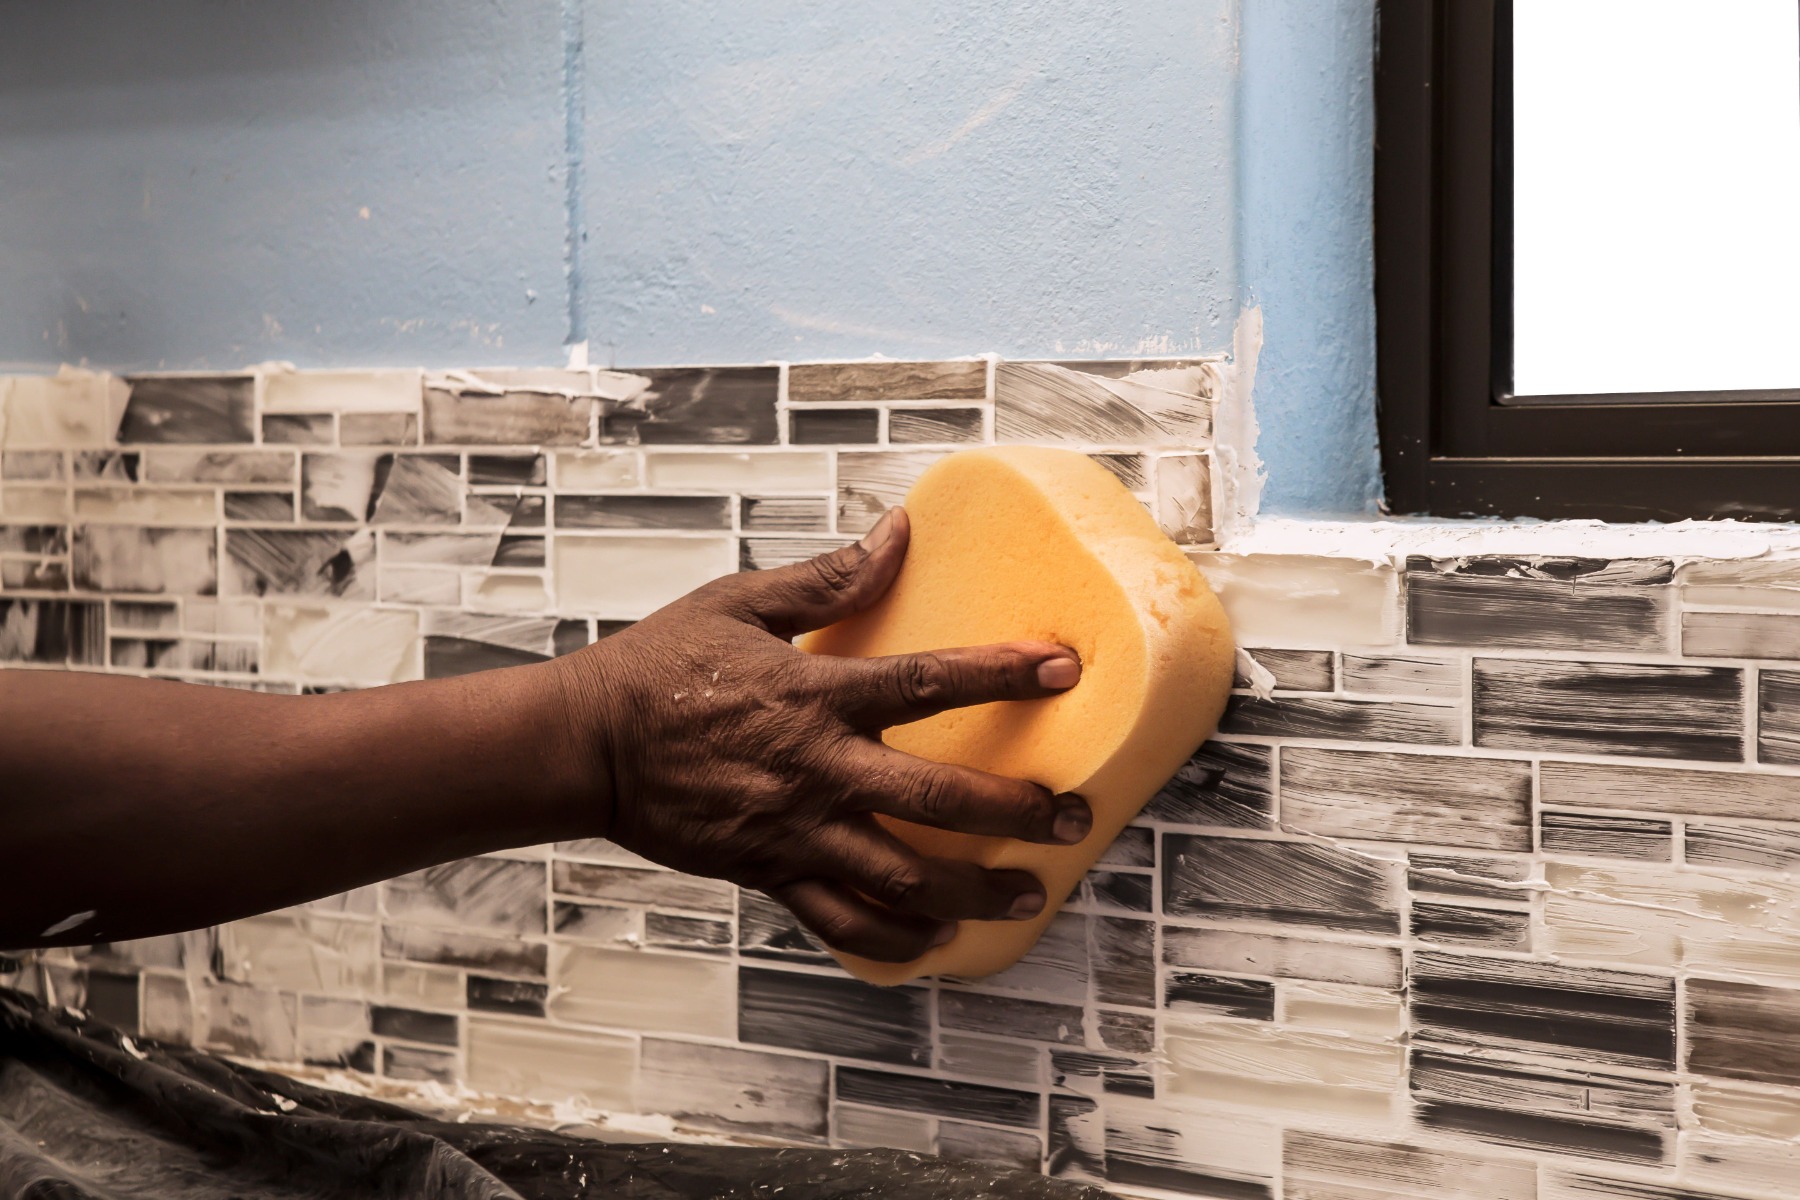
Once fully set, gently polish the face of the mosaics with a dry cloth

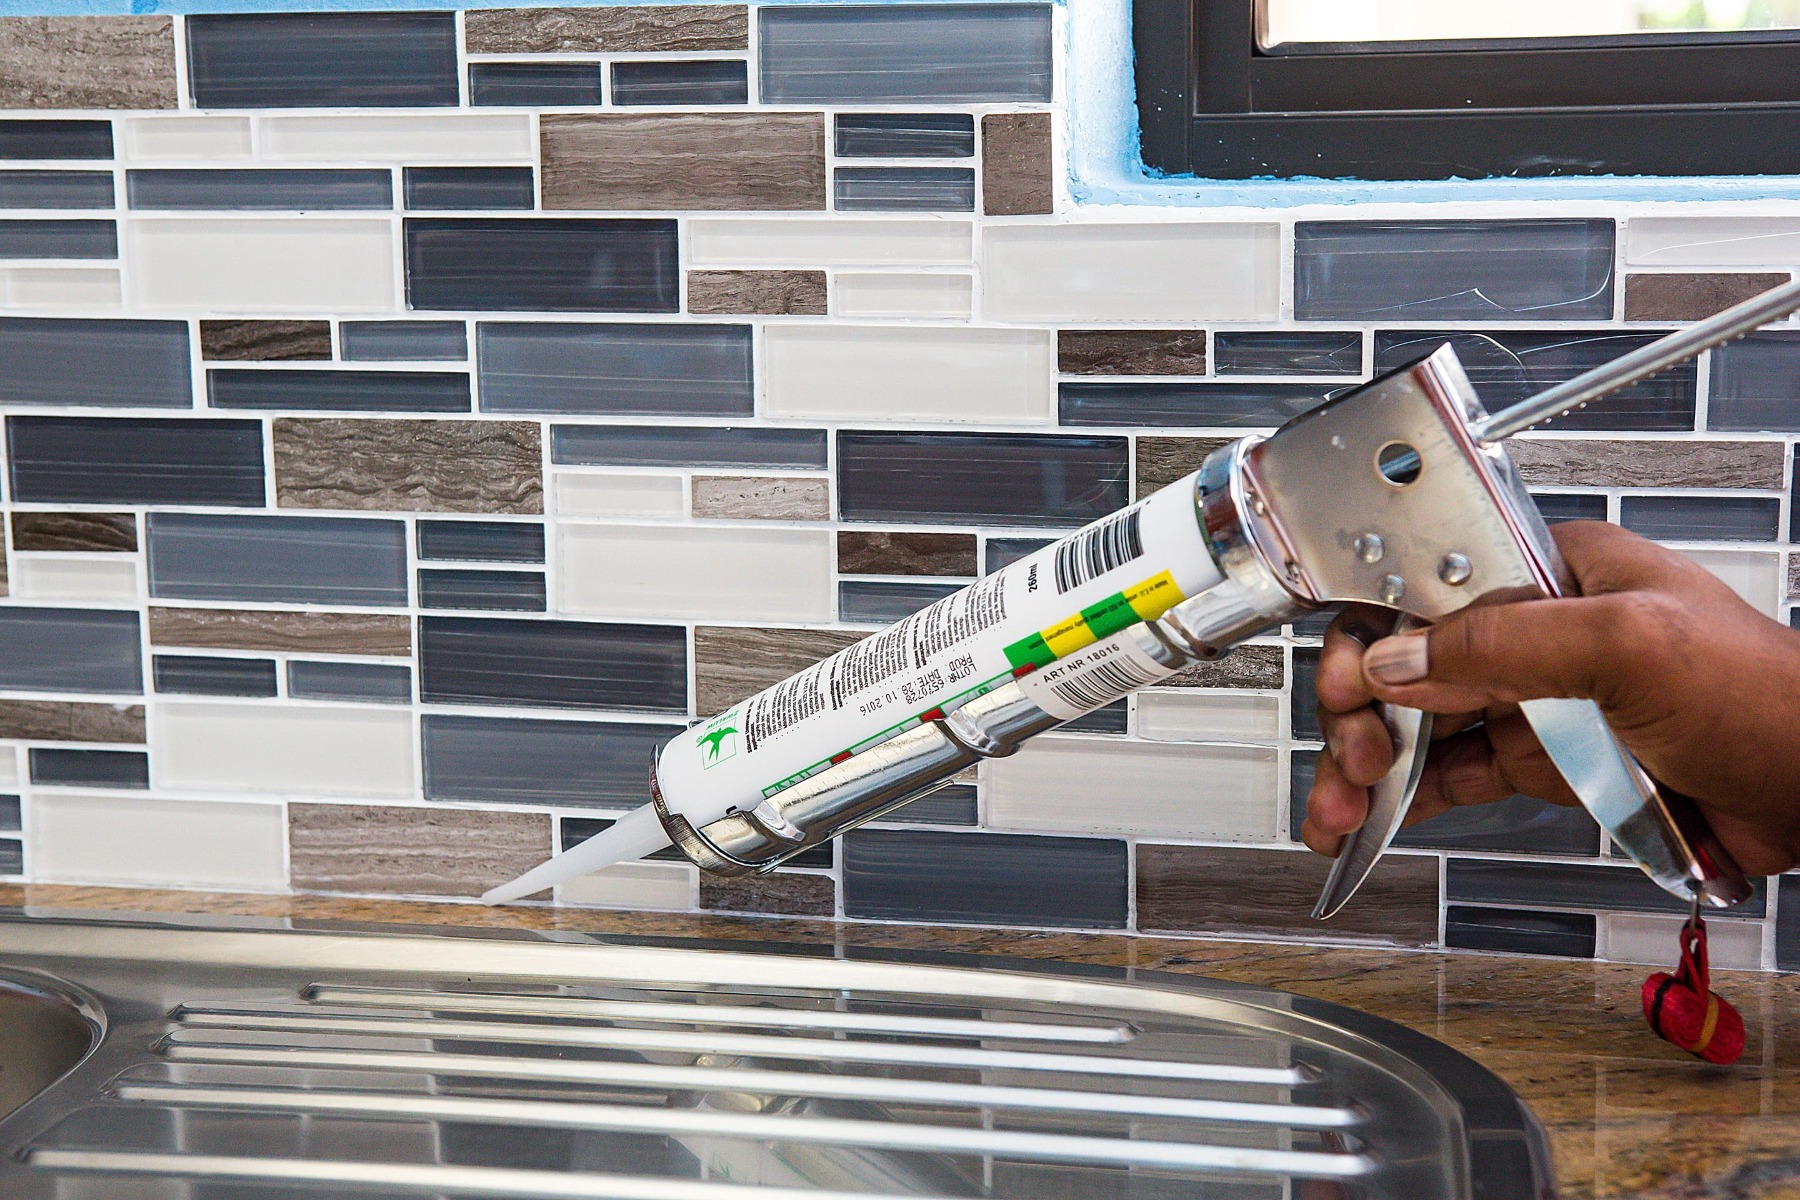
Apply a silicone sealant into the perimeter joint between the mosaics and countertop, and in any corners.
By choosing a kitchen splashback, not only have you managed to successfully upgrade your kitchen into a beautifully modern space, you’ve also ensured that your wall is protected against moisture and food stains. For more information on tile installation, contact the TAL Technical Advisory Service during office hours, visit our website, or send us an email.