TAL reports on Cersaie 2014
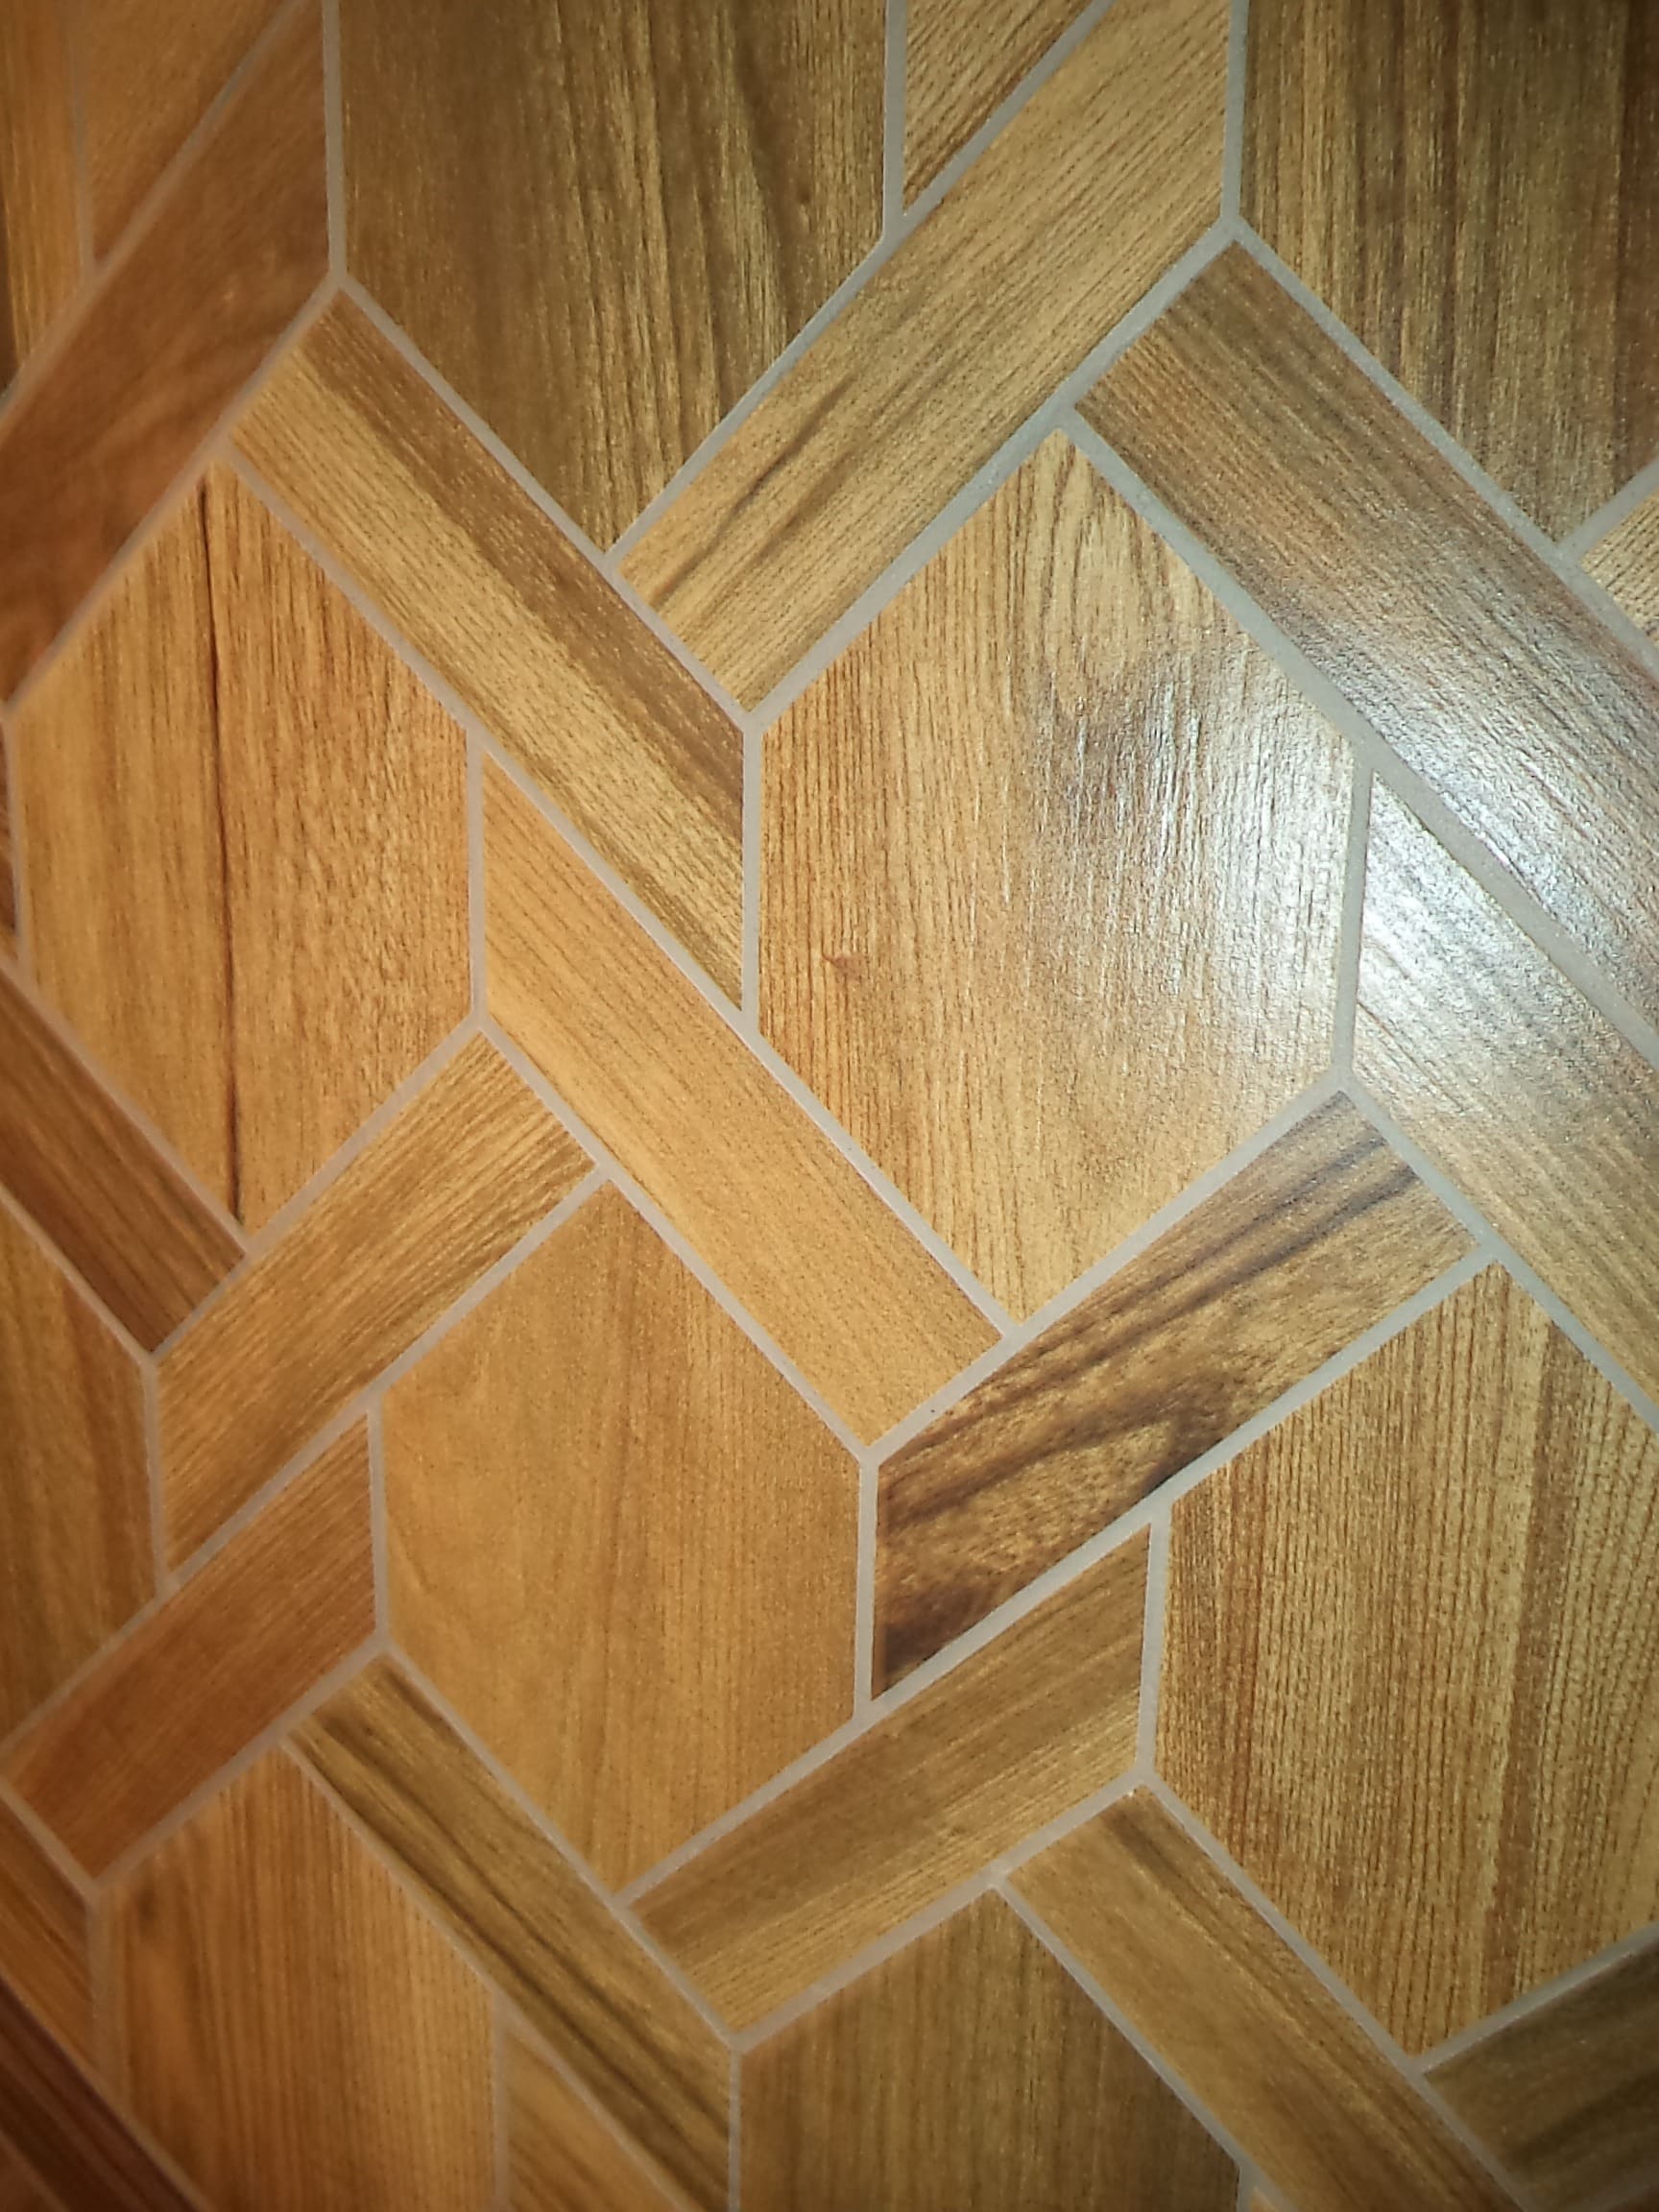
Grout colour tones to be developed to complement evolving wood-look tiles
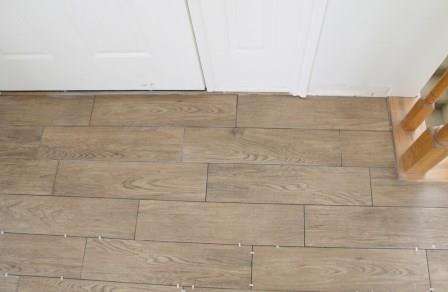
We attended this year's Cersaie fair which promoted that wood-look tiles are not only still in fashion, but these tiles are also increasing in size. This poses some challenges for manufactures of adhesives and grout because products need to be evaluated and adapted to ensure that the installation of these large format wood-look tiles are safe, correct and that the visual appeal of the tiles are not compromised.
Hexagon-shaped tiles are getting very popular in Europe, so TAL plans to keep an eye on this trend to see if it picks up locally as these tiles will be challenging to install. We hope that our customers will make use of our expertise as well as our technical and on-site support service when fitting these tiles.
Grout suppliers also need to develop their colour coffering to cater to these tile designs as wood-look ink becomes more popular and with that, new features such as textured grains, knots and multiple finishes are surfacing.
TAL is in the process of supplying adhesives, grout and ancillary products for a number of prestigious projects which feature these wood-look tiles and it is clear that grout manufacturers need to focus on grout colours as the tiles vary from warm greys to different tones of brown and they also mimic the wood grain, which means that one tile may have multiple colour tones.

Another design trend which we saw at the fair, confirmed that glitter grout is only used as accents, that grout is very fine and that grout joints are no wider than 3mm. Natural stone tiles were not prominent at the fair, which could explain why we did not see coarse grout much around the exhibition.
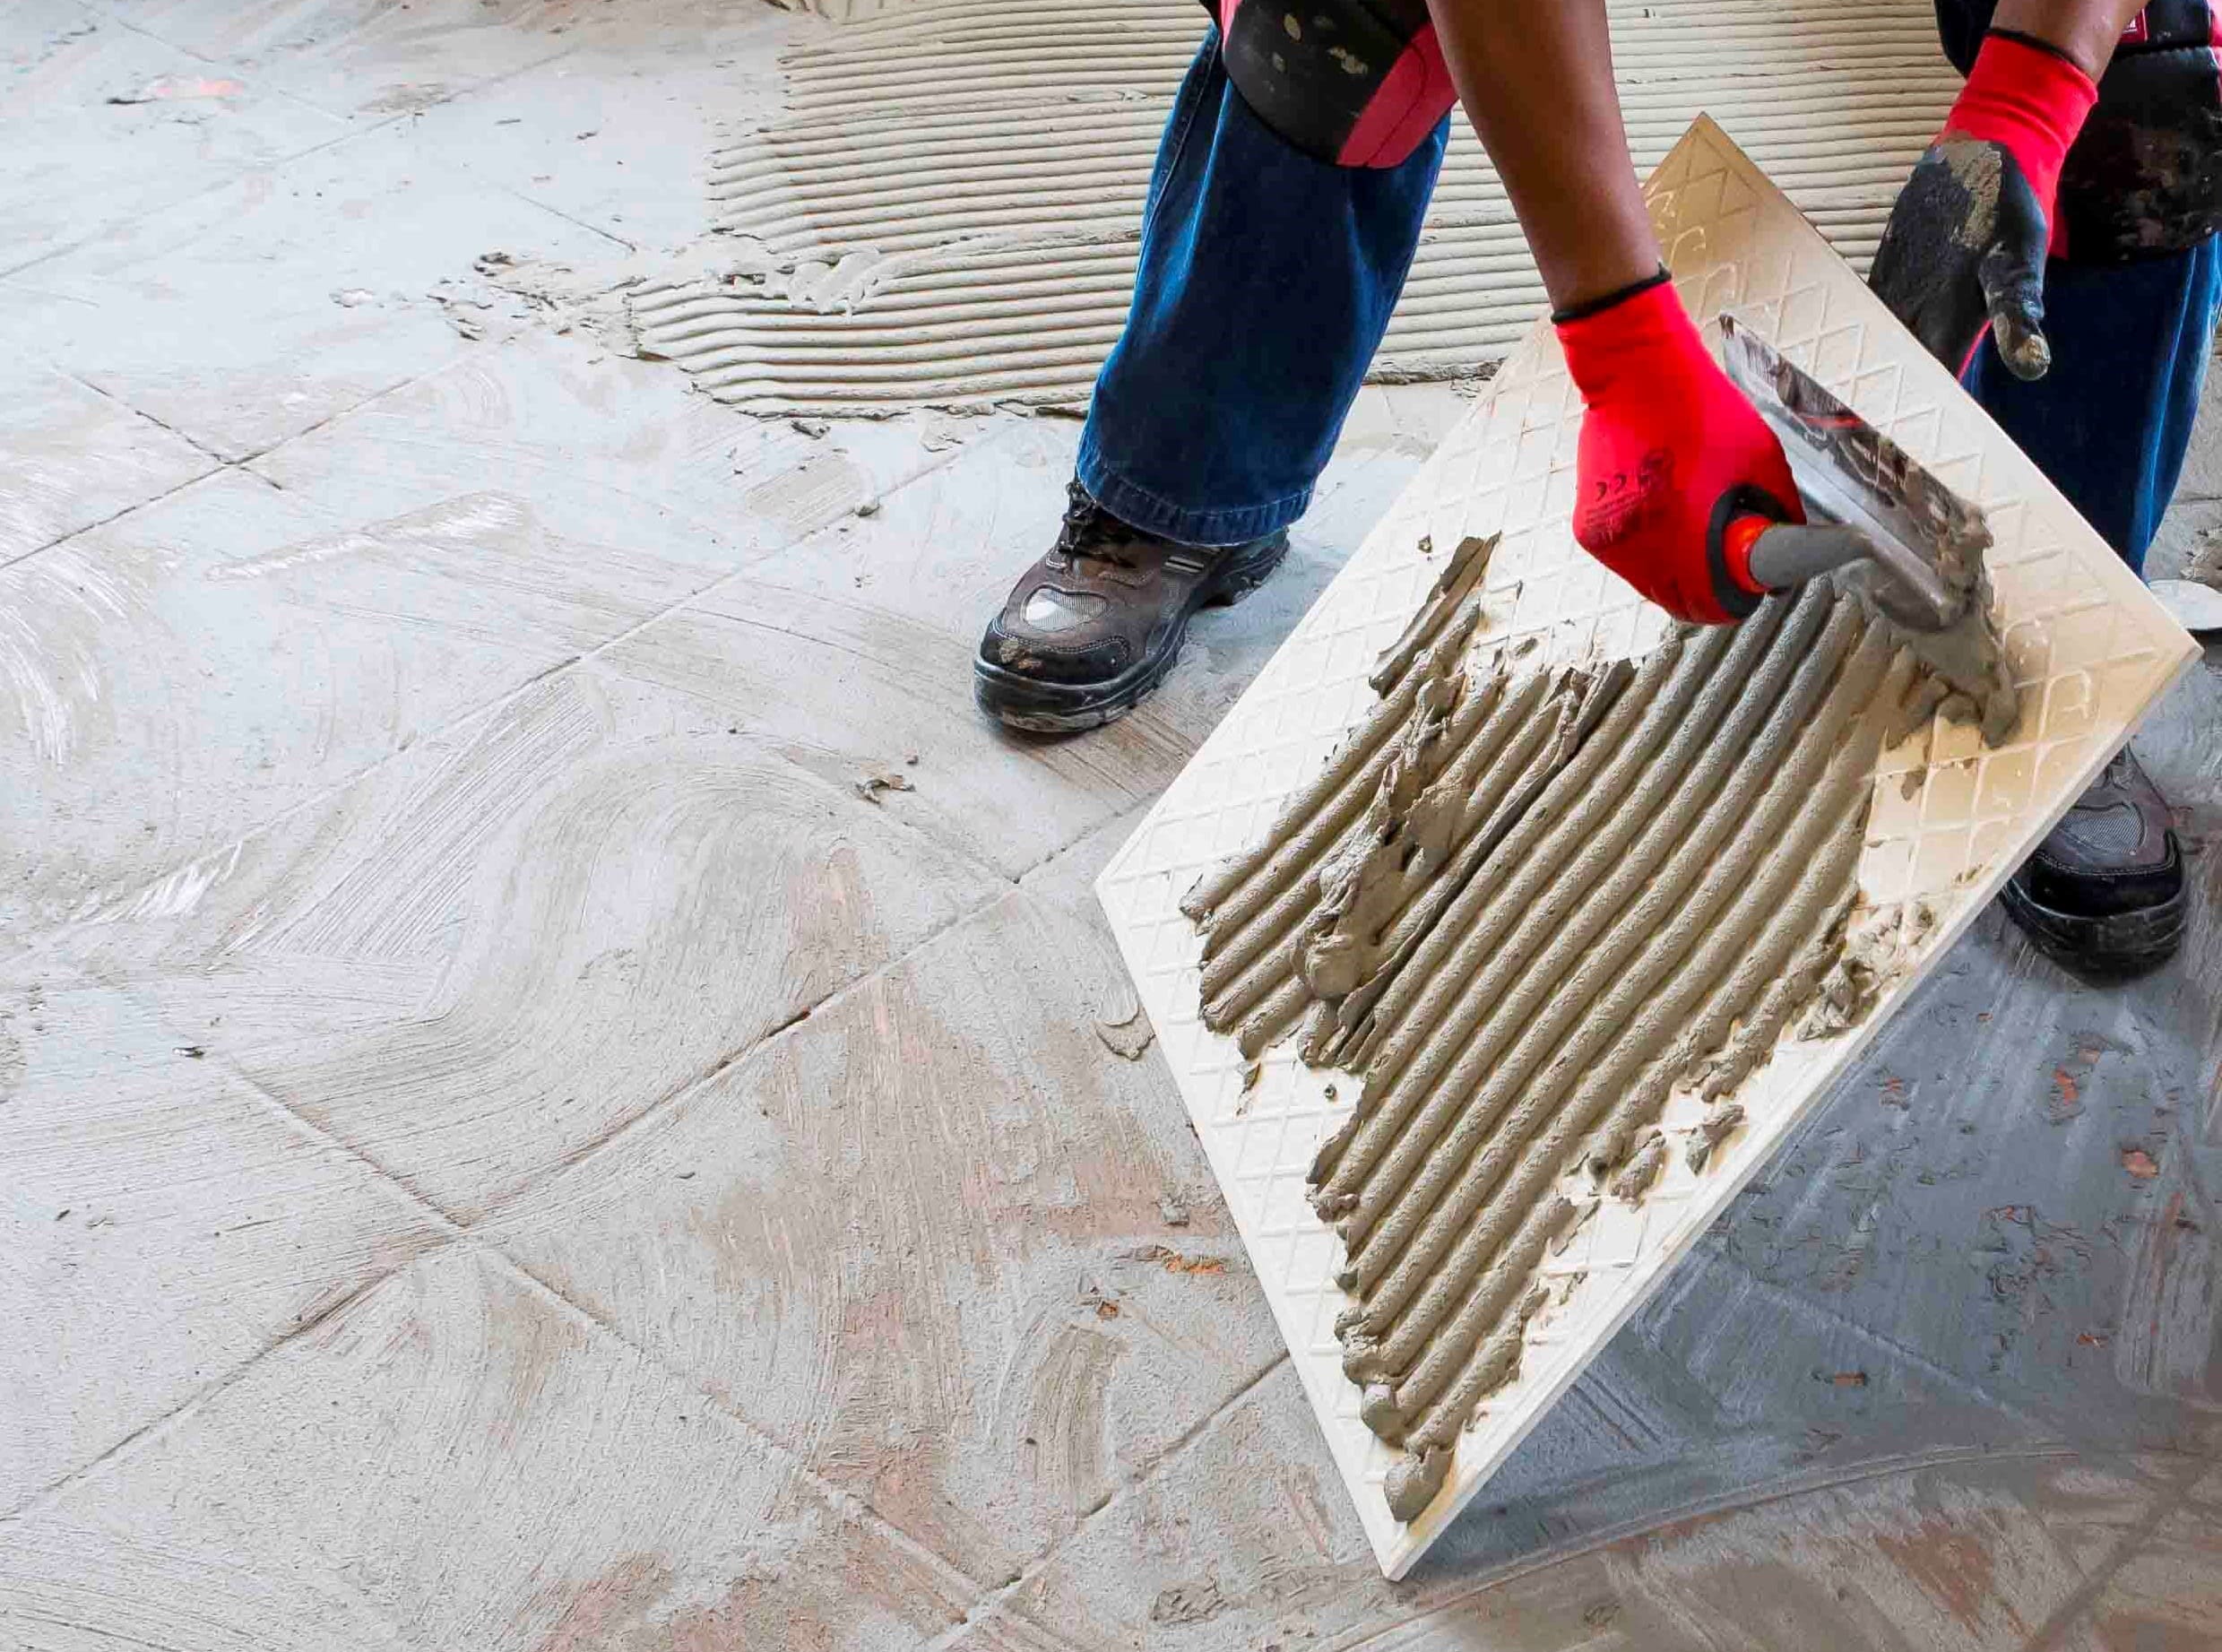
Large format tiles may be beautiful to look at, but due to their size, larger tile cutters are required as well as more skilled tradesmen to install these tiles when they are used as cladding. What’s more, these tiles need accurate installation and with just these three variable added up, we can see a rise in labour cost.
Yet another interesting feature of the show was the way in which lights are being used on surfaces. Lights with LED strips are trending as they are being installed for both aesthetic reasons and to add to the safety aspect of stairs.
Although TAL is constantly reviewing and developing products to suit current requirements, we are particularly interested in looking at ways to improve our offering based on the observations made at Cersaie 2014 – particularly with regards to the large format wood-look tiles.
Also ensure that the spacer size you use is correct for the type of tile you have selected; the joint width between glazed ceramic floor tiles should be a minimum of 5mm wide, and a minimum of 3mm wide between porcelain tiles, including rectified porcelain tiles. To achieve the natural look, opt for grout colour that is darker than the tile itself. Click here to find out more about how to select the perfect grout colour.
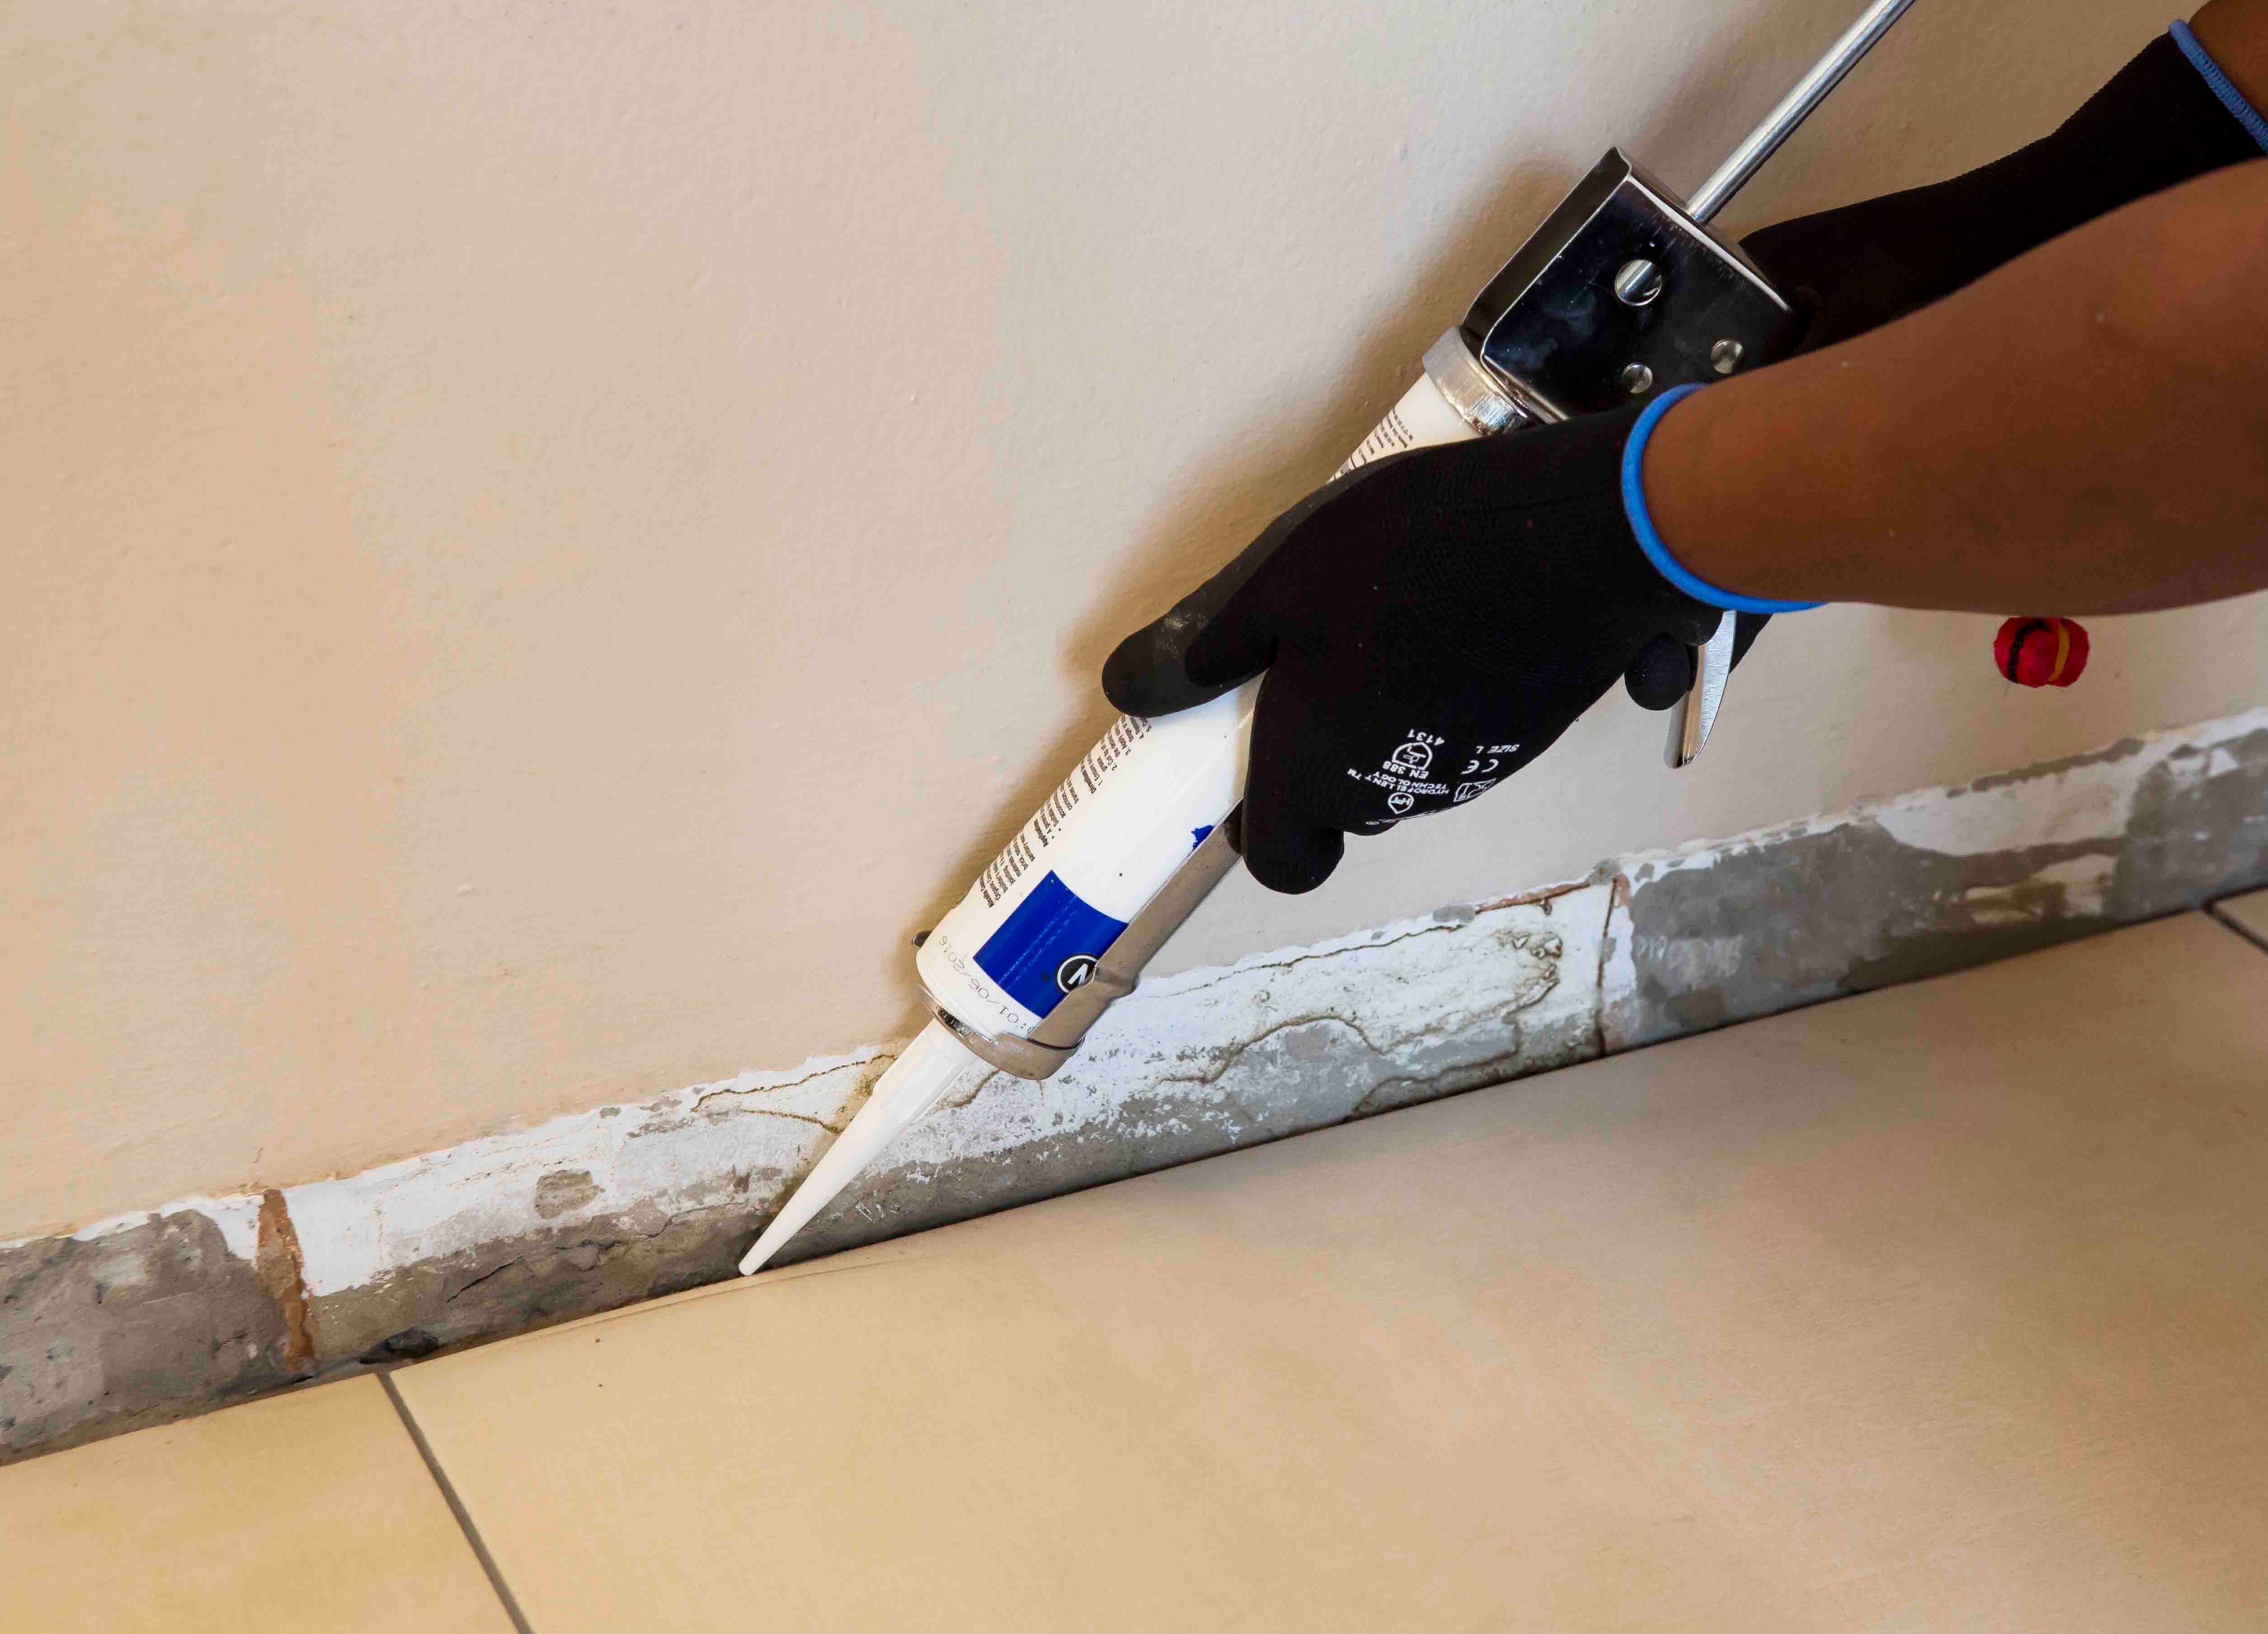
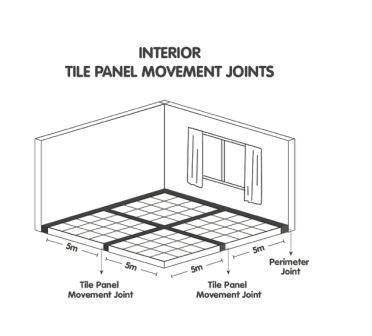
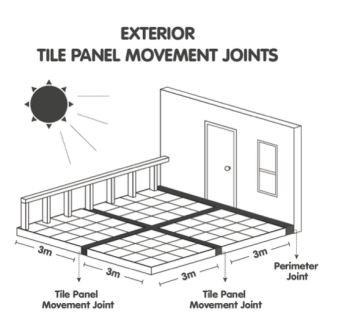
MOVEMENT JOINTS
Allowance for movement (building, thermal and moisture) must be made in all tile installations. Perimeter joints must be installed around the perimeter of all floors and around any fixtures protruding through the tile installation, such as walls, columns and stairs. Intermediate tile panel movement joints should also be installed at maximum 5 metre centres in both directions for interior surface bed applications, and maximum 3 metre centres for suspended slabs and exterior applications. These joints must be a minimum of 5mm wide, must extend through the tile and tile adhesive layers to the substrate, and must be filled with a good quality resilient joint sealant and suitable backing cord.
When using large format tiles (a tile with the length of at least one edge equal to/greater than 600mm, or a facial area greater than 3500cm²) there will be a smaller number of grout joints, compared with the same area of normal format tiling. As a result, less stress (movement) can be accommodated at tile joints.
Considering a wood-look tile installation? Give us a call or send usan email and we’ll give the right advice, no matter how big or small your tile installation: 0860000 TAL (825) or [email protected]. If this TAL Talk blog post interested you, you may want to take a look at this TAL Talk blog post: The 101 on wood-look tiles.
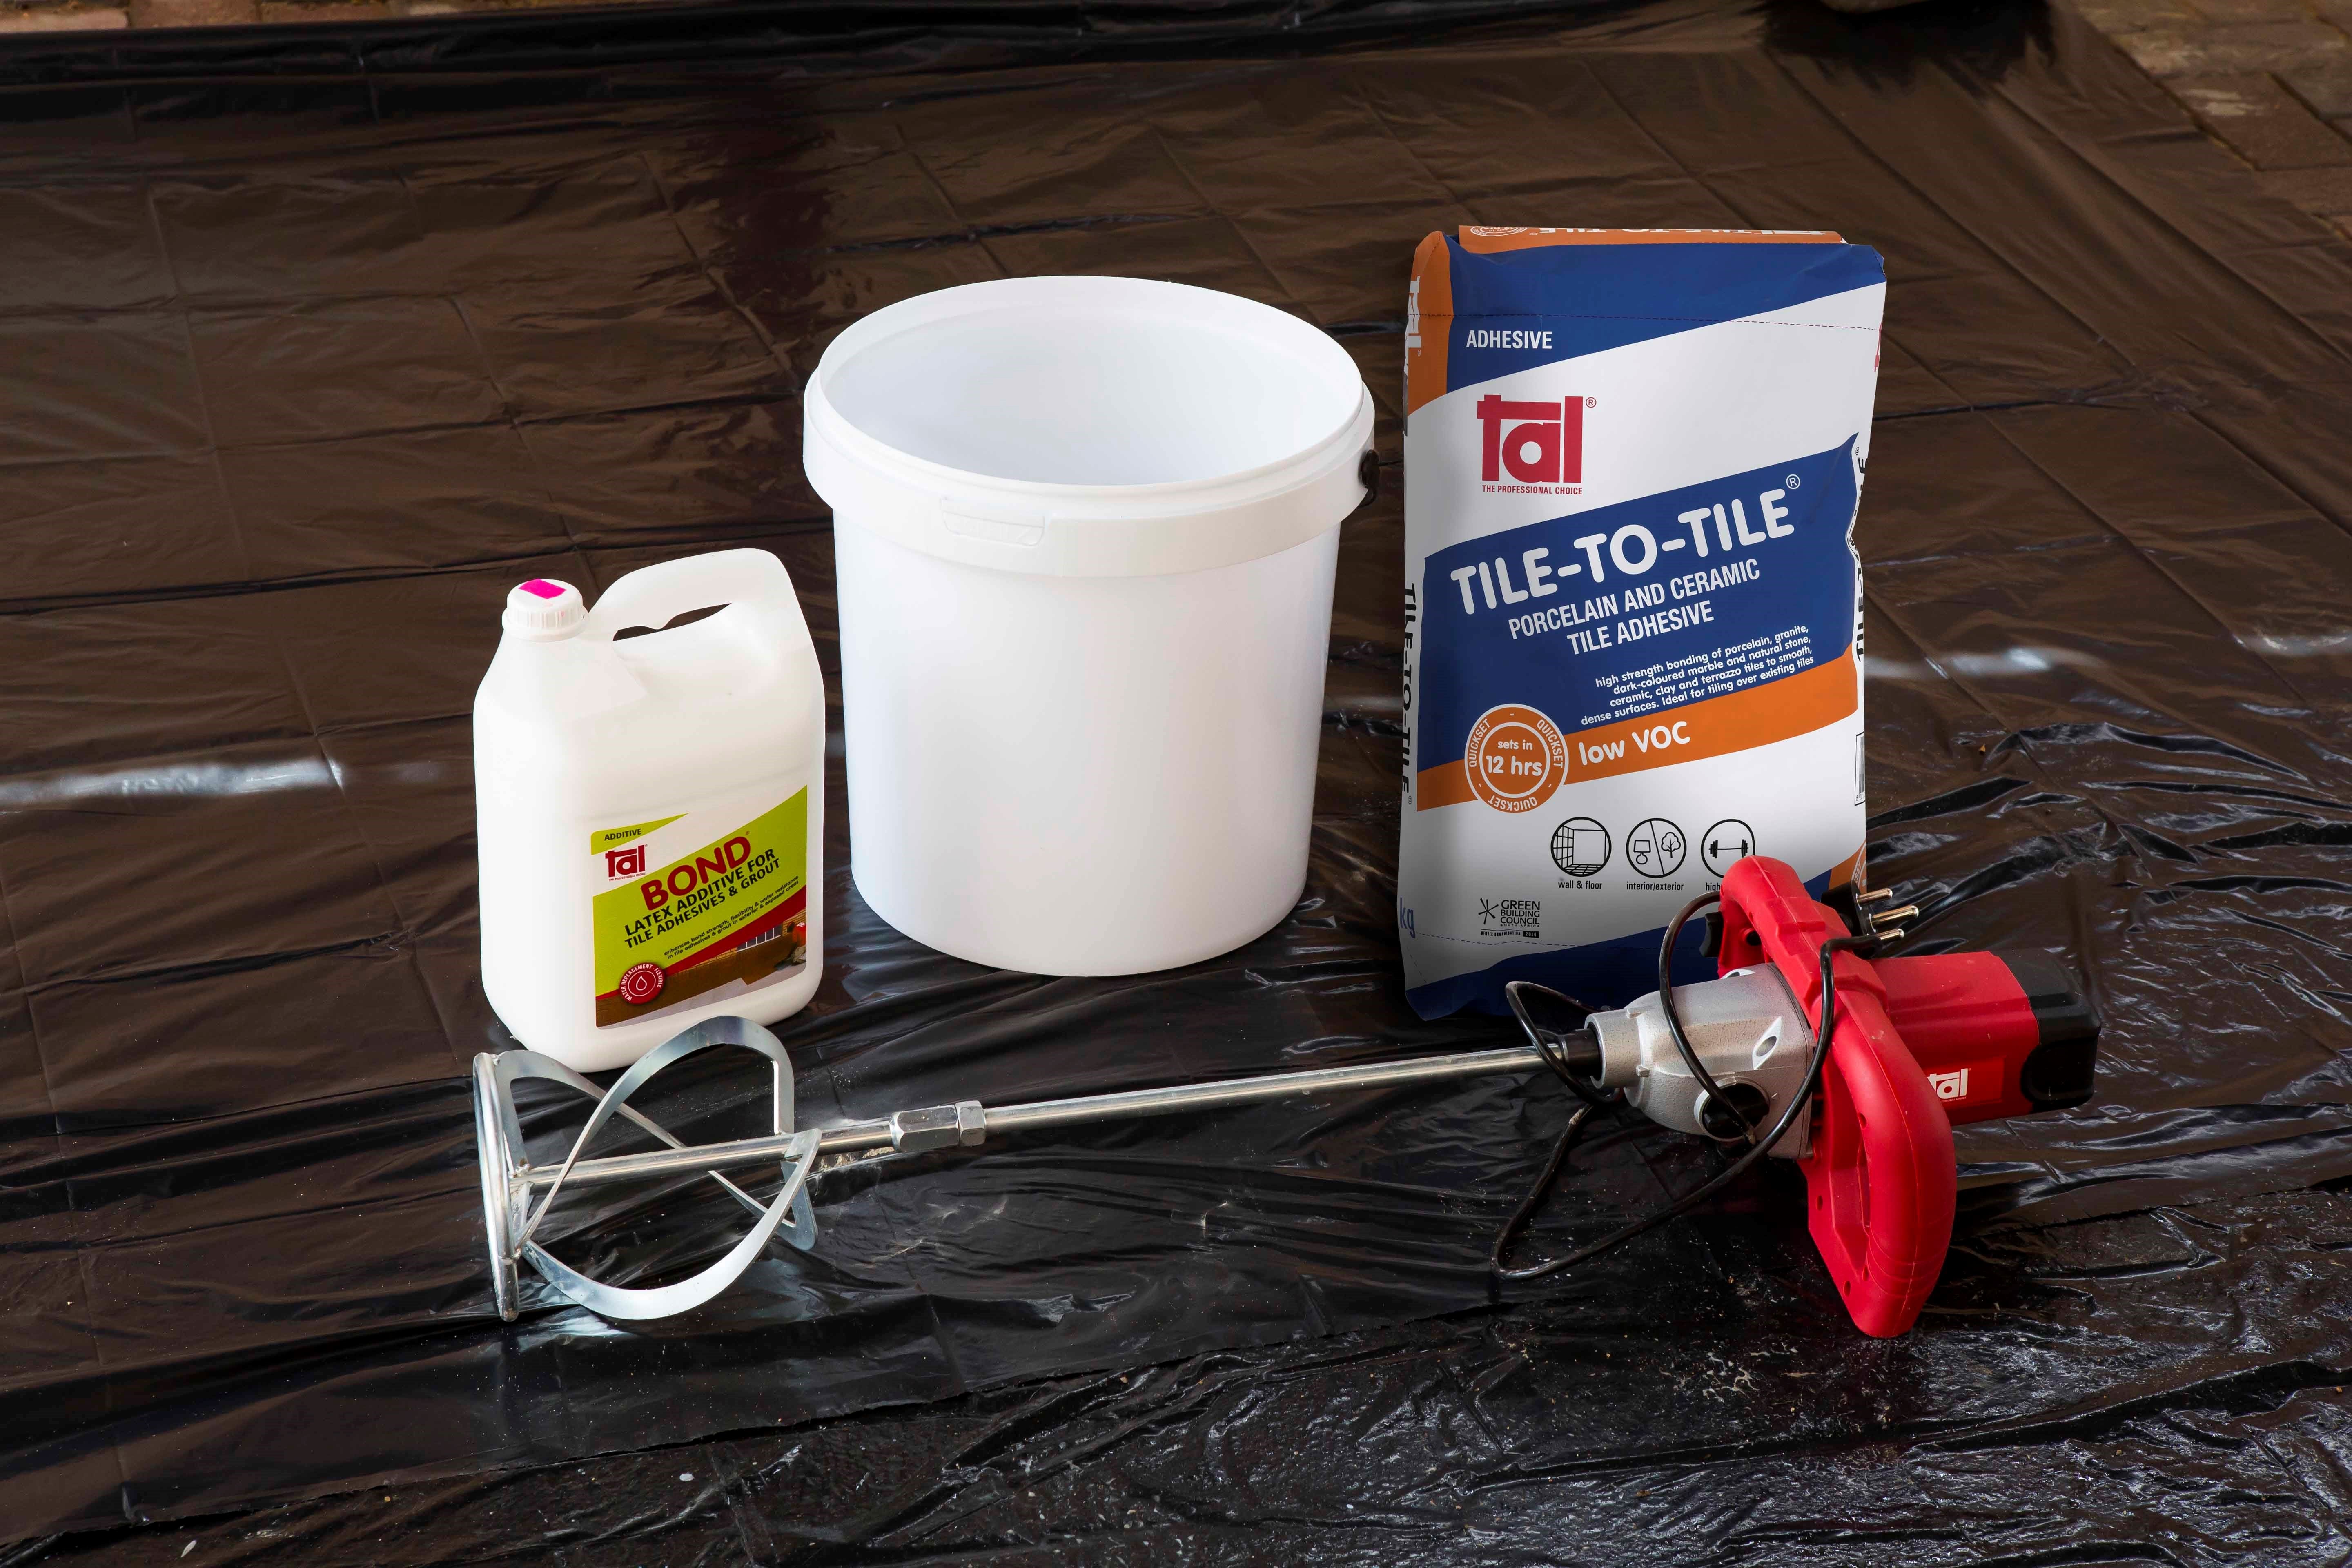
Complete the waterproofing system by replacing the water in the grout mix with TAL Bond, a latex additive, as this further increases the water resistance and flexibility of the installation.
Get the job right the first time and avoid future headaches from water seeping through and damaging the walls and floors of your home. The additional cost and effort of properly waterproofing your shower is an investment in your property and will ensure a beautiful and functional bathroom for years to come.
For more information on multi-level waterproofing systems, contact a TAL Expert on 0860 000 TAL (825), email us or watch our how-to video on YouTube for step-by-step advice on how to waterproof a shower.
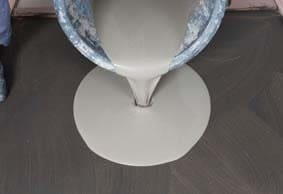
STEP 8
Roll the area using a TAL Spiked Roller to facilitate the release of any trapped air to produce a smooth surface, and to allow it to dry.
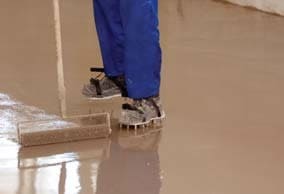
Allow the screed installation to dry for 24 hours before subjecting to foot traffic (or other trades) or installing floor coverings.
TAL MOSAICFIX is available in 20 kg and 5 kg bags from leading retail outlets.
Designed to be 100% compatible, using the TAL range of products ensures fully guaranteed multi-level tiling systems from a single source. TAL products are manufactured in South Africa to suit local climatic conditions.
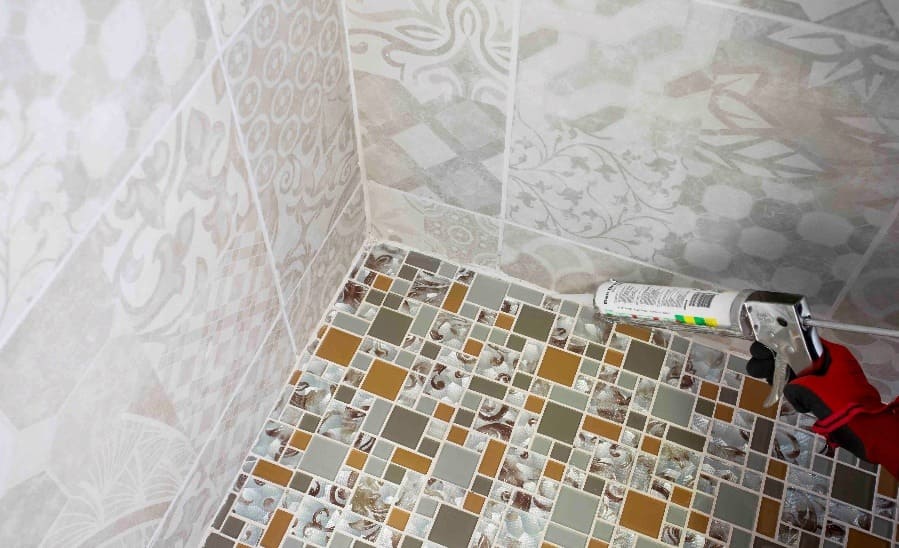
If you are in any doubt, contact the TAL Technical Advisory Service on 0860 000 TAL (825), email [email protected]. Alternatively, employ the services of an experienced and skilled mosaic tiling contractor.
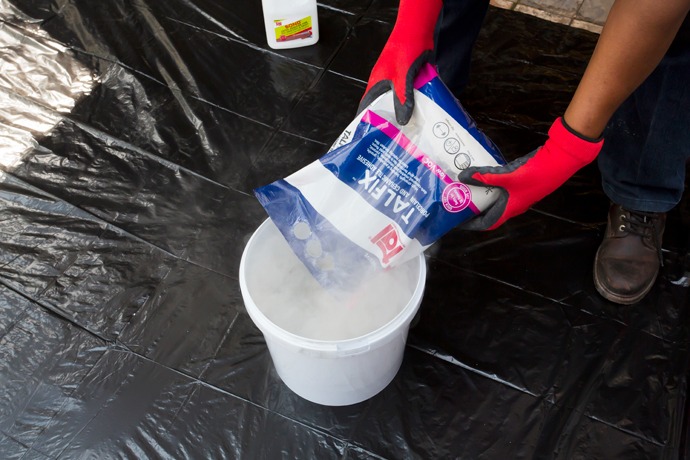
When replacing tiles, it is not always possible to apply the TALFIX directly to the floor, in which case apply the adhesive in a solid bed onto the back of the tile, ensuring complete coverage. Gently trace the notched side of a floor trowel through the adhesive to create ‘ridges’.
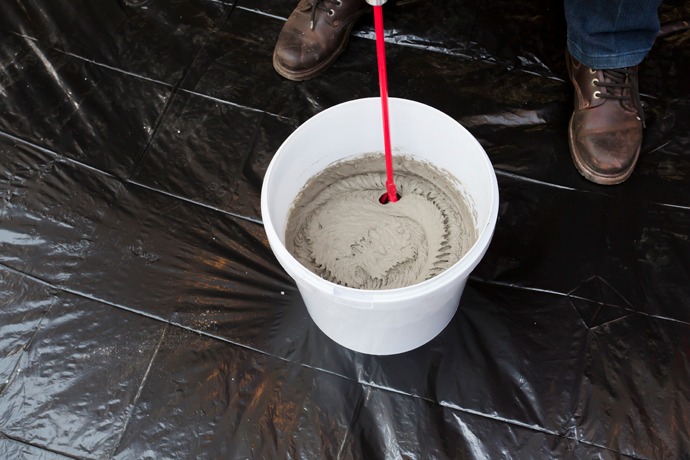
Adhesive system
When tiling onto existing tiles, it is important to only use a quick- or rapid-setting adhesive, as the existing tiles will present a dense, impervious surface, and standard-setting adhesives will take longer to dry. Too early trafficking of newly-installed tiles before the adhesive has set sufficiently can result in hollow-sounding or loose tiles.
Use TAL Tile-To-Tile quick-setting adhesive for tiling onto interior surface beds. When tiling onto suspended slabs and for external installations mix the TAL Tile-To-Tile with TAL Bond, replacing the water in the mix. Alternatively, TAL Bond Powder can be added to the adhesive mixing water.
Ensure that there is a solid bed of adhesive at least 6 mm thick beneath each tile.
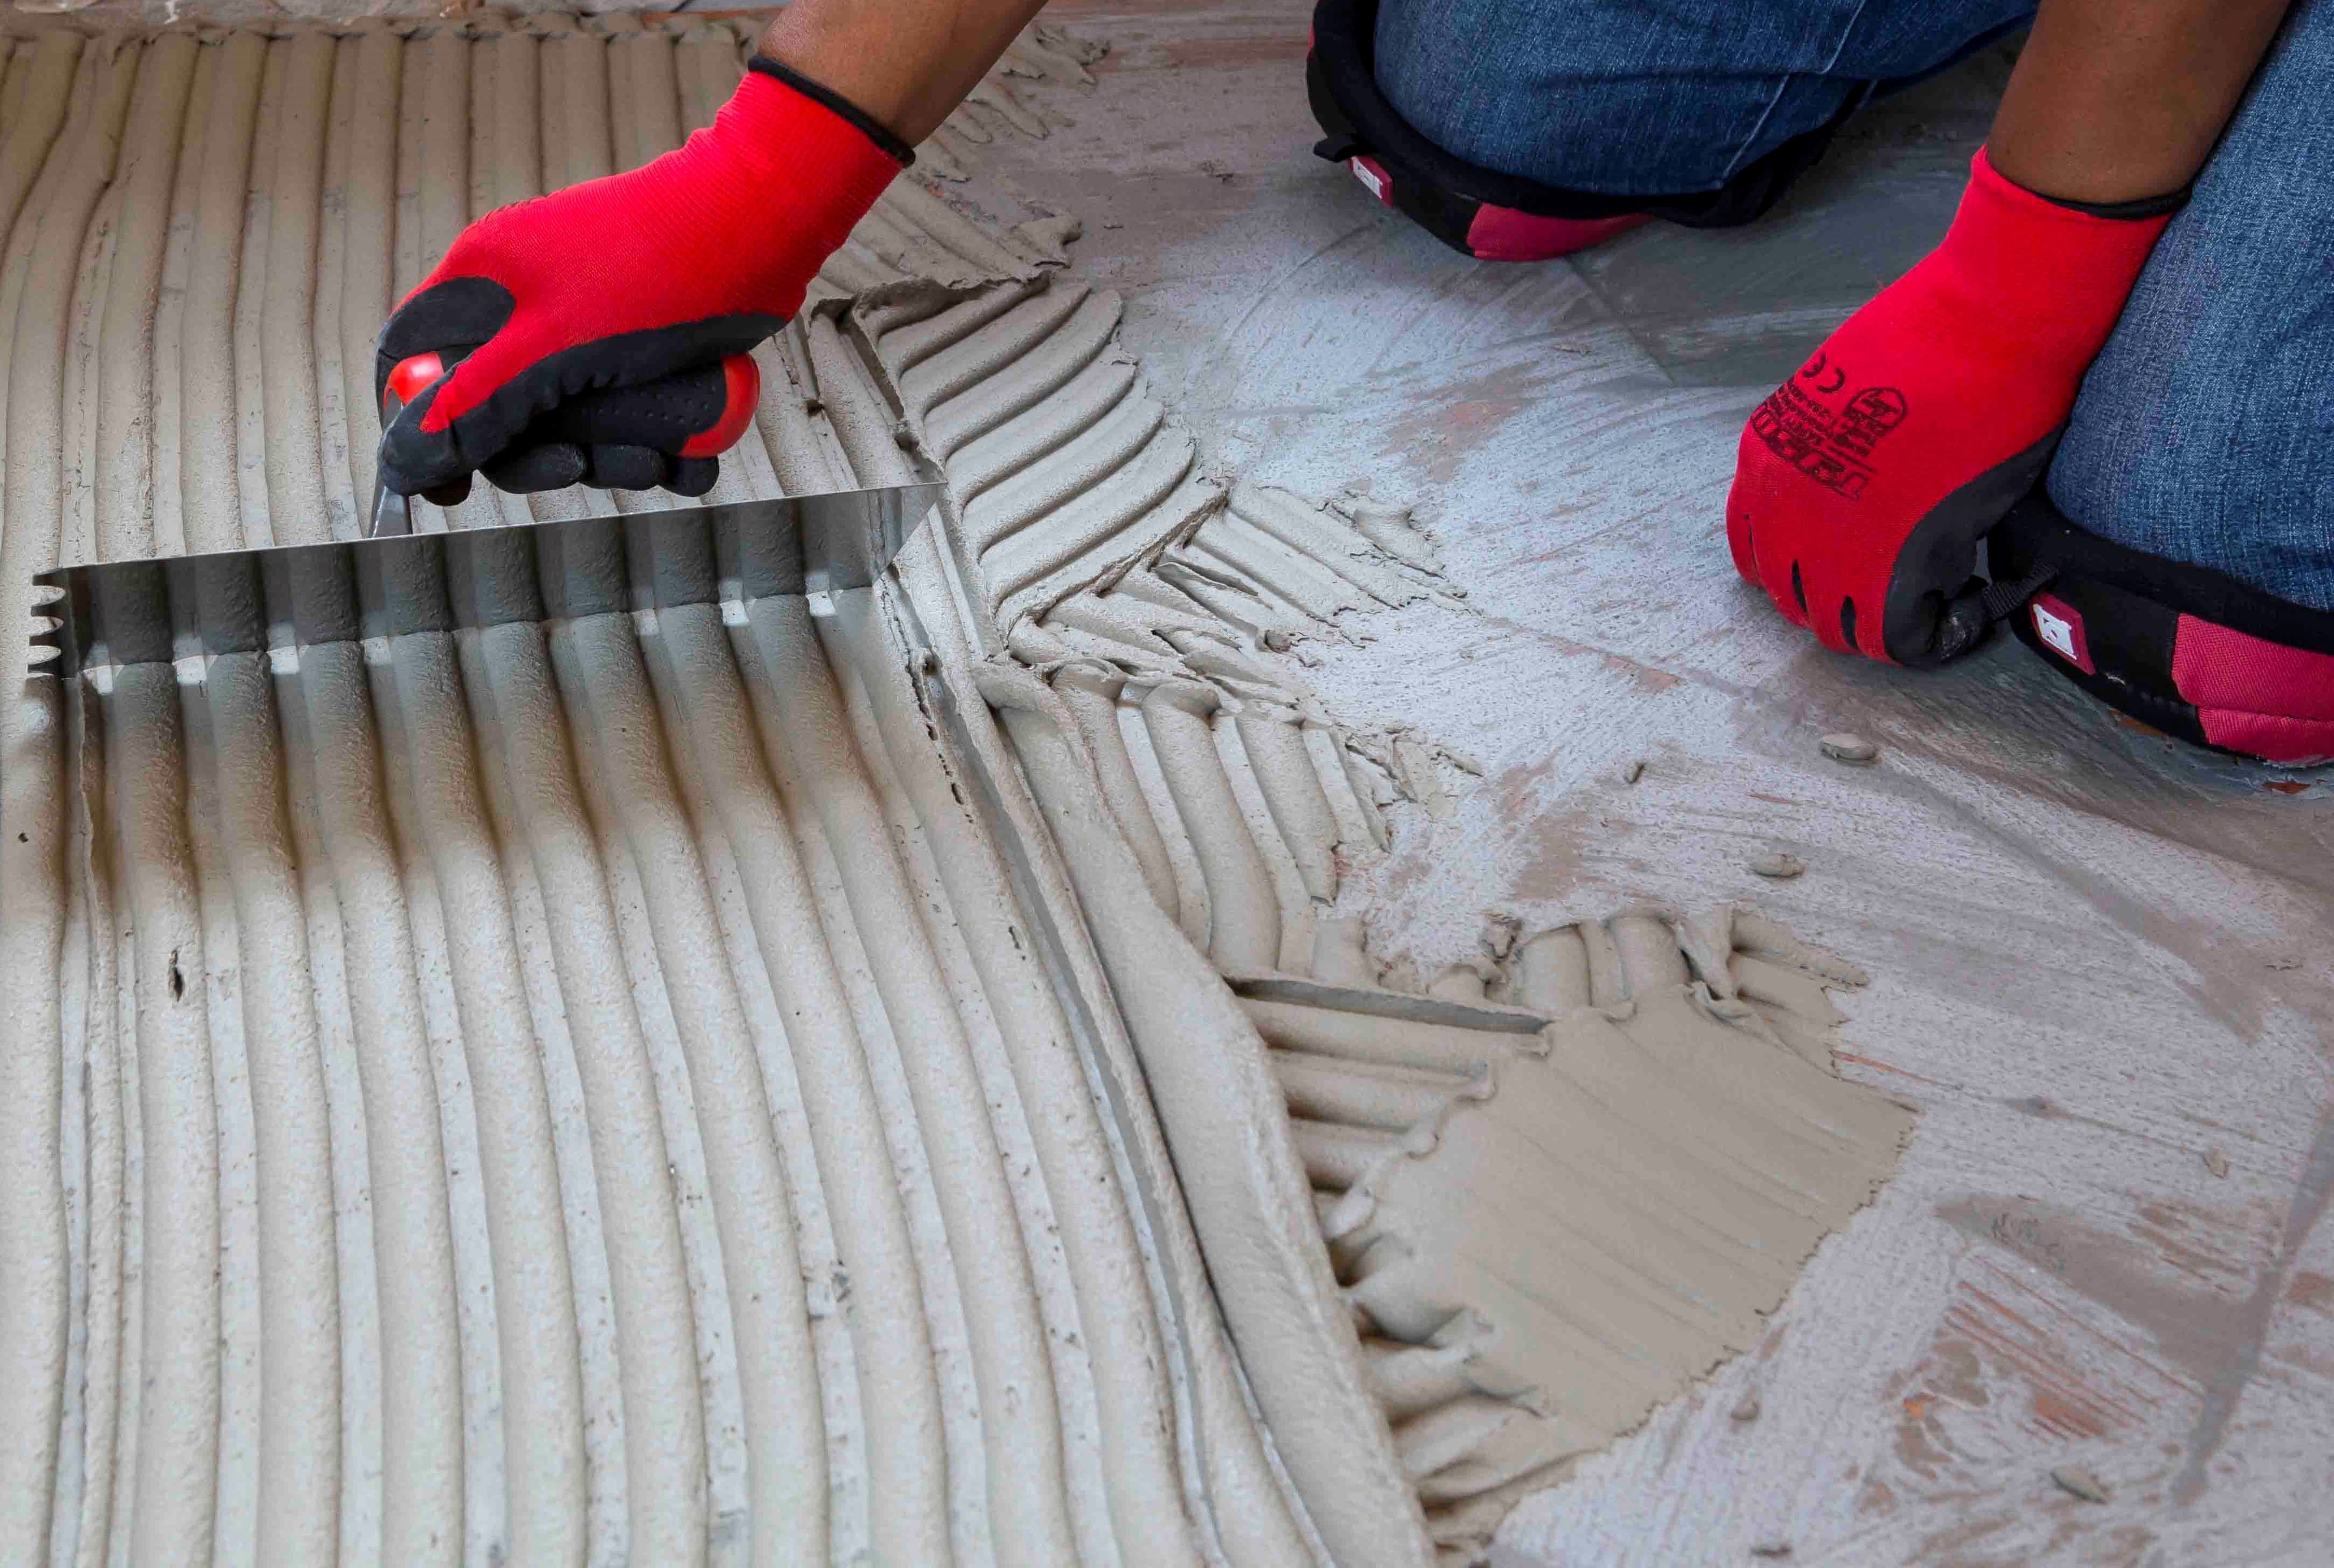
Back buttering with a thin coat of adhesive may also be required when using large-format tiles to ensure full contact with the adhesive bed.
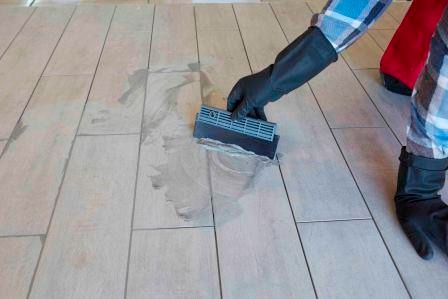
Grouting
Grouting should not be carried out until the adhesive has set sufficiently to prevent the tile installation from being disturbed during the grouting operation (always refer to the adhesive packaging for setting times). When using TAL TAL Tile-To-Tile, allow a minimum of six hours before grouting.
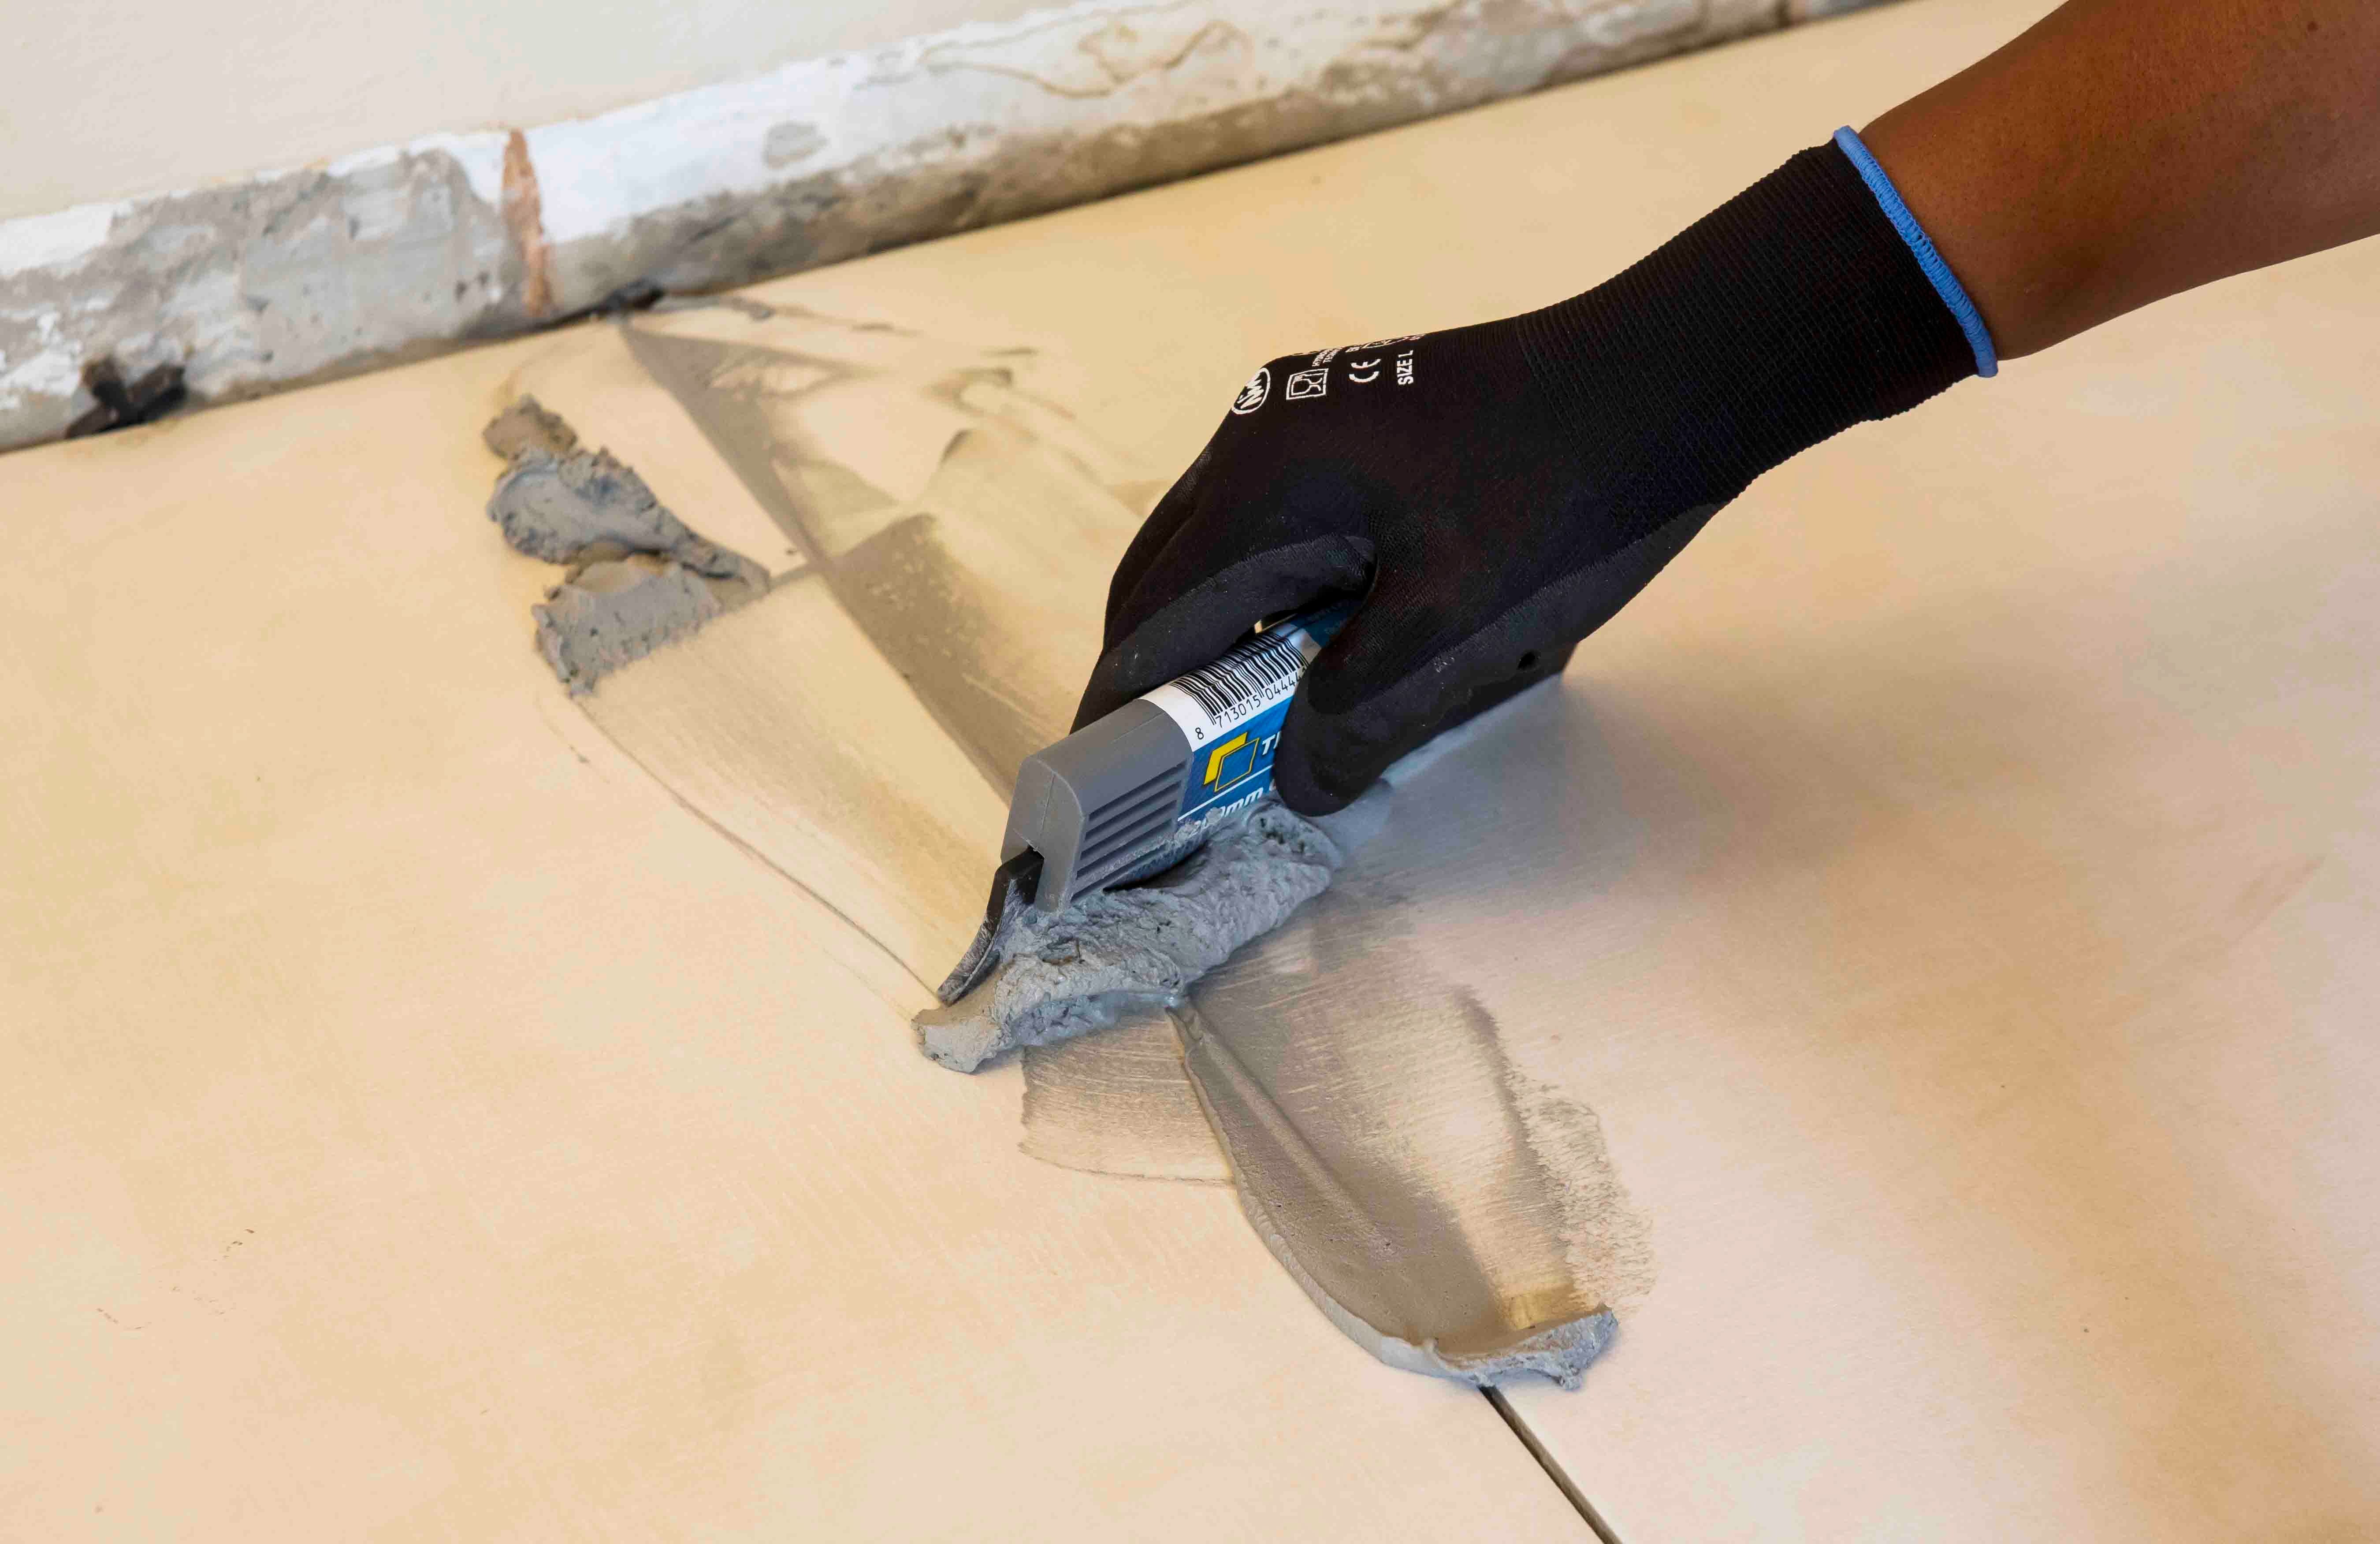
For interior surface beds, use TAL Wall & Floor Grout for filling tile joints up to 8 mm wide. TAL Quarry Grout can be used in wider joints up to 25 mm wide. On suspended slabs and for external installations, replace the water in the grout mix with TAL Bond, or add TAL Bond Powder to the grout mixing water.
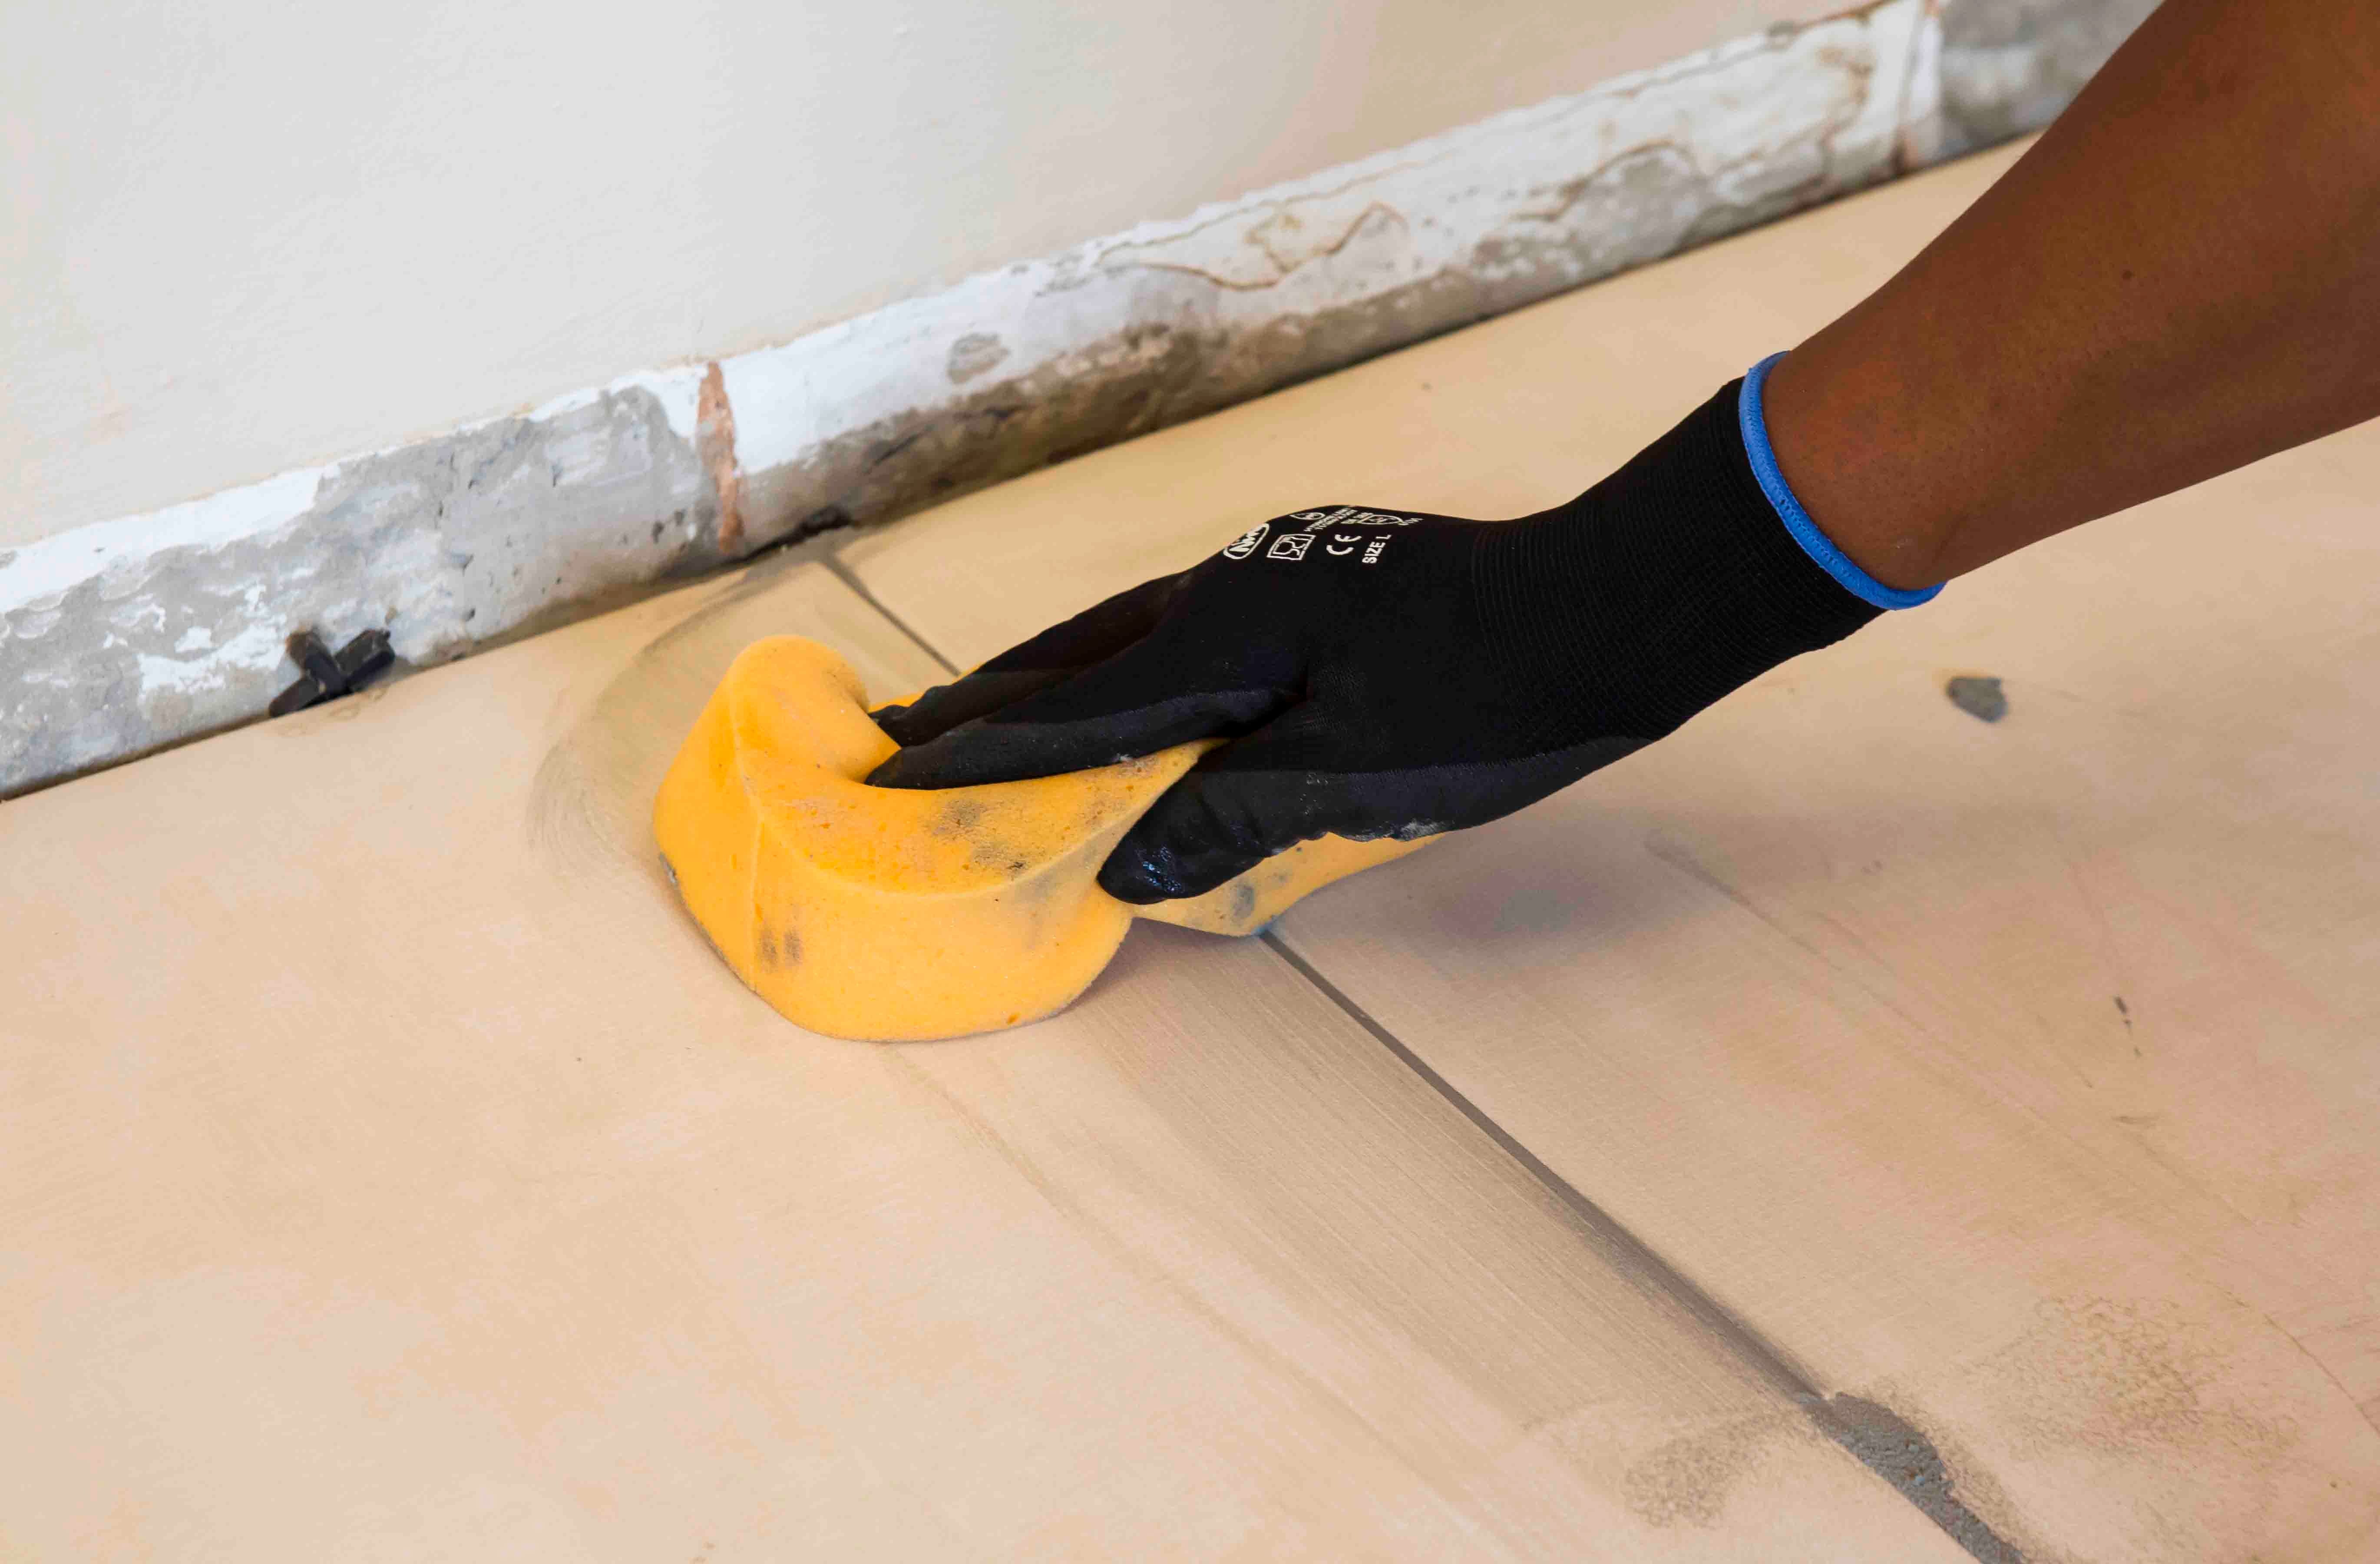
Particular care must be taken to clean the grout off the tile face before it hardens completely. This is especially important when an additive such as TAL Bond or TAL Bond Powder has been used. A tile sample should be tested beforehand to ensure that no grout is absorbed through the glaze or into the tile body, thereby staining the tiles permanently.
Movement joints
The lack of movement joints in tile installations is a major cause of tile failure. When tiling over existing tiles, the existing structural and movement joints must be maintained in the new tile installation. The movement joints should be at least 5 mm wide and extend through the adhesive and both tile layers.