Tiling layouts and the effect they have on a room
So, you’ve chosen your tiles, now to install them for maximum effect. Considerations that need to be made before you even begin the process of installation include cutting, specific layout requirements, the overall presentation and deciding on a desired aesthetic. But what do any of those processes look like, and how should you go about achieving them?
Treat each material differently
One of the most popular flooring materials currently in use is wood-look tiles. The use of natural wood adds a degree of warmth and character to any space, making it more inviting. But it’s important to play to the strengths of the material. A common mistake made is the placement of wood-look tiles by shade – tiles with similar shades set next to one another. Instead, try installing wood-look tiles with different shades at random, and off-setting the tiles by no more than 30% to mimic nature’s predisposition for random occurrence, ensuring a much more natural look.
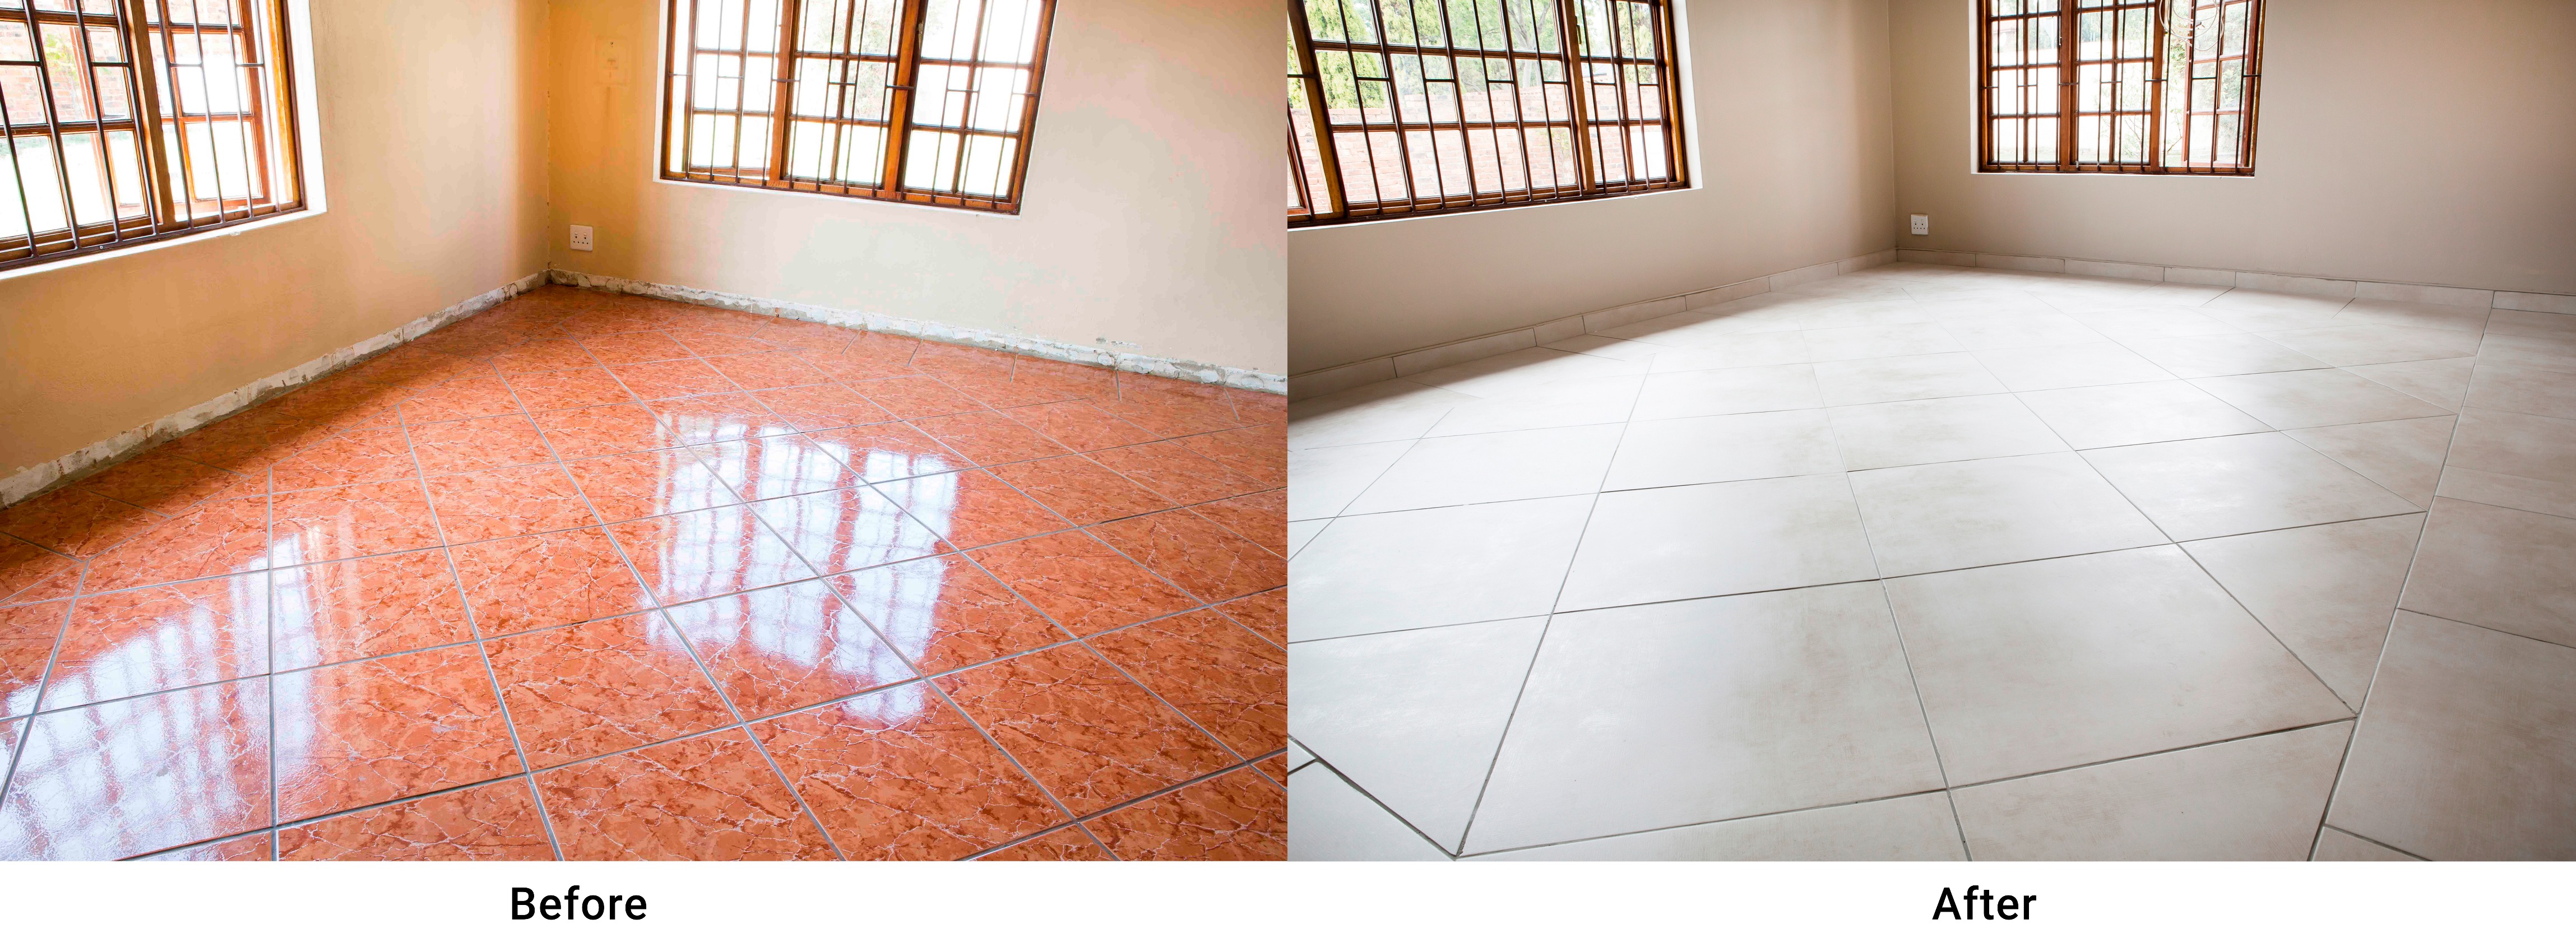
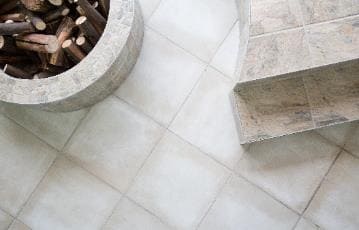
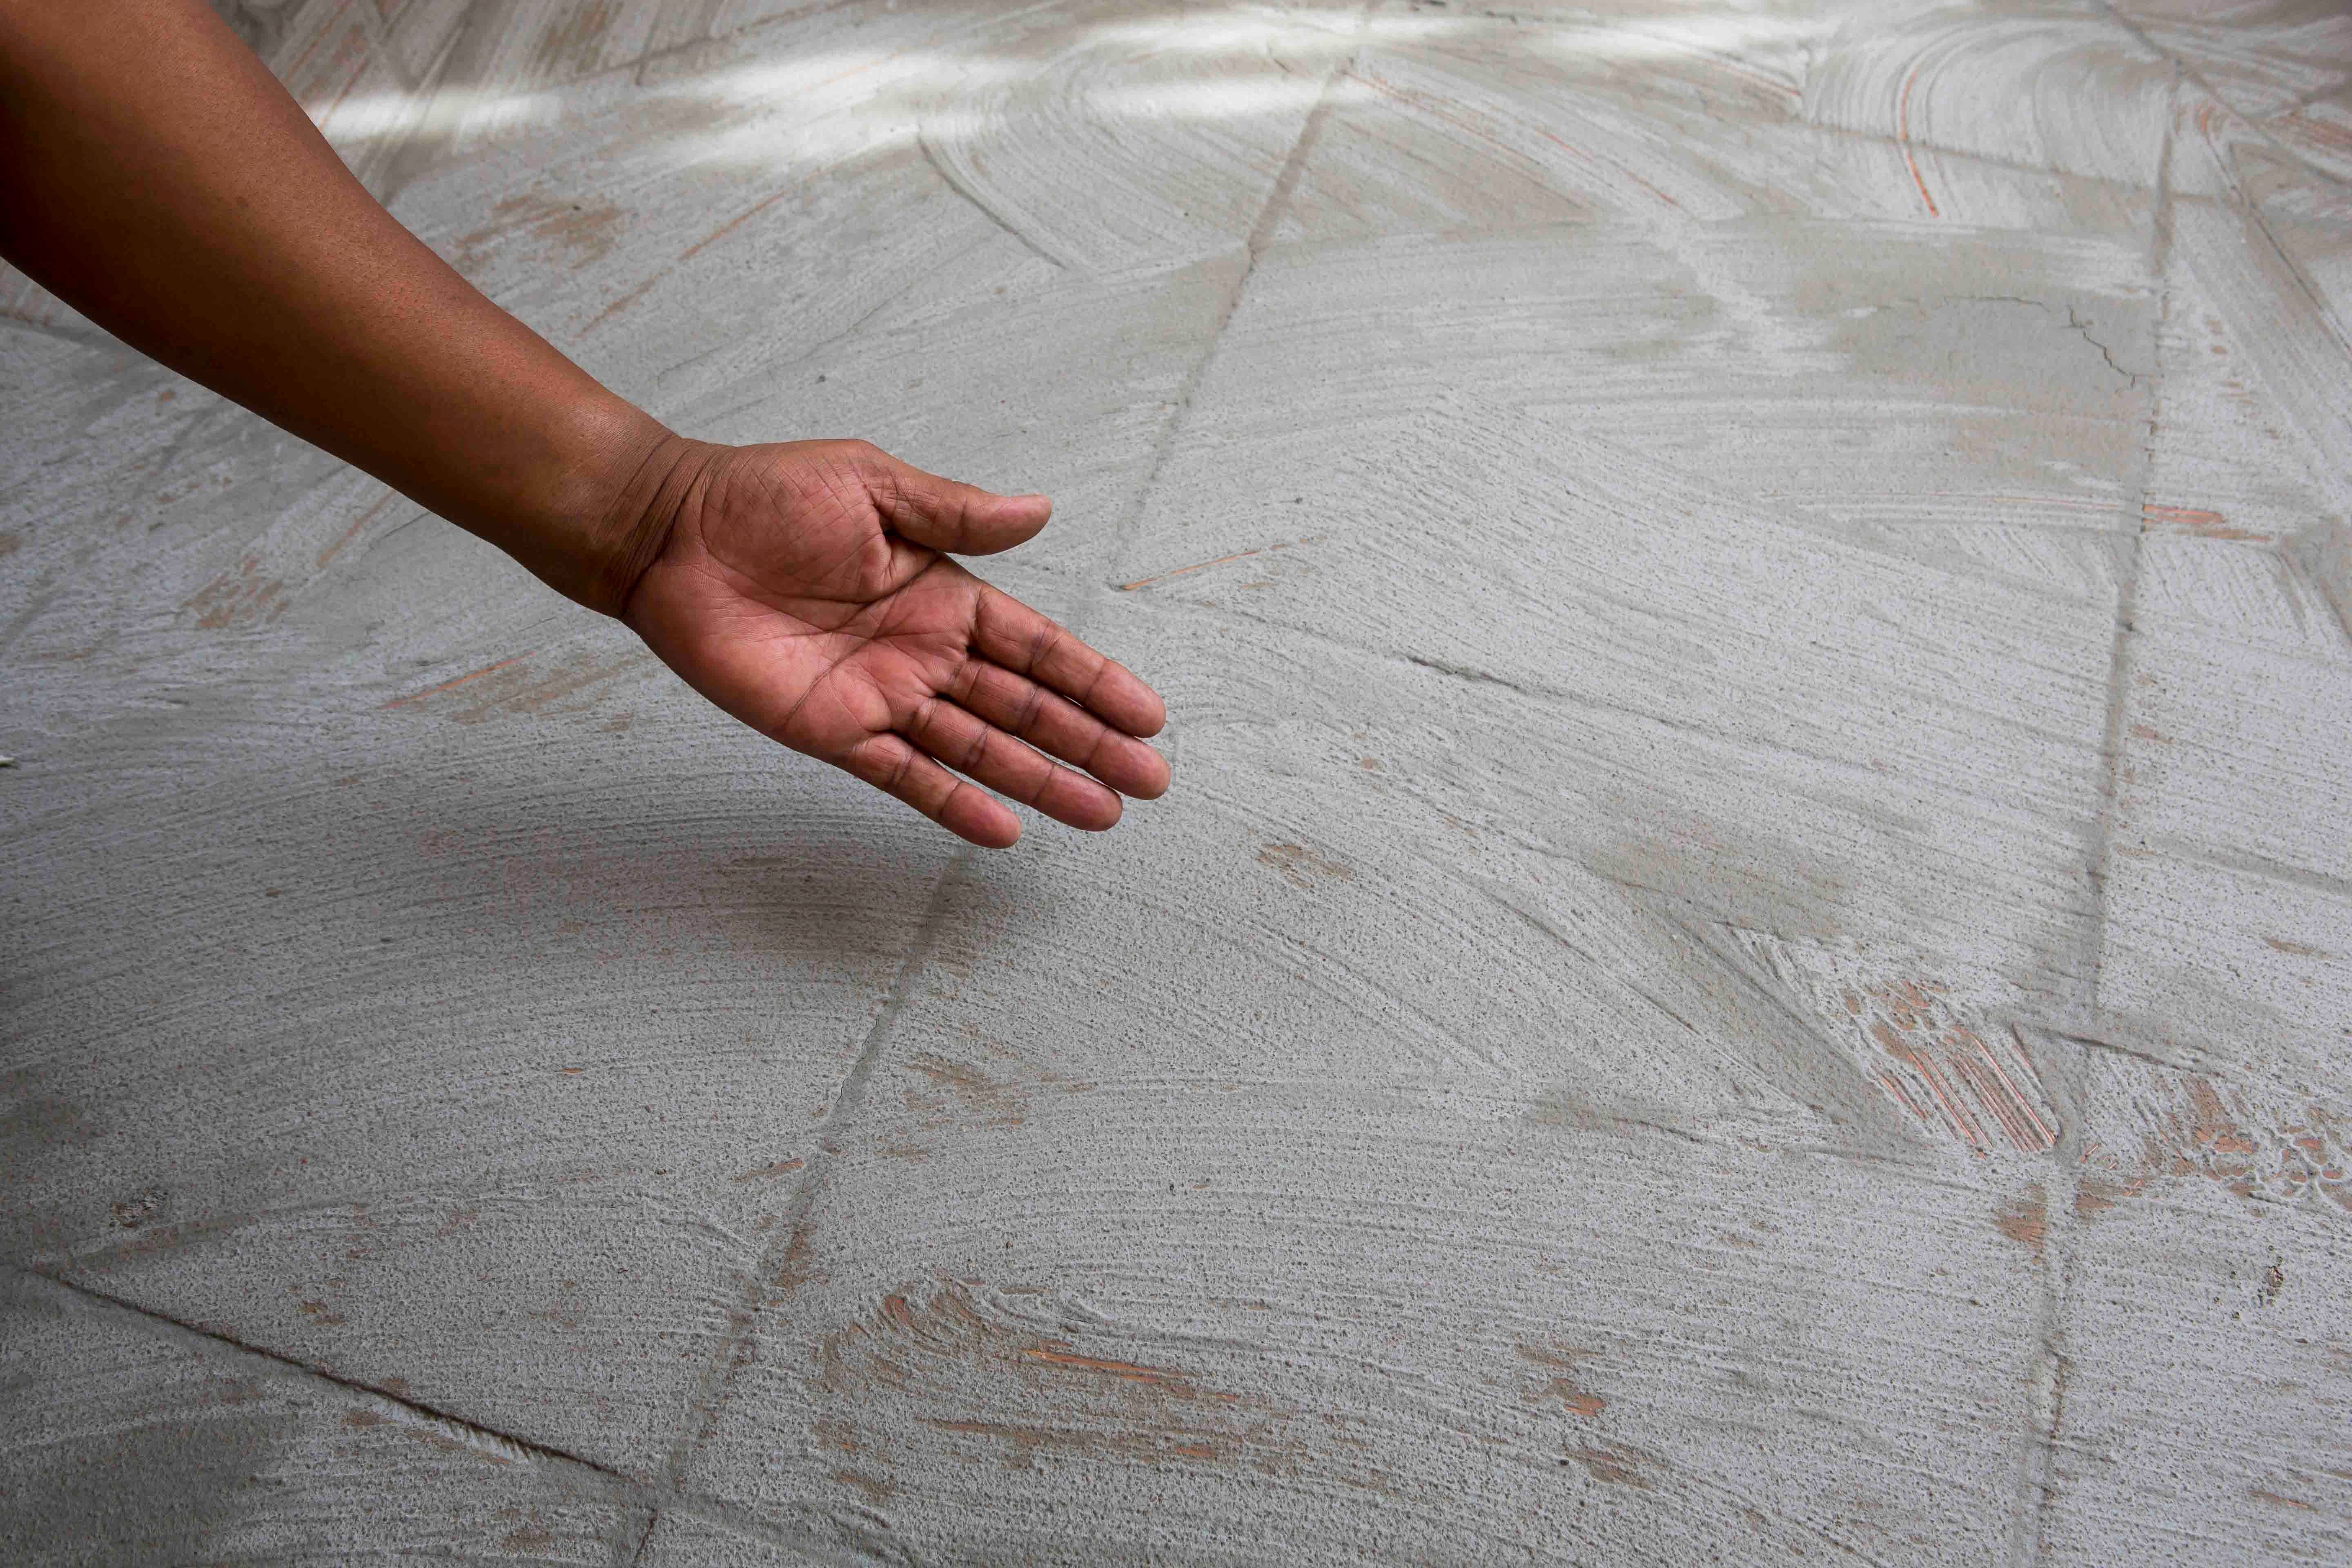
Concrete-look tiles, on the other hand, can be used in much the same way concrete is – to create either rustic or modern, contemporary spaces – for a fraction of the price, or alternatively, to provide a glossy take on polished concrete. To achieve that look, you’ll want to use a complementary grout colour to create a seamless look, ideal for an industrial aesthetic.
Consider using tiles that offer small variations in shade and hue, breaking up the space to some degree. This can prevent the space from feeling too cold.
Remember to allow for cutting and breaks
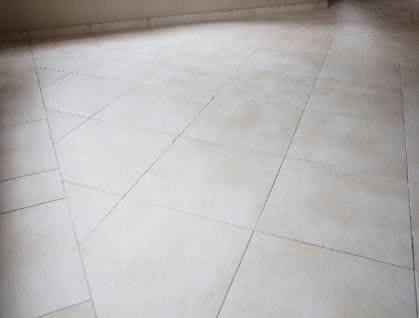
A simple diamond layout will require around 20% more tile than otherwise would have been required to cover the square meterage. To prevent the over- or under-purchasing of tiles, a waste of time and money, we recommend asking an expert to weigh in on how many additional tiles a project might need, based on best practices and the layout pattern chosen.
Current tiling trends
A popular tiling trend is the use of different shaped tiles, not just because they’re appealing to the eye, but all that’s required to change a pattern is to change the colour of a handful of tiles. Try not to overwhelm the space with too many conflicting patterns, often resulting in a space that’s a little too busy. Instead, try to keep your design to a few patterns at most. The effect is still a powerful one, but not one that will detract from the eye. It’s a trend that’s destined to grow as new shapes are introduced – triangle and rhomboid, for example.
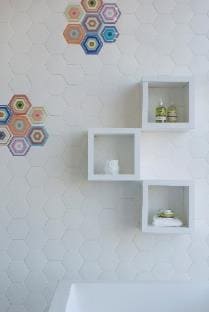
Another big walling trend of the moment is mosaic. Often considered the domain of artisans, mosaics are understandably a little intimidating. Fortunately, ready-made mosaics are common place these days, to which our only advice would be to consult an expert on correctly installing mosaics to walls and floors.
The alternative is to use small sections of various colours, hues or materials, rather than a full installation. With little effort, the use of these sections or full mosaic sheets between other tiles can really accentuate a space. It’s this technique as well as the use of colour that will dominate future tiling trends.

Do you have what you need?
Now that you’ve got a better understanding of some of the most popular layouts used in the industry, you’re almost ready to go. Before you do, it’s important you use the right materials and equipment, to ensure the best results the first time around. Different types of tiles, as well as where they’re being installed, will dictate which adhesive system is required – each fulfilling a specific function.
Should you need DIY advice, or assistance with substrate preparation, screeding, tiling installation or waterproofing, we’ve put together a comprehensive selection of guides you might be interested in. Check out any one of our tiling-made-easy guides.
Want more information? Contact our technical advisors for immediate assistance.
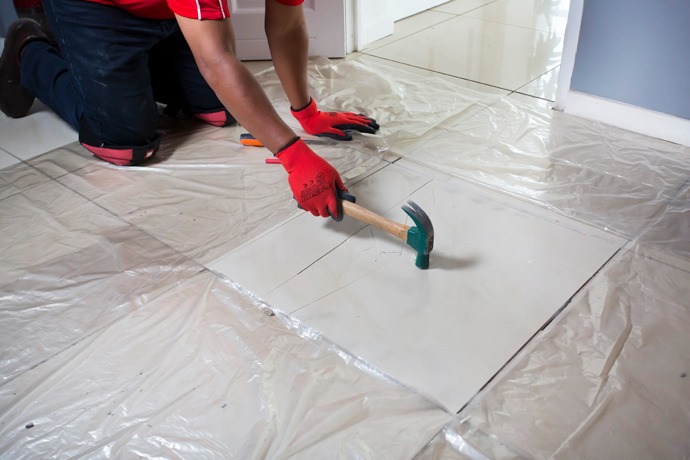
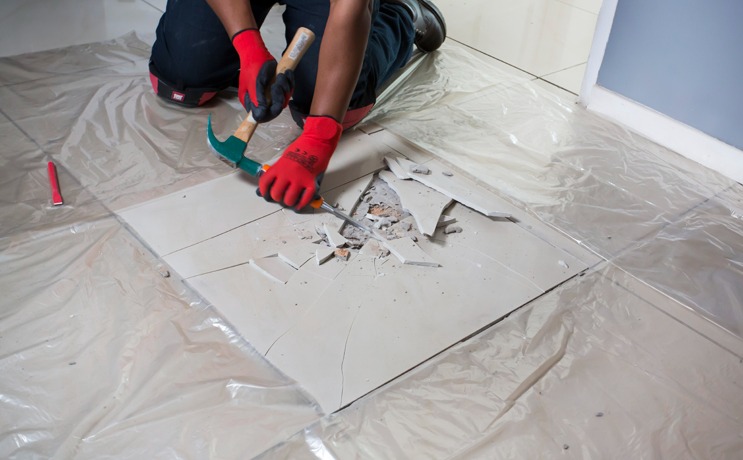
Next, remove any adhesive that remains on the substrate and make sure the surface is clean and dry.

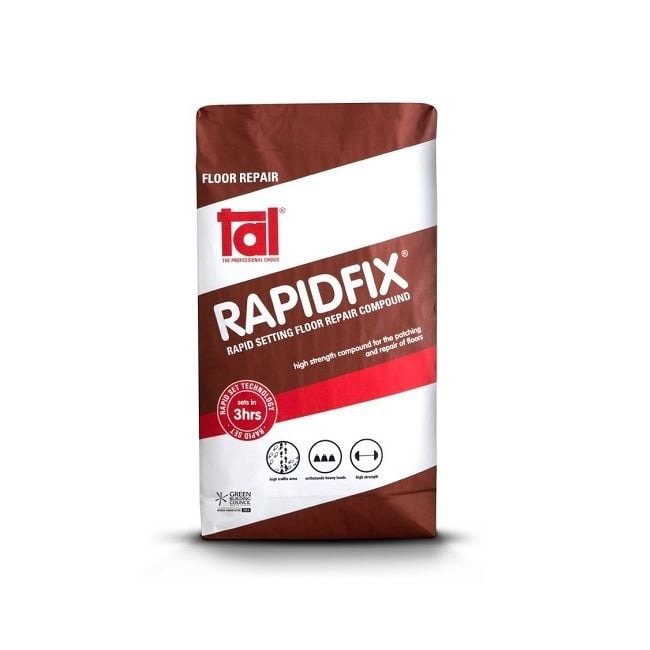
TAL Rapidfix, a rapid-setting patching and repair compound, can be used to fill up these areas so that they are level with the surrounding tiles. Allow any remedial work to cure before proceeding.
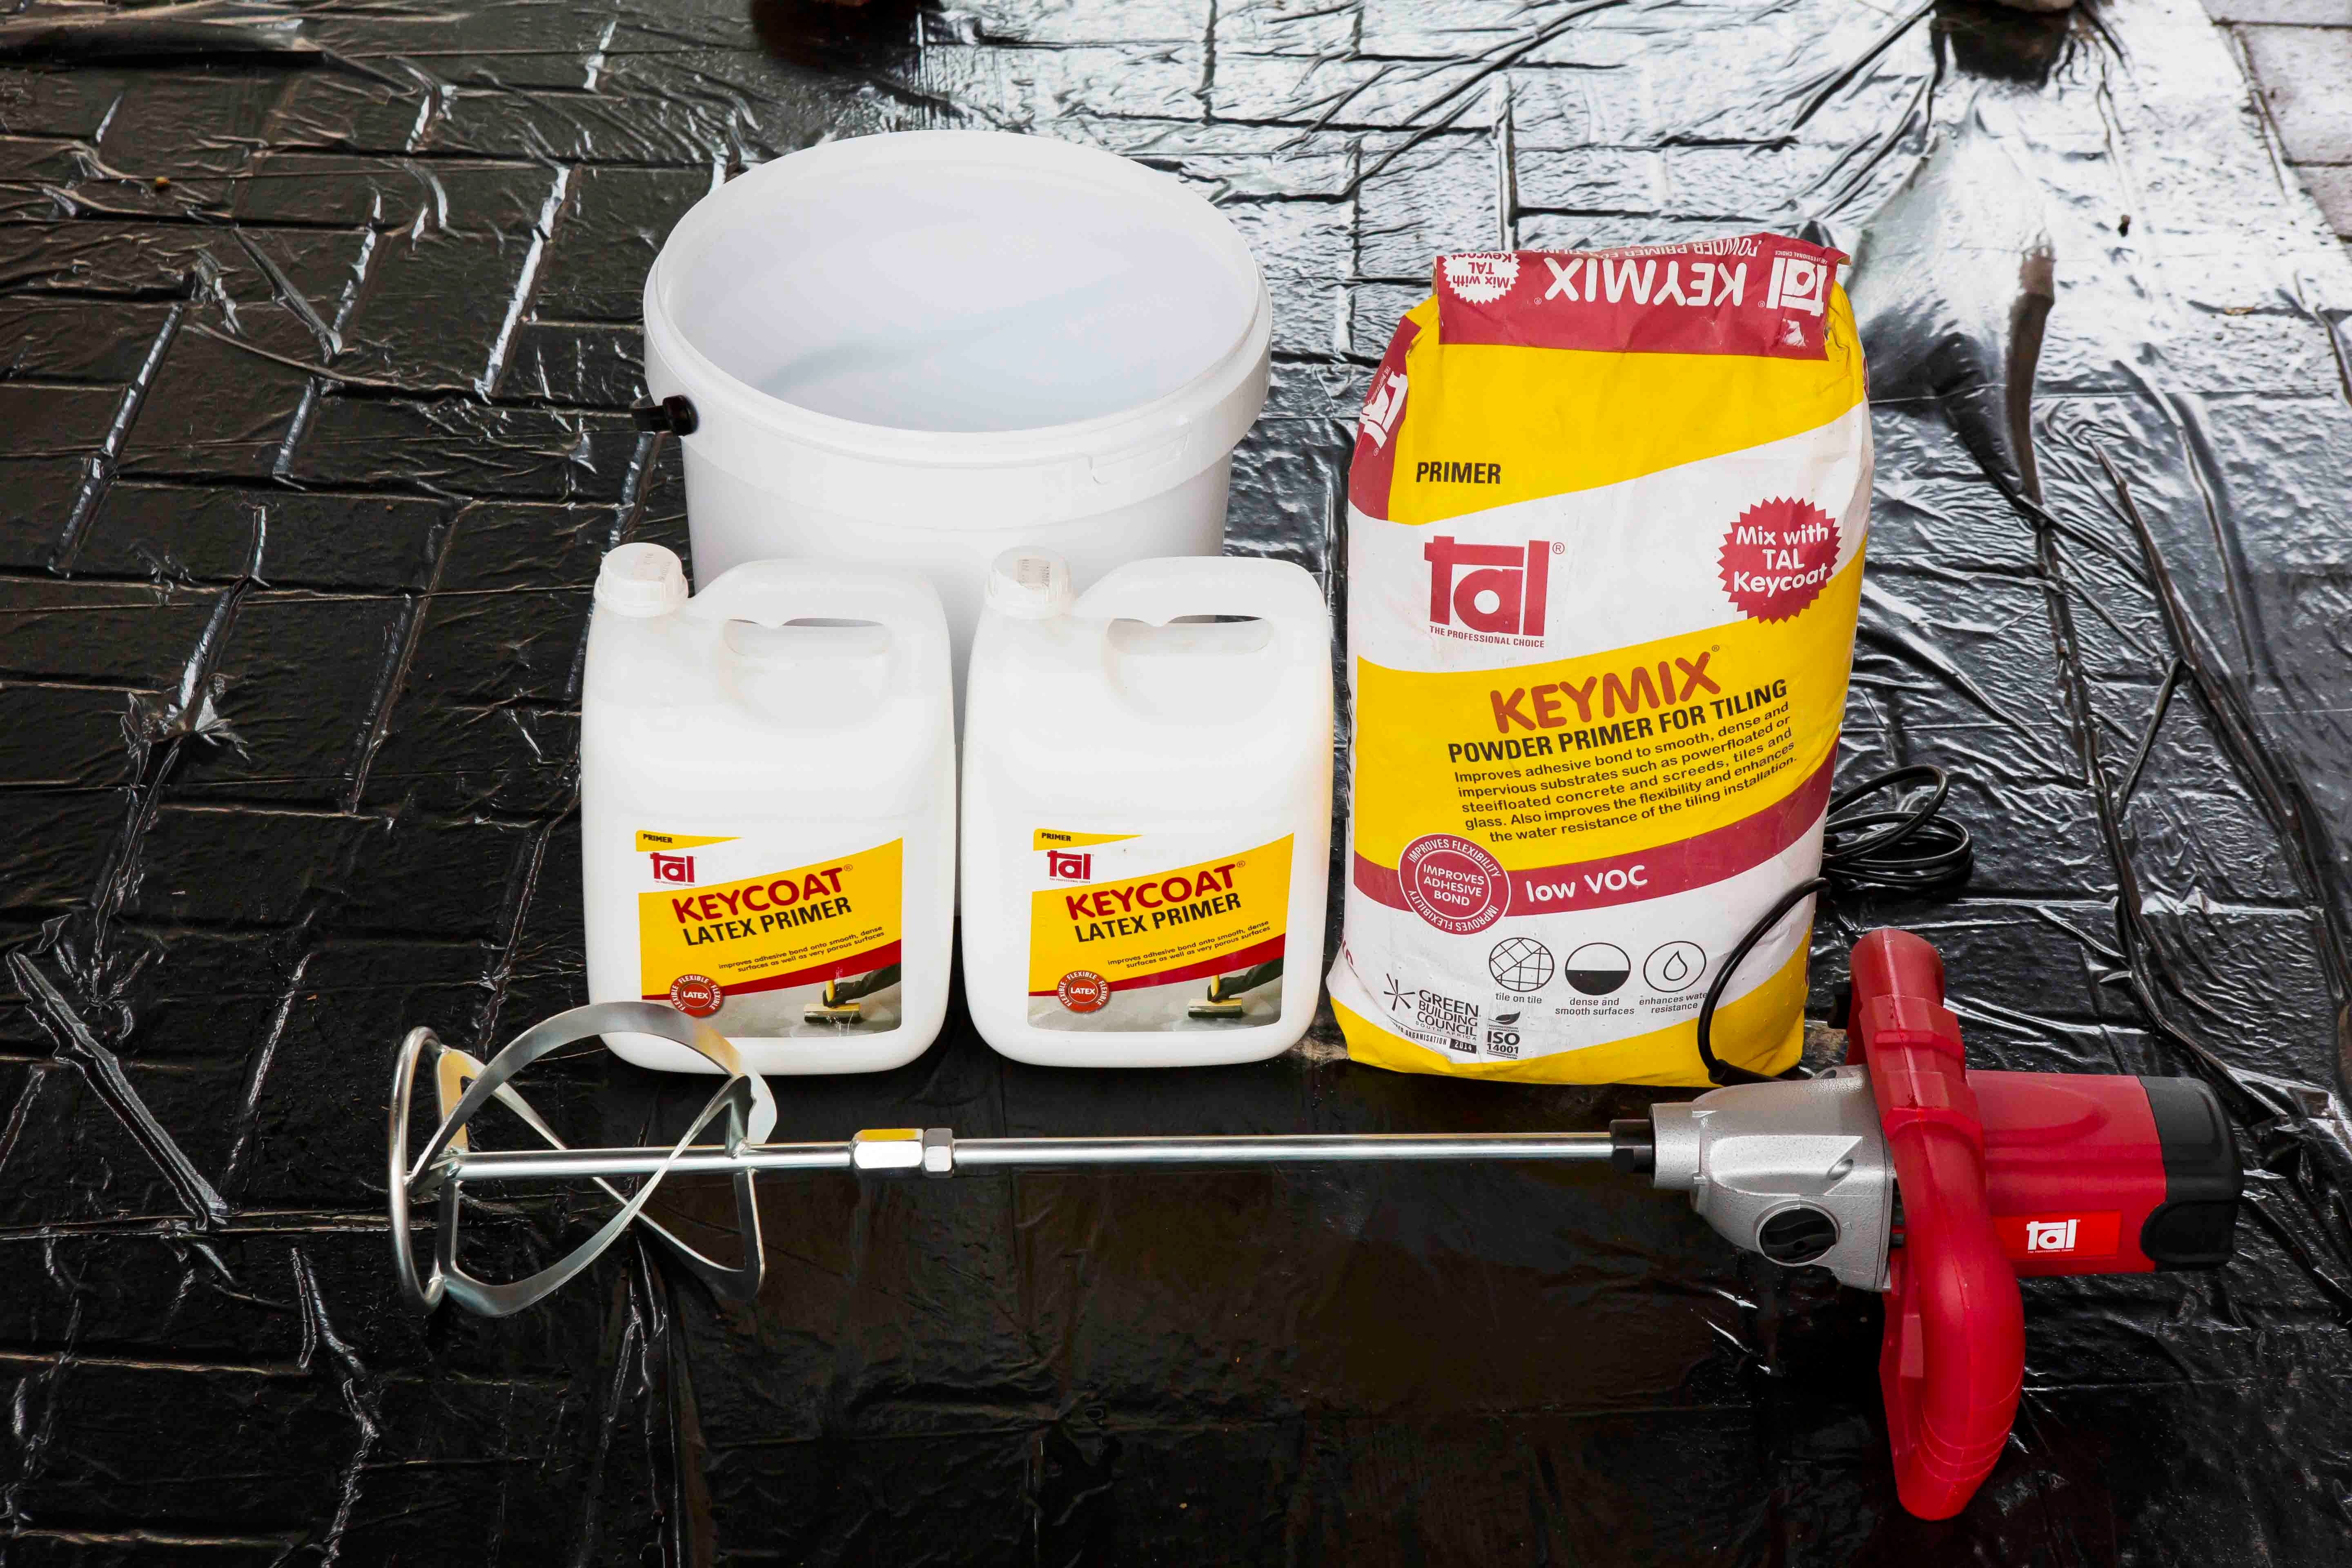
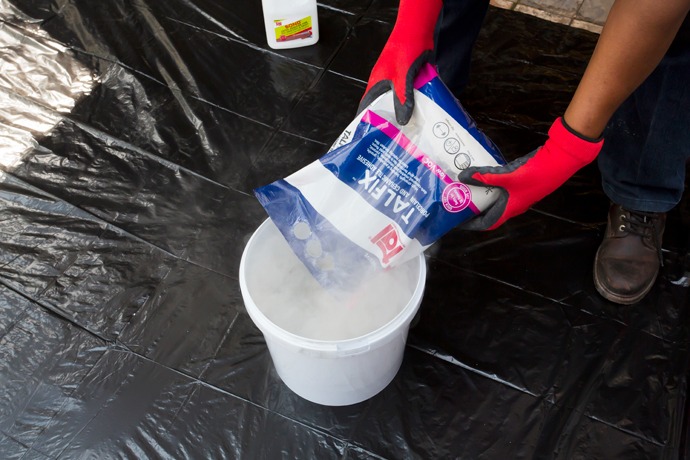
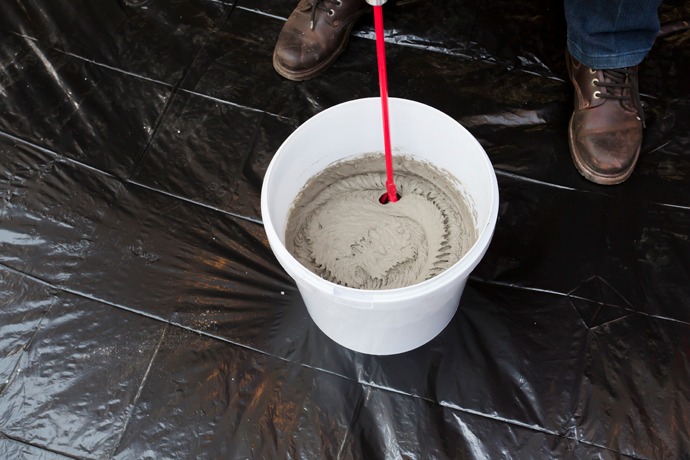
The surface must be primed before applying the adhesive to ensure a good bond onto the existing tiles. The recommended method is to apply a slurry consisting of one part TAL Keycoat mixed with two parts TAL Keymix powder (by volume).
This is applied using a builder’s block brush and ensuring complete coverage of the existing tiles.
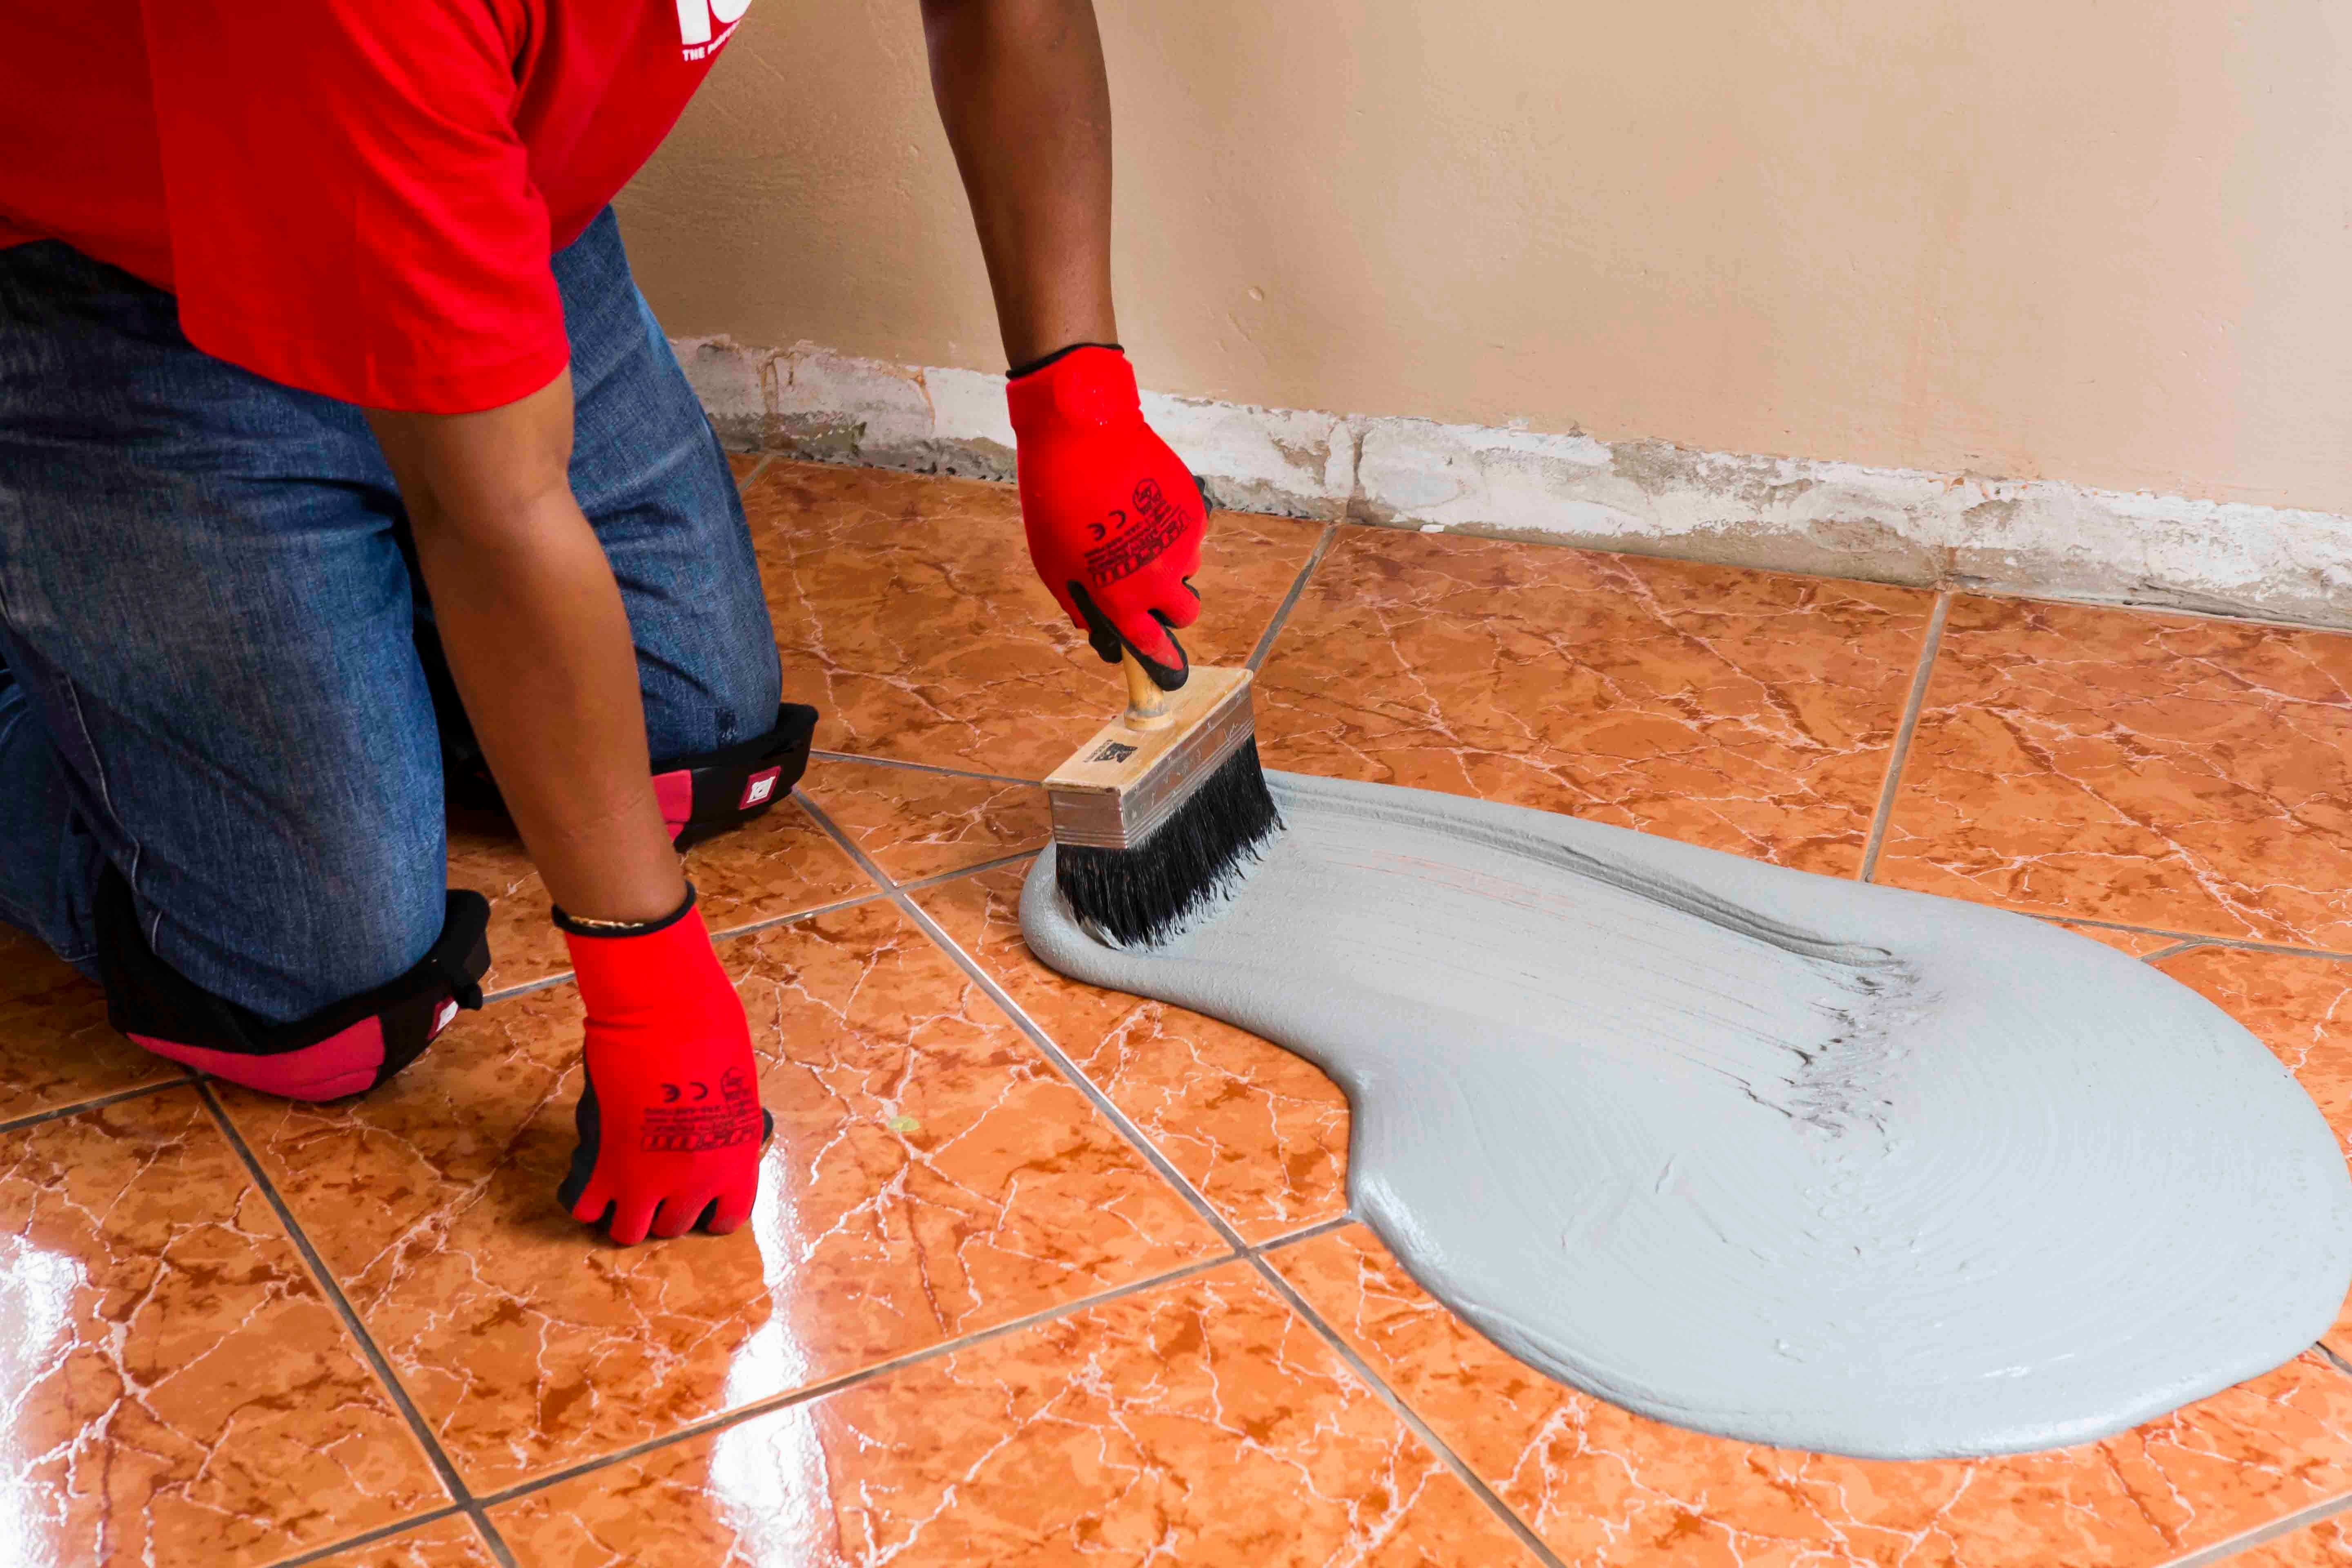
The adhesive can be applied once the slurry priming coat is touch-dry (i.e. no visible transfer when wiped or rubbed).
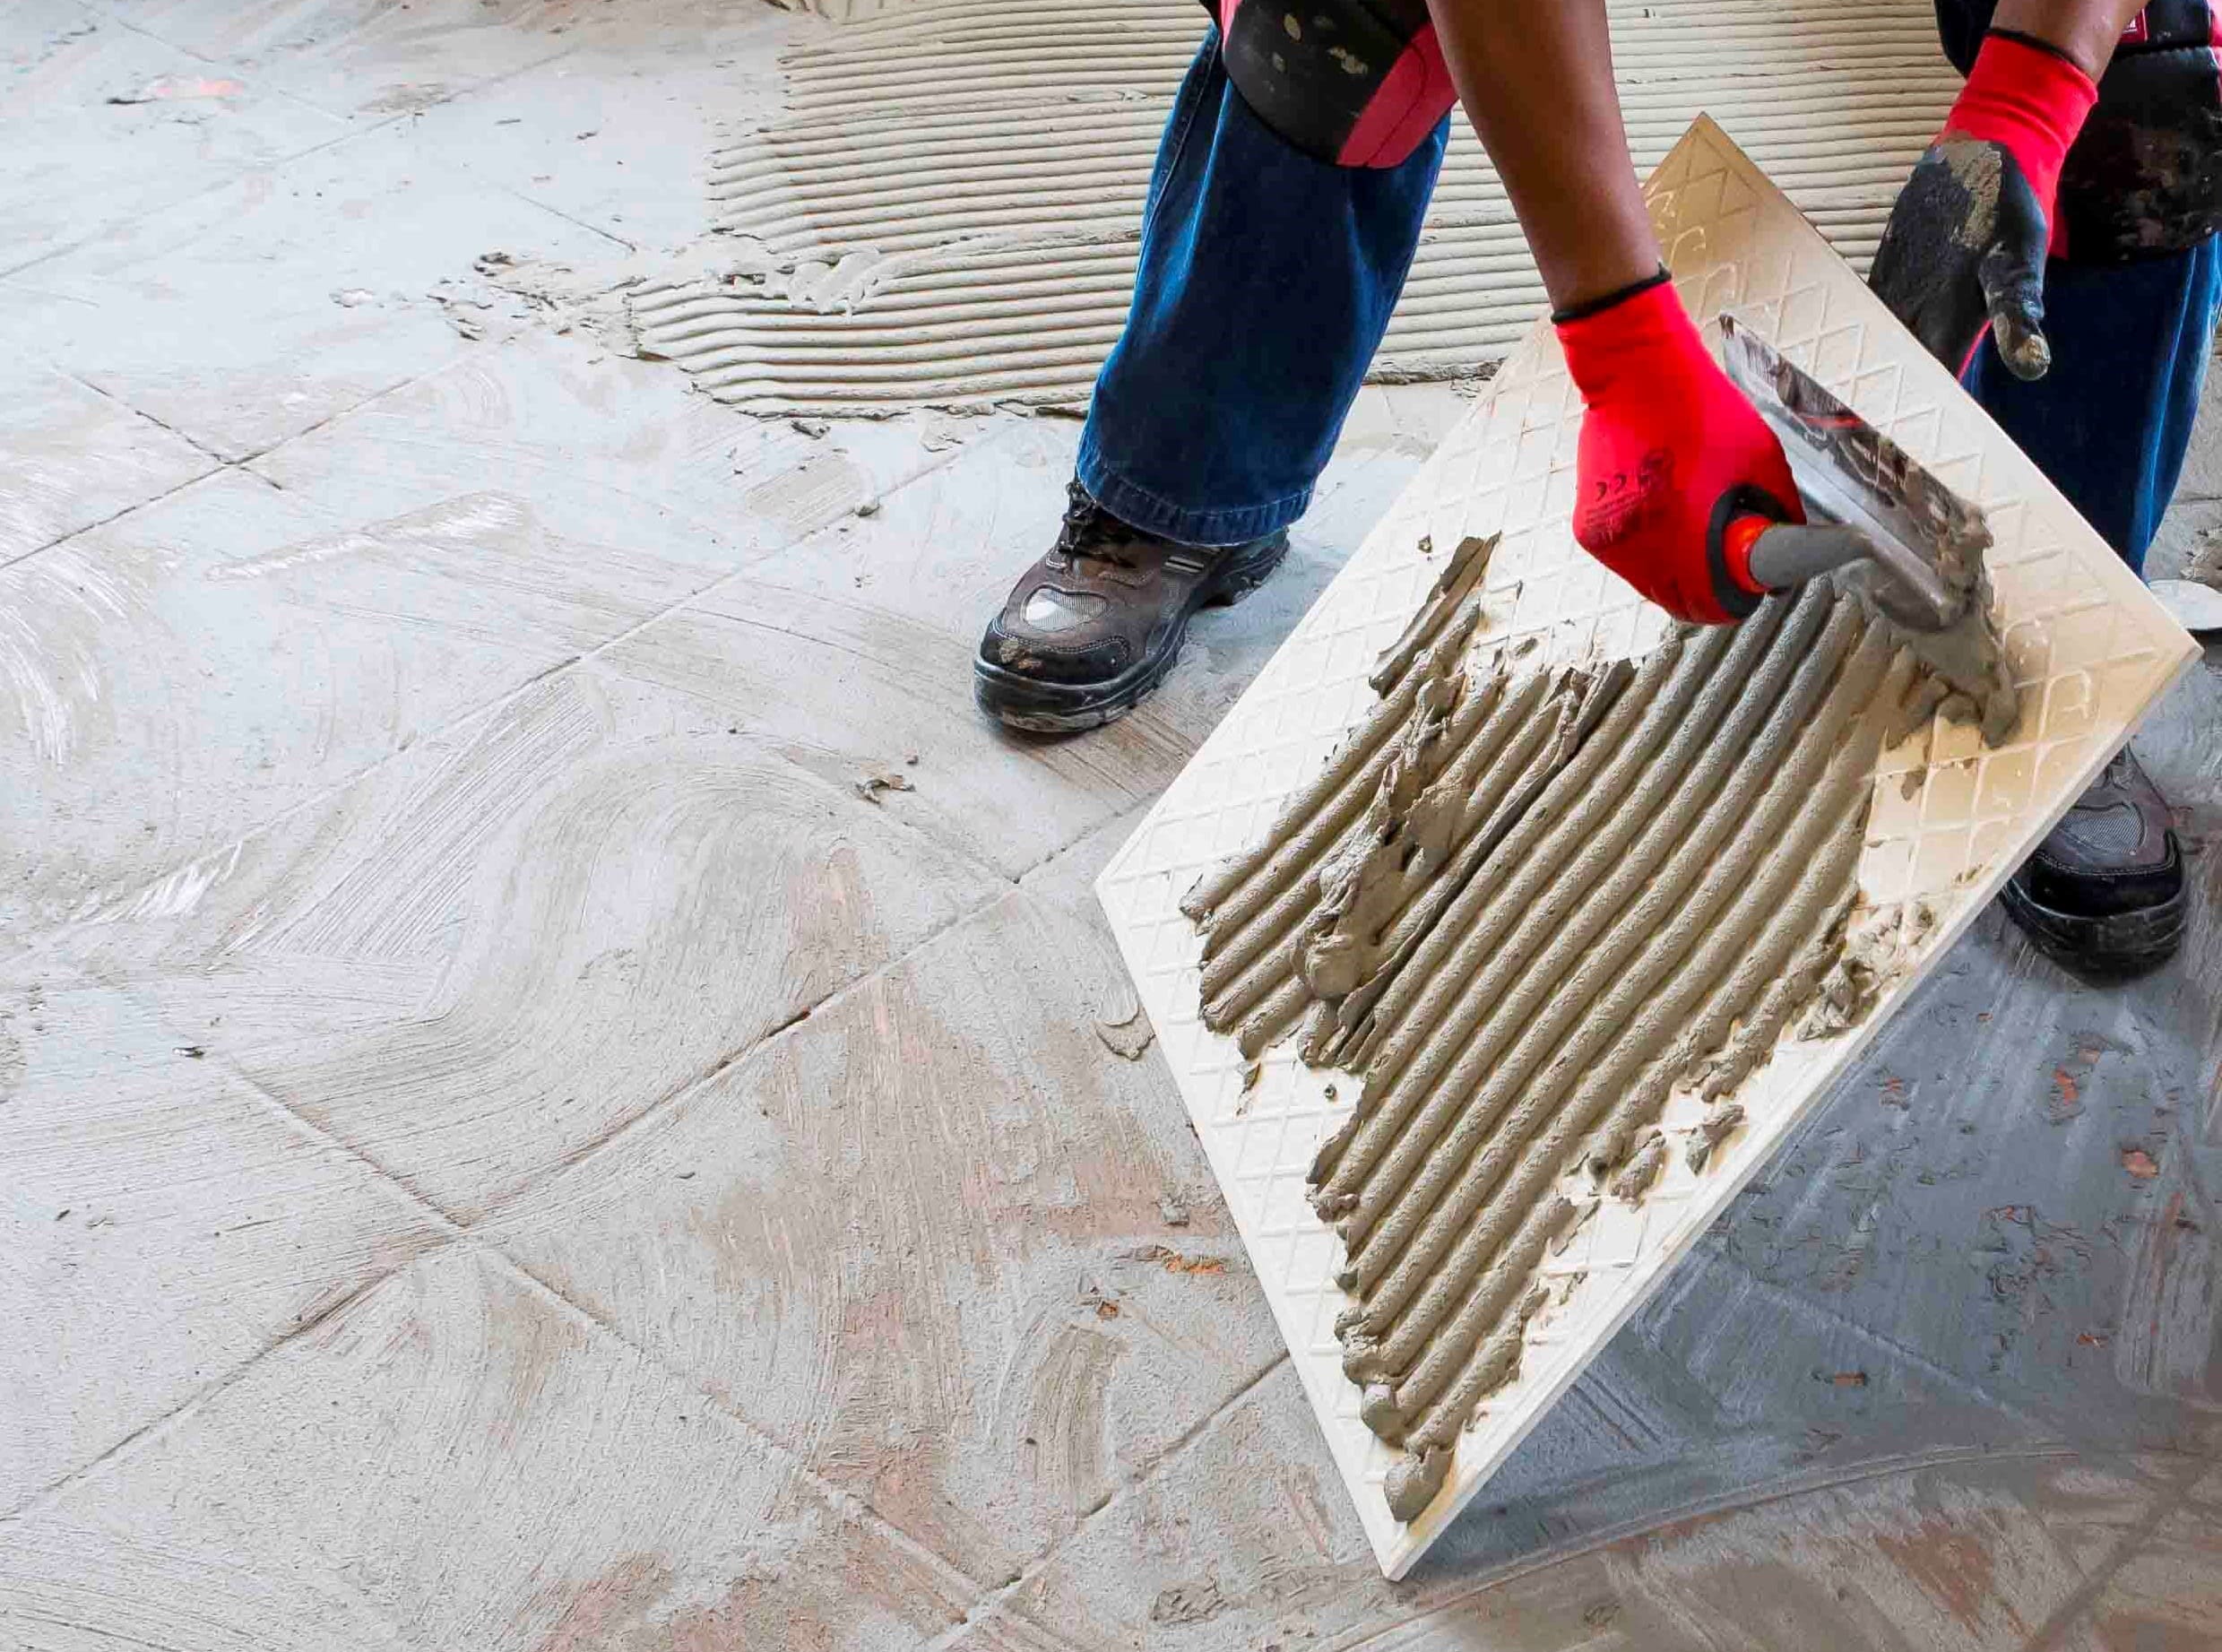
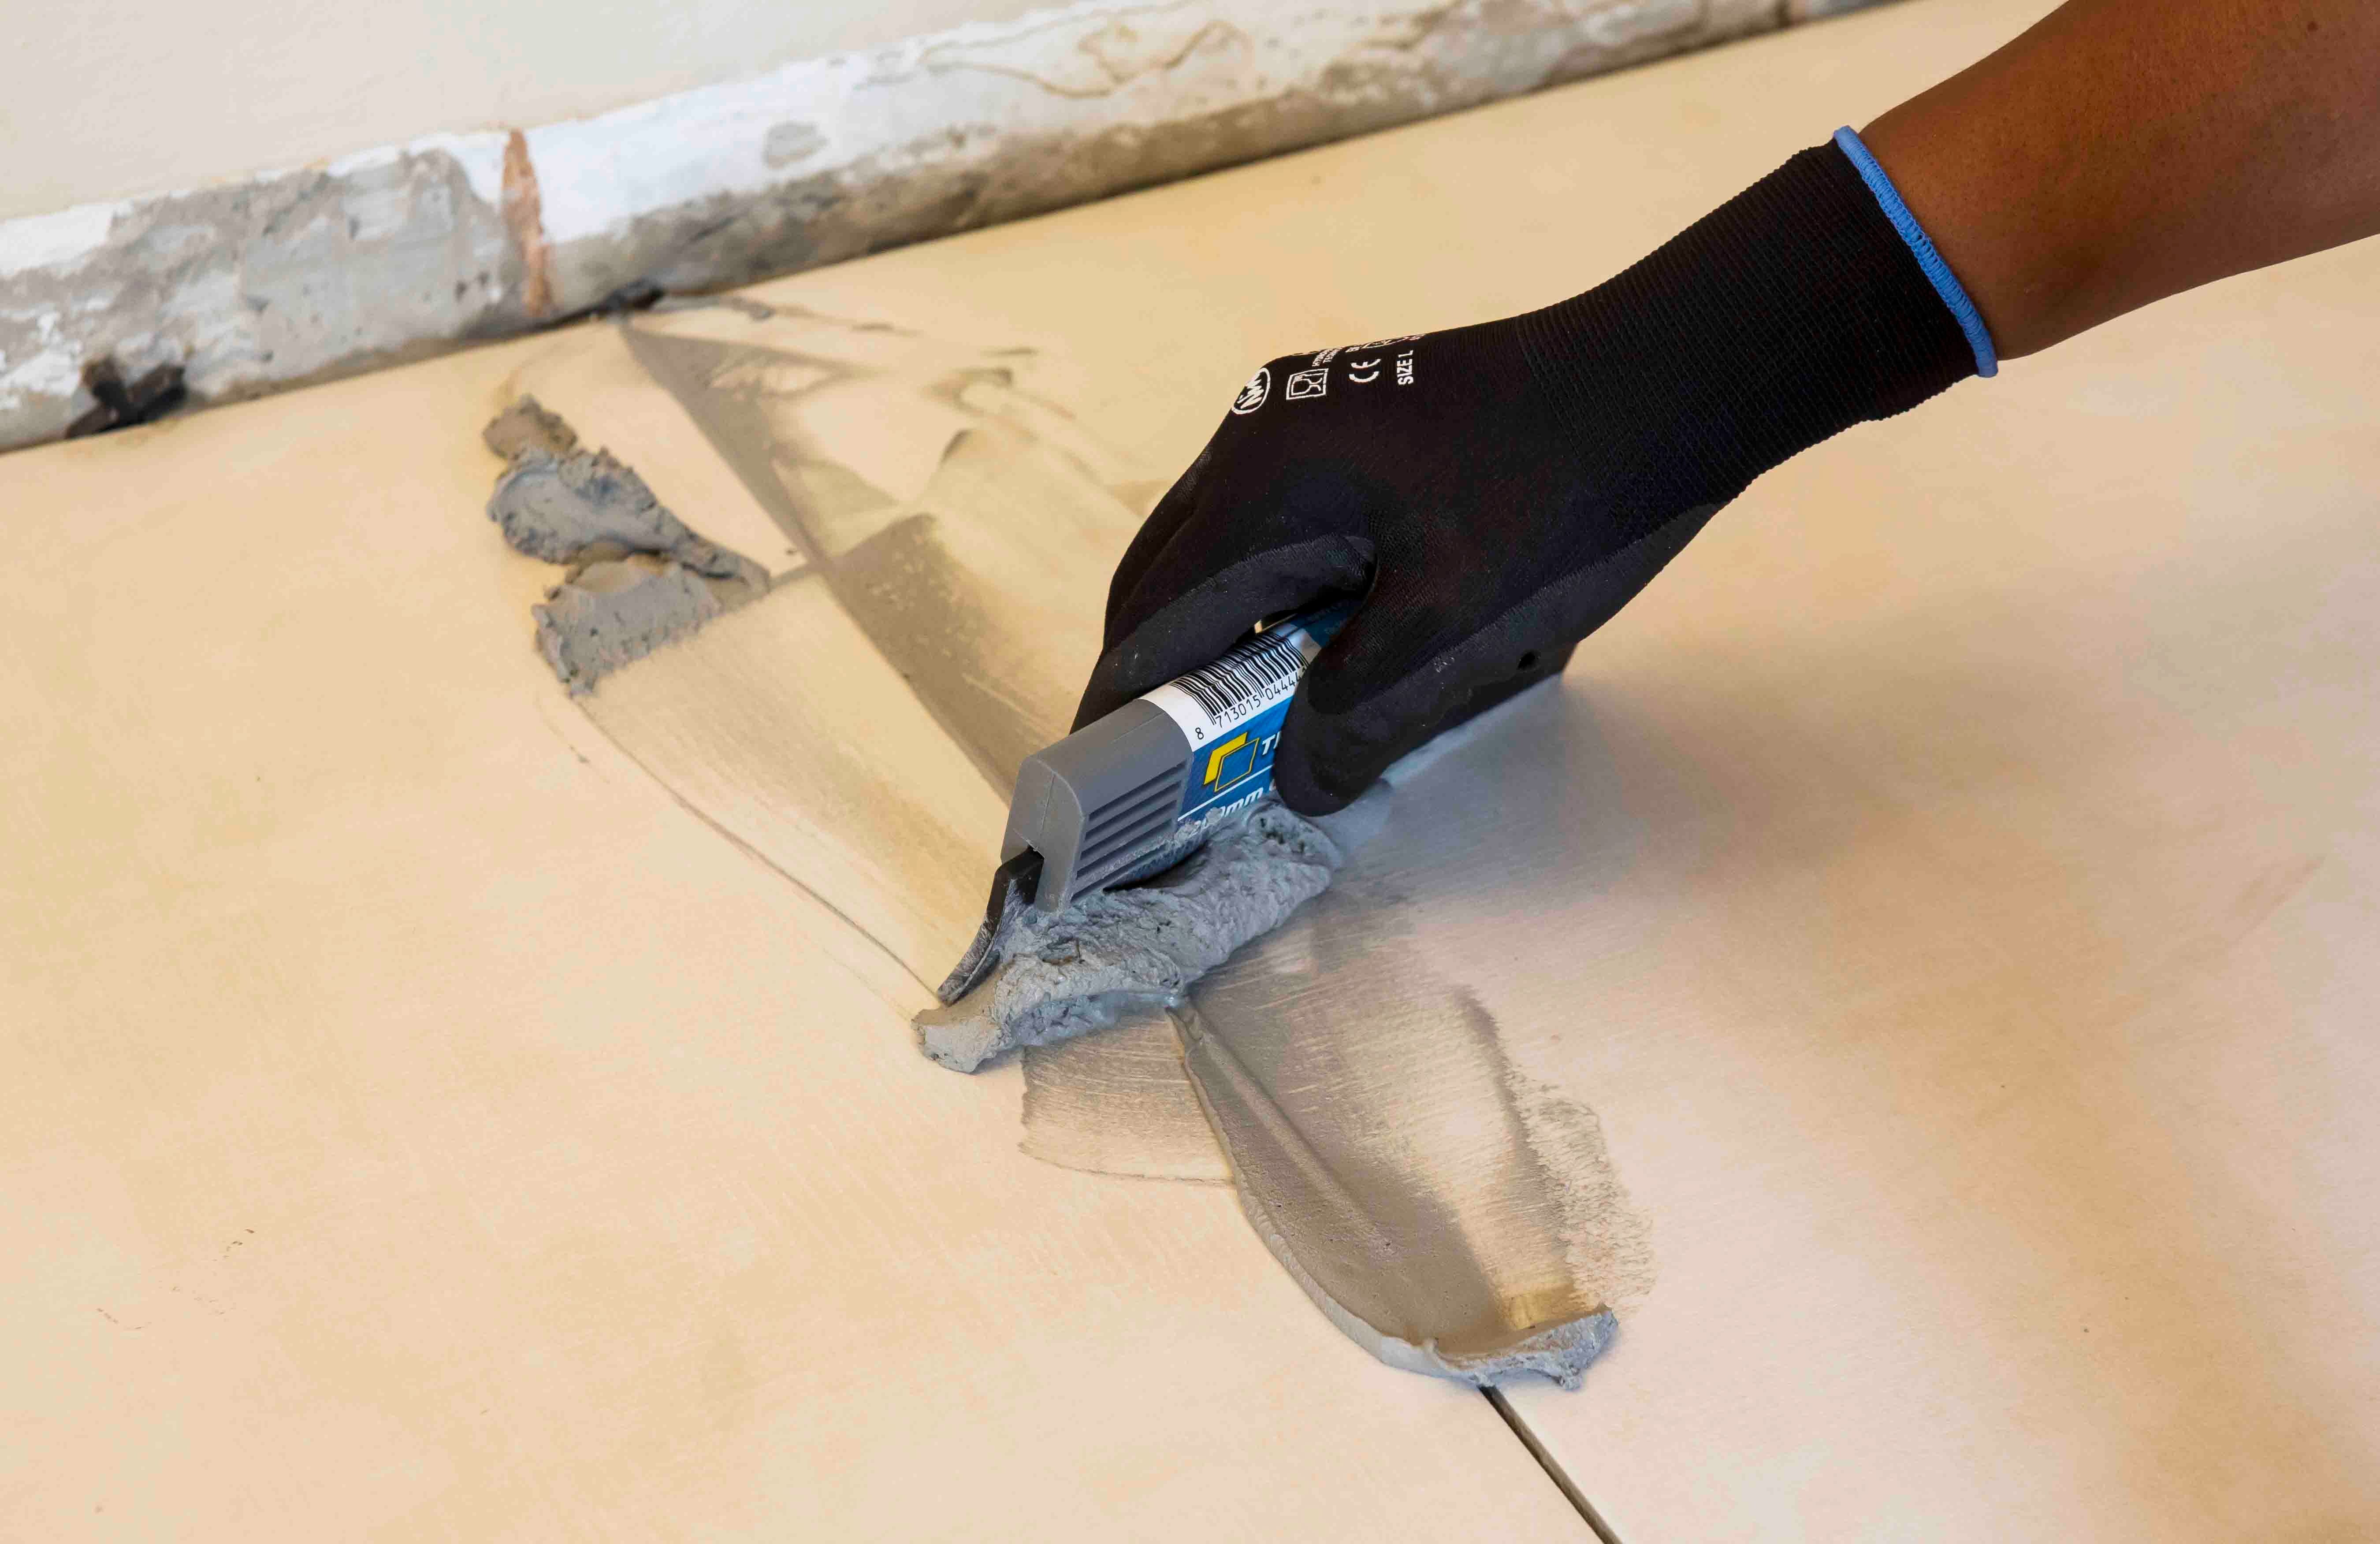
When replacing tiles, it is not always possible to apply the TALFIX directly to the floor, in which case apply the adhesive in a solid bed onto the back of the tile, ensuring complete coverage. Gently trace the notched side of a floor trowel through the adhesive to create ‘ridges’.
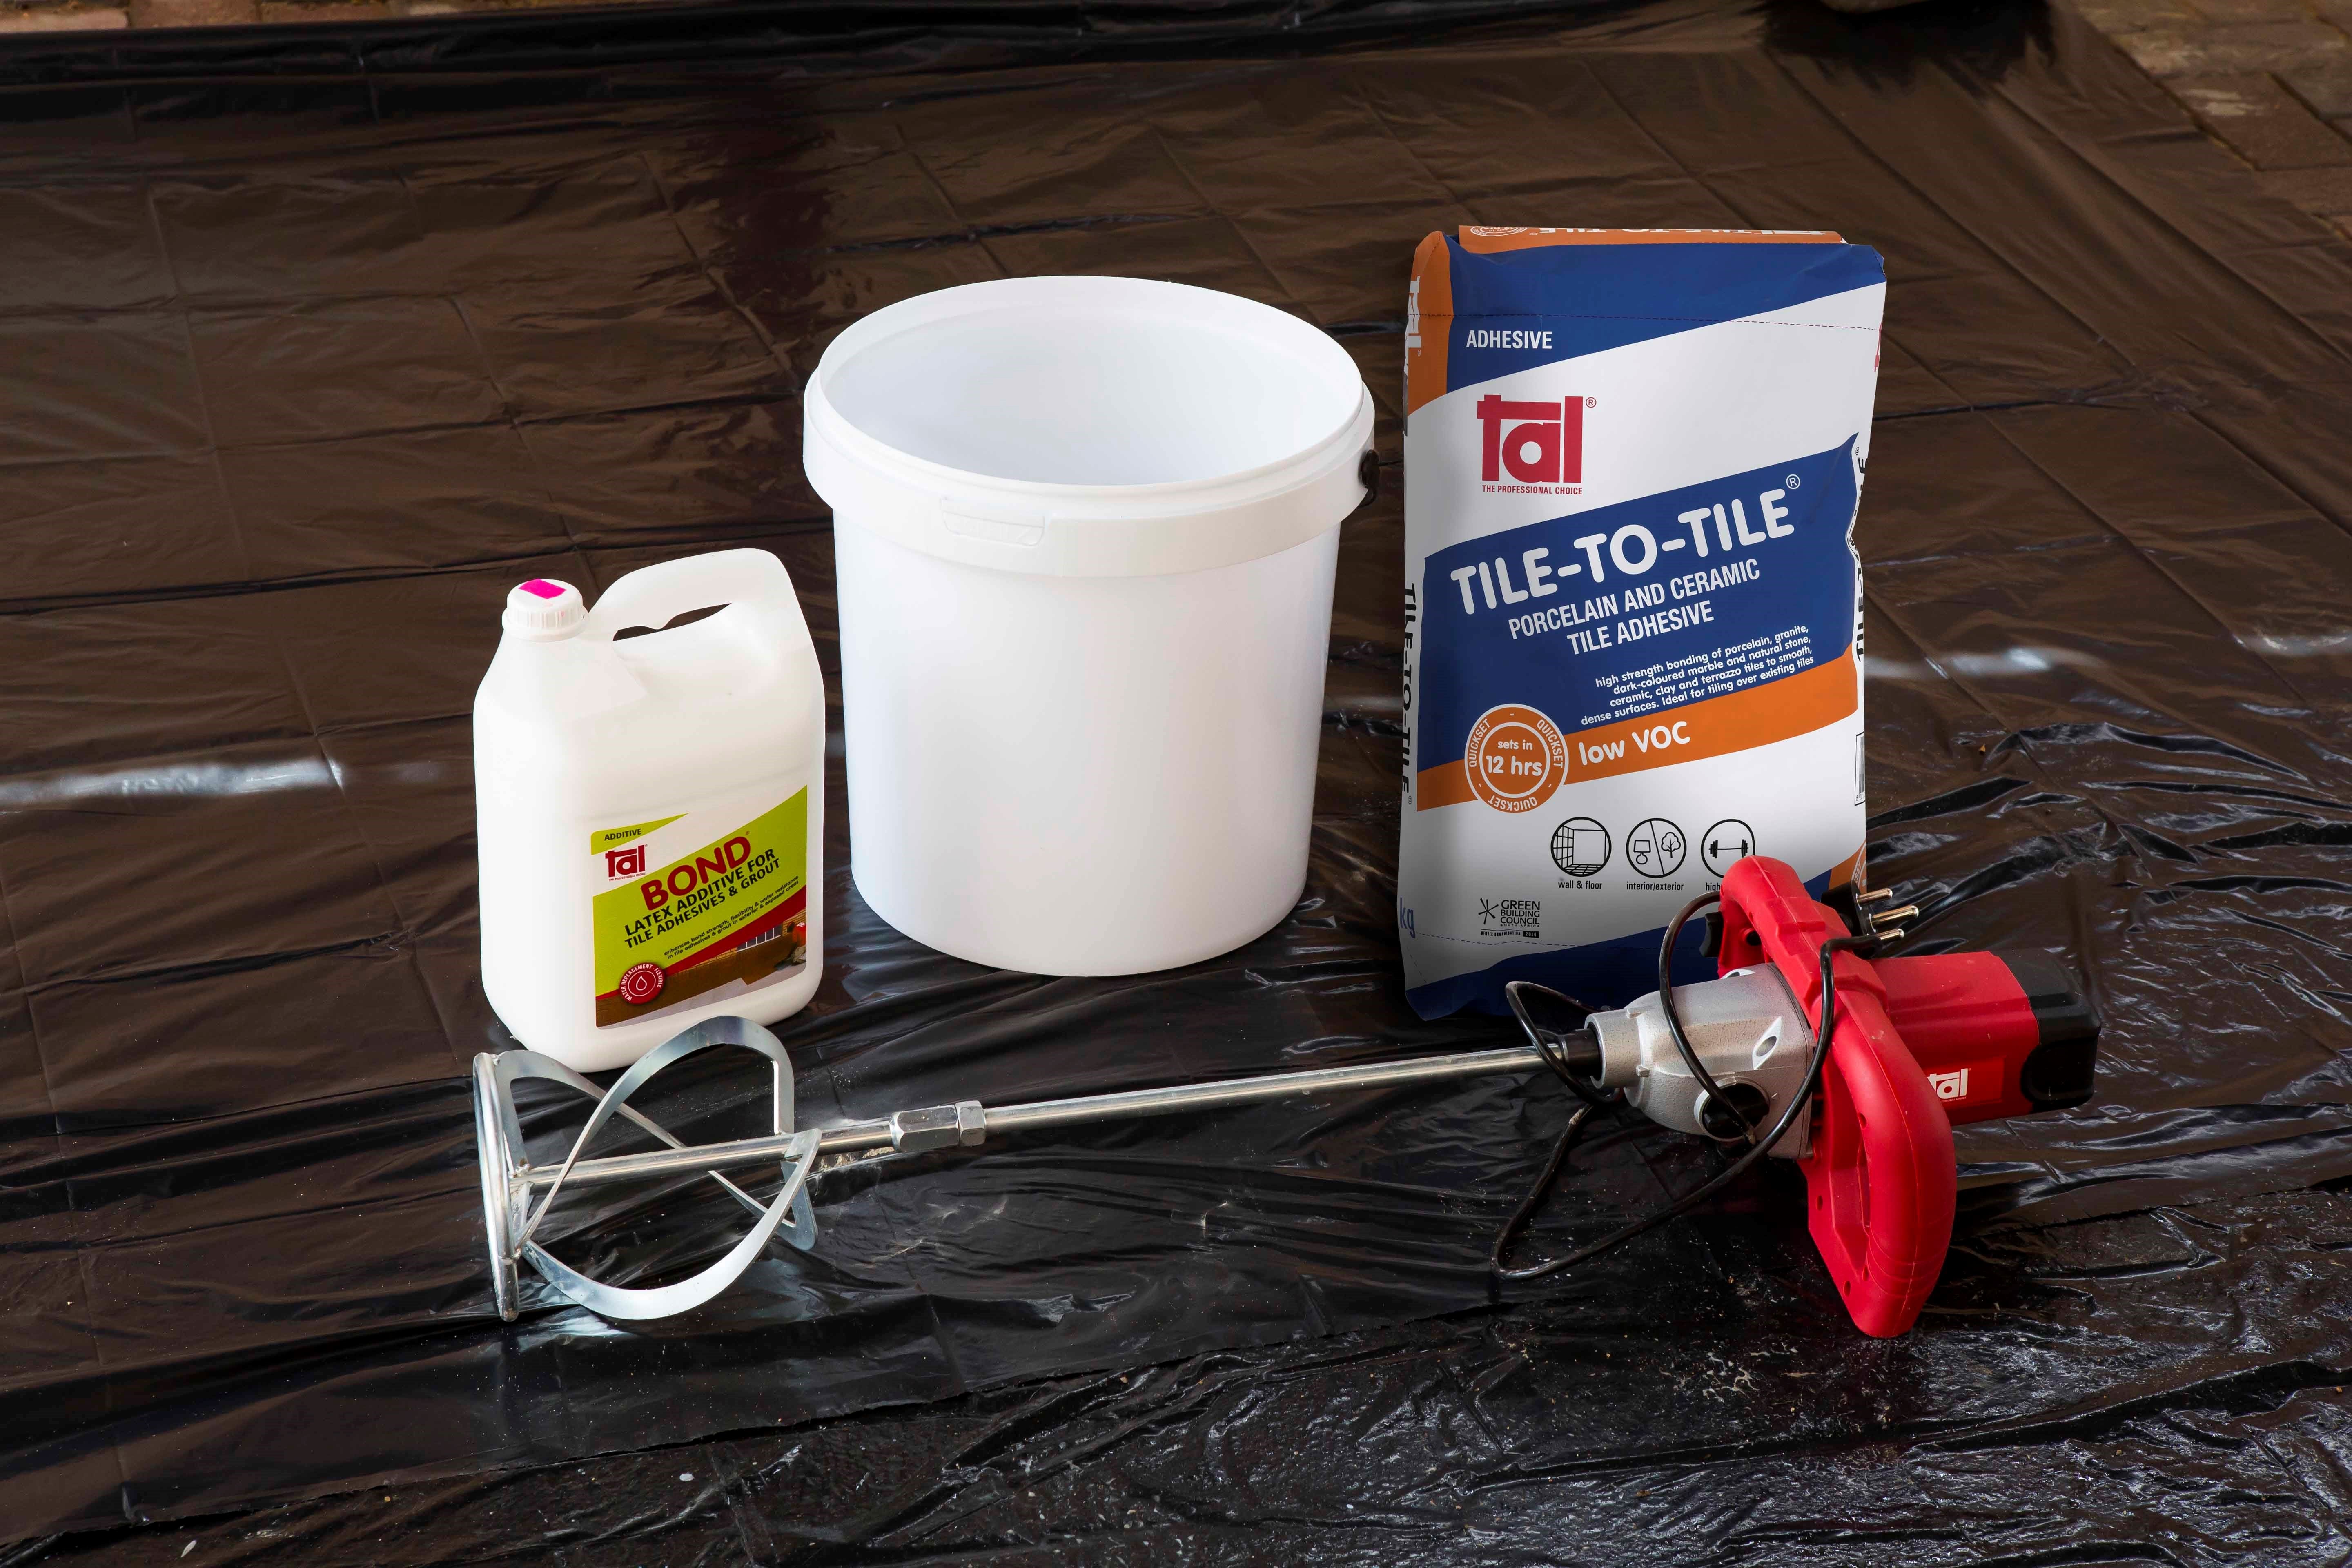
Adhesive system
When tiling onto existing tiles, it is important to only use a quick- or rapid-setting adhesive, as the existing tiles will present a dense, impervious surface, and standard-setting adhesives will take longer to dry. Too early trafficking of newly-installed tiles before the adhesive has set sufficiently can result in hollow-sounding or loose tiles.
Use TAL Tile-To-Tile quick-setting adhesive for tiling onto interior surface beds. When tiling onto suspended slabs and for external installations mix the TAL Tile-To-Tile with TAL Bond, replacing the water in the mix. Alternatively, TAL Bond Powder can be added to the adhesive mixing water.
Ensure that there is a solid bed of adhesive at least 6 mm thick beneath each tile.
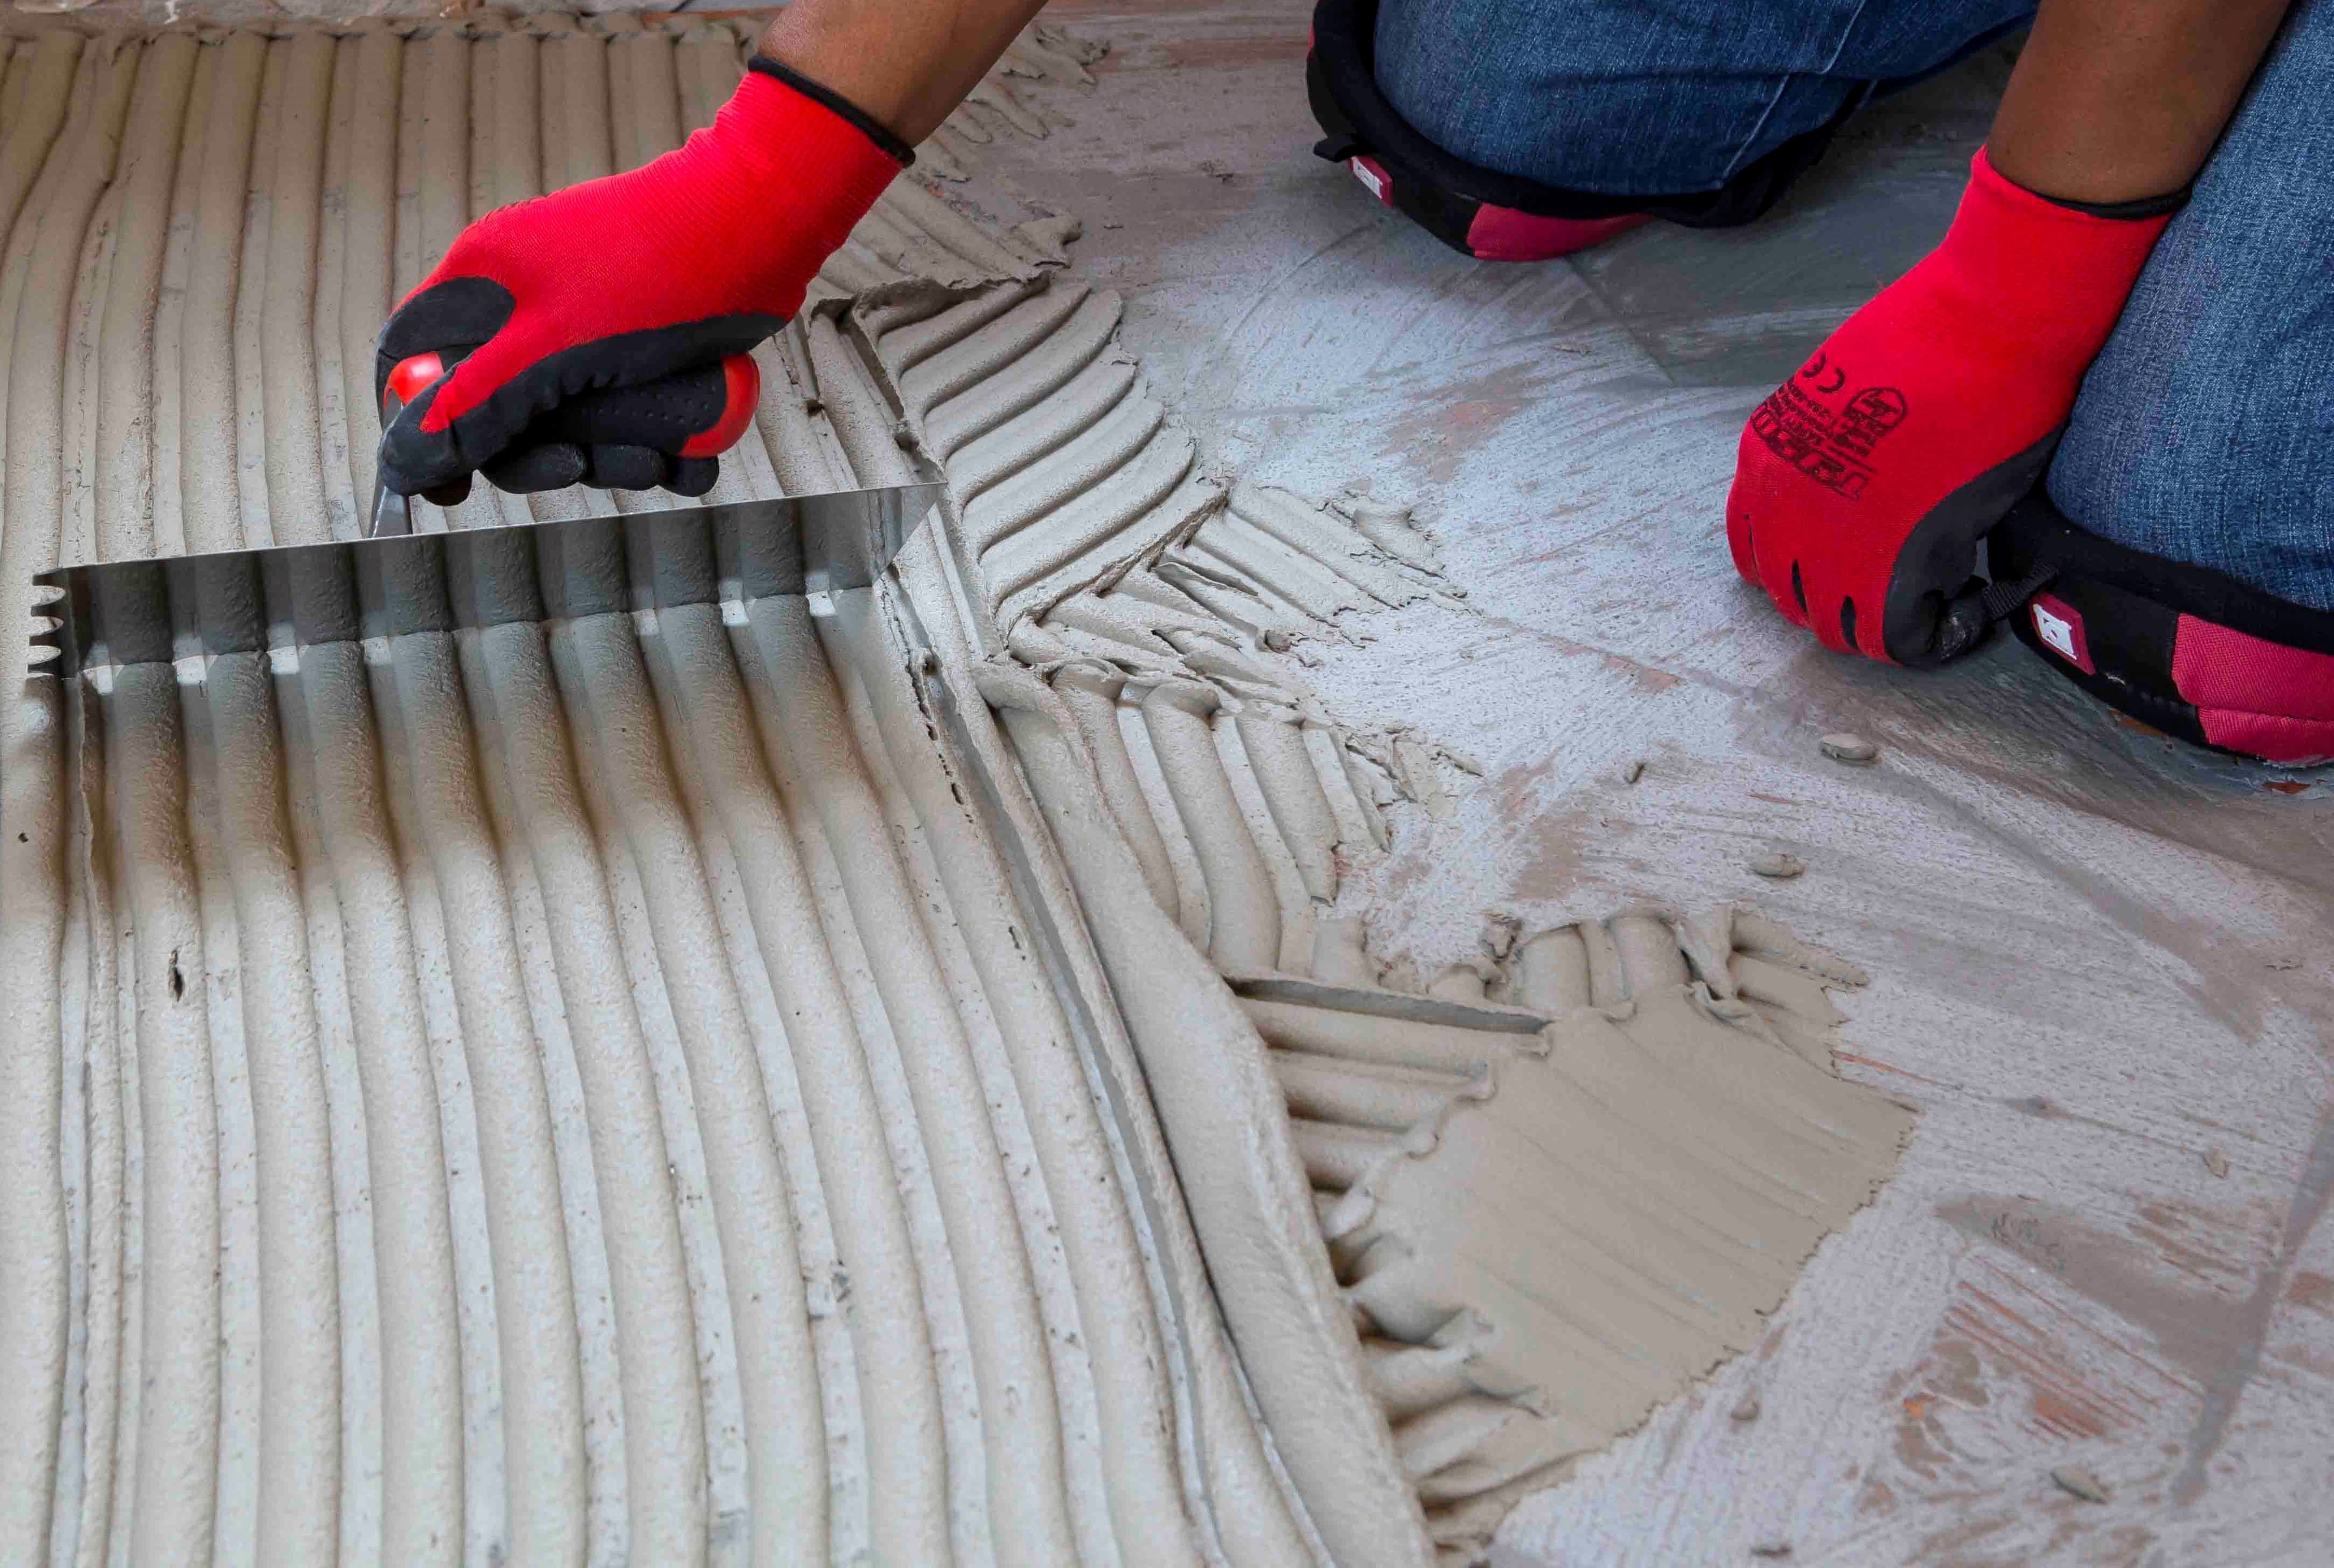
Back buttering with a thin coat of adhesive may also be required when using large-format tiles to ensure full contact with the adhesive bed.
Grouting
Grouting should not be carried out until the adhesive has set sufficiently to prevent the tile installation from being disturbed during the grouting operation (always refer to the adhesive packaging for setting times). When using TAL TAL Tile-To-Tile, allow a minimum of six hours before grouting.
For interior surface beds, use TAL Wall & Floor Grout for filling tile joints up to 8 mm wide. TAL Quarry Grout can be used in wider joints up to 25 mm wide. On suspended slabs and for external installations, replace the water in the grout mix with TAL Bond, or add TAL Bond Powder to the grout mixing water.
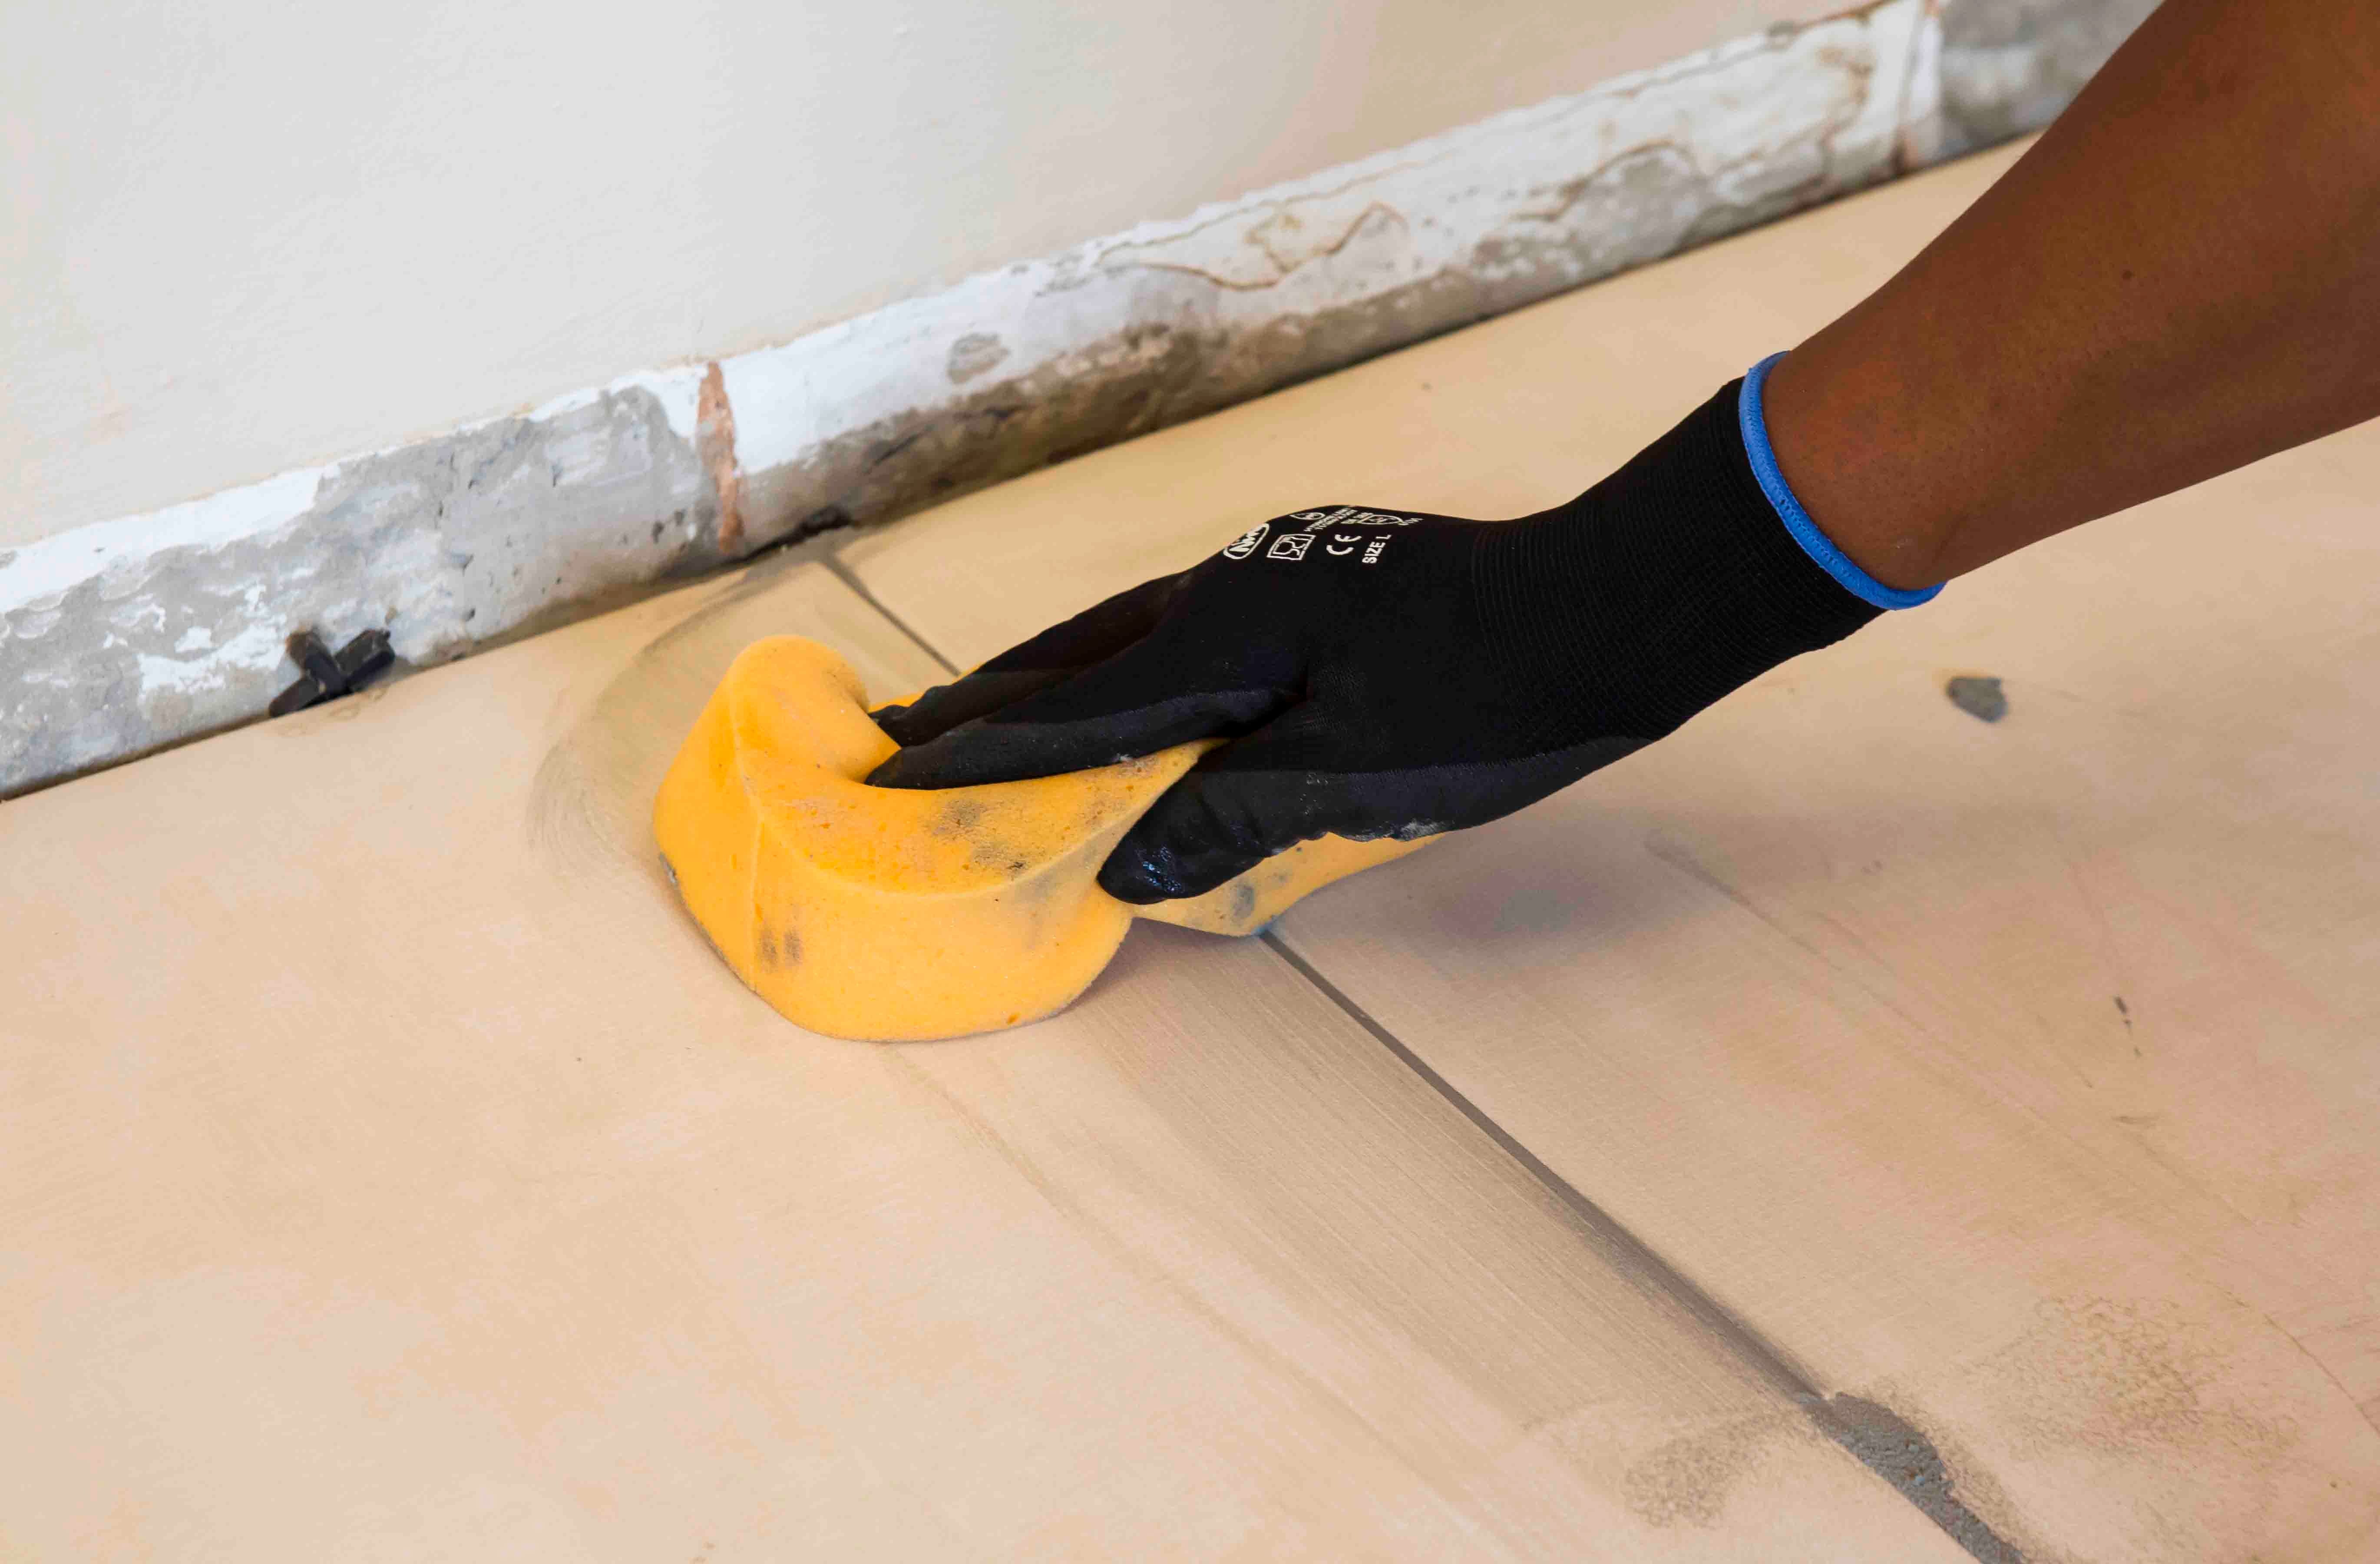
Particular care must be taken to clean the grout off the tile face before it hardens completely. This is especially important when an additive such as TAL Bond or TAL Bond Powder has been used. A tile sample should be tested beforehand to ensure that no grout is absorbed through the glaze or into the tile body, thereby staining the tiles permanently.
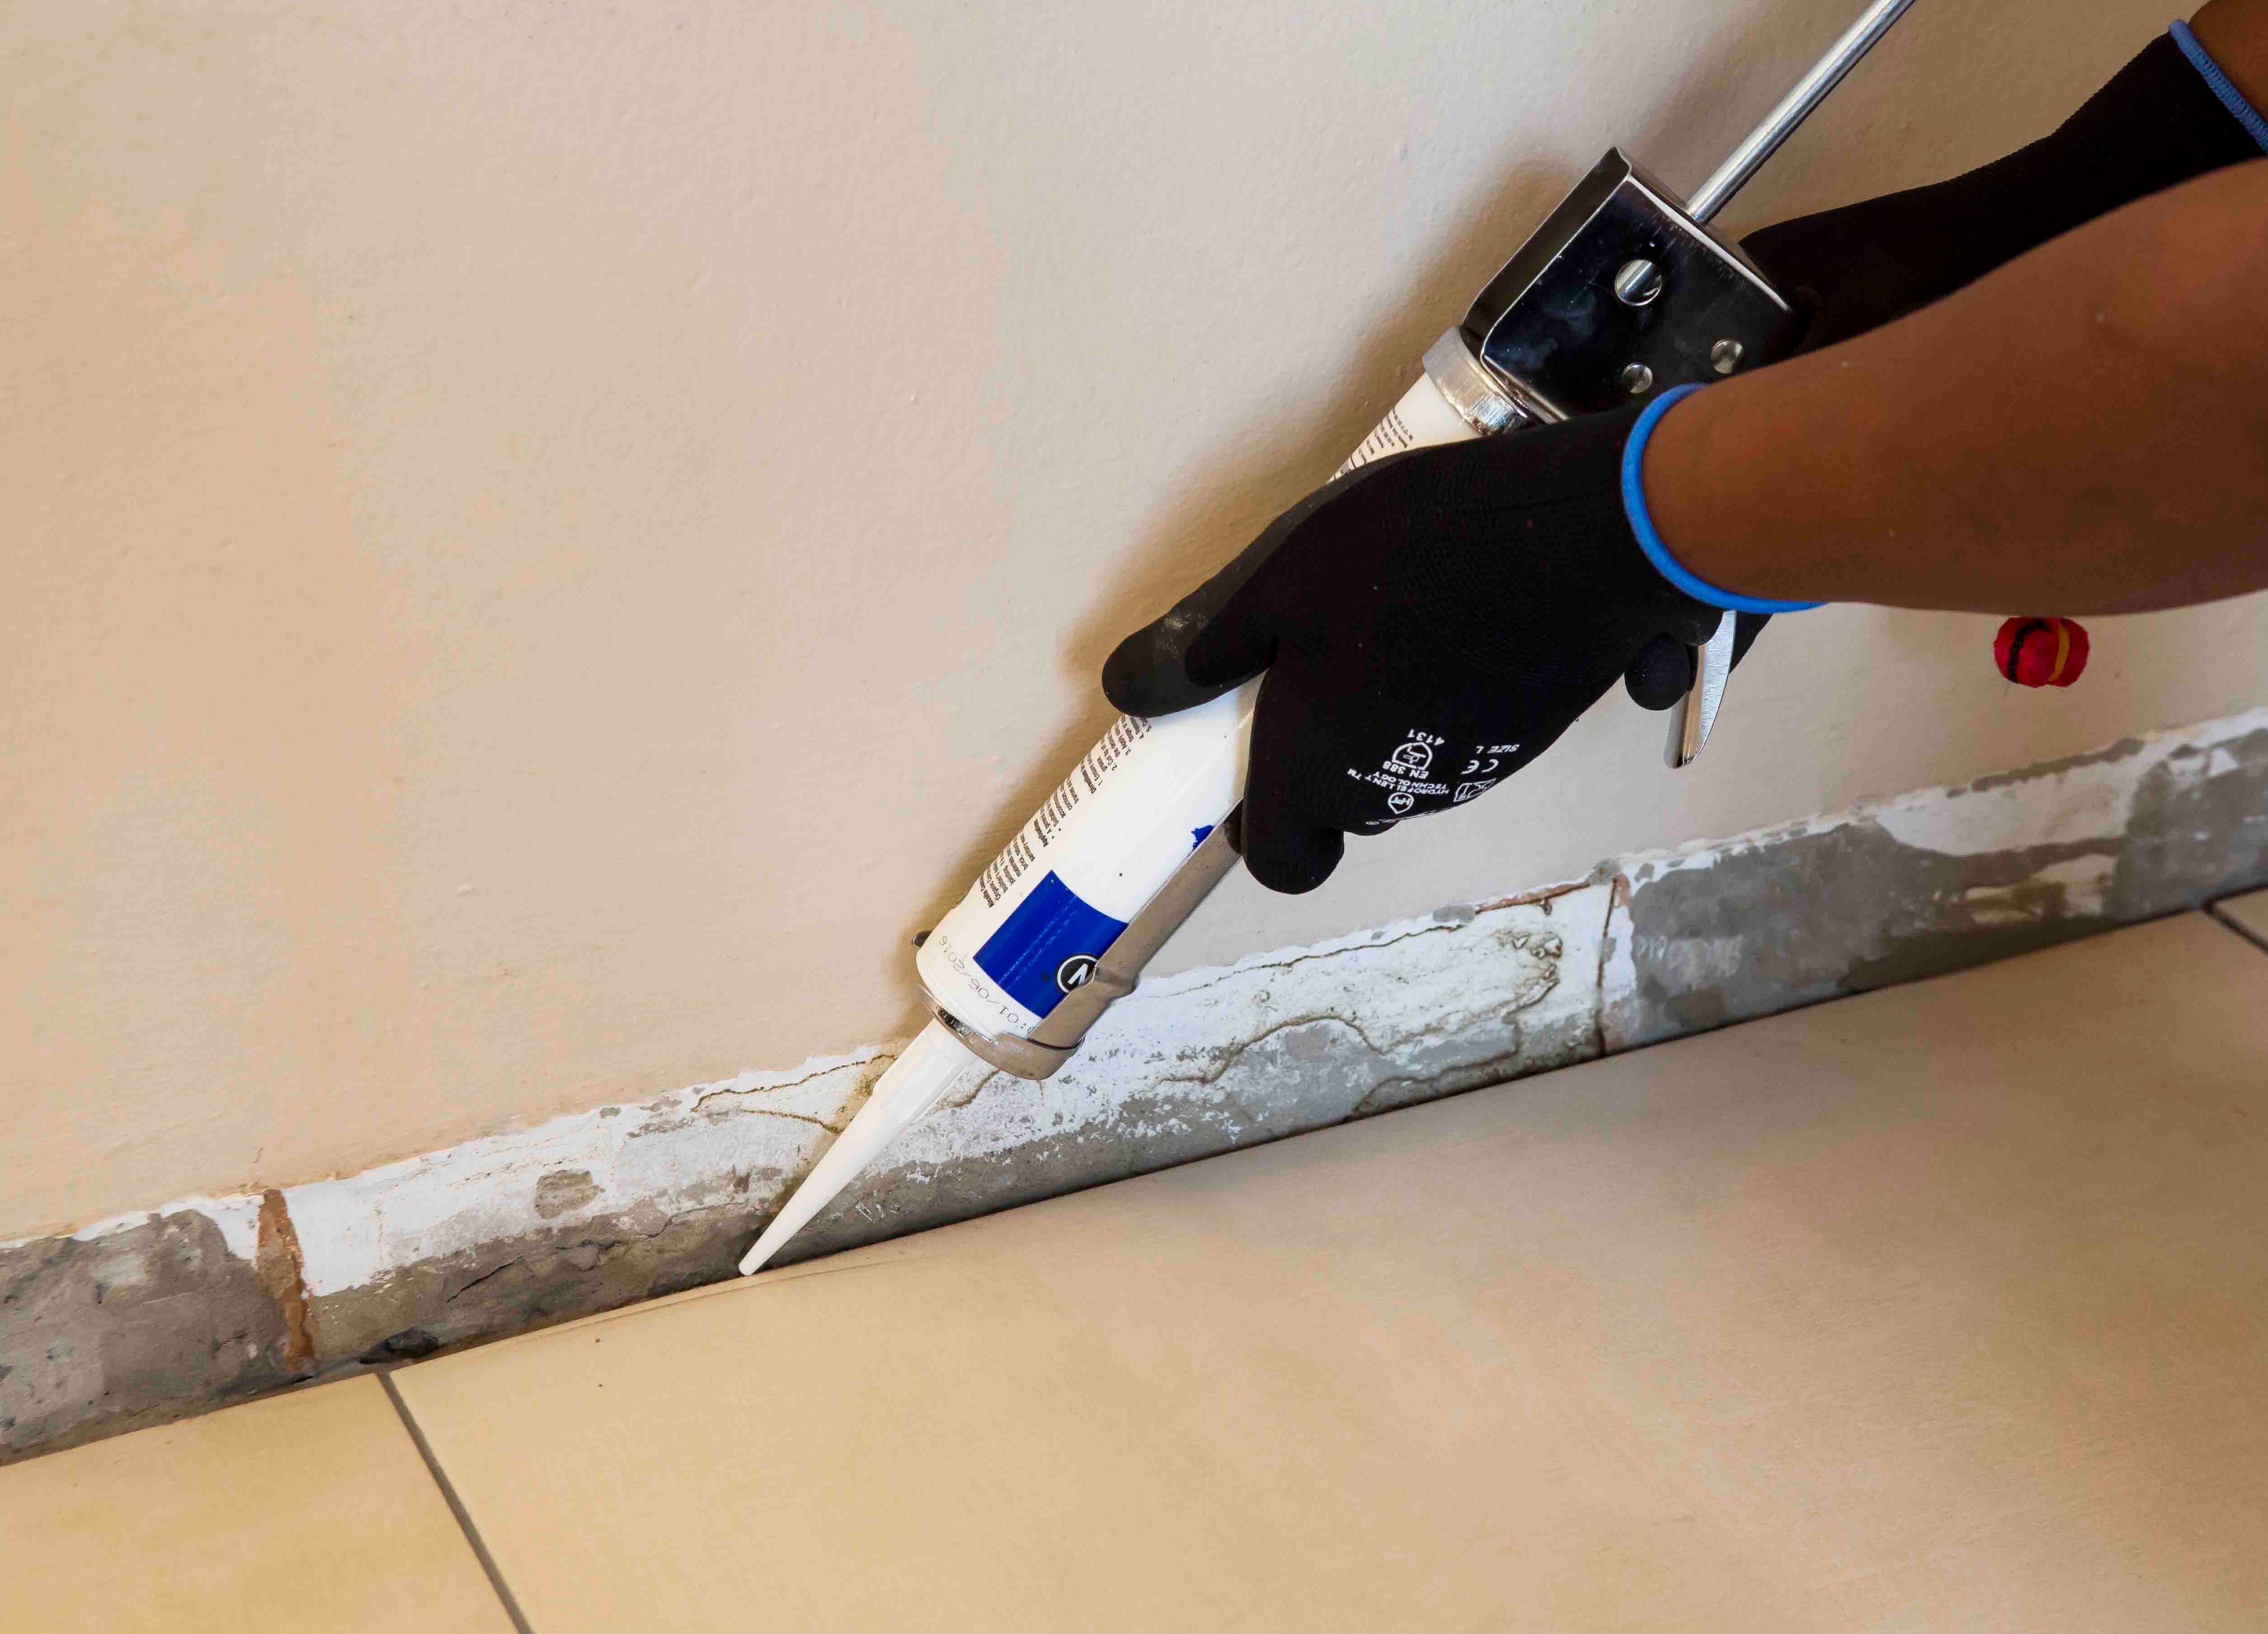
Movement joints
The lack of movement joints in tile installations is a major cause of tile failure. When tiling over existing tiles, the existing structural and movement joints must be maintained in the new tile installation. The movement joints should be at least 5 mm wide and extend through the adhesive and both tile layers.