Tiling with glass made easy
Done in One: A step-by-step guide to seamless glass tile installations
Glass tiling is an increasingly popular trend, and with TAL Mosaicfix, bonding and grouting is completed in one operation.
As with all glass products, glass tiles are rigid, brittle and can crack easily when there is any movement transferred directly to the glass. They are also smooth and impervious, which means achieving an adhesive bond can be tricky. Glass mosaic tiles have however surged in popularity, mostly being used as a decorative inset to give a room a more contemporary look, so the need for proper installation techniques has increased.
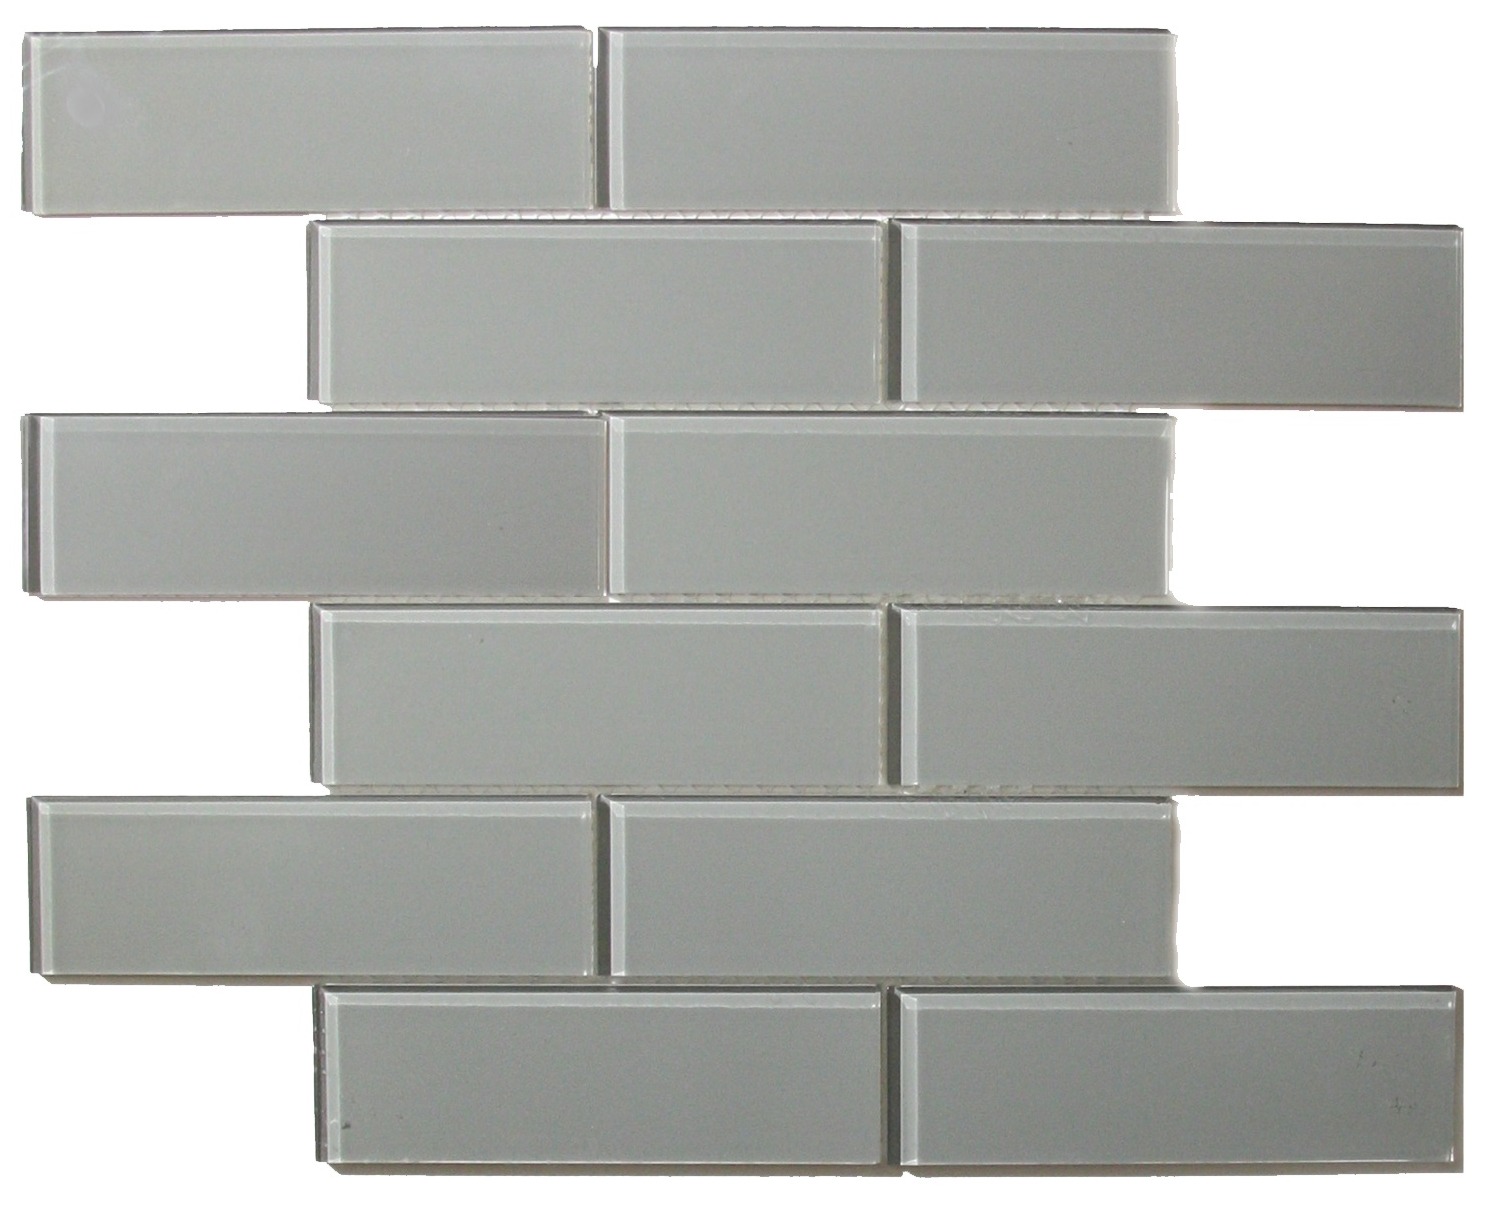
Glass subway tiles are a particularly popular tile trend that’s seen the transformation of many a bathroom and kitchen. Thelook provides both style and sophistication and a great part of their appeal is how easily they can be cleaned. This said, there are several factors to consider when installing glass tiles. Glass products, being both reflective and translucent, will immediately show defects that may not be as visible with ceramic and porcelain tiles. When installing this type of material, it’s imperative that the substrate to be tiled is clean, sound, flat and level. Substrates that are not levelled must be rectified prior to installation of the glass tiles.
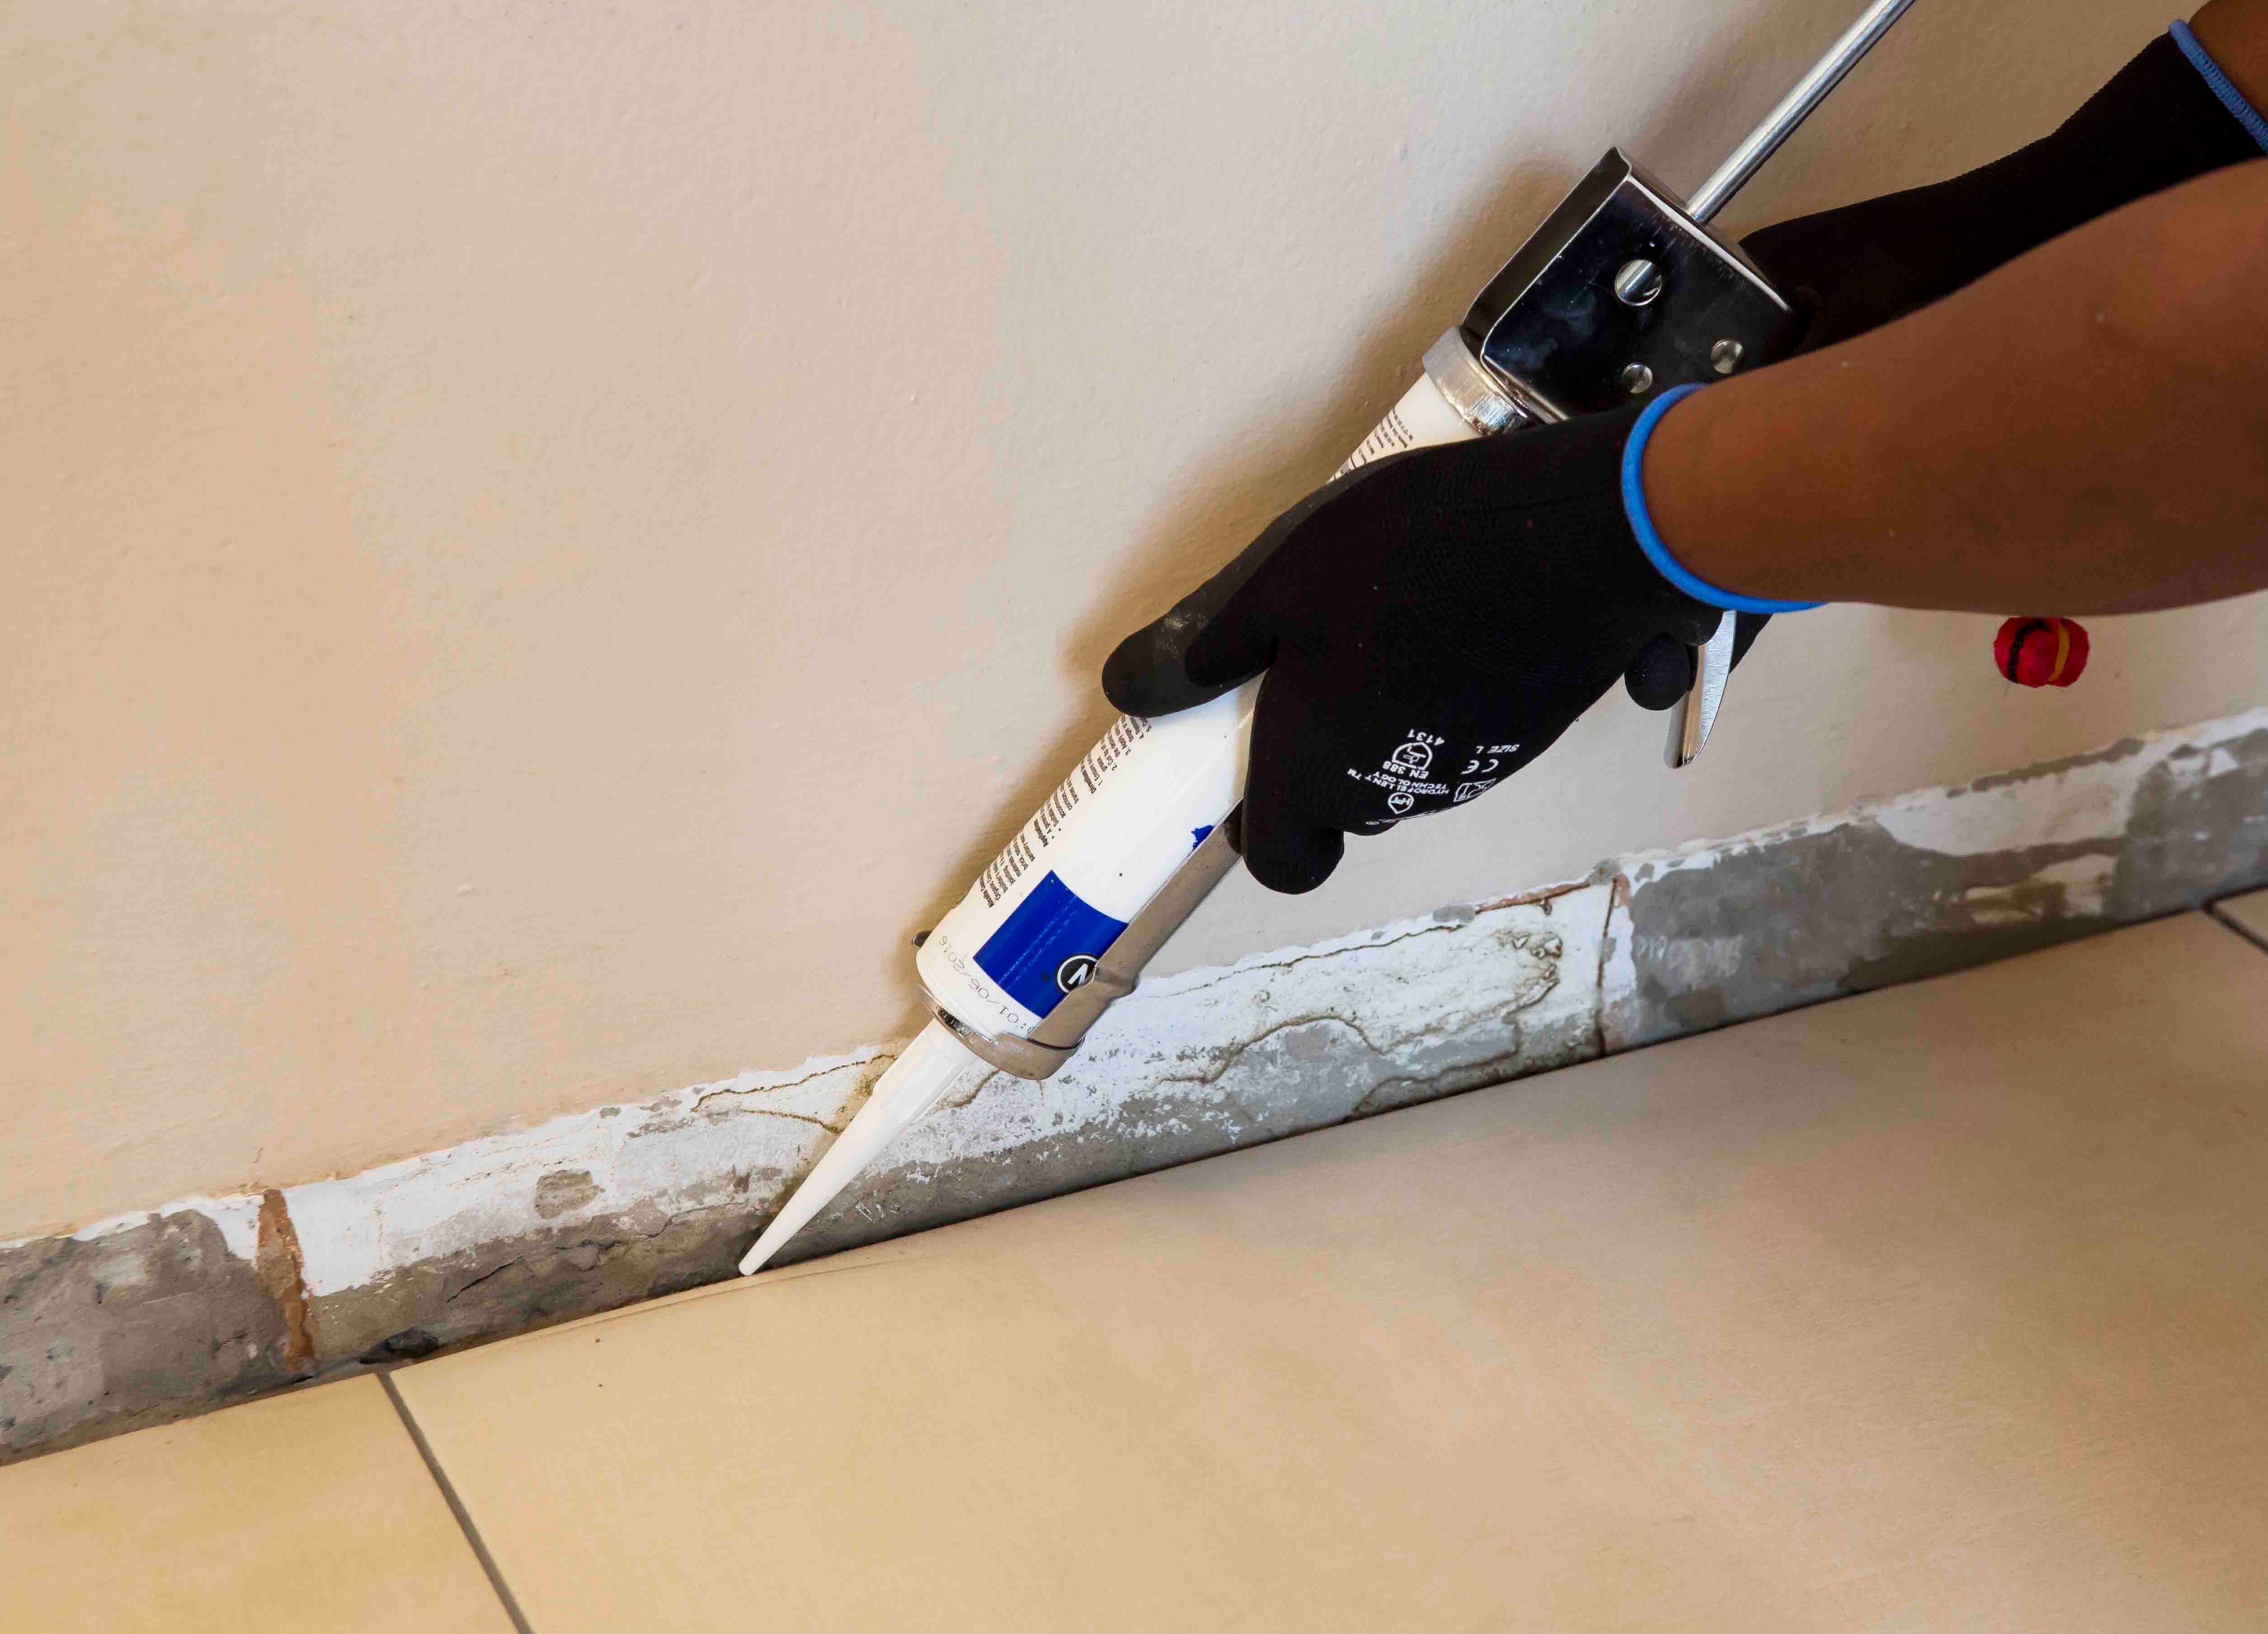
Your chosen adhesive must offer flexibility to compensate for the movement and stresses resulting from thermal expansion and contraction. This can be successfully achieved by using a latex additive such as TAL Bond, as a total water replacement, or by adding TAL Bond Powder to the TAL Mosaicfix mix. It’s also vital that tile panel movement joints (TPMJs) are installed when tiling with glass tiles. This will further accommodate any movement and isolate potential cracks to a singular panel of tiles. These TPMJs should be placed at maximum 2m centres in both directions, as well as at the interface between the glass tiles and other types of tiles or finishes.
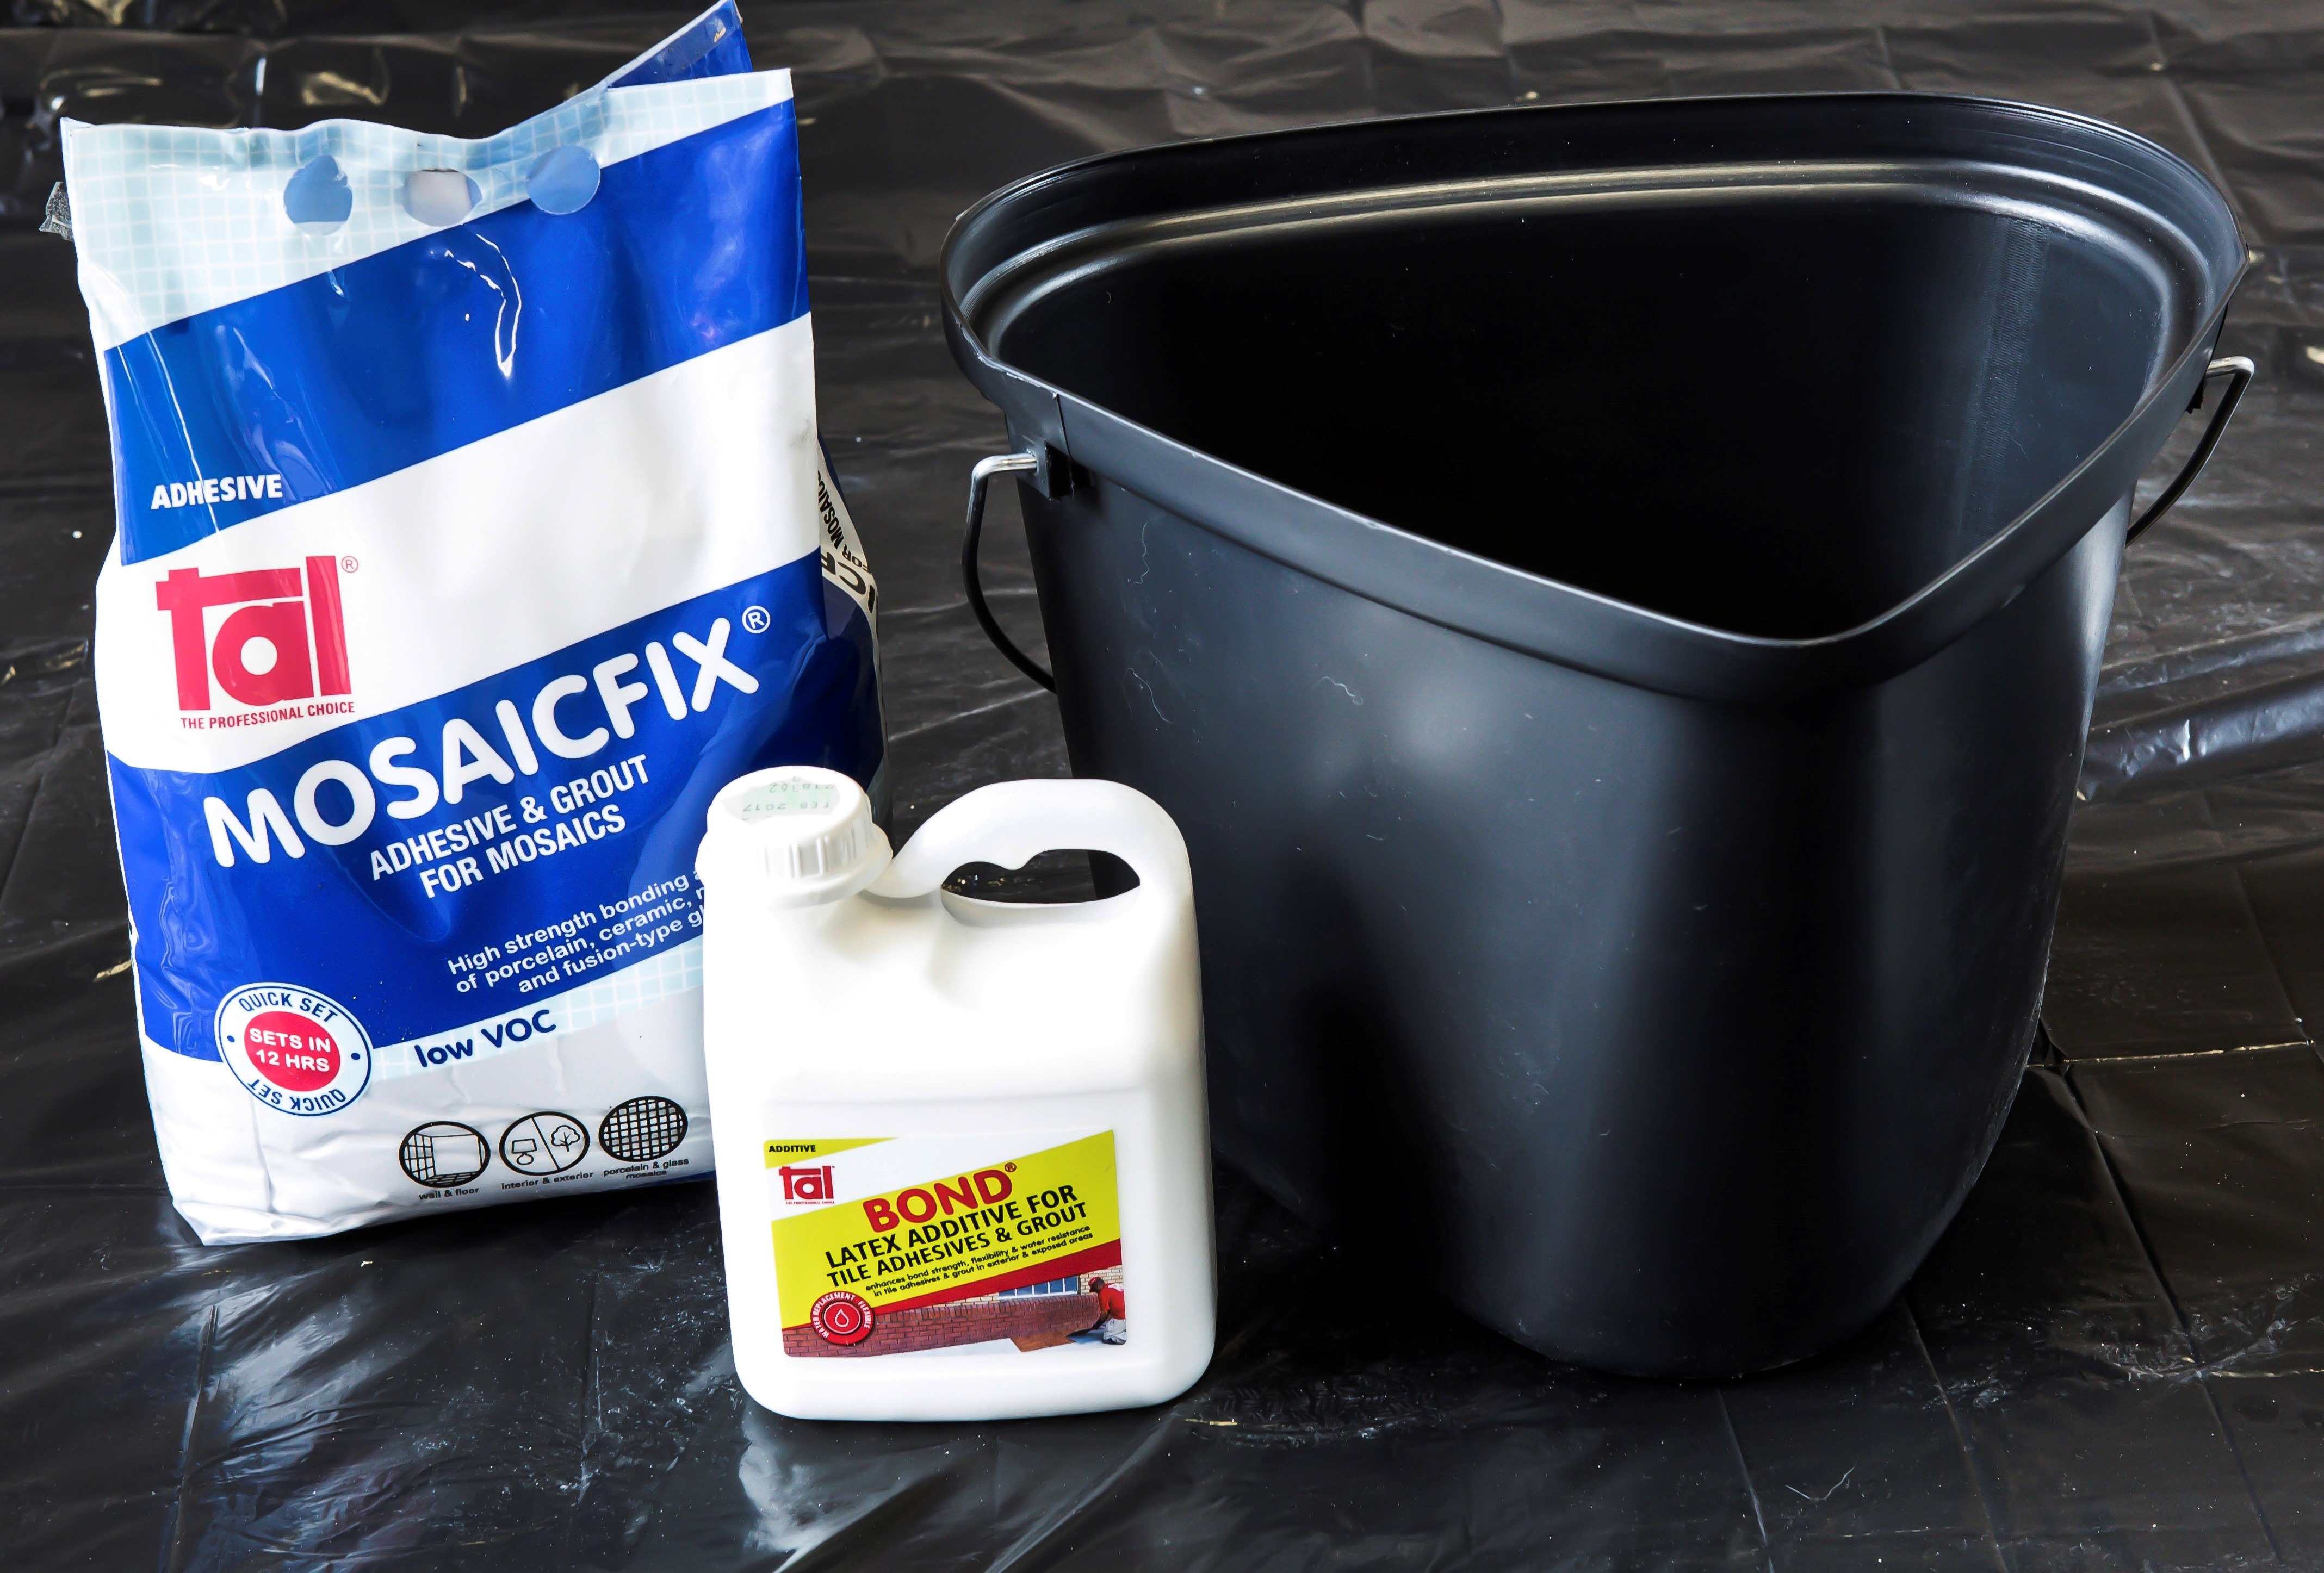
The new TAL Mosaicfix formulation is suitable for ceramic, porcelain, natural stone, glass mosaic and glass tiles up to 100mmx100mm in size. It’s also a smooth adhesive and grout, meaning it’s less likely to scratch the tiles. TAL Mosaicfix is available in two colours; a super white and a light grey. Super white is ideal for glass tiles and walls used in showers and on splashbacks, as it highlights the colour of the glass tile. The light grey option is better suited to flooring.
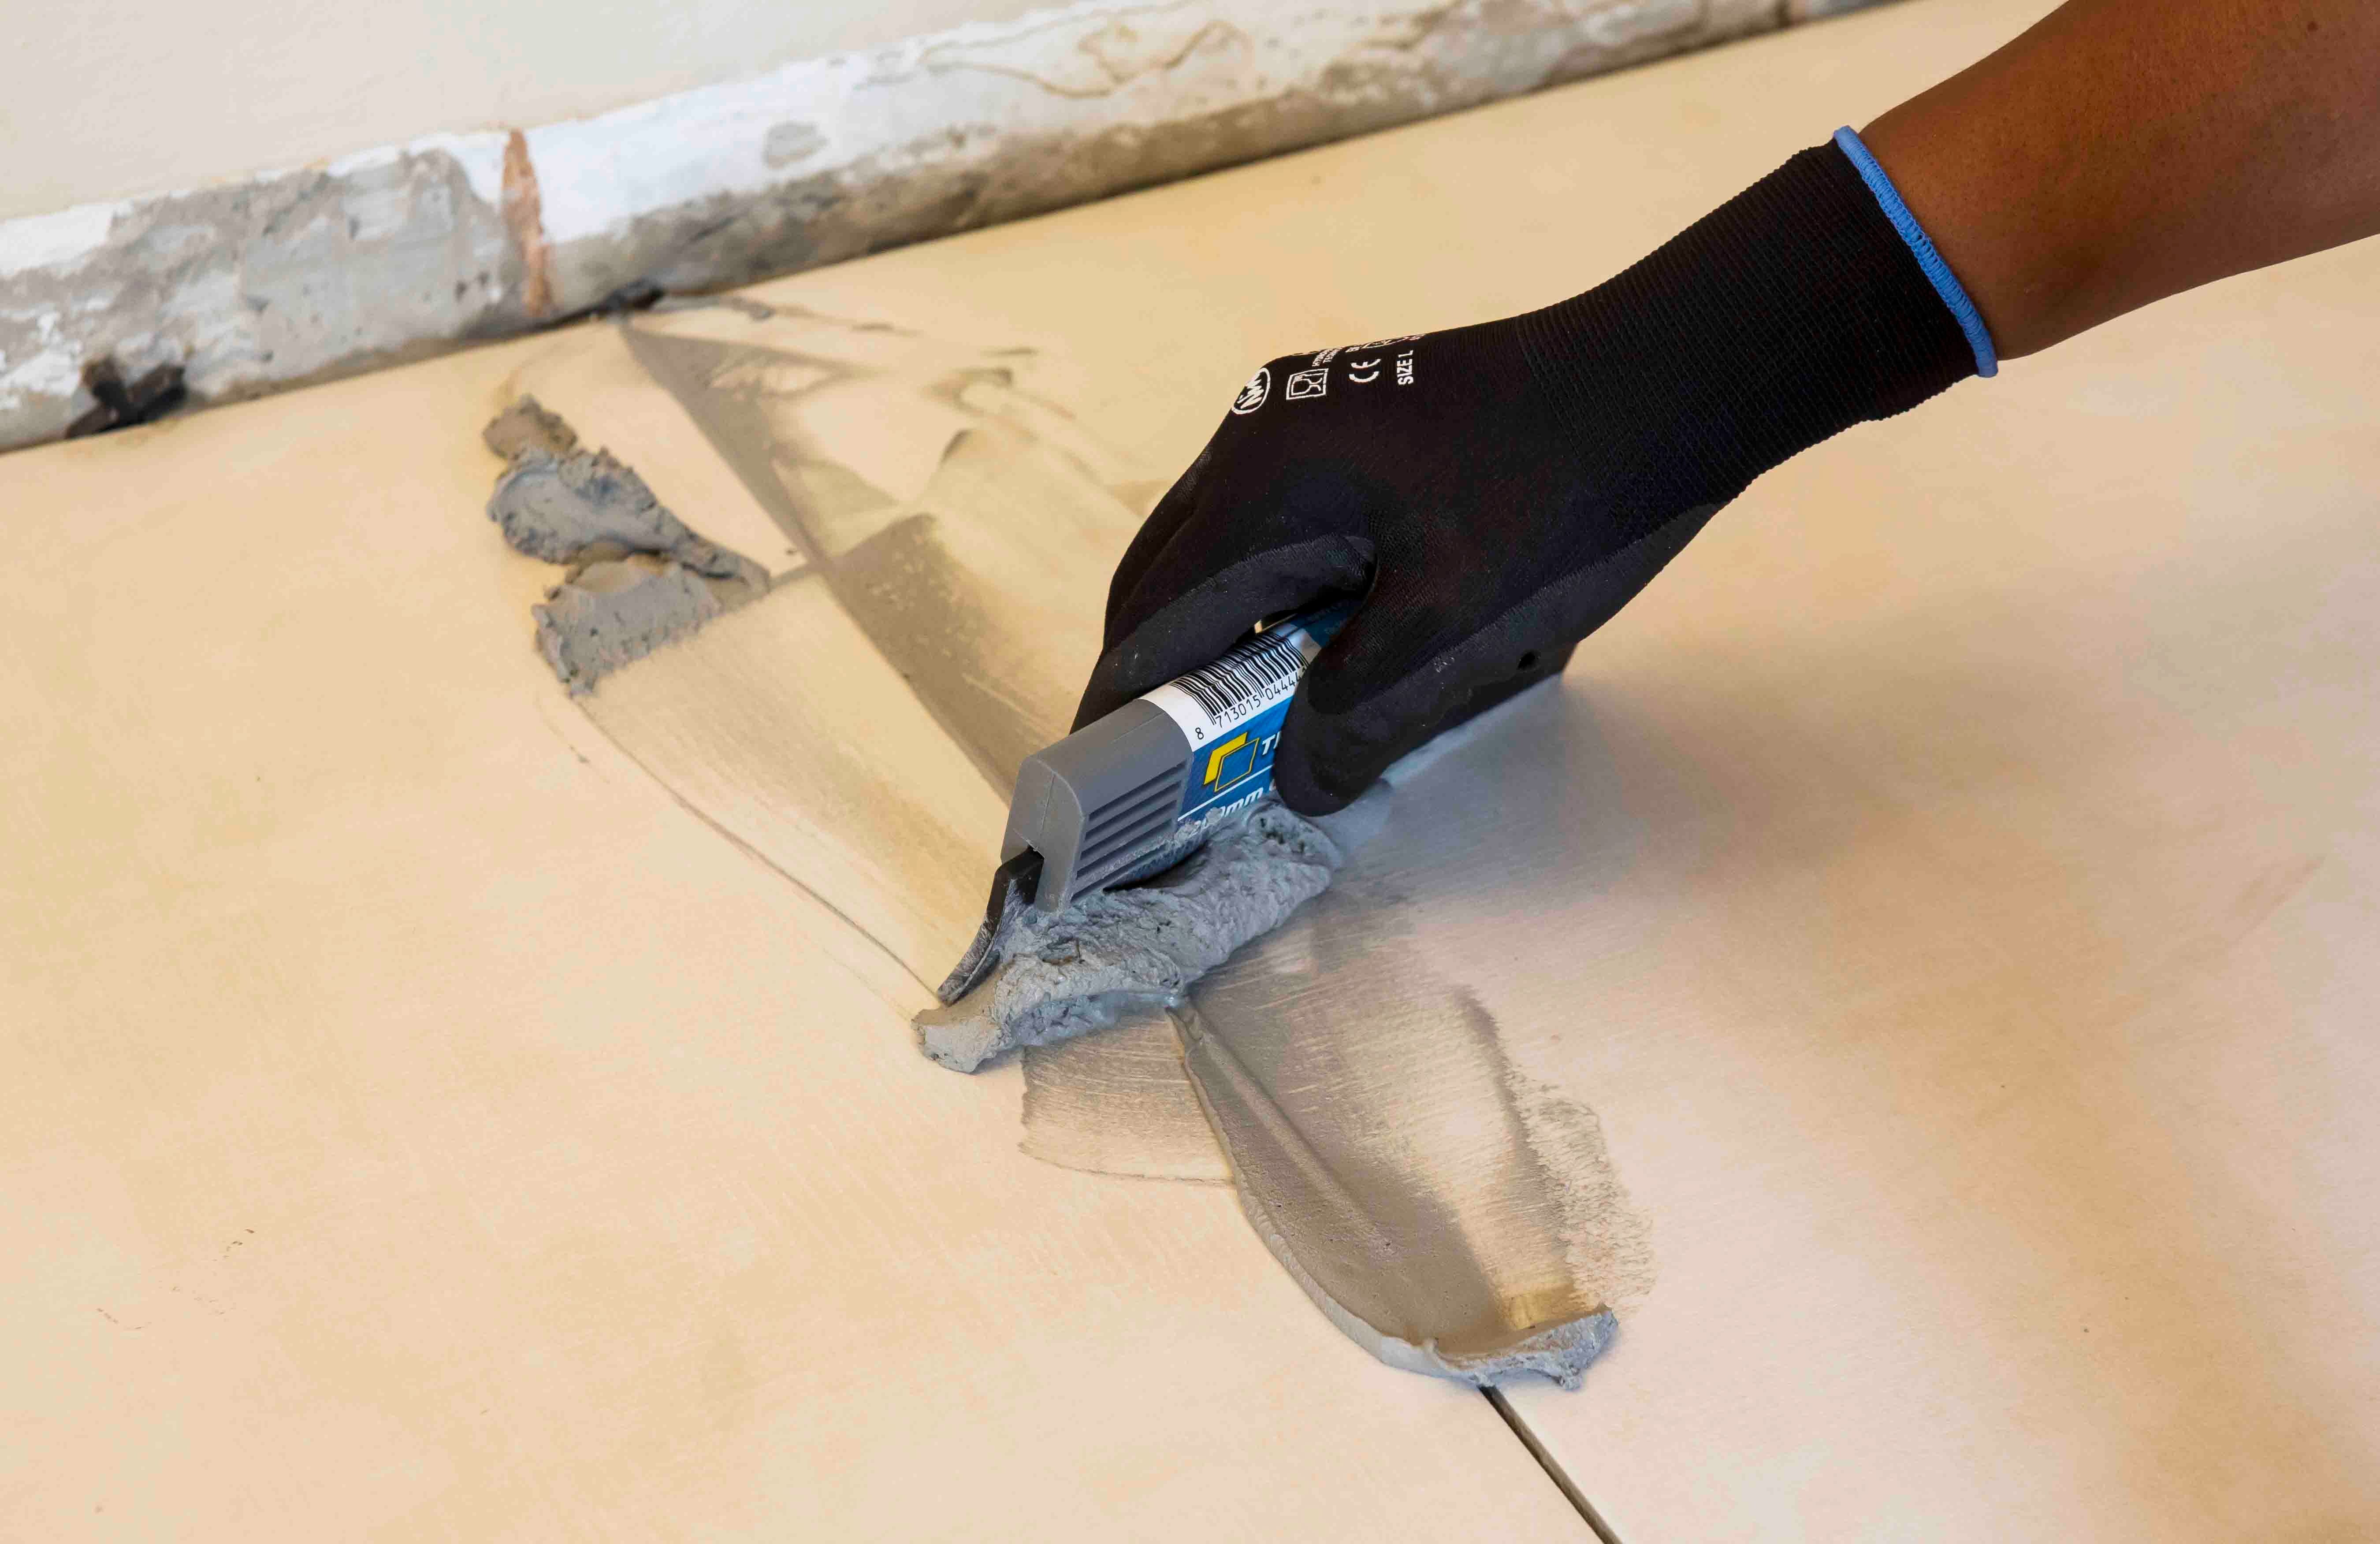
When installing glass tiles, it’s important that the bonding and grouting be done in one application. First apply the adhesive to the surface and then firmly bed the glass tile or mosaic sheet into the adhesive. A wooden beating block or rubber grouting float can be used to create a flat surface. Let the adhesive squeeze out through the joints between the tiles to form the grout. Allow for an initial set by waiting 20 minutes, after which you can add more TAL Mosaicfix to fill the joints. Take care not to scratch the surface of the glass.
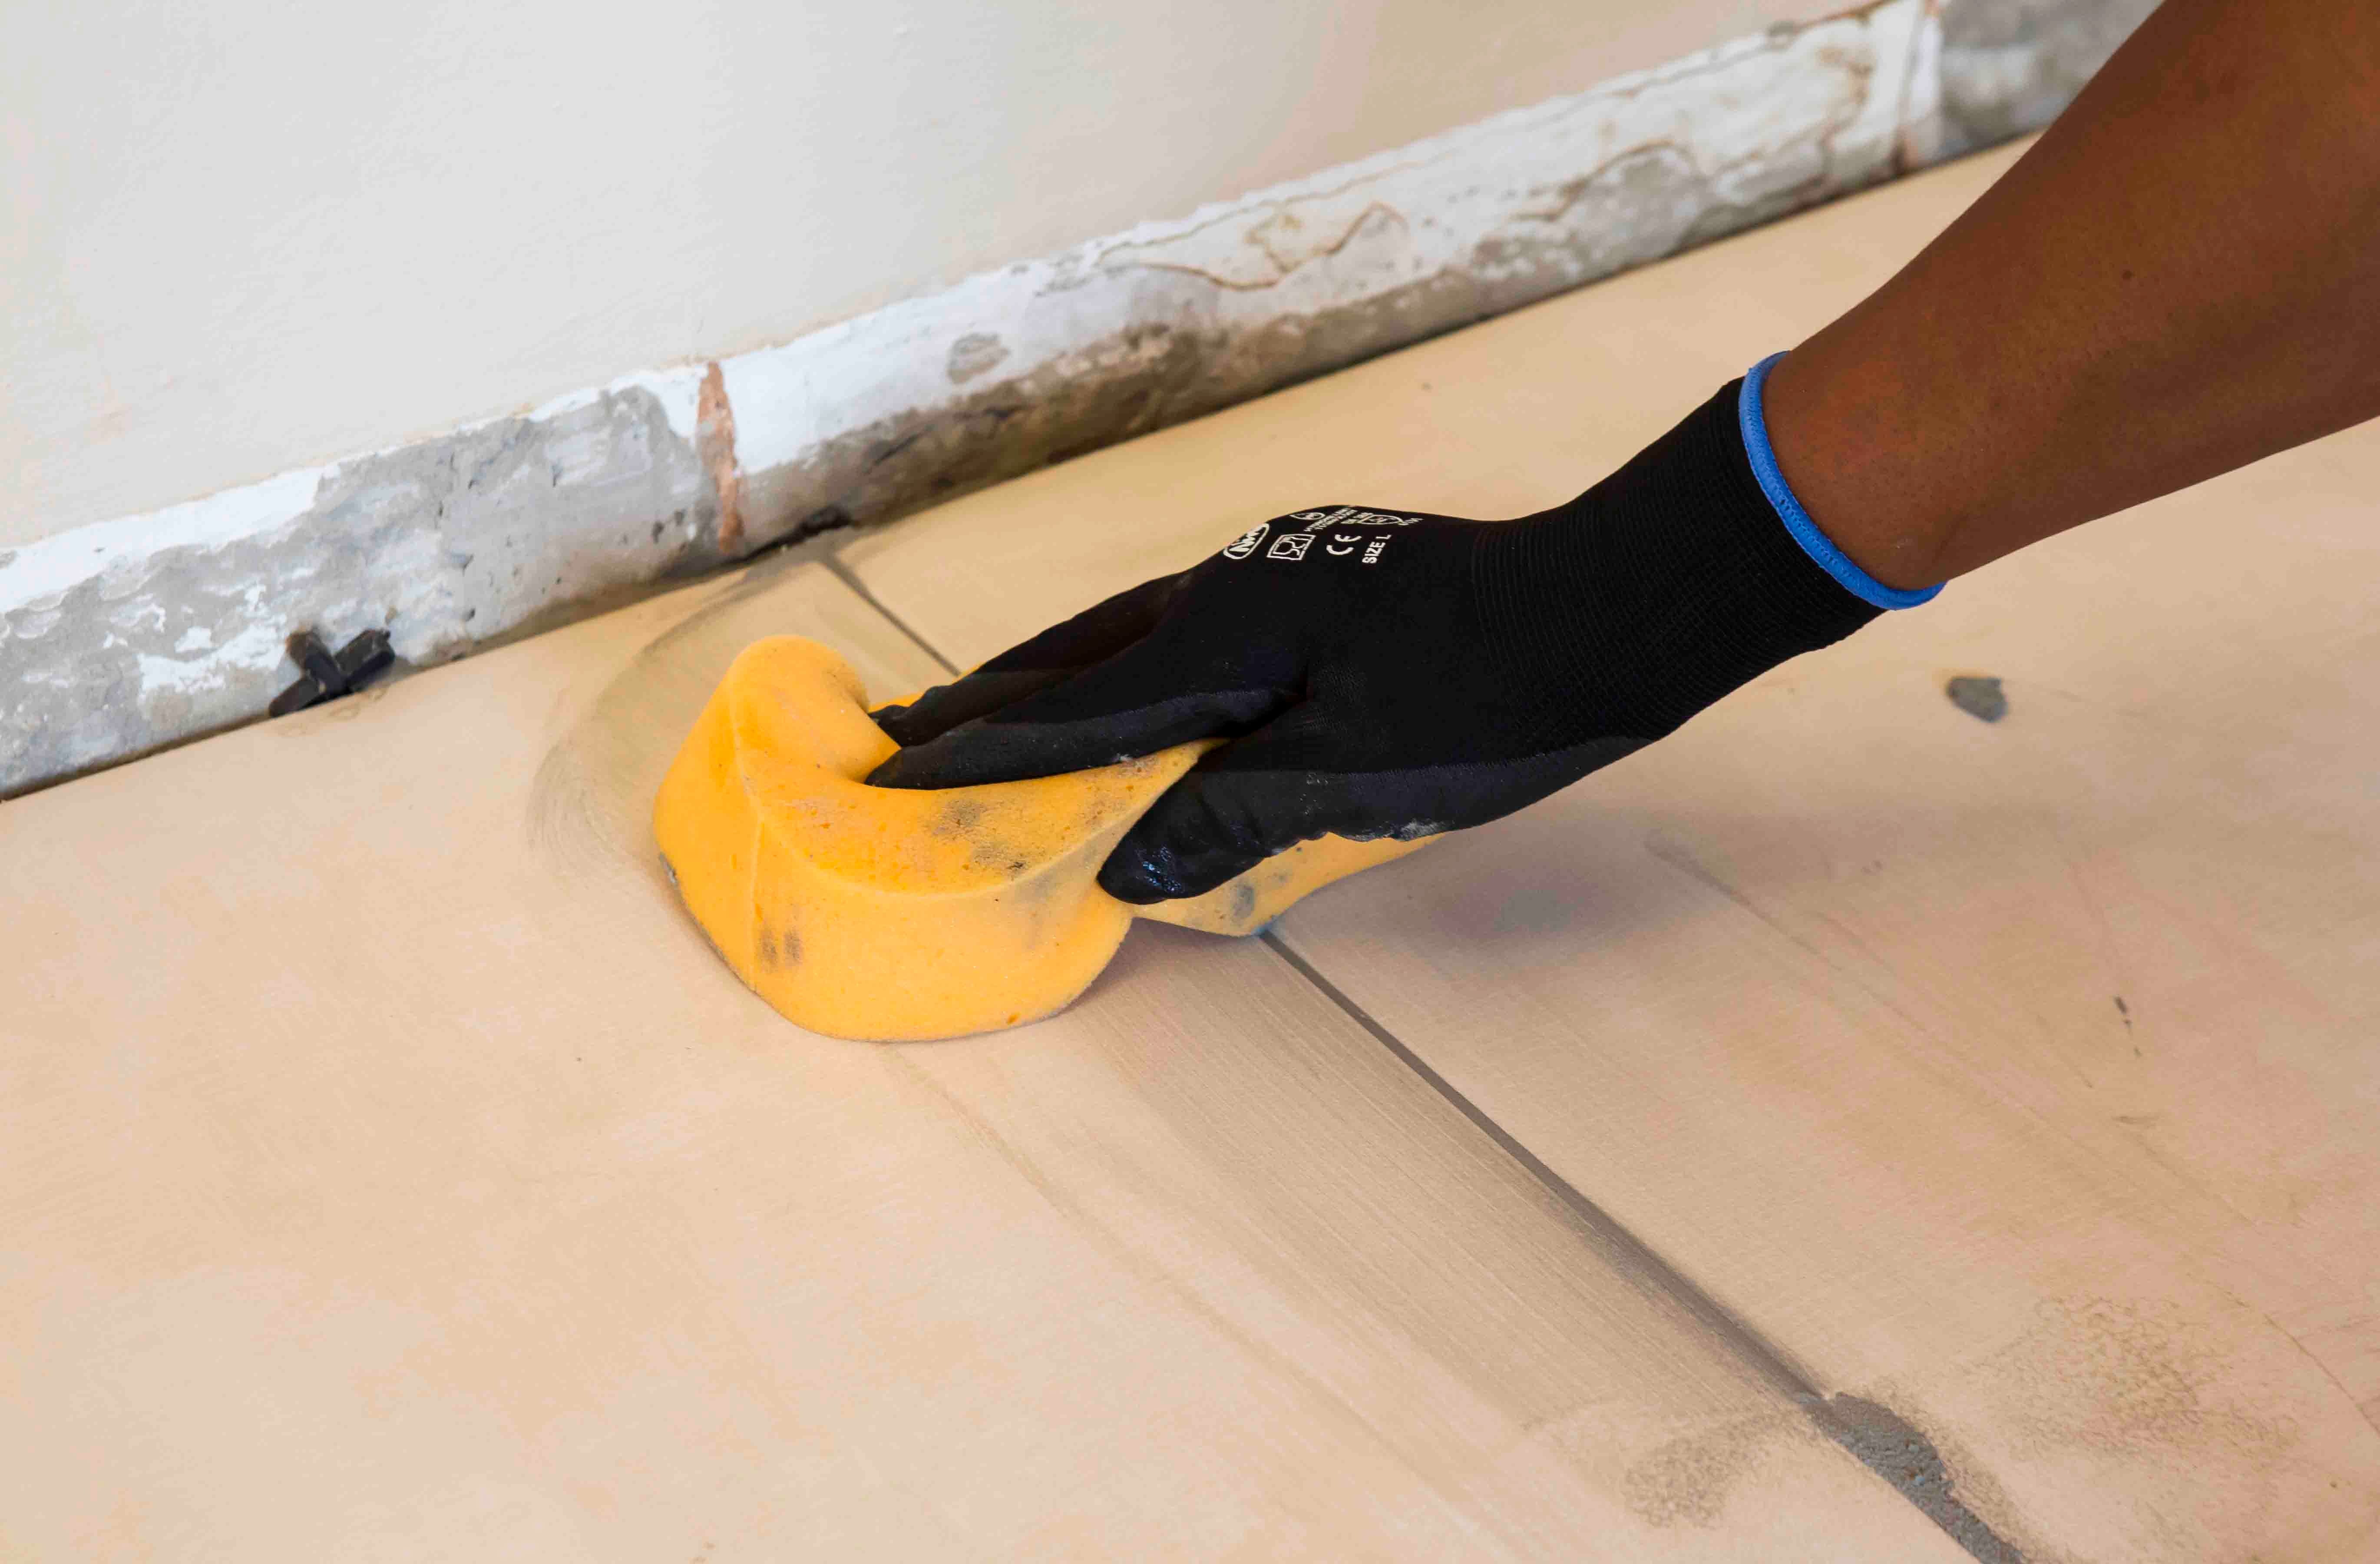
Using a damp grout sponge, gently clean the excess grout from the tiles before it hardens, particularly when an additive has been used. TAL Grout Sealer is ideal for sealing the grout joints and makes them easier to clean and resistant to staining.
TAL’s national technical advice line is always available for DIY enthusiasts looking for tiling advice. Our team of experts is just a phone call or email away – get in touch here.

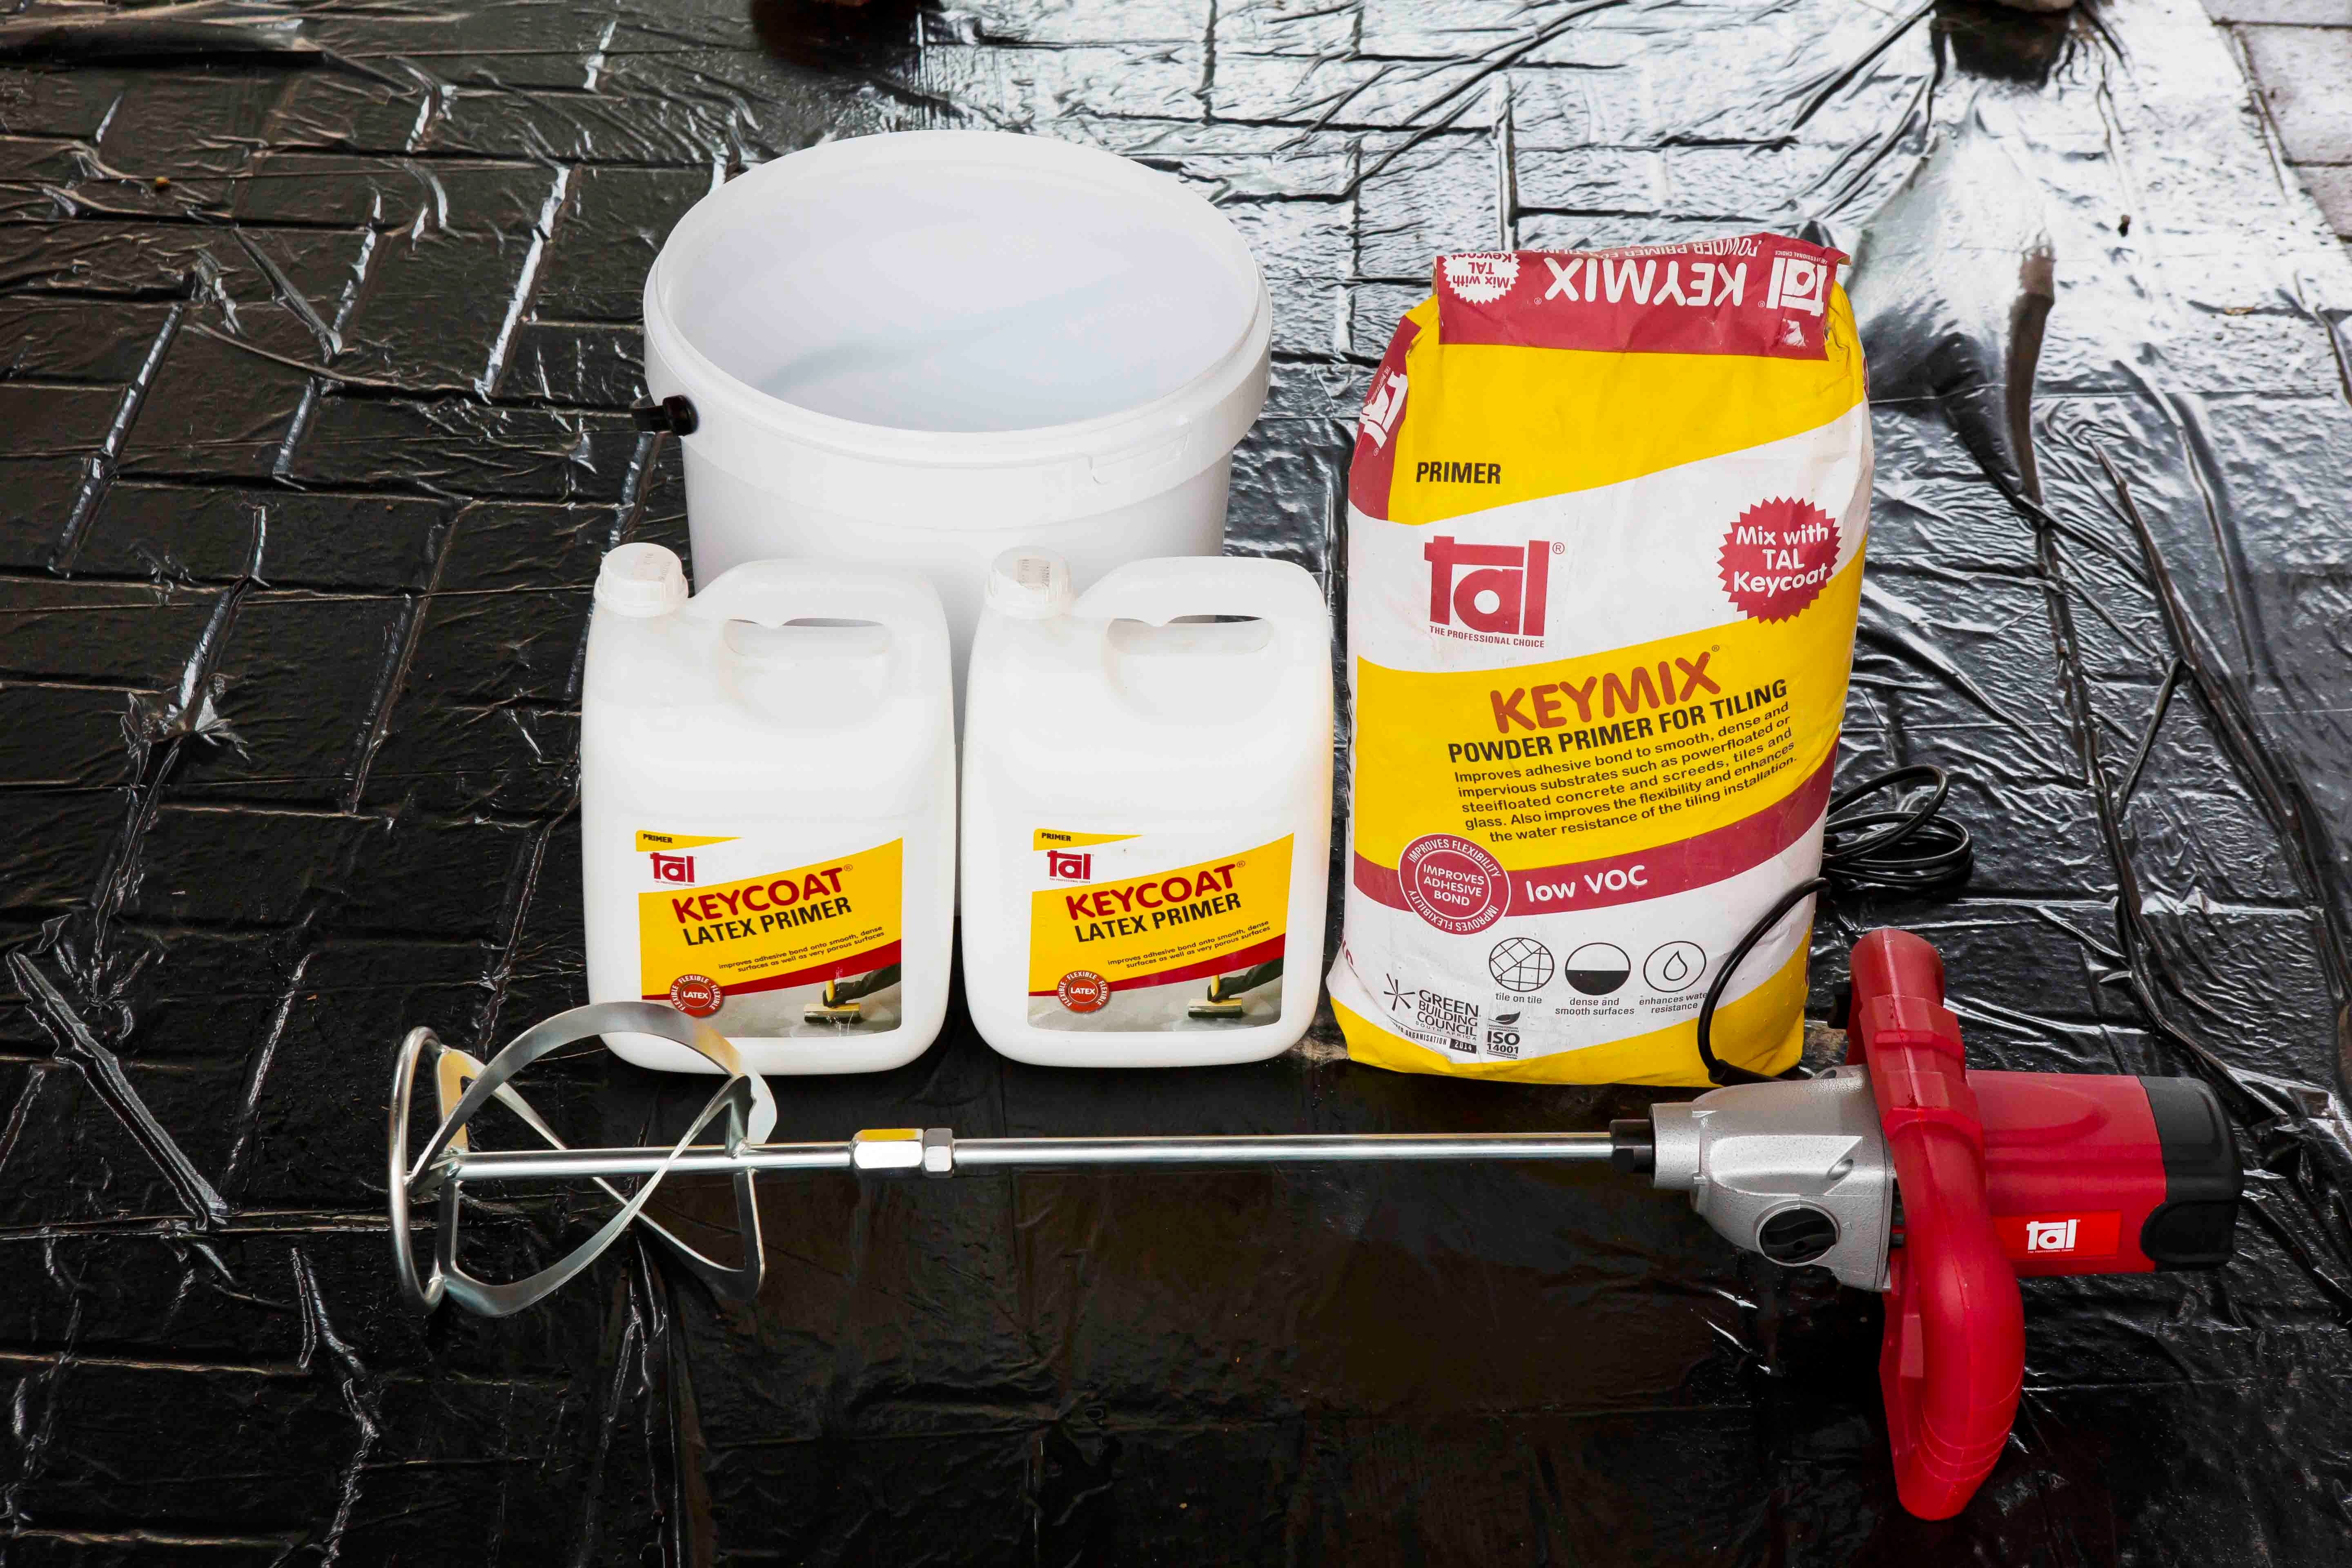
Next, it’s time to make sure you have all your tools at hand.
Tiling may look like a simple enough process, but so much of a professional tiler’s secret to success depends on having just the right tools for the job. Here’s everything you will need for every stage of the process, from preparing the substrate to the final cleaning.
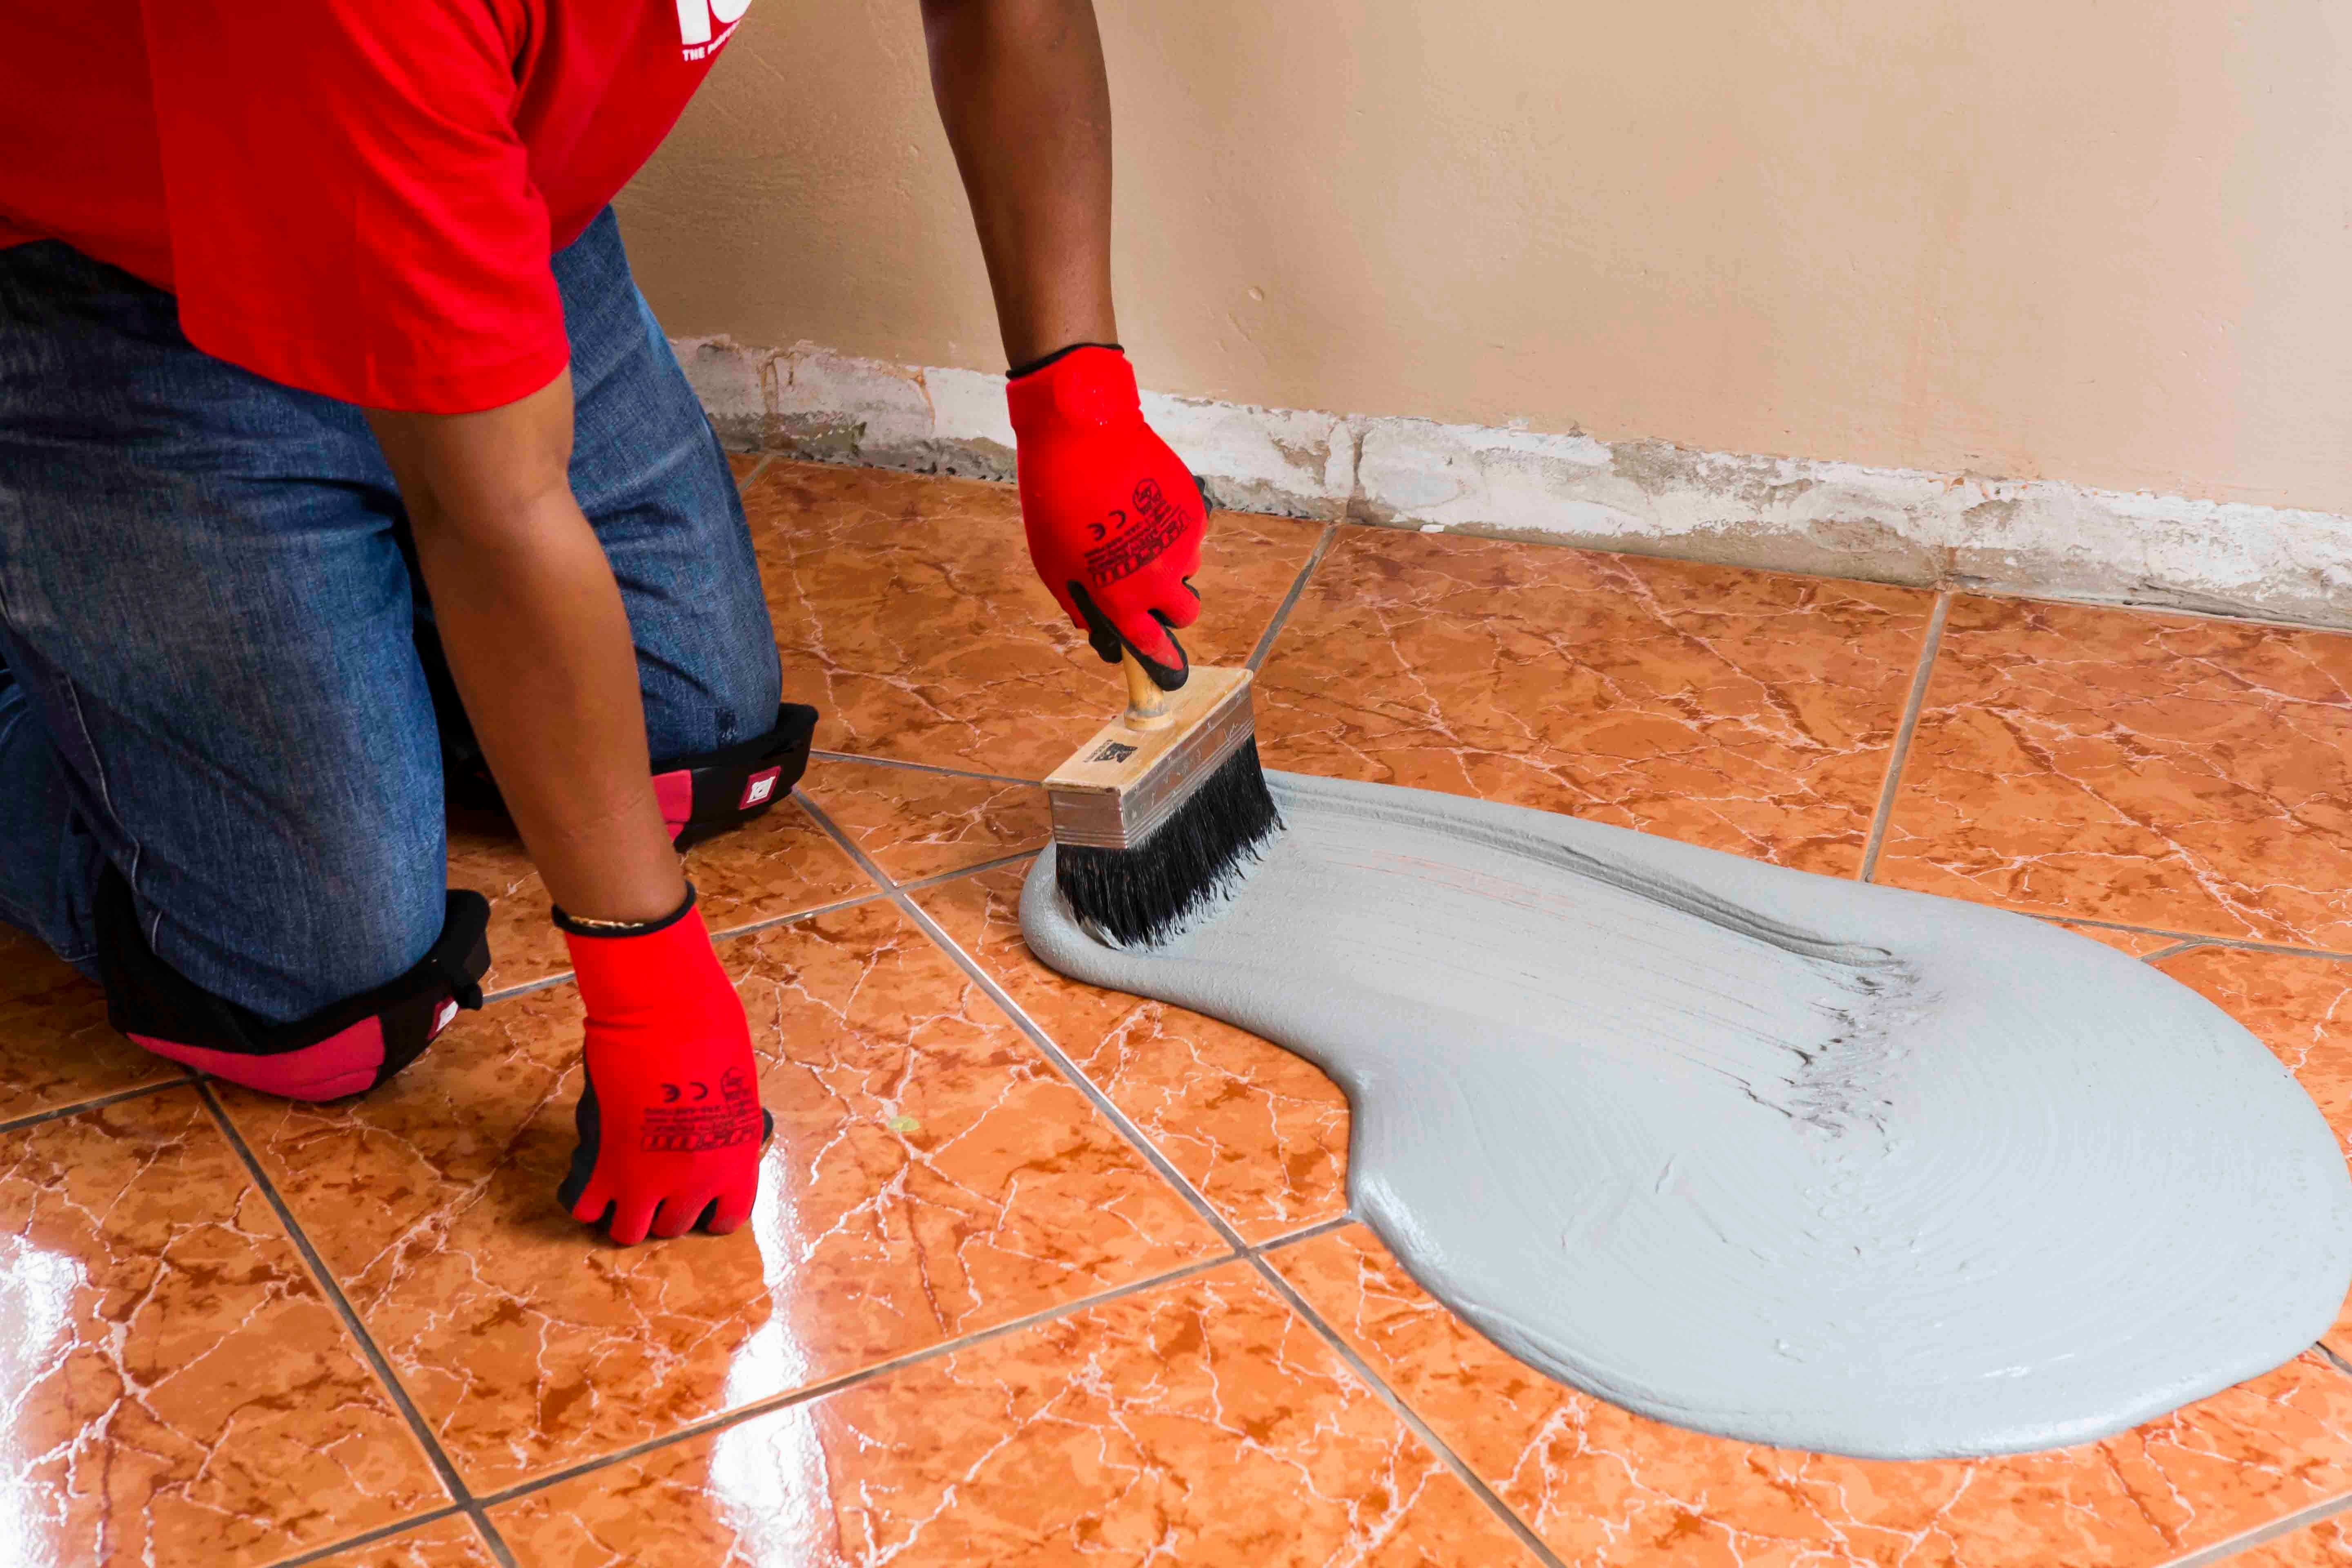
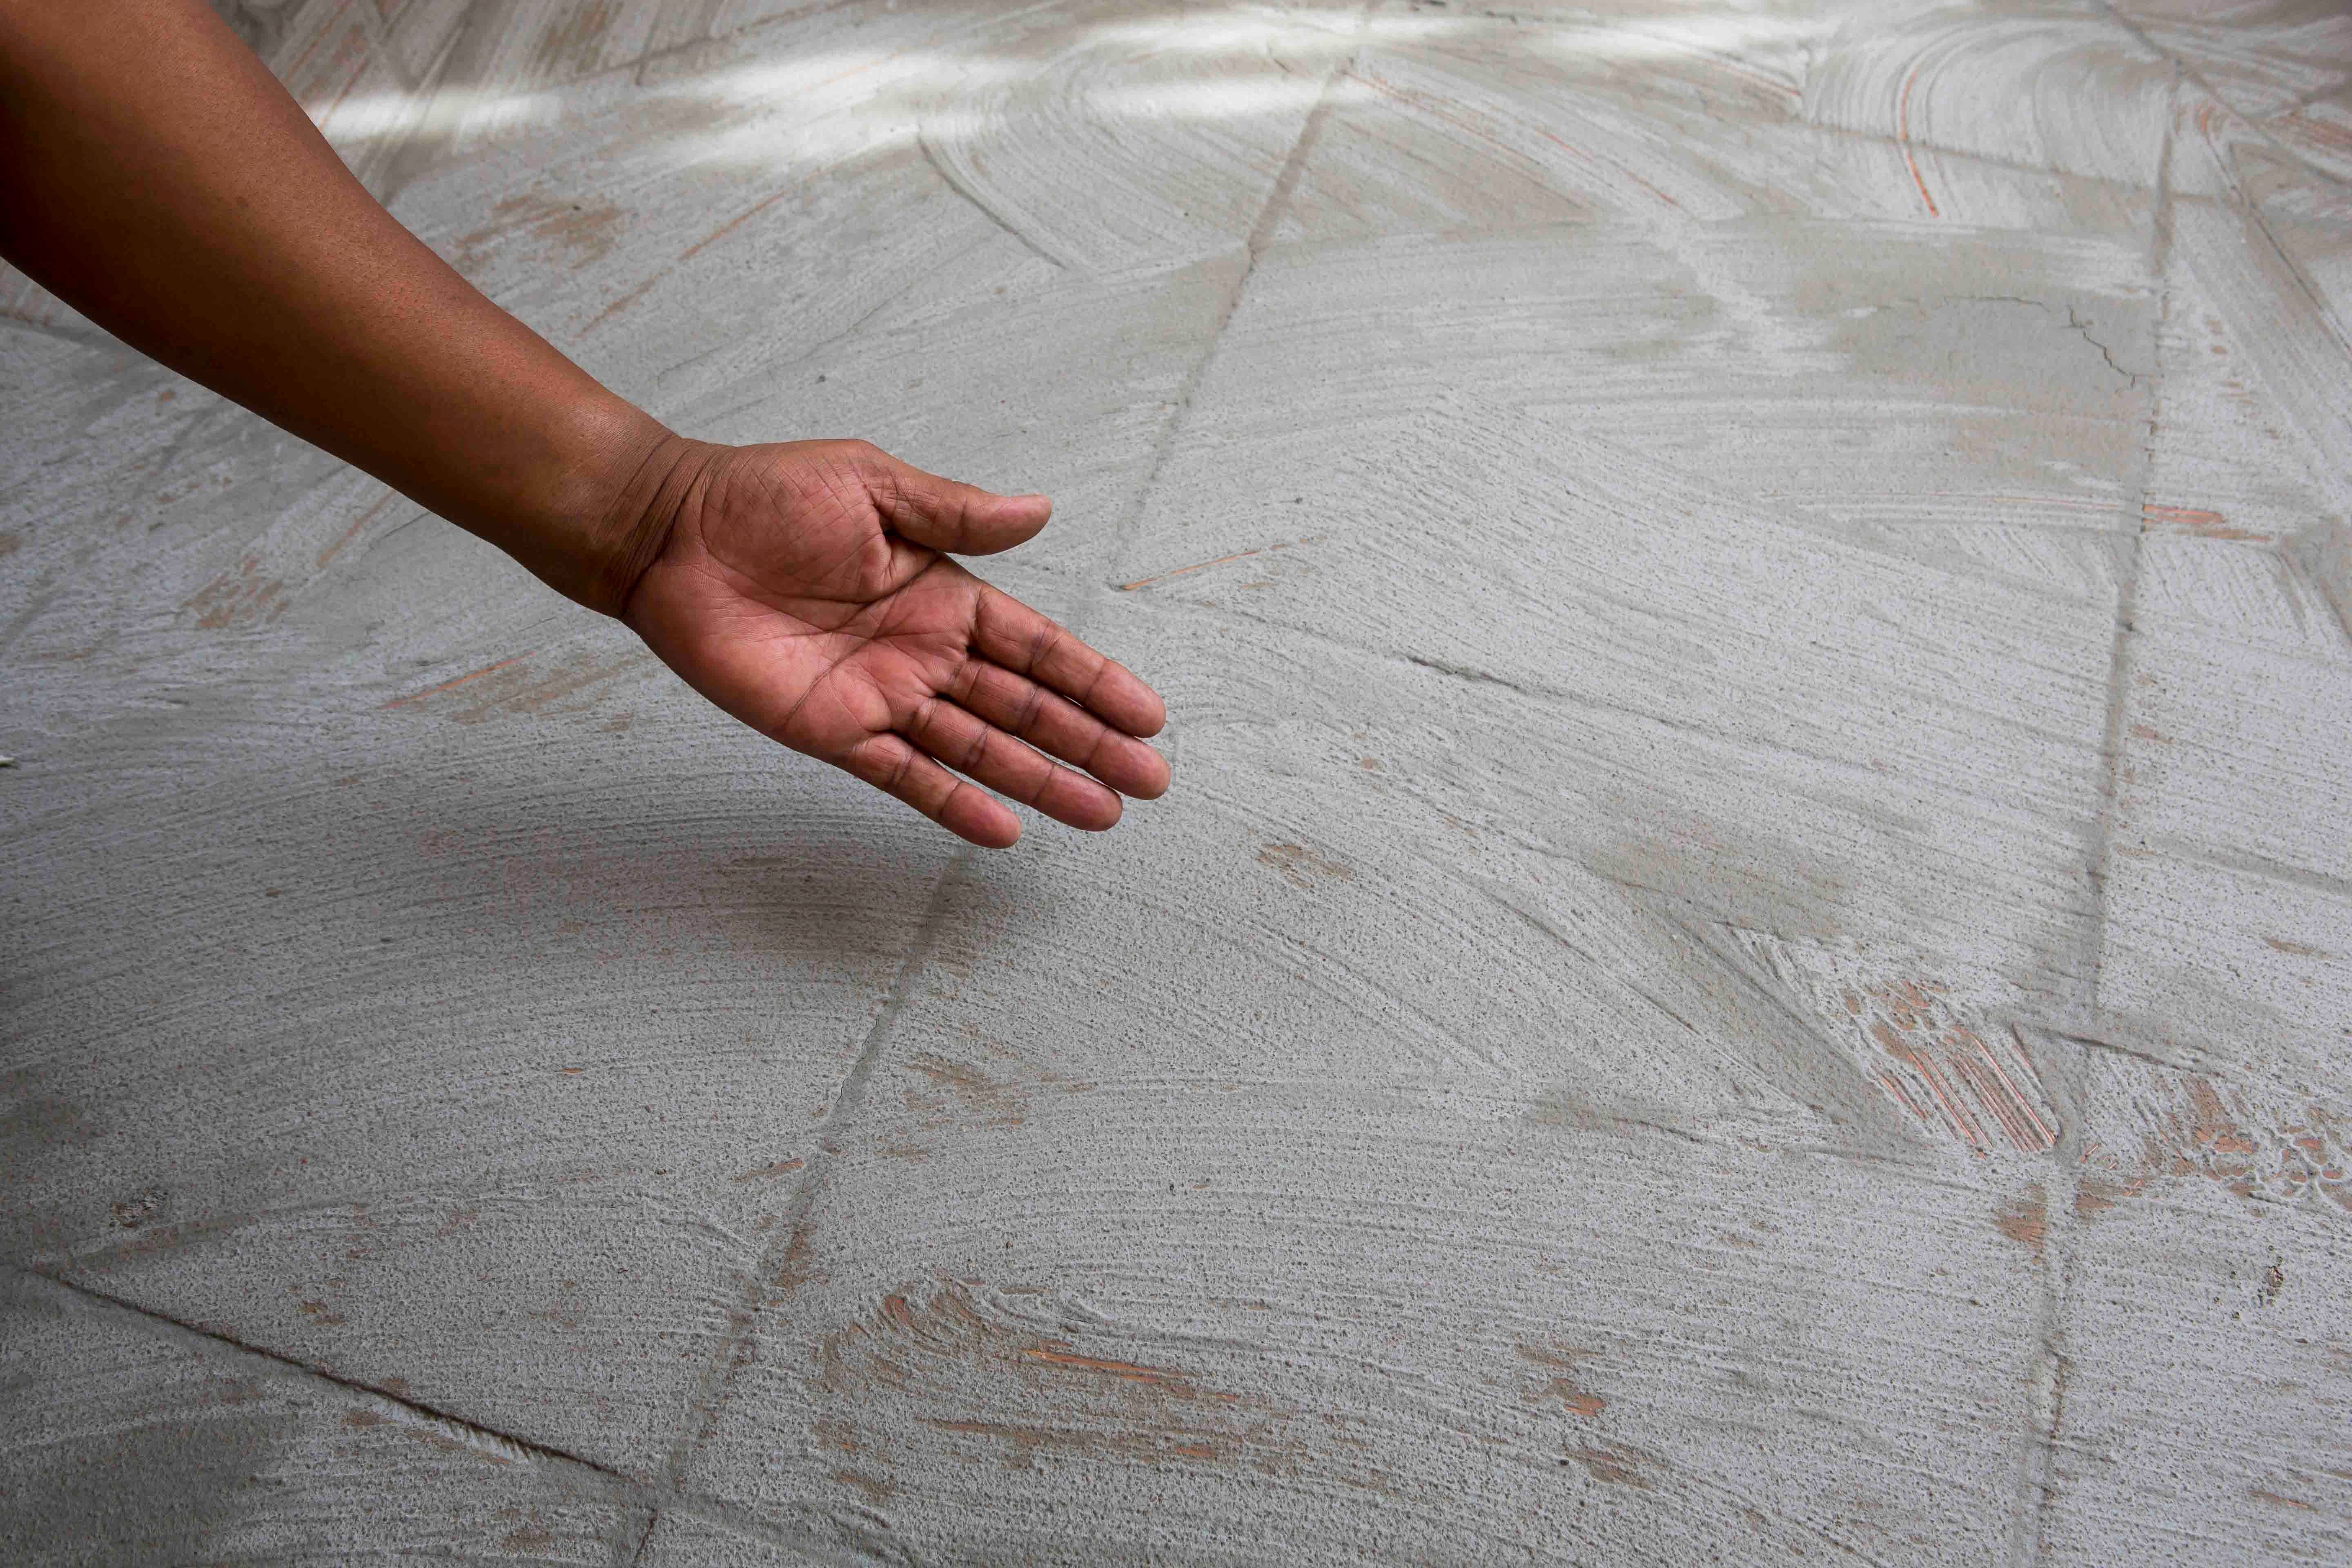
Preparing the surface
A flat and level surface is essential for a successful mosaic installation, as any imperfections on the surface can result in an uneven finish. Variations in levels should be corrected before priming.
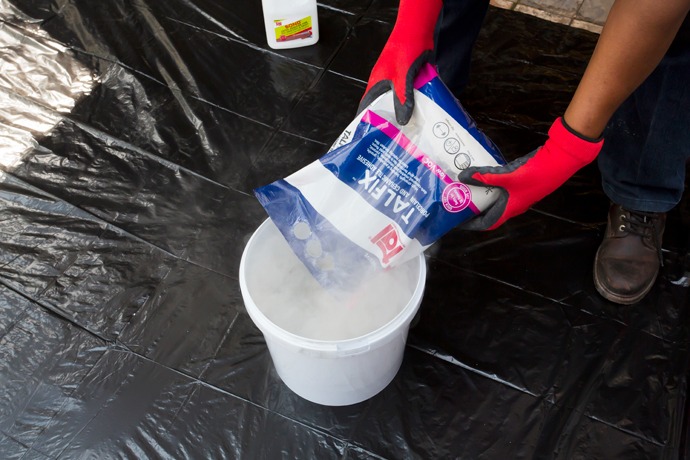
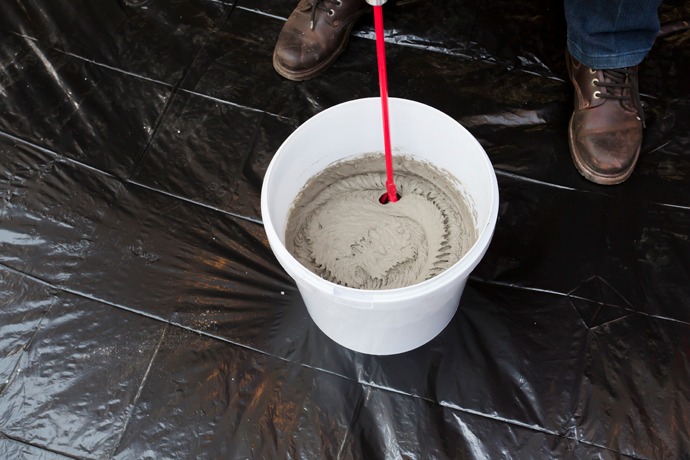
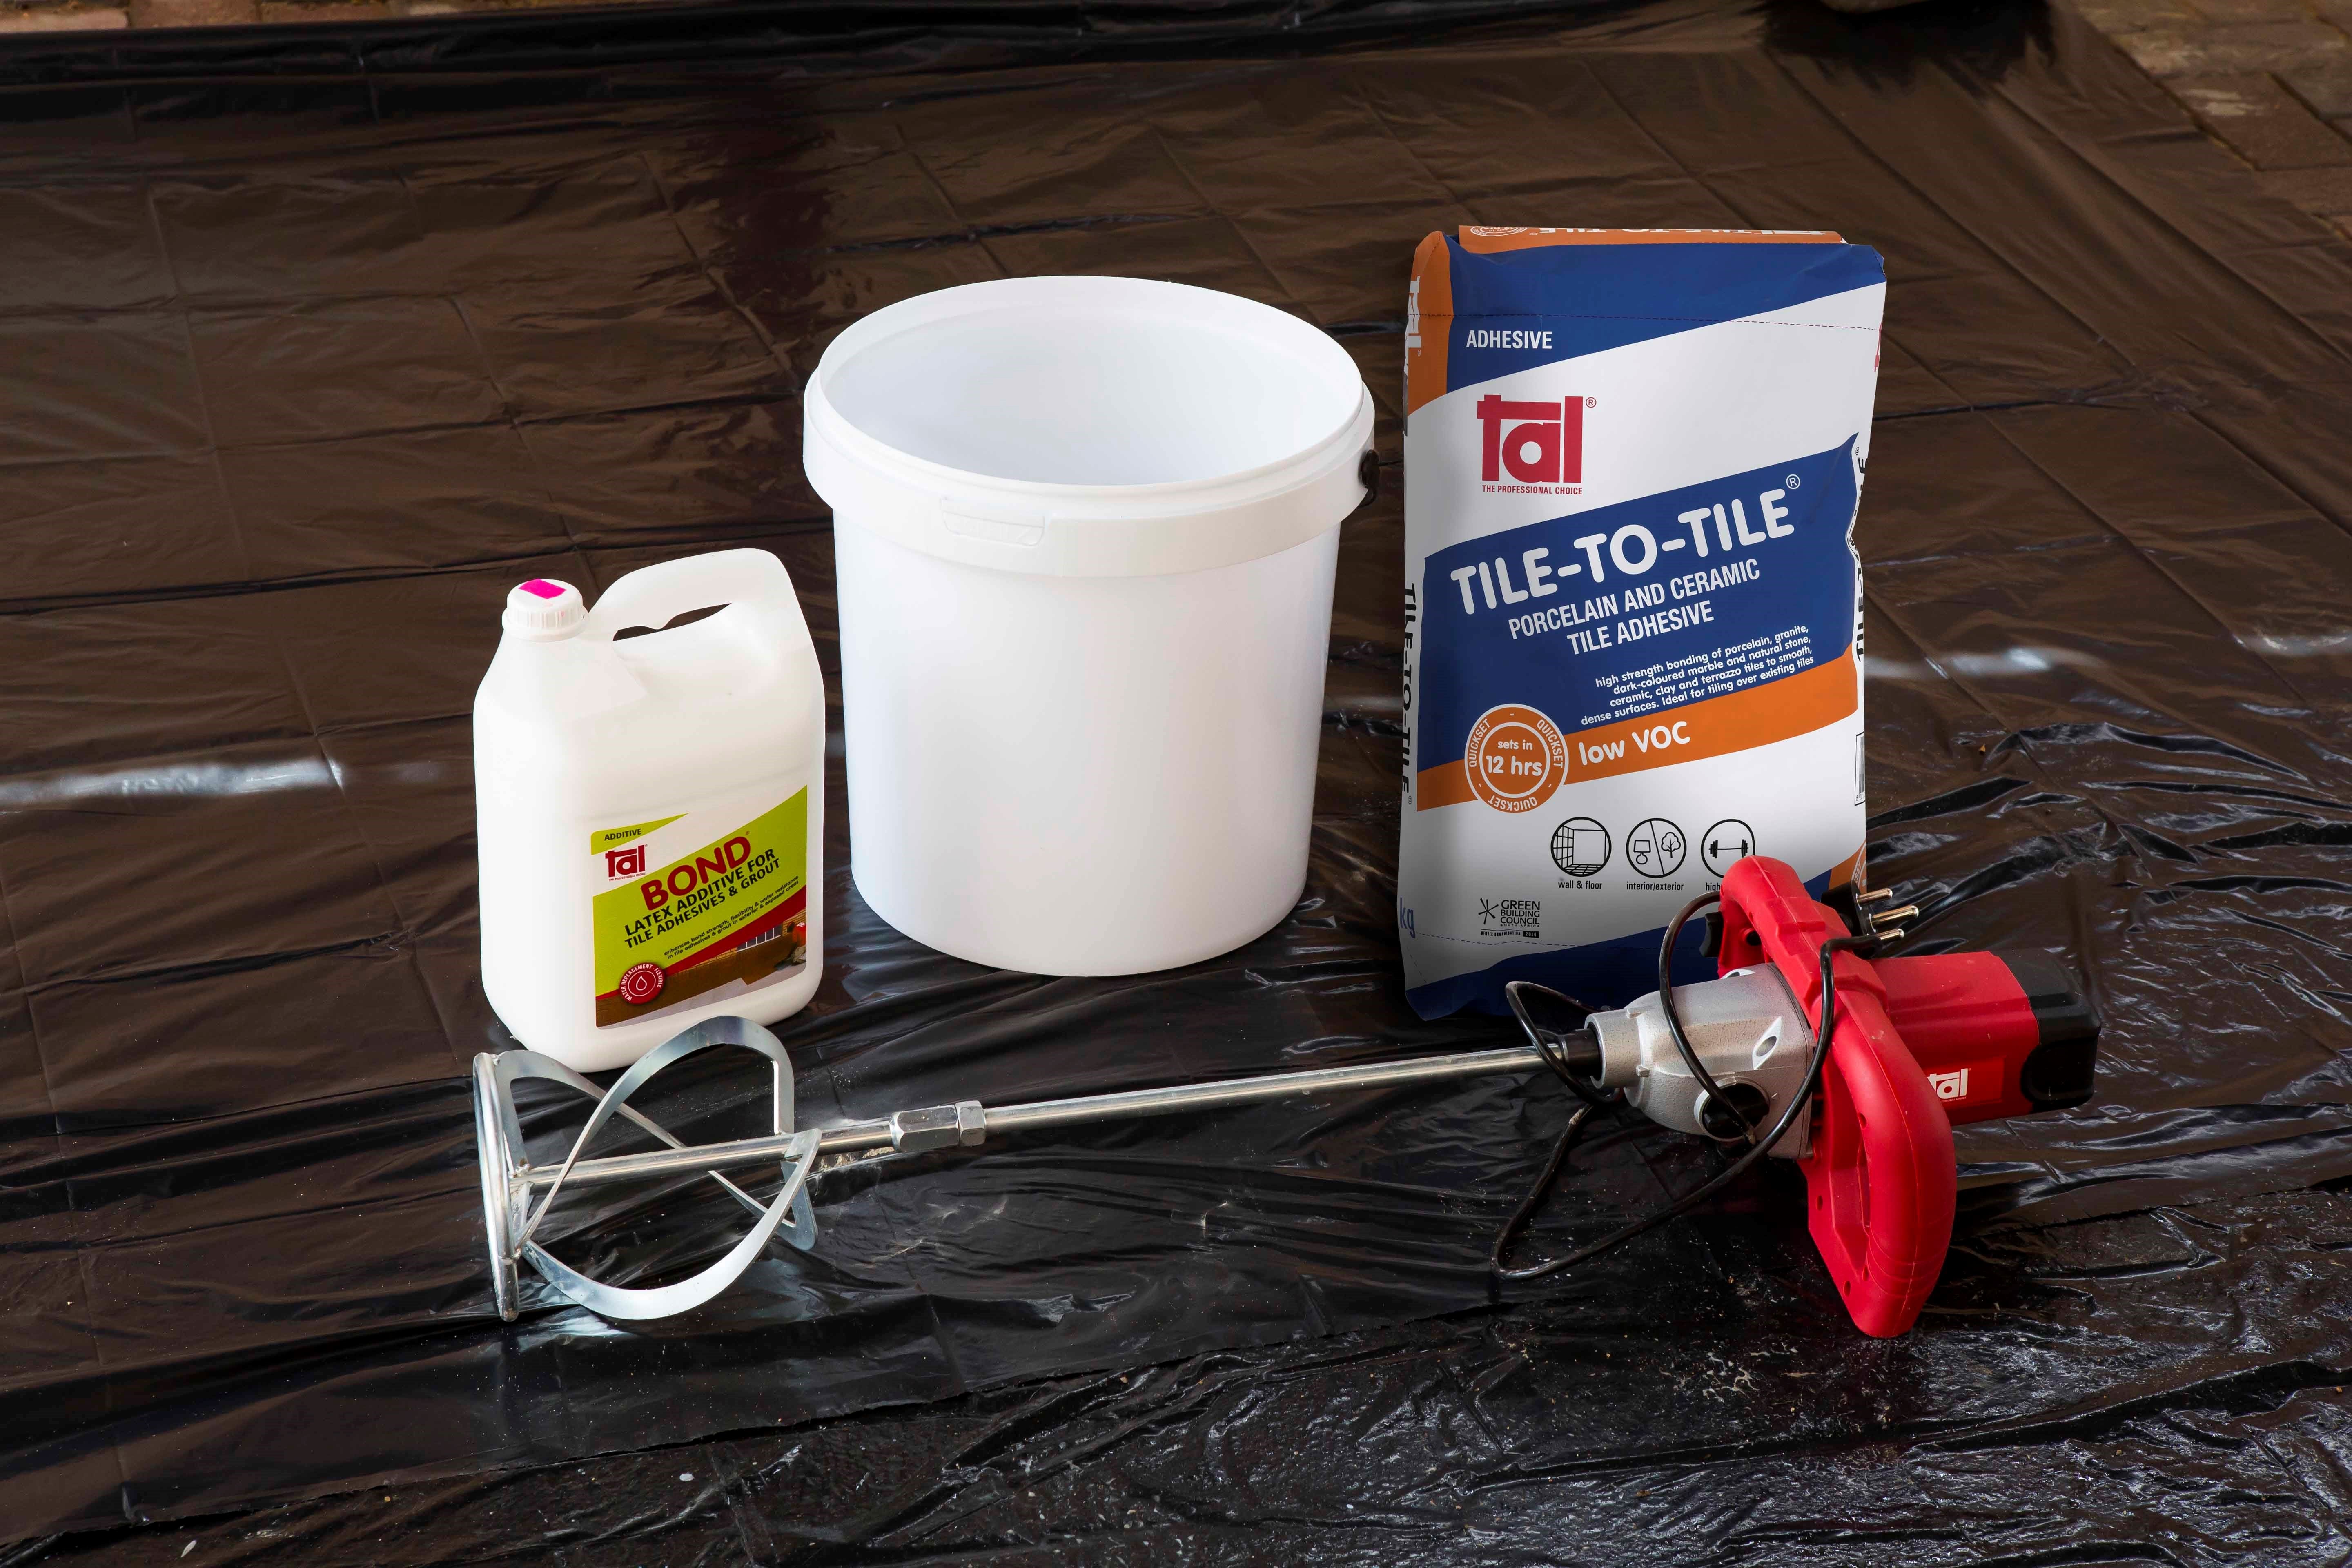
Mixing the Adhesive
A mechanical mixer is extremely useful for mixing the adhesive quickly and thoroughly. Be sure to use a drill that has at least 1.1kW of power with a suitable mixing paddle.
Installing the mosaics
So much of a mosaic installation’s success is dictated by the spacing between the mosaic sheets, so it’s essential that you use tile spacers to keep it uniform. The size of the spacers must be the same size as the gaps between the individual tesserae on your mosaic sheets for a perfectly uniform finish.

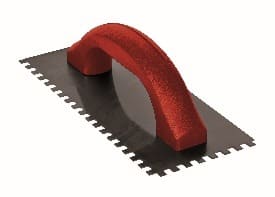
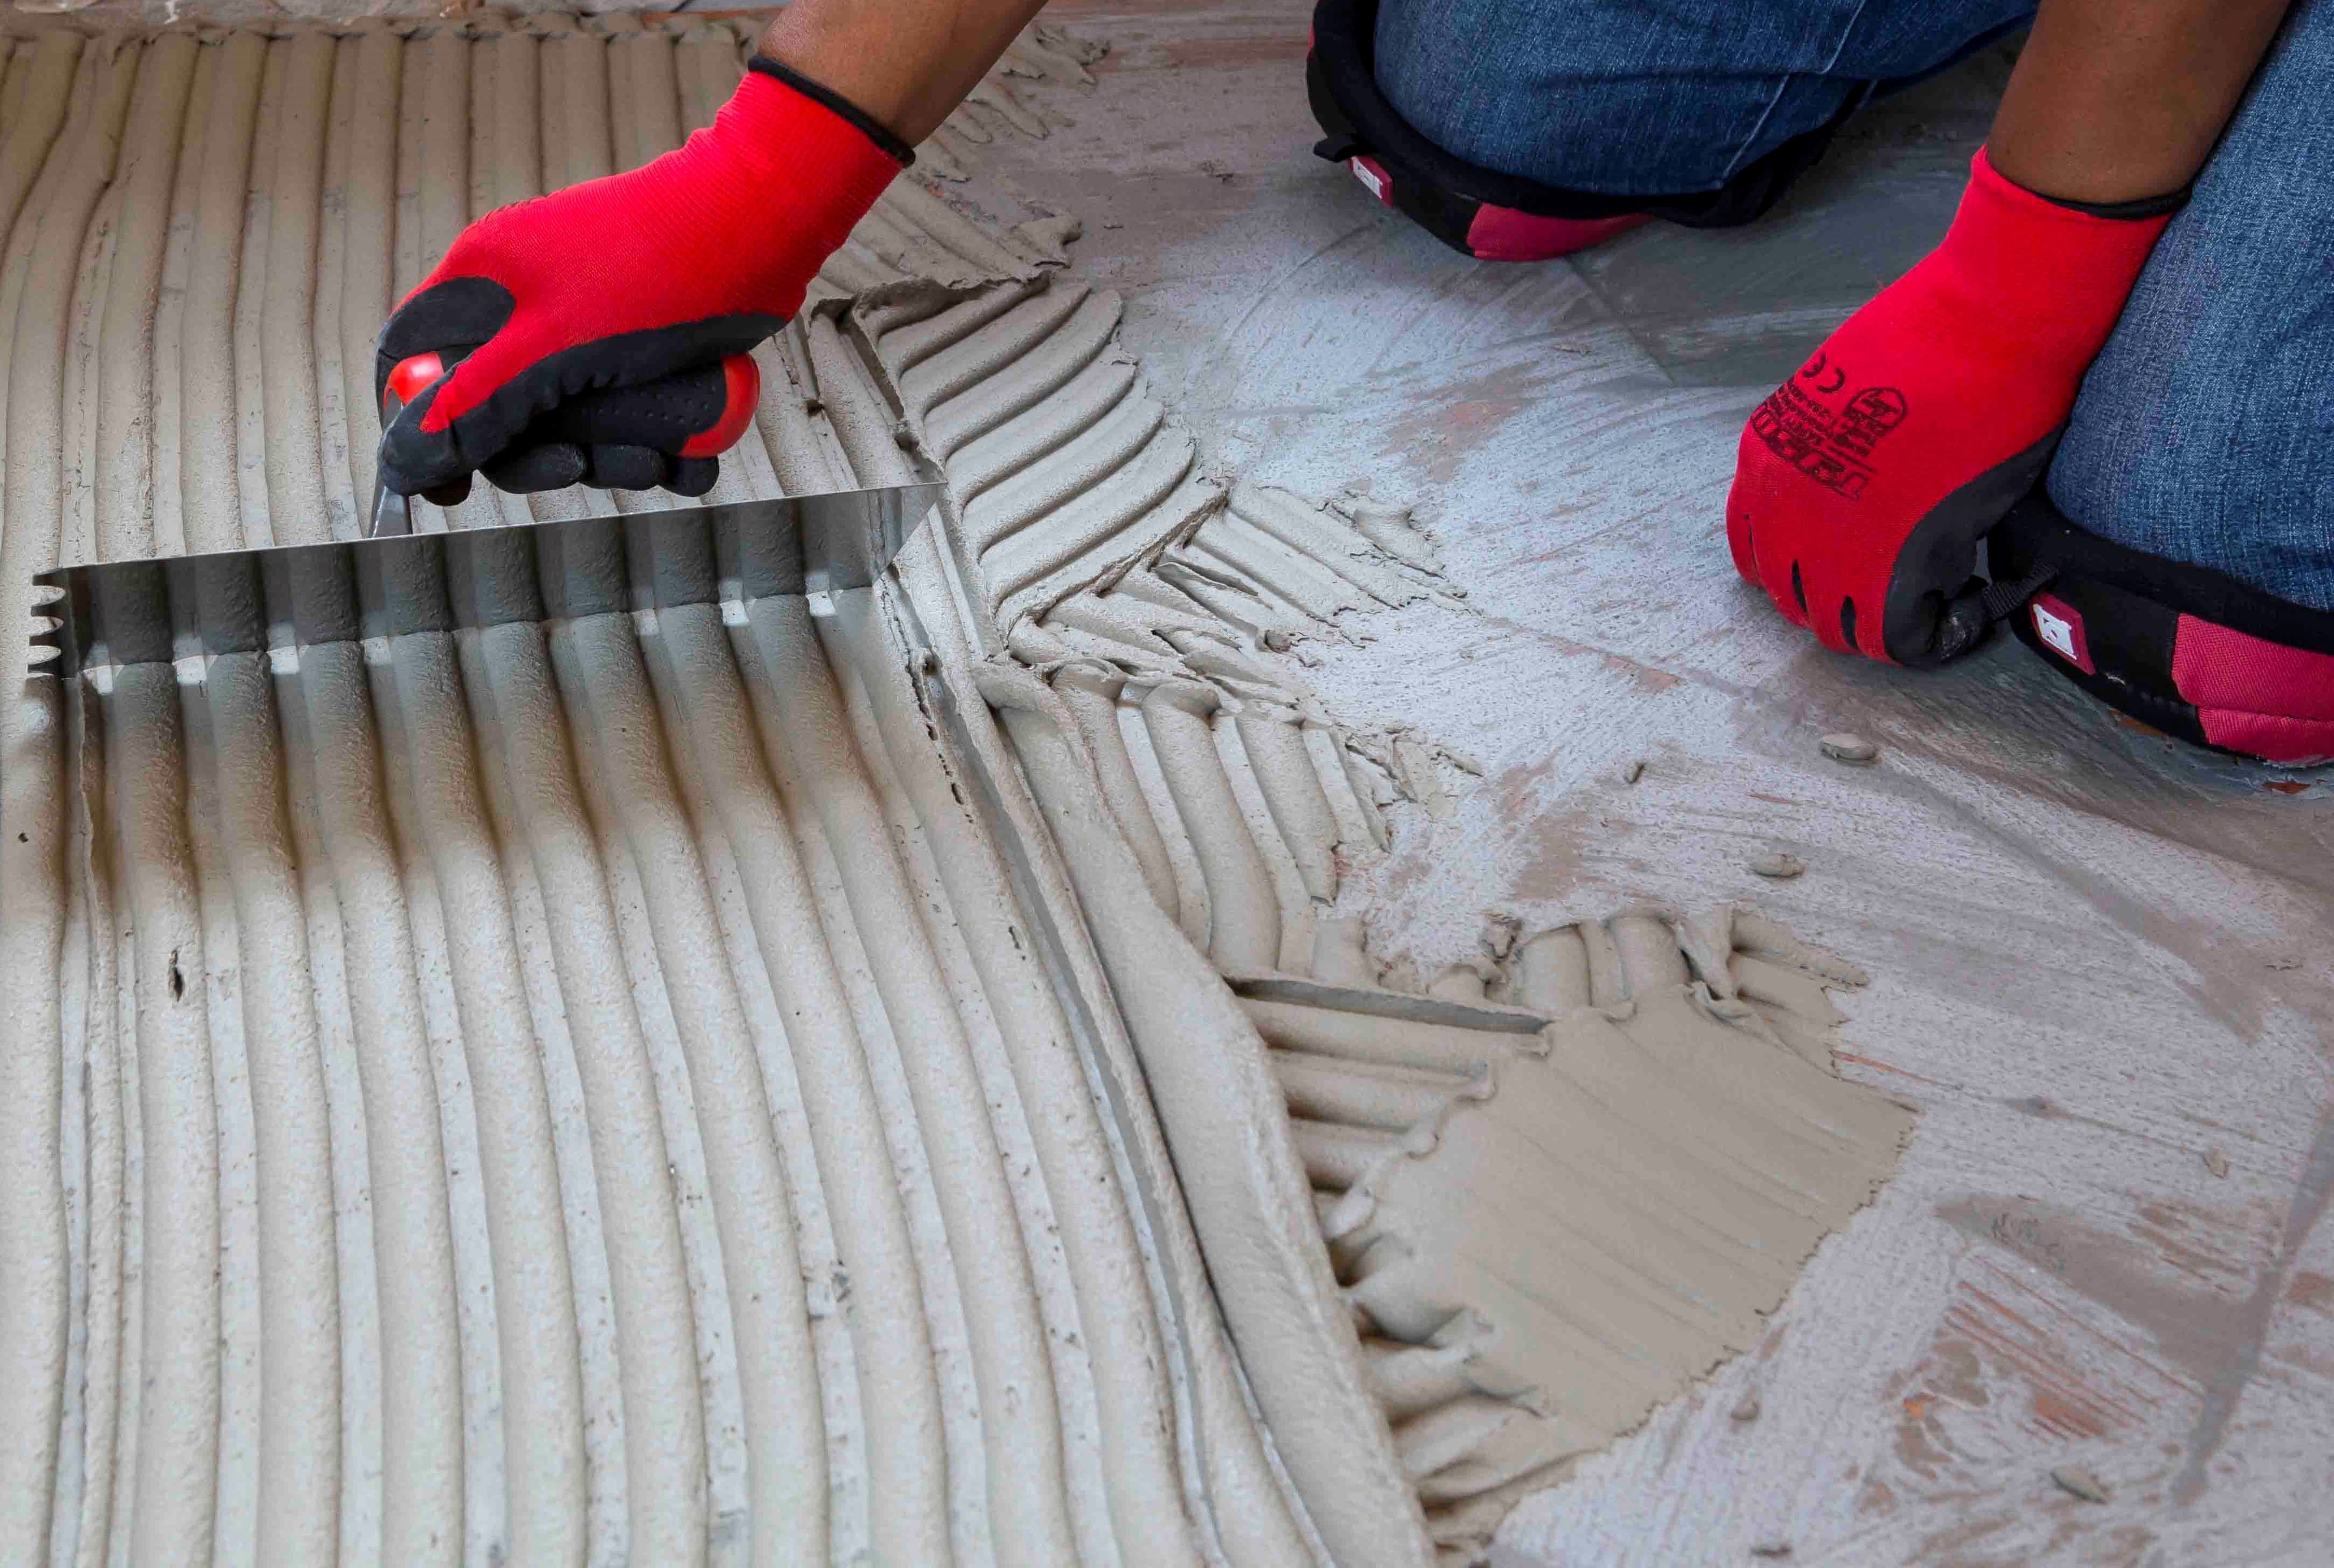
An appropriately notched trowel is indispensable for creating a consistent bed of adhesive, ideally 4mm-6mm for mosaics.
Use a wooden beating block, or a grout float, to press the mosaics firmly into the adhesive. This will promote not only a firm bond, but also a flat surface. Allow the adhesive to squeeze through the joints between the mosaics to create the grout.
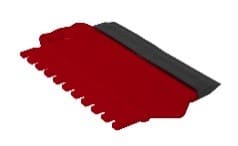
Where necessary, use a grout squeegee to apply additional adhesive to fill in any voids in the grout joints.
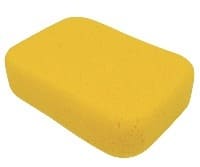
Keeping it clean
A good quality sponge is your secret weapon to remove excess adhesive from the face of your newly installed mosaics. Use one with rounded edges to prevent grout being gouged out of the joints during cleaning. Ensure the sponge is damp, not wet, as excessive water can affect the performance and integrity of the adhesive, potentially ruining the installation
The bottom line
Mosaics’ small size and wide variety of home applications make them a stylish feature in your home. For the best results, it’s important not to neglect attention to detail, as well as the specialised tools and products that are needed to achieve a beautiful and long-lasting installation.
This is applied using a builder’s block brush and ensuring complete coverage of the existing tiles.
The adhesive can be applied once the slurry priming coat is touch-dry (i.e. no visible transfer when wiped or rubbed).
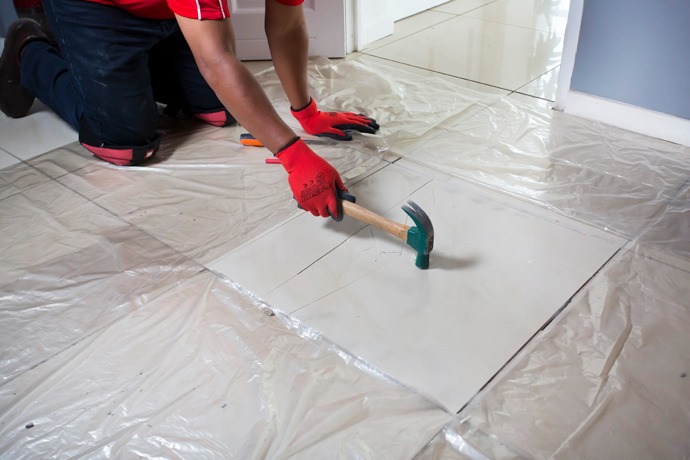
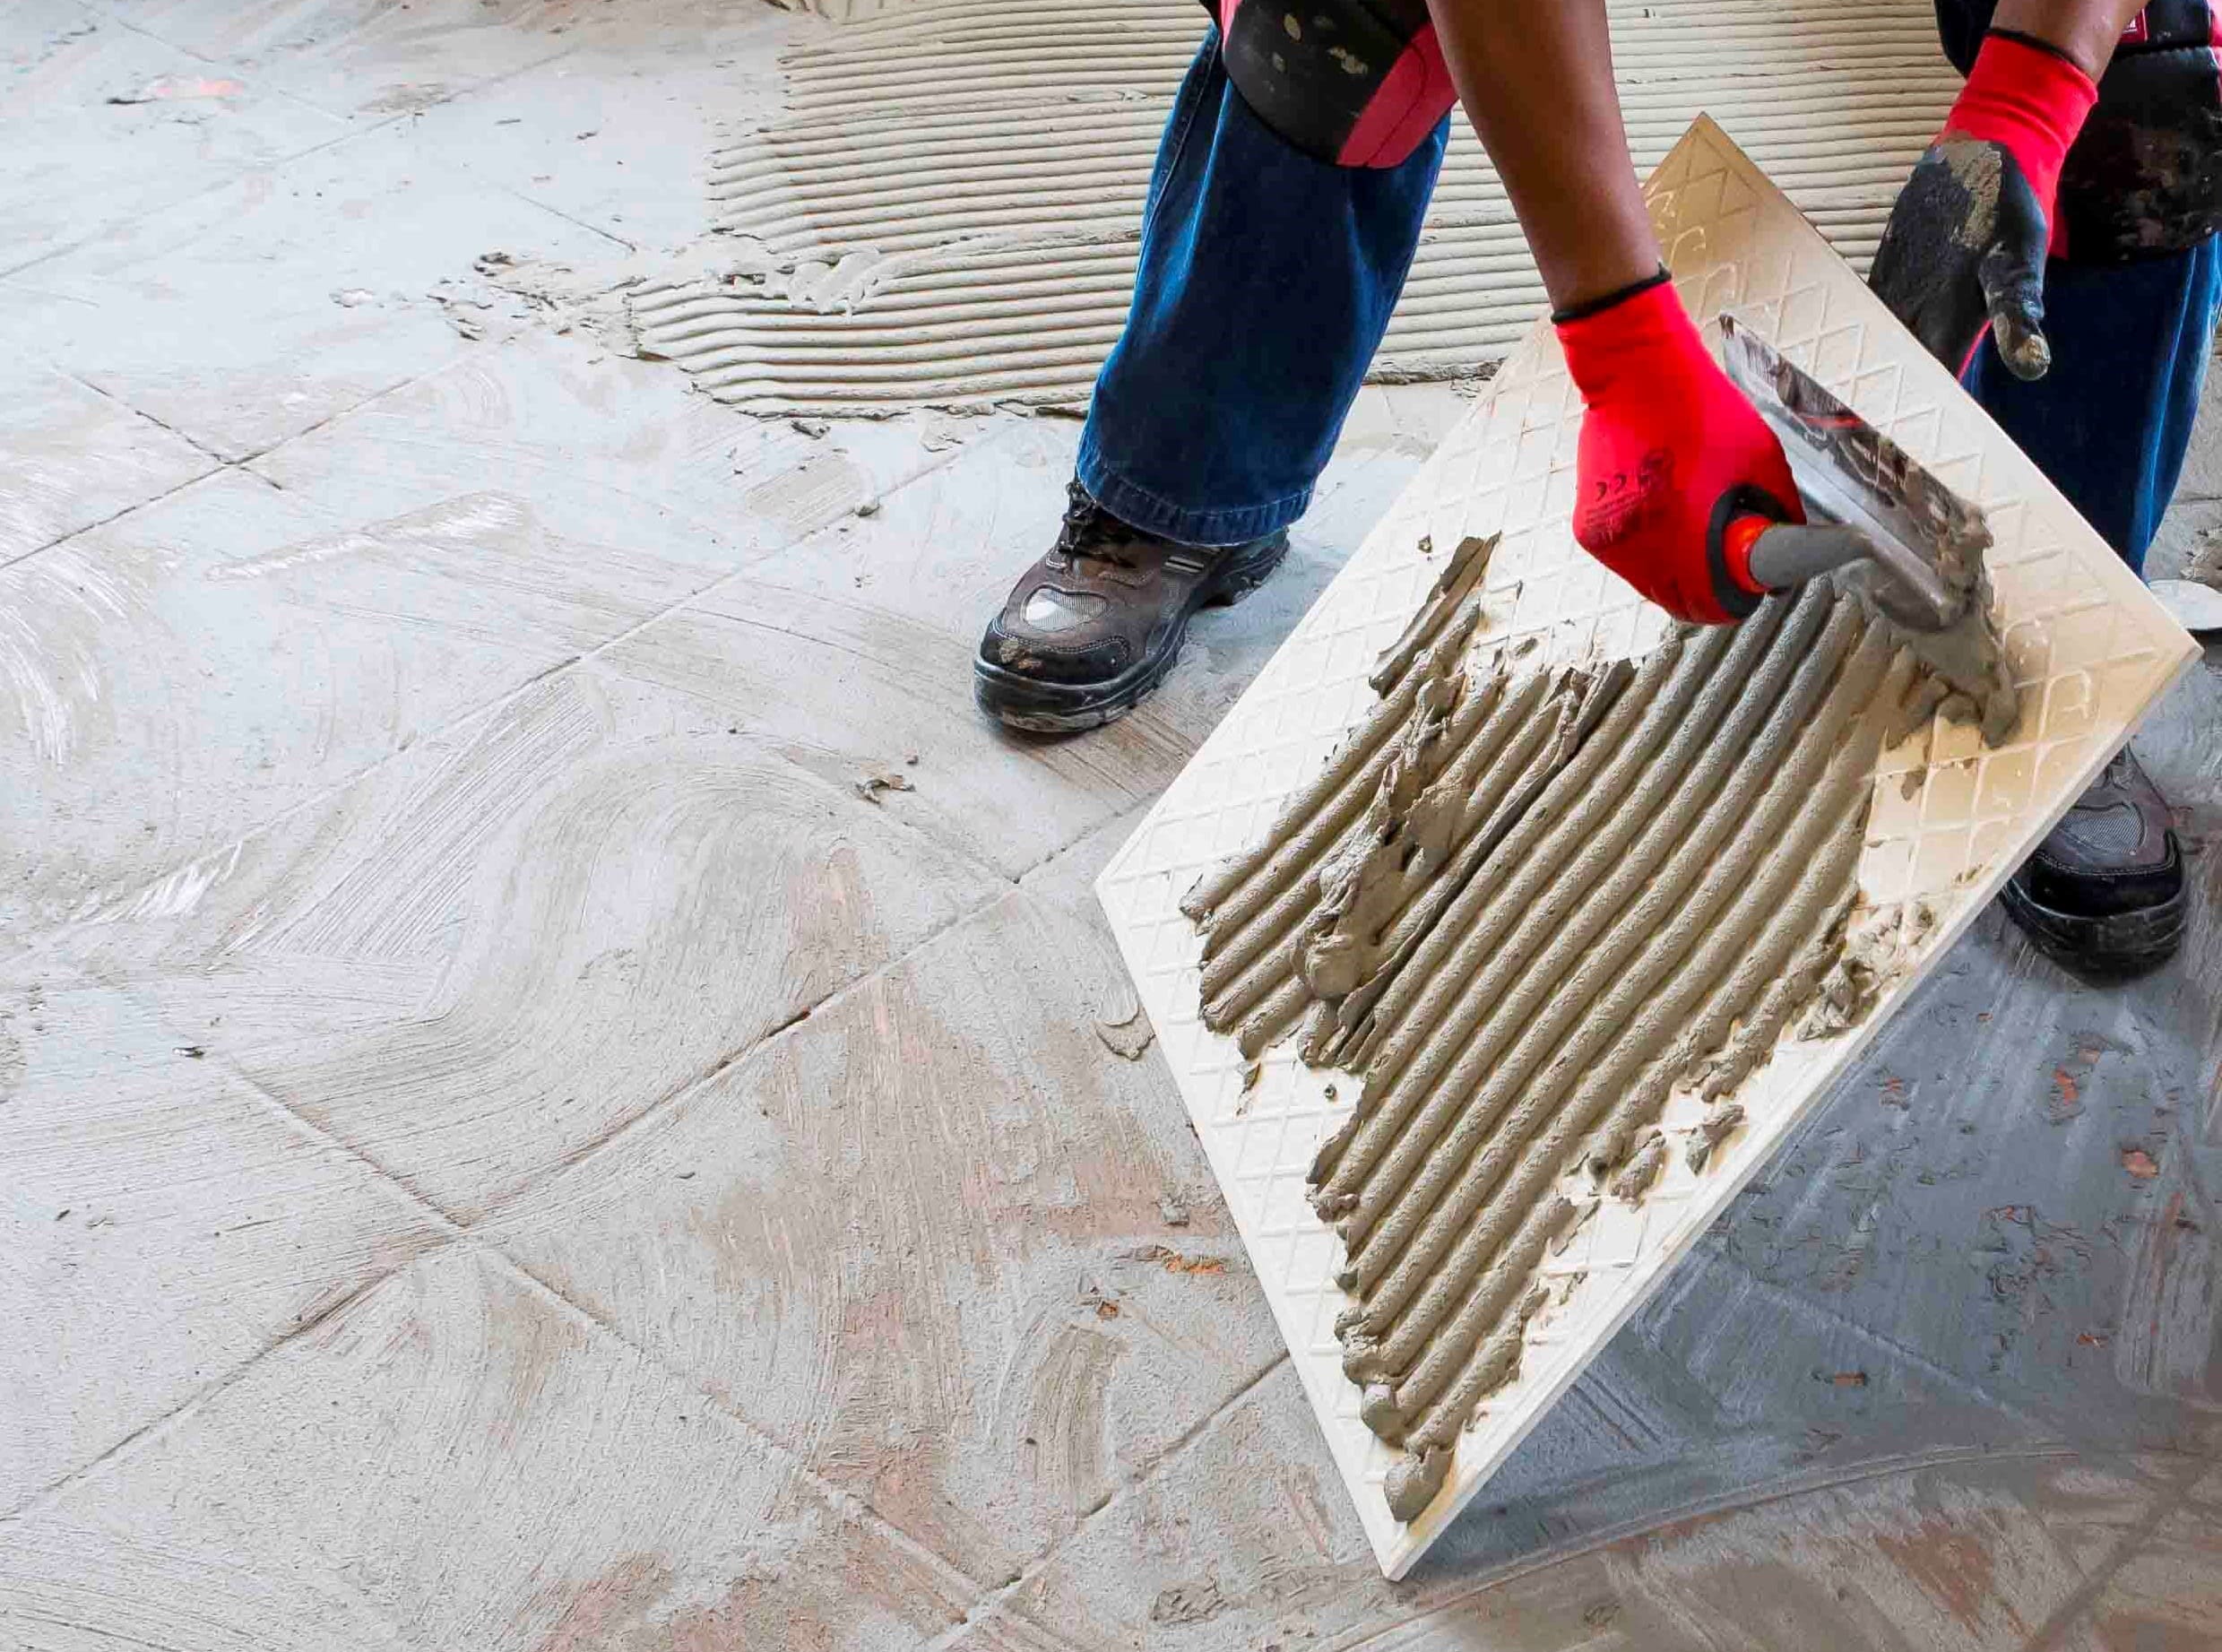
When replacing tiles, it is not always possible to apply the TALFIX directly to the floor, in which case apply the adhesive in a solid bed onto the back of the tile, ensuring complete coverage. Gently trace the notched side of a floor trowel through the adhesive to create ‘ridges’.
Adhesive system
When tiling onto existing tiles, it is important to only use a quick- or rapid-setting adhesive, as the existing tiles will present a dense, impervious surface, and standard-setting adhesives will take longer to dry. Too early trafficking of newly-installed tiles before the adhesive has set sufficiently can result in hollow-sounding or loose tiles.
Use TAL Tile-To-Tile quick-setting adhesive for tiling onto interior surface beds. When tiling onto suspended slabs and for external installations mix the TAL Tile-To-Tile with TAL Bond, replacing the water in the mix. Alternatively, TAL Bond Powder can be added to the adhesive mixing water.
Ensure that there is a solid bed of adhesive at least 6 mm thick beneath each tile.
Back buttering with a thin coat of adhesive may also be required when using large-format tiles to ensure full contact with the adhesive bed.
Grouting
Grouting should not be carried out until the adhesive has set sufficiently to prevent the tile installation from being disturbed during the grouting operation (always refer to the adhesive packaging for setting times). When using TAL TAL Tile-To-Tile, allow a minimum of six hours before grouting.
For interior surface beds, use TAL Wall & Floor Grout for filling tile joints up to 8 mm wide. TAL Quarry Grout can be used in wider joints up to 25 mm wide. On suspended slabs and for external installations, replace the water in the grout mix with TAL Bond, or add TAL Bond Powder to the grout mixing water.
Particular care must be taken to clean the grout off the tile face before it hardens completely. This is especially important when an additive such as TAL Bond or TAL Bond Powder has been used. A tile sample should be tested beforehand to ensure that no grout is absorbed through the glaze or into the tile body, thereby staining the tiles permanently.
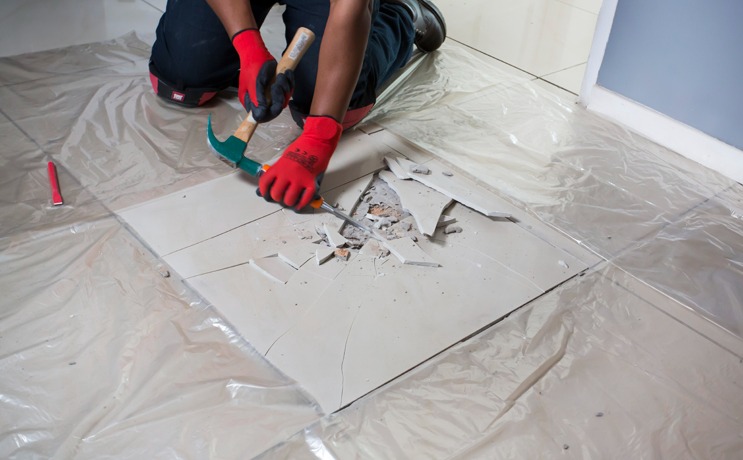
Movement joints
The lack of movement joints in tile installations is a major cause of tile failure. When tiling over existing tiles, the existing structural and movement joints must be maintained in the new tile installation. The movement joints should be at least 5 mm wide and extend through the adhesive and both tile layers.