Tips for tiling around a fire pit
Tips for tiling around a fire pit
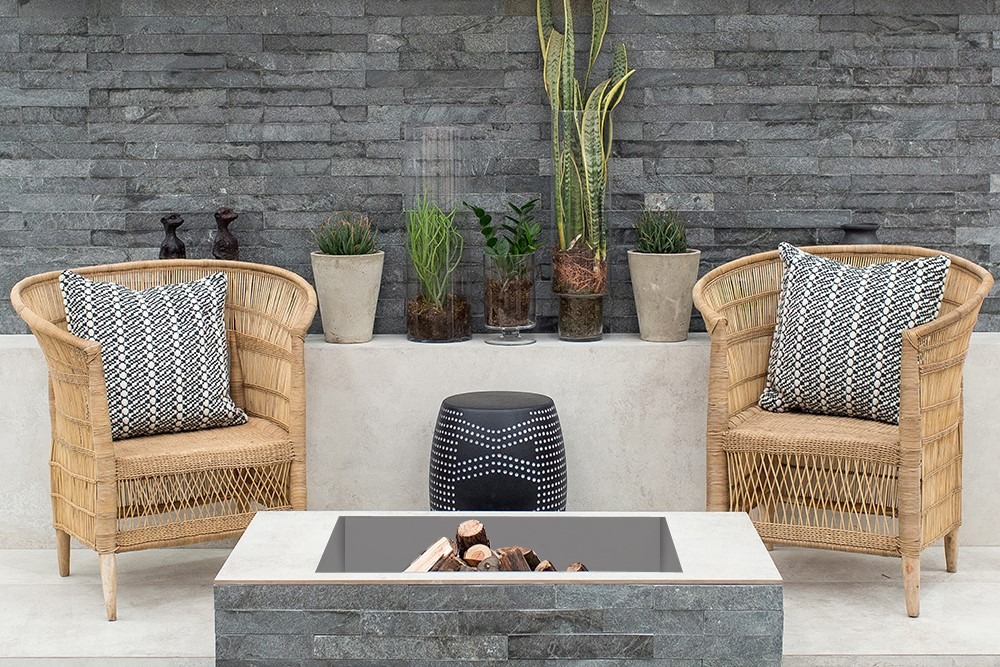
Tile options for a fire pit
There are a number of tile choices for creating a timeless outdoor entertainment area. Natural stone tiles are all unique in appearance and will provide you with a one-of-a-kind floor and wall area thanks to the distinctive colours, patterns and character of the tiles. Tip: Remember to seal these tiles as they are quite porous.
Wood-look tiles are also a great option for outdoors, creating a warm natural look without the maintenance normally required of wooden products. For a modern industrial look, concrete look tiles come in a range of hues to suit your taste.
Always check with the tile manufacturer/supplier that the tile is suitable for this type of installation.
Don’t tile inside the fire pit
It is important to note that you should only tile the outside of the fire pit and around the pit area, and not inside the fire pit, as the elevated temperatures will most certainly result in degradation of the adhesive and damage to the tiles over time. Basically, if the installation area is too hot to touch, it is too hot to tile with tile adhesives.
Getting started with the fire pit project
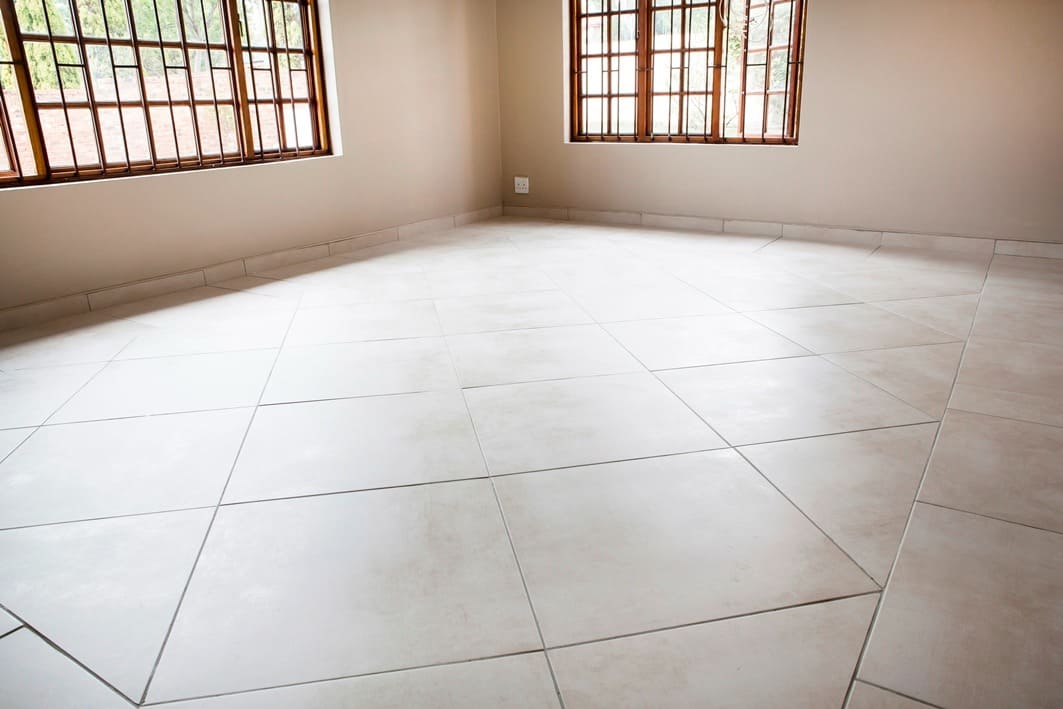
Before tiling your fire pit, ensure that the substrate is firm, clean, dry, and free from dust and contaminants. This is to ensure a good bond onto the substrate.
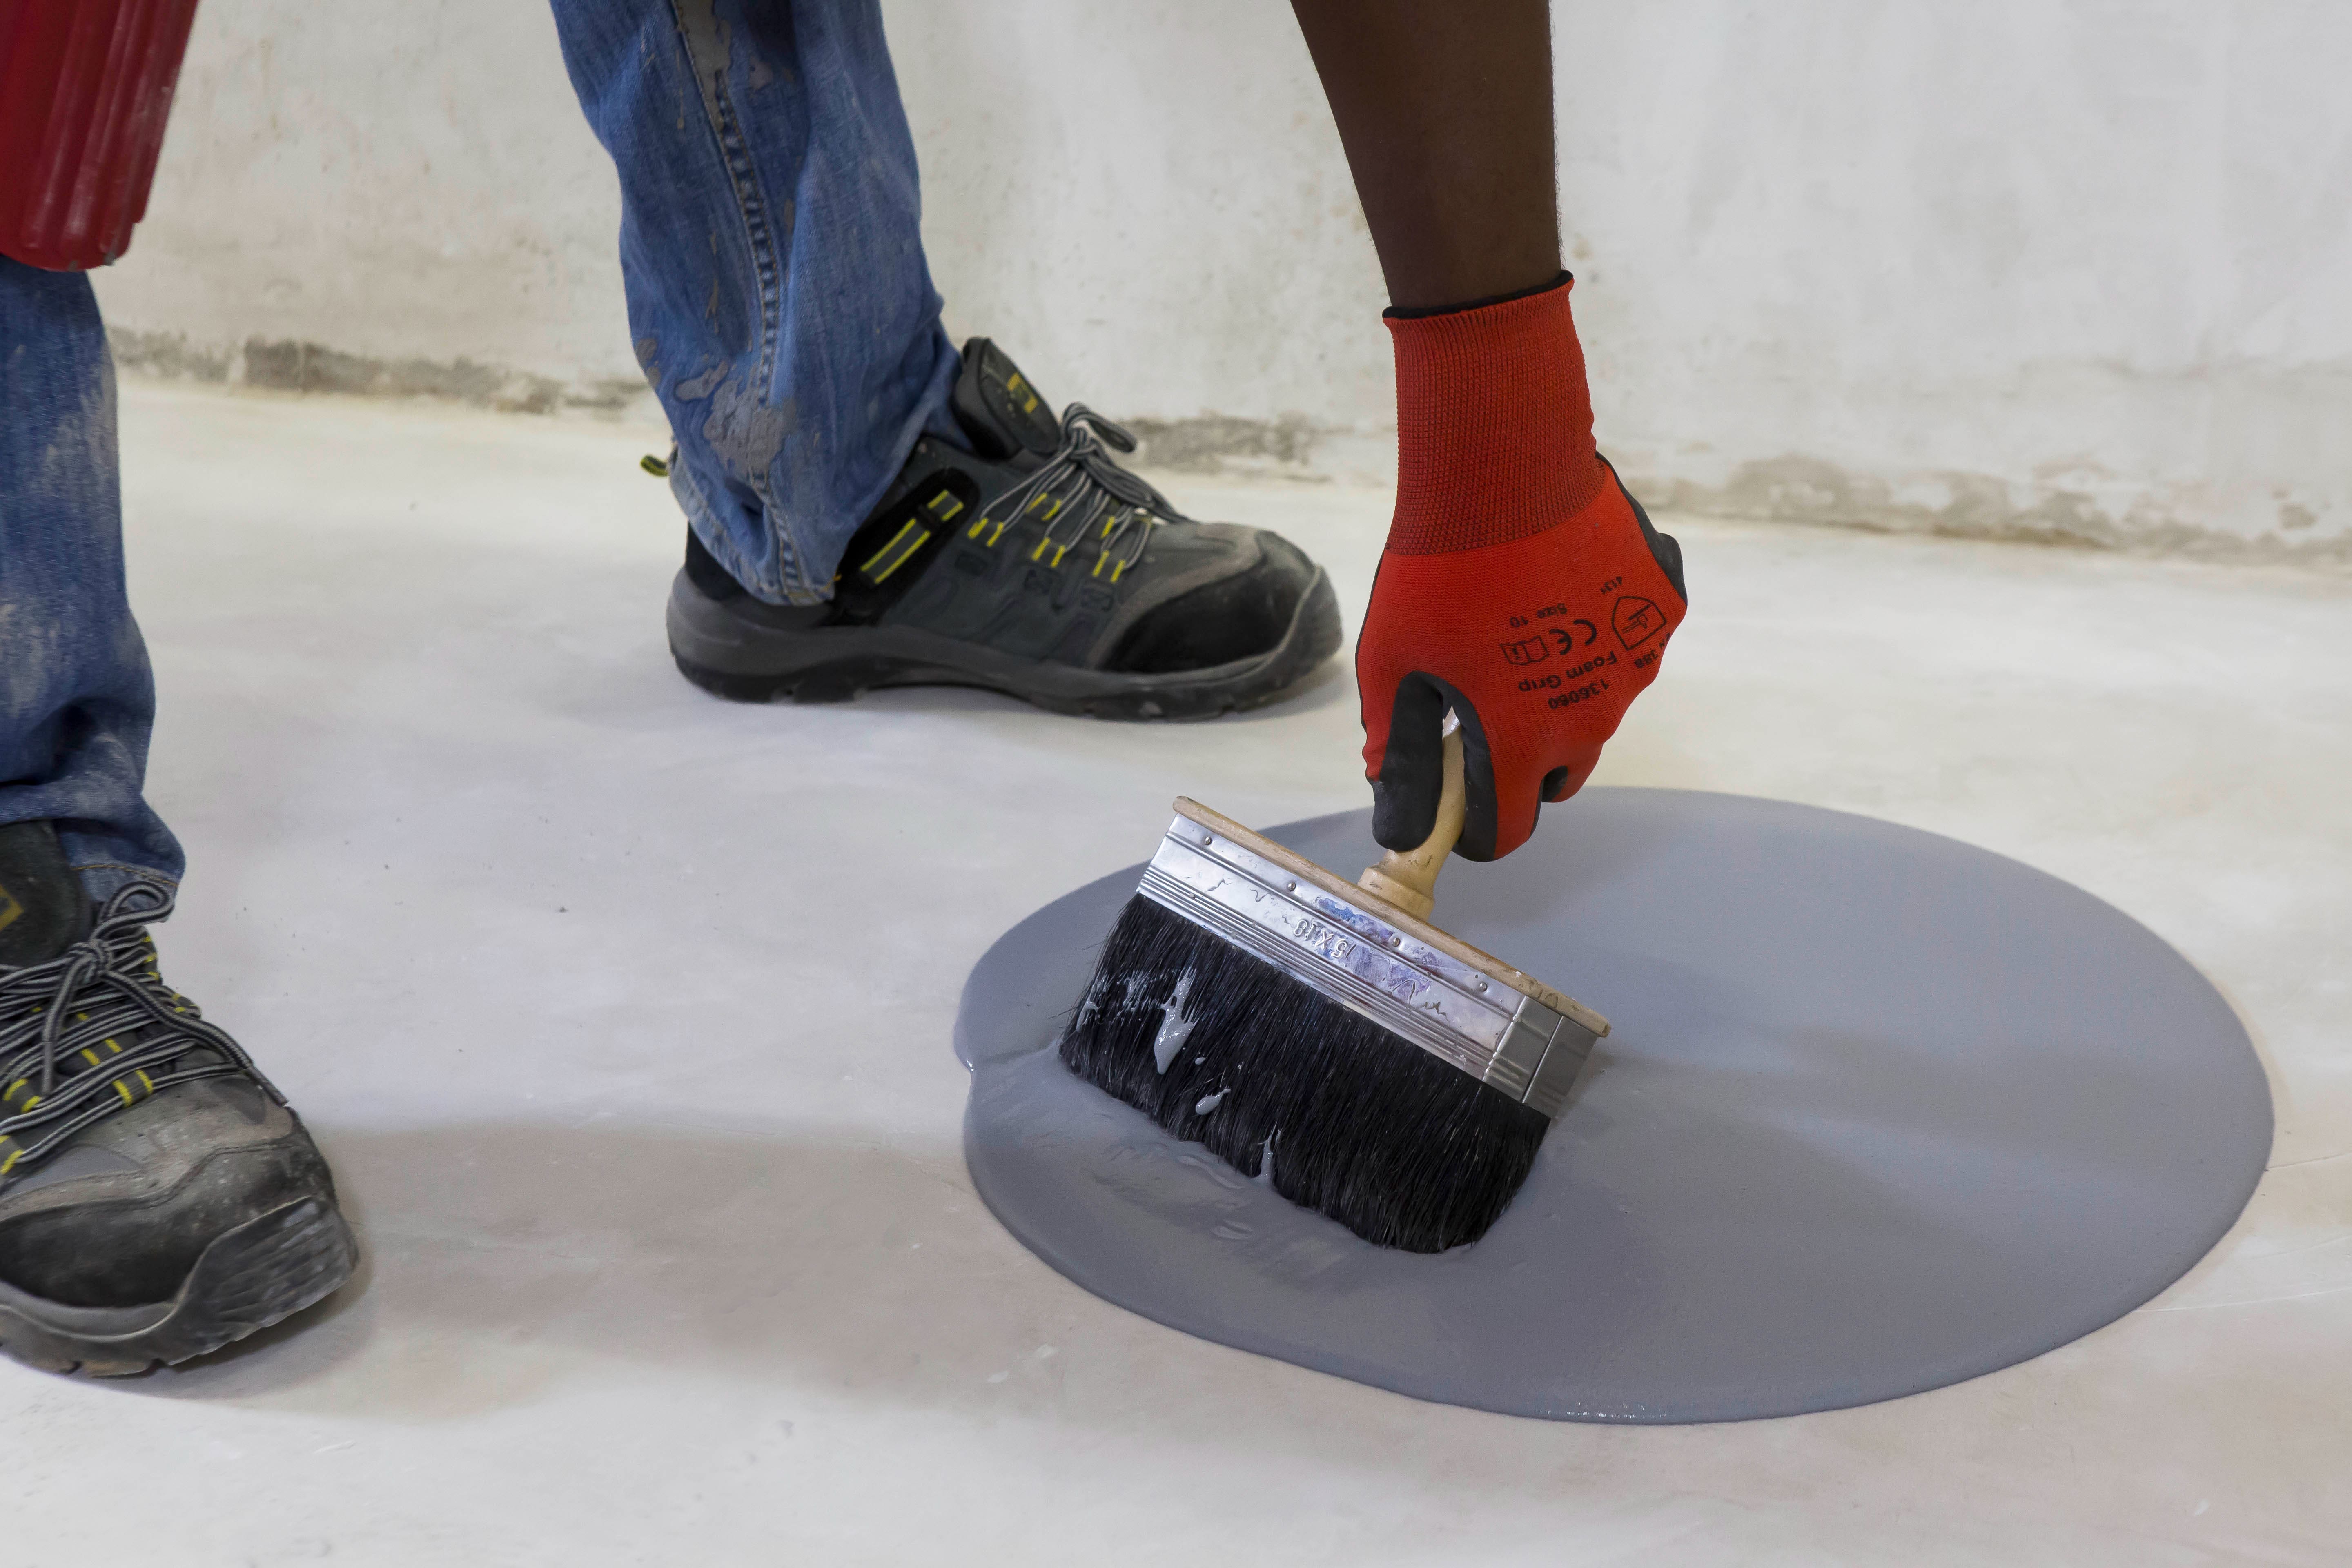
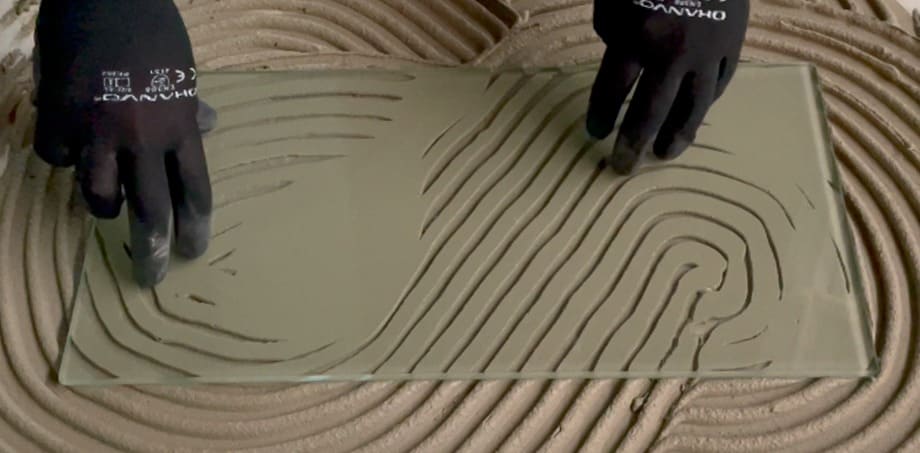
Prime your surface to ensure better adhesion onto the substrate before tiling, particularly if the surface is steel floated (i.e. a smooth, dense finish). Use a primer slurry coat consisting of 1 part TAL Keycoat mixed with 2 parts TAL Keymix powder primer (by volume) and apply with a block brush. Allow the slurry coat to dry before you install the tiles.
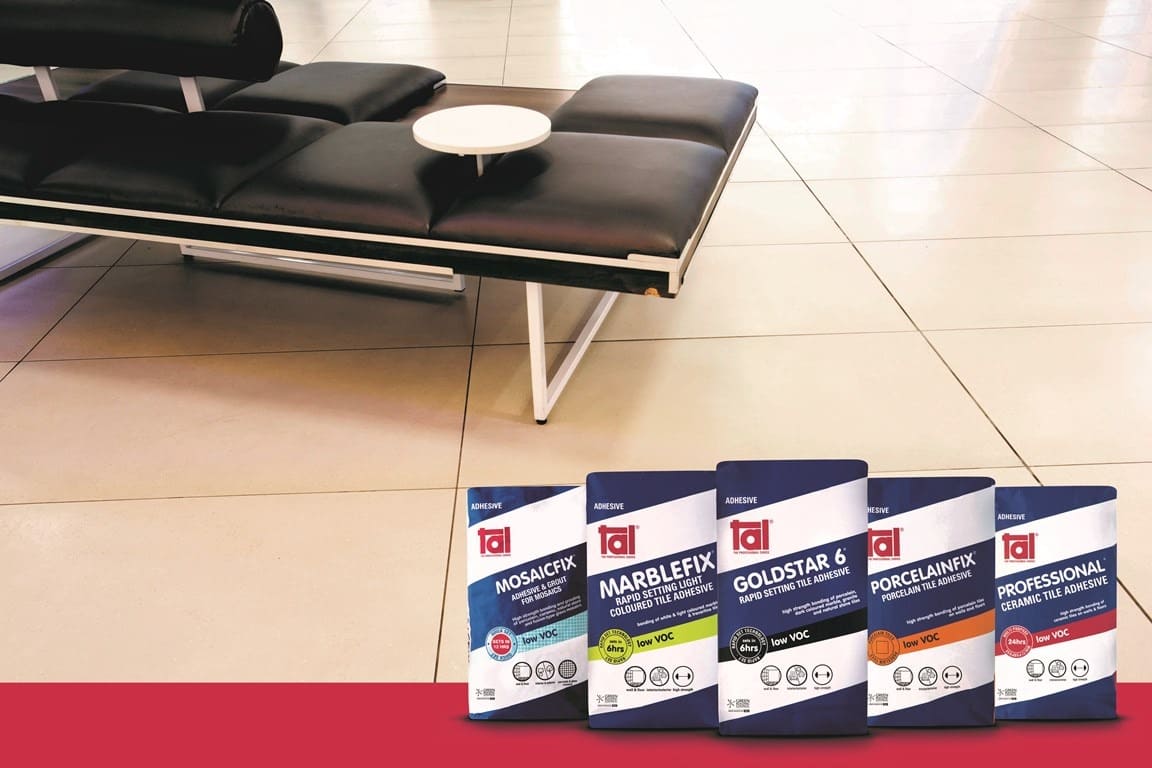
Adhesive systems that can handle the heat of a fire pit
Modified adhesive and grout systems, which can handle the heat and resultant thermal expansion and contraction of the tiles, are important for this type of installation.
Use a high-strength adhesive system, such as TAL Goldstar 6, and use TAL Bond as a total water replacement in the adhesive and grout mix for enhanced flexibility. This adhesive system will withstand exposure to temperatures up to 65°C – 70°C for prolonged periods. If higher temperatures are anticipated, it would be best to use a special heat-resistant, or high alumina cement for your fire pit.
Finishing the fire pit
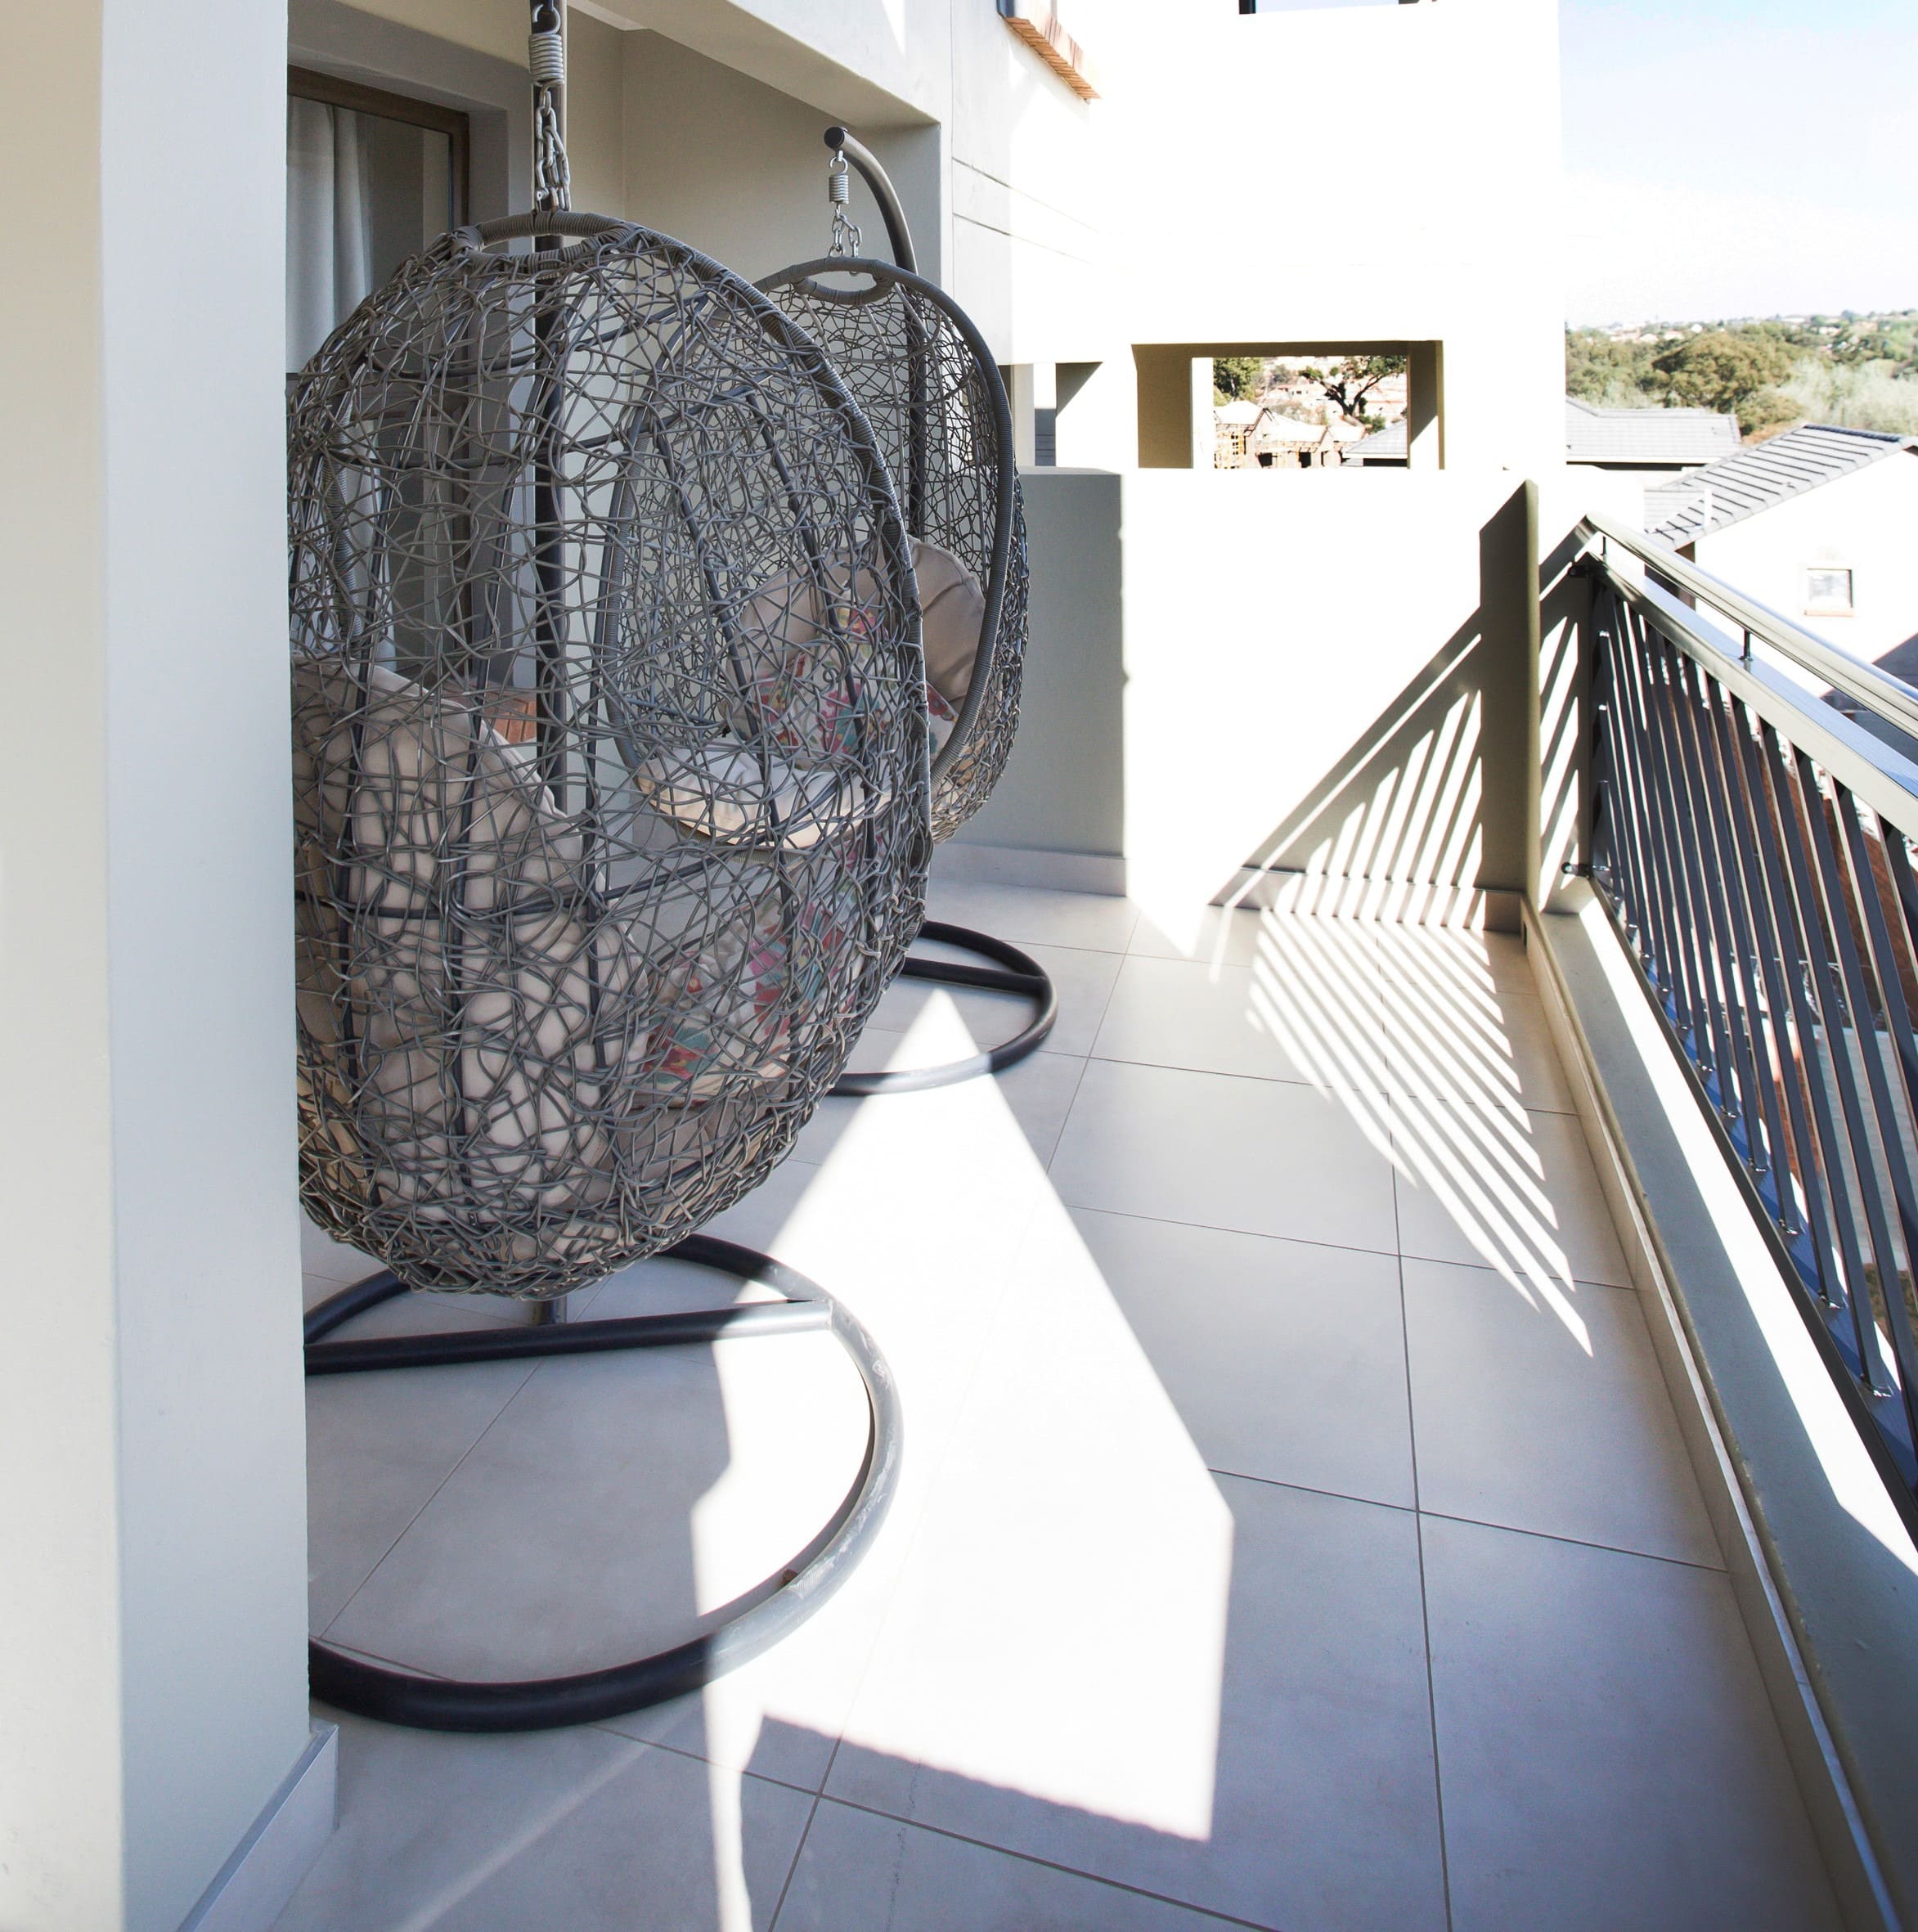
The installation should be allowed to dry for a minimum of 7 days before you light that first welcoming fire. All that’s left is to put out the chairs, and invite your friends and family to enjoy your new fire pit.
If you have any questions, or are in doubt about how to tile your outdoor entertainment area, call our Technical Advice Line or send us an email.
What type of tile adhesive do you need
- Different types of tiles require different tile adhesive. For example, a porcelain tile requires a faster setting tile adhesive than a ceramic tile. Use our adhesive selection guide to make sure you have the right adhesive for your installation - Adhesive selection guide
- See the attached budget to calculate how much tile adhesive you need for your installation.
Top Tip: Add on 10% for waste. The tile adhesive consumption will increase if your floor isn’t level, or if you are using large format tiles
What colour grout and how much to buy
- Grout is available in a range of colours, use our handy guide for help with choosing the right grout colour for your installation - Guide here)
- Use our grout calculator to calculate how much grout you need based on the tile size and the area being tiled. - Calculator here
Top Tip: Use darker coloured grout on the floor as it hides the dirt better. Light coloured grout is better suited to walls.
Additional products that may be required, depending on your installation:
Priming System
- This is required when tiling over smooth or dense surfaces, such as existing tiles.
- A slightly powdery or highly porous surface should also be primed, to ensure a good bond and prevent the porous substrate from leaching the mixing water out of the adhesive.
- For more information on priming, read the 7 reasons for priming - 7 reasons for priming
Additive
- If you are tiling outside, in a wet area such as your shower enclosure or kitchen backsplash, or where some flexibility is needed, i.e. upstairs or floors with floor heating elements, you will need an additive in the adhesive and grout to prevent lifting and cracking of tiles.
- When used in the grout, an additive will also limit water ingress into the grout, inhibiting mould growth or grout that flakes and comes out of the tile joints.
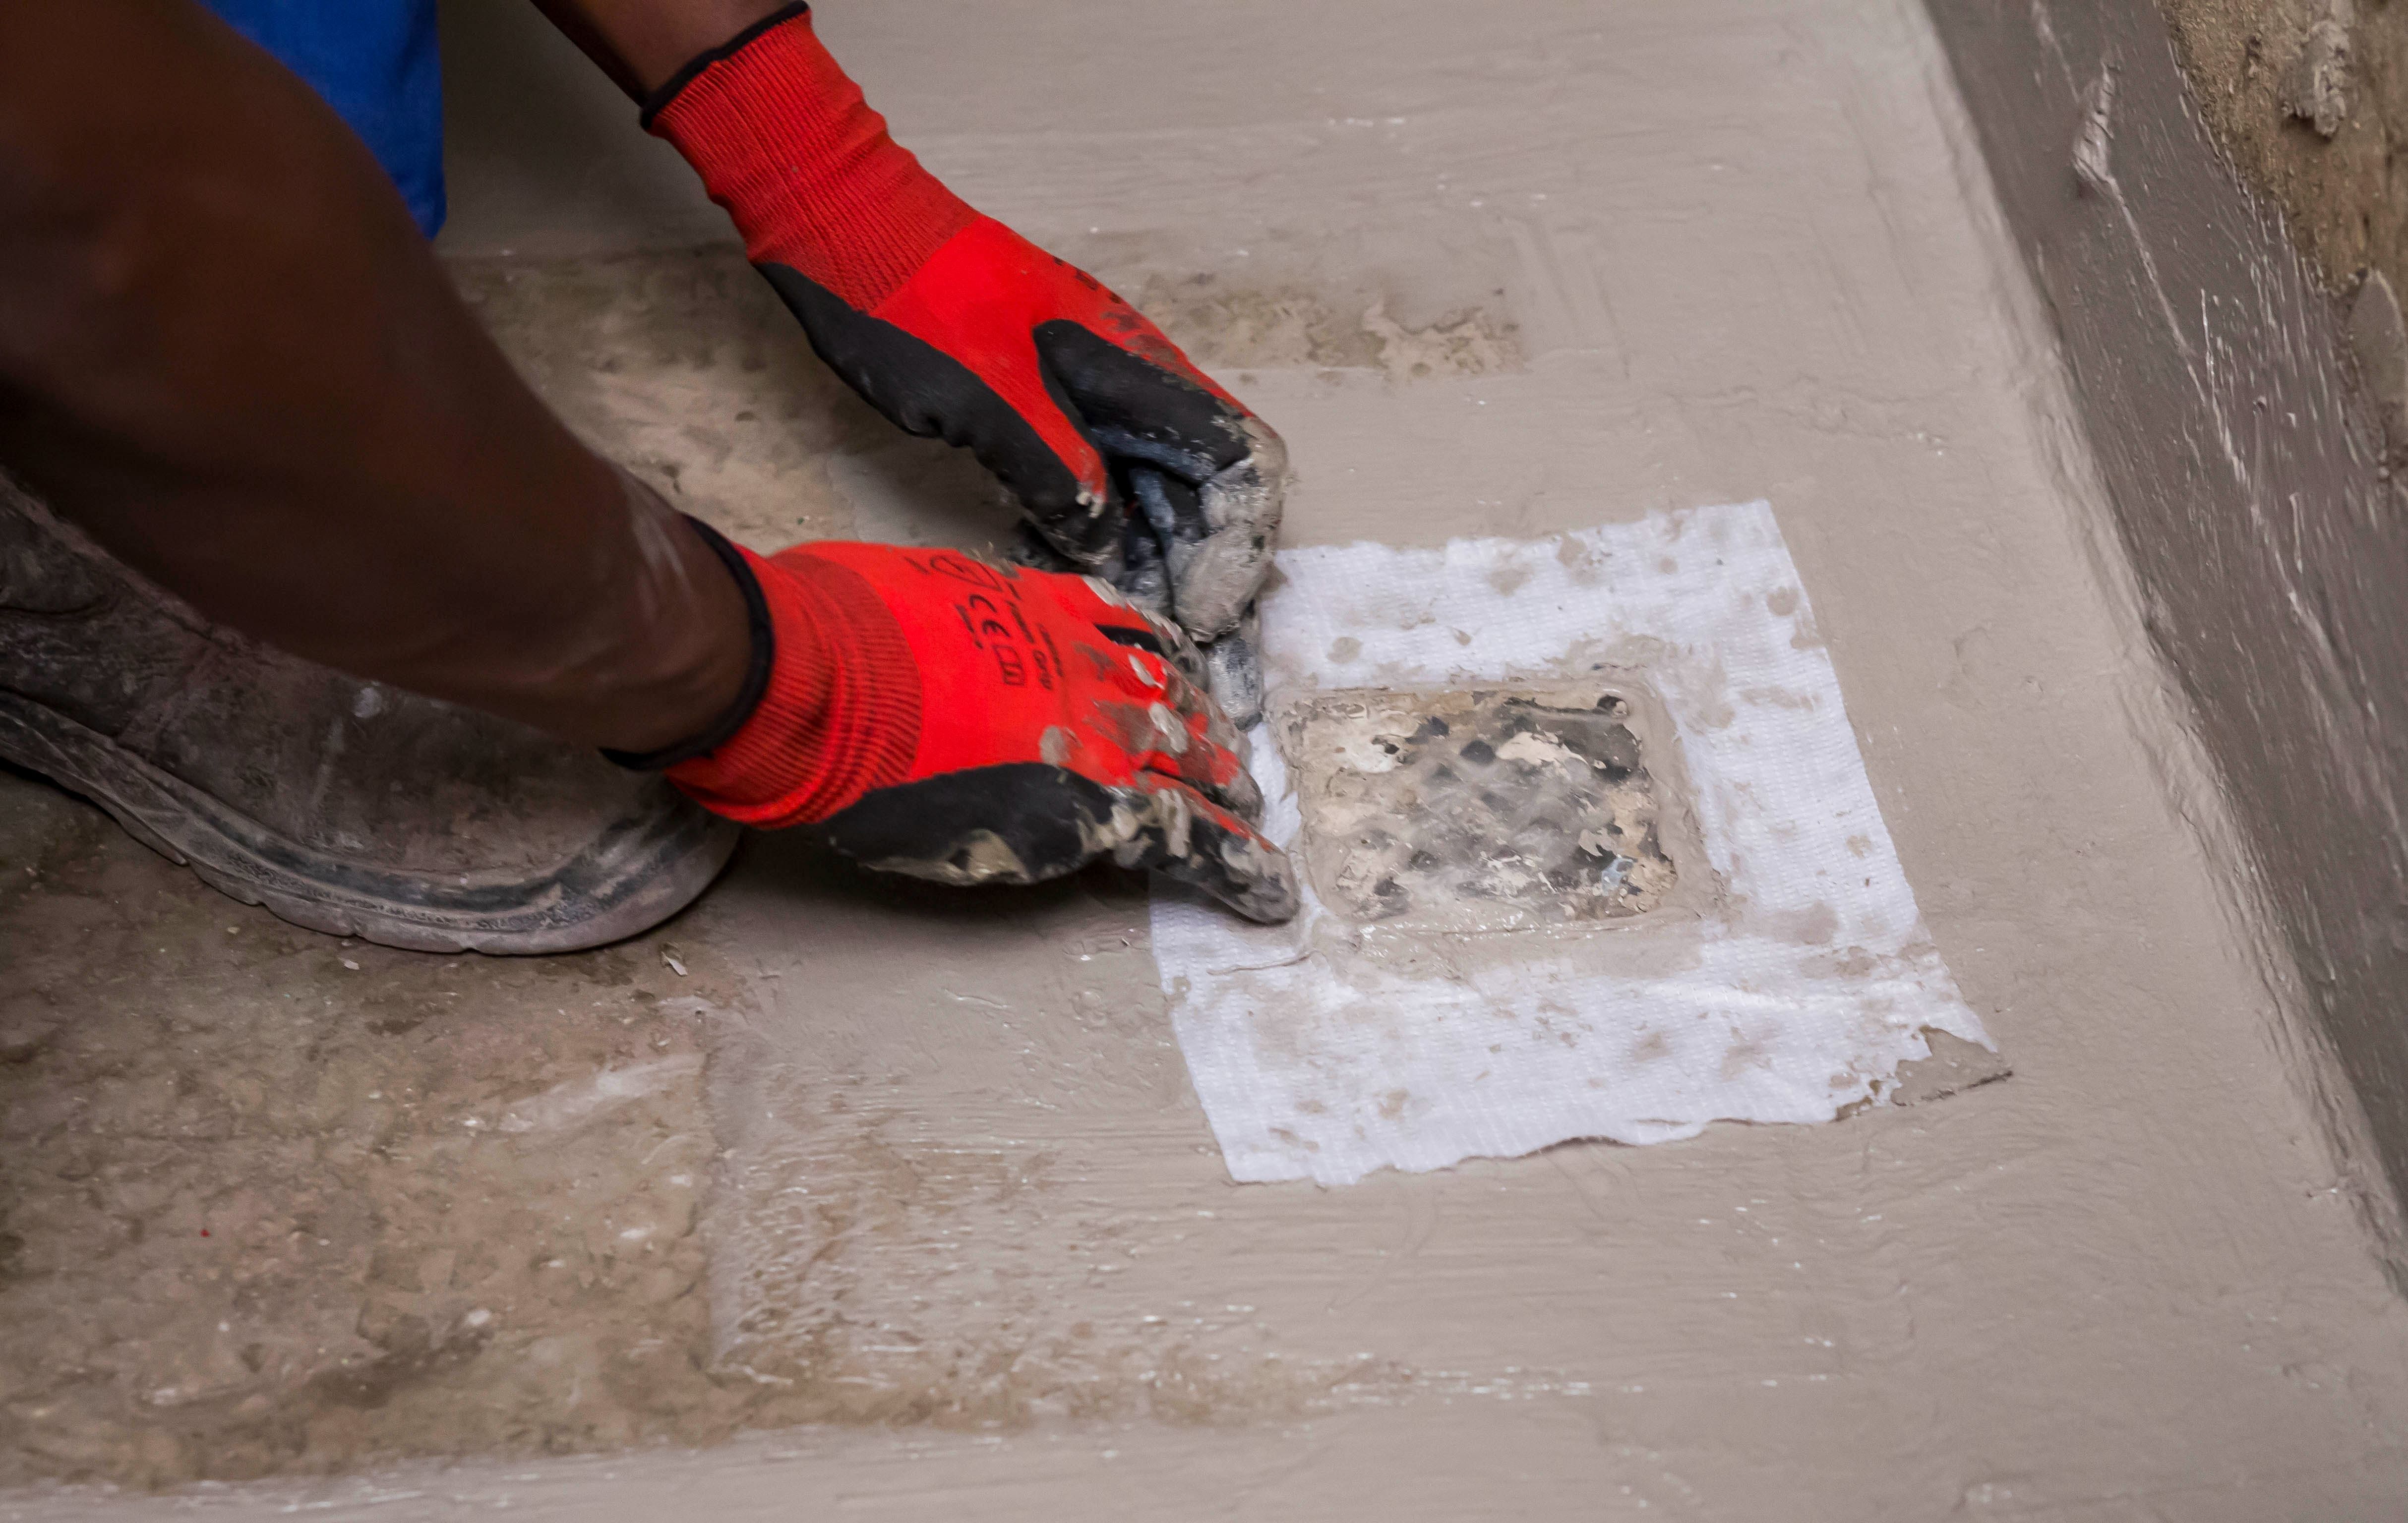
Waterproofing Compound
- If you are tiling inside a shower or on an upstairs balcony, you will need a waterproofing system as tiles are not waterproof.
- Be sure that the waterproofing system is compatible with the tile adhesive.
General Tips:
Porcelain tiles are generally more expensive than ceramic tiles and require a specialised tile adhesive.
Glass tiles, mosaics and glass ‘subway’ tiles are very brittle and therefore require a flexible adhesive and grout system to help prevent cracking of the tiles.
The living areas and bedrooms are generally cheaper to tile versus a shower or outside area, as these areas will require additional products such as waterproofing compounds and additives for the adhesive and grout.
Don’t forget that if you have floor heating elements, additives will be required in the adhesive and grout to allow for the thermal expansion and contraction associated with these.
Always read the instructions on the product packaging before using them. If you have any doubts or queries, visit our website www.tal.co.za or call our Technical Advice line on 0860 000 TAL (825).
Download our handy budget planner here to help plan your budget for tiling materials. (Budget planning for tiling PDF)

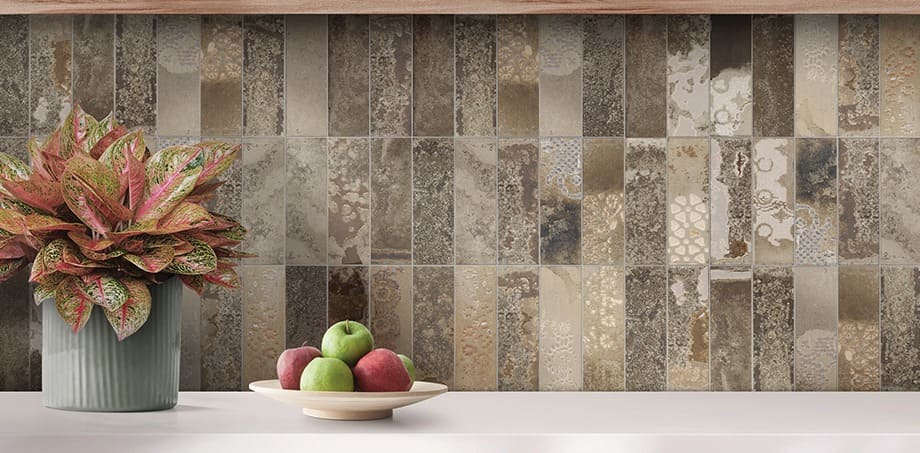
2. Herringbone chic
Characterised by tiles set in a zigzag pattern, this pattern is a timeless choice that adds a touch of classic elegance. Room effect: A versatile layout that suits various styles, from traditional to contemporary. It's a popular choice for accent walls and splashbacks, and for entrances, hallways, and living room floors.
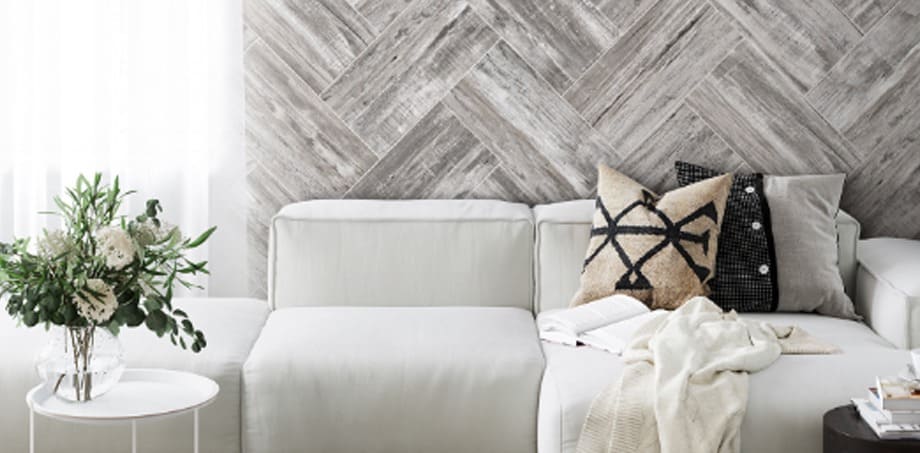
Wood-look tiles used on an accent wall to create a soft and textured look.

Metro tiles arranged in a herringbone pattern for a modern kitchen splashback.
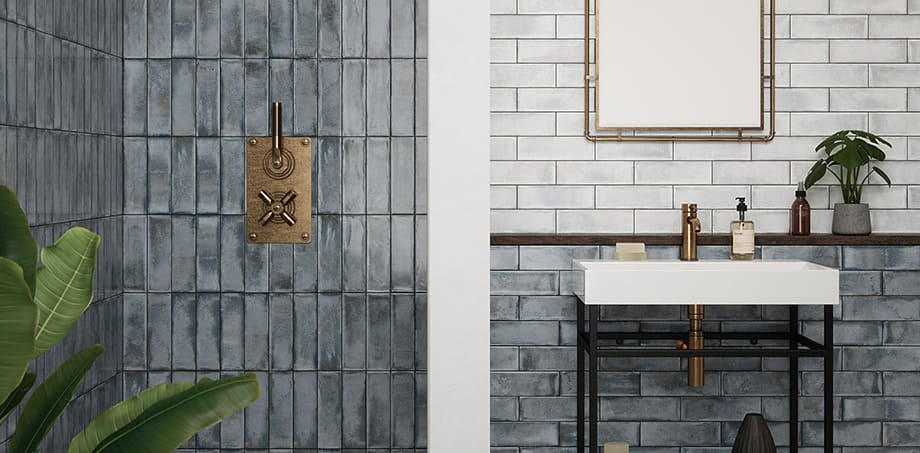
3. Vertical stacked bond pattern
Metro tiles are versatile for creating contemporary looks. Room effect: Also known as subway tiles, they can be arranged in a vertical stacked bond pattern, or a horizontal brick/running bond pattern for a contemporary look.
4. Hexagonal honeycomb
Hexagonal tiles arranged in a honeycomb pattern create a chic and contemporary design. Room effect: This layout works well in both small and large spaces, adding a geometric and trendy feel.
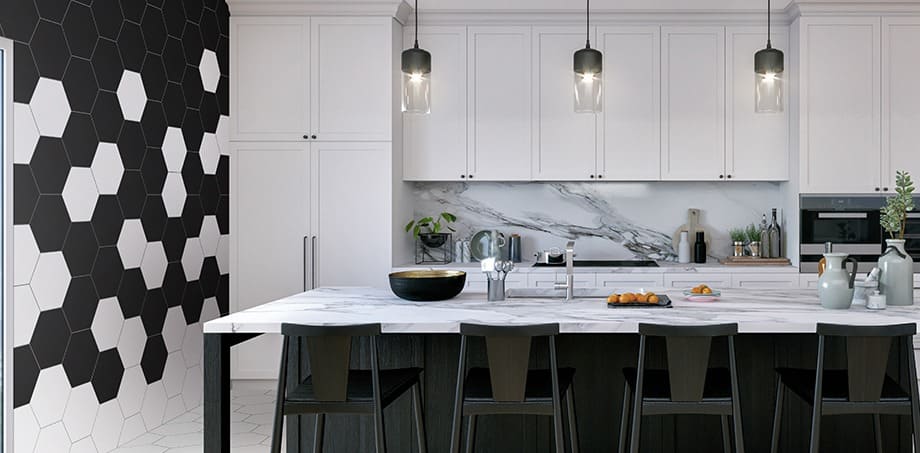
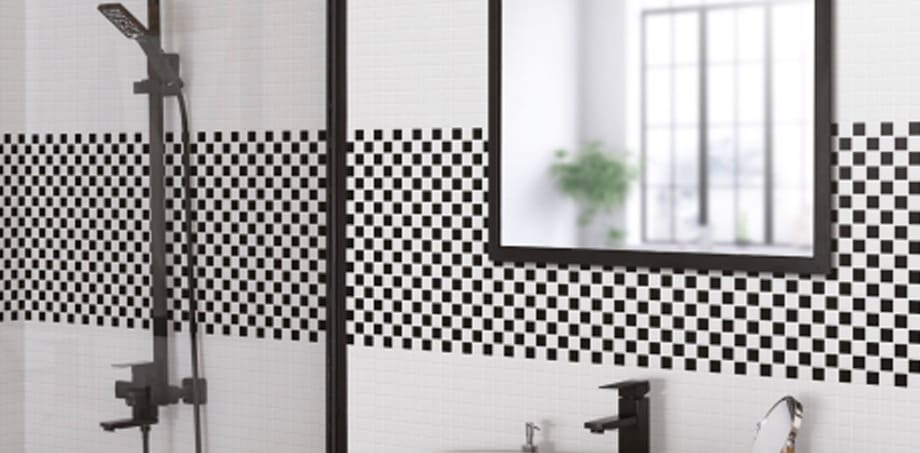
Spot tiles have been used, where white tiles are placed randomly between the black tiles
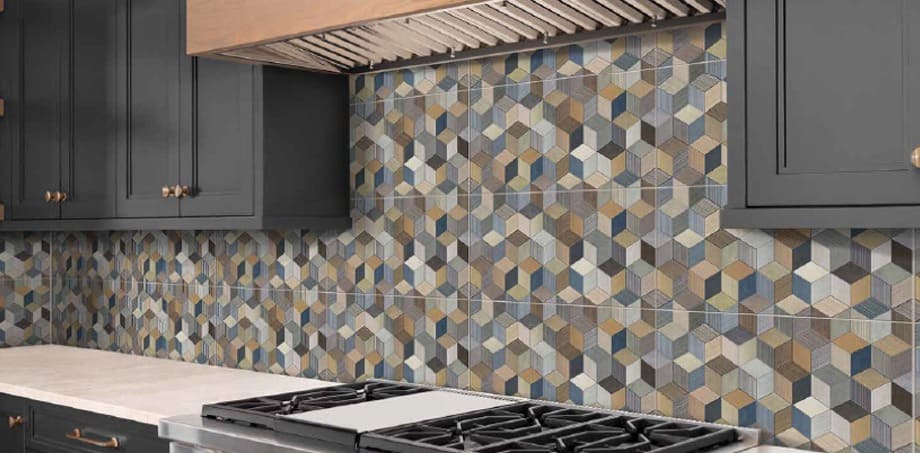
A popular tiling trend is the use of different shaped tiles, not just because they’re appealing to the eye, but all that’s required to change a pattern is to change the colour of a handful of tiles. Try not to overwhelm the space with too many conflicting patterns. Instead, keep your design simple. The effect is still a powerful one, but not one that will detract from the eye. It’s a trend that’s destined to grow as new shapes are introduced – triangle and rhomboid, for example.
Another big walling trend is mosaic. Often considered the domain of artisans, mosaics are understandably a little intimidating. Fortunately, ready-made mosaics are readily available, to which our only advice would be to consult an expert on correctly installing mosaics to walls and floors. Watch our video here.
The alternative is to use small sections of various colours, hues or materials, rather than a full installation. With little effort, the use of these sections or full mosaic sheets between other tiles can really accentuate a space. It’s this technique as well as the use of colour that will dominate future tiling trends.
Do you have what you need?
Now that you have a view of some of the most popular layouts used in the industry, you’re almost ready to go. Before you do, it’s important you use the right materials and equipment to ensure the best results the first time around. Different types of tiles, as well as where they’re being installed, will dictate which adhesive system is required – each fulfilling a specific function.
Should you need DIY advice, or assistance with substrate preparation, screeding, tiling installation or waterproofing, we’ve put together a comprehensive selection of guides for you. Check out any one of our tiling-made-easy guides. Remember, the choice of grout colour also significantly impacts the overall aesthetic. Consult our grout colour chart to make sure you enhance your look.
For technical advice please contact our experts on 0860 000 TAL (825) or email: [email protected]
Photo credits: www.johnsontiles.co.za