Why you need to waterproof a tiled shower
As the rainy season raises its head, you may come to realise that your balcony was not sealed or waterproofed correctly. Carrying out the proper background preparation procedures in waterproofing exterior suspended areas before tiling takes place is essential. This ensures the prevention of water leaking through grout and adhesive, which can cause tile failure if it seeps into the substrate or lower levels. The result is water damage shown on ceilings and walls of the levels below a balcony or terrace. It must be noted that this could also happen it the water outlet on the floor of the outside tiles area is not draining properly, thereby flooding the balcony.
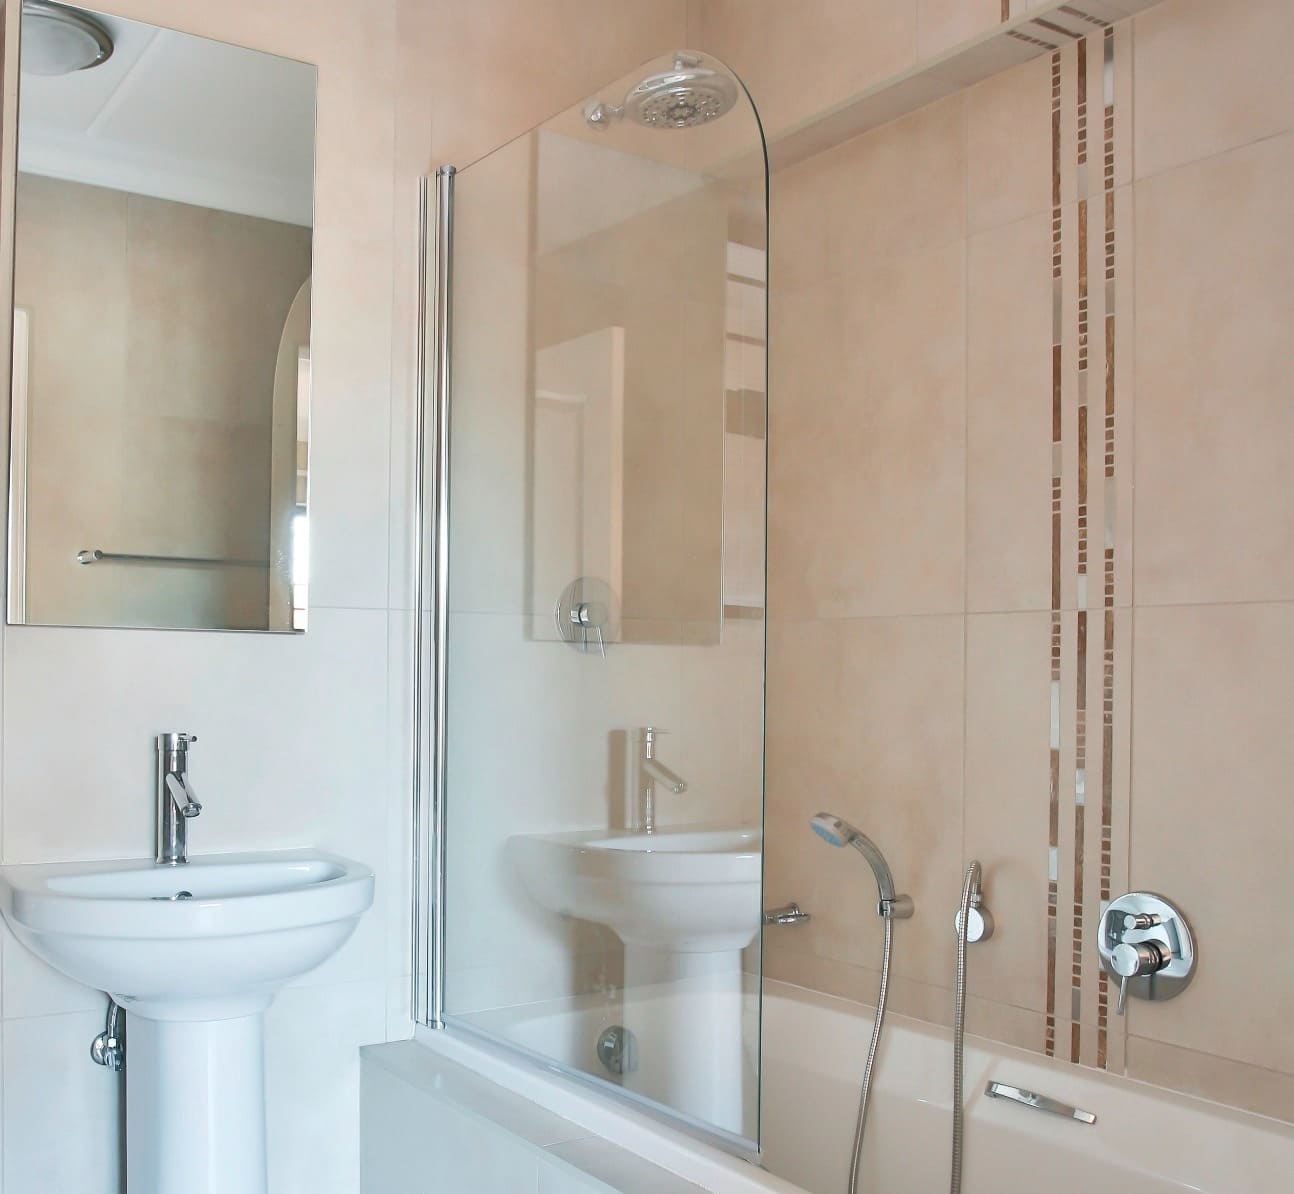
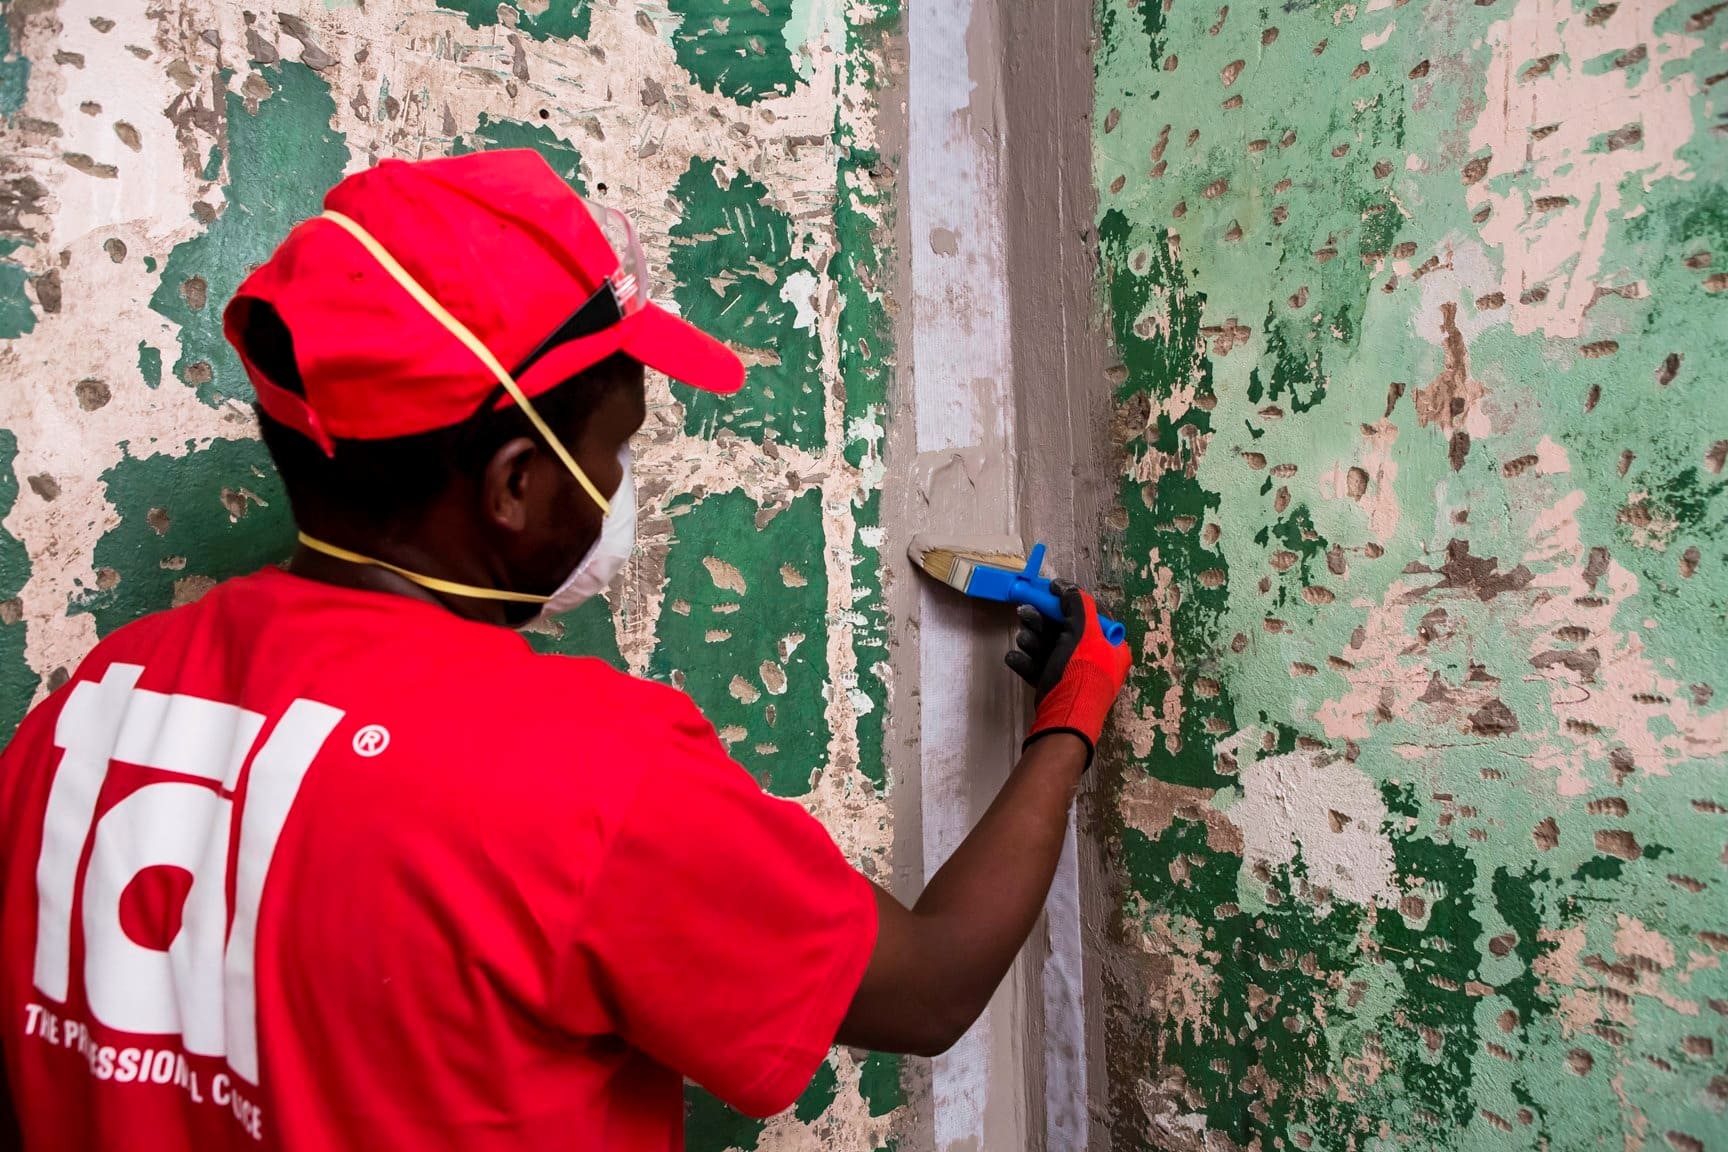
- When contemplating a renovation of your bathroom that includes installing a shower cubicle or above-bath shower, it is important to waterproof this ‘wet’ area before tiling.
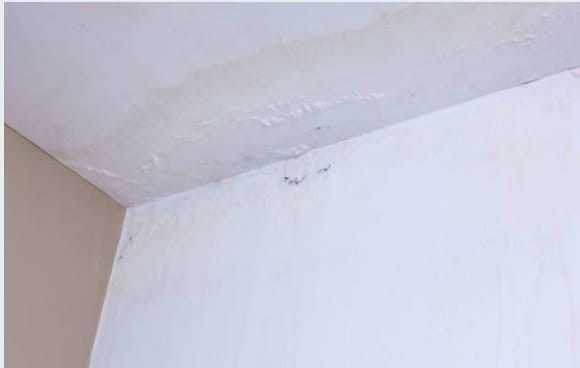
A shower that is not waterproofed runs the risk of creating water damage on the wall of the room next door. In upstairs bathrooms, the water can seep into the floor, damaging the ceiling of the room below. Poor, or no waterproofing can also cause the tiles to pop off in the shower.
Whilst tiles themselves are inherently waterproof, except for natural stone tiles, slate etc, no standard cement-based tile adhesive or grout can claim to be waterproof due to the porous nature of cement. You can increase the water resistance of the grout by modifying it with a latex additive such as TAL Bond, but this does not replace a proper waterproofing system.
-
When selecting your waterproofing system, choose a waterproofing compound that is compatible with a cementitious tile adhesive, such as TAL Sureproof. This compound is designed for tiling projects, as the tile adhesive can be applied directly to the waterproofing.
-
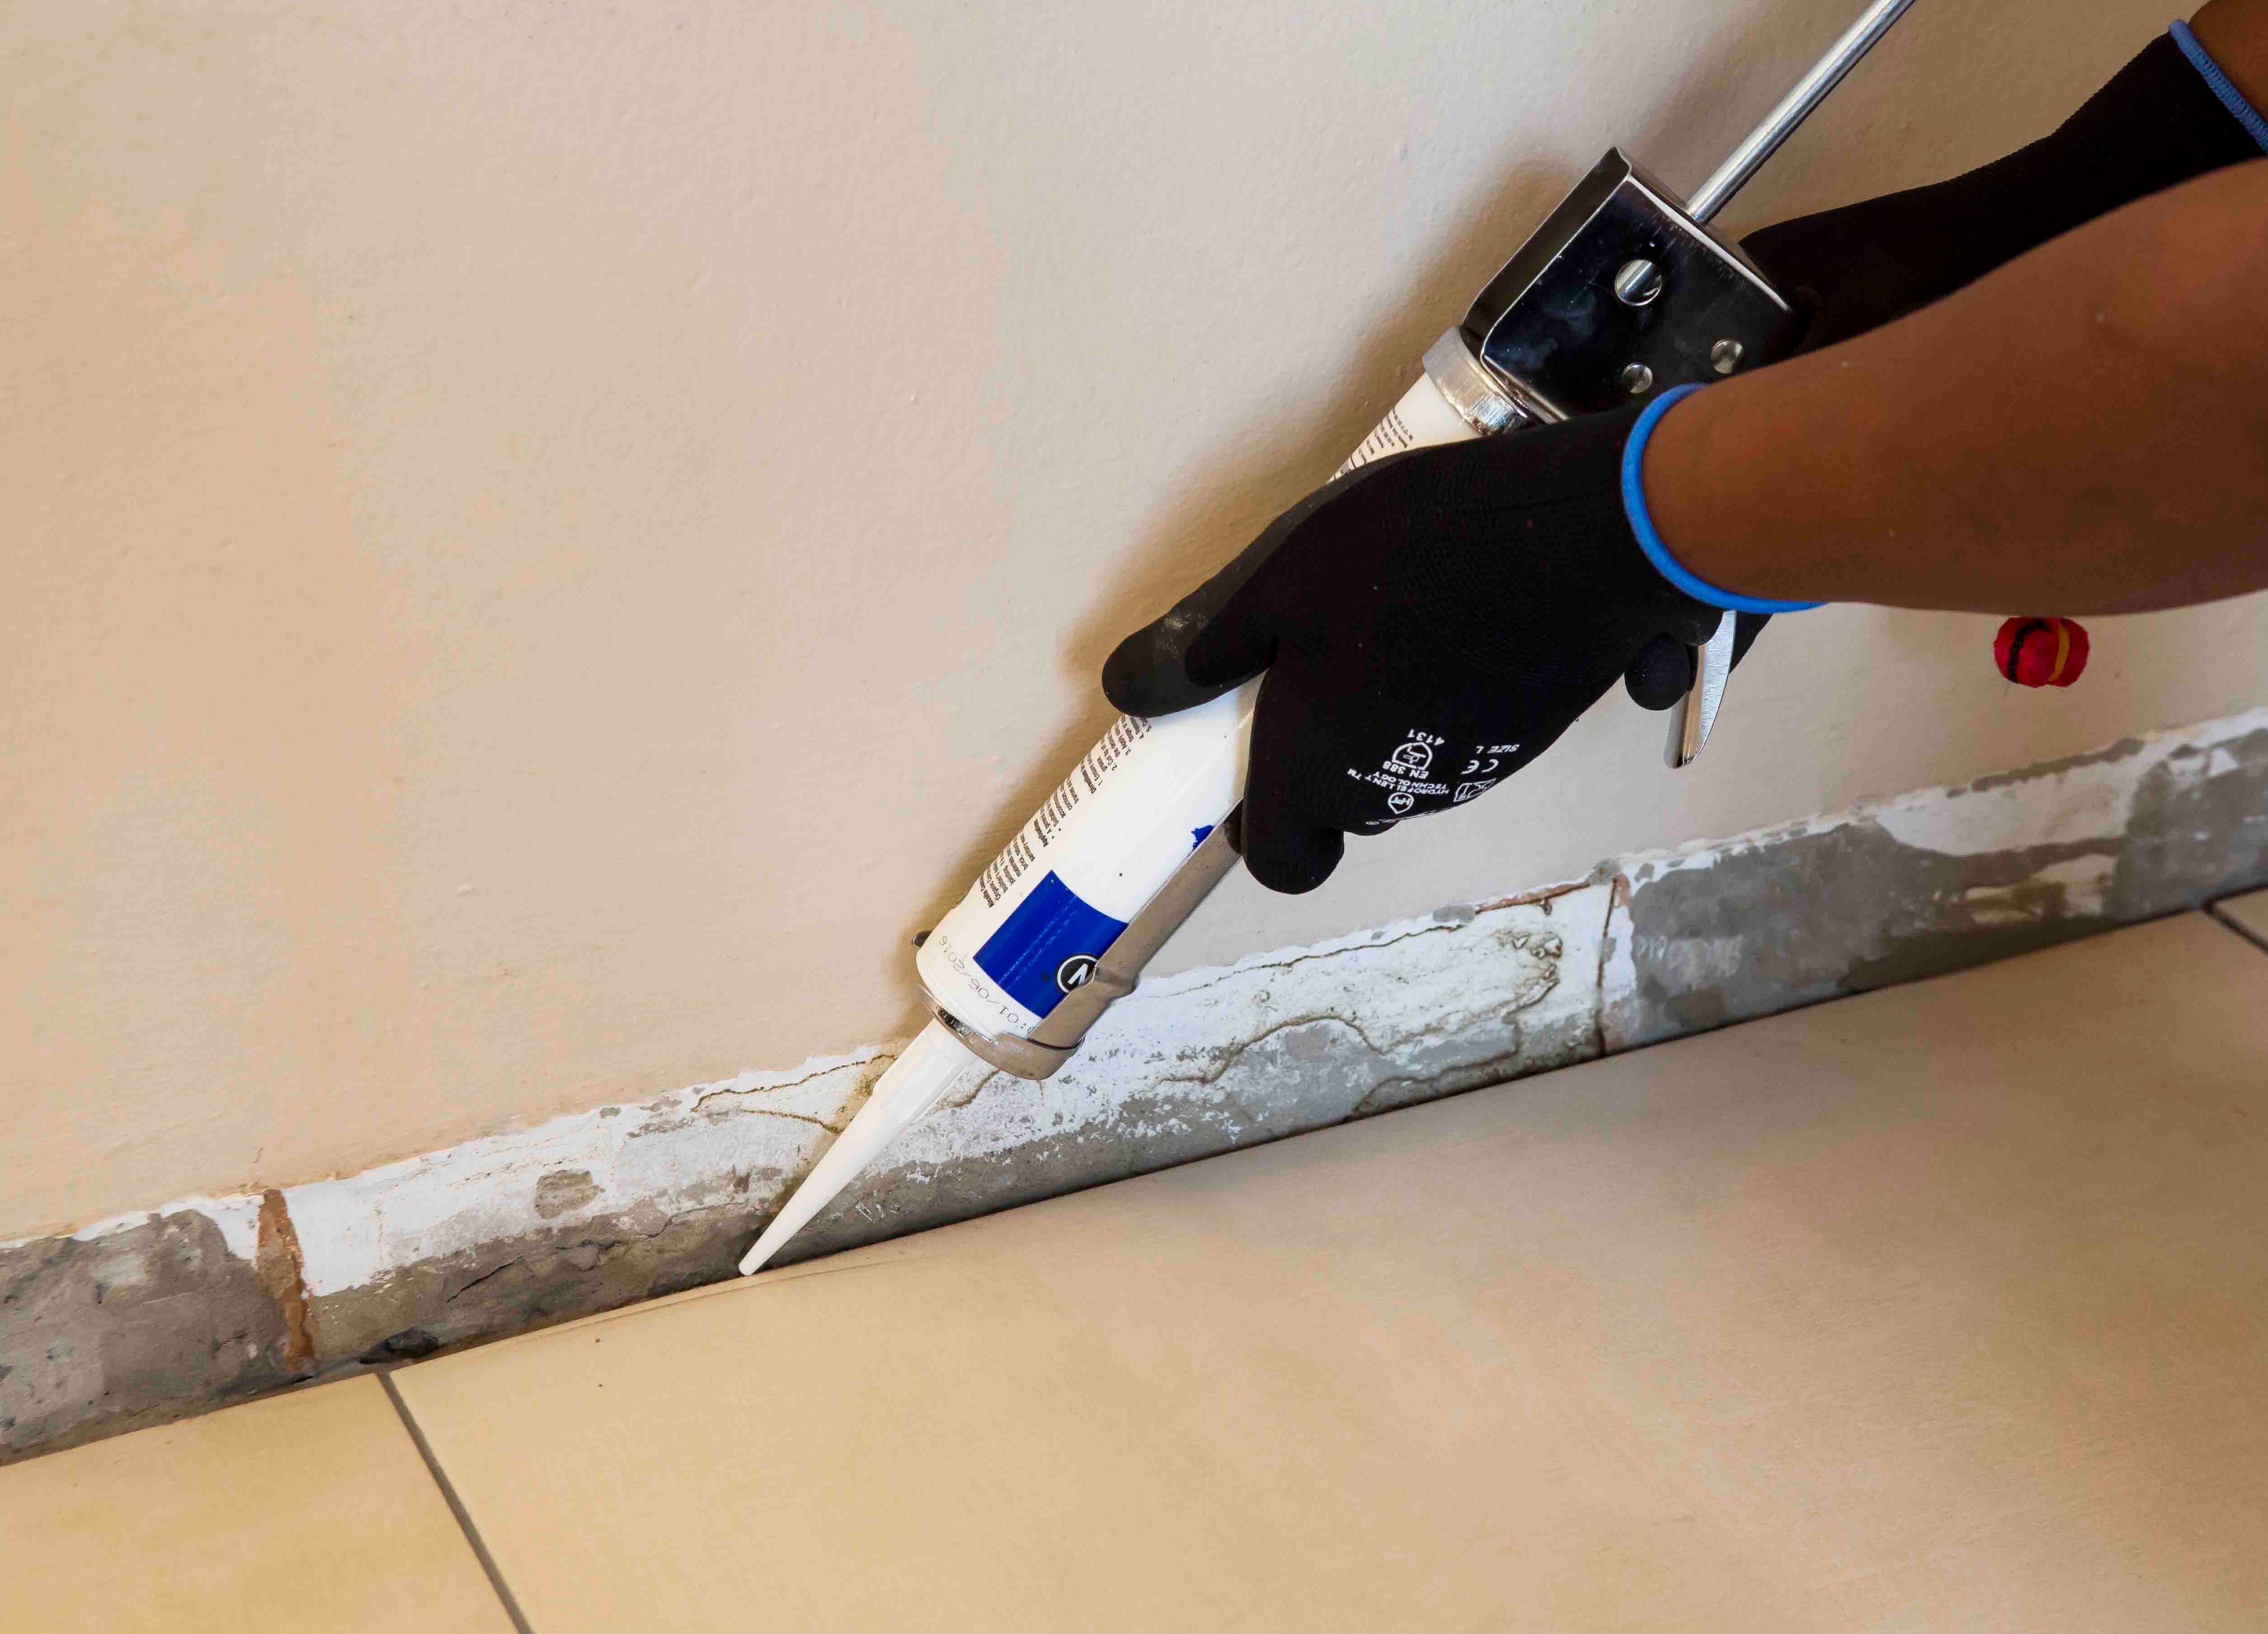
Wall and floor corners of the shower must be reinforced by bedding TAL Sureproof Membrane into the TAL Sureproof liquid.
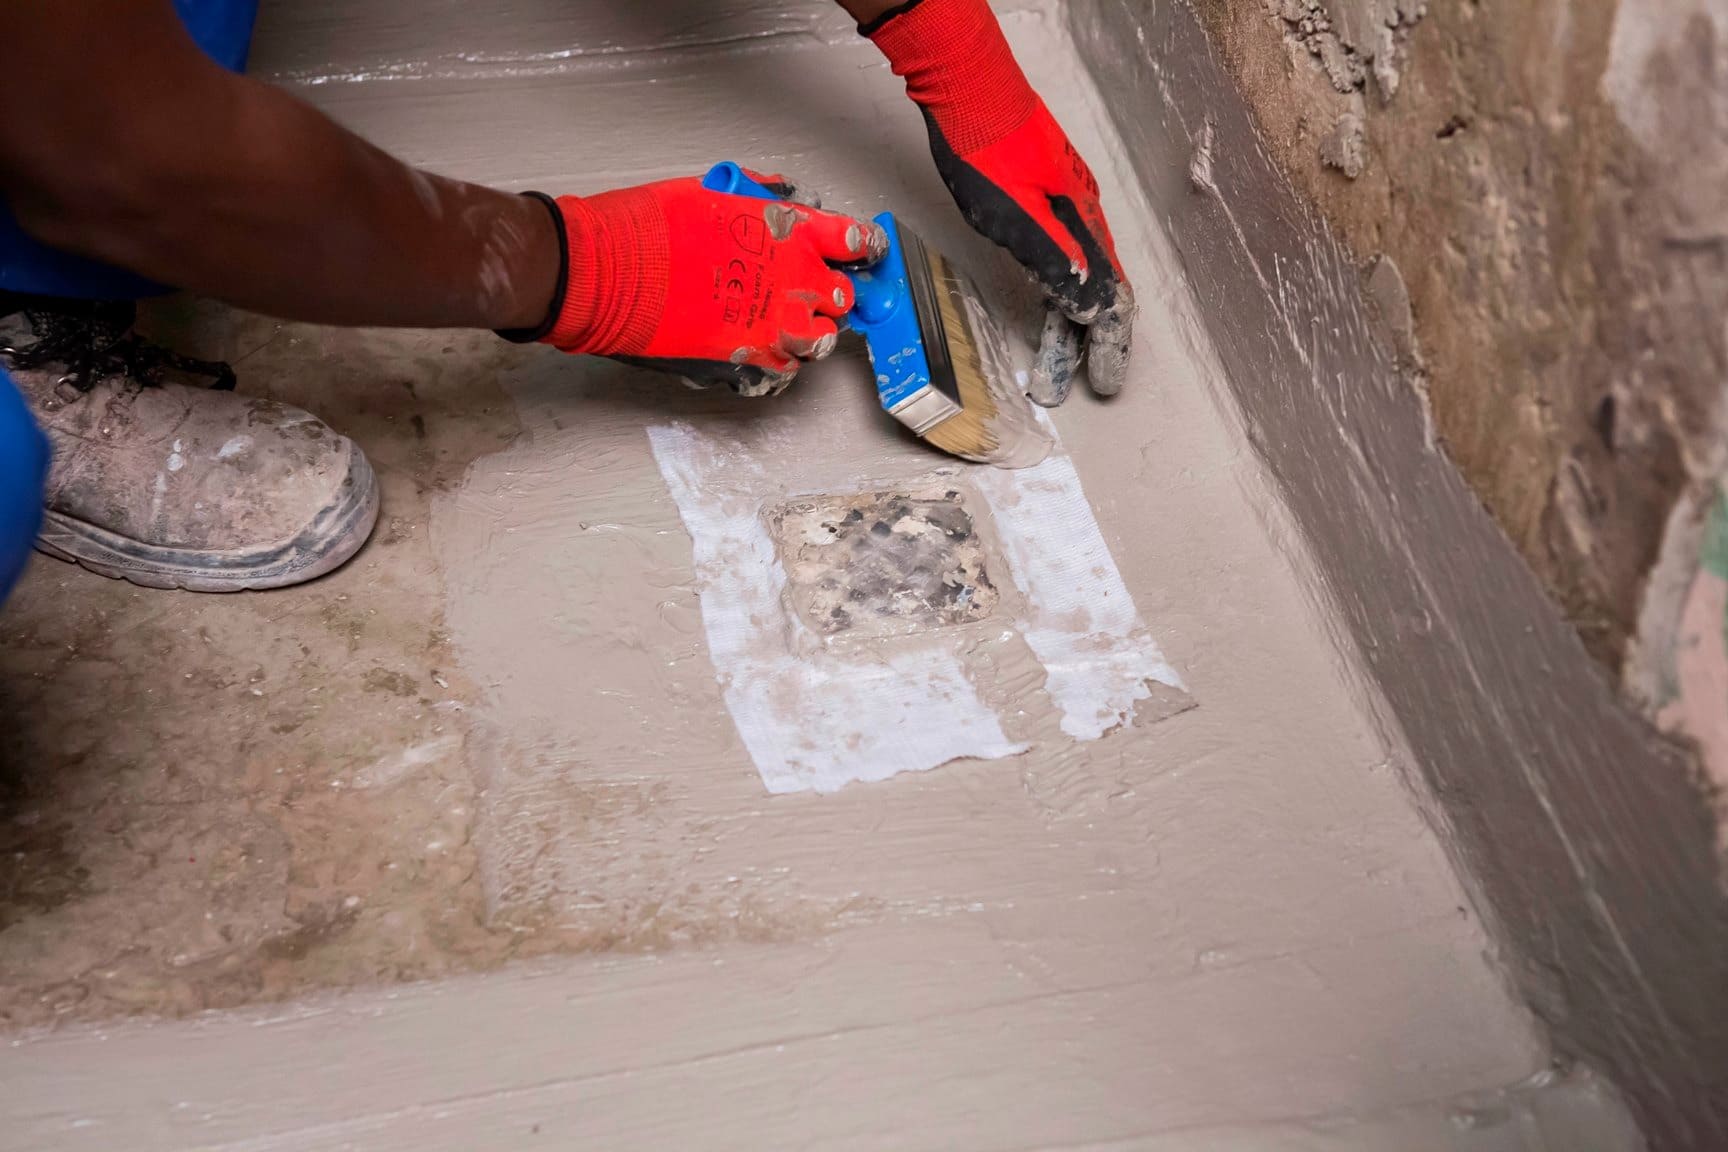
The waterproofing system needs to be applied to above the height of the shower rose and, where the wastes are flush with the floor, down into the shower waste.
Where necessary, use a grout squeegee to apply additional adhesive to fill in any voids in the grout joints.
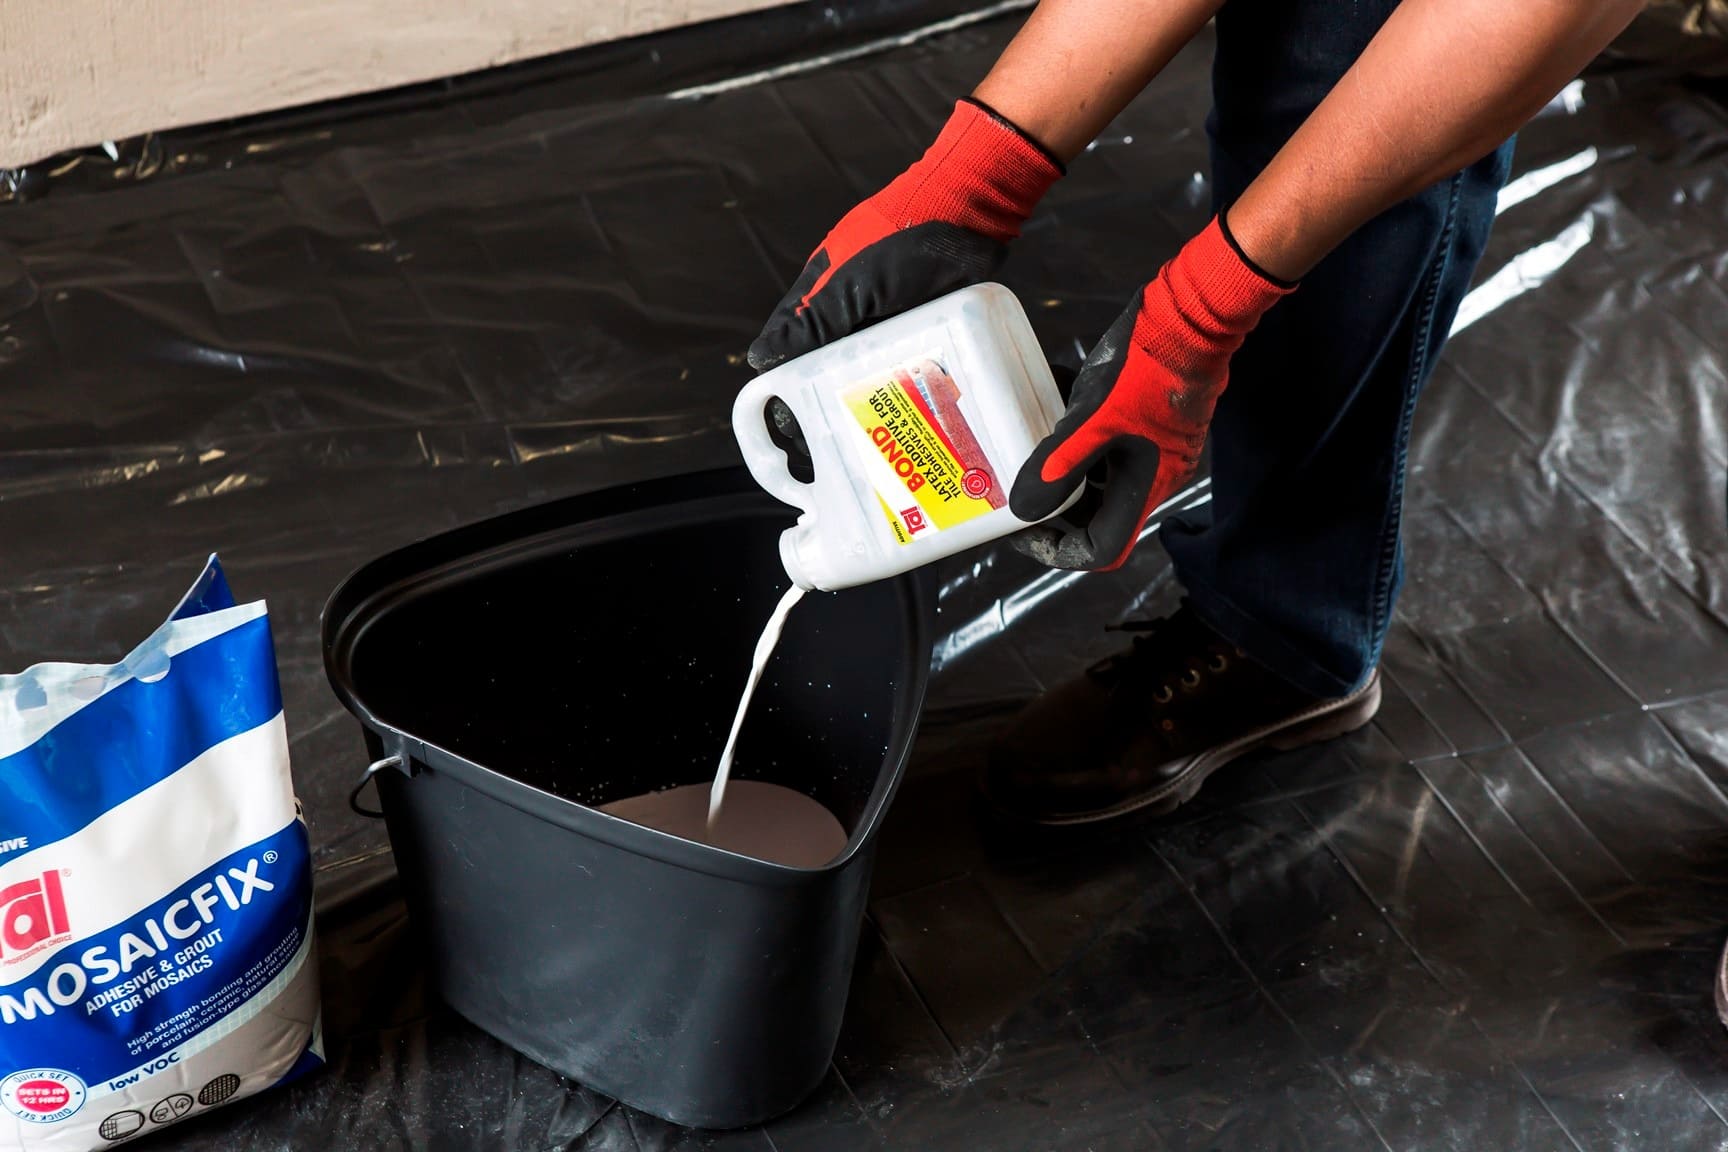
Complete the waterproofing system by replacing the water in the grout mix with TAL Bond, a latex additive, as this further increases the water resistance and flexibility of the installation.
Get the job right the first time and avoid future headaches from water seeping through and damaging the walls and floors of your home. The additional cost and effort of properly waterproofing your shower is an investment in your property and will ensure a beautiful and functional bathroom for years to come.
For more information on multi-level waterproofing systems, contact a TAL Expert on 0860 000 TAL (825), email us or watch our how-to video on YouTube for step-by-step advice on how to waterproof a shower.
STEP 8
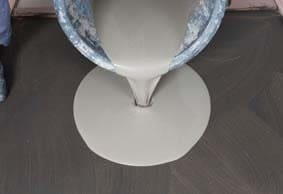
Roll the area using a TAL Spiked Roller to facilitate the release of any trapped air to produce a smooth surface, and to allow it to dry.
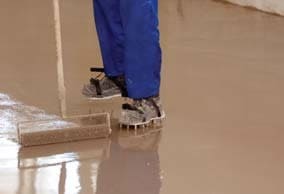
Allow the screed installation to dry for 24 hours before subjecting to foot traffic (or other trades) or installing floor coverings.
TAL MOSAICFIX is available in 20 kg and 5 kg bags from leading retail outlets.
Designed to be 100% compatible, using the TAL range of products ensures fully guaranteed multi-level tiling systems from a single source. TAL products are manufactured in South Africa to suit local climatic conditions.
If you are in any doubt, contact the TAL Technical Advisory Service on 0860 000 TAL (825), email [email protected]. Alternatively, employ the services of an experienced and skilled mosaic tiling contractor.
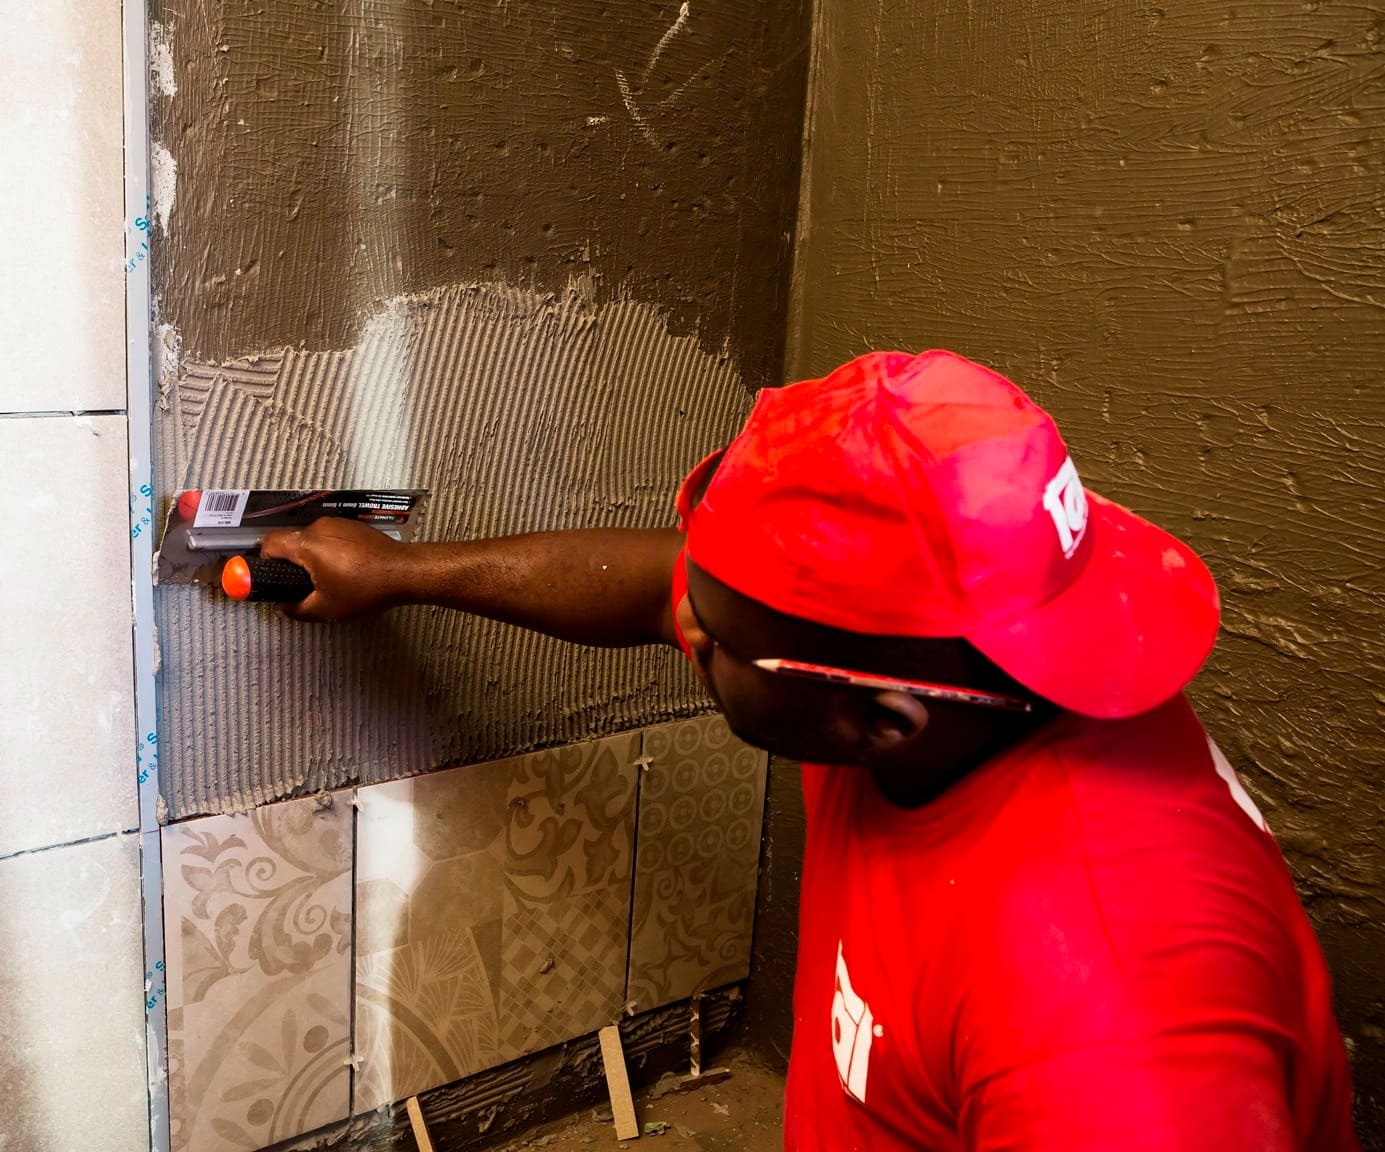
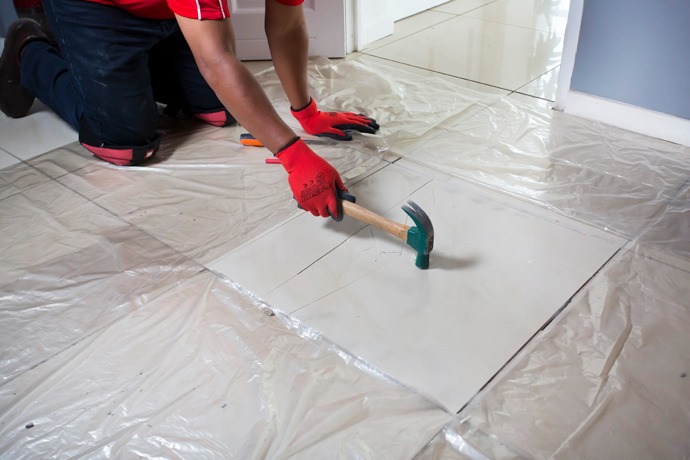
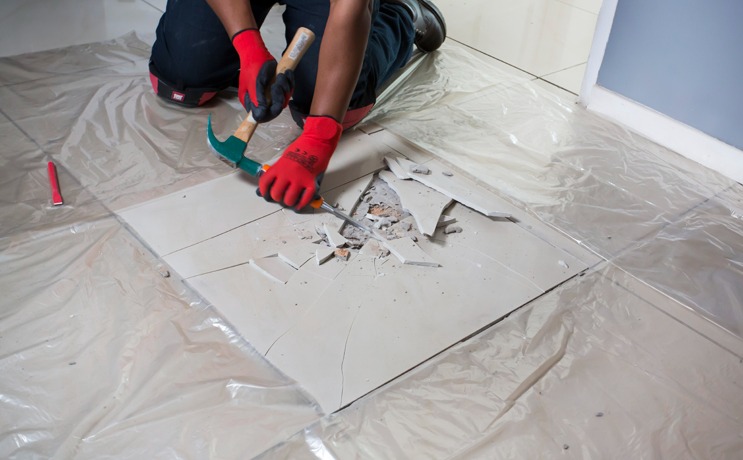
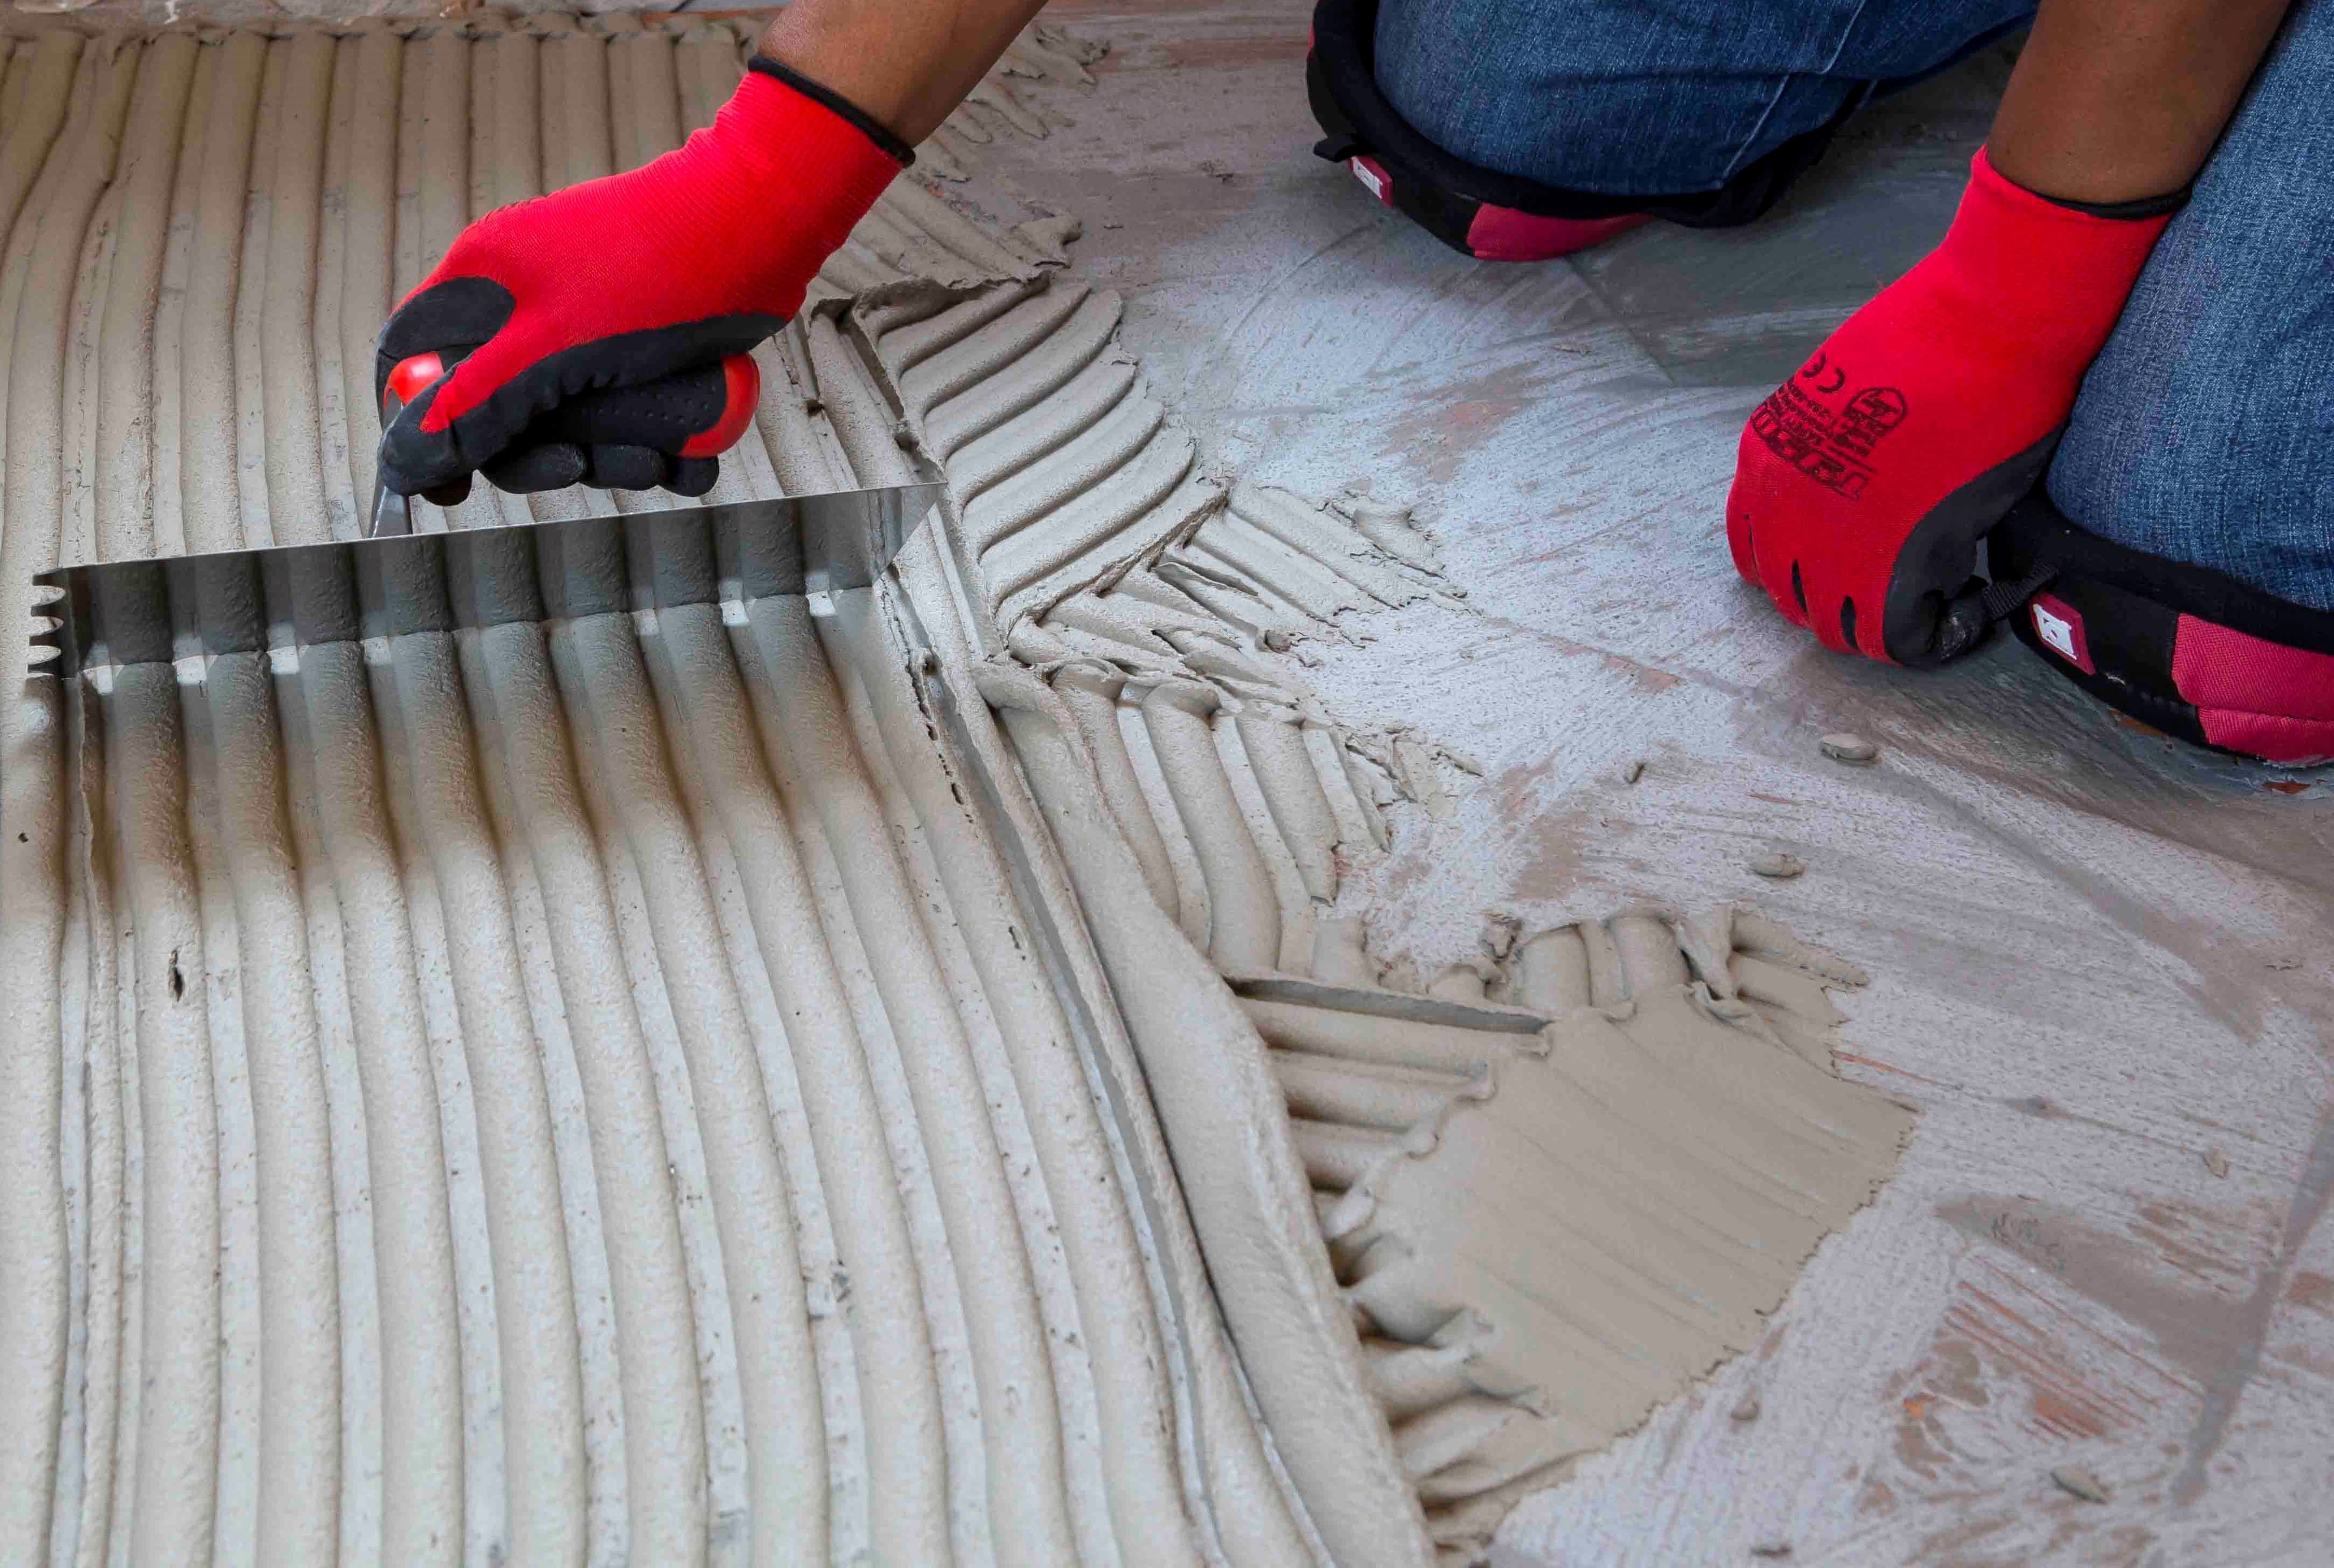
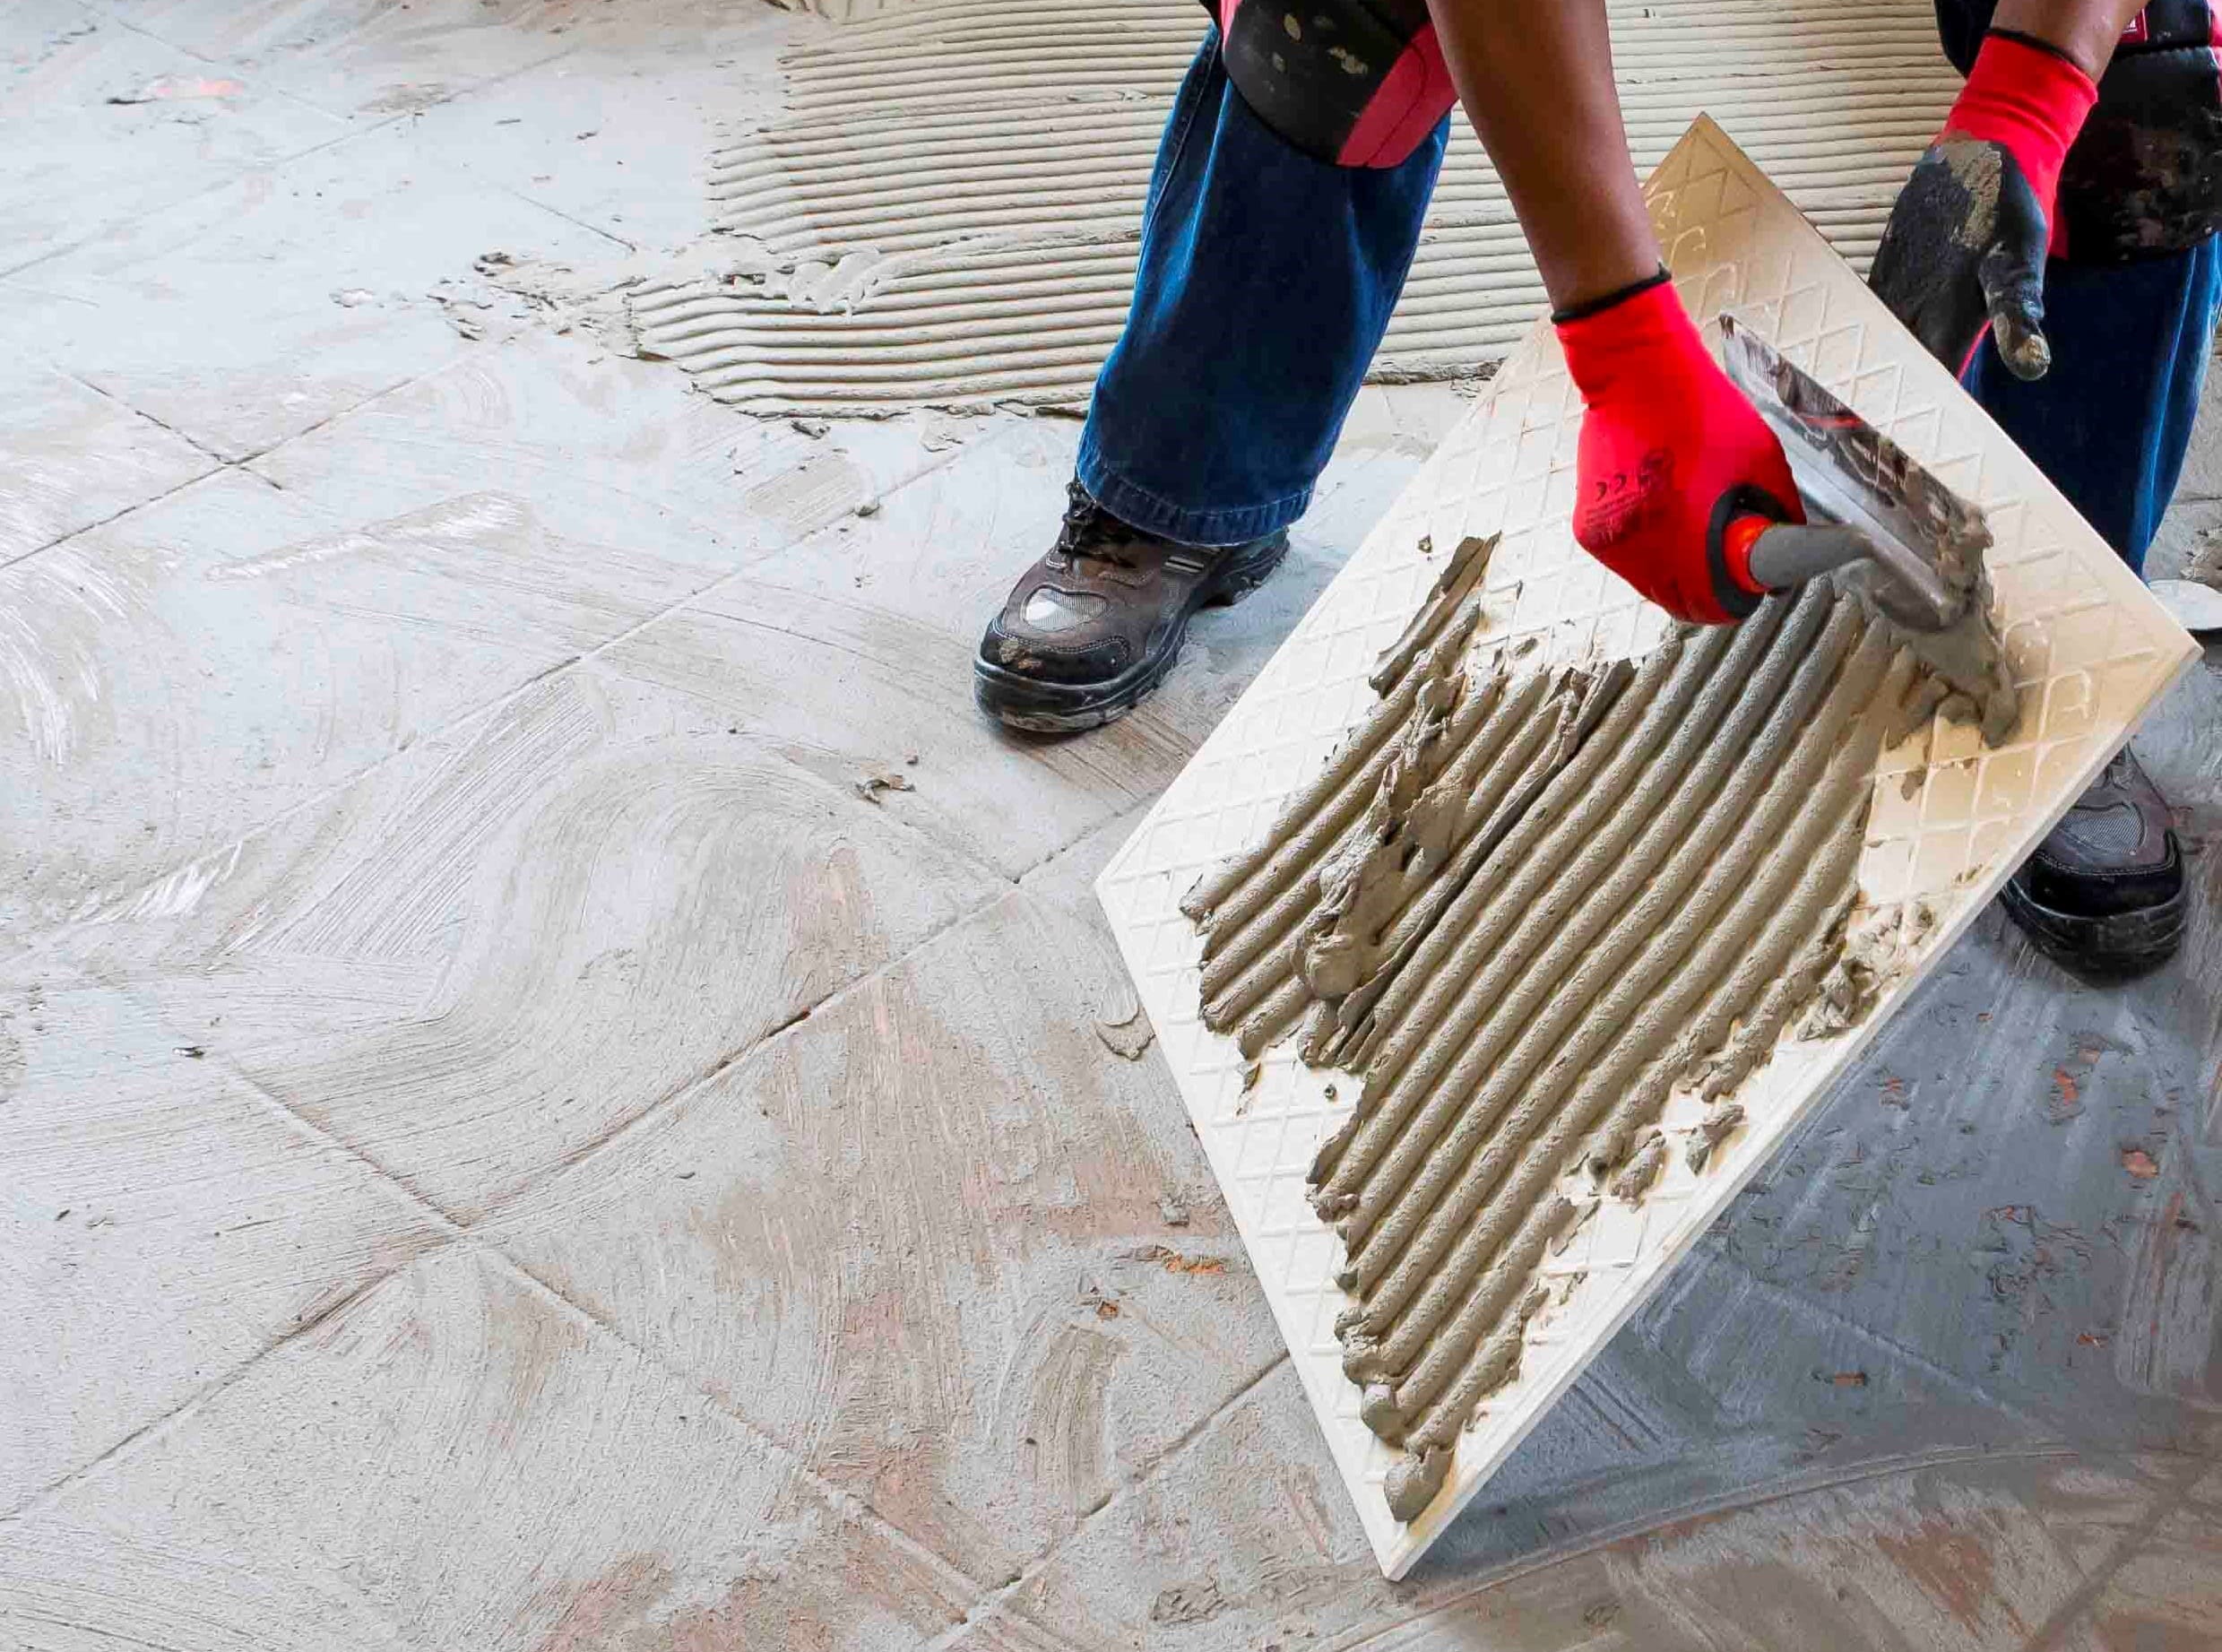
When replacing tiles, it is not always possible to apply the TALFIX directly to the floor, in which case apply the adhesive in a solid bed onto the back of the tile, ensuring complete coverage. Gently trace the notched side of a floor trowel through the adhesive to create ‘ridges’.
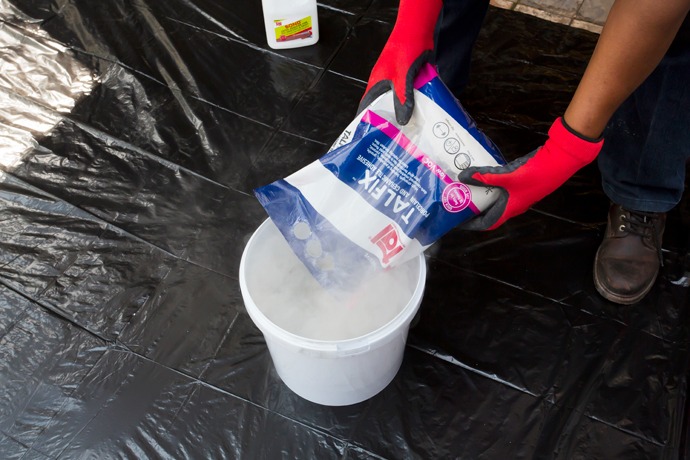
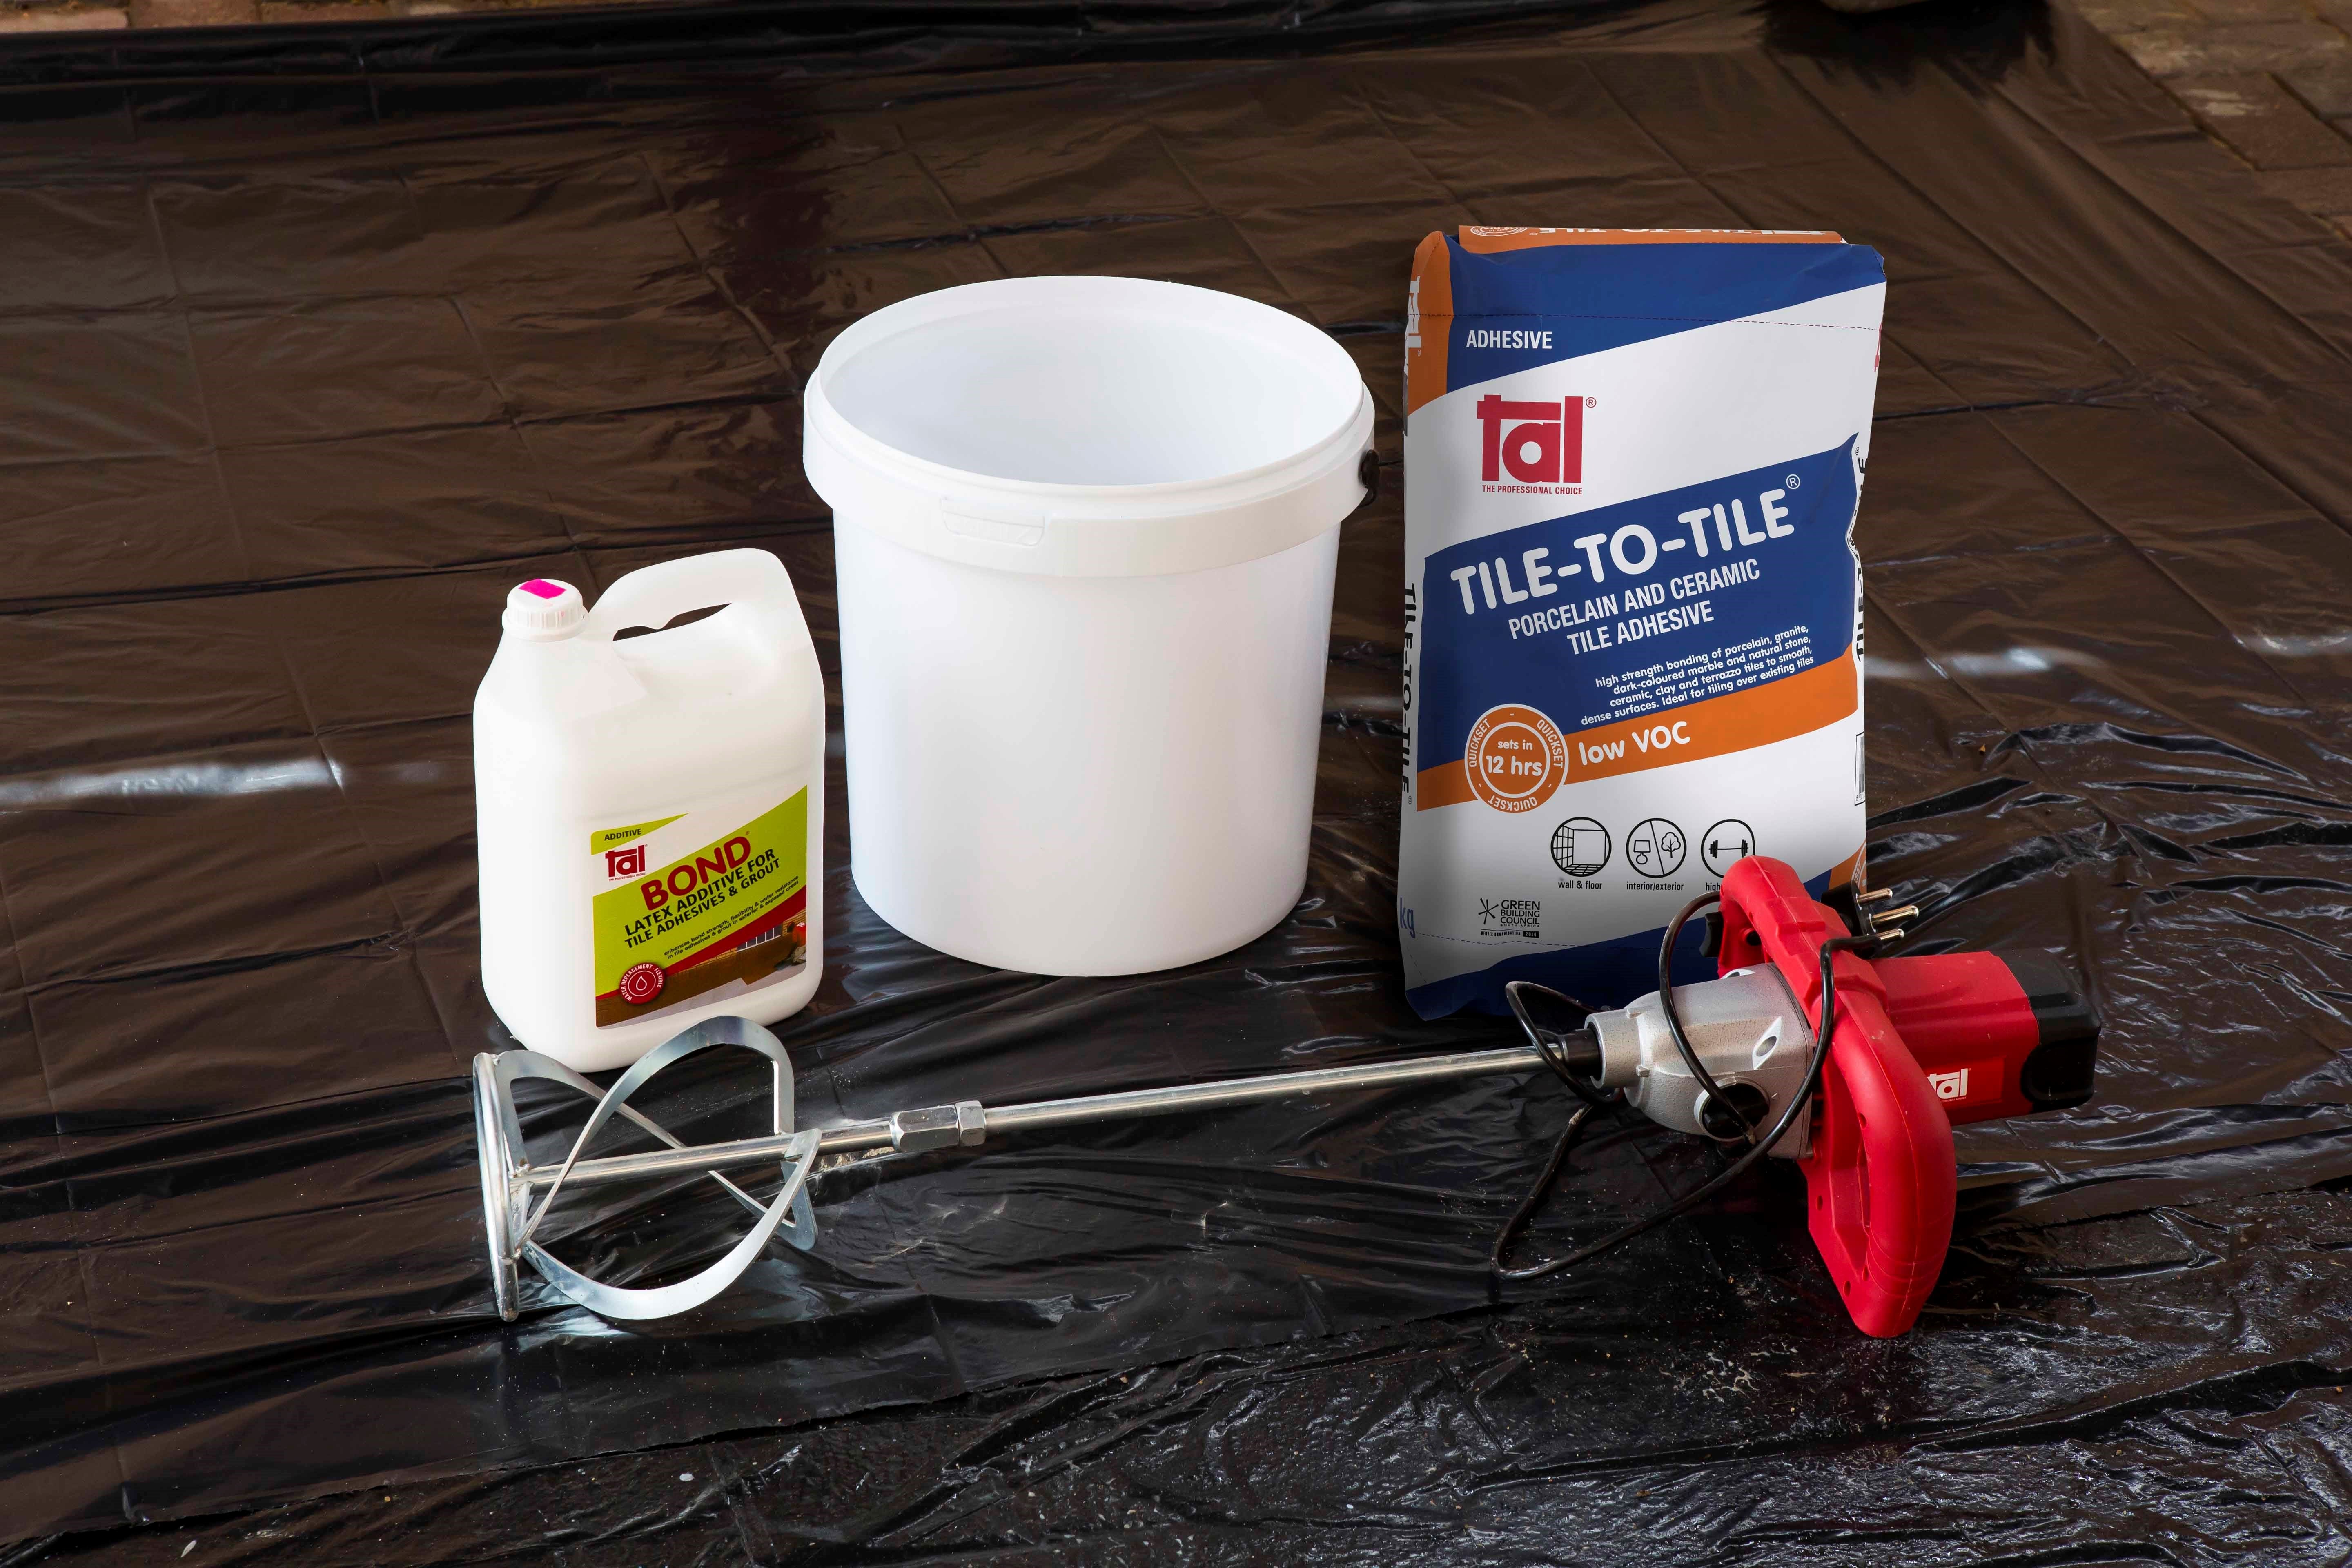
Adhesive system
When tiling onto existing tiles, it is important to only use a quick- or rapid-setting adhesive, as the existing tiles will present a dense, impervious surface, and standard-setting adhesives will take longer to dry. Too early trafficking of newly-installed tiles before the adhesive has set sufficiently can result in hollow-sounding or loose tiles.
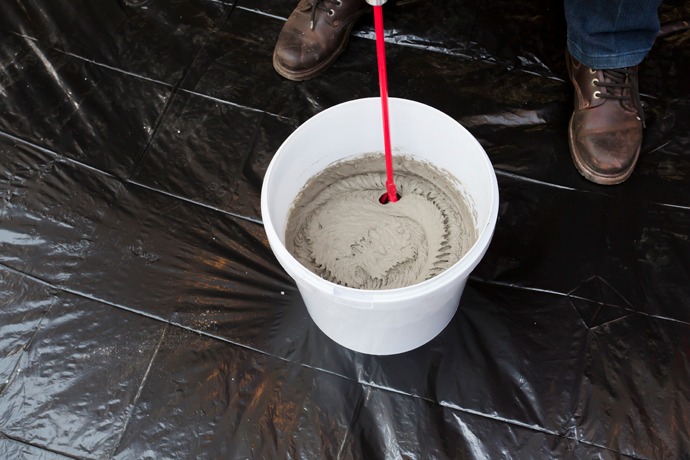
Use TAL Tile-To-Tile quick-setting adhesive for tiling onto interior surface beds. When tiling onto suspended slabs and for external installations mix the TAL Tile-To-Tile with TAL Bond, replacing the water in the mix. Alternatively, TAL Bond Powder can be added to the adhesive mixing water.
Ensure that there is a solid bed of adhesive at least 6 mm thick beneath each tile.
Back buttering with a thin coat of adhesive may also be required when using large-format tiles to ensure full contact with the adhesive bed.
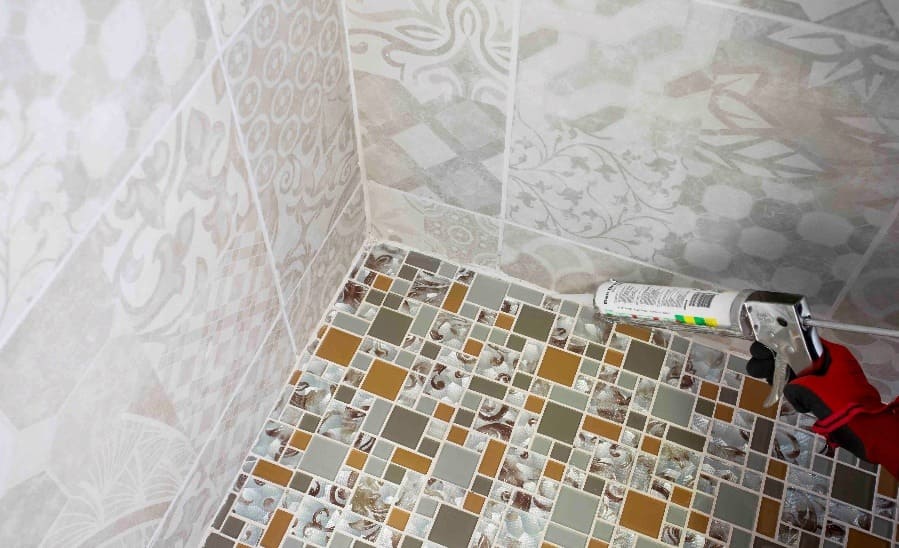
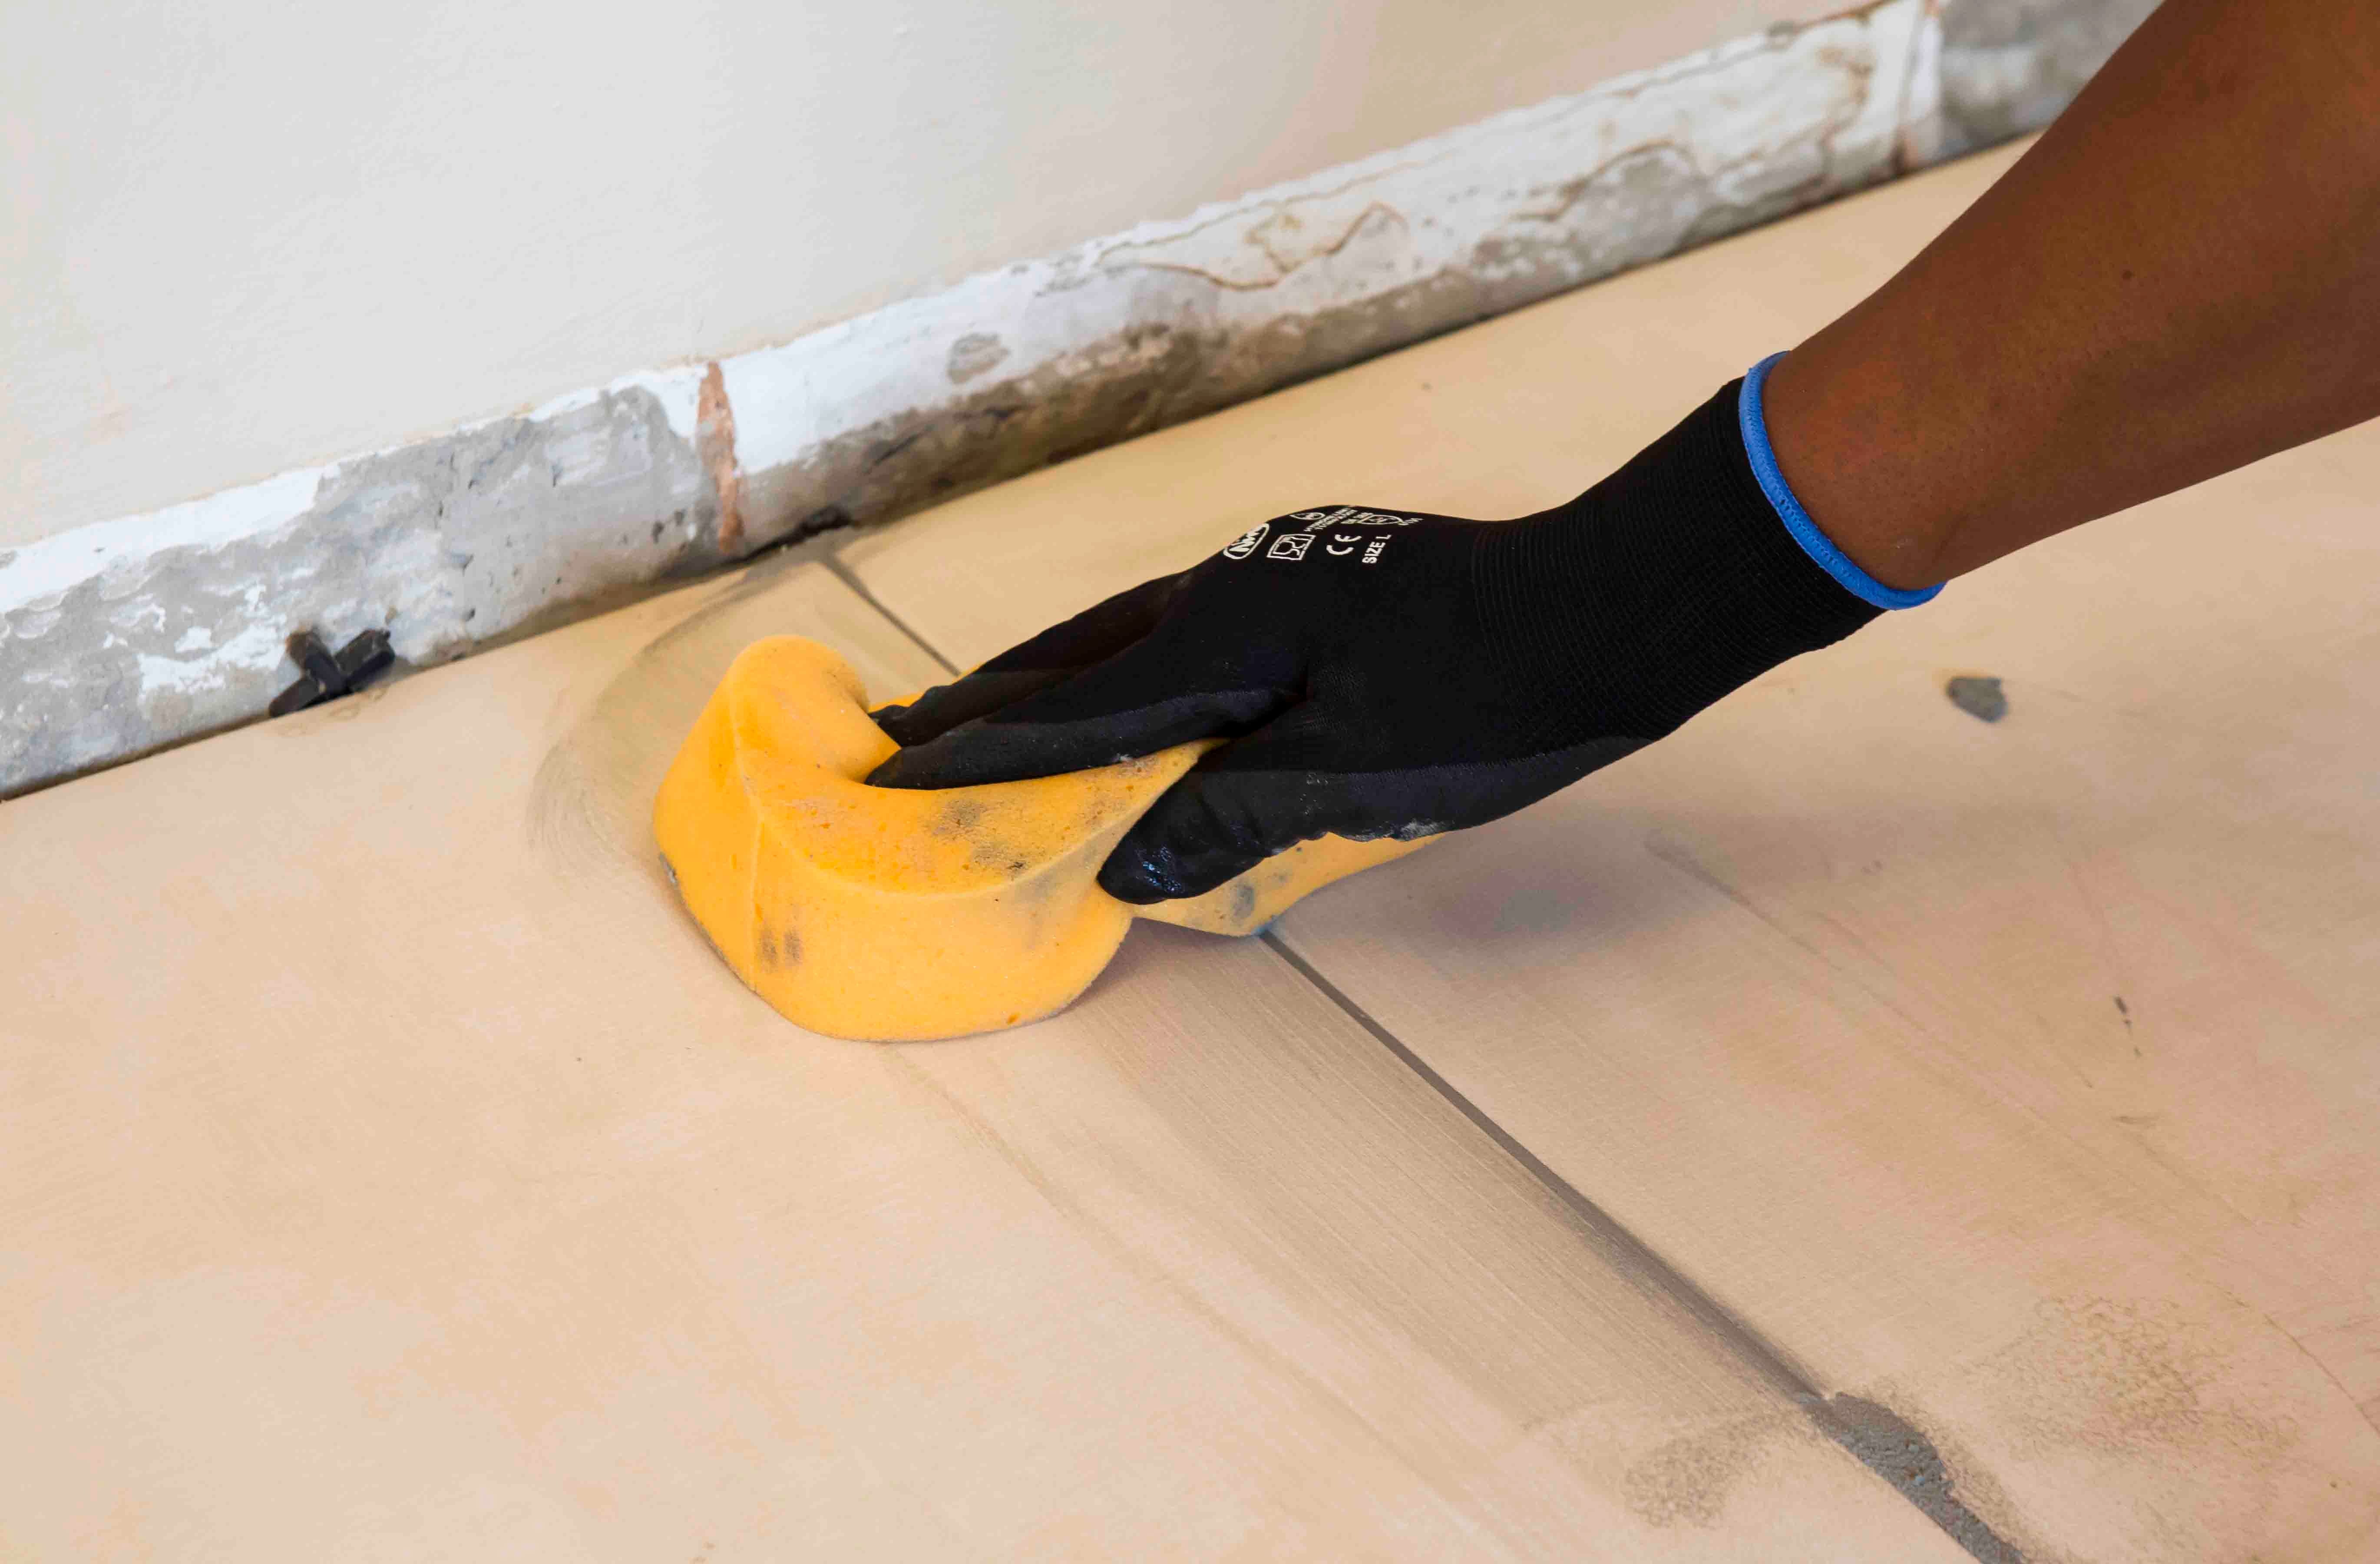
Grouting
Grouting should not be carried out until the adhesive has set sufficiently to prevent the tile installation from being disturbed during the grouting operation (always refer to the adhesive packaging for setting times). When using TAL TAL Tile-To-Tile, allow a minimum of six hours before grouting.
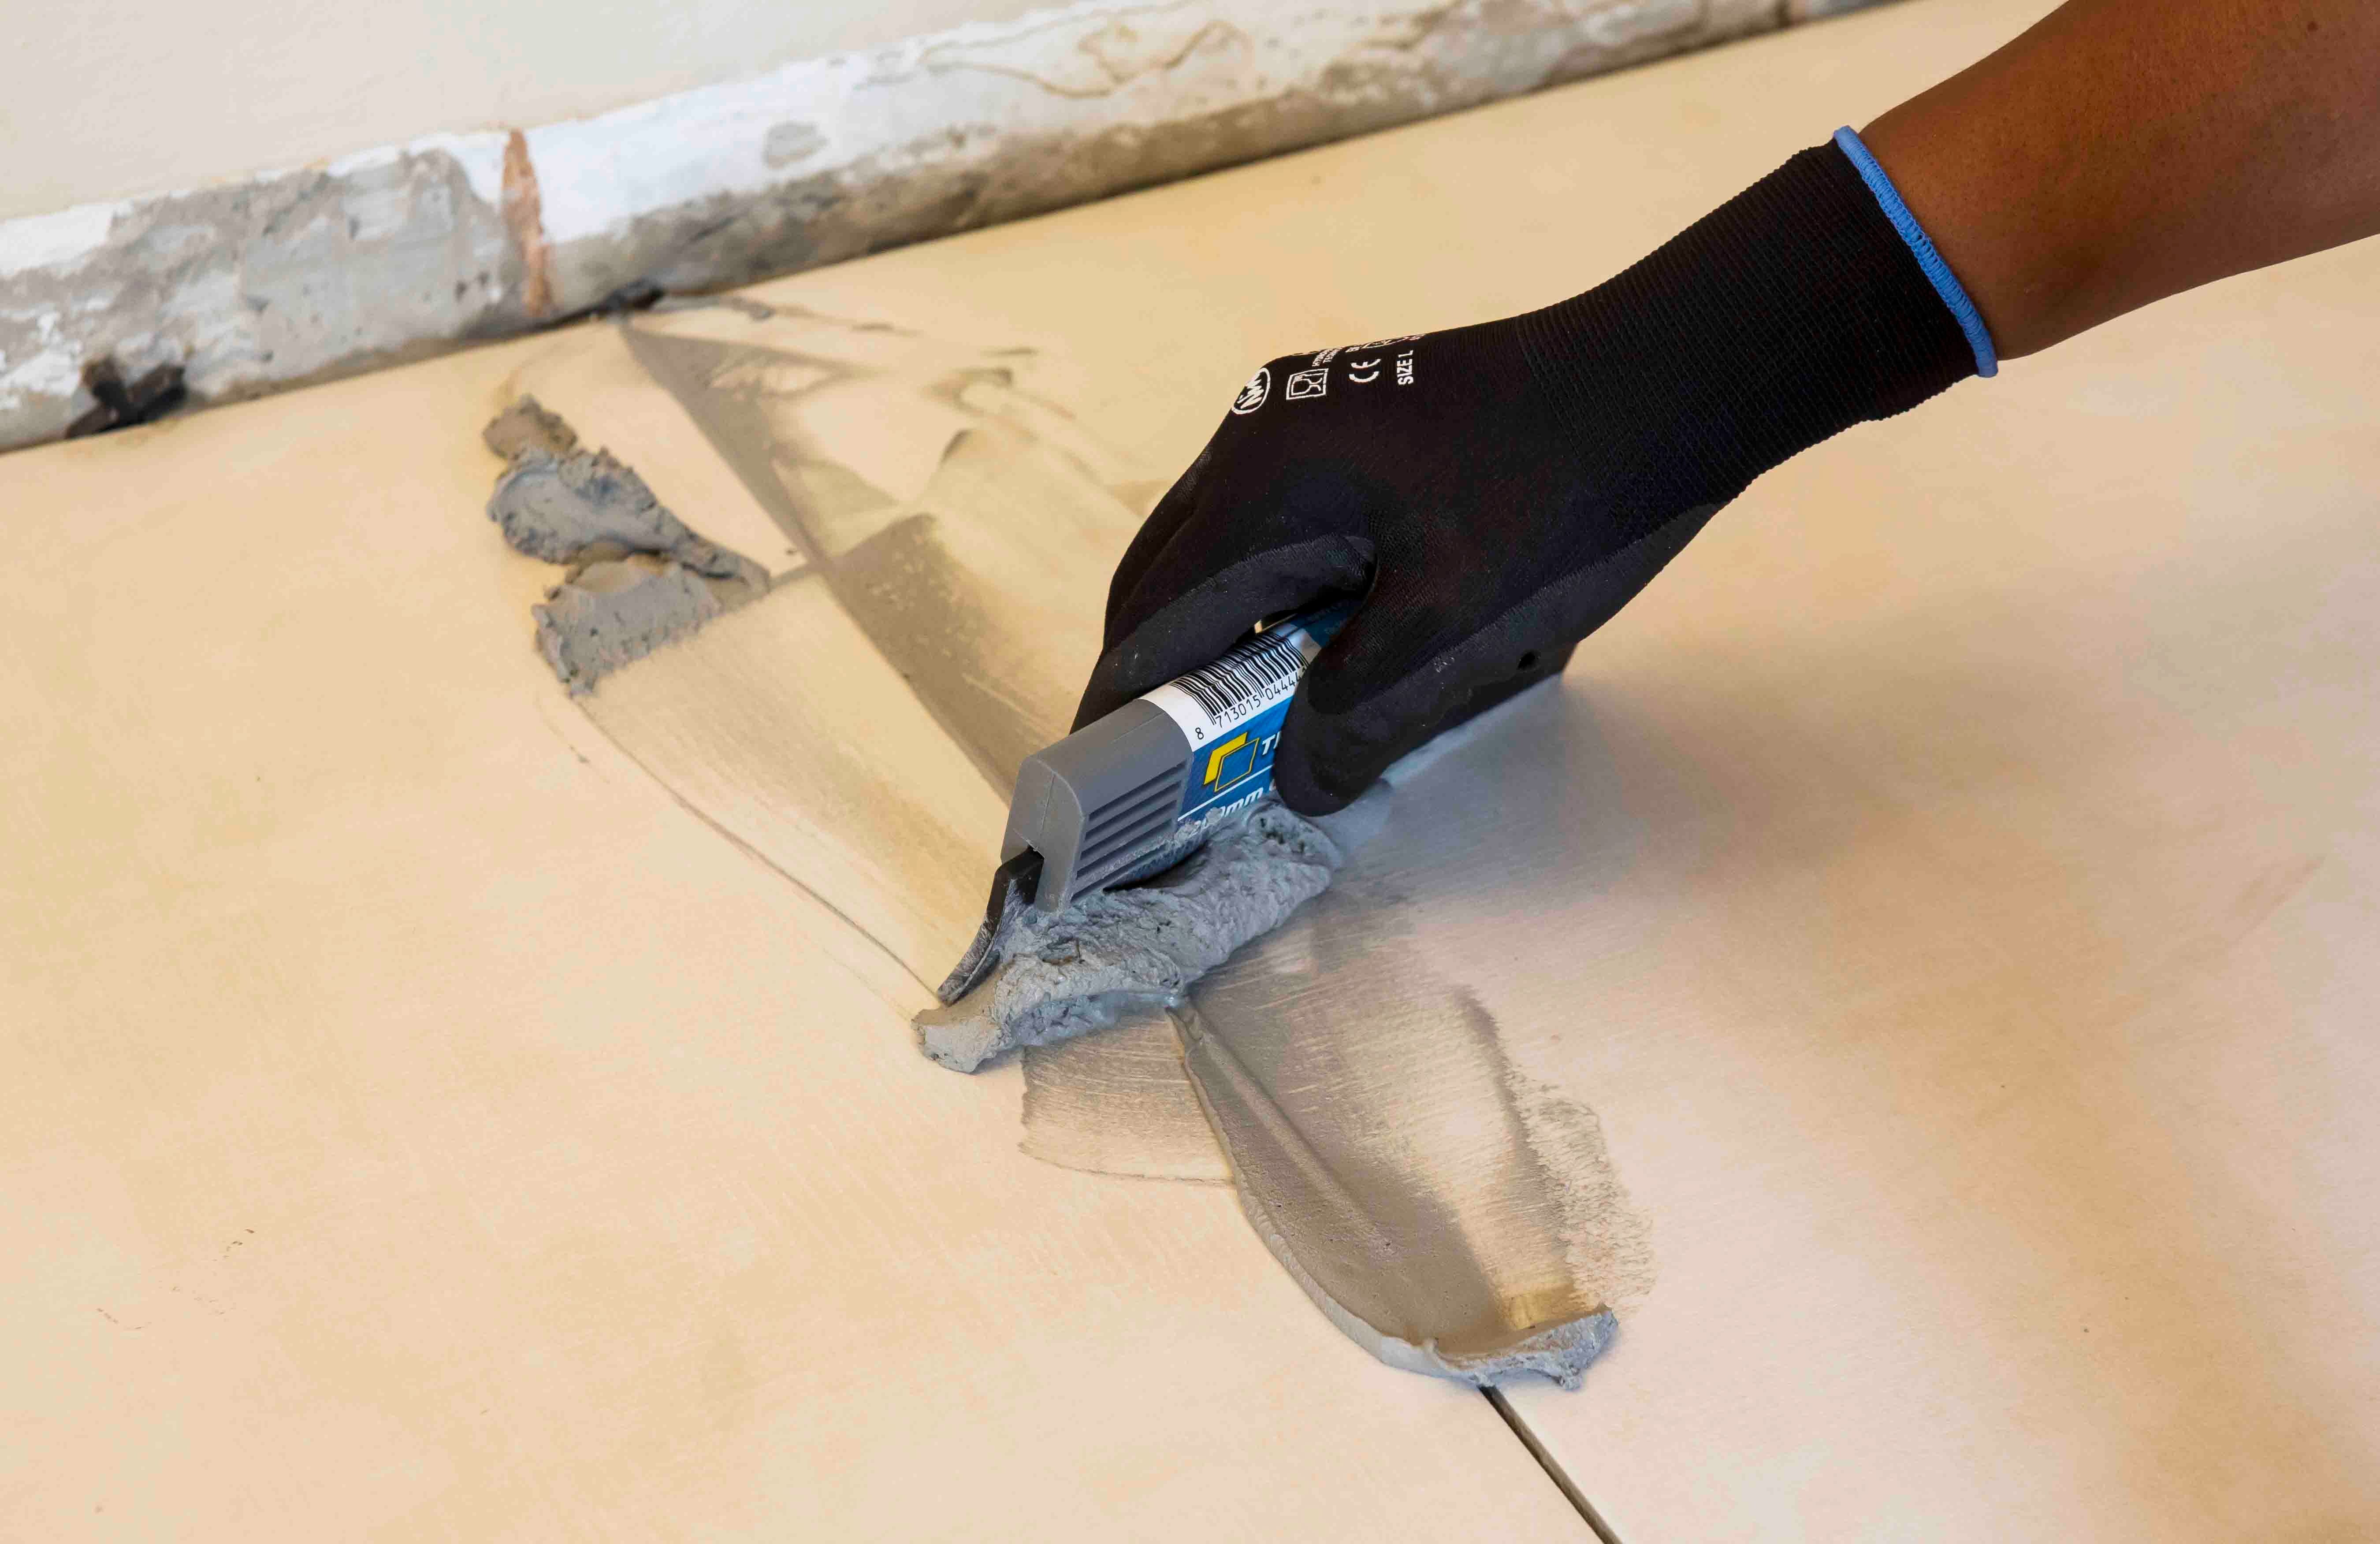
For interior surface beds, use TAL Wall & Floor Grout for filling tile joints up to 8 mm wide. TAL Quarry Grout can be used in wider joints up to 25 mm wide. On suspended slabs and for external installations, replace the water in the grout mix with TAL Bond, or add TAL Bond Powder to the grout mixing water.
Particular care must be taken to clean the grout off the tile face before it hardens completely. This is especially important when an additive such as TAL Bond or TAL Bond Powder has been used. A tile sample should be tested beforehand to ensure that no grout is absorbed through the glaze or into the tile body, thereby staining the tiles permanently.
Movement joints
The lack of movement joints in tile installations is a major cause of tile failure. When tiling over existing tiles, the existing structural and movement joints must be maintained in the new tile installation. The movement joints should be at least 5 mm wide and extend through the adhesive and both tile layers.