Get a grip on grout: part 2
Grouting step-by-step
1. Follow the instructions on the grout packaging for the correct mix ratio. Add the grout to the stipulated amount of clean, cool water whilst mixing. Mix well to form a creamy, lump-free consistency. If using TAL Wall & Floor Grout, add 5kg of grout to 1.5 litres of clean, cool water. Note that all exterior/exposed and wet applications require the water in the mix to be replaced with TAL Bond.
2. Using a mechanical mixer, mix well while adding powder.
3. Stand for 3 minutes then stir again.
4. Apply the grout with a Tilemate grout squeegee, 1 square metre at a time. Work the grout into the tile joints. It is important to fill the joints completely so that there are no voids.
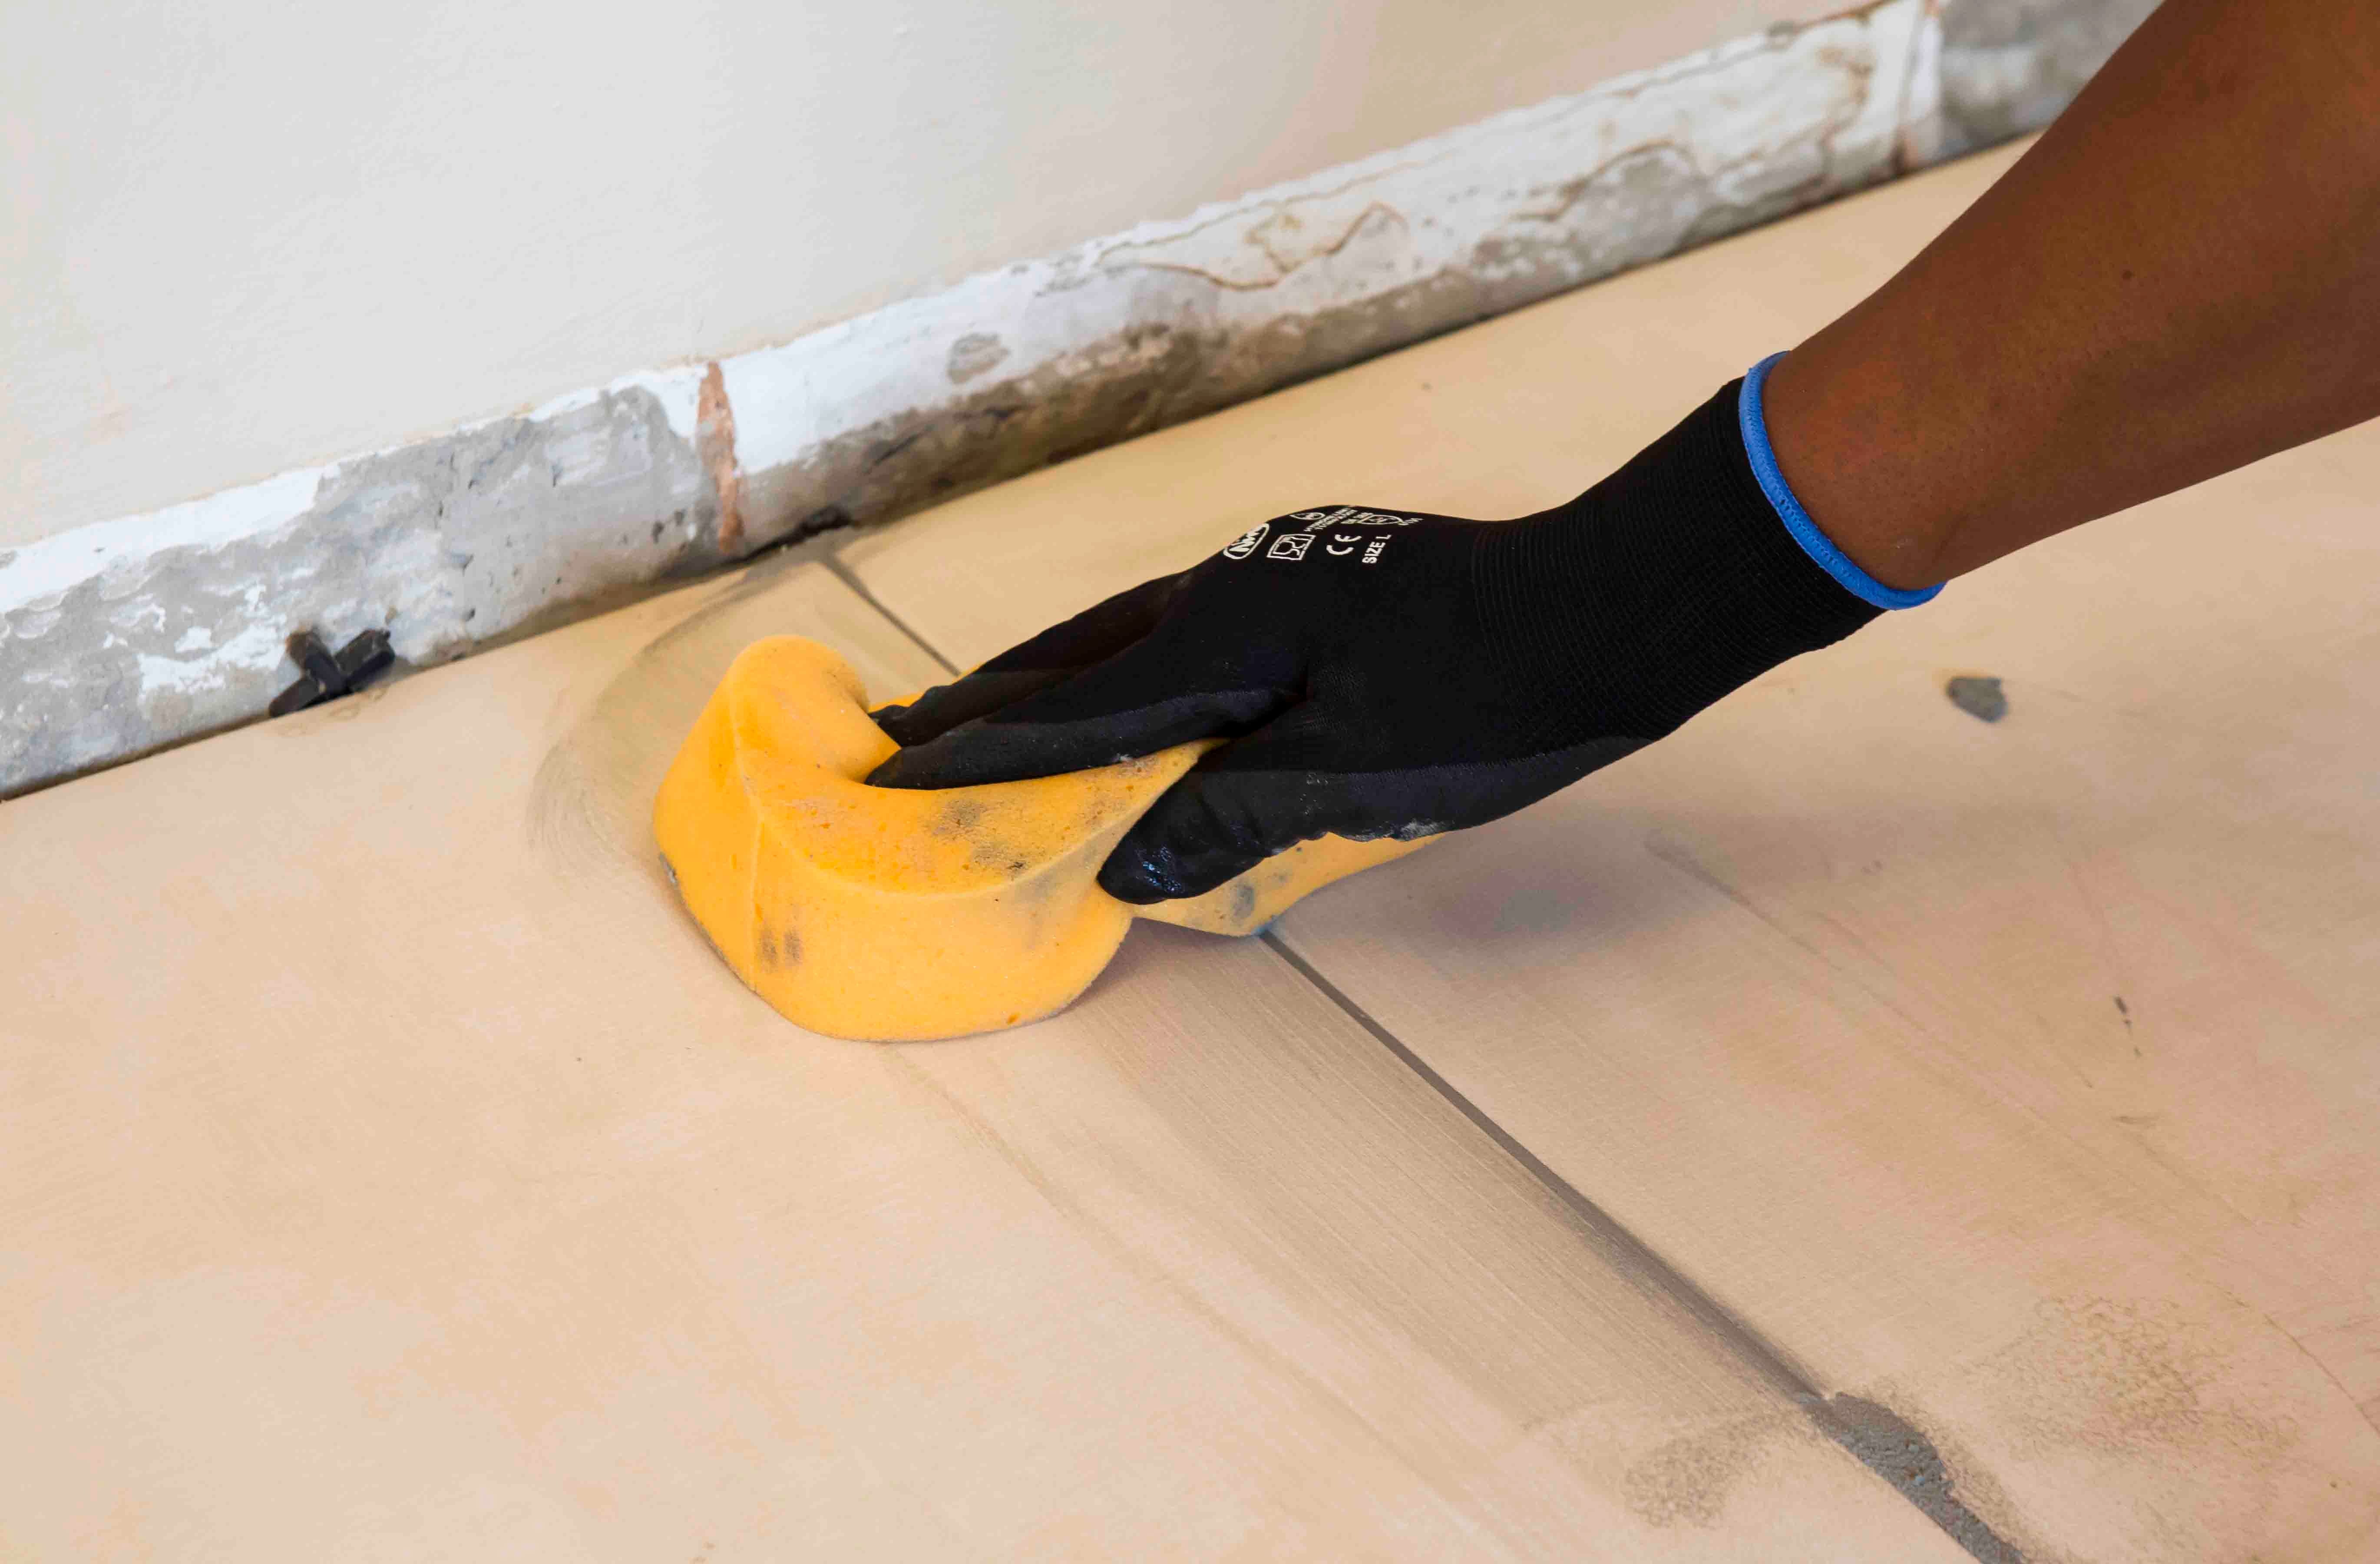
5. Clean off excess grout with a damp Tilemate grouting sponge. Grout an area and then wipe away the remaining grout as you go. Rinse the sponge frequently in clean water to get rid of the grout, but remember to use a damp, not wet, sponge.
6. Allow grout to dry and polish with a clean dry cloth. Clean tools before the grout hardens.
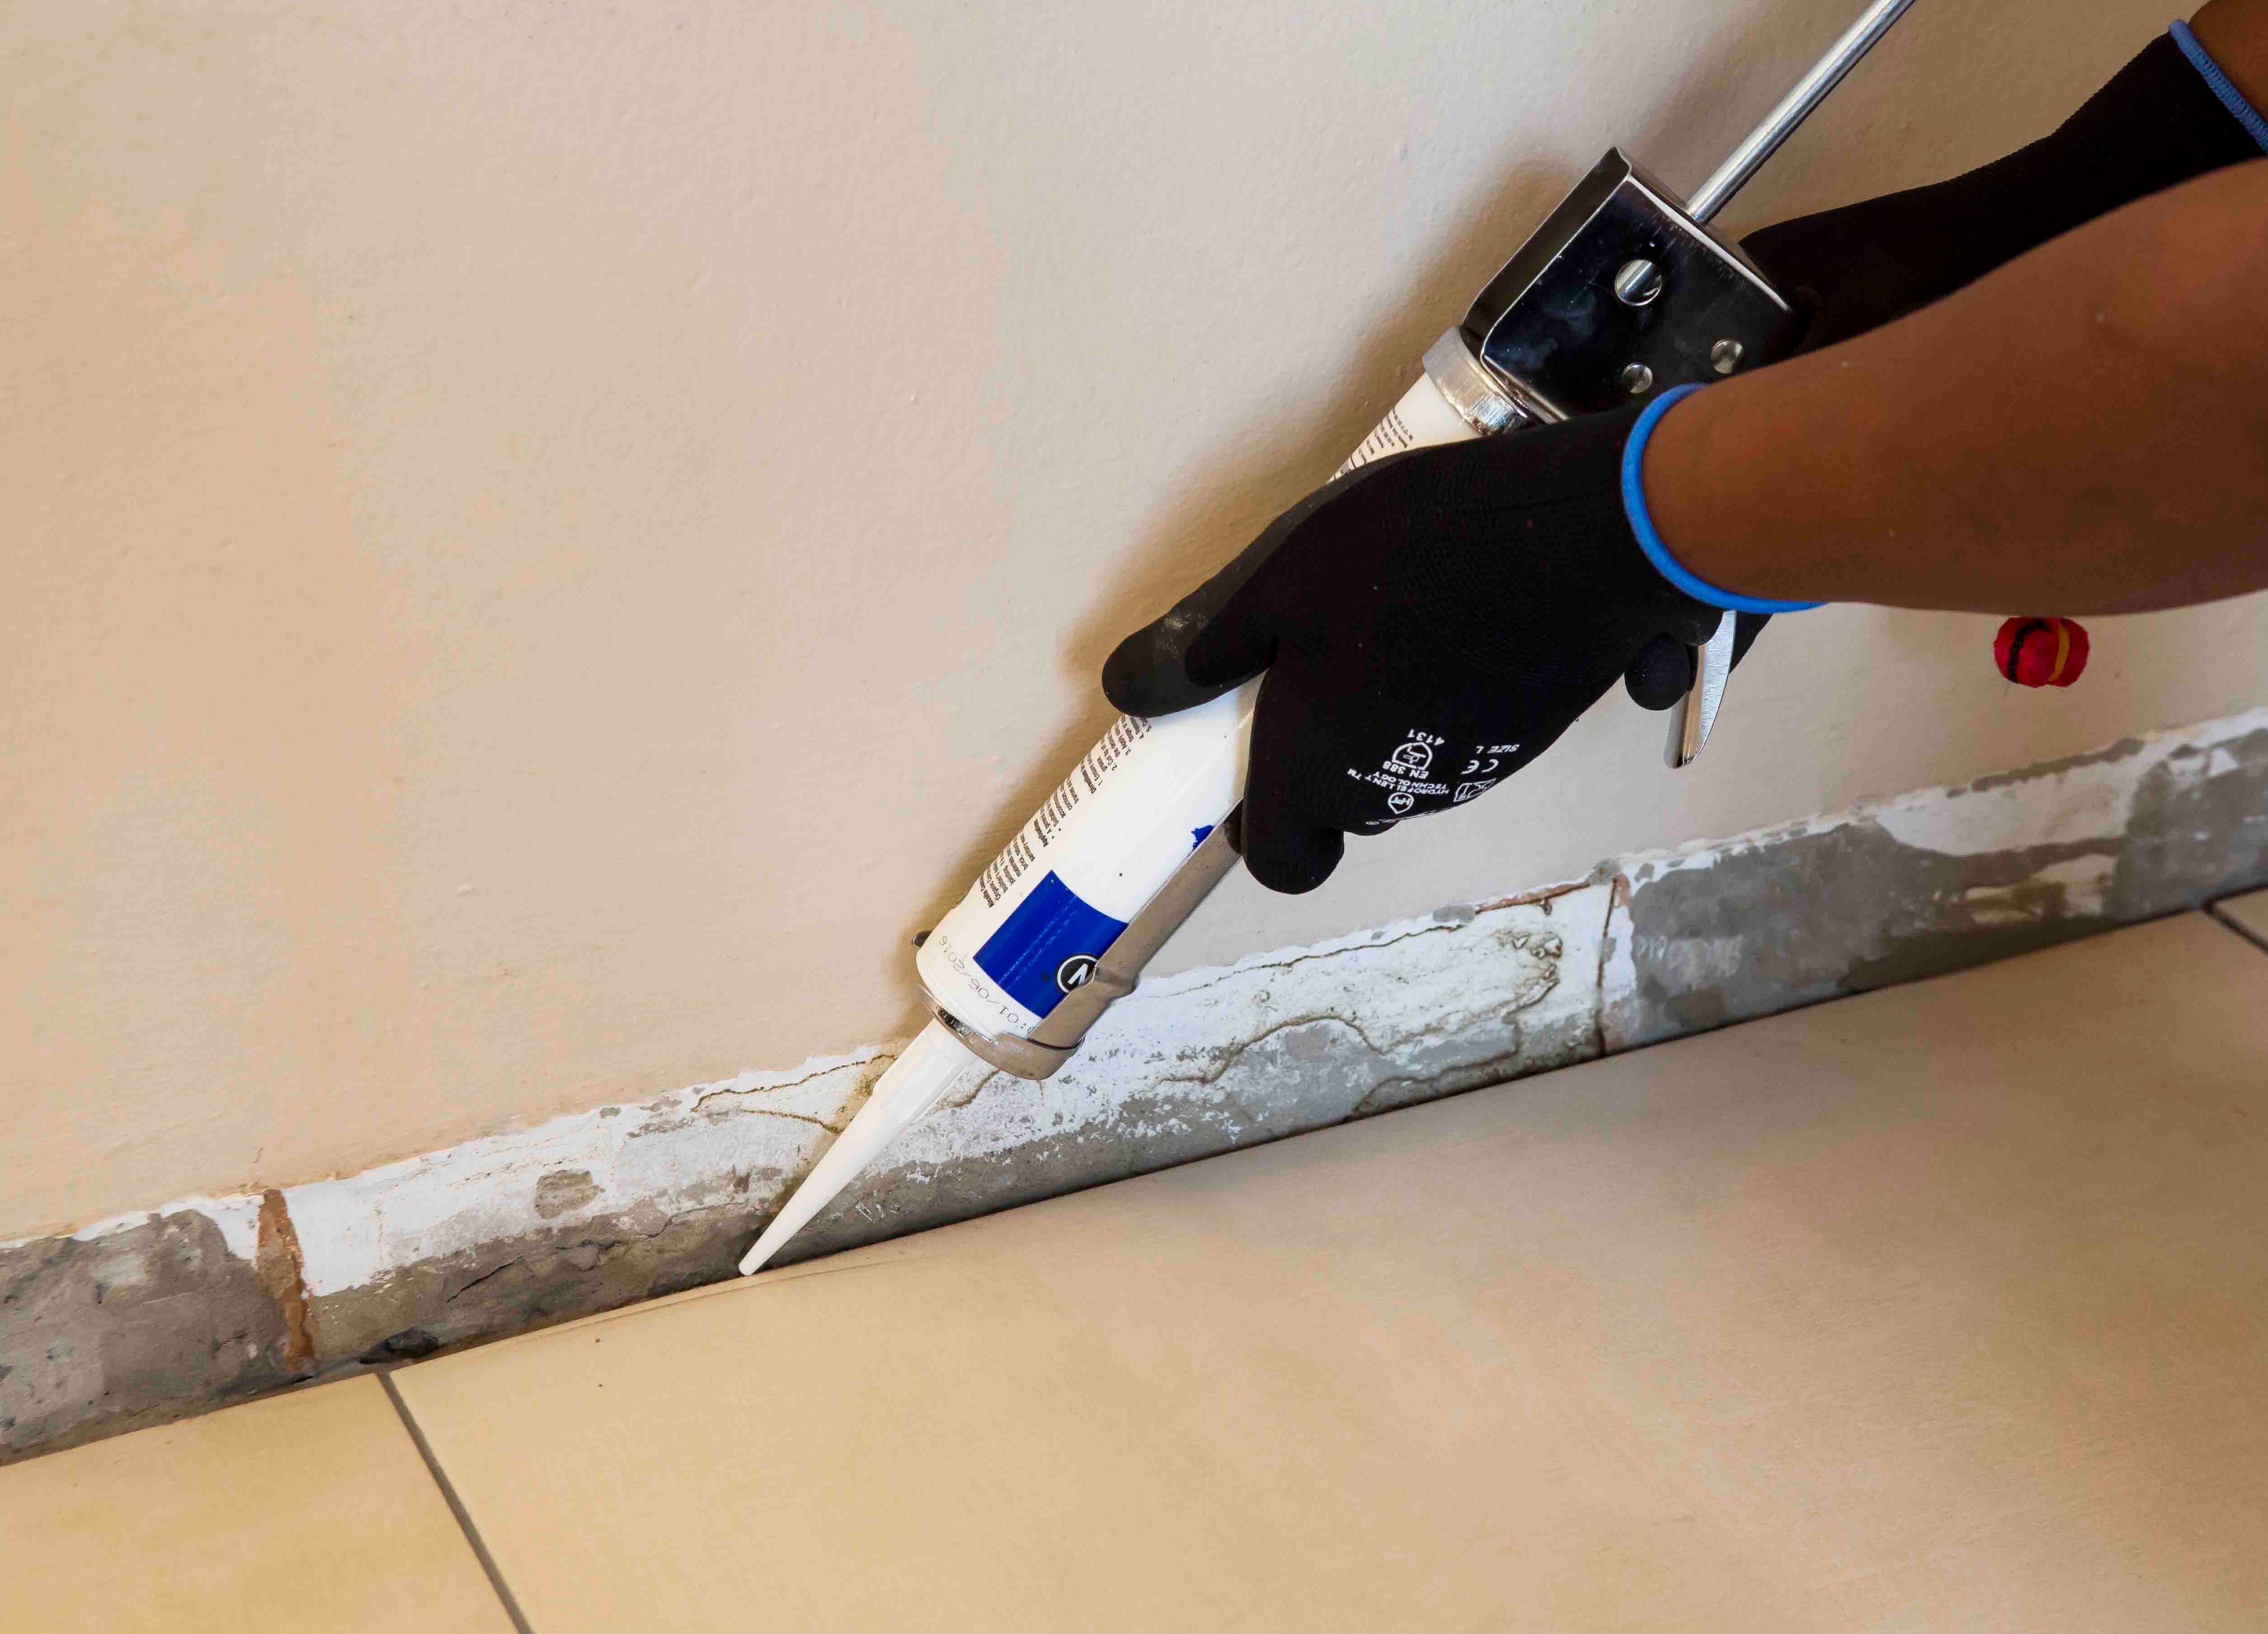
7. Provide tile panel movement joints and perimeter joints in all corners and in large tiled areas approximatel five metres apart. Rake out joints and leave ungrouted. Fill with a joint sealant such as TAL Goldstar Sealmaster 1000 polyurethane flexible joint sealant.
8. Seal the grout joints bordering wet areas such as the bath, basin, sink, shower and window with a grout sealer to make the joints waterproof. TAL Goldstar Grout Sealer is specially designed to seal grout joints, both in the green and cured states. The sealer’s residual film dries clear and does not discolour. The grout joints should be clean and free from dust, dirt and surface contaminants, any stains not removed will be sealed into the grout. The sealer should be allowed to dry for 24 hours.
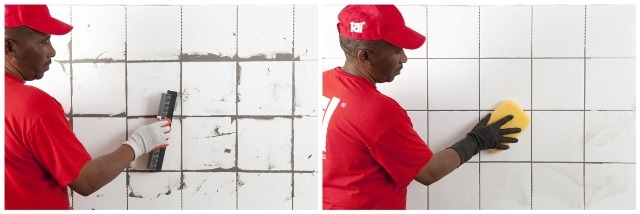

Grout squeegee and grout sponge
These tools are used to spread and wipe away excess grout. A grout squeegee has a soft edge and therefore won’t damage the tiles. It is a wonderful tool when grouting mosaics as mosaics have more sharp edges for a grout spreader to get caught on.
A grout sponge is made from a denser foam and results in a smoother finish when cleaning tiles. It features rounded edges that will not make grooves while wiping off excess grout from the tile surface.
Grout calculator
Use our handy Grout Calculator to determine how much grout you’ll need.
See part 2 of Get a grip on grout for a step-by-step guide on grouting.
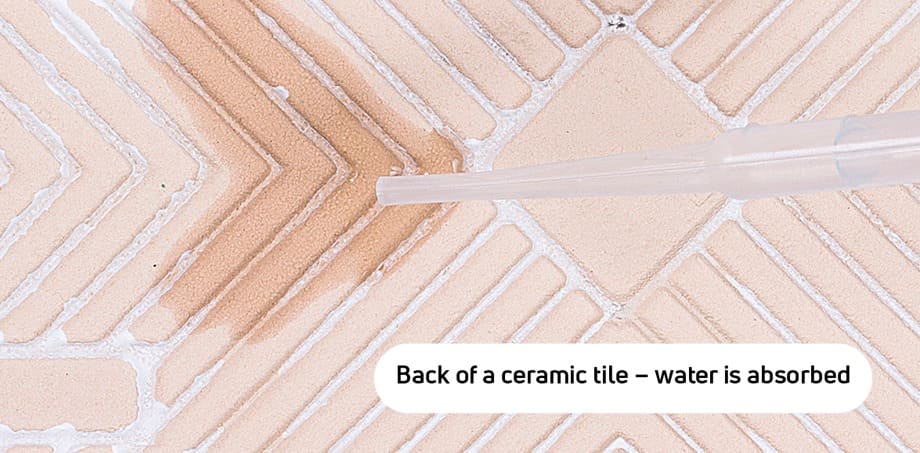

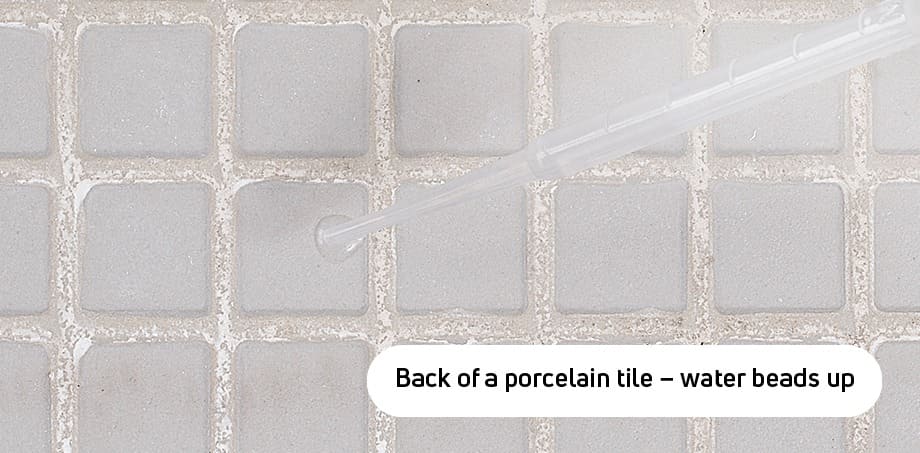

HOW TO DETECT THE PROBLEM!
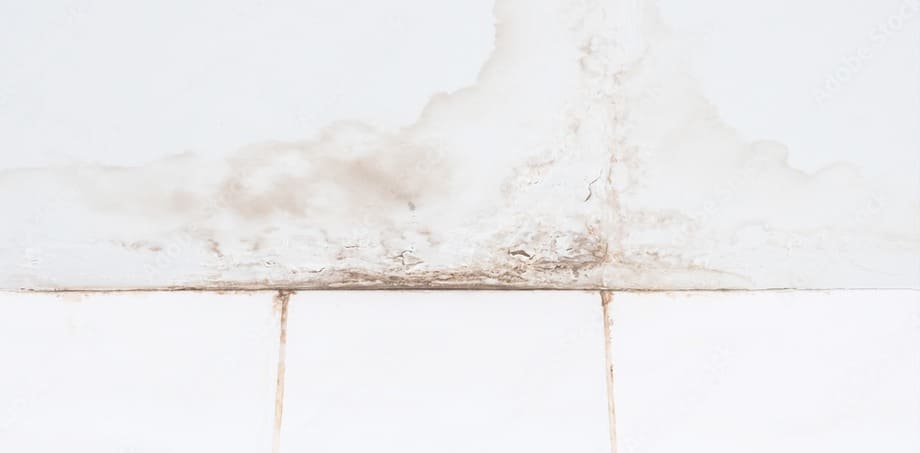
If this happens, you will know your tiles are exposed to an excess of moisture:
The surface of a glazed tile is similar to a semi-transparent glass finish:
-
Should there be moisture ingress into the tile installation, the face of the tile, particularly light-coloured ceramic tiles with a transparent glaze, will change colour, and appear darker than the surrounding tiles.
What causes the problem?
Most instances of water absorption in tiles will take place in showers, bathrooms, kitchens, and outdoor areas. The reasons could be as follows:
-
The shower recess or balcony was not waterproofed before tiling.
-
Waterproofing compounds were applied incorrectly.
-
There was a leak in the water pipe behind tiling.
-
The floor water outlet is not draining water properly, and is now flooding.
-
There are cracks in the grout, or incorrectly applied grout which is not sealed.

-
WHAT CAN I DO?
Attend to the water damage as soon as a problem is detected!
Water permeating through the grout and adhesive into the substrate can cause damp patches on adjacent walls or on the ceilings of rooms below the installation. There is also a risk of mould growth.
Follow these steps:1. Get a plumber in to determine if there is a leak in the pipe-work or taps:
- leakages must be repaired as soon as possible.
2. Consult a professional tiling contractor to determine if the problem is caused by:
- a lack of waterproofing
- failed waterproofing
- cracks in tile glaze
- cracked or soft grout
3. Should the wet area be tiled with porous tiles such as unglazed ceramics, or natural stones (travertine, slate, or marble), consider sealing the tiles with a suitable tile sealer.
4. Once the problems are rectified and the tiles are allowed to dry out, the dark shading will disappear.
- Porous tiles should be allowed to dry completely before being sealed.
- If you seal the tiles while they are still saturated with water, moisture could get trapped beneath the sealant, or prolong the drying-out process.
5. In extreme cases, especially if waterproofing has failed, the tiles will have to be removed and reinstalled. (See our article on How to waterproof a shower)
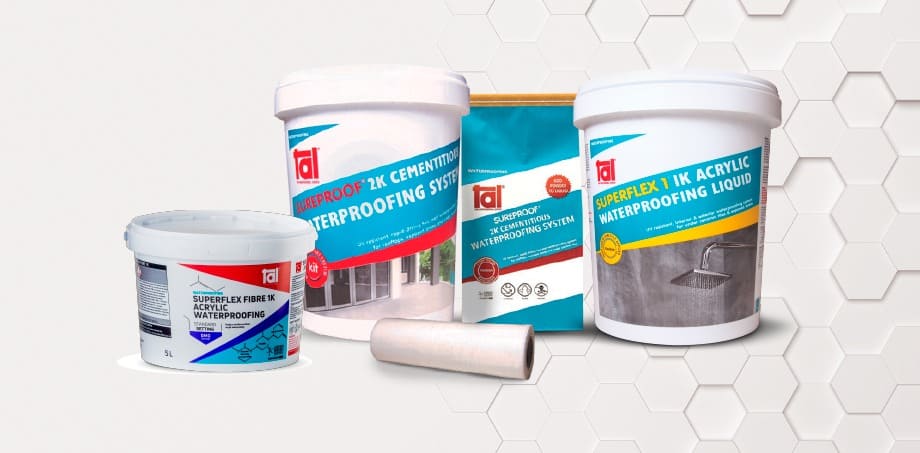

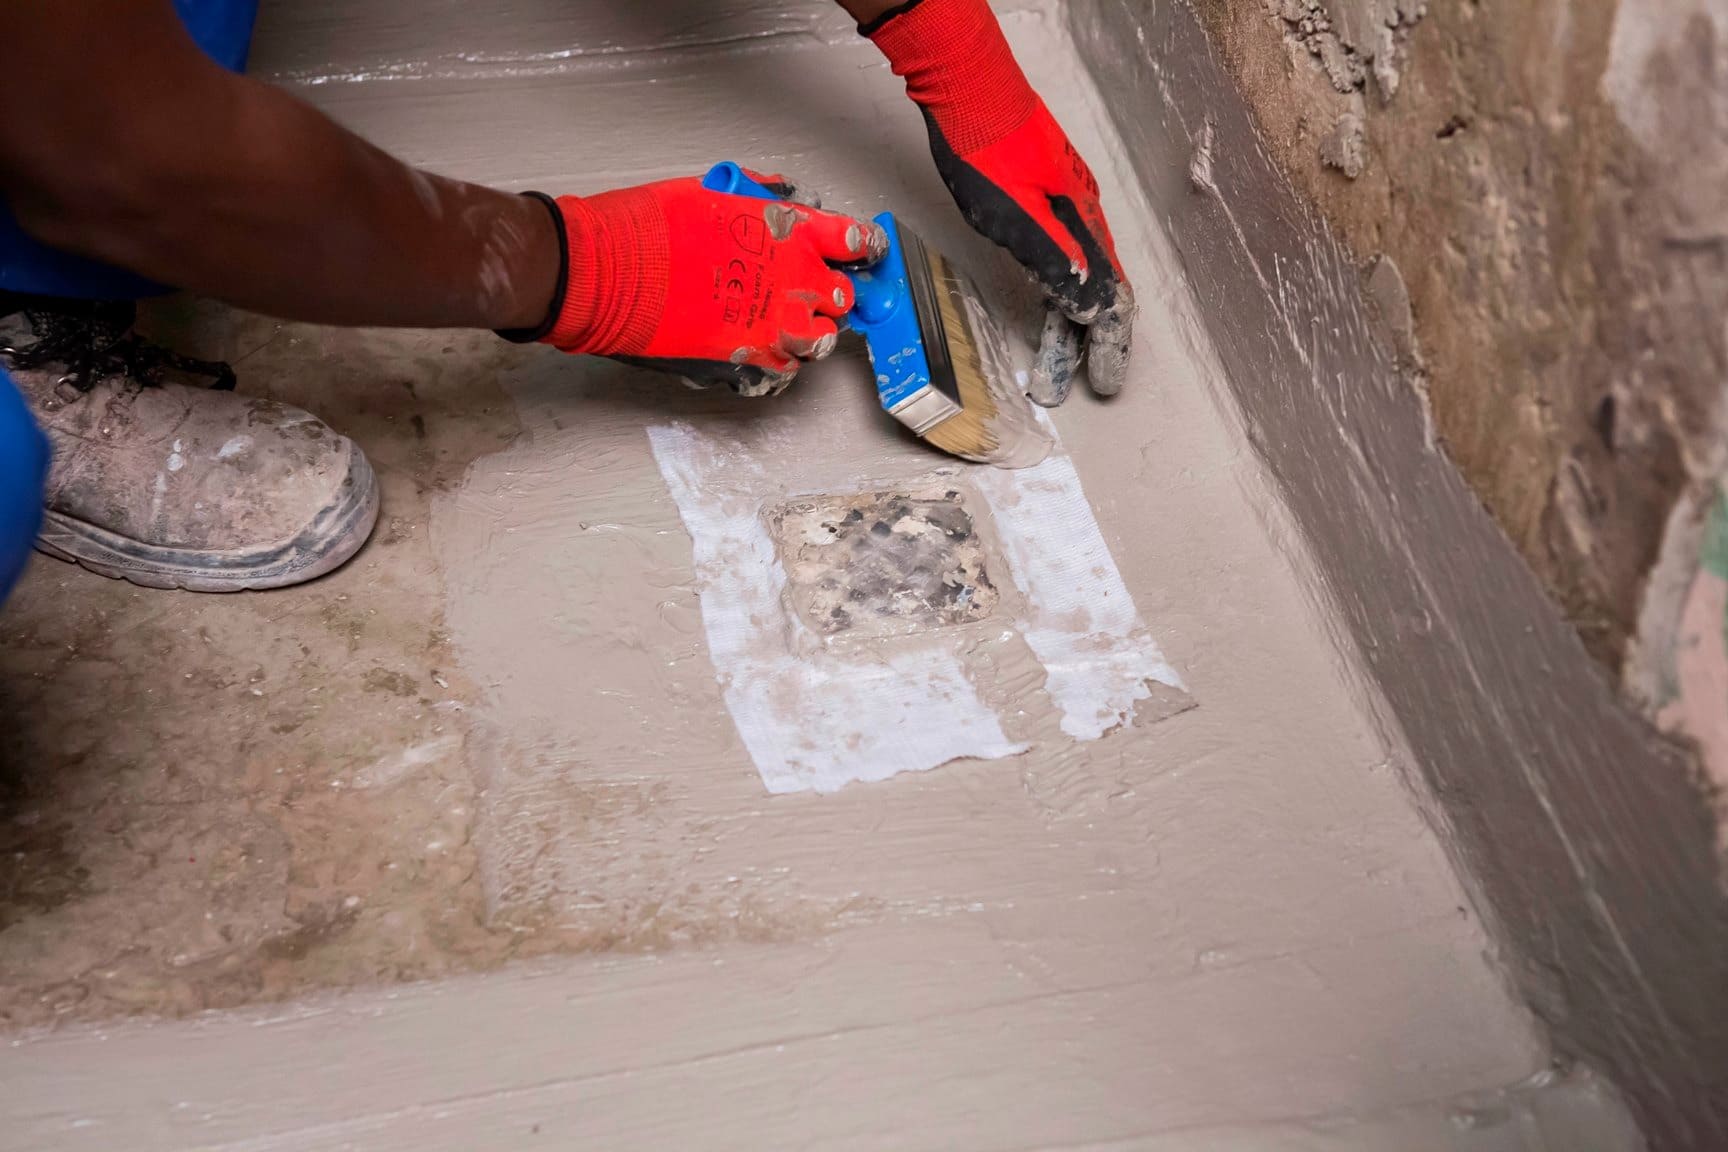

The waterproofing system needs to be applied to above the height of the shower rose and, where the wastes are flush with the floor, down into the shower waste.
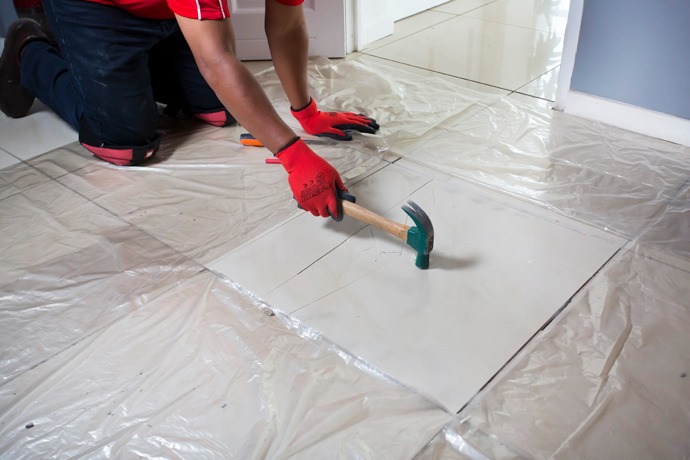


Where necessary, use a grout squeegee to apply additional adhesive to fill in any voids in the grout joints.
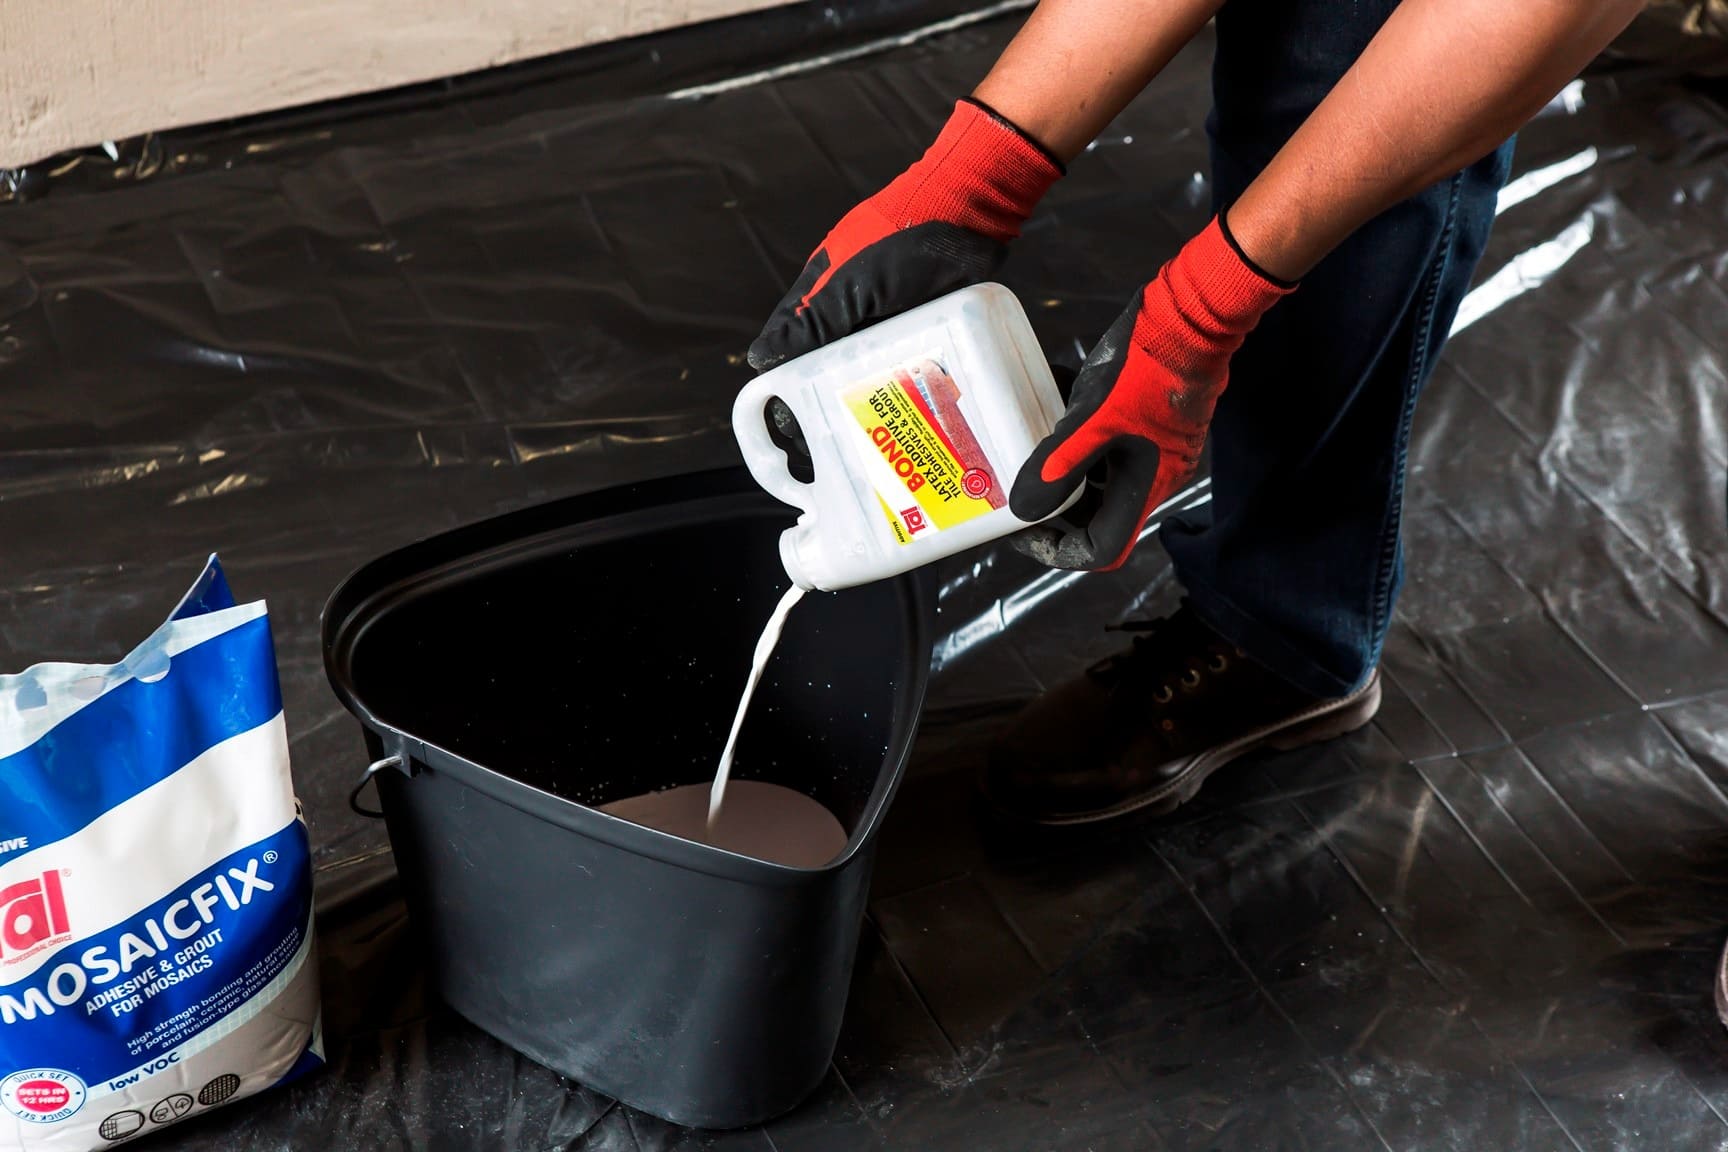

Complete the waterproofing system by replacing the water in the grout mix with TAL Bond, a latex additive, as this further increases the water resistance and flexibility of the installation.
Get the job right the first time and avoid future headaches from water seeping through and damaging the walls and floors of your home. The additional cost and effort of properly waterproofing your shower is an investment in your property and will ensure a beautiful and functional bathroom for years to come.
For more information on multi-level waterproofing systems, contact a TAL Expert on 0860 000 TAL (825), email us or watch our how-to video on YouTube for step-by-step advice on how to waterproof a shower.

STEP 8
Roll the area using a TAL Spiked Roller to facilitate the release of any trapped air to produce a smooth surface, and to allow it to dry.

Allow the screed installation to dry for 24 hours before subjecting to foot traffic (or other trades) or installing floor coverings.


TAL MOSAICFIX is available in 20 kg and 5 kg bags from leading retail outlets.
Designed to be 100% compatible, using the TAL range of products ensures fully guaranteed multi-level tiling systems from a single source. TAL products are manufactured in South Africa to suit local climatic conditions.
If you are in any doubt, contact the TAL Technical Advisory Service on 0860 000 TAL (825), email [email protected]. Alternatively, employ the services of an experienced and skilled mosaic tiling contractor.


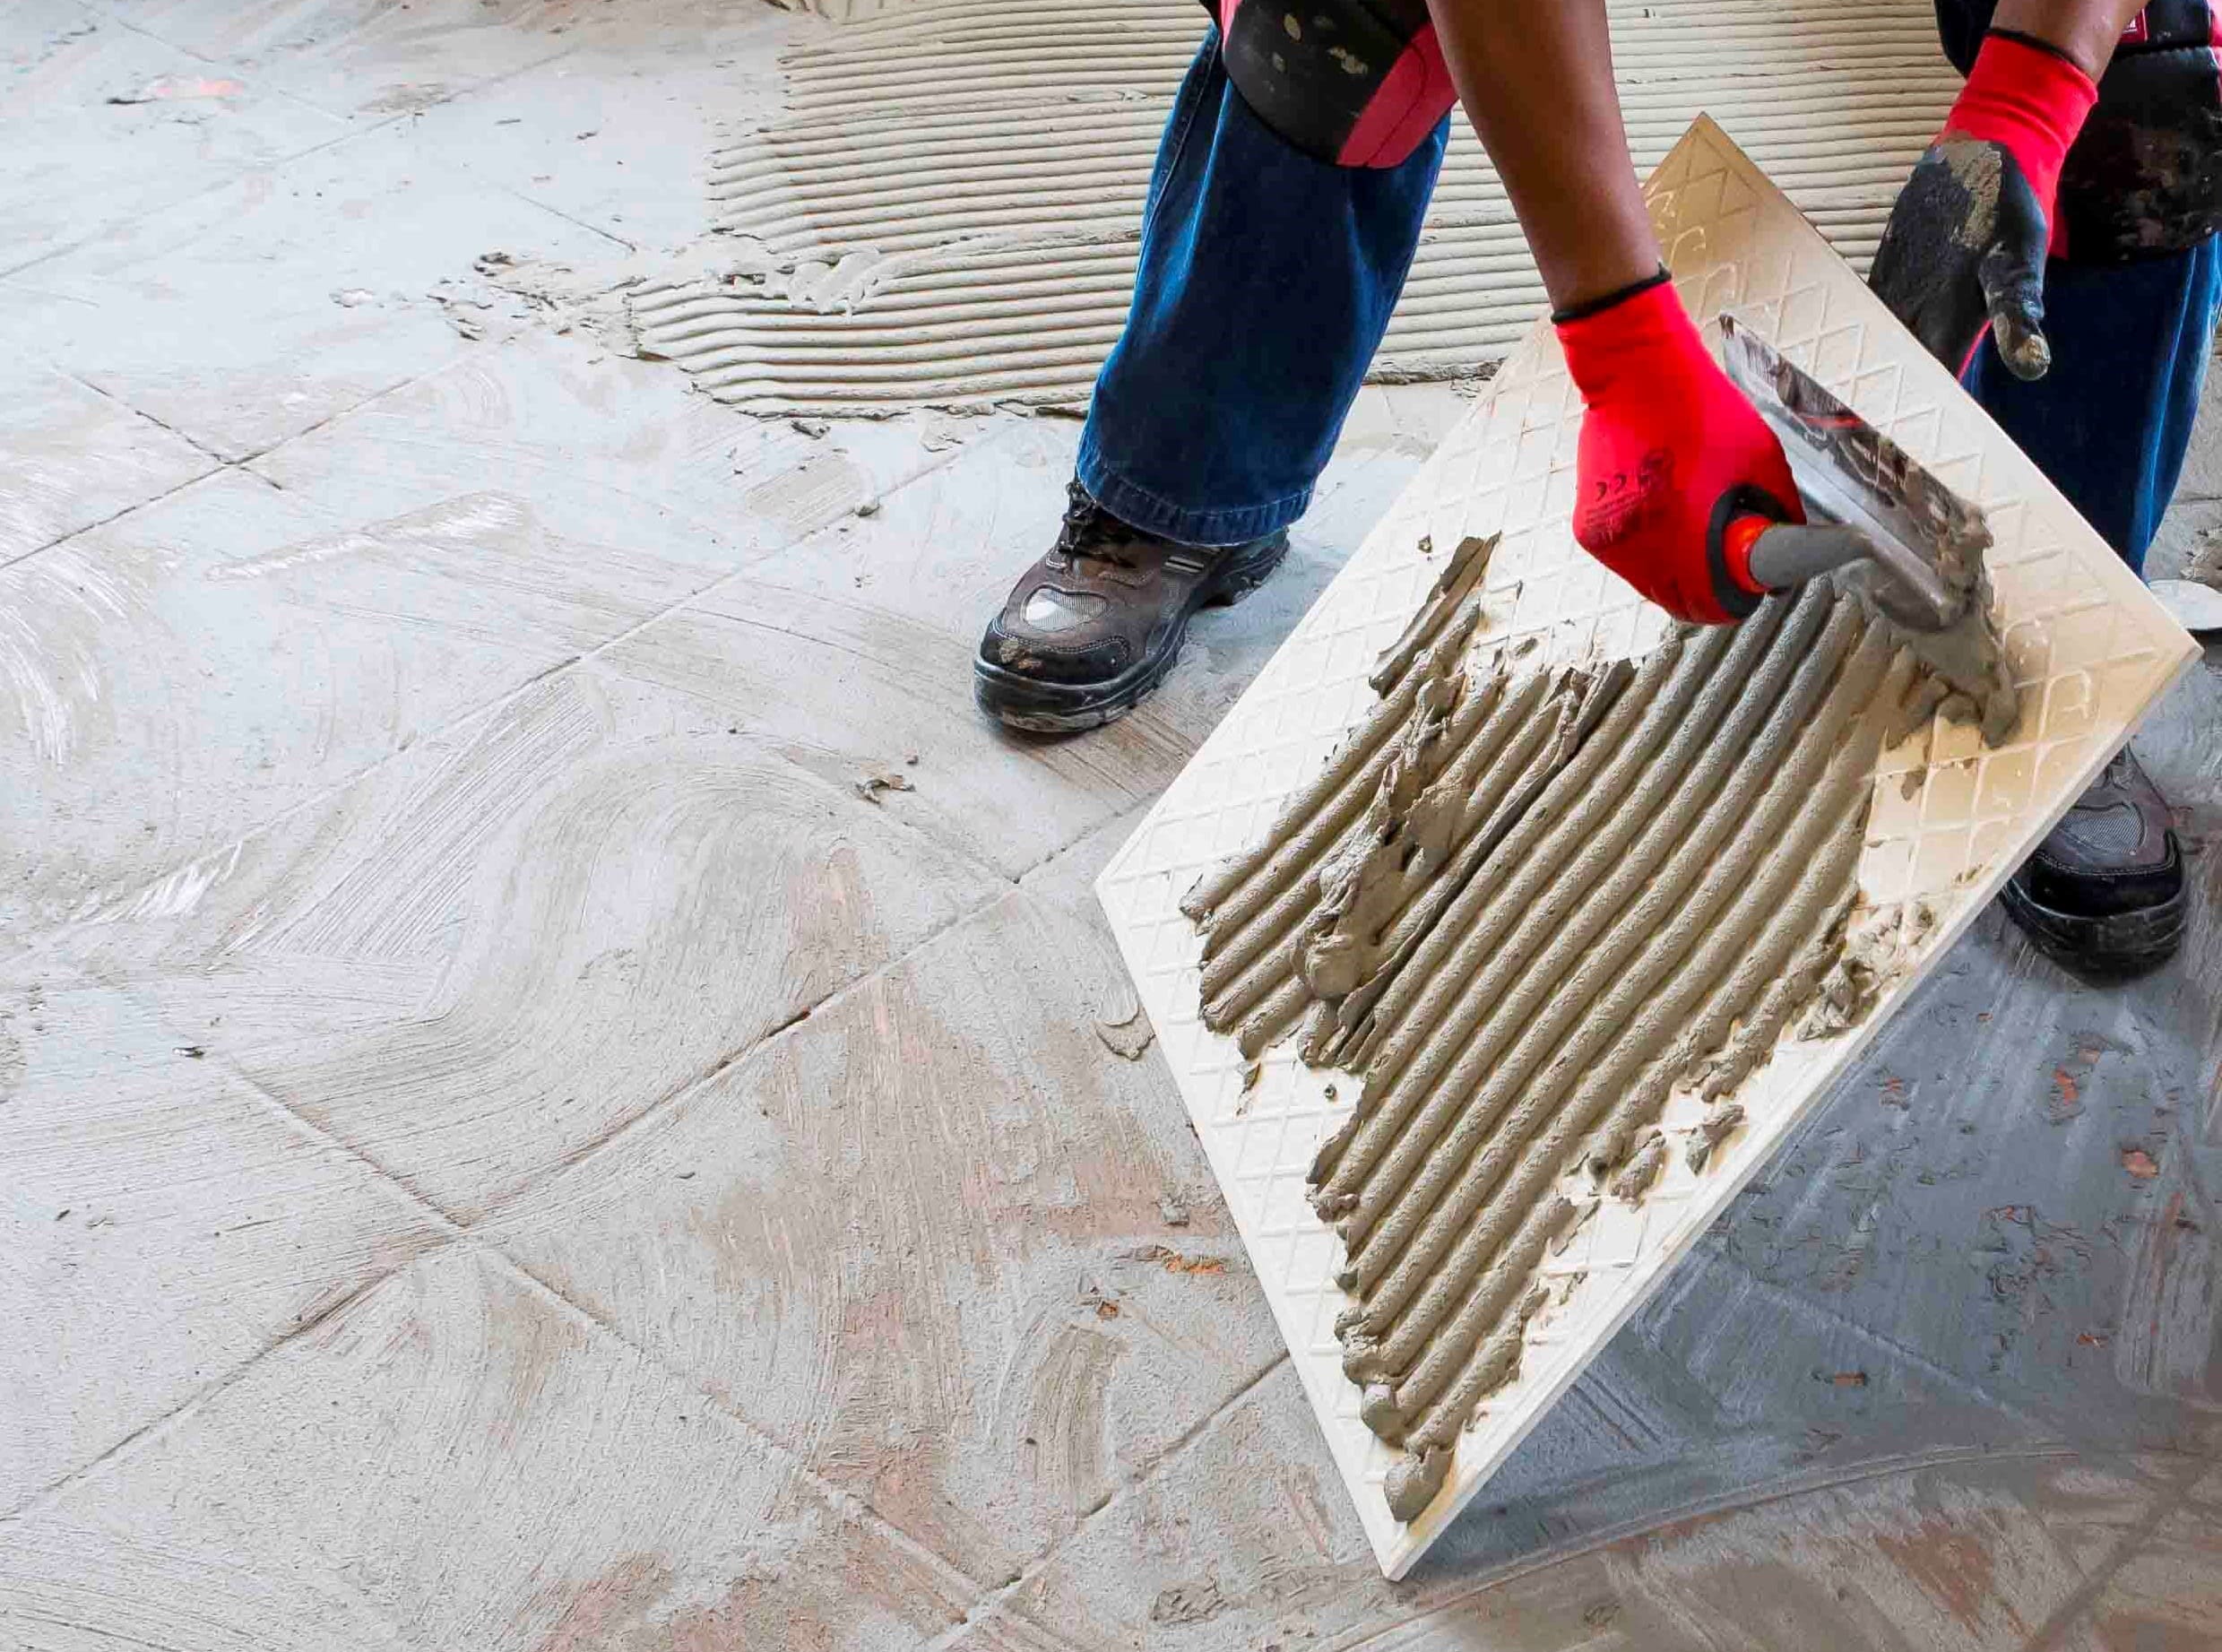
When replacing tiles, it is not always possible to apply the TALFIX directly to the floor, in which case apply the adhesive in a solid bed onto the back of the tile, ensuring complete coverage. Gently trace the notched side of a floor trowel through the adhesive to create ‘ridges’.


Adhesive system
When tiling onto existing tiles, it is important to only use a quick- or rapid-setting adhesive, as the existing tiles will present a dense, impervious surface, and standard-setting adhesives will take longer to dry. Too early trafficking of newly-installed tiles before the adhesive has set sufficiently can result in hollow-sounding or loose tiles.
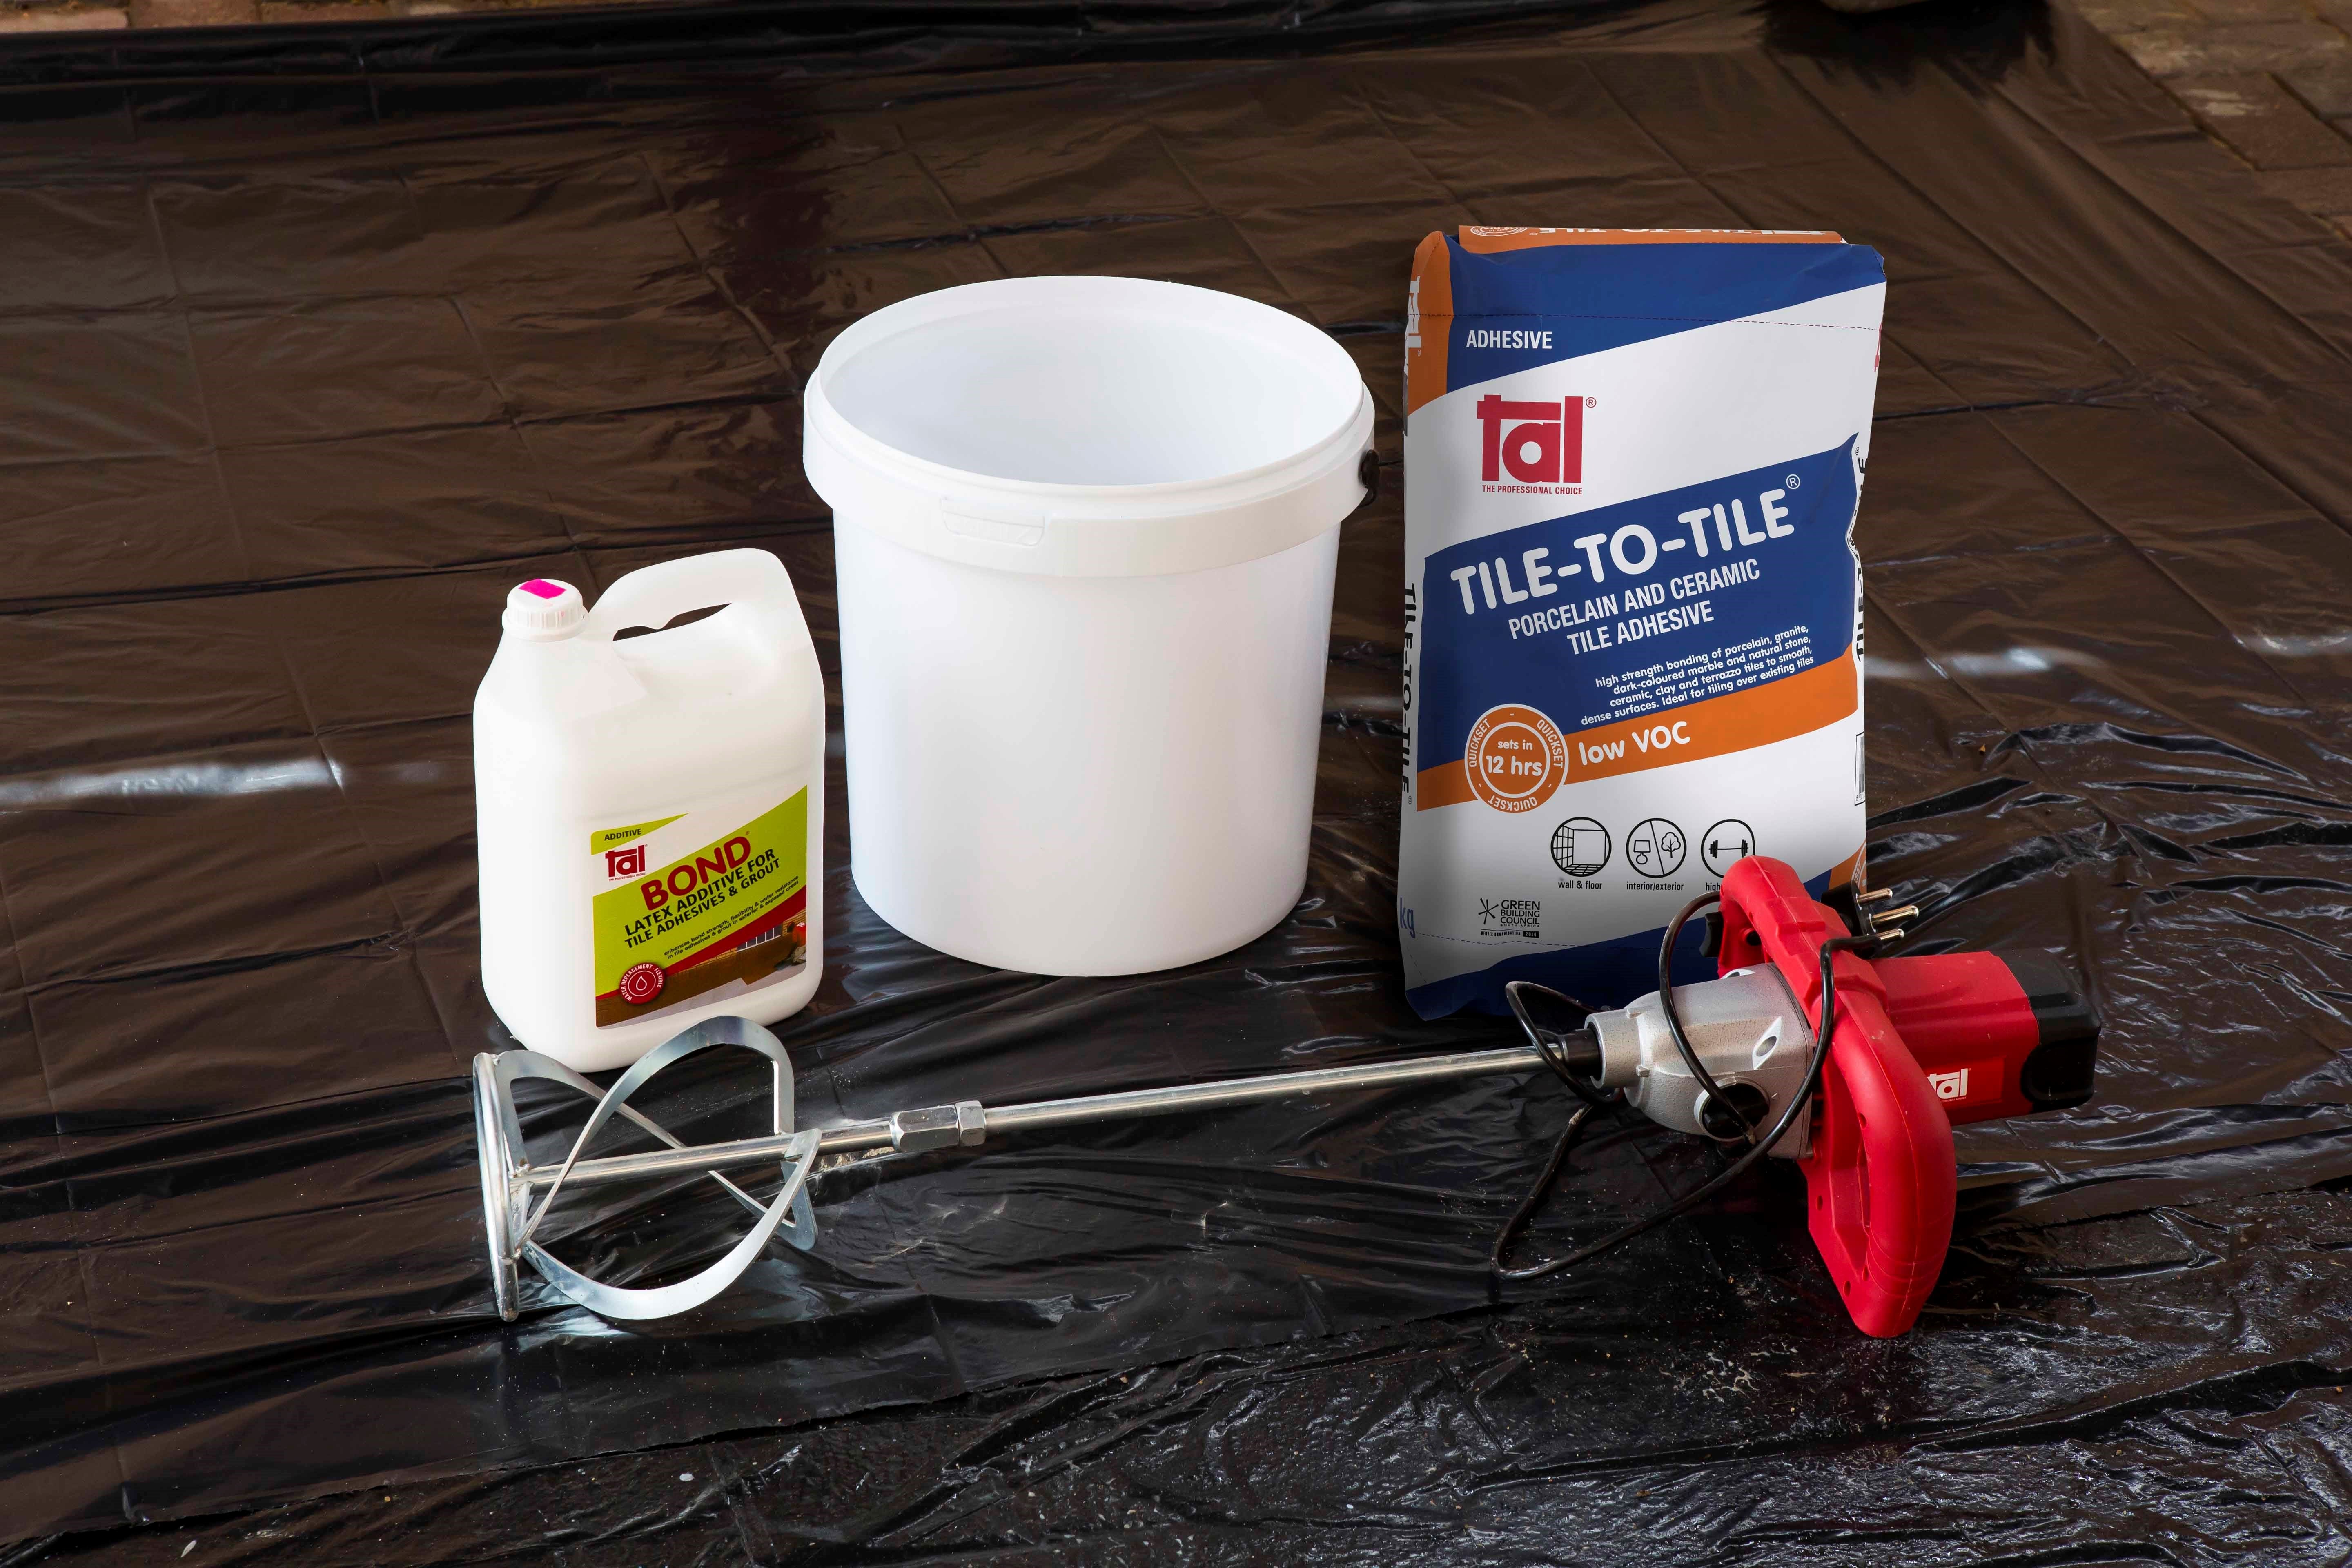
Use TAL Tile-To-Tile quick-setting adhesive for tiling onto interior surface beds. When tiling onto suspended slabs and for external installations mix the TAL Tile-To-Tile with TAL Bond, replacing the water in the mix. Alternatively, TAL Bond Powder can be added to the adhesive mixing water.

Ensure that there is a solid bed of adhesive at least 6 mm thick beneath each tile.
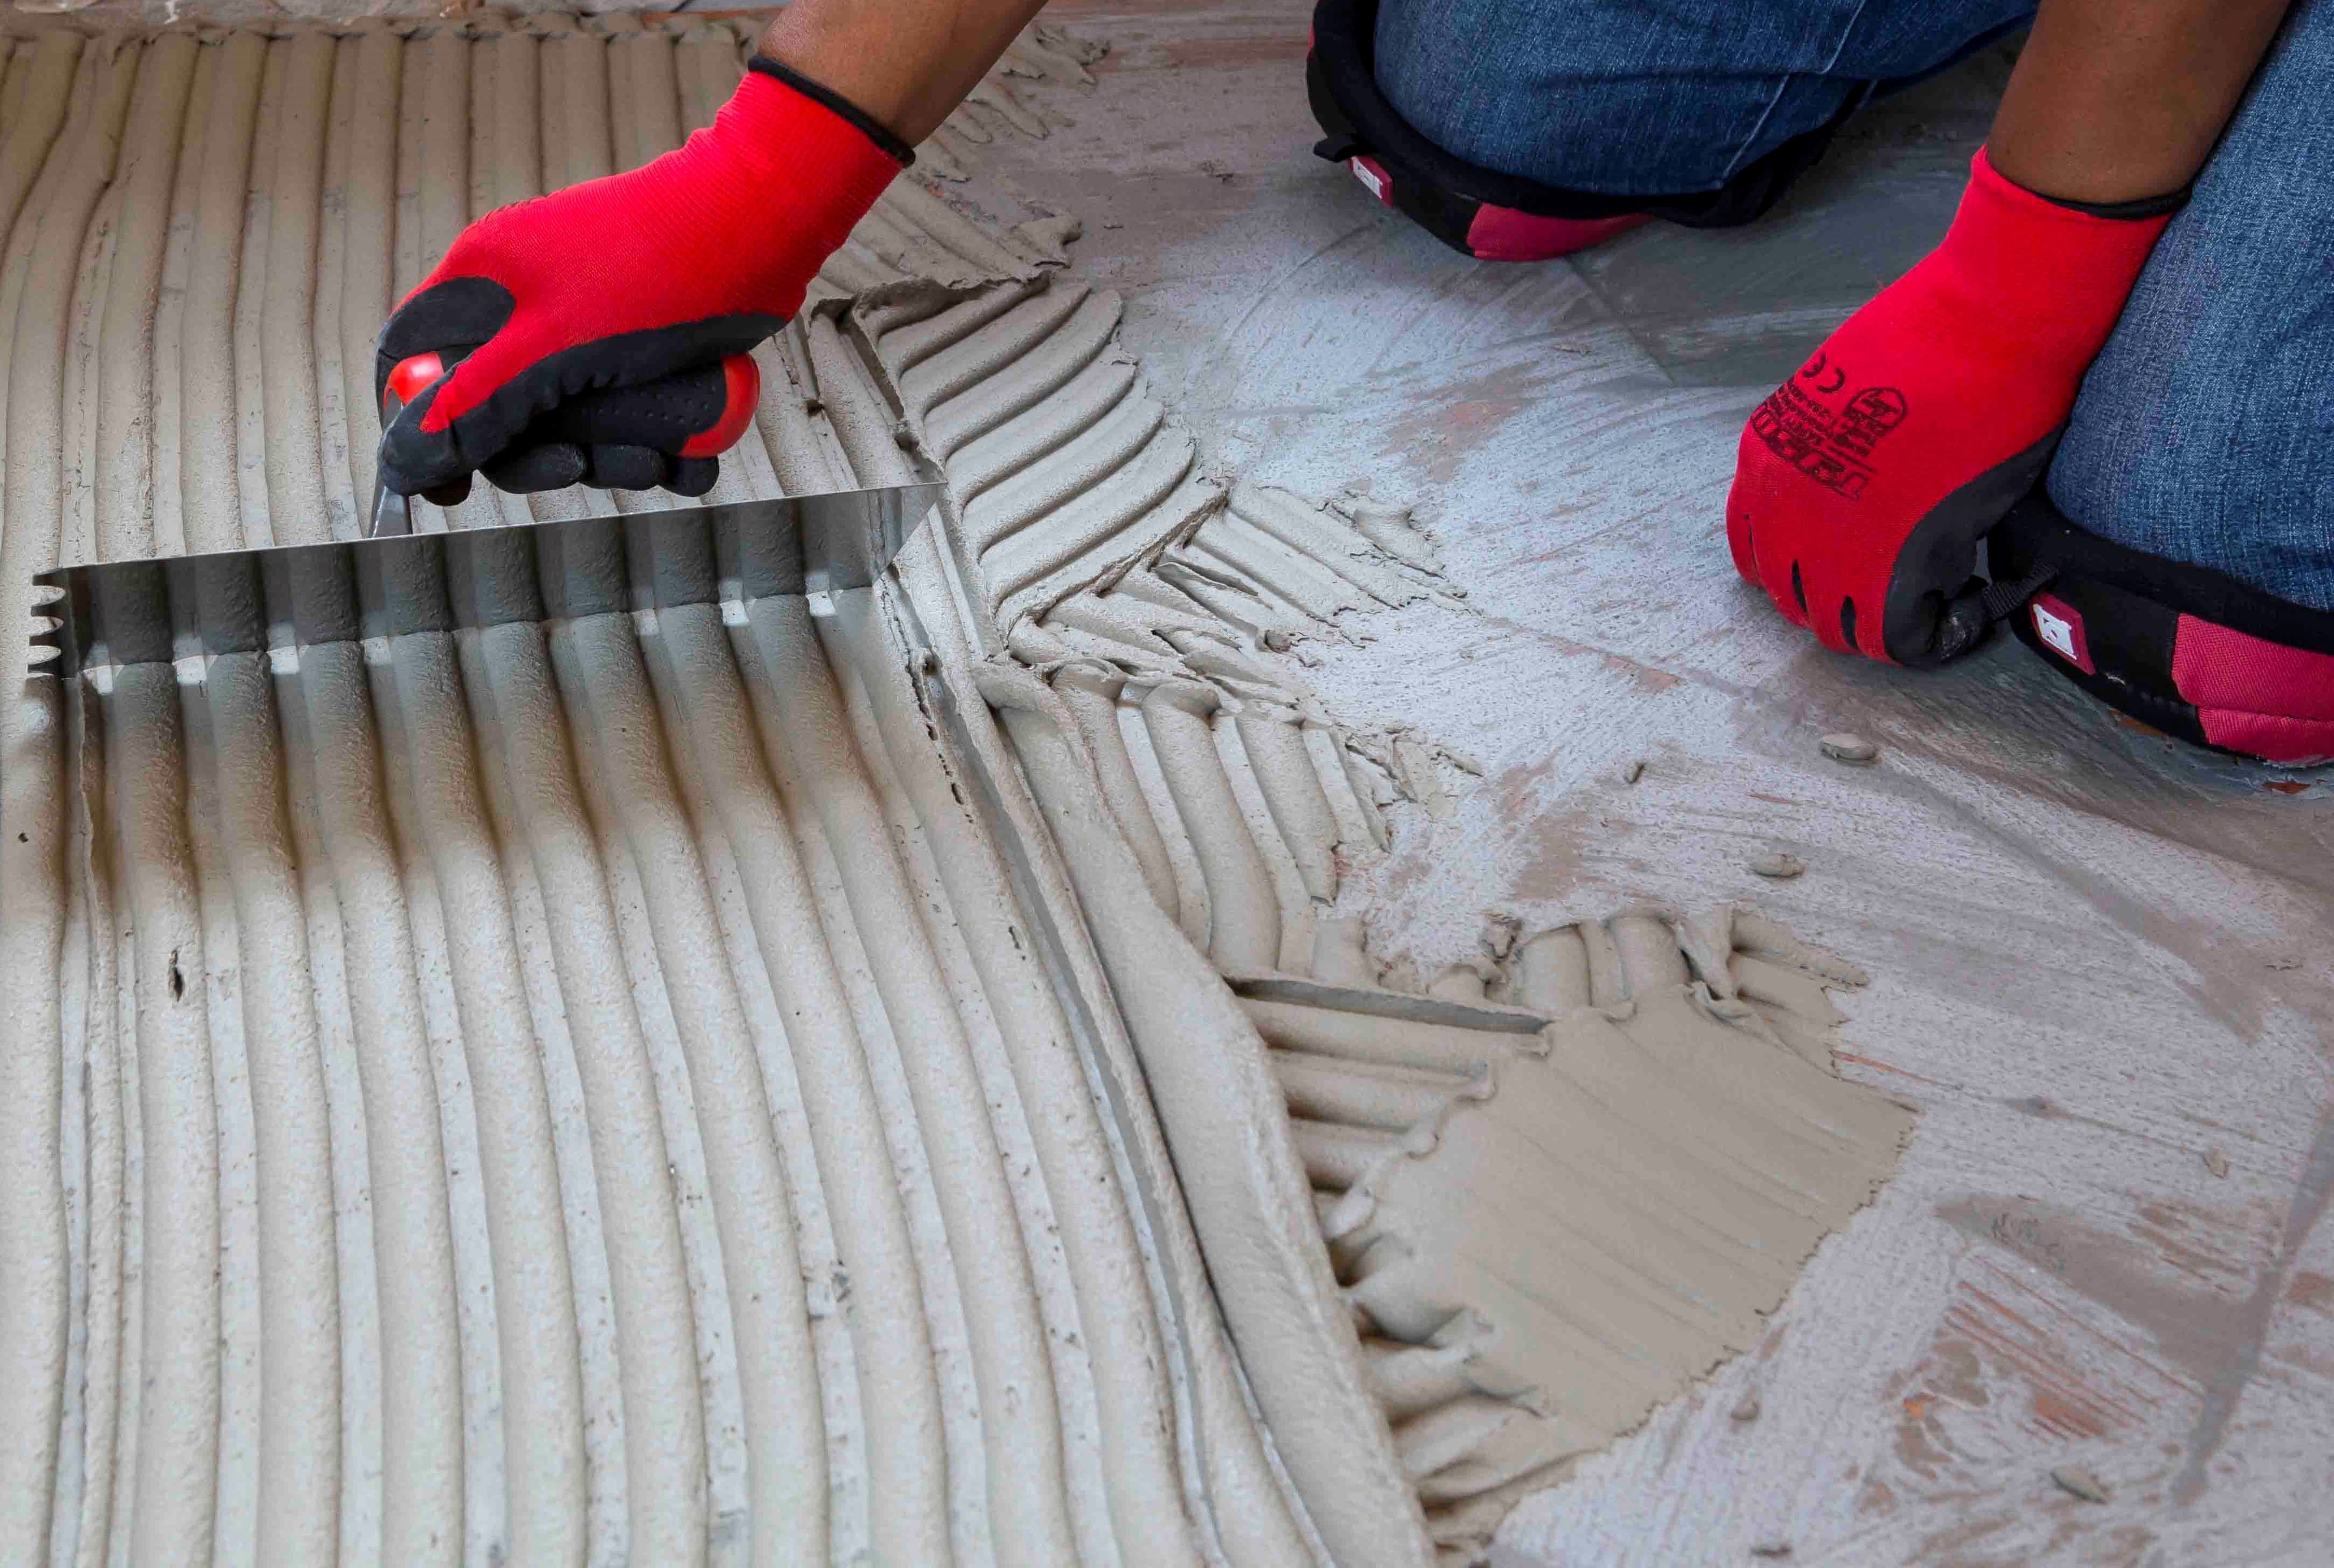

Back buttering with a thin coat of adhesive may also be required when using large-format tiles to ensure full contact with the adhesive bed.

Grouting
Grouting should not be carried out until the adhesive has set sufficiently to prevent the tile installation from being disturbed during the grouting operation (always refer to the adhesive packaging for setting times). When using TAL TAL Tile-To-Tile, allow a minimum of six hours before grouting.
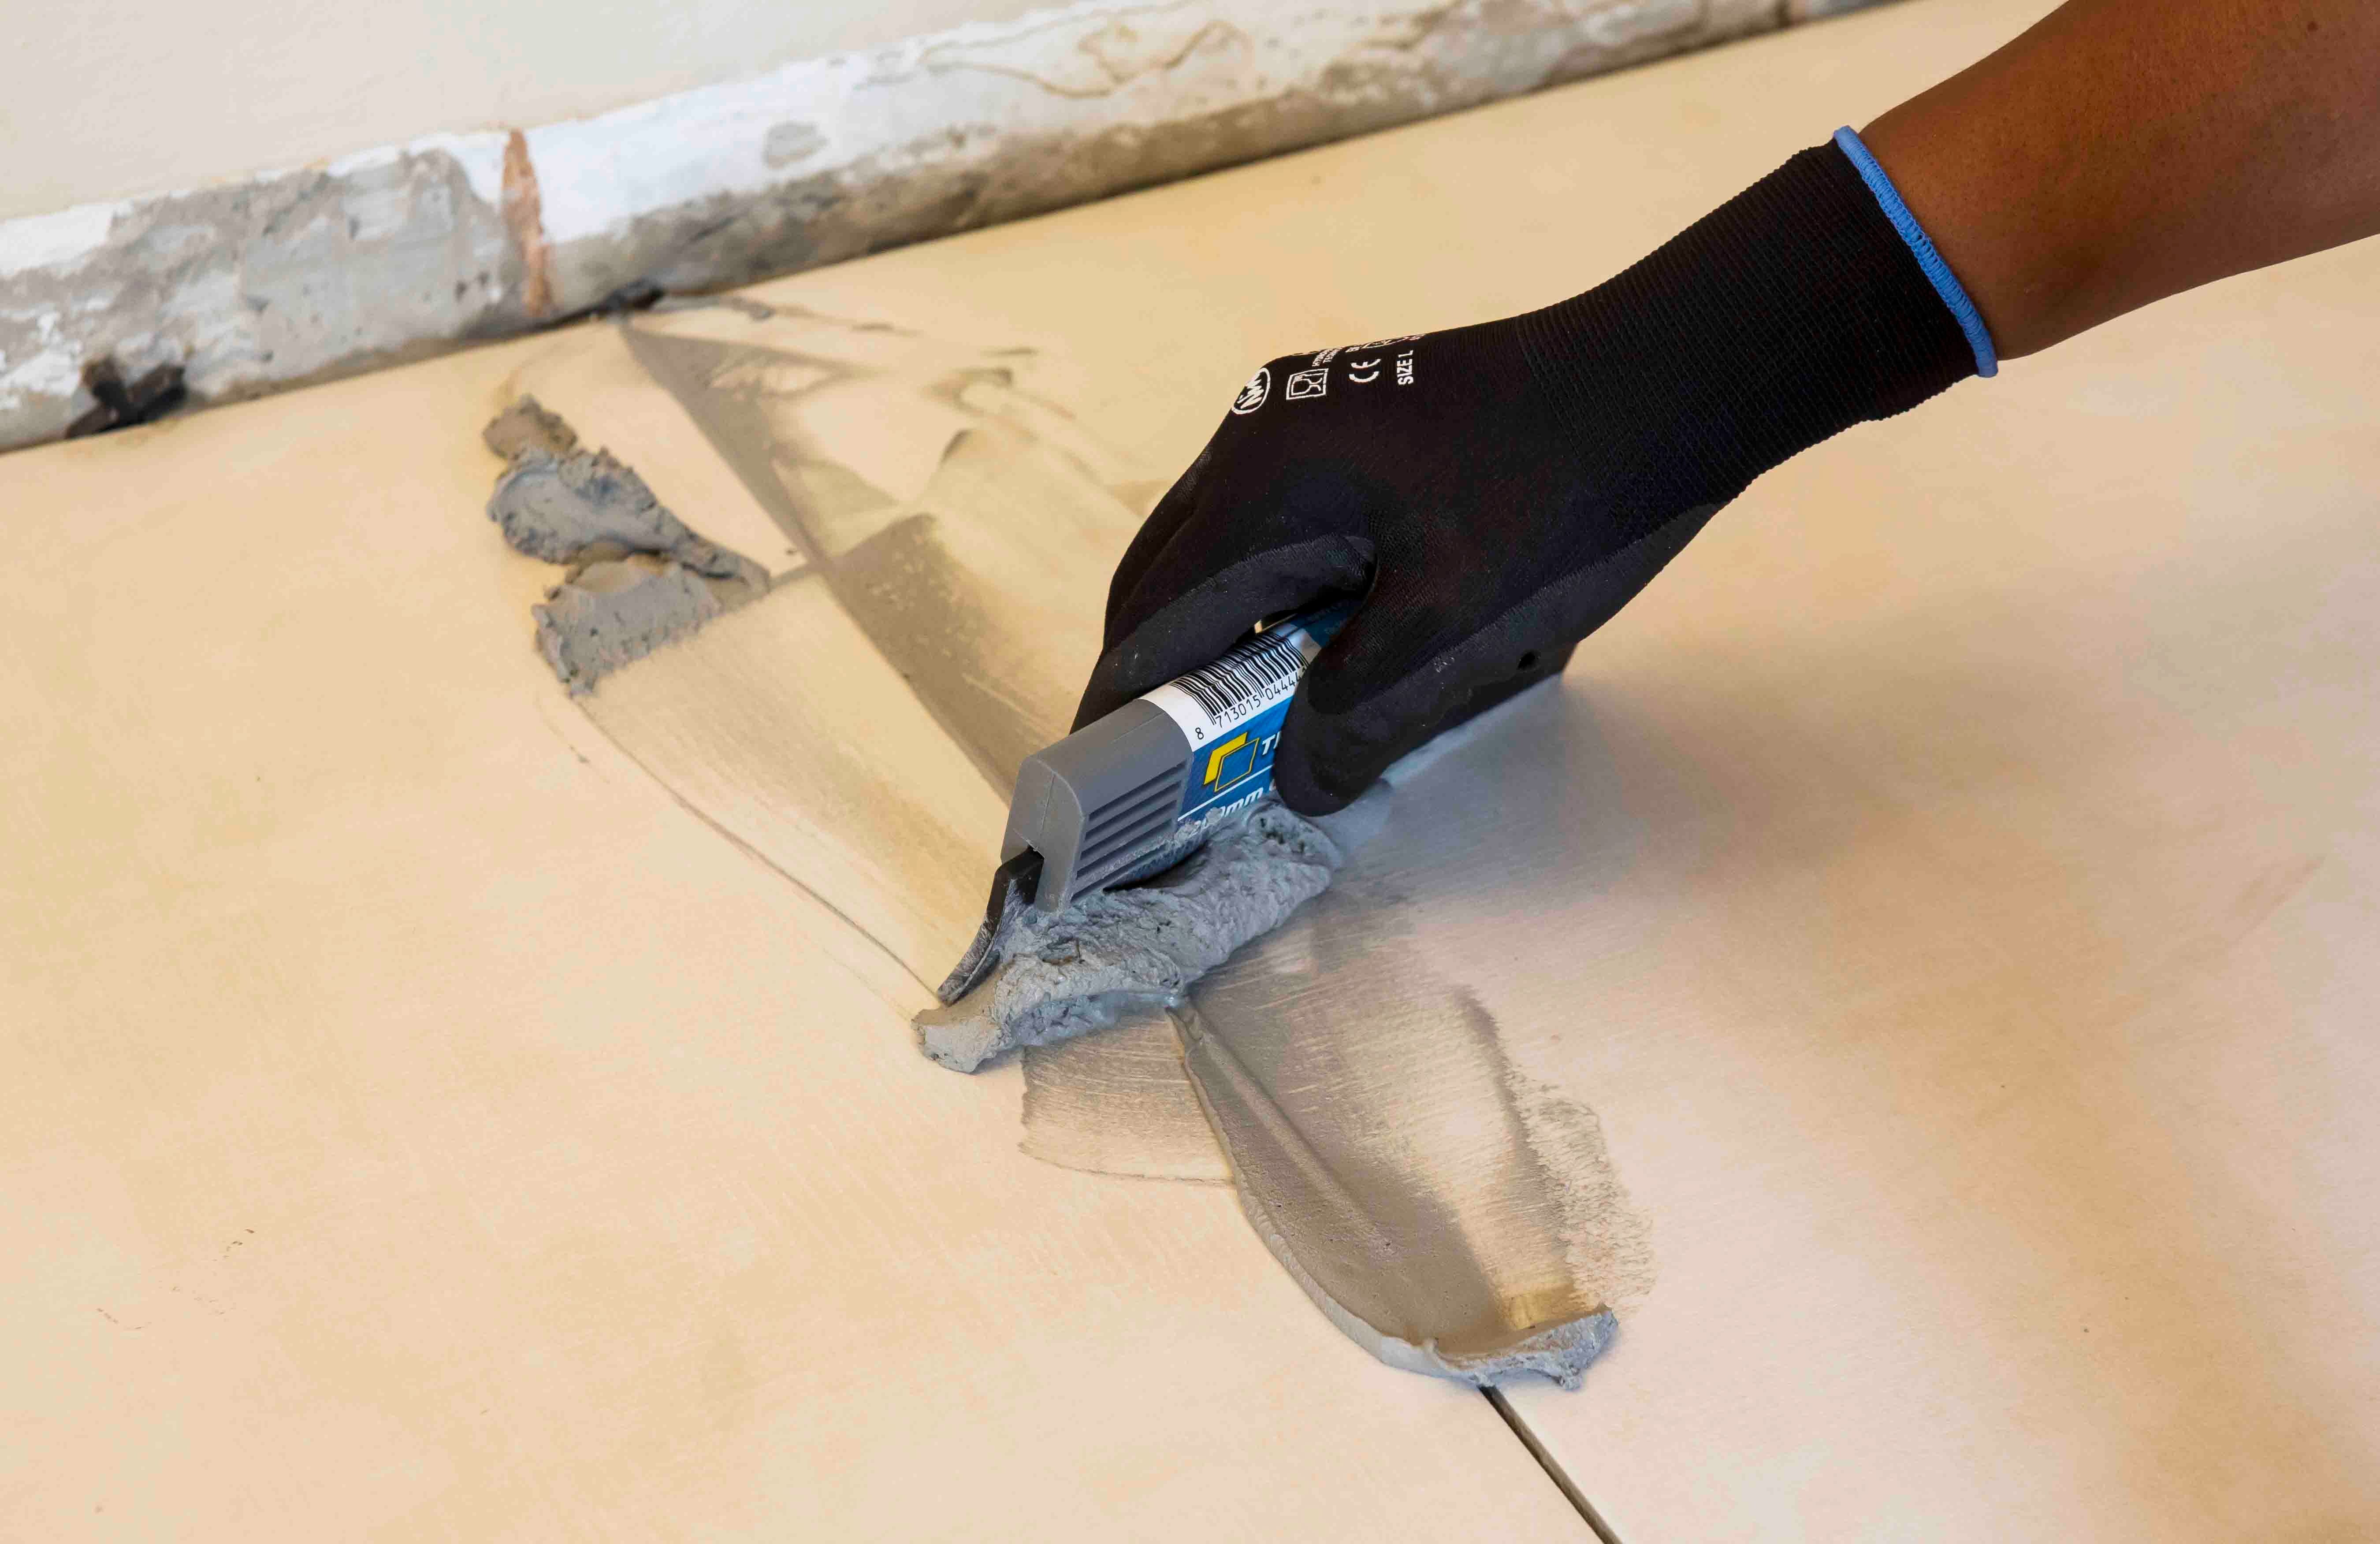

For interior surface beds, use TAL Wall & Floor Grout for filling tile joints up to 8 mm wide. TAL Quarry Grout can be used in wider joints up to 25 mm wide. On suspended slabs and for external installations, replace the water in the grout mix with TAL Bond, or add TAL Bond Powder to the grout mixing water.
Particular care must be taken to clean the grout off the tile face before it hardens completely. This is especially important when an additive such as TAL Bond or TAL Bond Powder has been used. A tile sample should be tested beforehand to ensure that no grout is absorbed through the glaze or into the tile body, thereby staining the tiles permanently.

Movement joints
The lack of movement joints in tile installations is a major cause of tile failure. When tiling over existing tiles, the existing structural and movement joints must be maintained in the new tile installation. The movement joints should be at least 5 mm wide and extend through the adhesive and both tile layers.
