
Get a grip on grout: Part 2
Grouting step-by-step
1. Follow the instructions on the grout packaging for the correct mix ratio. Add the grout to the stipulated amount of clean, cool water whilst mixing. Mix well to form a creamy, lump-free consistency. If using TAL Wall & Floor Grout, add 5kg of grout to 1.5 litres of clean, cool water. Note that all exterior/exposed and wet applications require the water in the mix to be replaced with TAL Bond.
2. Using a mechanical mixer, mix well while adding powder.
3. Stand for 3 minutes then stir again.
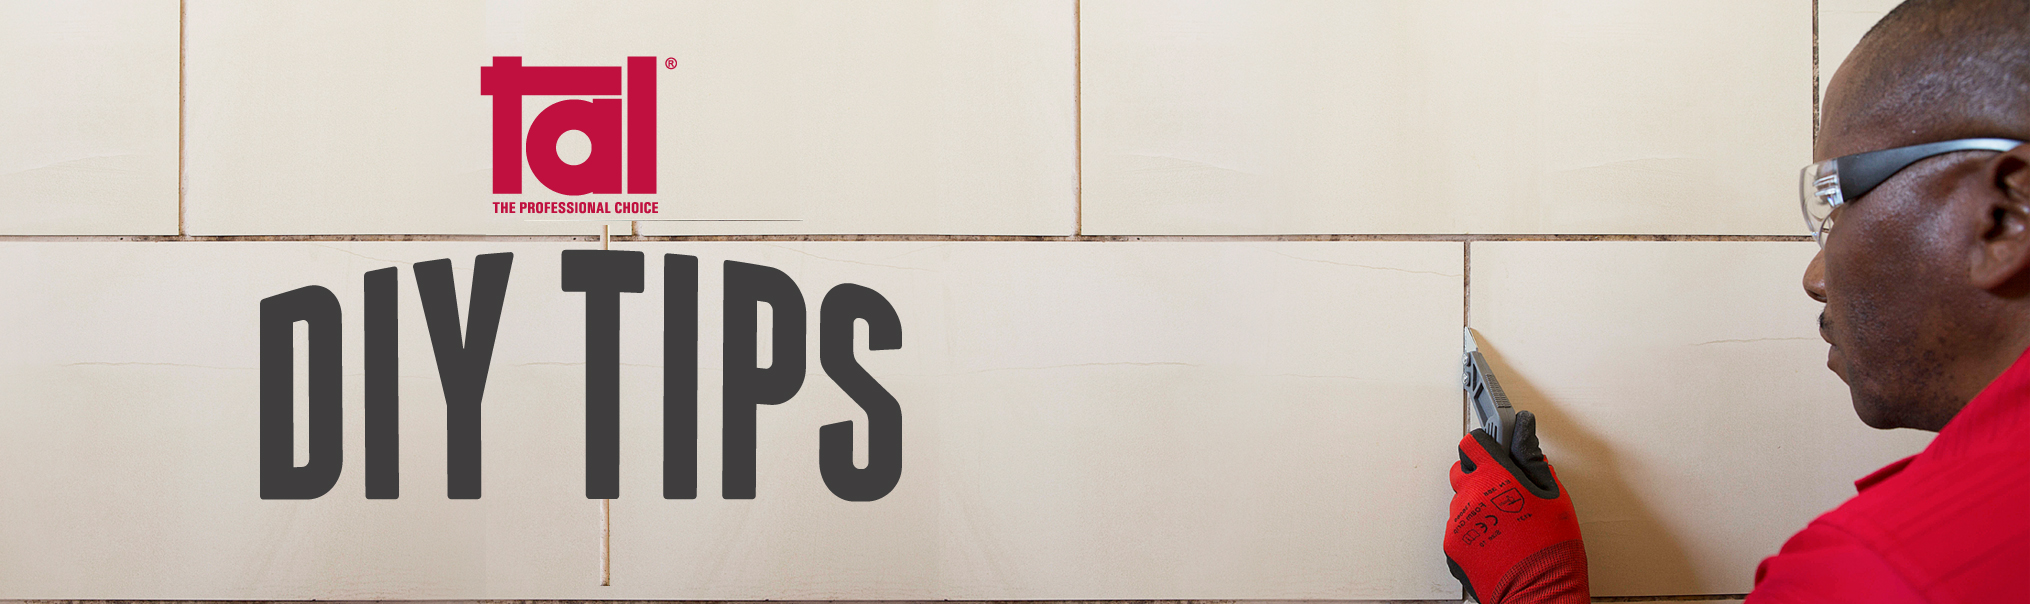
4. Apply the grout with a Tilemate grout squeegee, 1 square metre at a time. Work the grout into the tile joints. It is important to fill the joints completely so that there are no voids.
5. Clean off excess grout with a damp Tilemate grouting sponge. Grout an area and then wipe away the remaining grout as you go. Rinse the sponge frequently in clean water to get rid of the grout, but remember to use a damp, not wet, sponge.
6. Allow grout to dry and polish with a clean dry cloth. Clean tools before the grout hardens.
7. Provide tile panel movement joints and perimeter joints in all corners and in large tiled areas approximately five metres apart. Rake out joints and leave ungrouted. Fill with a joint sealant such as TAL Goldstar Sealmaster 1000 polyurethane flexible joint sealant.
8. Seal the grout joints bordering wet areas such as the bath, basin, sink, shower and window with a grout sealer to make the joints waterproof. TAL Goldstar Grout Sealer is specially designed to seal grout joints, both in the green and cured states. The sealer’s residual film dries clear and does not discolour. The grout joints should be clean and free from dust, dirt and surface contaminants, any stains not removed will be sealed into the grout. The sealer should be allowed to dry for 24 hours.
[Back]
blog comments powered by Disqus


