Handy tips to consider when tiling a shower
REMEMBER!
Use a water resistant and flexible adhesive and grout system for tiling, as both have to accommodate any thermal expansion and contraction in the installation as a result of the water temperature fluctuations (i.e. hot water onto cold tiles).
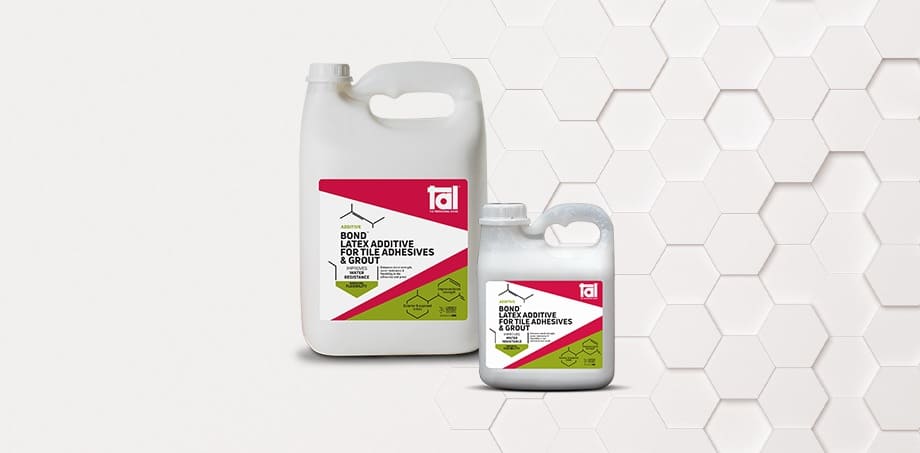
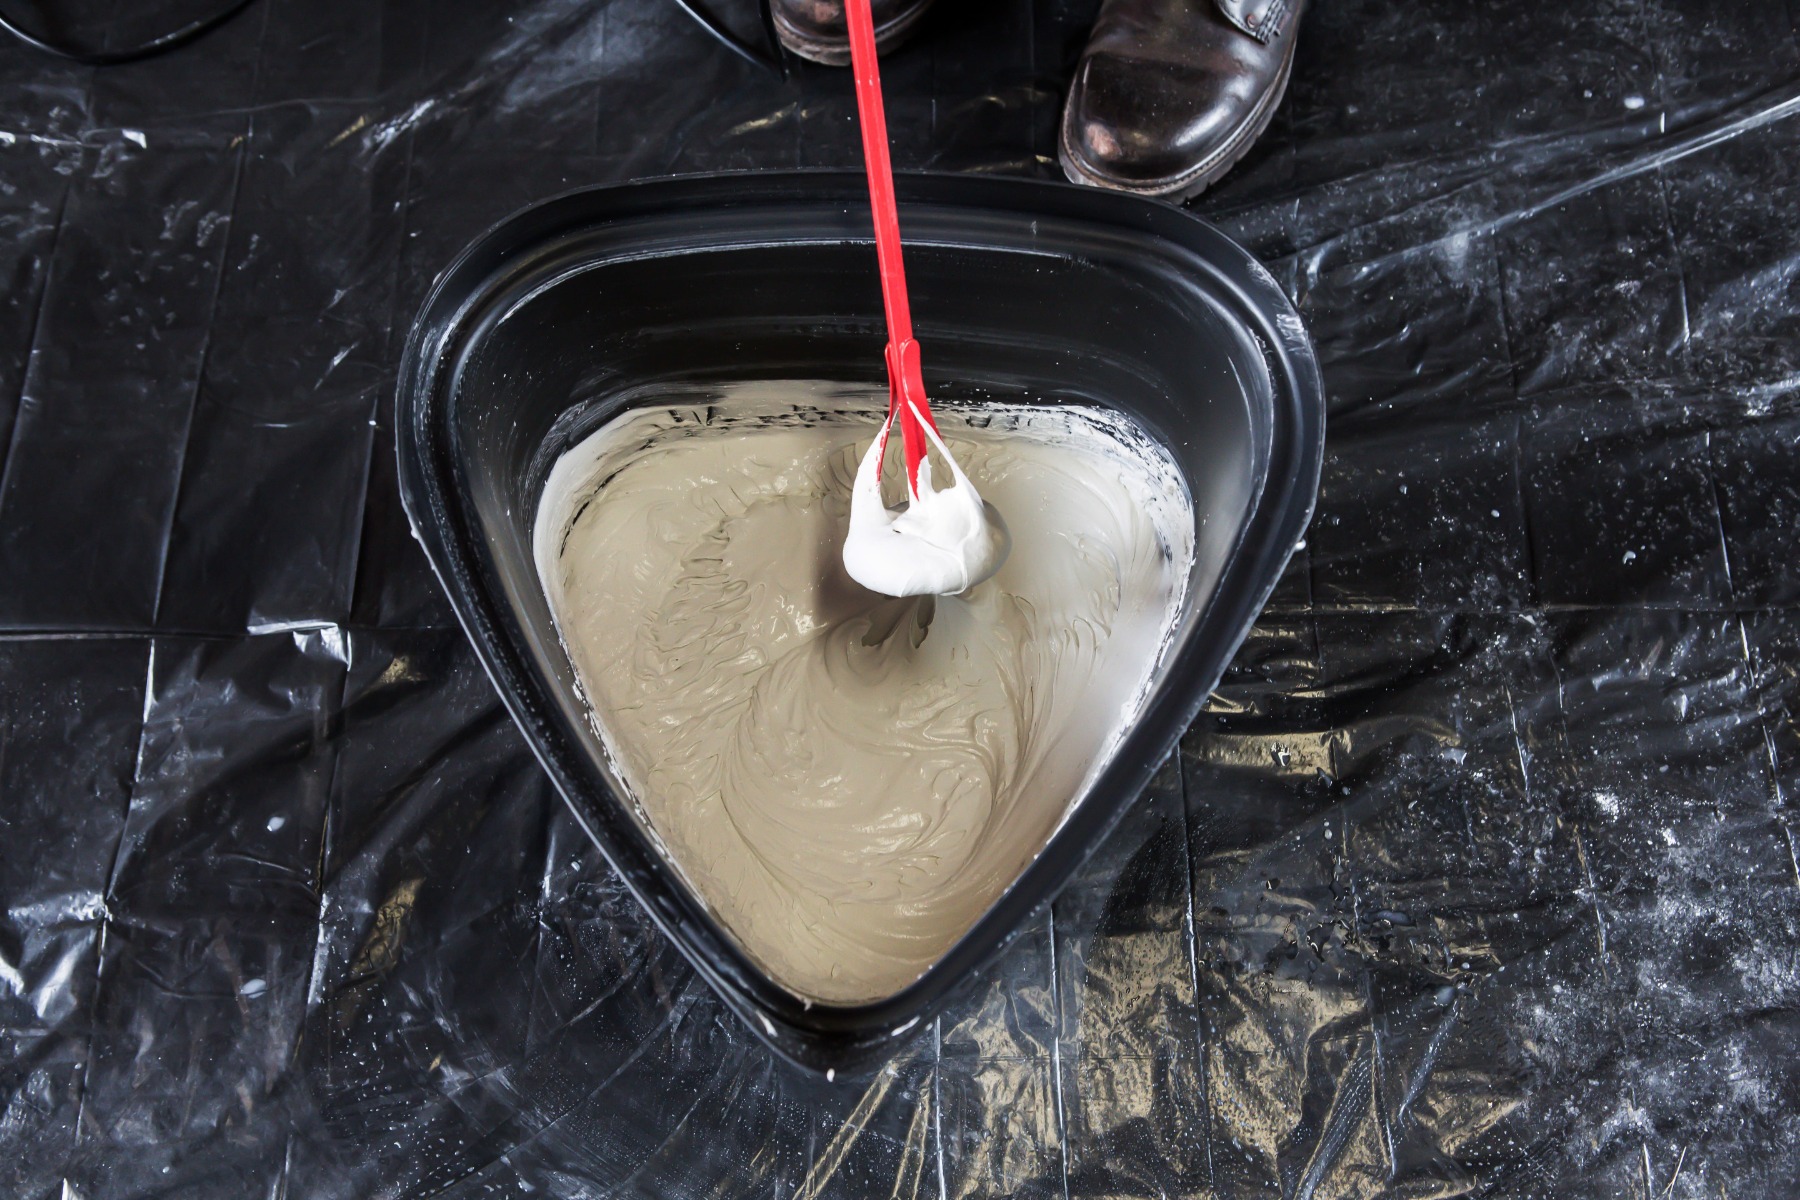
Mix your cementitious adhesive and grout with TAL Bond, a latex additive which, when used as a total water replacement in the mix, will enhance:
-
bond strength
-
water resistance and,
-
flexibility of the adhesive and grout system.
THIS OFFERS A WATER-RESISTANT FINISH, NOT A WATERPROOF SYSTEM!
For this reason, it is important that your shower enclosure is waterproofed prior to tiling to prevent water damage on adjacent walls or ceilings on levels below showers.
See our blog post to guide you on how to waterproof a shower.
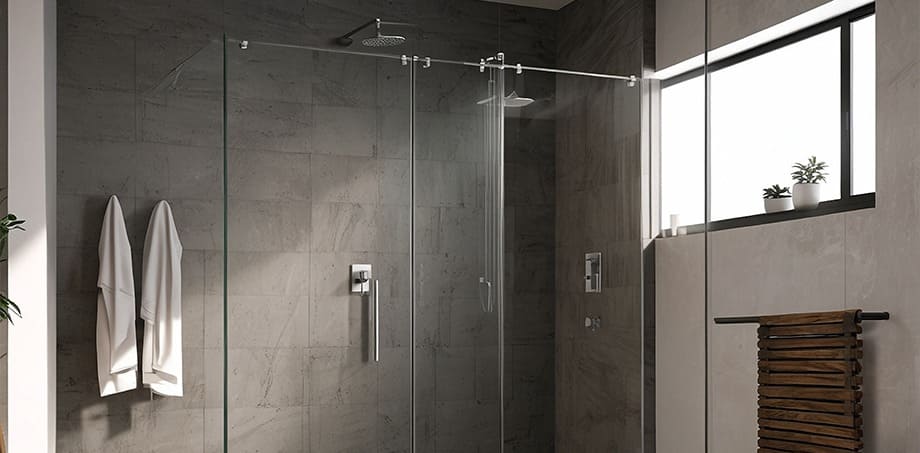
TIPS FOR SHOWER WALLS
1. Determine how many tiles will fit the wall by measuring the area.
-
This will assist you in identifying whether a cut tile (half tile) is required at each end.
-
Remember to leave room for TAL Tile Spacers and allow for movement joints in all vertical and horizontal and vertical corners.
2. Use this measurement to determine whether you need to move the layout to allow for a wider tile in the corner.
-
Avoid having to cut narrow tiles to fit the corners.
-
Rather plan for the widest possible corner tile for the most attractive tile job.
-
Remember to allow for the cut tiles in each corner to be the same size.
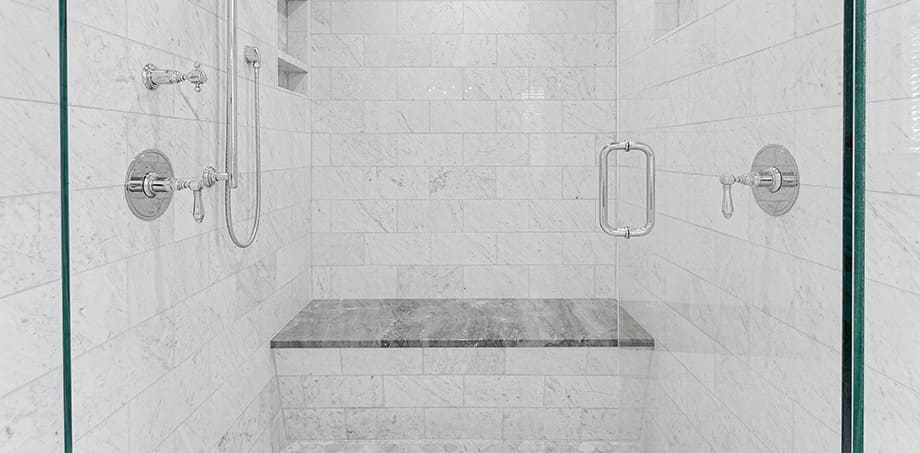
3. Glass tiles provide an attractive finish, but some clear glass tiles can show moisture trapped behind the tiles after just a few showers.
-
Rather select smaller coloured glass tiles such as mosaics as they’re less likely to trap moisture.
4. Another point to consider is that small mosaic tiles and their grout lines are difficult to keep clean.
-
For ease of cleaning, opt for larger tiles with fewer grout lines.
5. Large-format tiles used throughout the shower and bathroom tile installation can make the room appear much bigger than it is.
6. If your shower has a built-in bench for sitting, incorporate a bullnose for the edge of the bench.
-
A smooth curved edge is more forgiving on the back of the legs.
TIPS FOR SHOWER FLOORS
1. Lay out the tiles on the floor and use the wall measurement to determine how wide the corner tiles will be.
-
Remember to leave room for TAL Tile Spacers and allow for a movement joint around the perimeter of the shower floor.
2. Make sure that the reinforcing mesh on the backs of certain mosaics (the fixative and tabs), are water resistant.
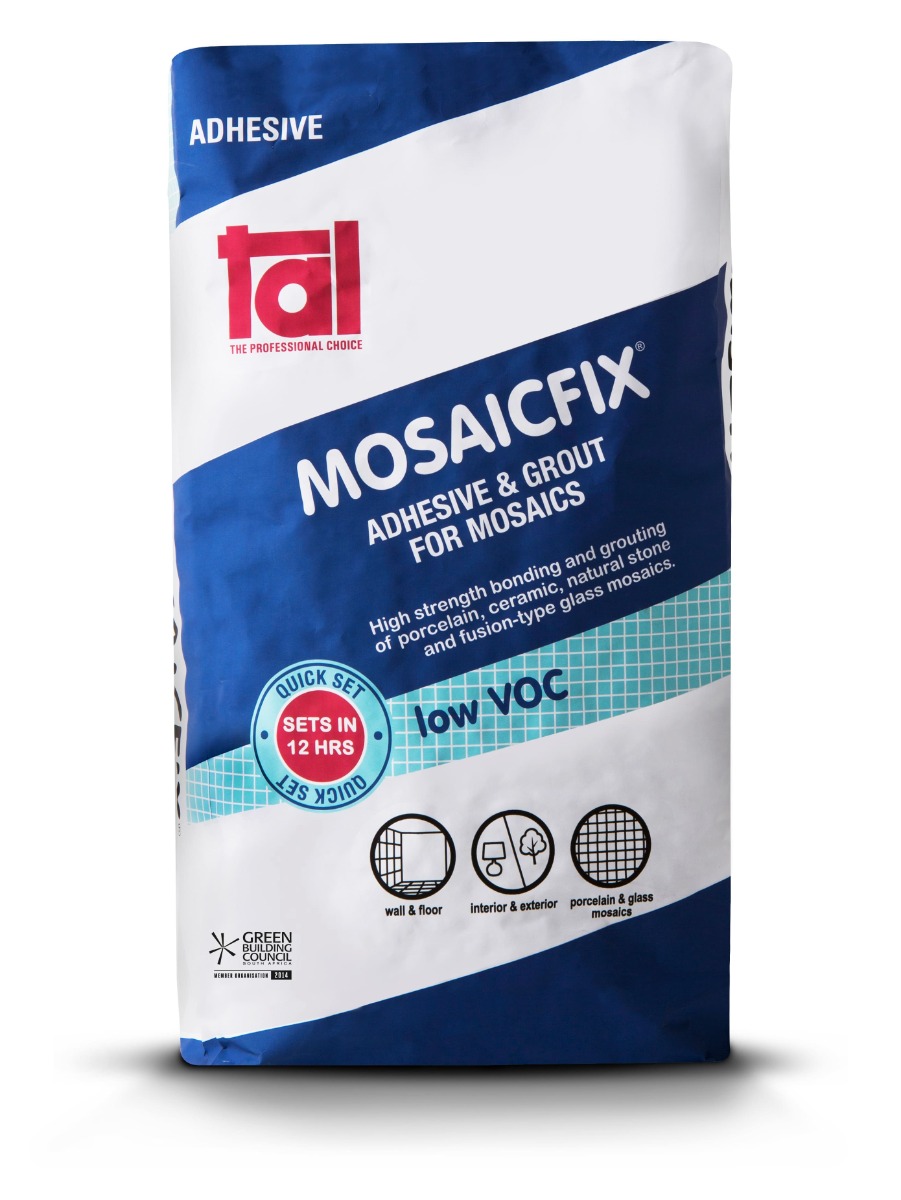
3. Glass tiles and mosaics require a specific tile adhesive to install them.
-
We recommend TAL Mosaicfix which is both an adhesive and grout.
4. Smaller tiles offer more grout lines = more traction and slip-resistance.
-
If you’re not keen on using smaller tiles or mosaics, opt for a large-format textured tile.
5. If the main tile you’ve selected doesn’t offer good slip-resistance on the floor, an option is to cut the large tile into smaller squares or strips for the centre of the floor.
-
Alternatively, use mosaics in the centre.
-
You can then frame the smaller tiles or mosaics with the larger tile cut into rectangular strips.
-
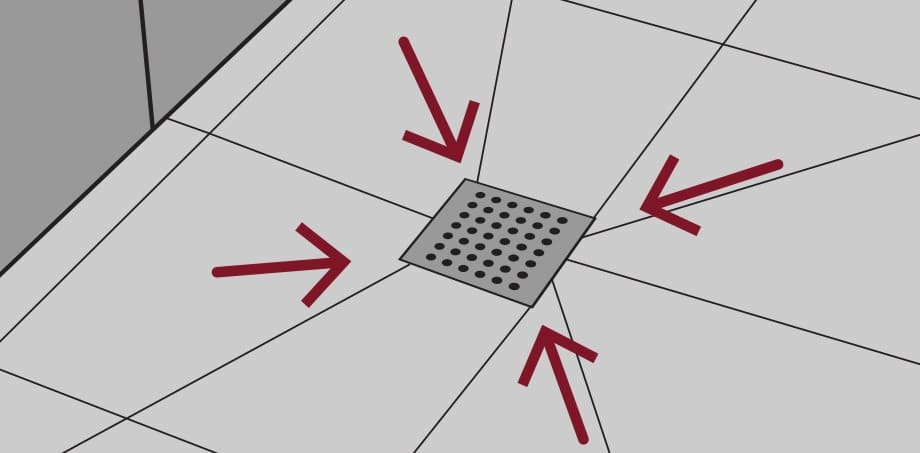
The corner tiles should be cut at 45-degree angles to form the corners, to allow for the required falls/slope towards the shower drain.
-
Ensure the grout is flush with the face of the tiles or mosaic tesserae, to prevent water “ponding” in recessed joints.
Use our handy Grout Calculator to determine how much grout you’ll need.
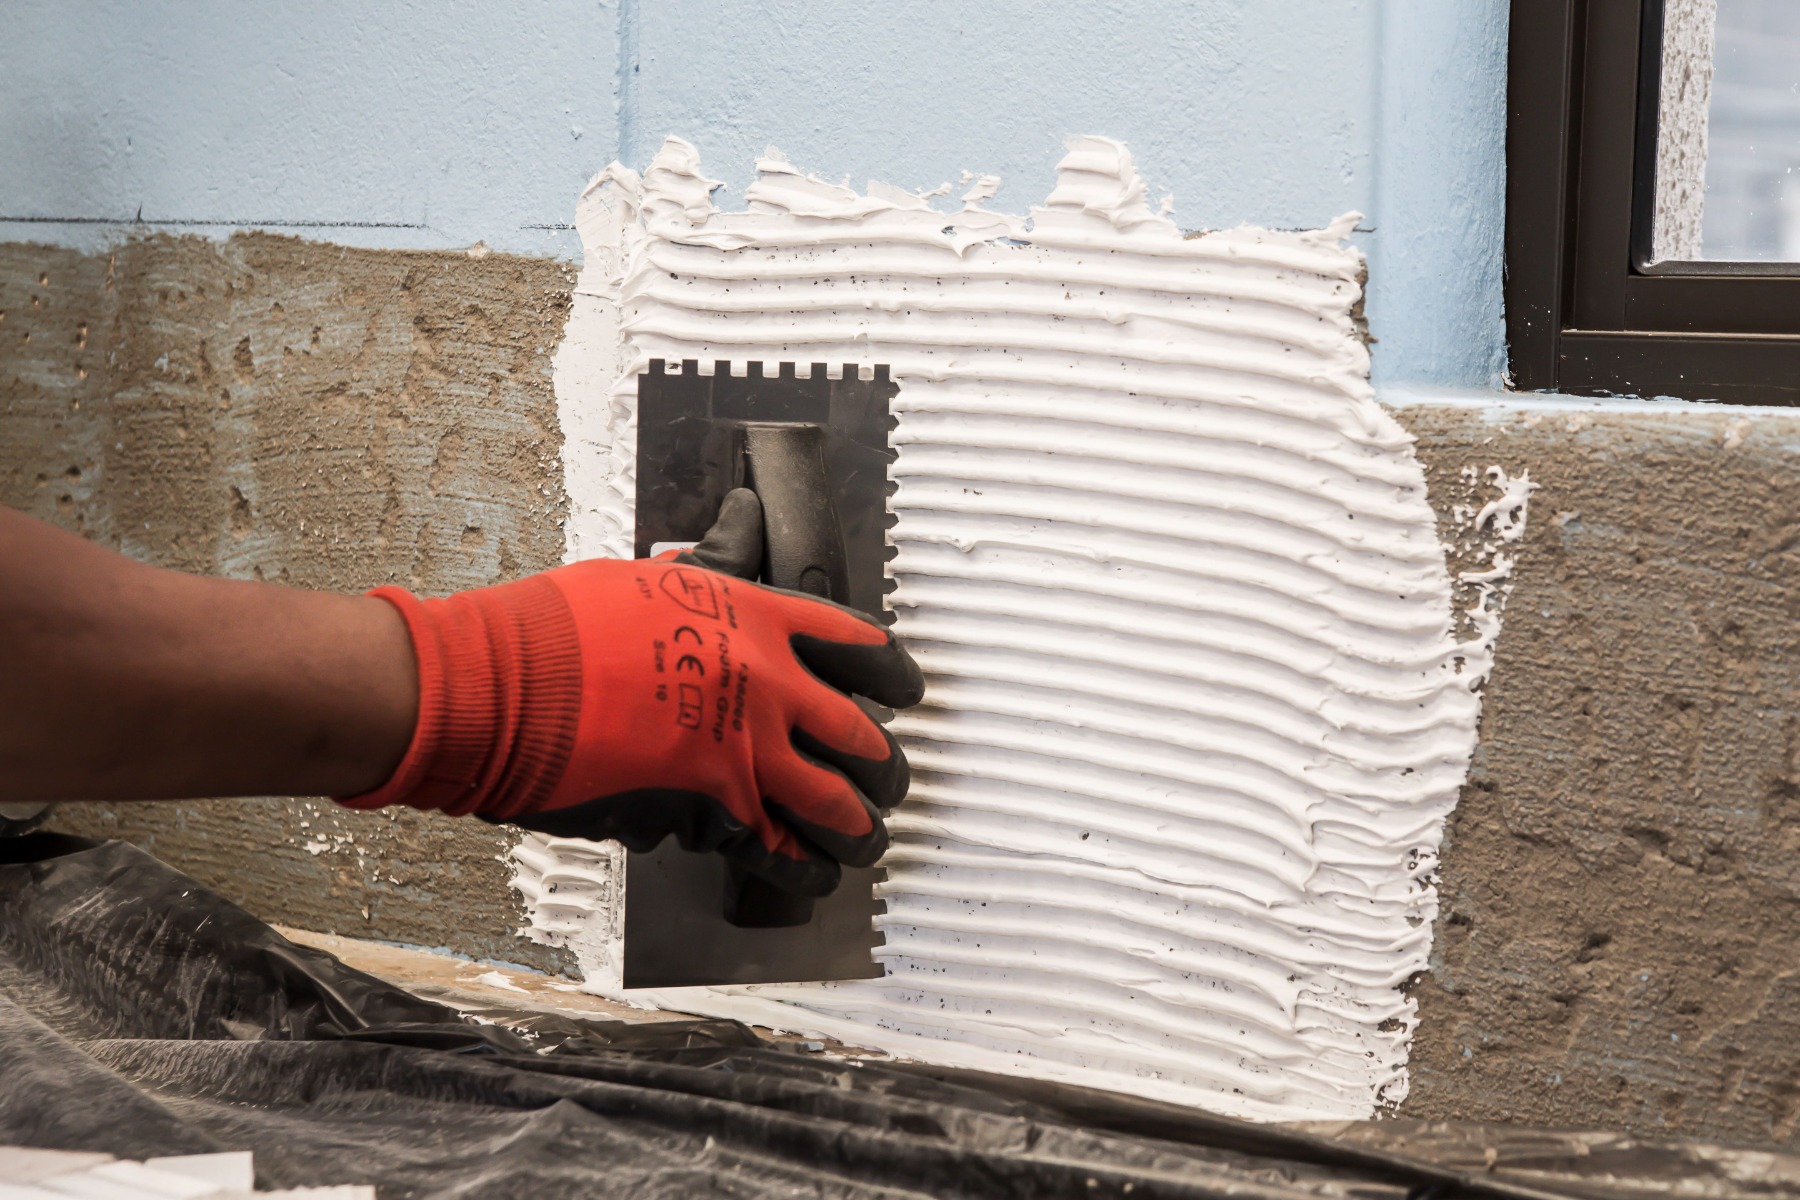
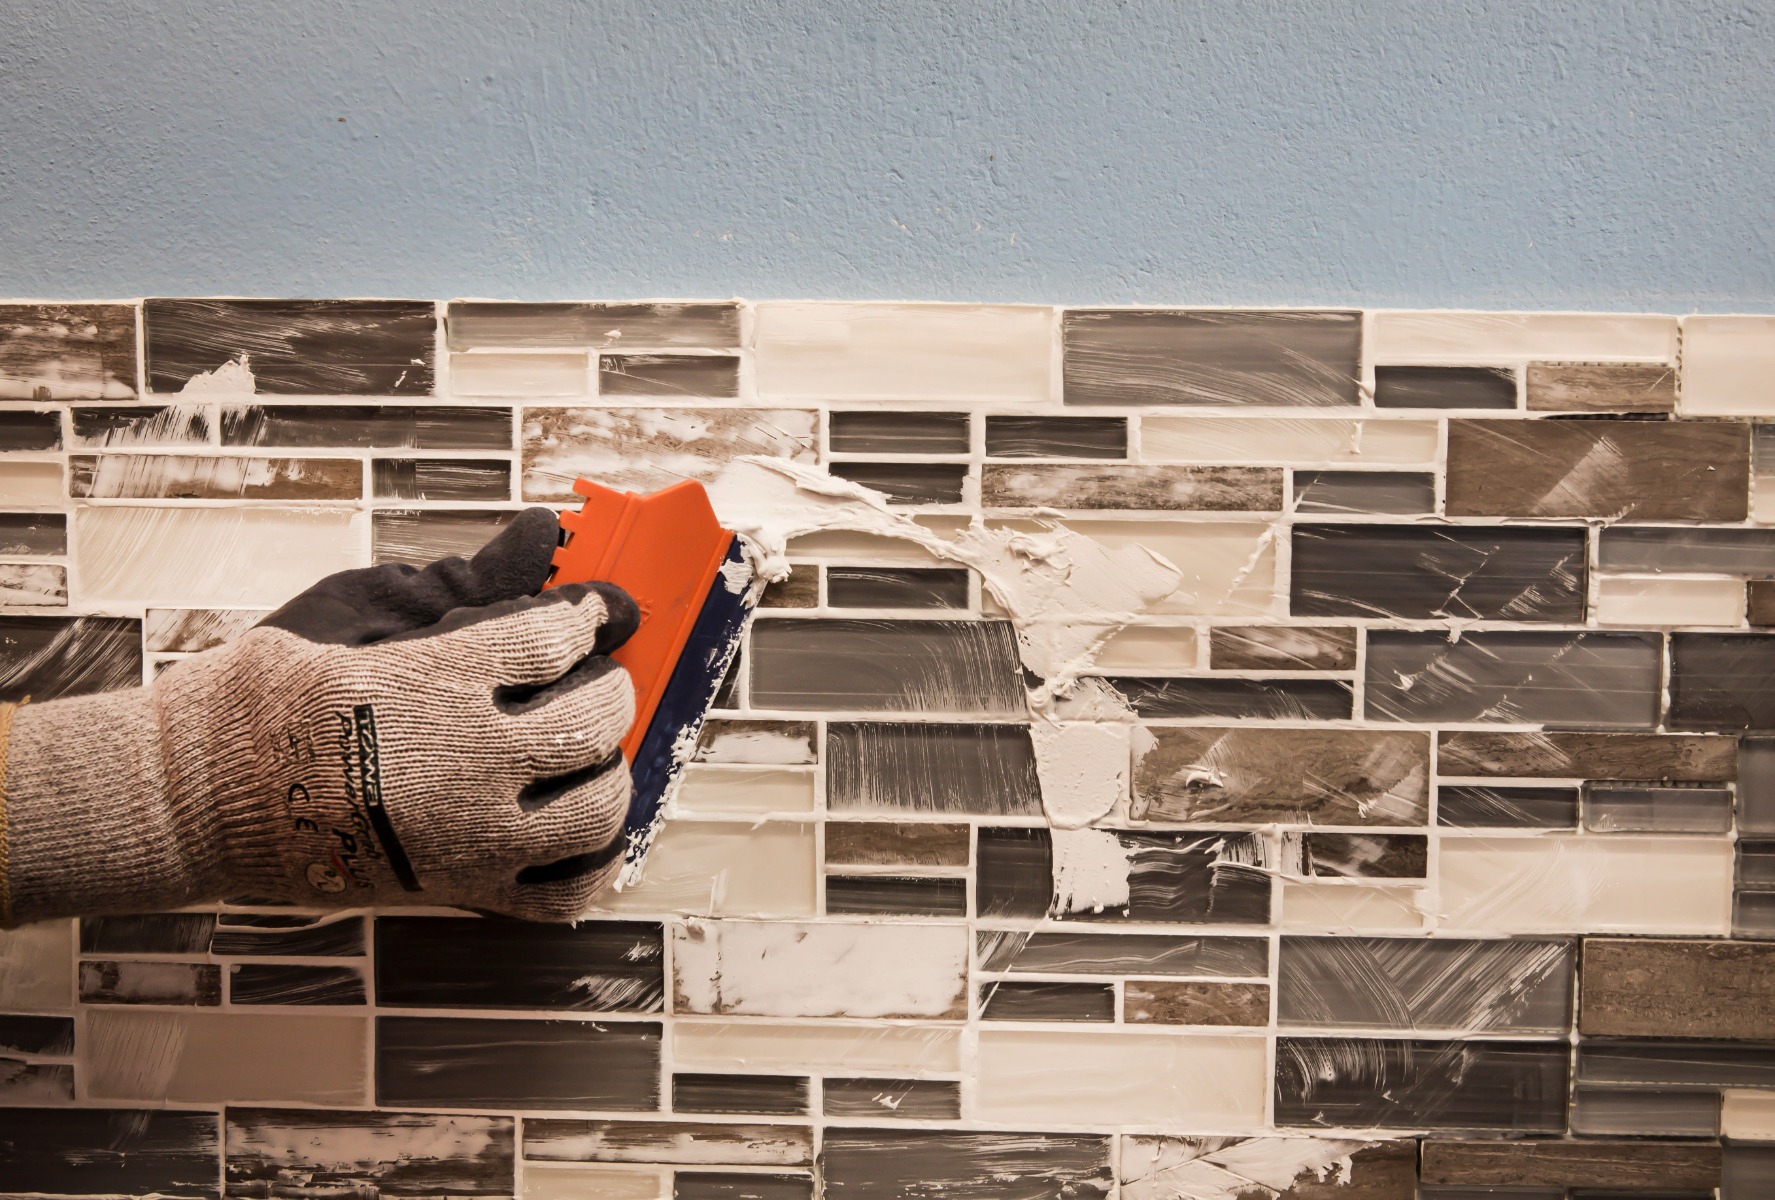
Now, apply the adhesive over a small area using the notched side of a wall trowel to create a solid bed of 4mm to 6mm. Once the adhesive is applied, you must install the mosaic sheets immediately, pressing them firmly into the wet adhesive. Never apply more adhesive than you can tile in 10-15 minutes, usually about a square meter.
Use a wooden beating block or a rubber grout float to embed the mosaic into the adhesive.
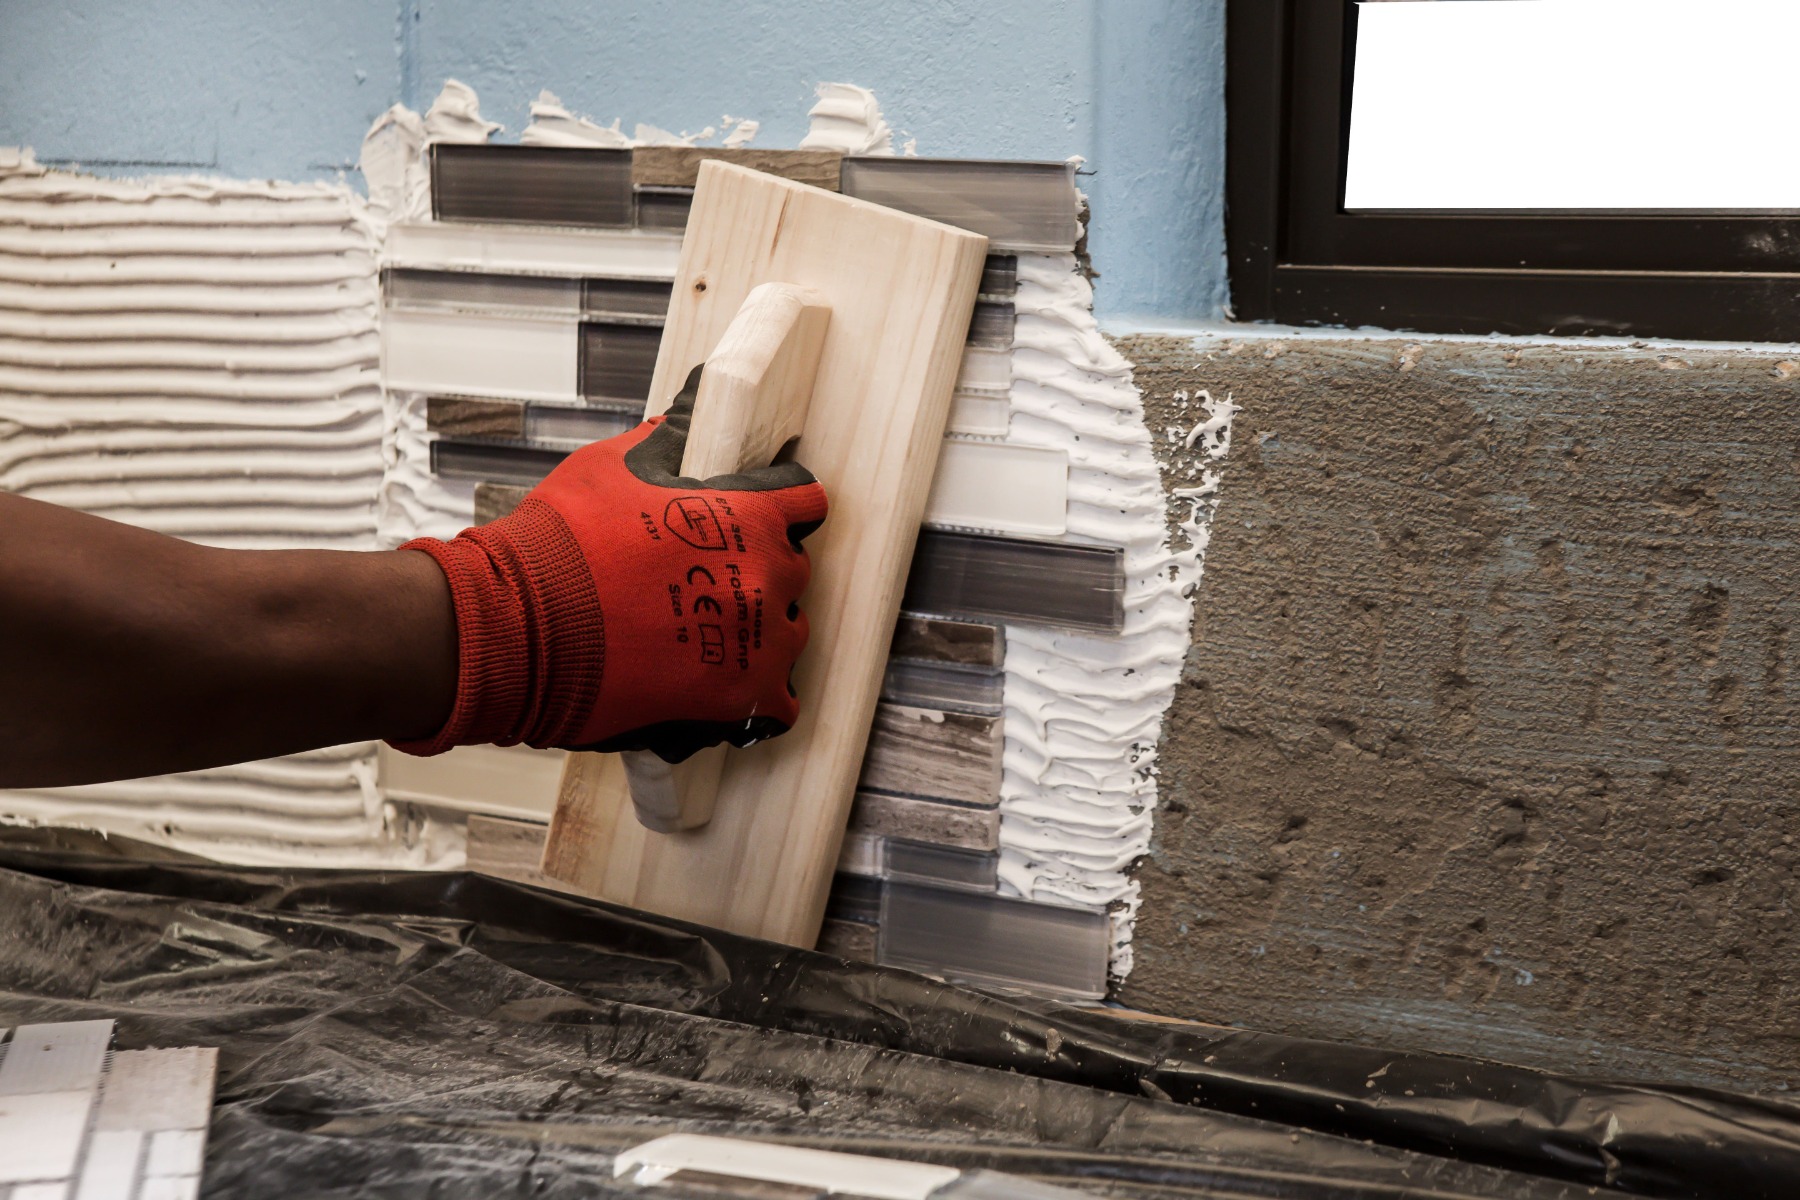
Allow the adhesive to squeeze through the joints between the mosaics, to ensure a good bond between adhesive and mosaics, and to form the grout. Place a tile spacer between the countertop and mosaic, as well as between the mosaic sheets, to keep them evenly spaced.
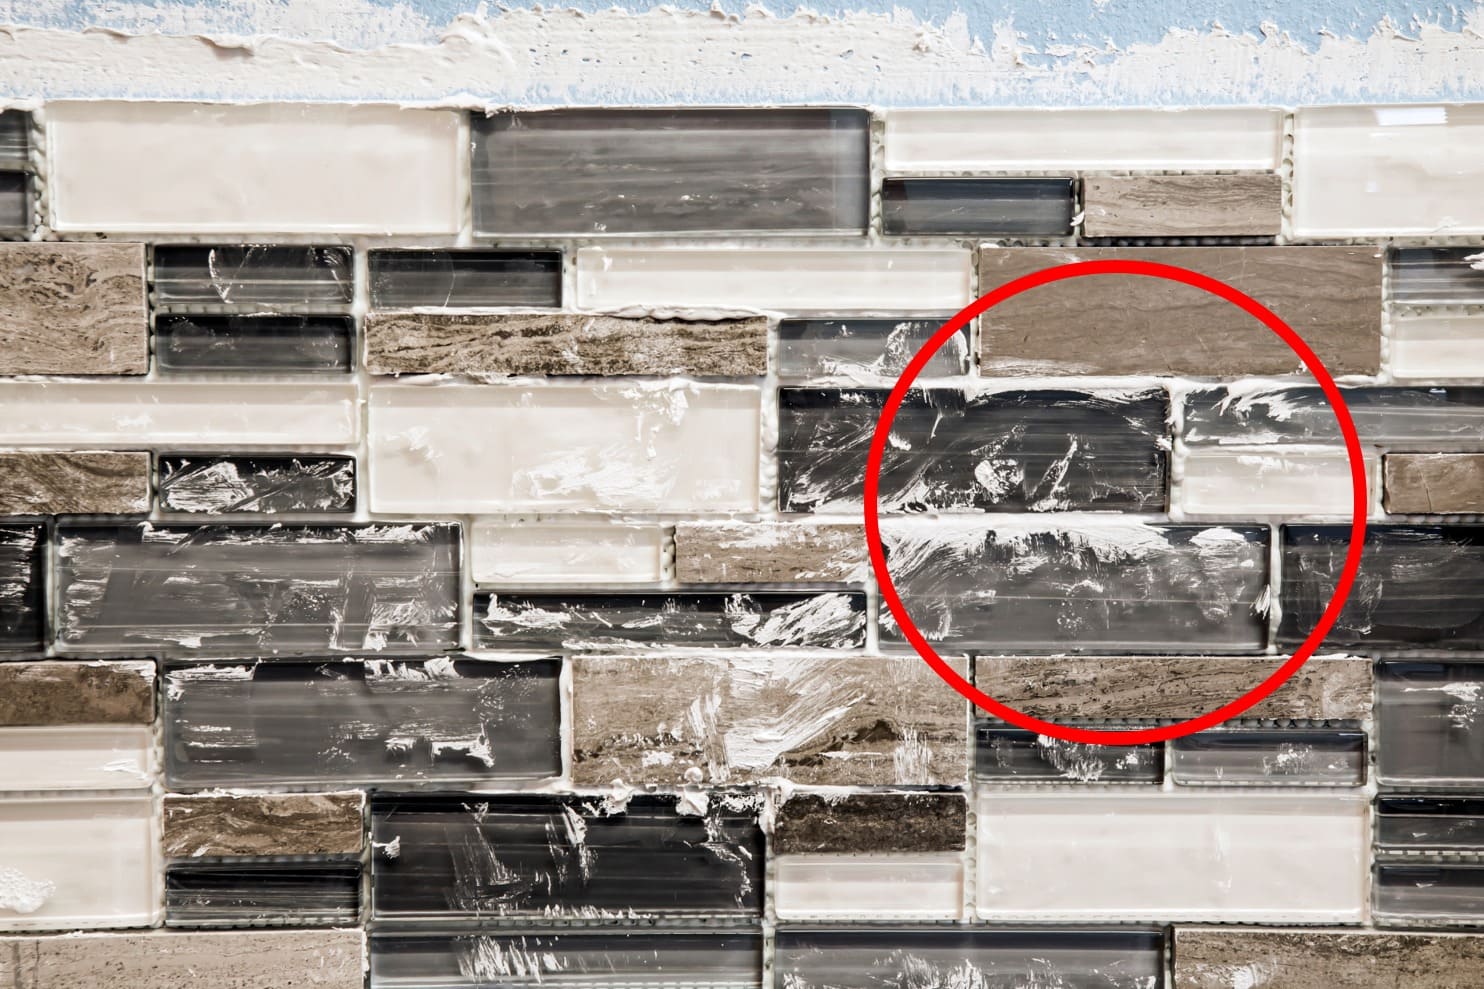
Wait 20 minutes, then, where necessary, fill in any low areas in the grout joints with extra adhesive. TAL Mosaicfix is available in super white and light grey, so choose the colour that will best suit the aesthetic you want to achieve. Work carefully to avoid scratching the tile surface, especially when installing metallic tiles.
Wait 20 minutes, then, where necessary, fill in any low areas in the grout joints with extra adhesive. TAL Mosaicfix is available in super white and light grey, so choose the colour that will best suit the aesthetic you want to achieve. Work carefully to avoid scratching the tile surface, especially when installing metallic tiles.
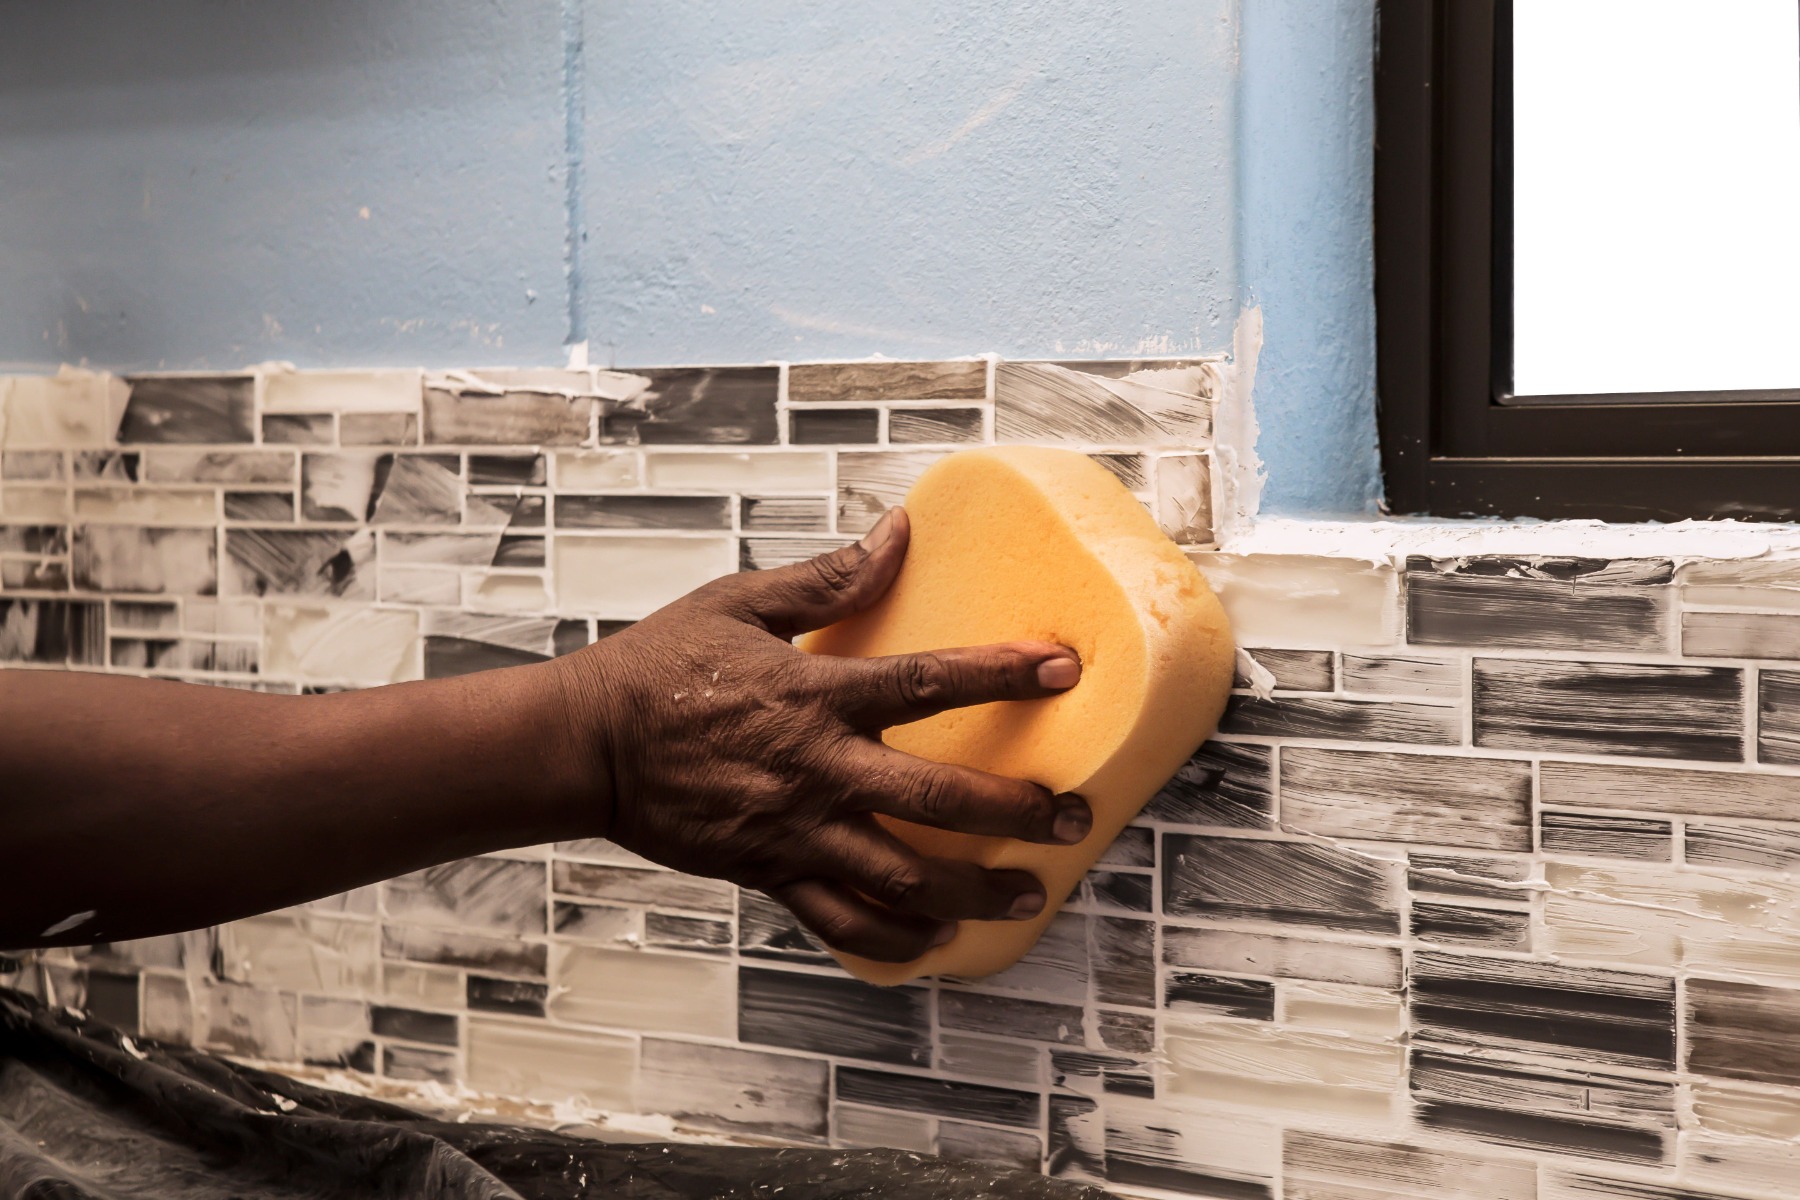
Once fully set, gently polish the face of the mosaics with a dry cloth

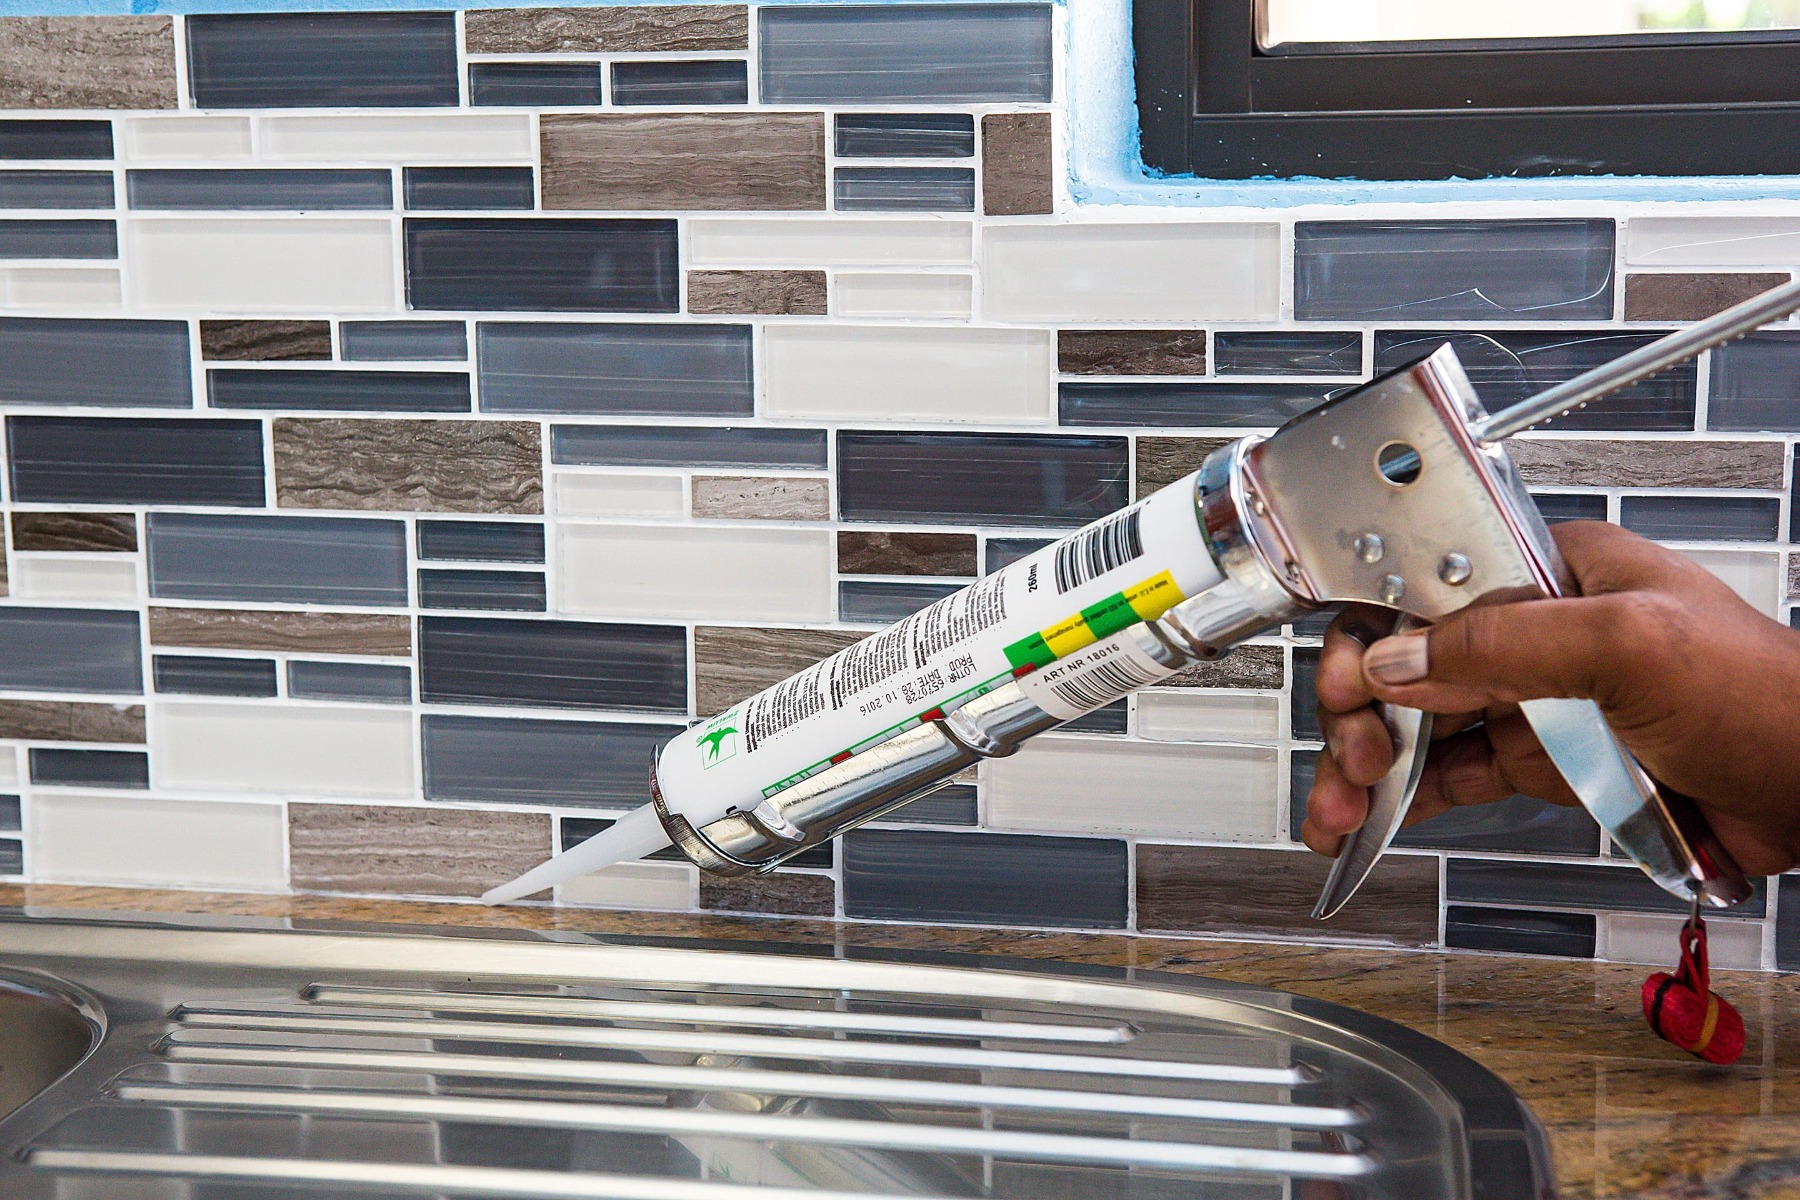
Apply a silicone sealant into the perimeter joint between the mosaics and countertop, and in any corners.
By choosing a kitchen splashback, not only have you managed to successfully upgrade your kitchen into a beautifully modern space, you’ve also ensured that your wall is protected against moisture and food stains. For more information on tile installation, contact the TAL Technical Advisory Service during office hours, visit our website, or send us an email.