8 tiling layouts that will transform your space
Selecting tiles to suit a specific wall or floor layout plays an important role in shaping the ambiance of a room. Whether you prefer the classic elegance of a herringbone pattern, the contemporary chic of geometry, or the modern appeal of stacked bond metro tiles, the right tile layout can transform any space into a visually stunning masterpiece.

Lasting impressions
Make an informed decision by thinking about your personal style, the room's purpose, and the overall aesthetic you want to achieve:
-
Start by choosing a layout that will create the desired effect.
-
Test your layout by placing dry tiles in the desired pattern. Does this create the right effect on the space?
-
Once you have a visual impression, you are ready to start the installation of the tiles.
-
At this stage, engage with TAL for technical advice about the correct adhesive system for your particular installation. We provide “The science behind beautiful spaces”.
Here are some of the ways in which patterns and layouts can transform the look and feel of an interior:
4 POPULAR FLOOR LAYOUTS
1. Basketweave
Placing wood-look tiles in alternating directions creates a visually interesting and textured surface which mimics the interwoven strands of a basket. Room effect: This layout is versatile and can be used in many different spaces to create visual interest, or in a defined area as a decorative element.
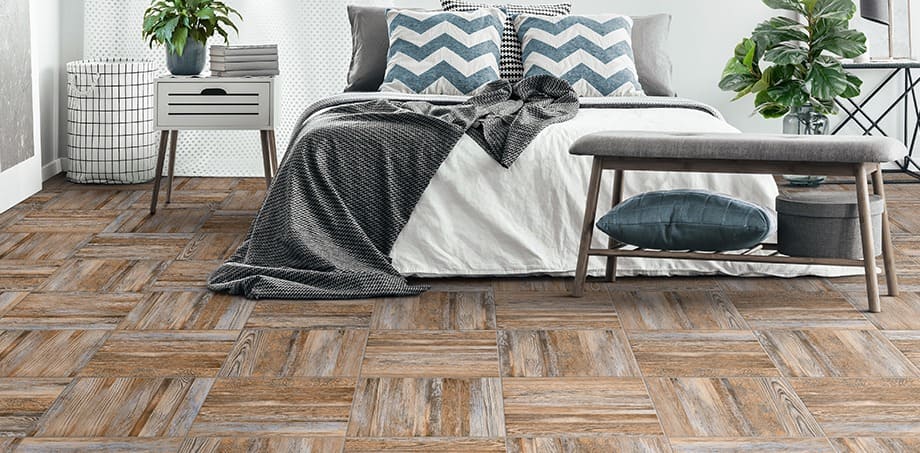

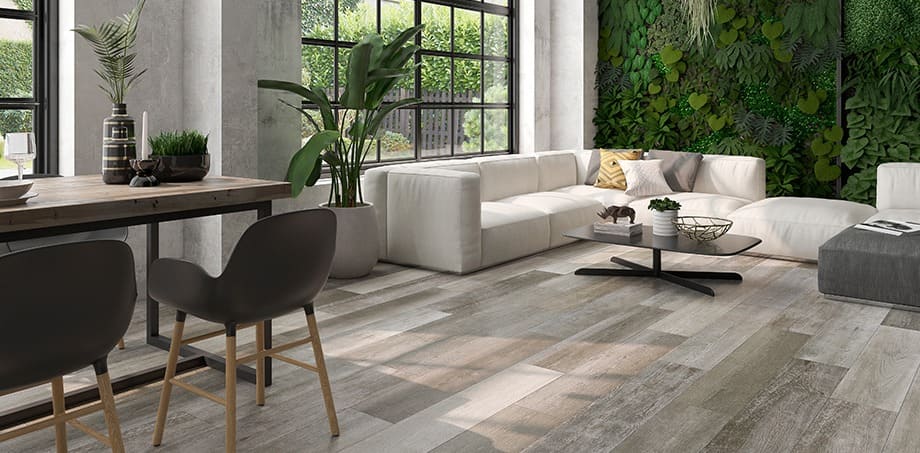
In general, wood-look tiles are currently one of the most popular flooring materials because they add an inviting degree of warmth and character to any space. It’s important to play to the strengths of the material you are using. A common mistake is the placement of wood-look tiles by shade – tiles with similar shades set next to one another. Instead, install wood-look tiles with different shades at random, and off-setting the tiles by no more than 30% to mimic nature’s predisposition for random occurrence, ensuring a much more natural look.

-
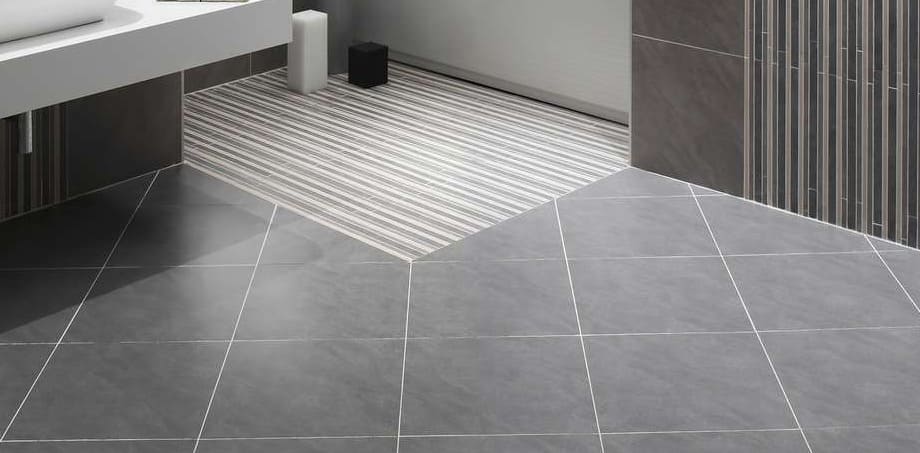
2. Diagonal sophistication
Installing tiles at a 45-degree angle creates a dynamic visual effect which draws the eyes toward the outer corners of the room, making spaces appear larger and more open. Room effect: this layout works particularly well in smaller rooms.


-
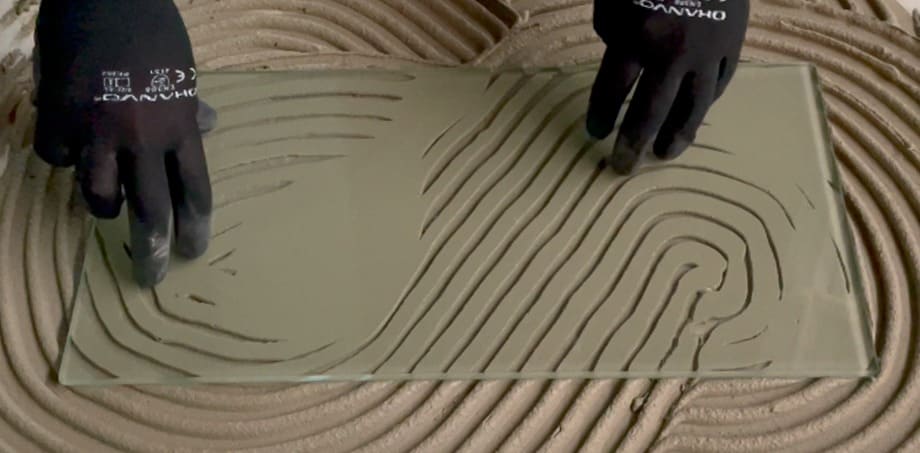
Avoid wastage; remember to allow for cutting and breaks - a simple diamond layout will require around 20% more tile than otherwise would have been required to cover the square meterage. To prevent the over- or under-purchasing of tiles we recommend asking an expert to weigh in on how many additional tiles a project might need, based on best practice and the layout pattern chosen.
3. Large format impact
Opting for large format tiles can have a profound impact on the perception of space. Larger tiles reduce the number of grout lines, creating a more expansive and streamlined look. Room effect: This layout is ideal for modern, minimalist designs and works well in open-concept living areas.
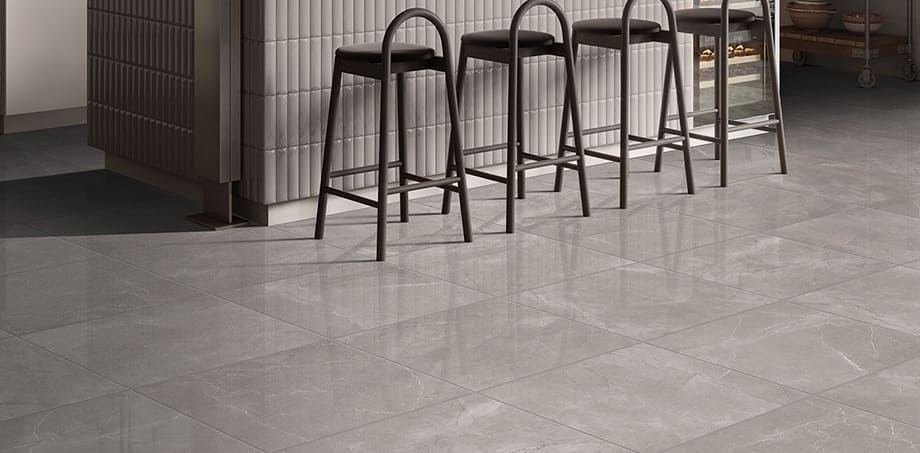

Laying large format rectangular tiles in a brick/running bond pattern should be carefully considered because of potential lipping caused by the curvature of large format tiles. A maximum offset of 30% is recommended.
4. Checkerboard retro
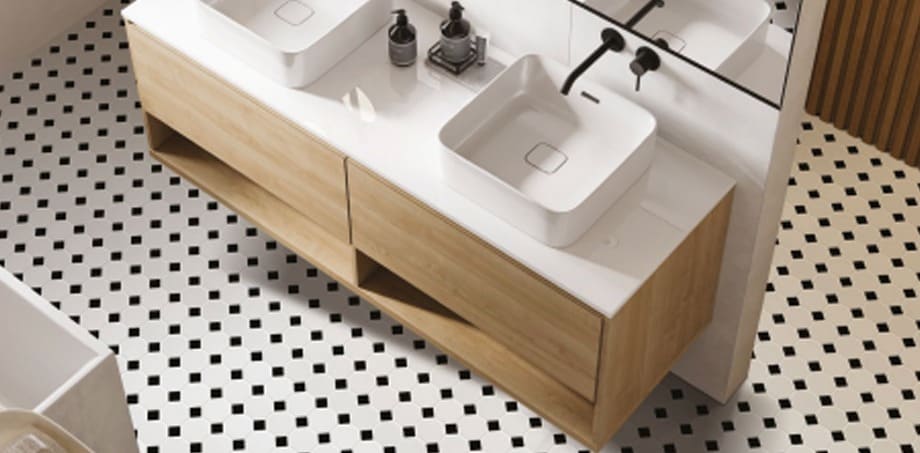
This bold layout involves alternating between two contrasting tile colours, creating a retro look. Room effect: this classic pattern is often associated with kitchens and bathrooms.

4 POPULAR WALL LAYOUTS
1. Tessellate drama
Intricate geometric designs that repeat seamlessly are the trademark of these patterned tiles. It’s the type of layout that adds a touch of drama and visual interest to a room. Room effect: tessellate tile layouts are used on walls and floors to make a bold statement.


2. Herringbone chic
Characterised by tiles set in a zigzag pattern, this pattern is a timeless choice that adds a touch of classic elegance. Room effect: A versatile layout that suits various styles, from traditional to contemporary. It's a popular choice for accent walls and splashbacks, and for entrances, hallways, and living room floors.
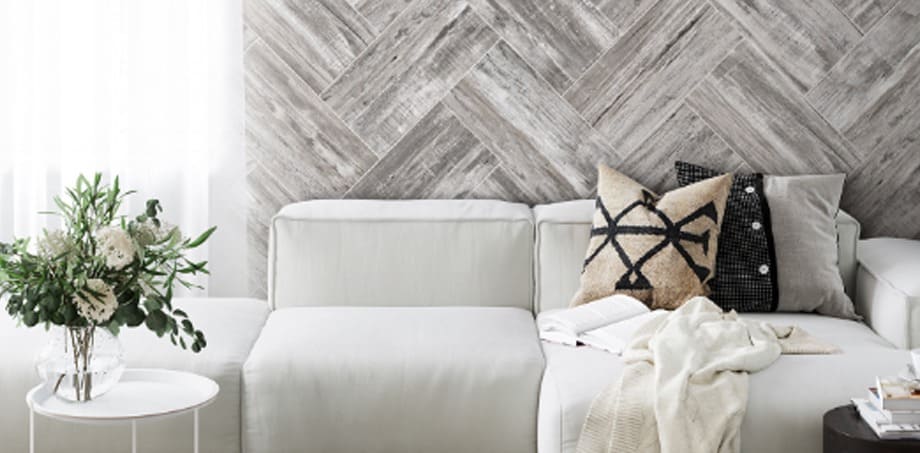

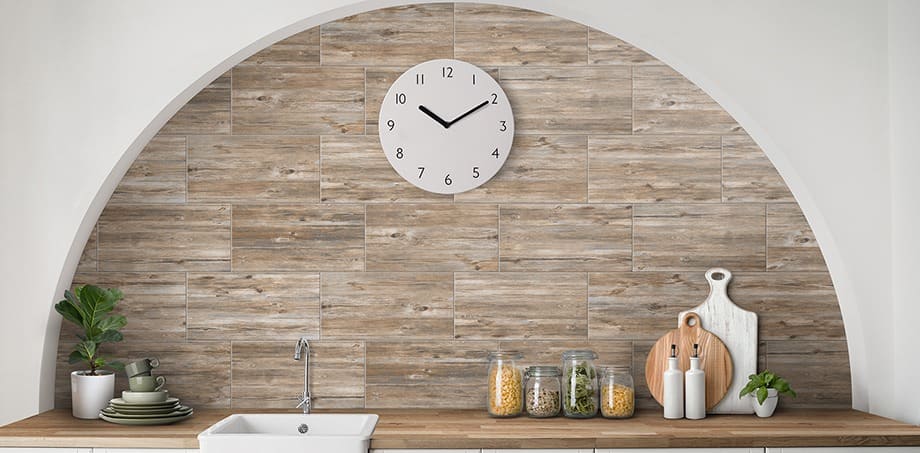
Wood-look tiles used on an accent wall to create a soft and textured look.


Metro tiles arranged in a herringbone pattern for a modern kitchen splashback.
3. Vertical stacked bond pattern
Metro tiles are versatile for creating contemporary looks. Room effect: Also known as subway tiles, they can be arranged in a vertical stacked bond pattern, or a horizontal brick/running bond pattern for a contemporary look.


4. Hexagonal honeycomb
Hexagonal tiles arranged in a honeycomb pattern create a chic and contemporary design. Room effect: This layout works well in both small and large spaces, adding a geometric and trendy feel.


Spot tiles have been used, where white tiles are placed randomly between the black tiles
A popular tiling trend is the use of different shaped tiles, not just because they’re appealing to the eye, but all that’s required to change a pattern is to change the colour of a handful of tiles. Try not to overwhelm the space with too many conflicting patterns. Instead, keep your design simple. The effect is still a powerful one, but not one that will detract from the eye. It’s a trend that’s destined to grow as new shapes are introduced – triangle and rhomboid, for example.


Another big walling trend is mosaic. Often considered the domain of artisans, mosaics are understandably a little intimidating. Fortunately, ready-made mosaics are readily available, to which our only advice would be to consult an expert on correctly installing mosaics to walls and floors. Watch our video here.


The alternative is to use small sections of various colours, hues or materials, rather than a full installation. With little effort, the use of these sections or full mosaic sheets between other tiles can really accentuate a space. It’s this technique as well as the use of colour that will dominate future tiling trends.
Do you have what you need?
Now that you have a view of some of the most popular layouts used in the industry, you’re almost ready to go. Before you do, it’s important you use the right materials and equipment to ensure the best results the first time around. Different types of tiles, as well as where they’re being installed, will dictate which adhesive system is required – each fulfilling a specific function.
Should you need DIY advice, or assistance with substrate preparation, screeding, tiling installation or waterproofing, we’ve put together a comprehensive selection of guides for you. Check out any one of our tiling-made-easy guides. Remember, the choice of grout colour also significantly impacts the overall aesthetic. Consult our grout colour chart to make sure you enhance your look.
For technical advice please contact our experts on 0860 000 TAL (825) or email: [email protected]
Photo credits: www.johnsontiles.co.za