Can’t upgrade your kitchen? Get a splashback!
Can’t upgrade your kitchen? Get a splashback!
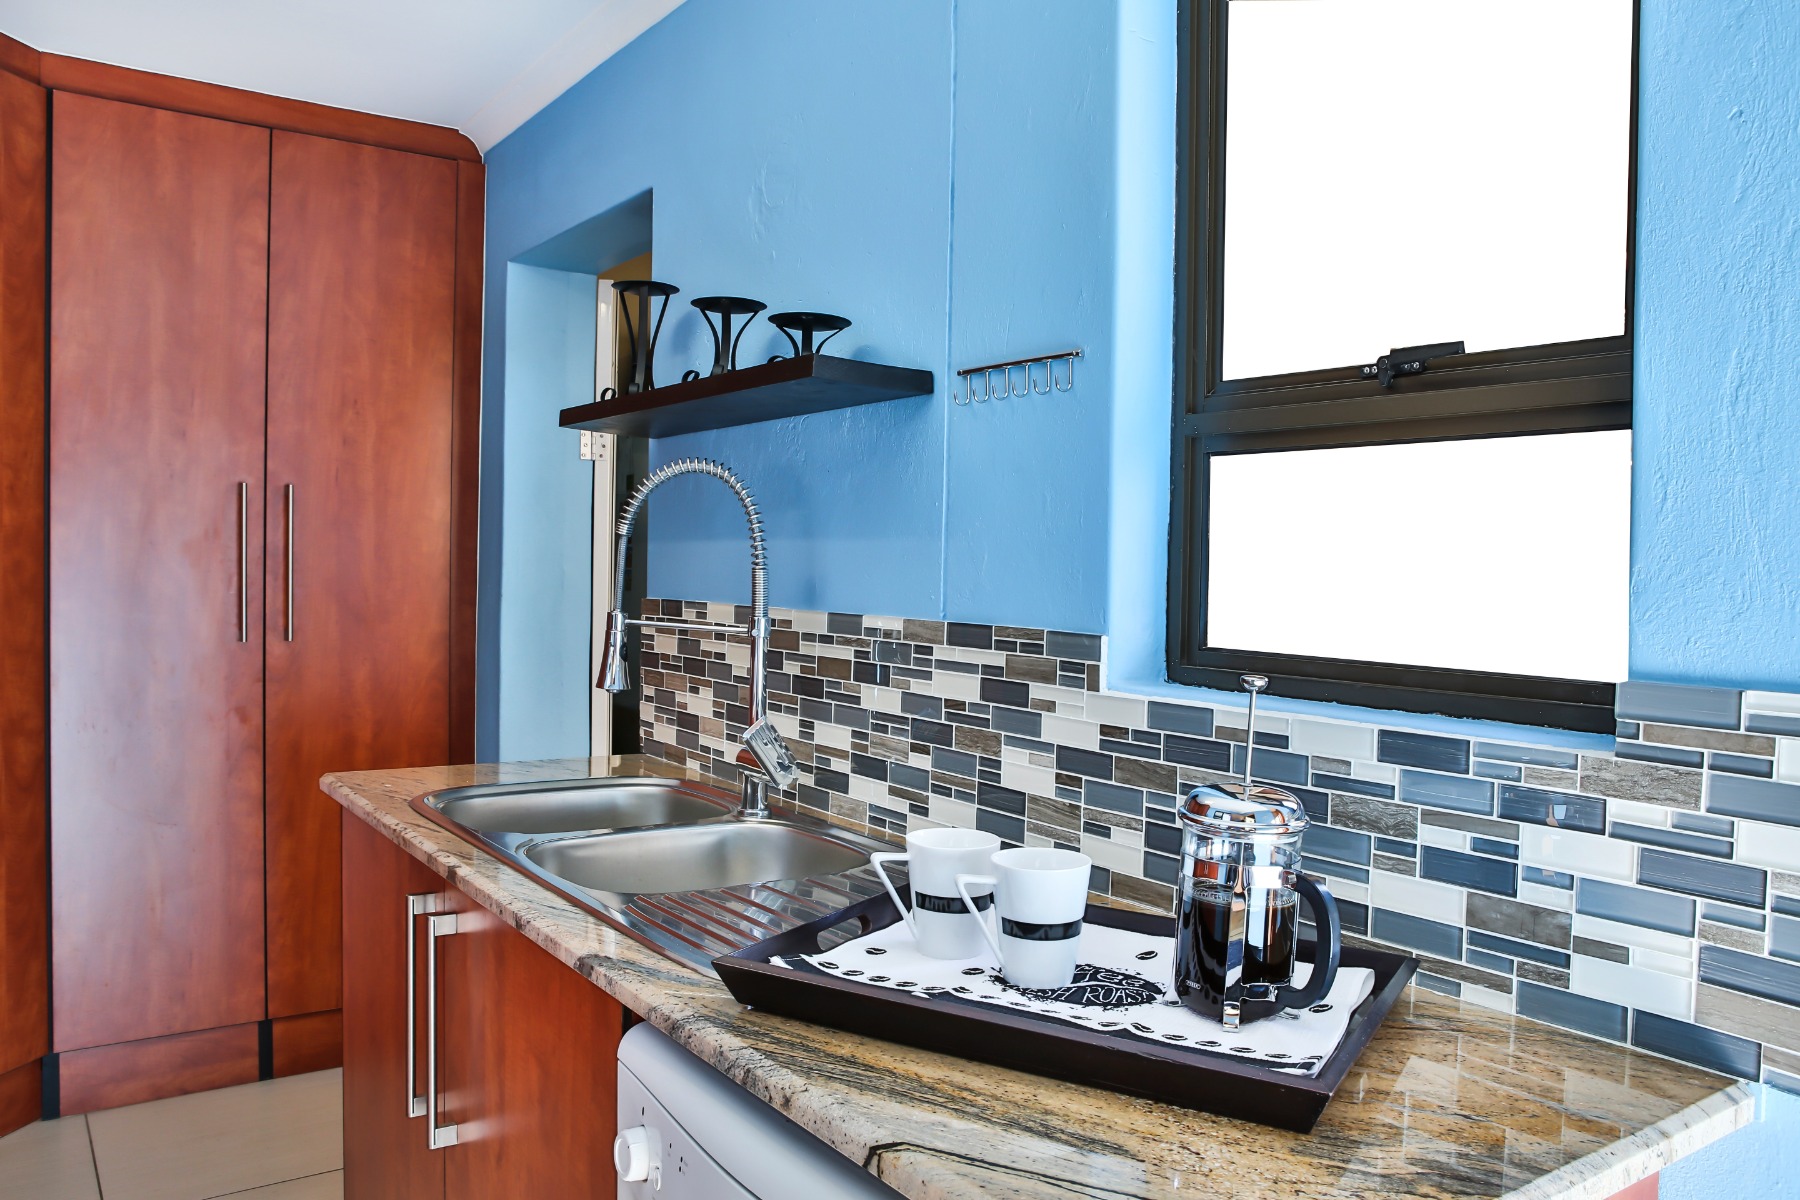
Looking for a cost-effective way to transform the look and feel of your kitchen? A kitchen splashback is a great alternative to fully upgrading your kitchen. And the best part? You can do it yourself! Popular tiling choices for kitchen splashbacks include glass, stone, and of course, mosaic tiles. These tiles are a beautiful way to enhance the look of any room, because they can be installed over both large and small areas, or as feature panels between other tiles.
Installation of a mesh-backed glass mosaic splashback in your kitchen starts with preparing the surface. Depending on the type of surface you’re going to be tiling on, consider whether you need a priming system or not. There are several reasons to prime a surface, and seven of the most popular are discussed here.
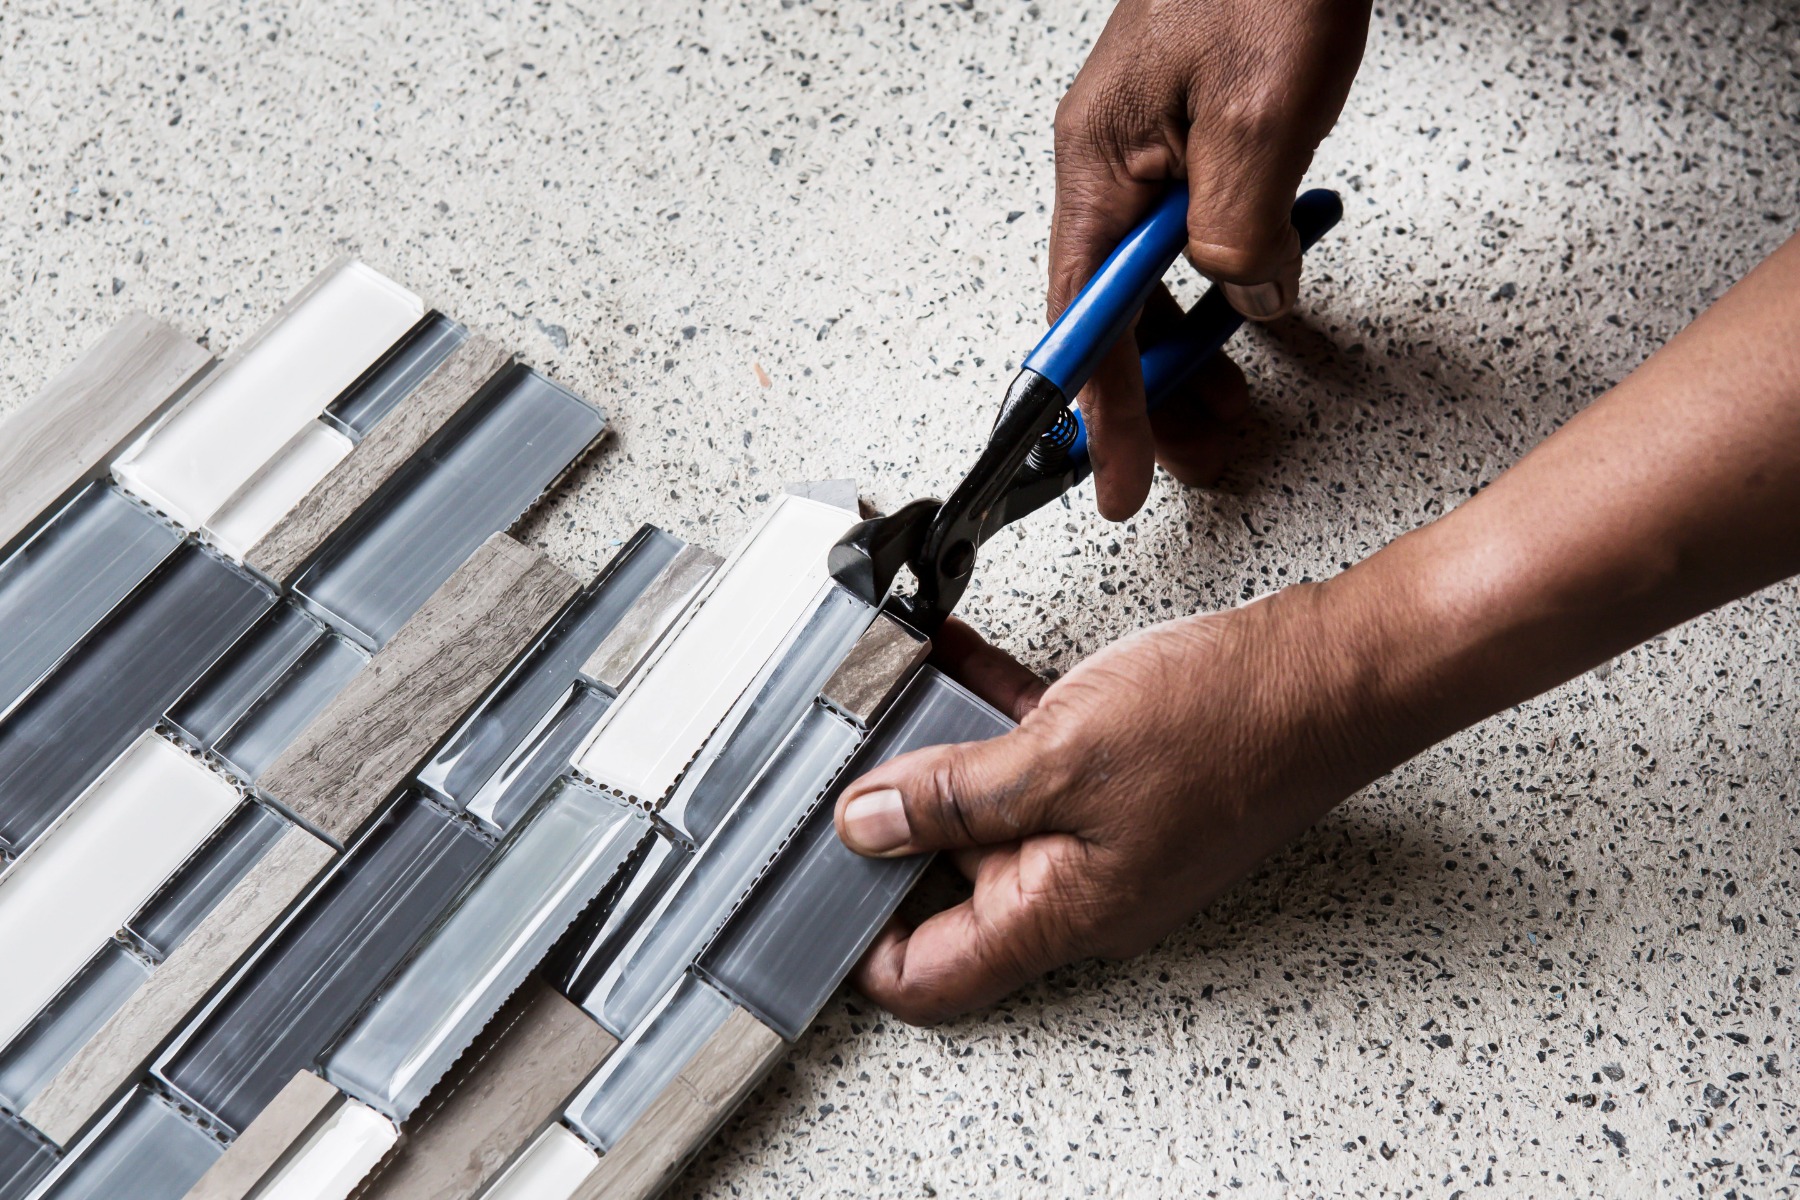
Once the surface is prepared, start measuring and planning the layout, this is vital to ensure the splashback is installed successfully, so take your time with this step. Tiling usually starts from the middle of the installation area, however this may have to be adjusted to minimise cutting of mosaic sheets.
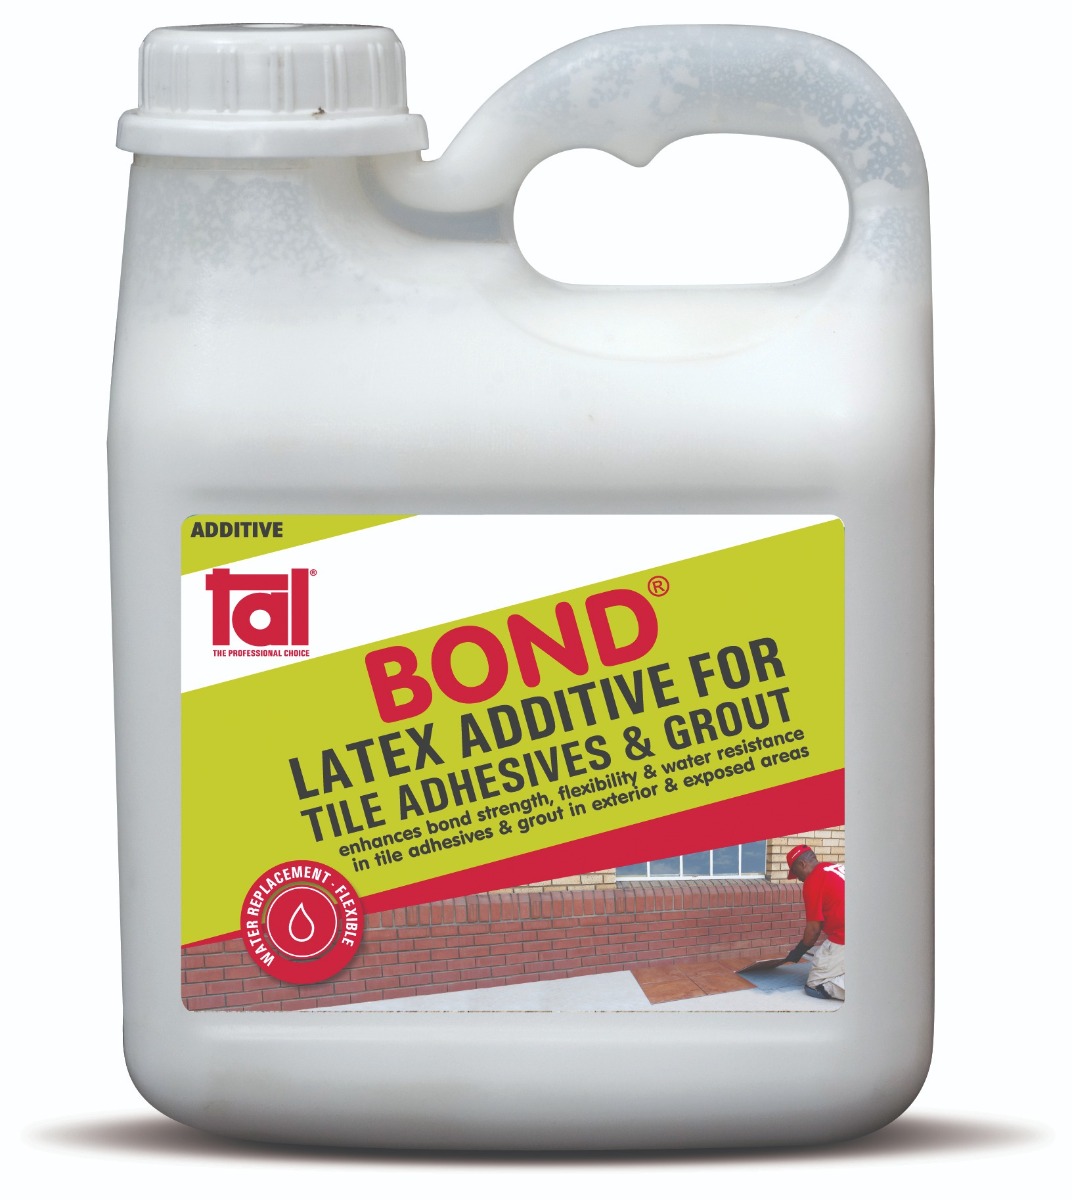
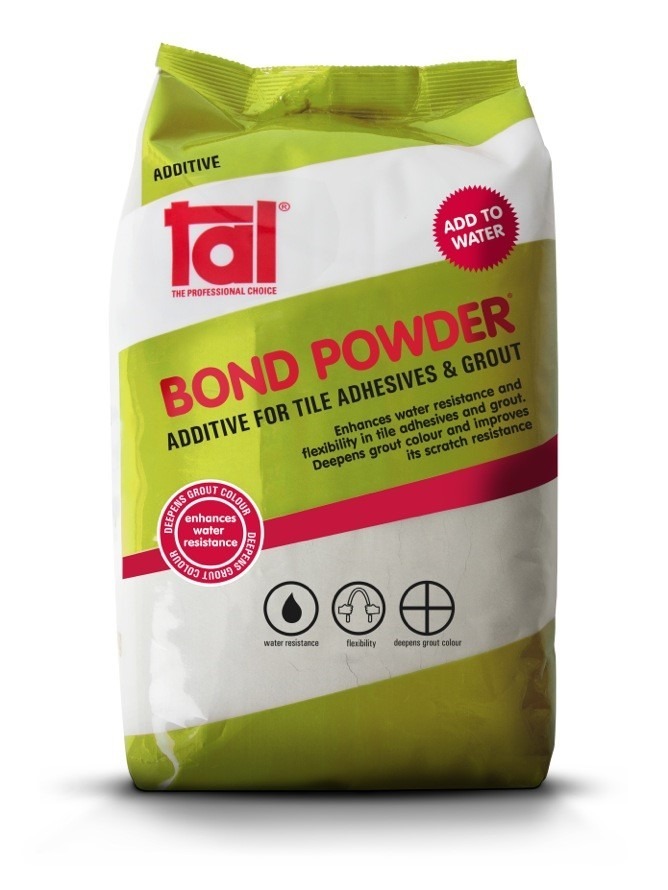
We recommend that TAL Bond, a latex additive, be used as a total water replacement in the mix when tiling behind a sink. Alternatively, TAL Bond Powder can be added to the adhesive mixing water. This will ensure increased water resistance, bond strength and flexibility, for a more durable splashback.
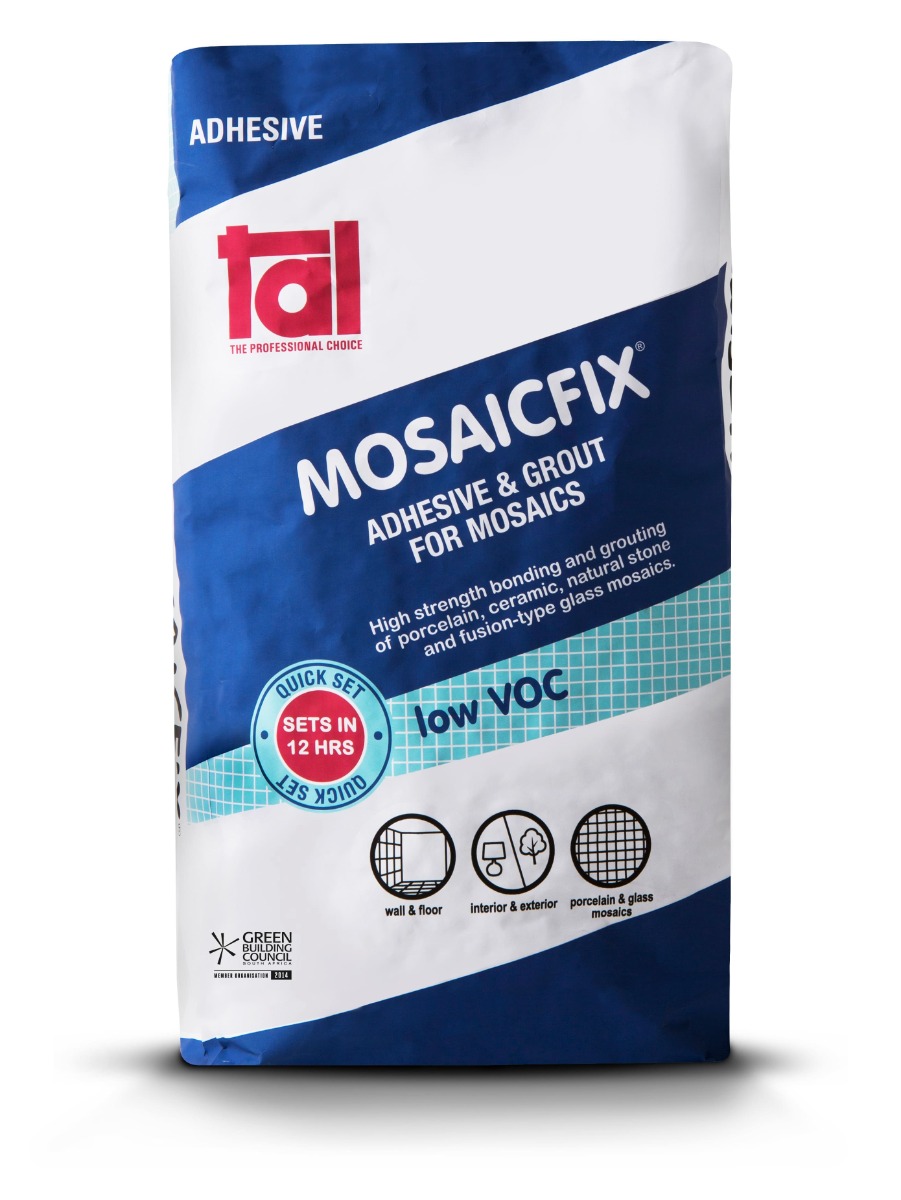
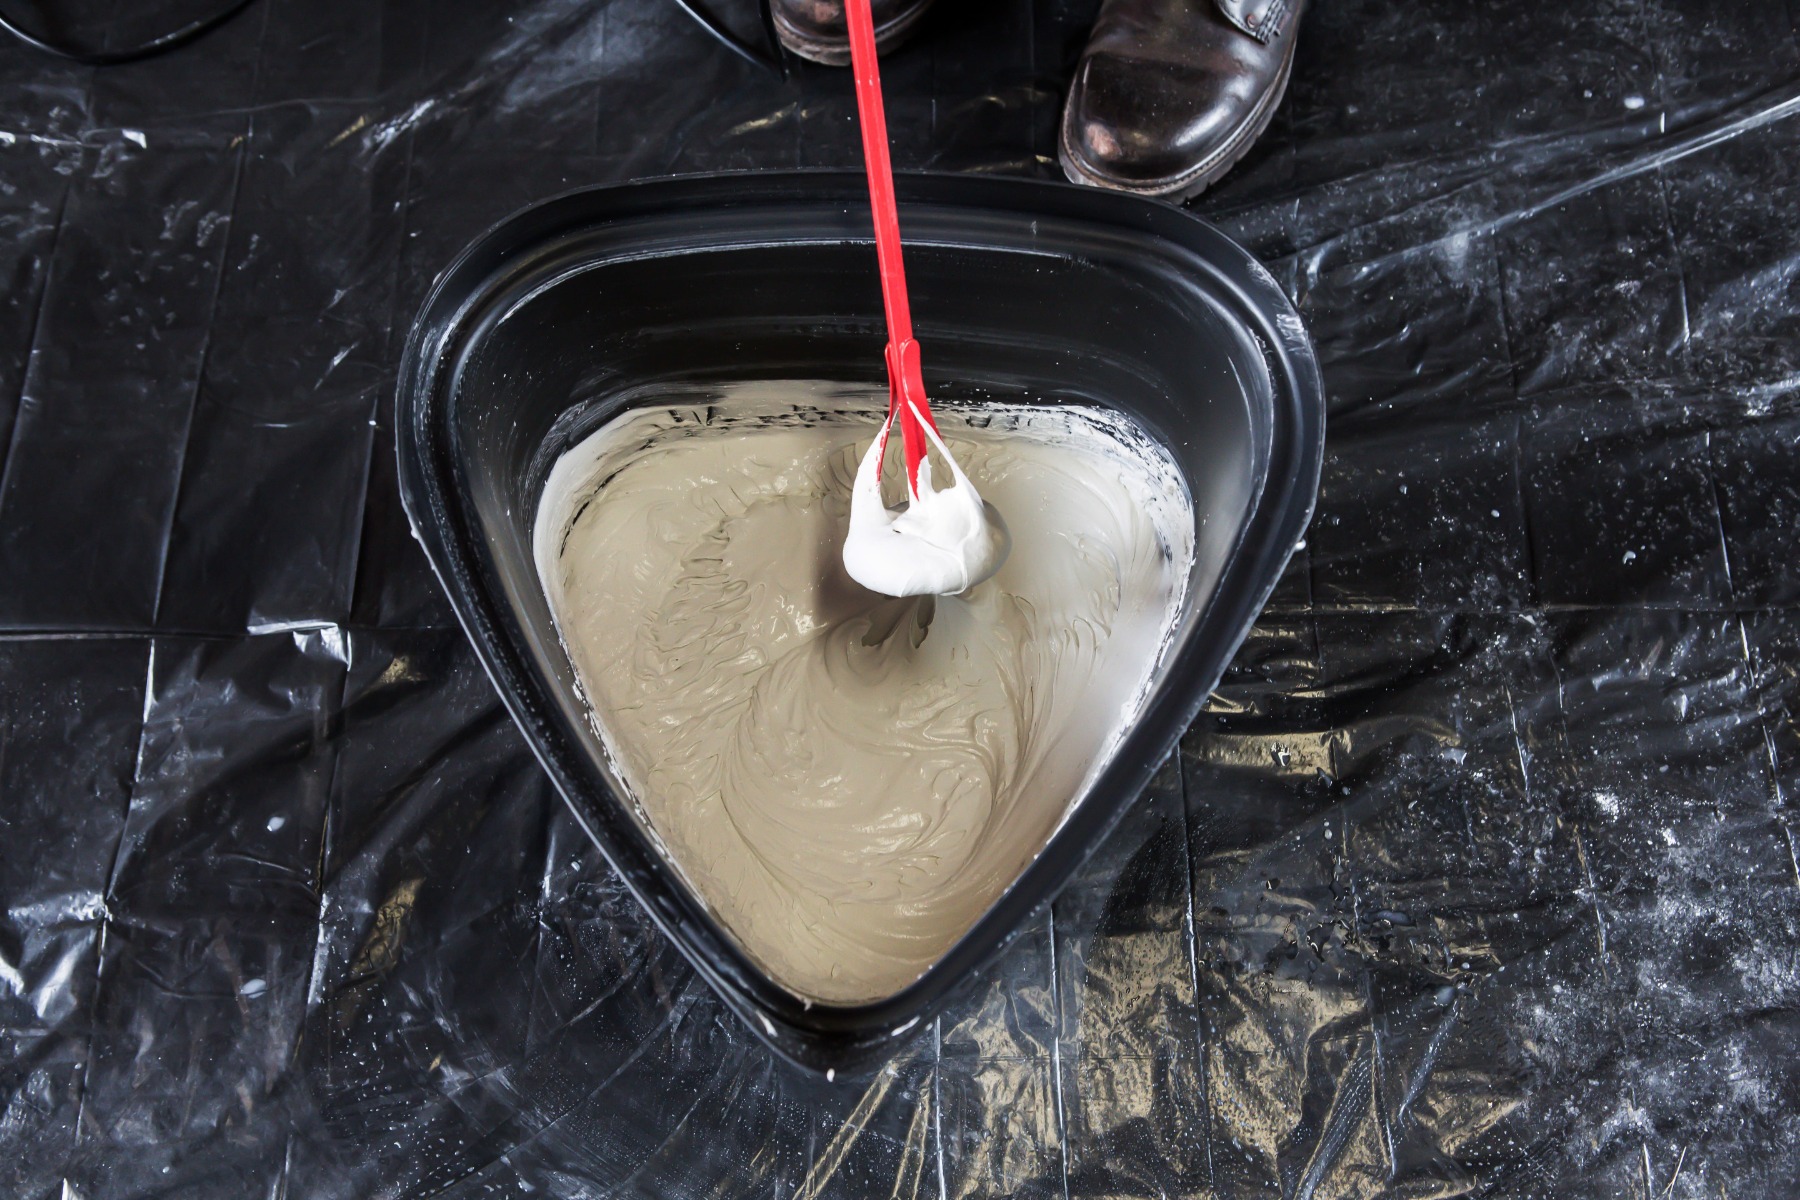
Mix the TAL Mosaicfix as per the instructions on the bag until a creamy, lump-free consistency develops. Let the mixture stand for 3 to 5 minutes before stirring again.
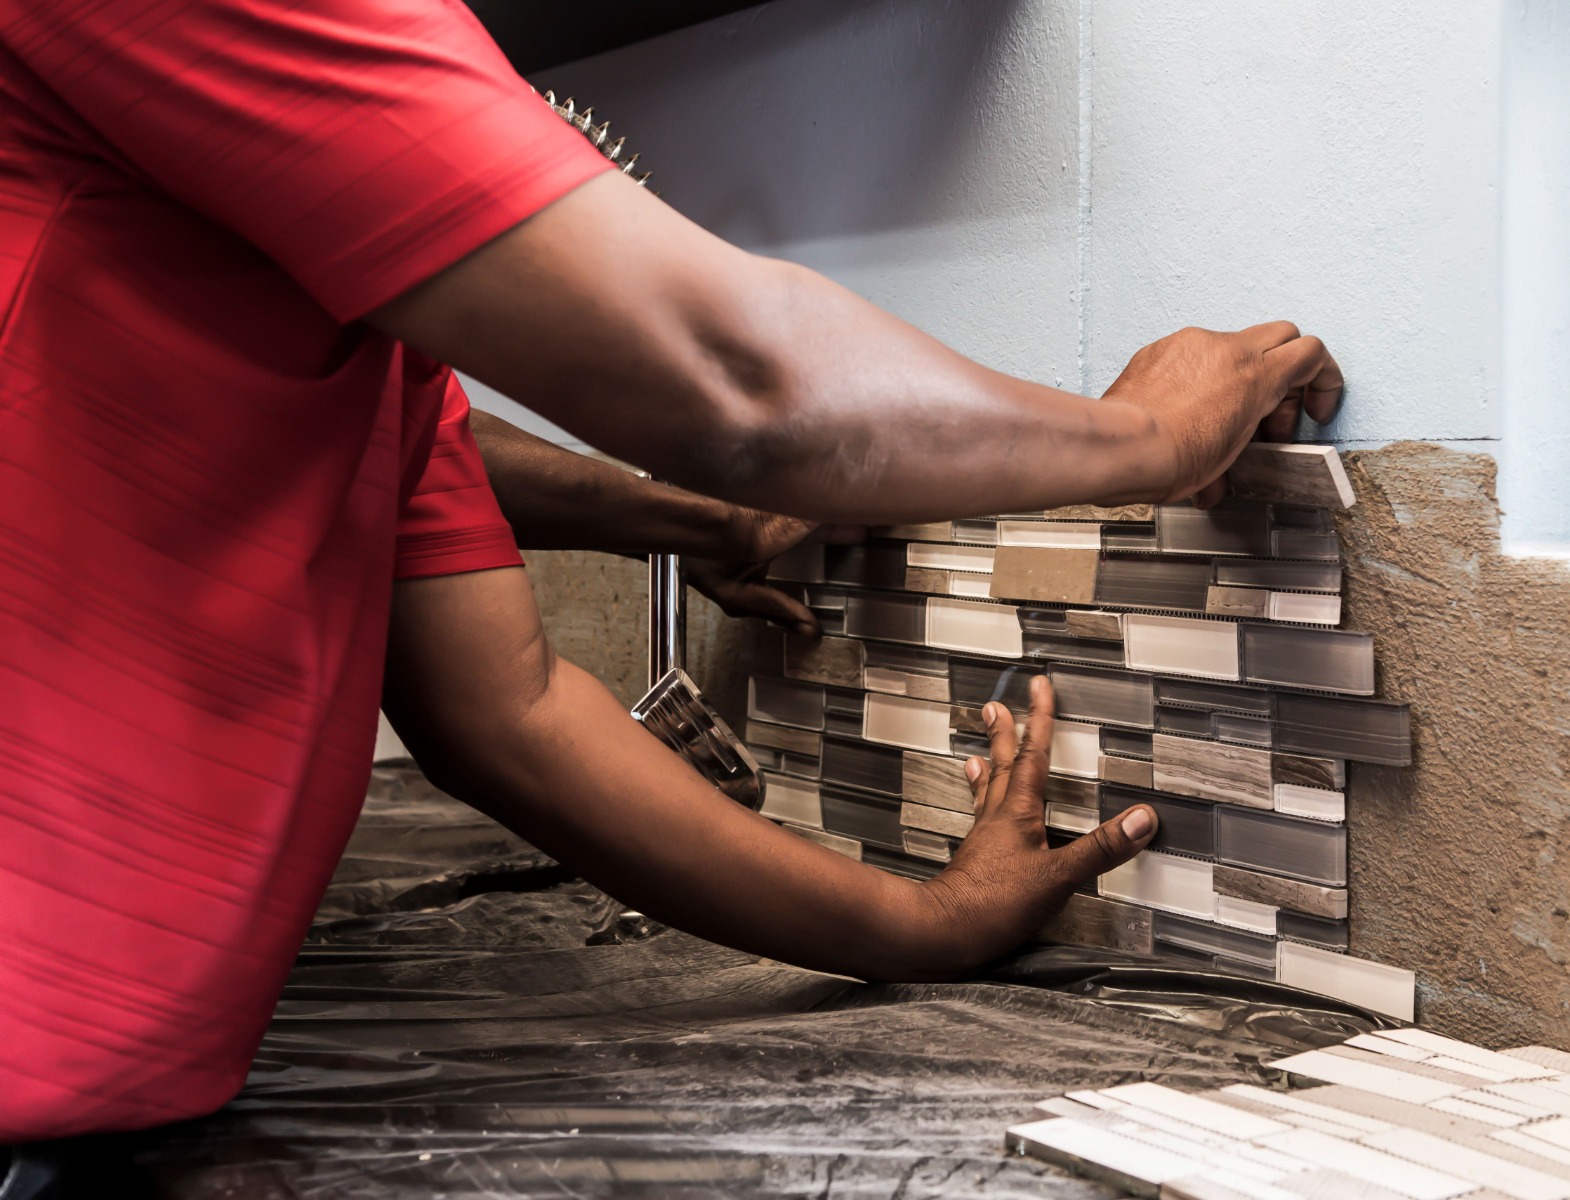
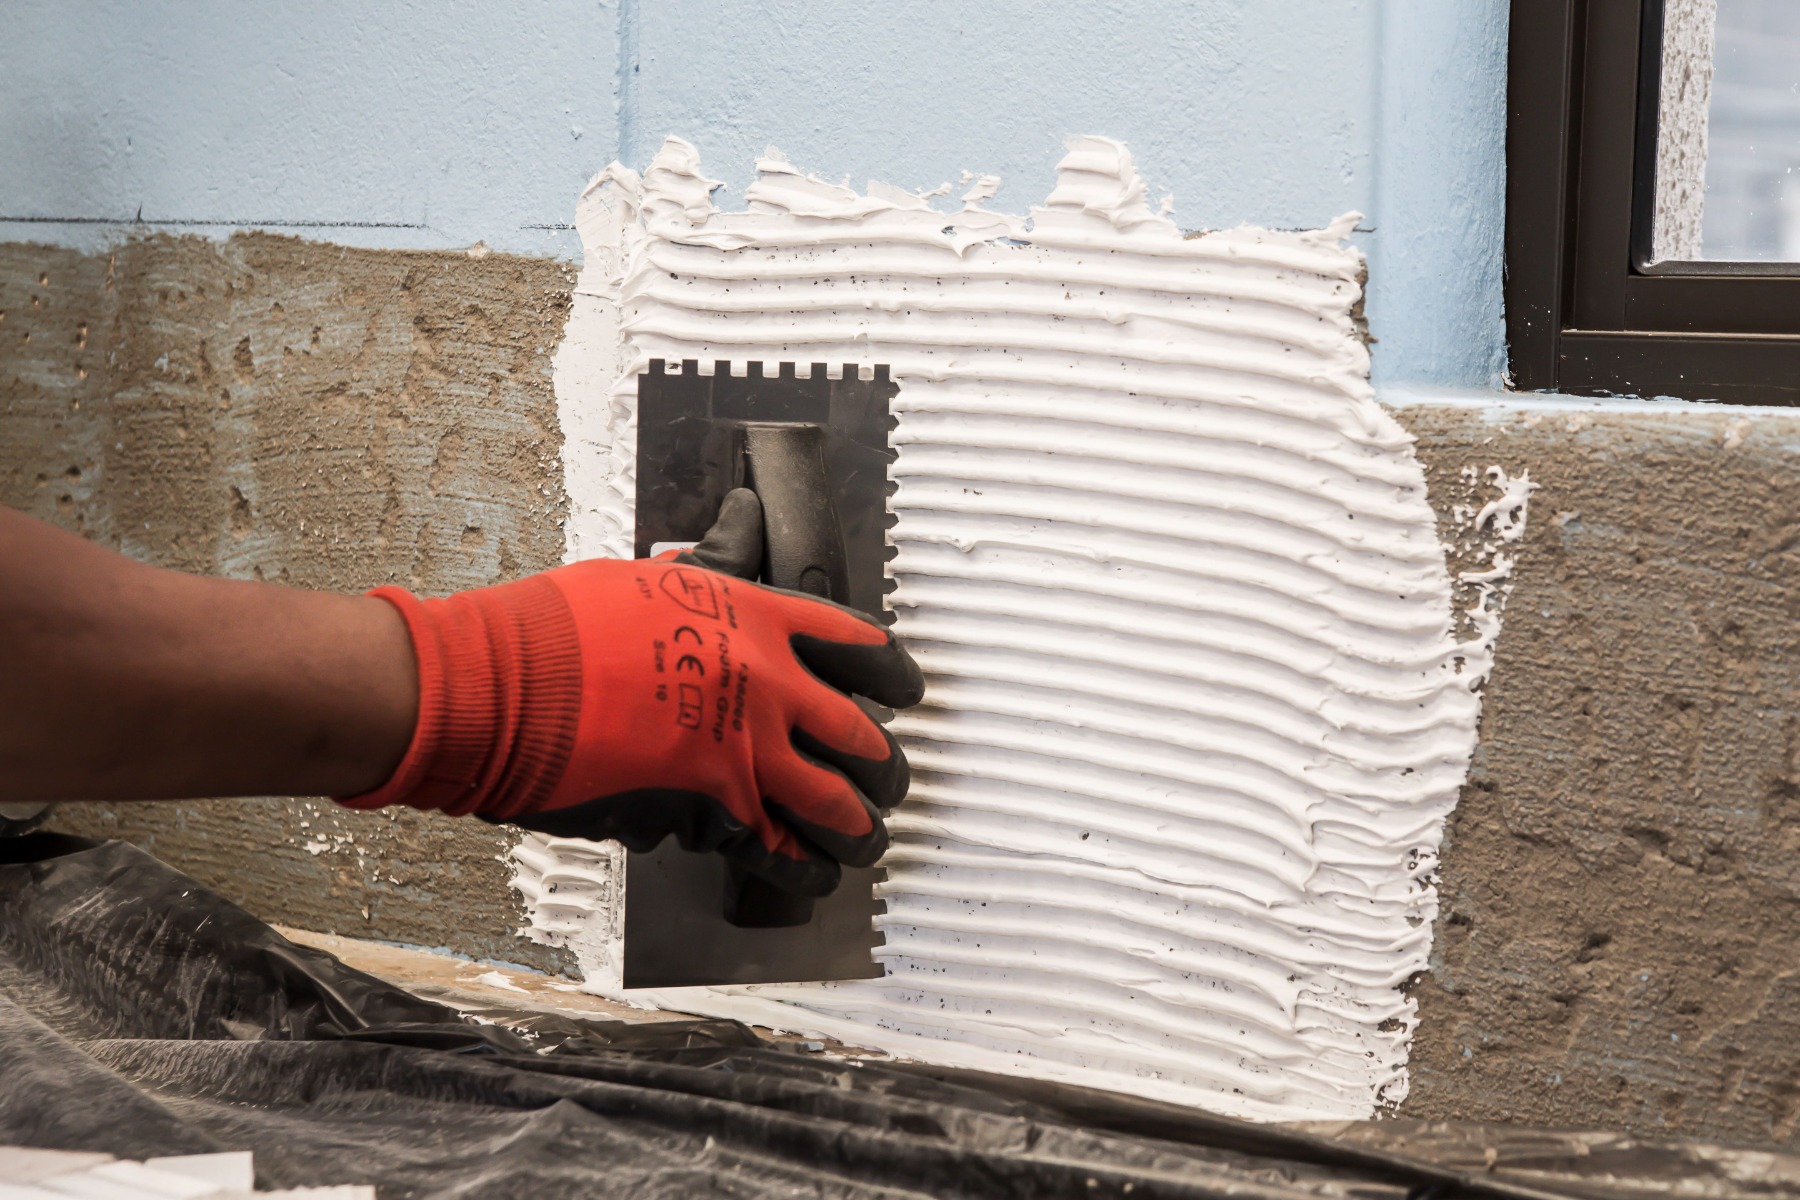
Now, apply the adhesive over a small area using the notched side of a wall trowel to create a solid bed of 4mm to 6mm. Once the adhesive is applied, you must install the mosaic sheets immediately, pressing them firmly into the wet adhesive. Never apply more adhesive than you can tile in 10-15 minutes, usually about a square meter.
Now, apply the adhesive over a small area using the notched side of a wall trowel to create a solid bed of 4mm to 6mm. Once the adhesive is applied, you must install the mosaic sheets immediately, pressing them firmly into the wet adhesive. Never apply more adhesive than you can tile in 10-15 minutes, usually about a square meter.
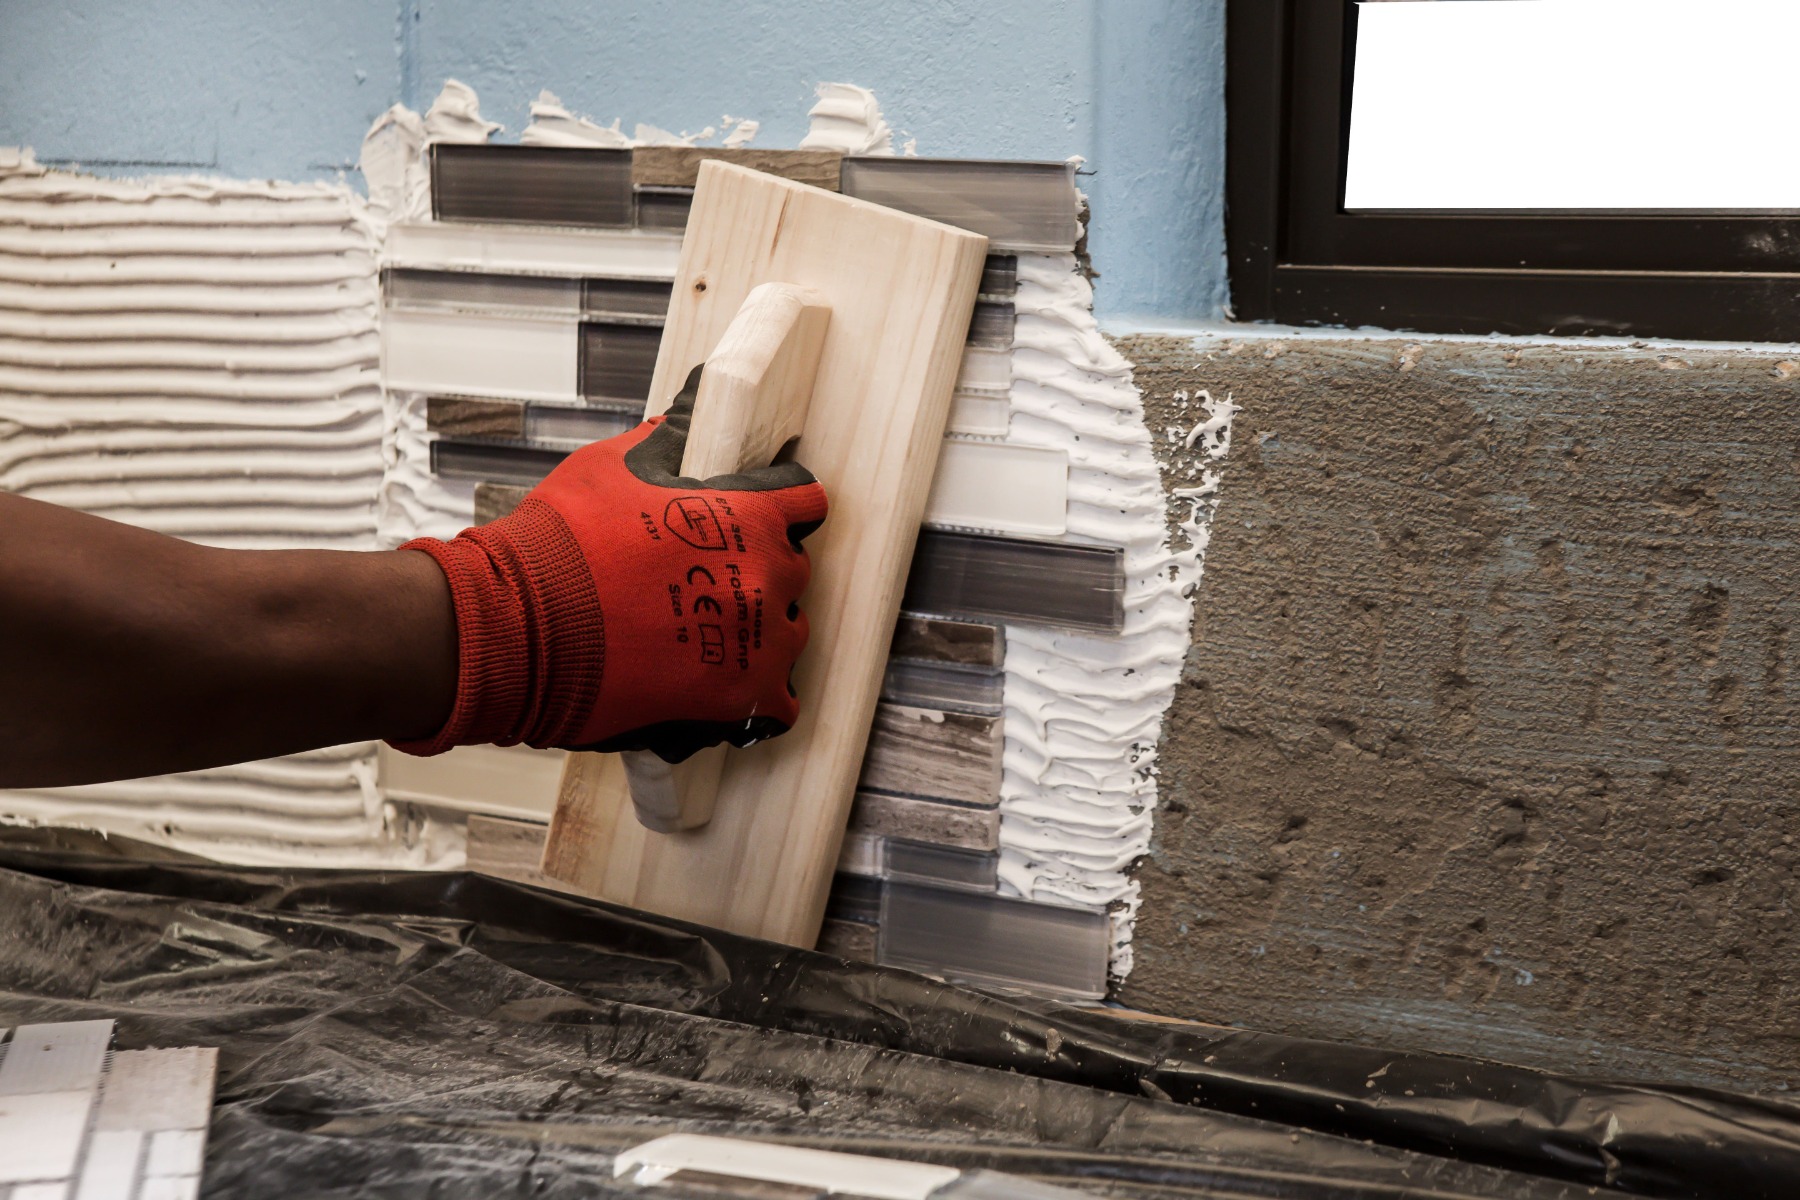
Use a wooden beating block or a rubber grout float to embed the mosaic into the adhesive.
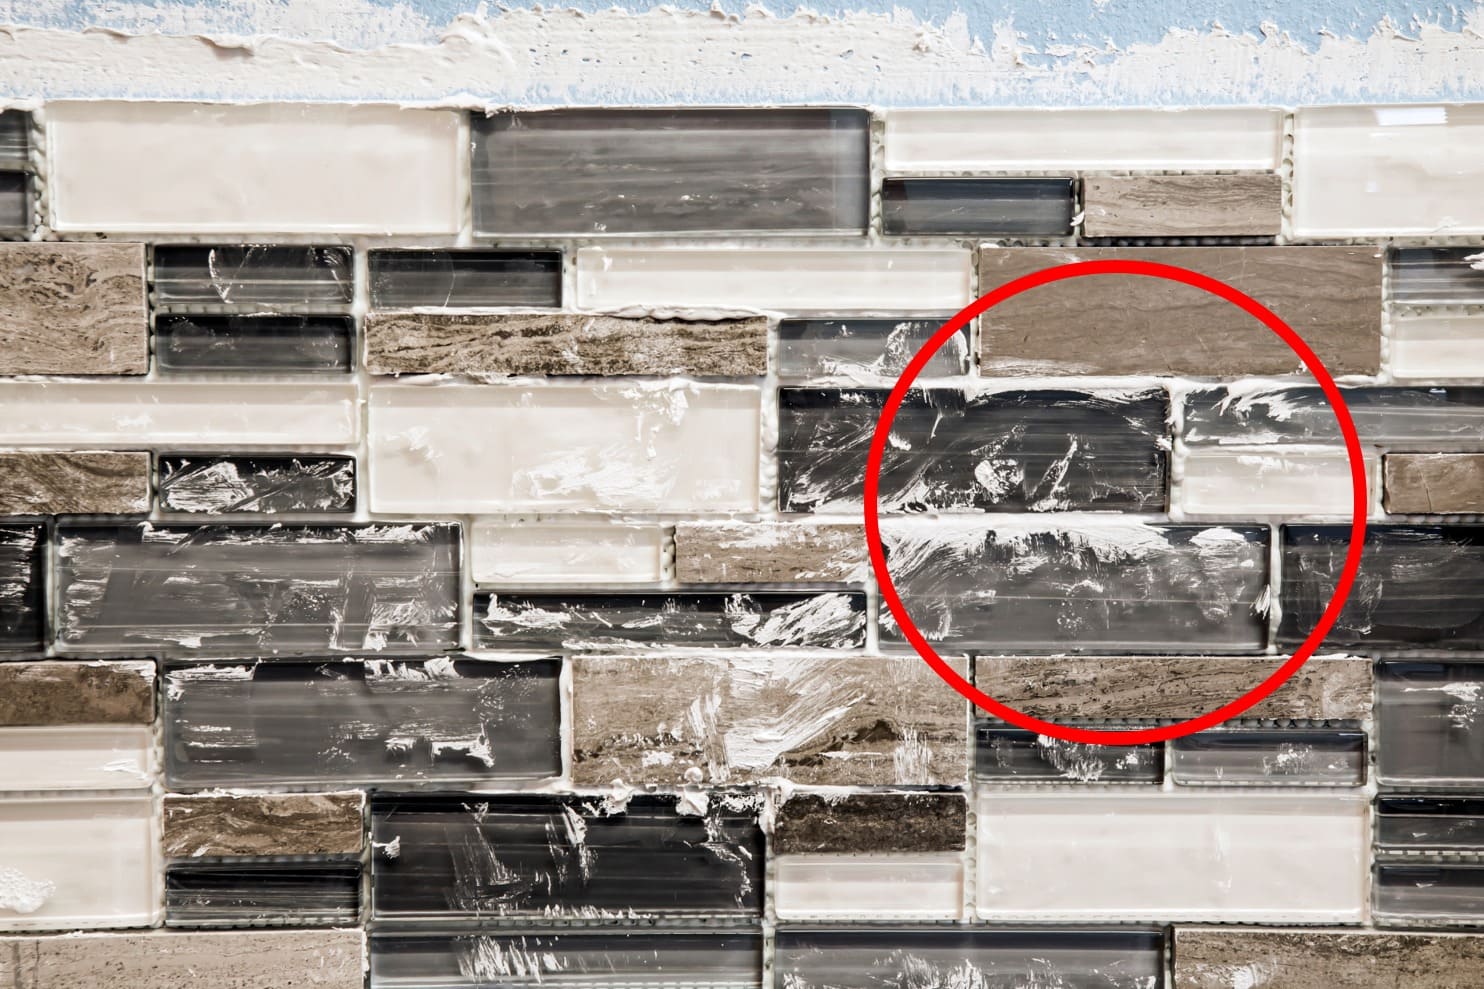
Allow the adhesive to squeeze through the joints between the mosaics, to ensure a good bond between adhesive and mosaics, and to form the grout. Place a tile spacer between the countertop and mosaic, as well as between the mosaic sheets, to keep them evenly spaced.
Wait 20 minutes, then, where necessary, fill in any low areas in the grout joints with extra adhesive. TAL Mosaicfix is available in super white and light grey, so choose the colour that will best suit the aesthetic you want to achieve. Work carefully to avoid scratching the tile surface, especially when installing metallic tiles.
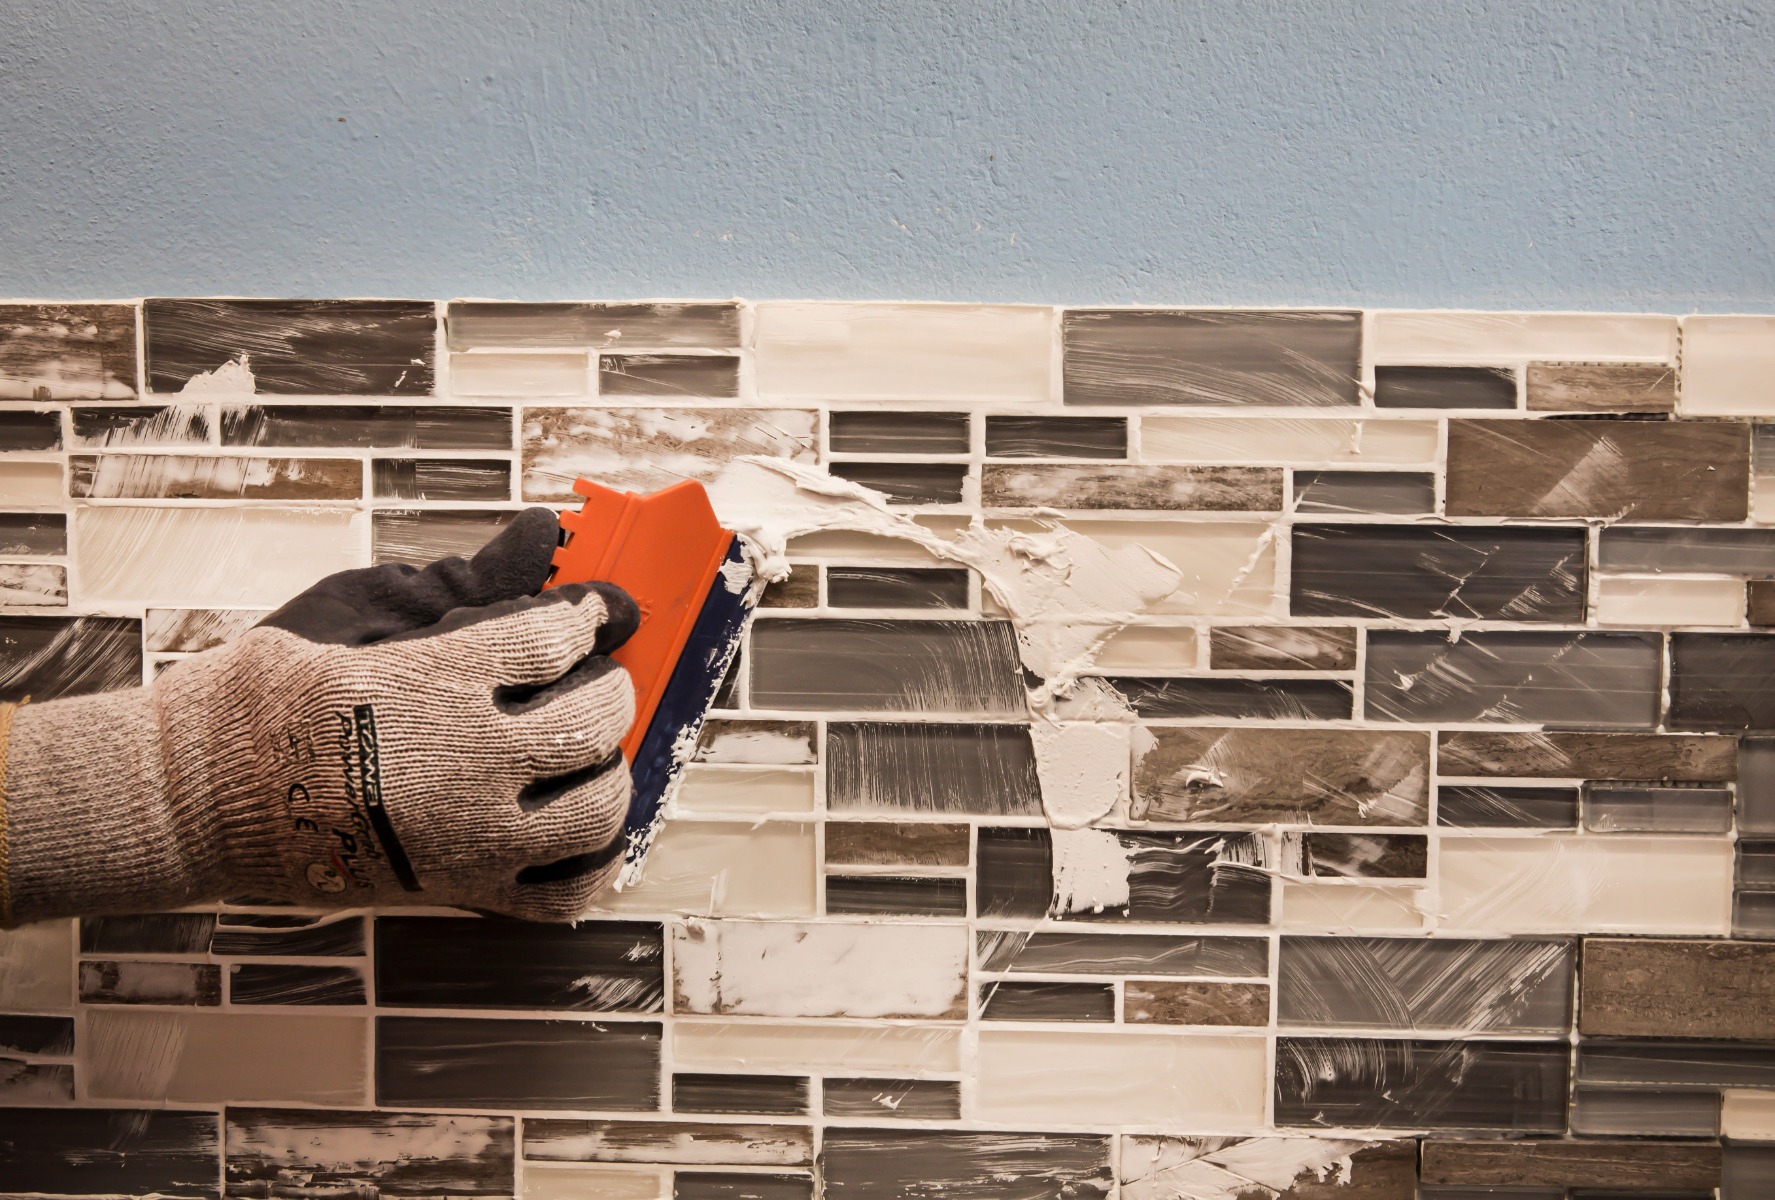
Wait 20 minutes, then, where necessary, fill in any low areas in the grout joints with extra adhesive. TAL Mosaicfix is available in super white and light grey, so choose the colour that will best suit the aesthetic you want to achieve. Work carefully to avoid scratching the tile surface, especially when installing metallic tiles.
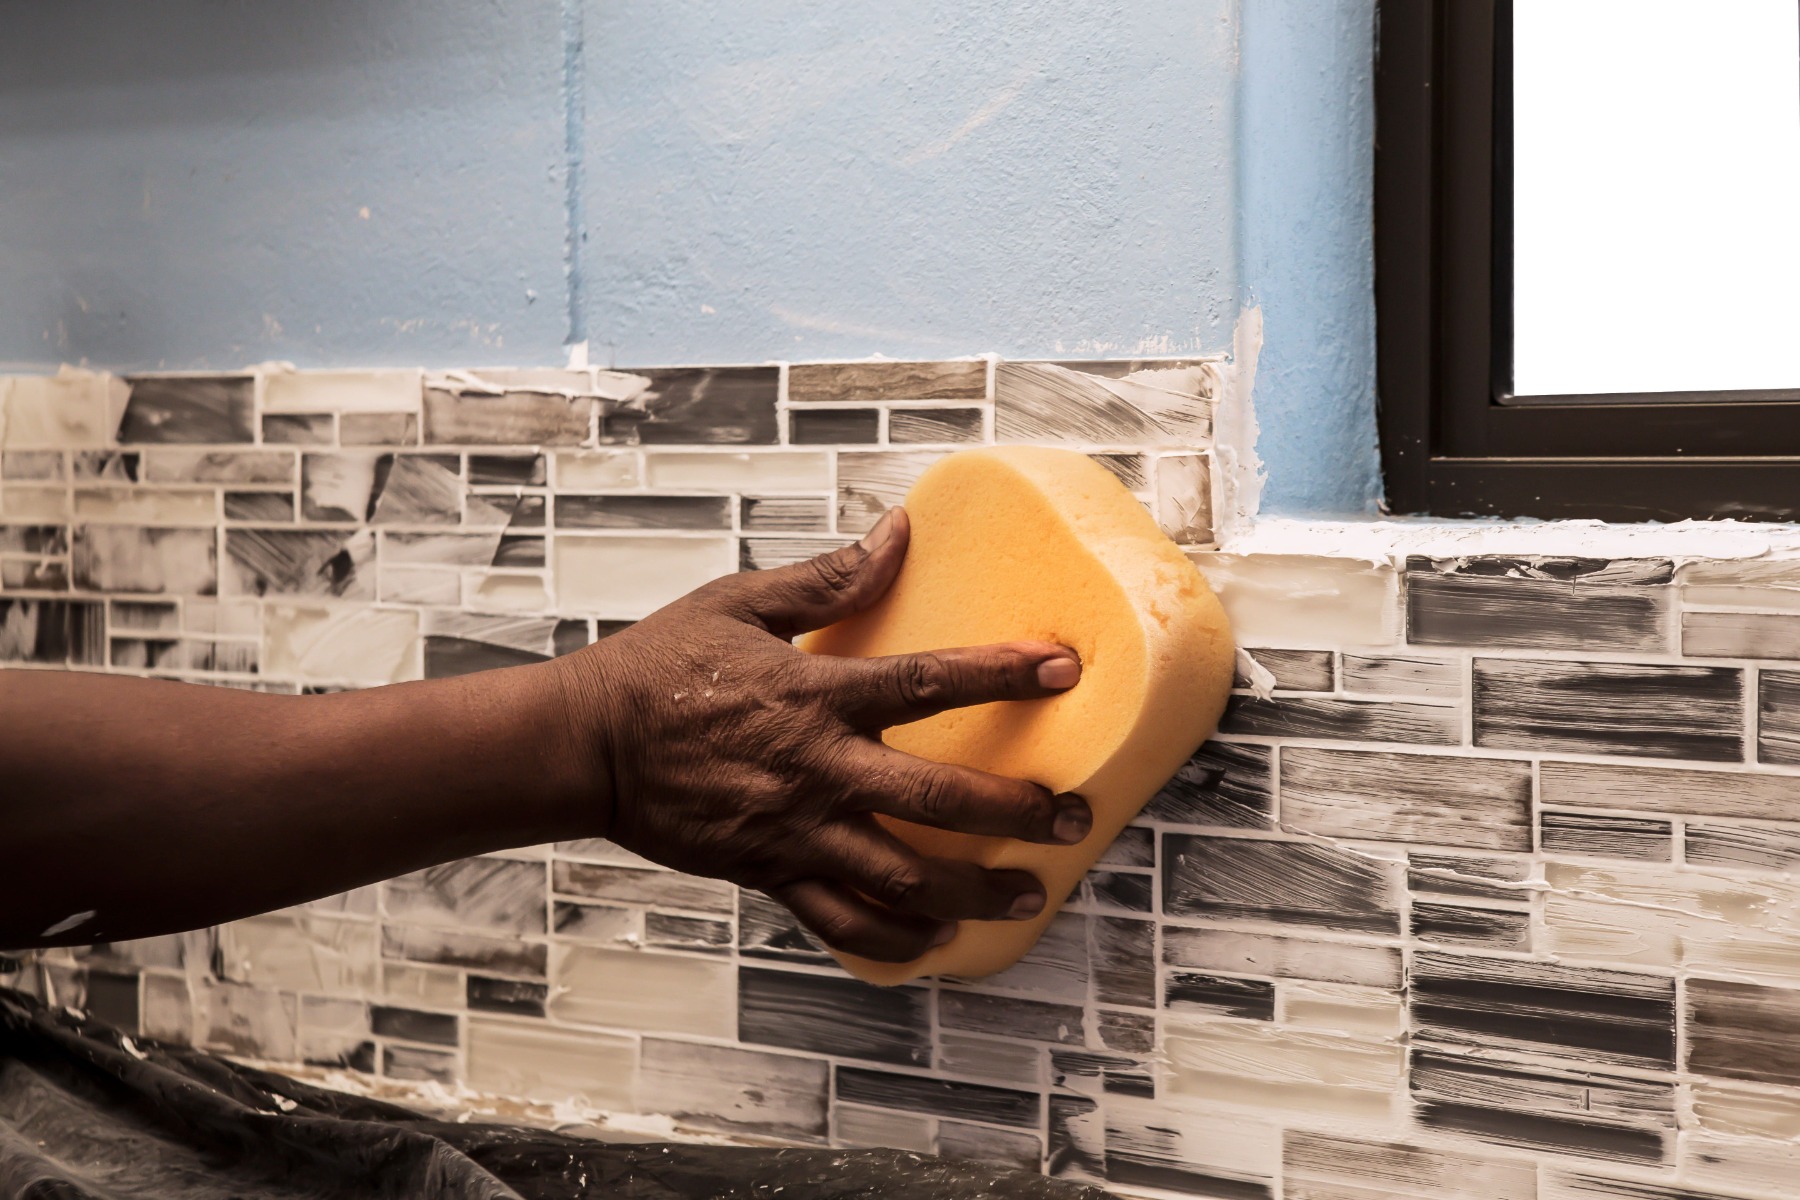
Once fully set, gently polish the face of the mosaics with a dry cloth

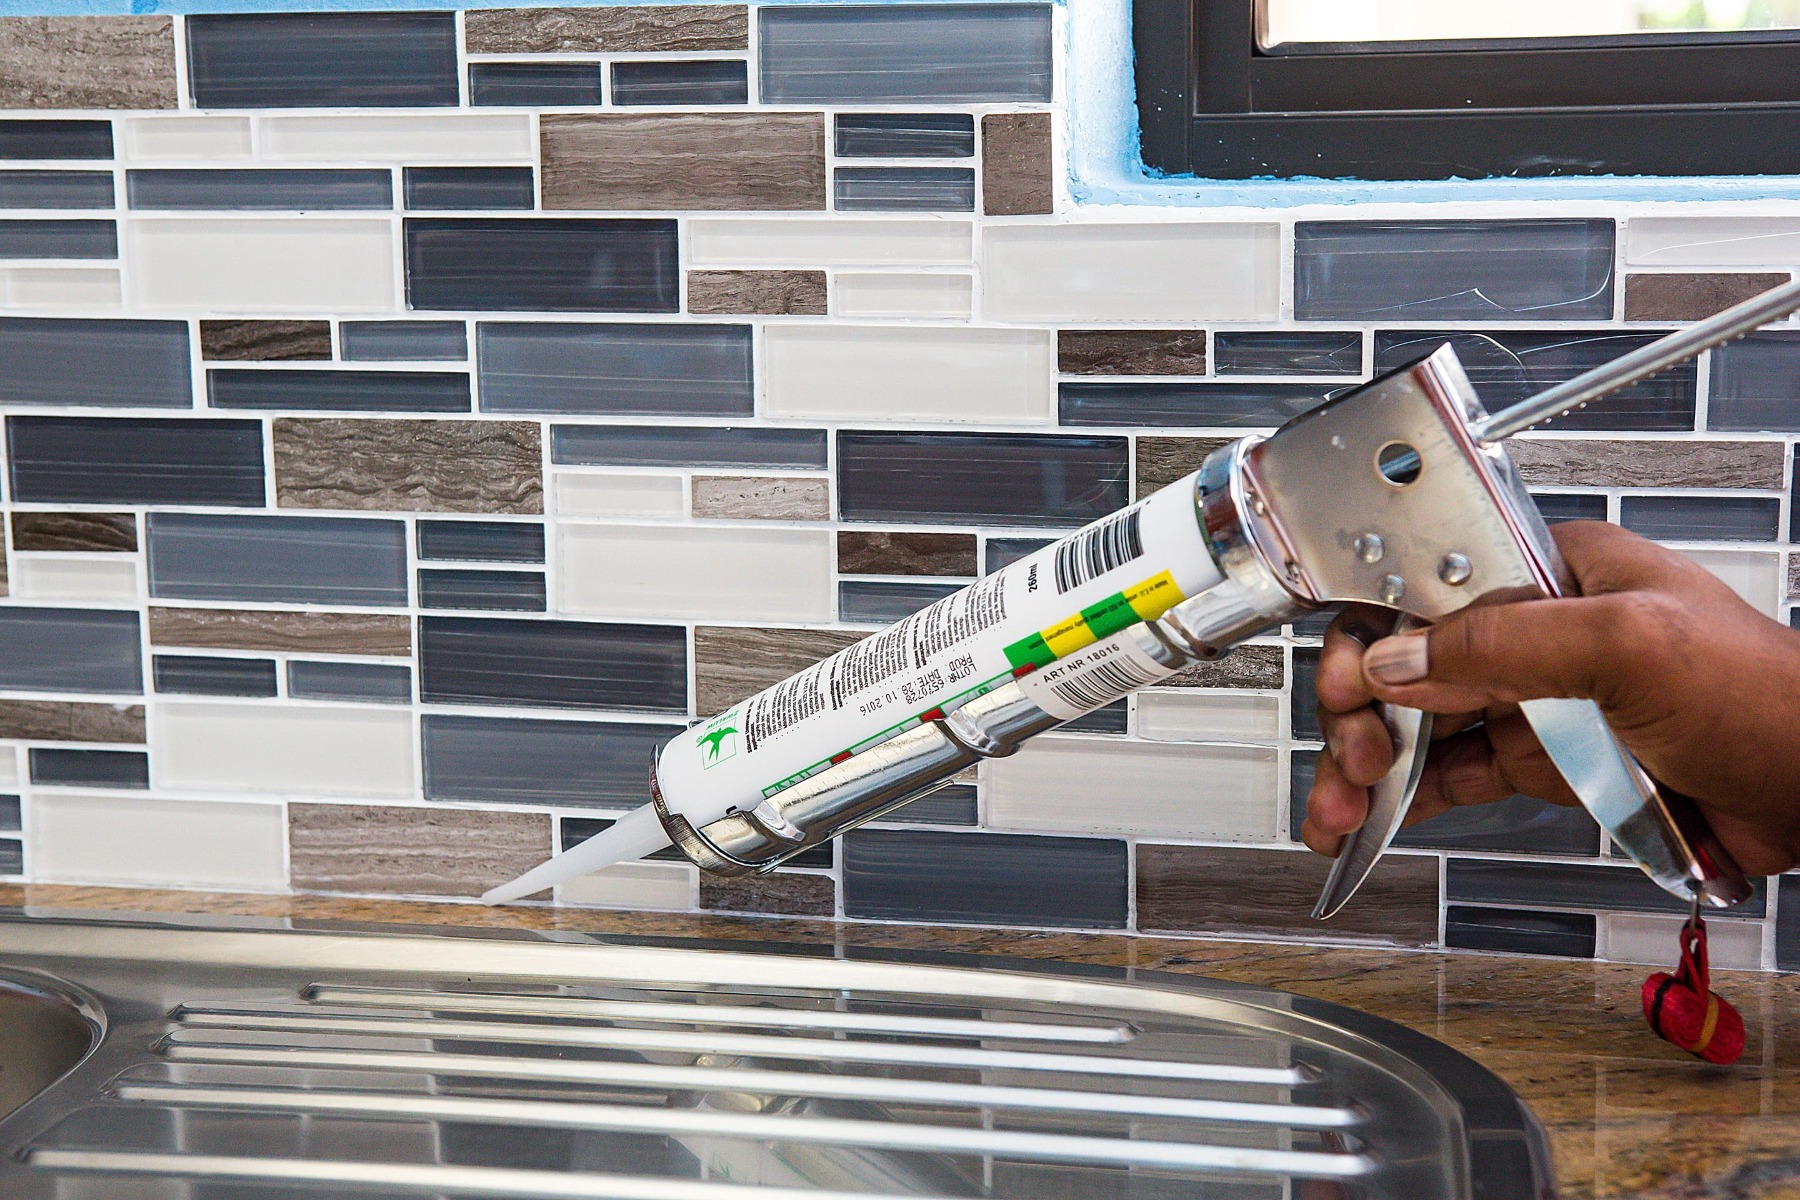
Apply a silicone sealant into the perimeter joint between the mosaics and countertop, and in any corners.
By choosing a kitchen splashback, not only have you managed to successfully upgrade your kitchen into a beautifully modern space, you’ve also ensured that your wall is protected against moisture and food stains. For more information on tile installation, contact the TAL Technical Advisory Service during office hours, visit our website, or send us an email.