The basic diy tilers tool kit
The Basic DIY Tilers Tool Kit
If you are planning to tackle a home improvement project, you don’t necessarily want to spend a lot of money on a set of tools that you don’t use regularly. TAL offers a range of DIY tools that are ideal for repairs, or smaller home improvement projects, making tiling easier and more cost effective for you.
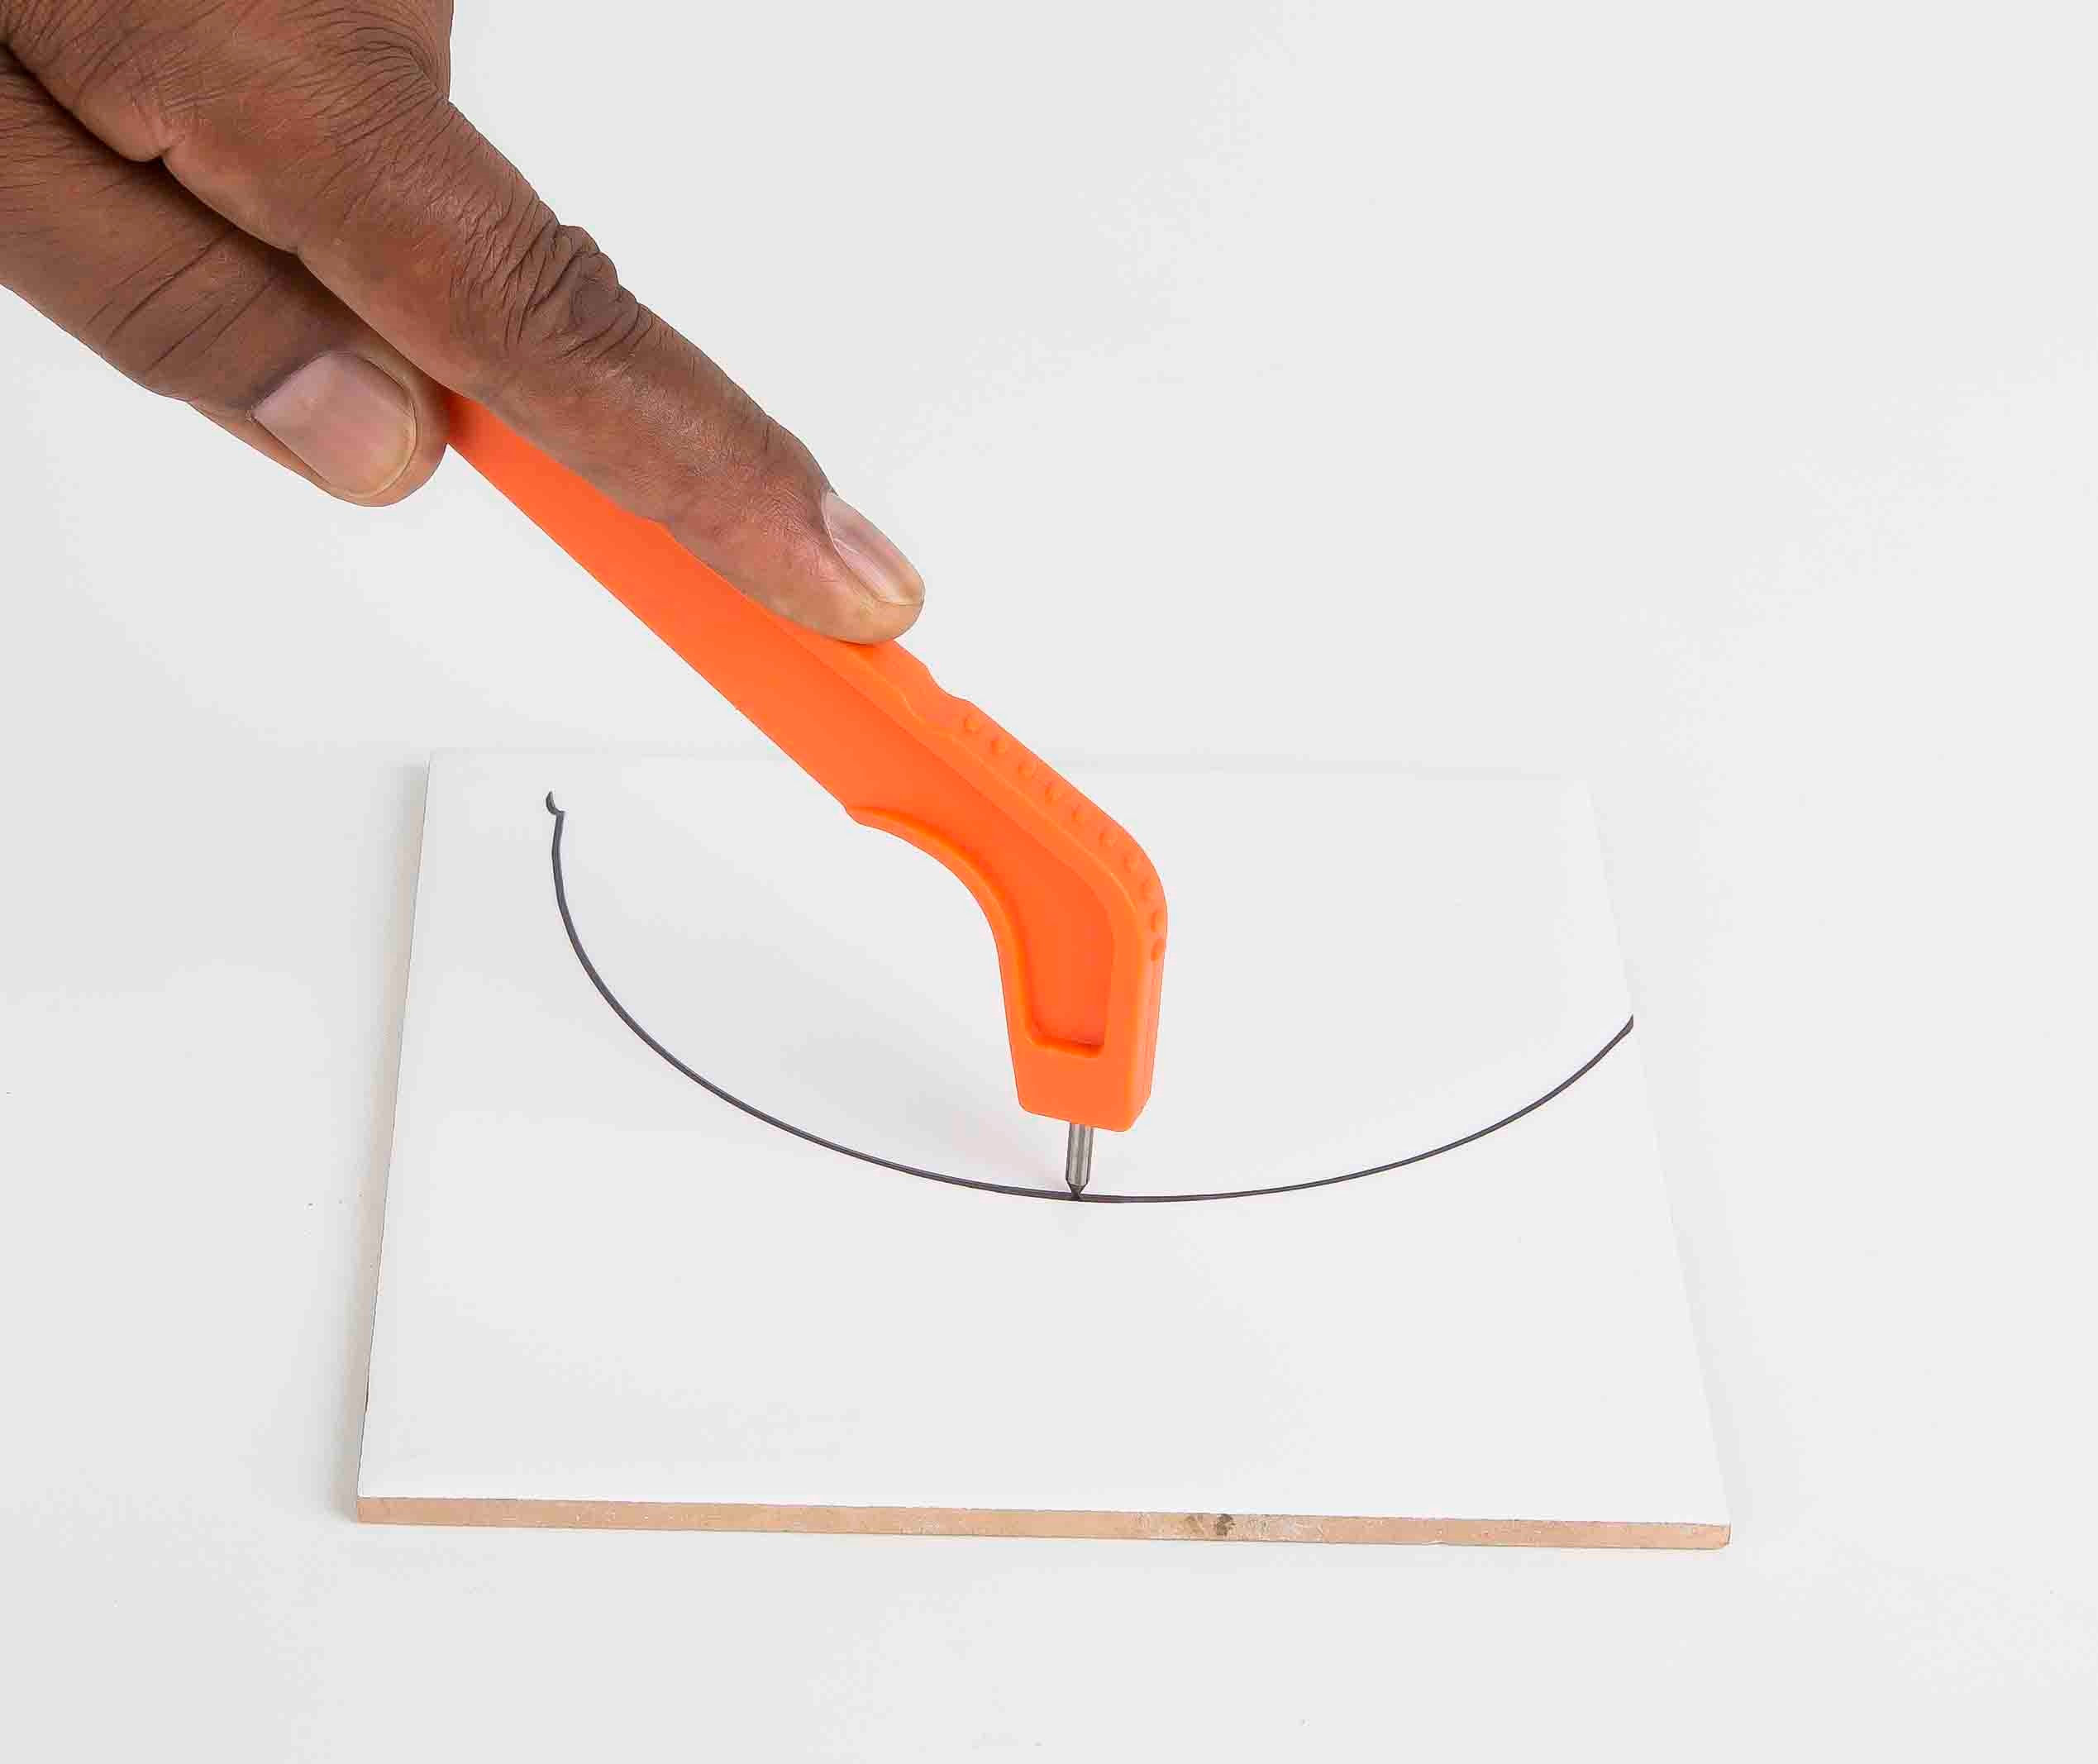
For cutting and shaping tiles, a tile scorer and tile nipper is essential. Read our guide on how to cut wall tiles for more information. For larger projects, you will also need a tile cutter. Ask about the TAL 500mm and 600mm manual tile cutter in-store.

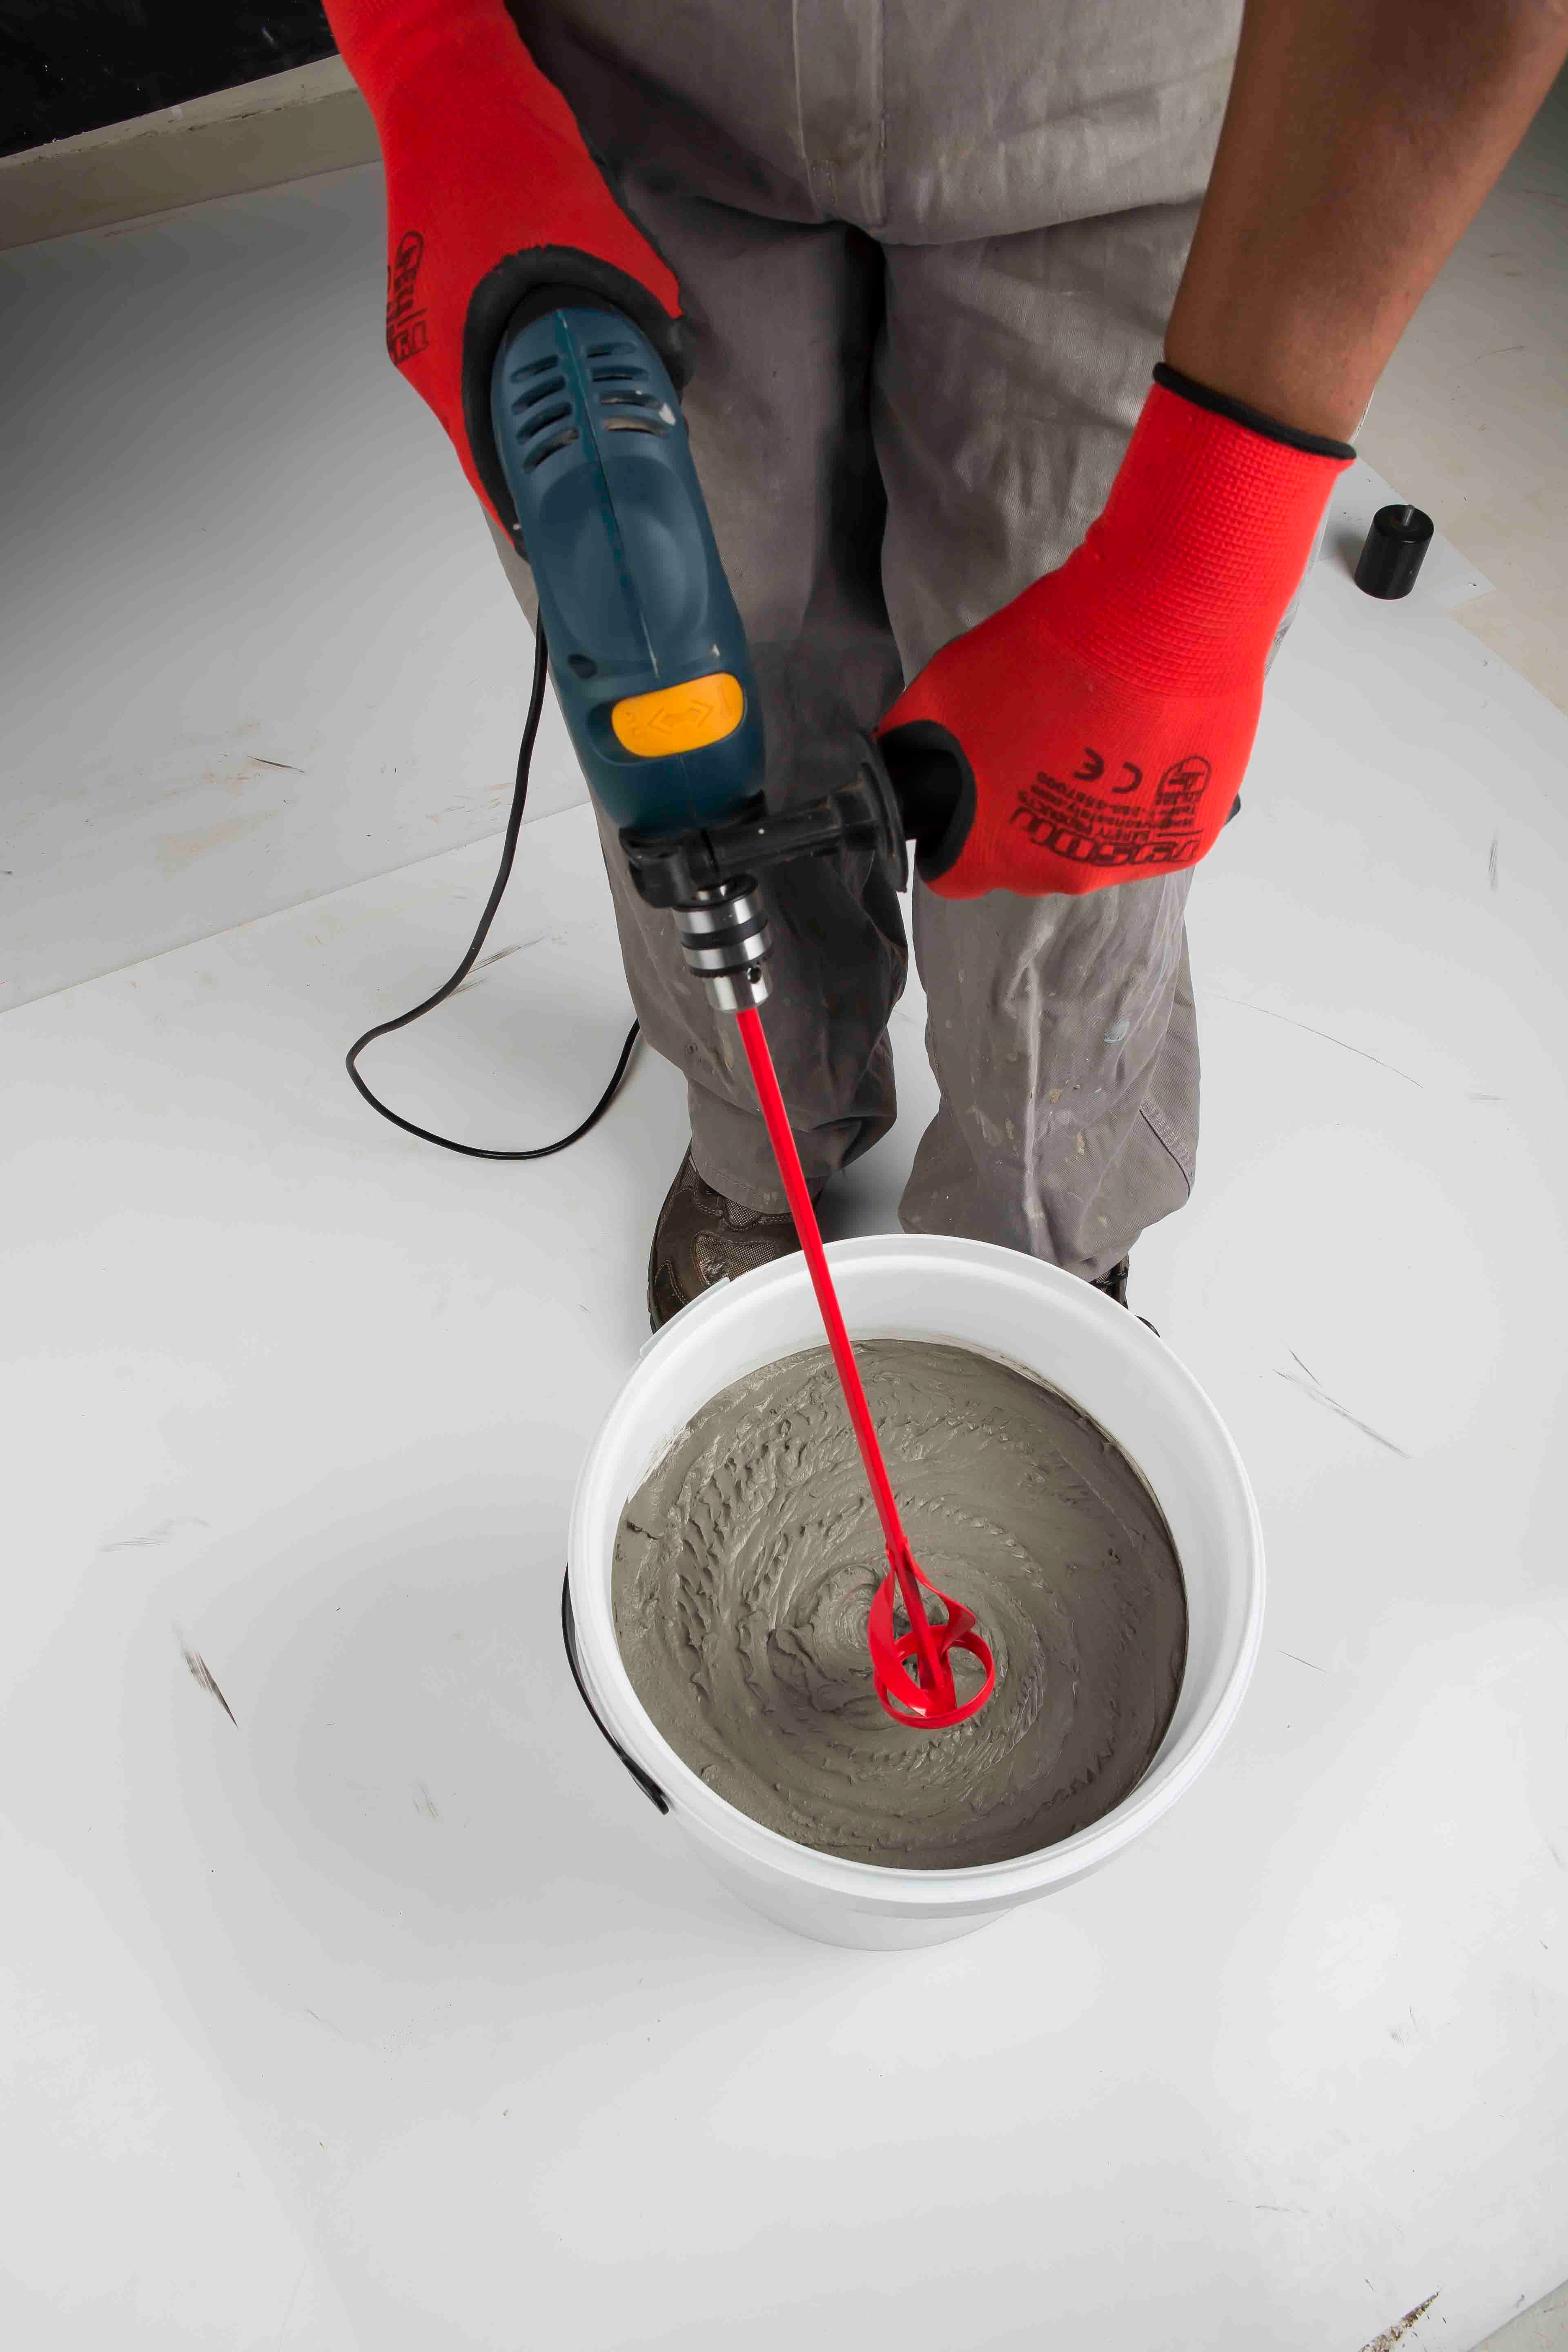
An adhesive mIxer paddle will ensure well-mixed tile adhesive and grout. This tool is suitable for use with most electric drills, and fits a standard 10mm and 12mm chuck.

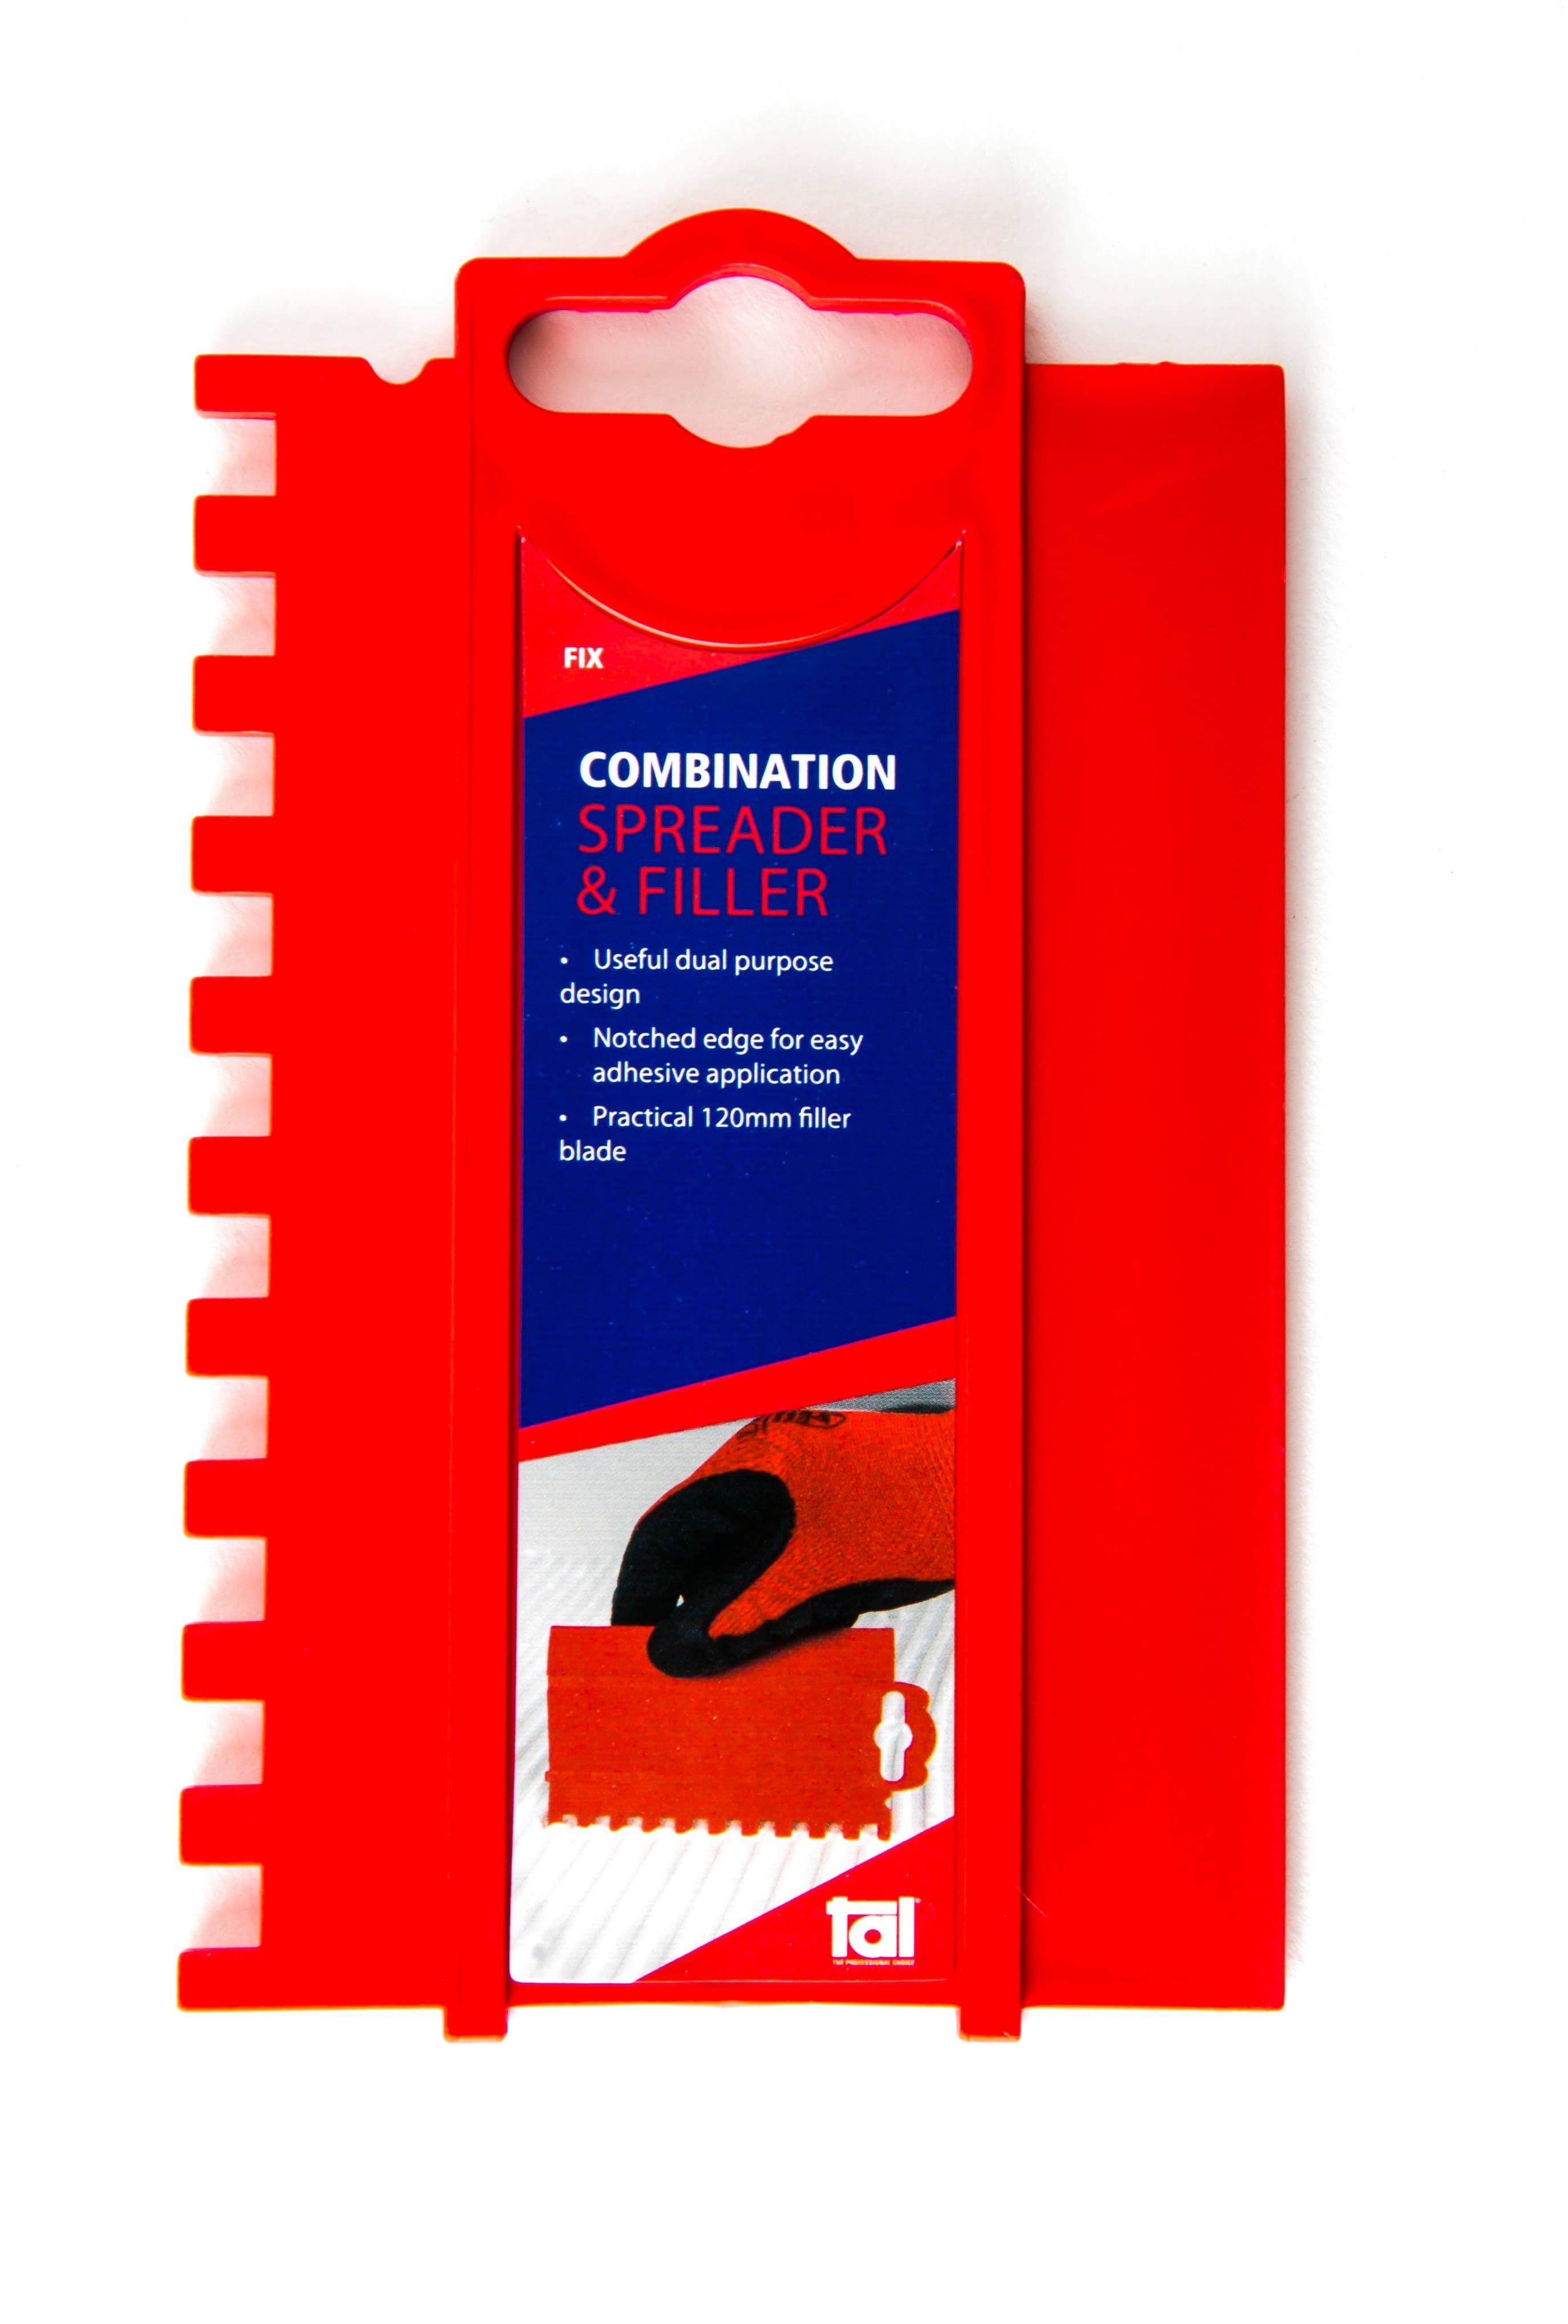
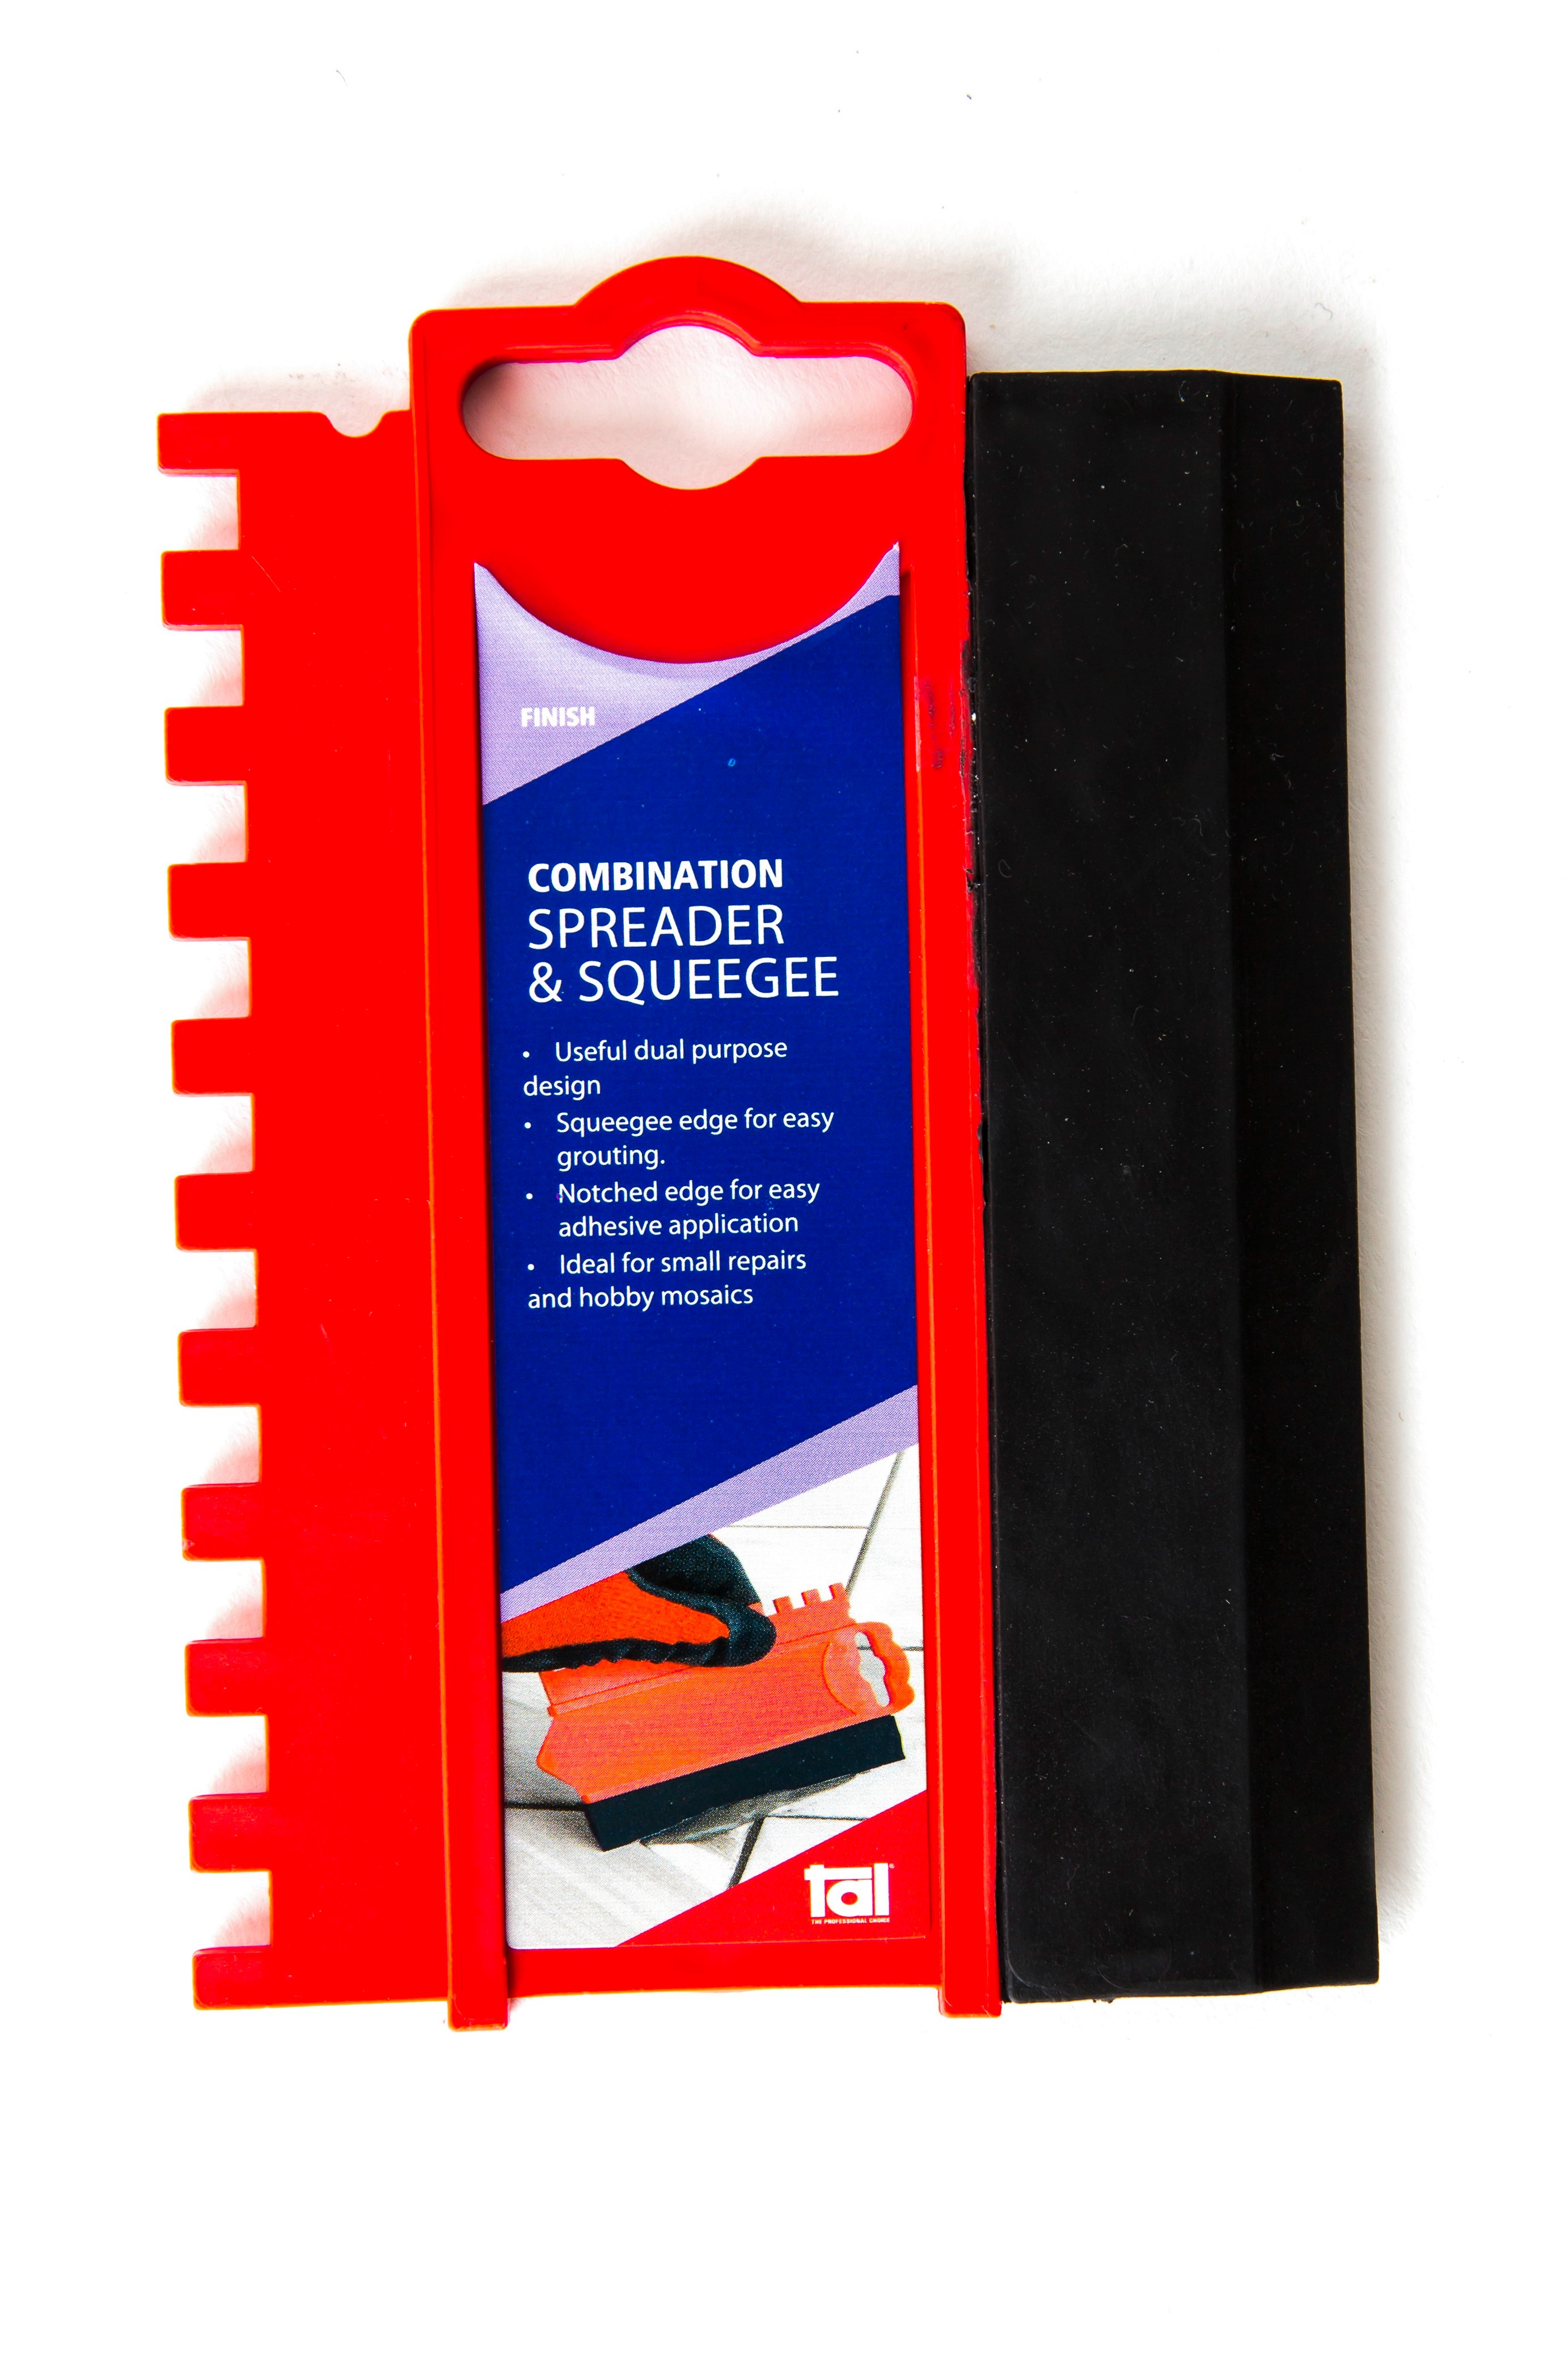
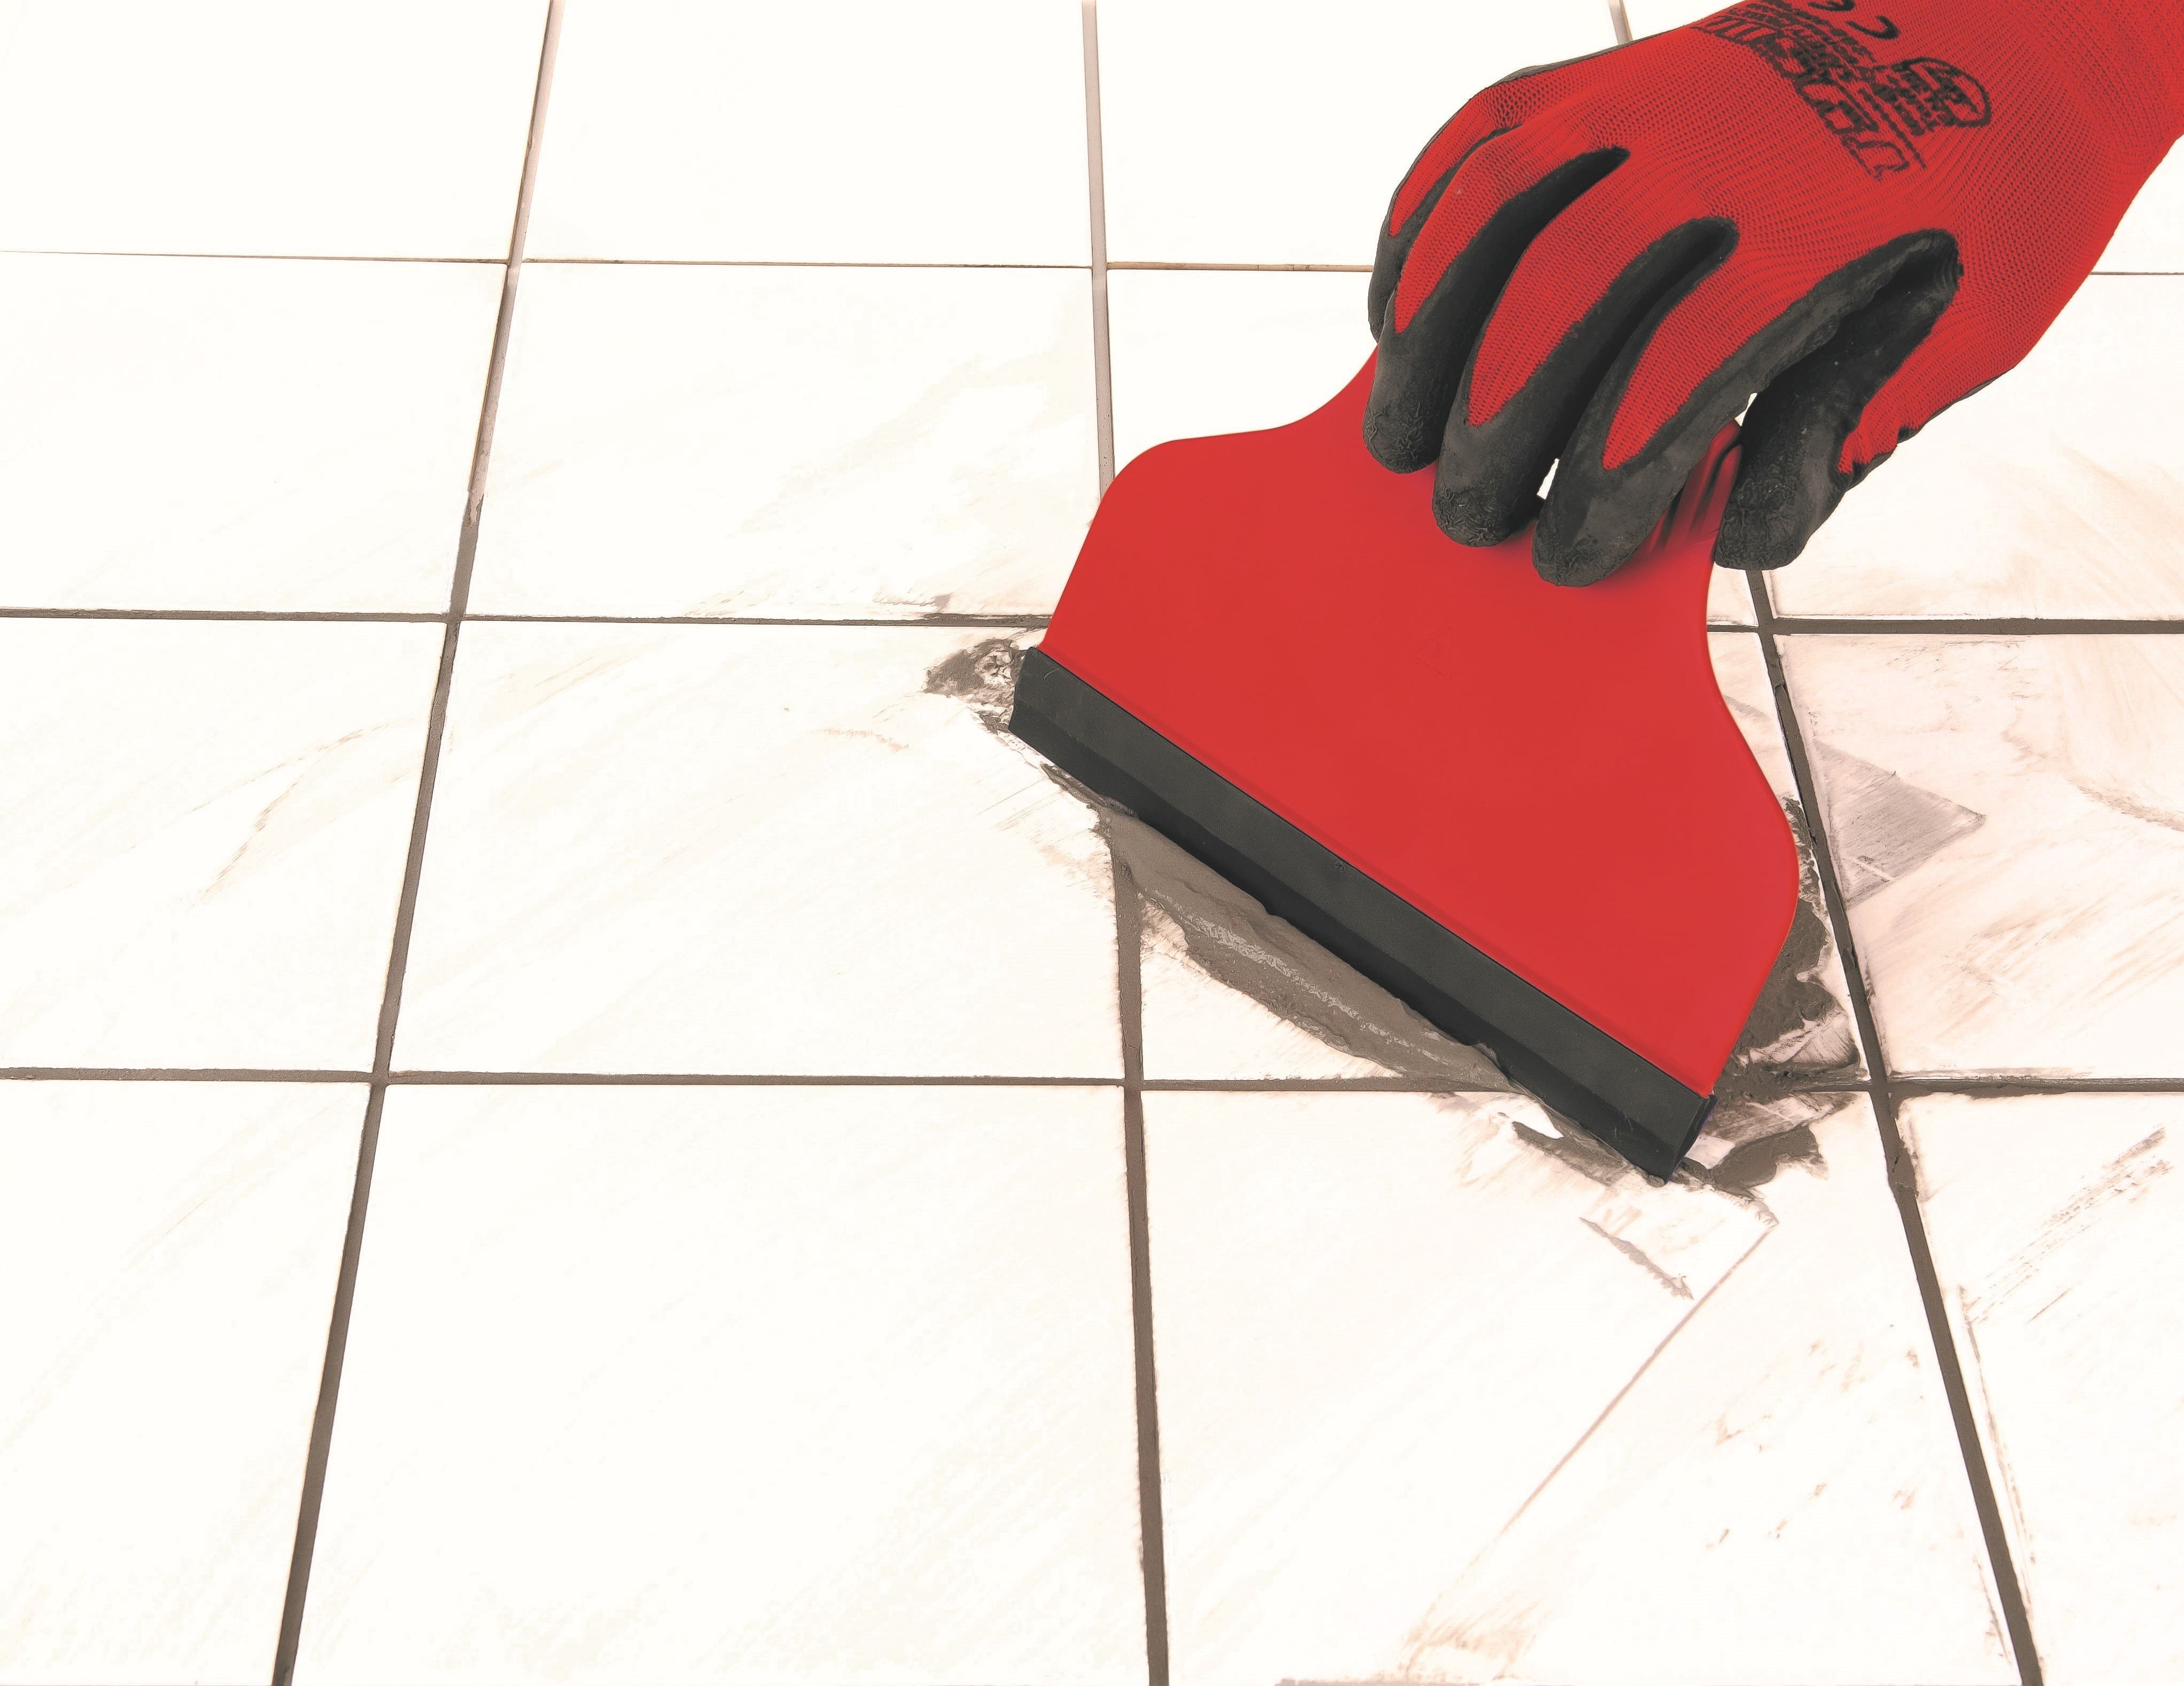
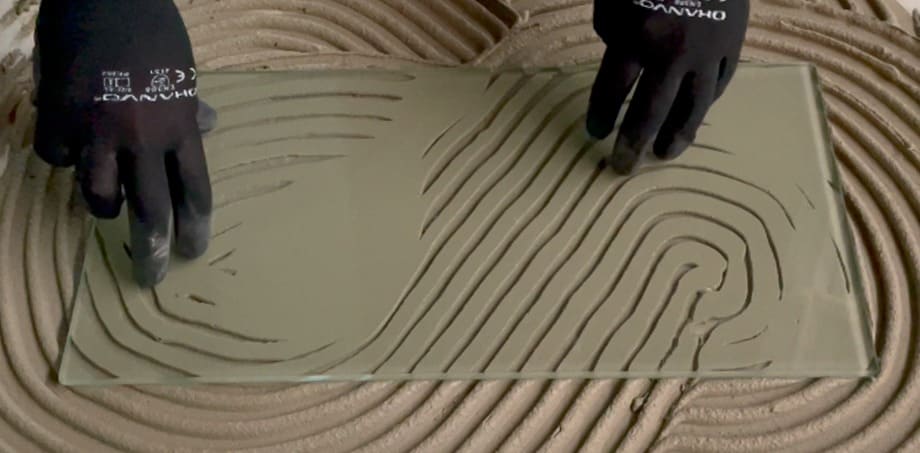
Combination Spreader/ Filler or Combination Spreader/ Squeegee. These are used to both apply the tile adhesive, and tile grout. They are ideal for tiling a small area such as when replacing a cracked or damaged tile.


Alternatively, if you are doing a DIY home improvement project, the Large Spreader and Large Squeegee are ideal for applying tile adhesive and grout over a larger area.


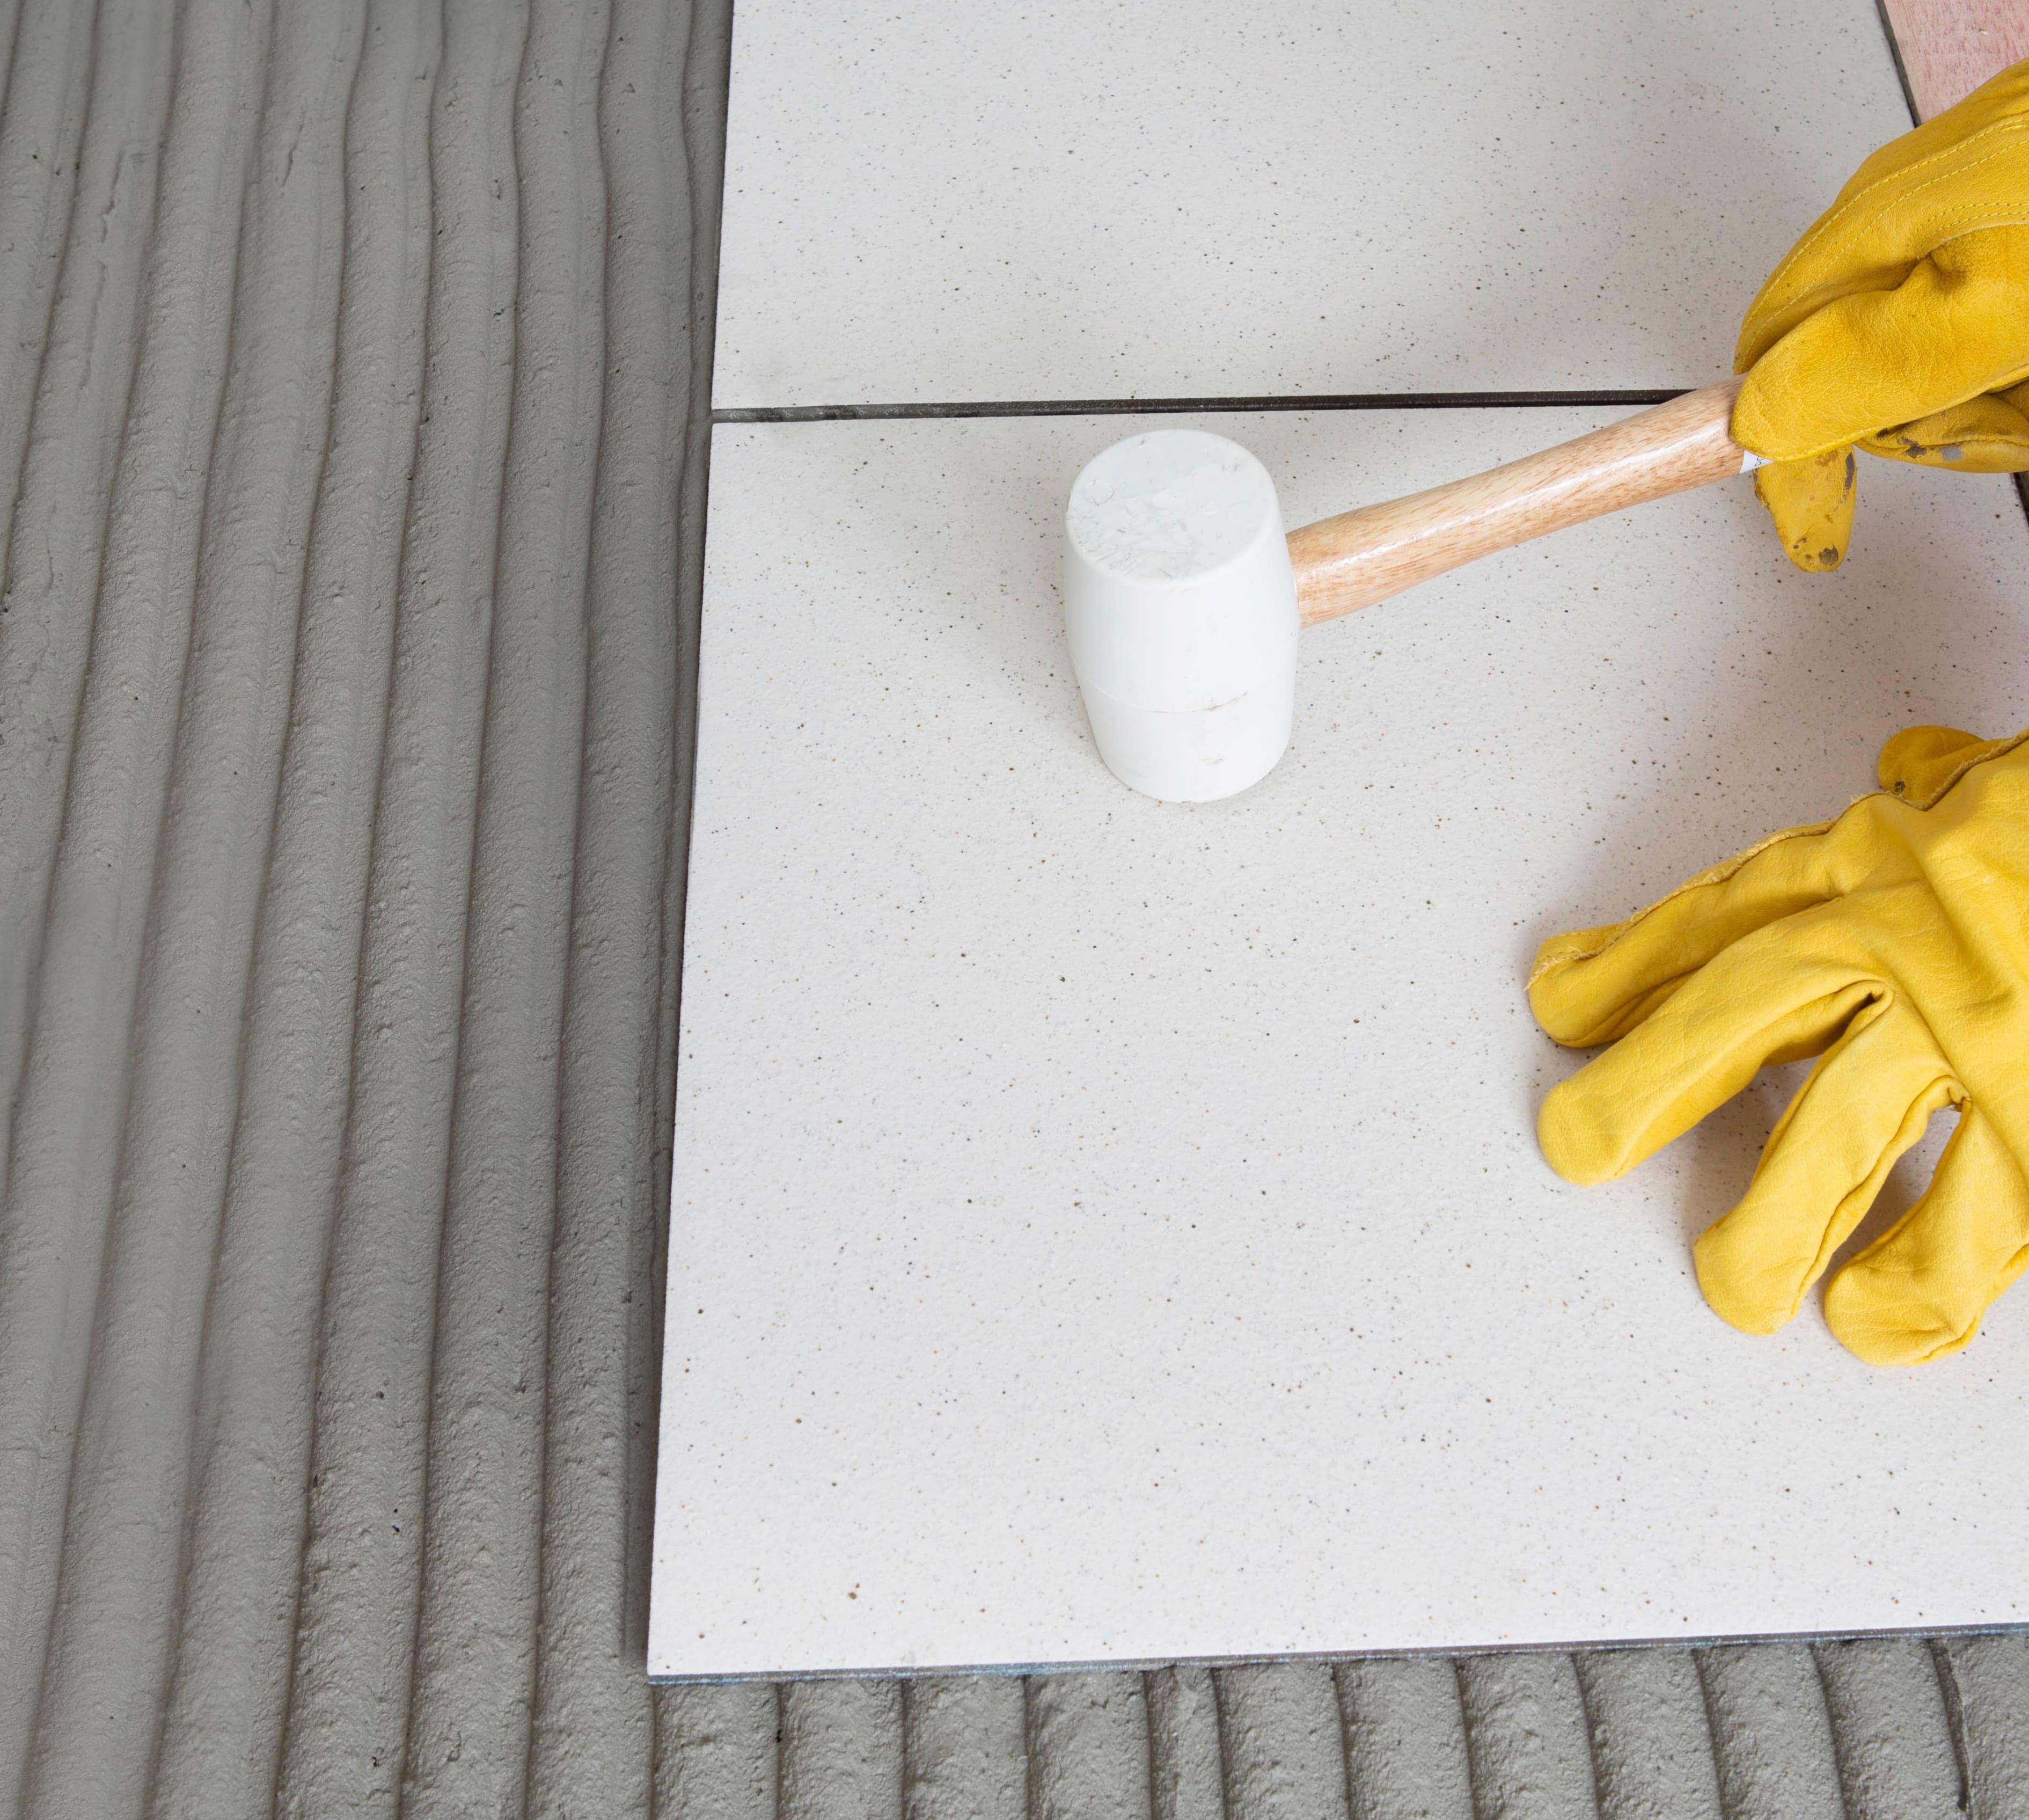
A non-marking rubber mallet for bedding the tiles into the tile adhesive. By gently tapping the tiles into place with the mallet you remove any air pockets that may be under the tile. If left, these voids could result in hollow-sounding tiles or tiles that lift due to a compromised adhesive bond.

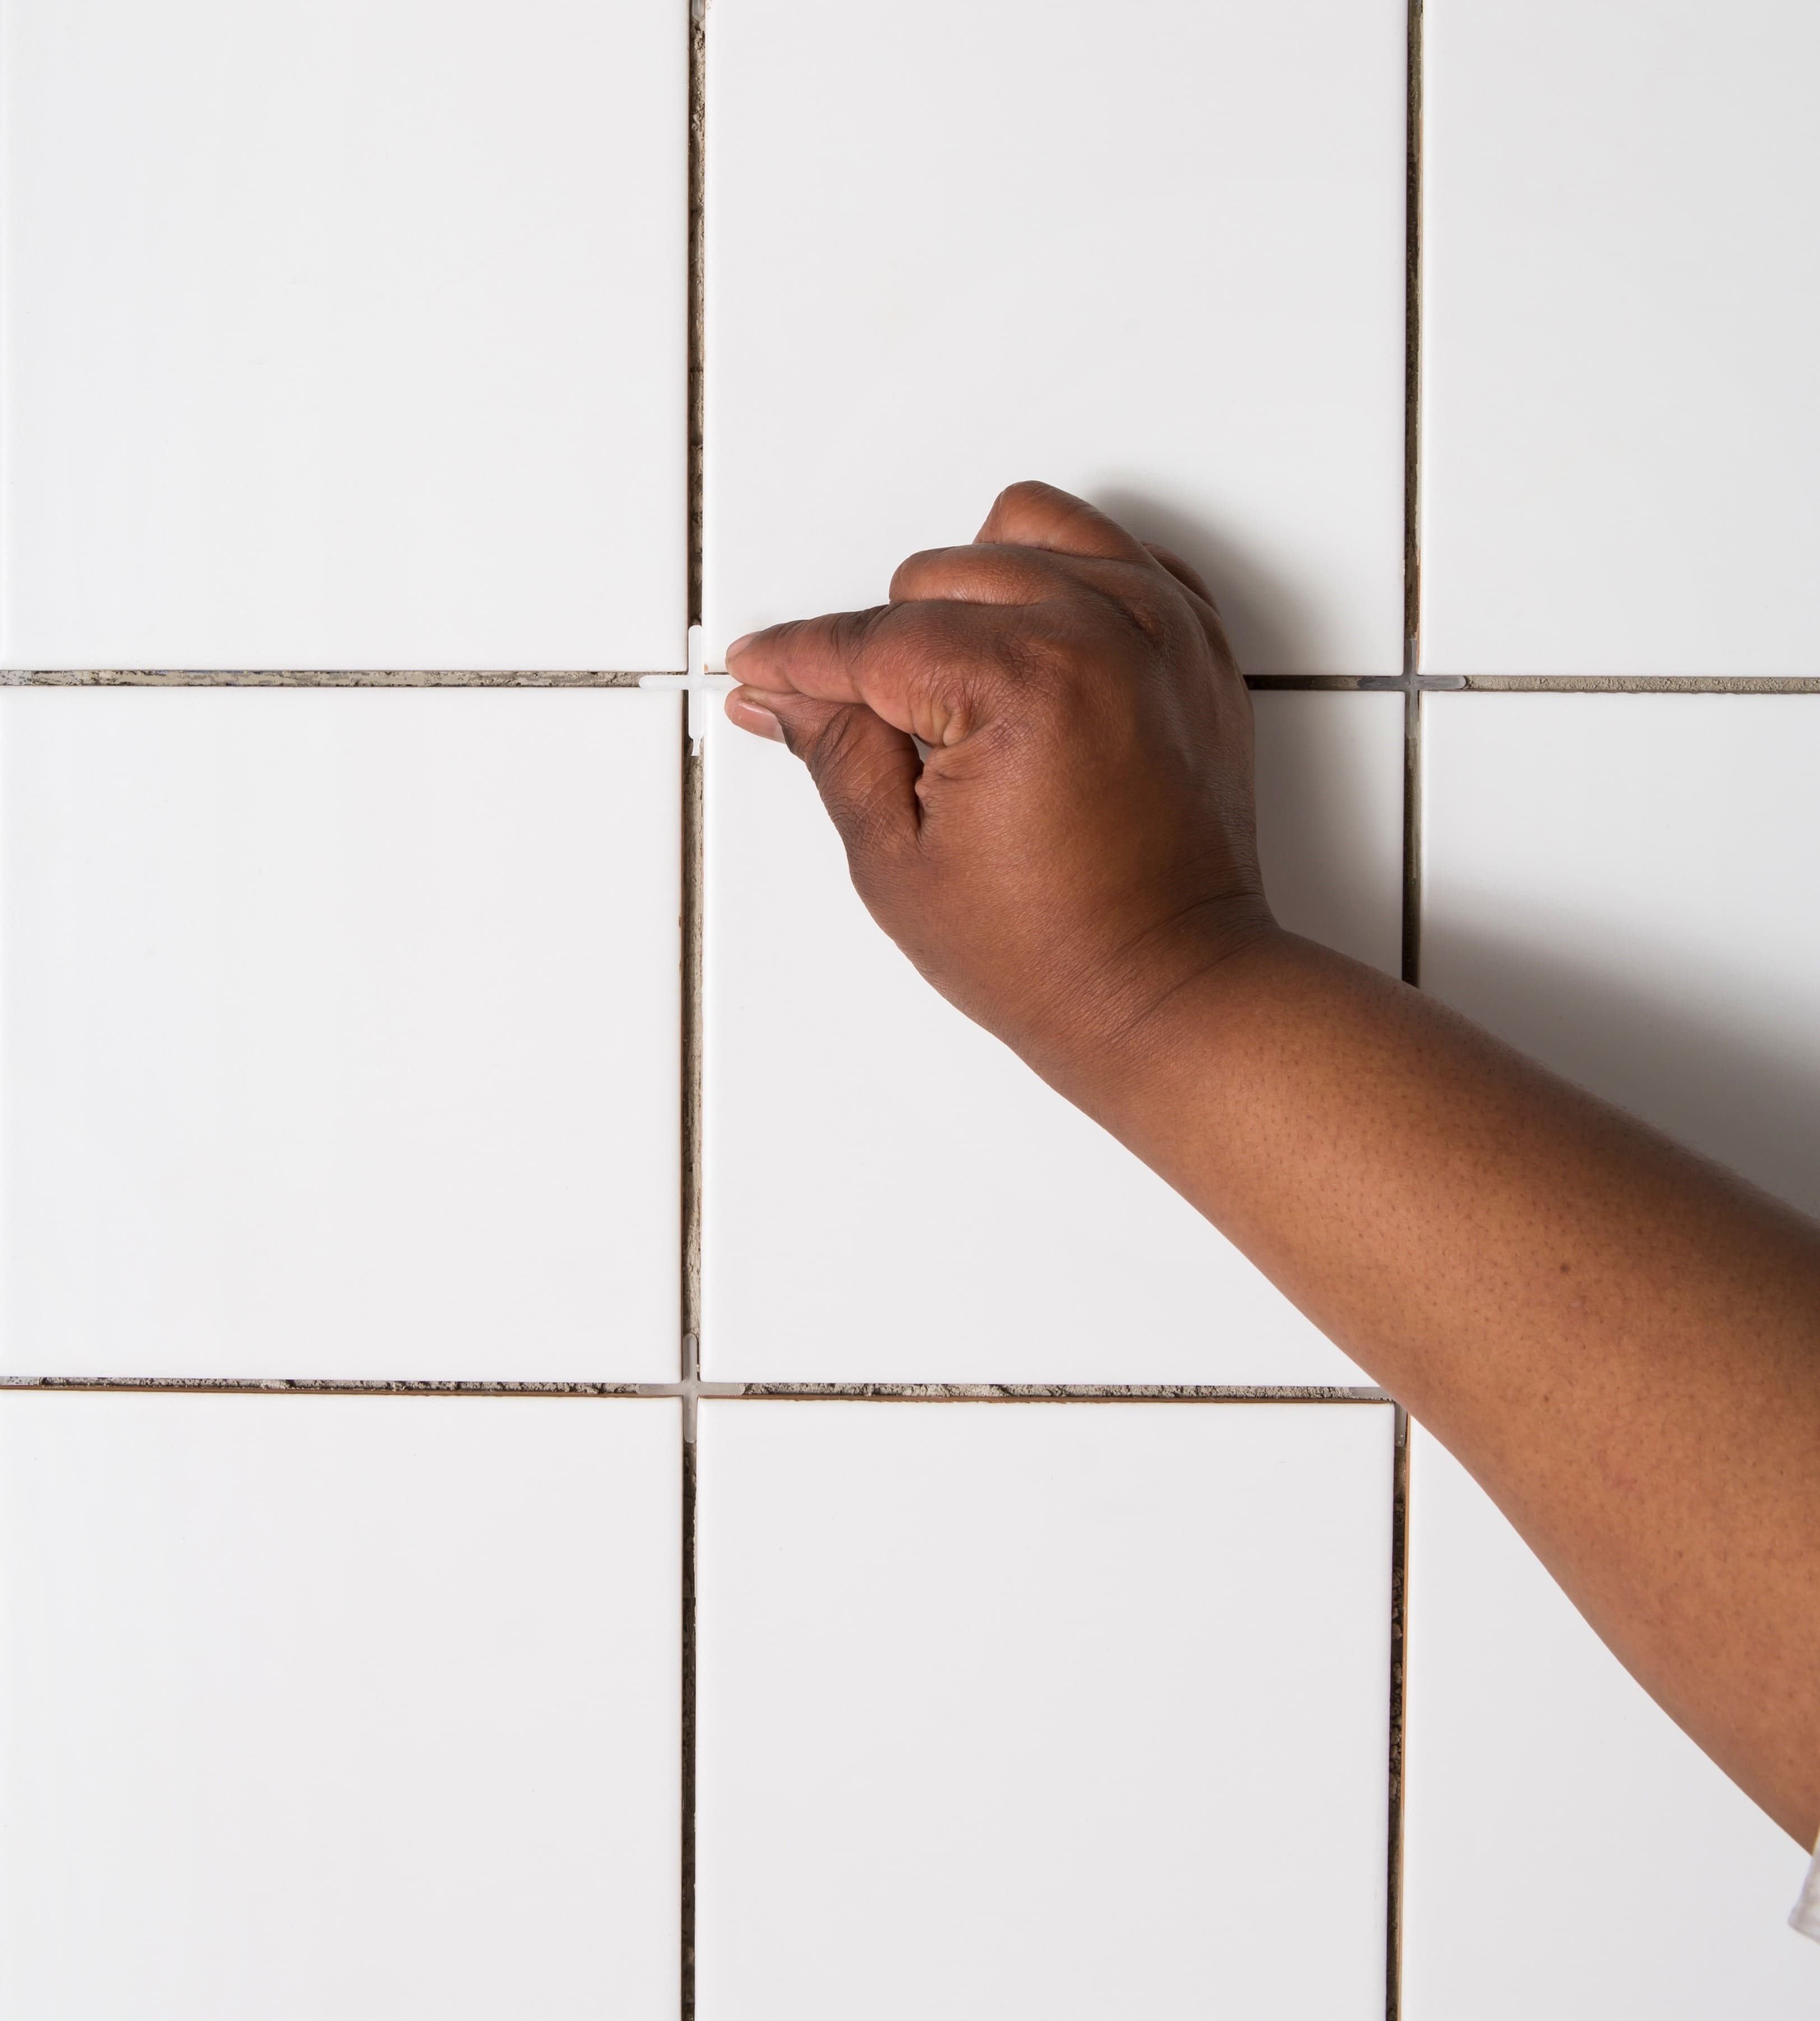
Use tile spacers to achieve an evenly-spaced and neat tile installation. Nobody can accurately gauge this by eye and as tiling is an investment in your home, make sure it looks perfect by using the right tool for the job.

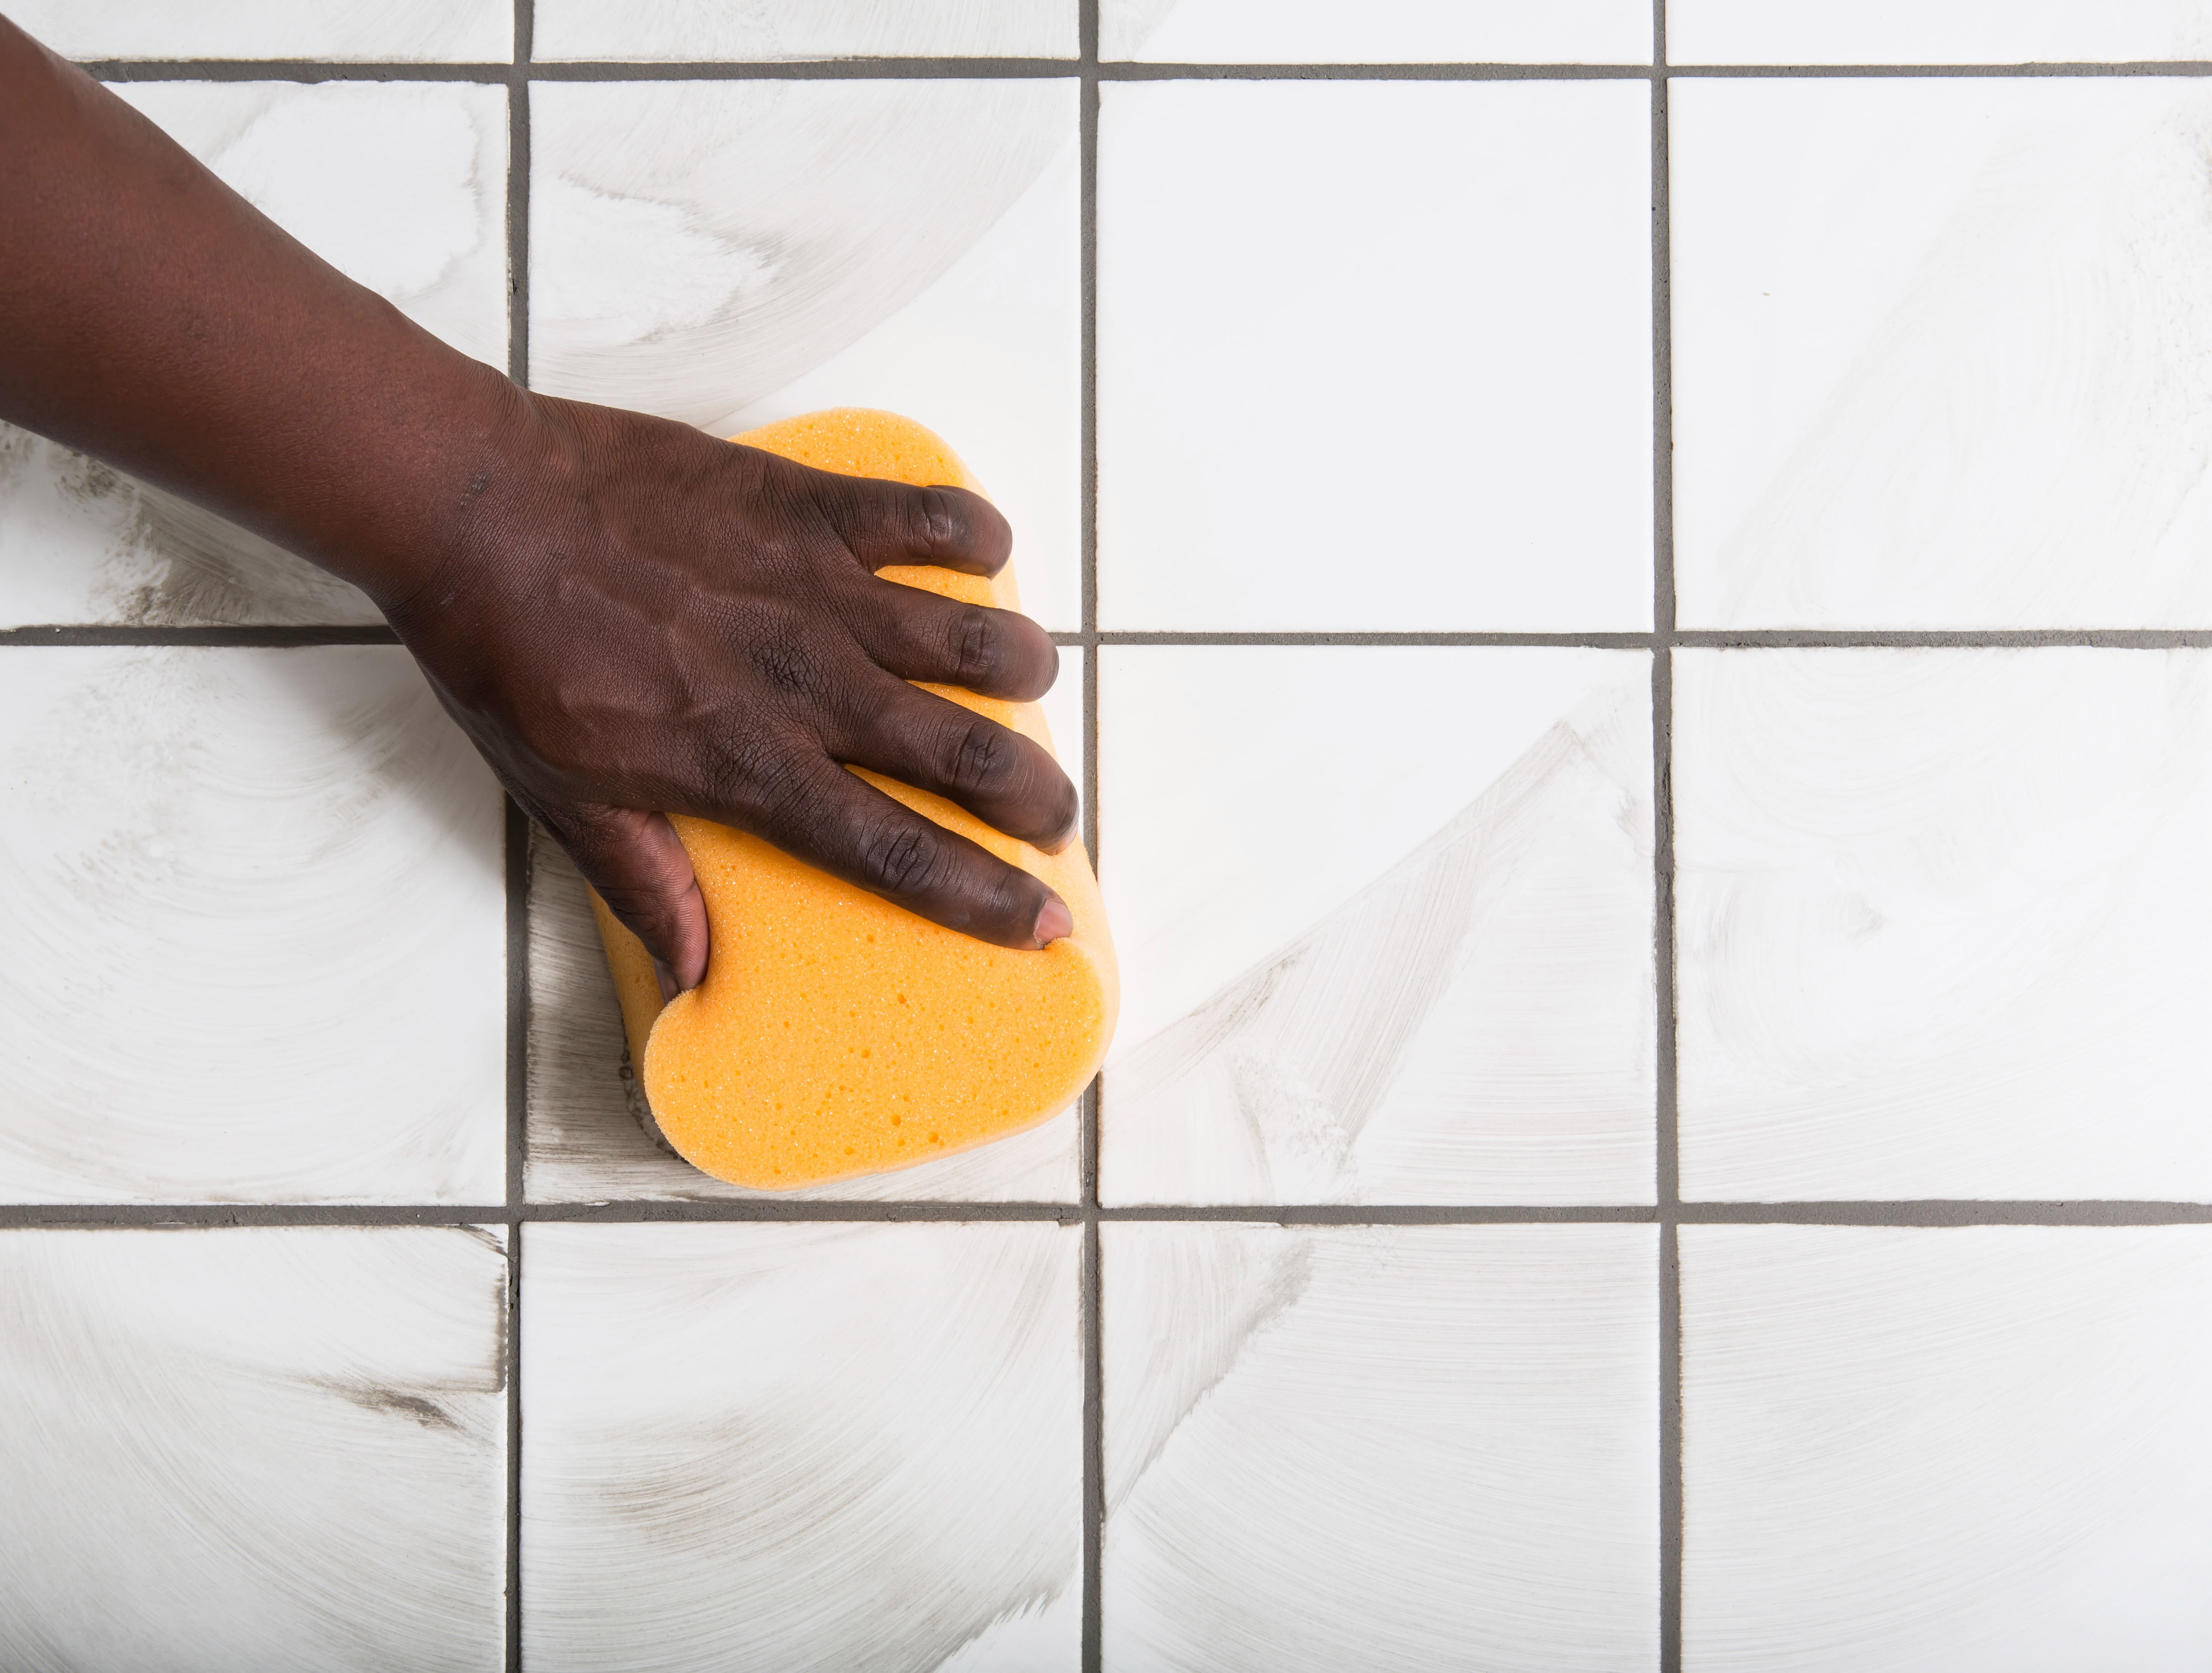
A grout sponge is more durable than ordinary sponges, and has rounded corners to prevent gouging out the newly applied grout when cleaning the excess product from the tiles.

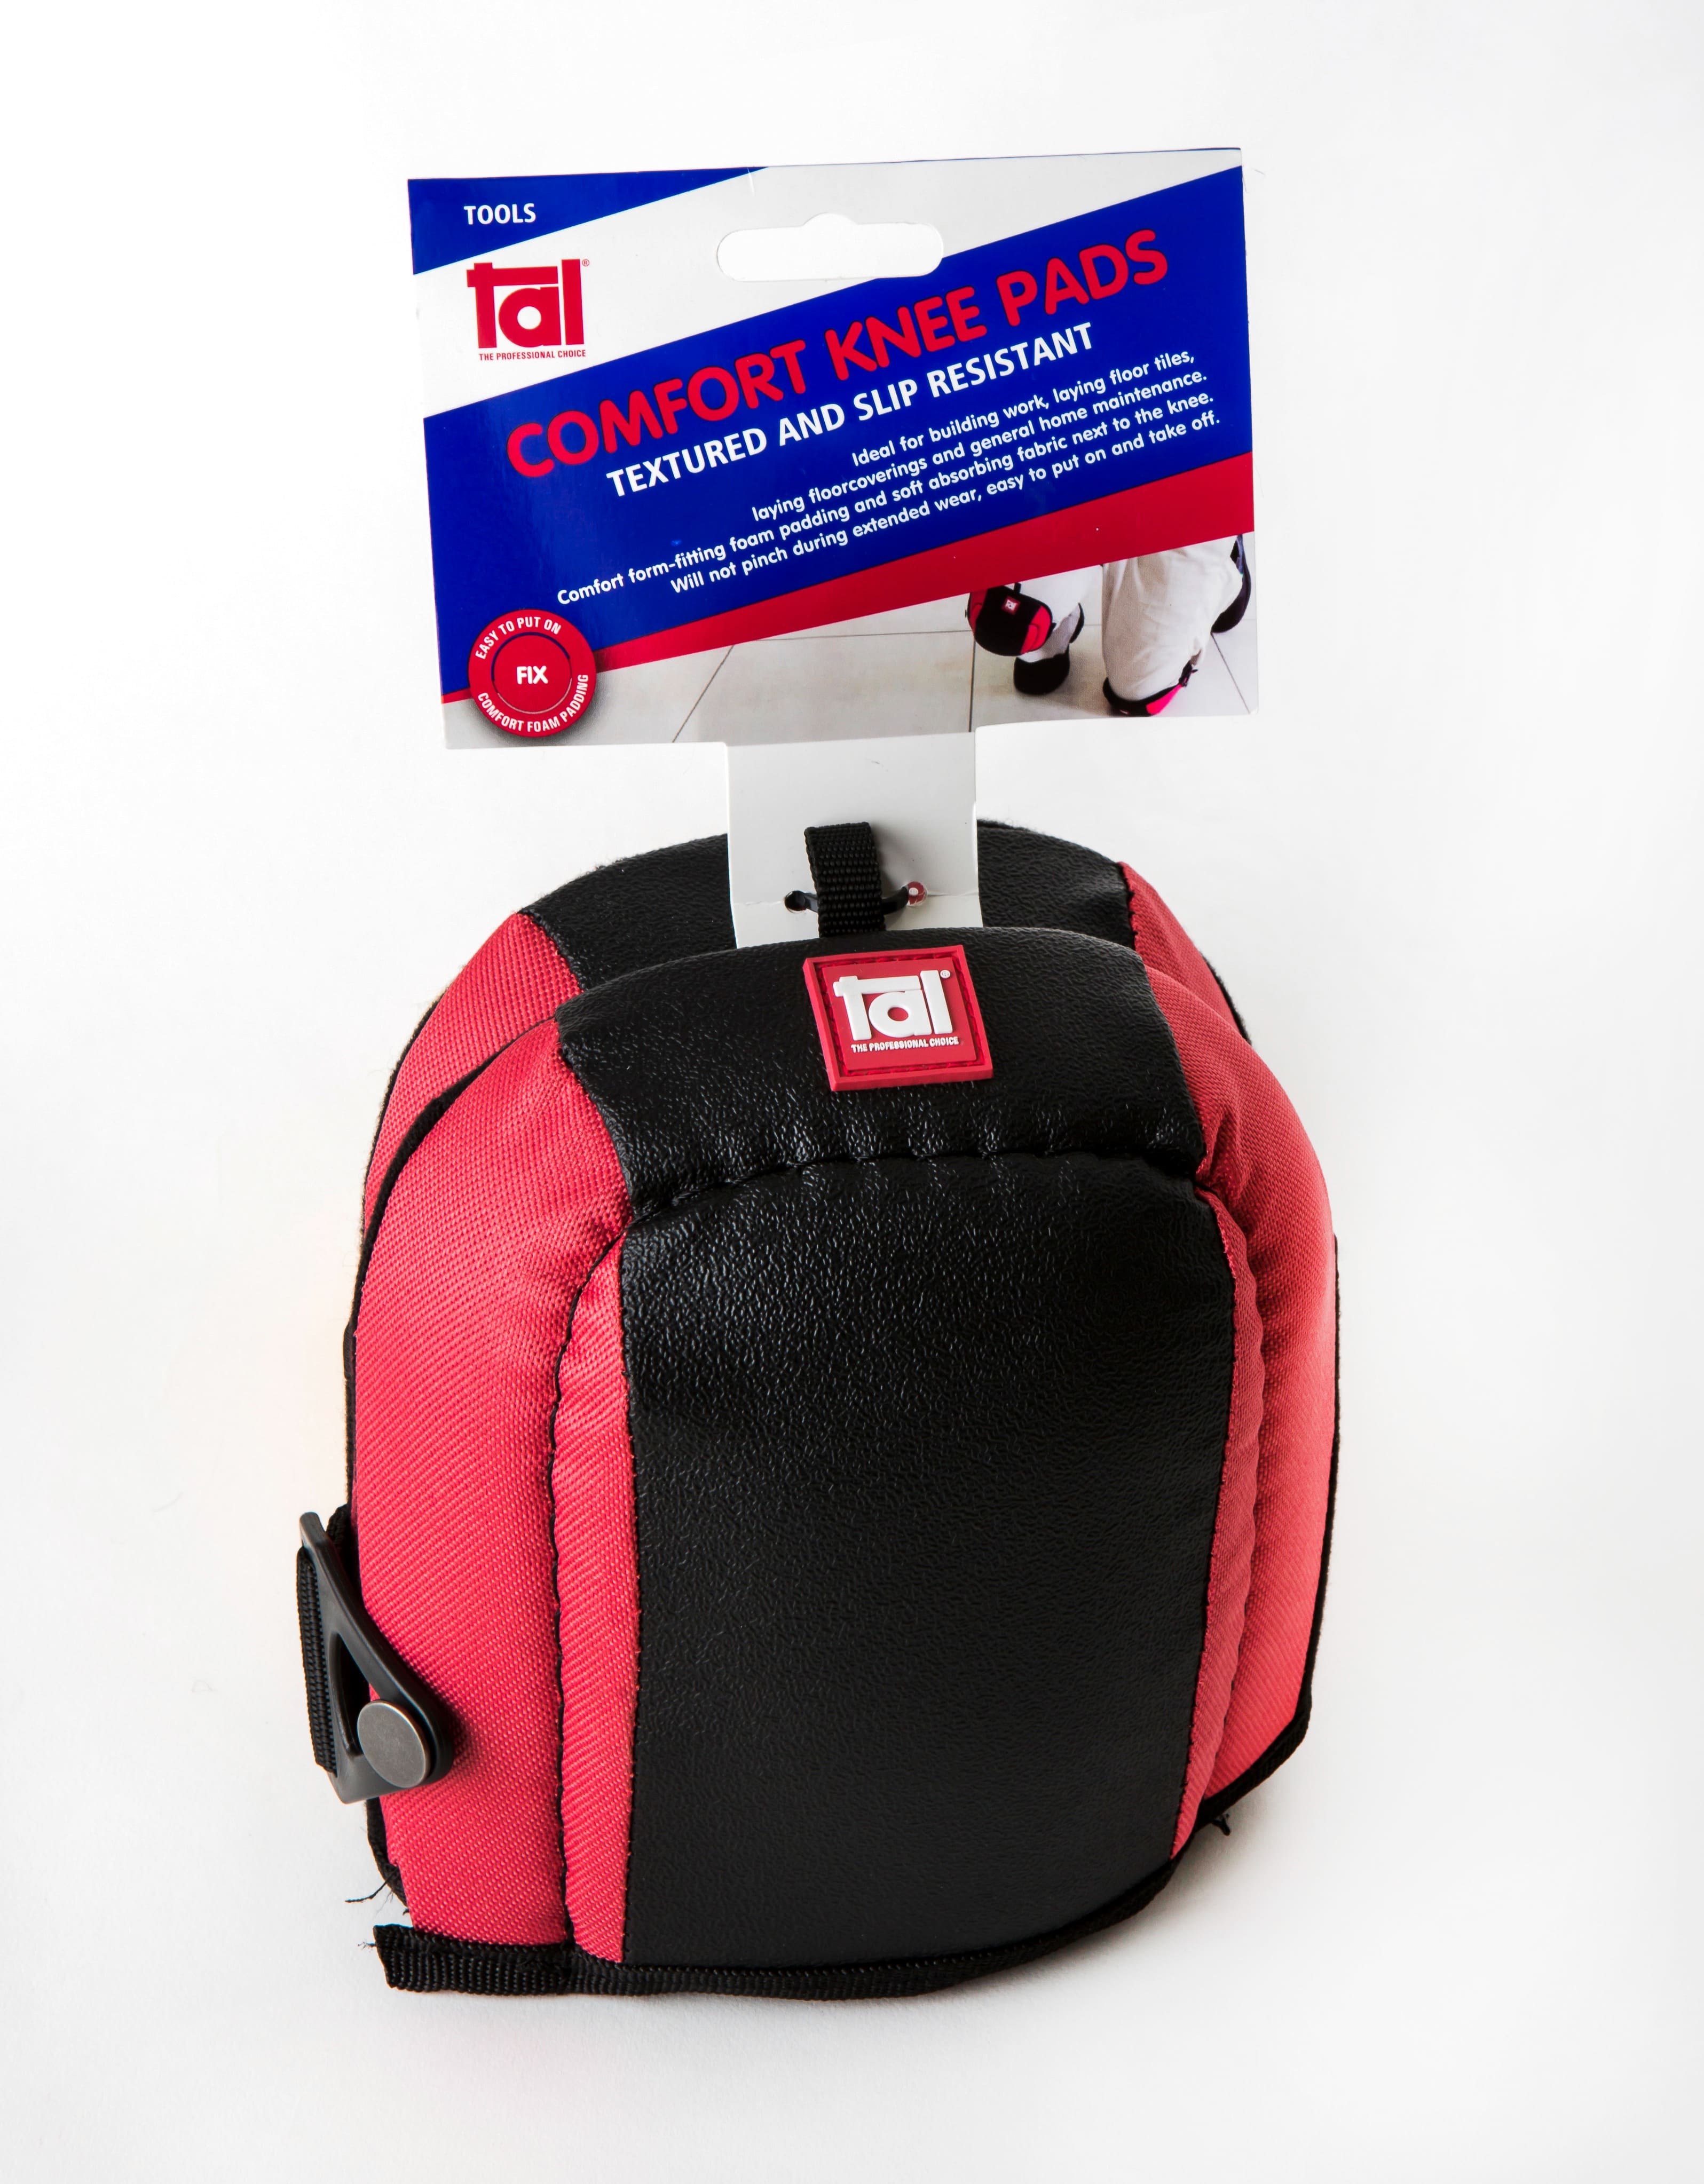
For floor installations, or general work around the house, protect your knees with a pair of Comfort Knee Pads.

TAL Tiling Tools are available from leading tile merchants and hardware stores nationwide. To see the full range of tiling tools available, click here.


Metro tiles arranged in a herringbone pattern for a modern kitchen splashback.
3. Vertical stacked bond pattern
Metro tiles are versatile for creating contemporary looks. Room effect: Also known as subway tiles, they can be arranged in a vertical stacked bond pattern, or a horizontal brick/running bond pattern for a contemporary look.


4. Hexagonal honeycomb
Hexagonal tiles arranged in a honeycomb pattern create a chic and contemporary design. Room effect: This layout works well in both small and large spaces, adding a geometric and trendy feel.


Spot tiles have been used, where white tiles are placed randomly between the black tiles
A popular tiling trend is the use of different shaped tiles, not just because they’re appealing to the eye, but all that’s required to change a pattern is to change the colour of a handful of tiles. Try not to overwhelm the space with too many conflicting patterns. Instead, keep your design simple. The effect is still a powerful one, but not one that will detract from the eye. It’s a trend that’s destined to grow as new shapes are introduced – triangle and rhomboid, for example.


Another big walling trend is mosaic. Often considered the domain of artisans, mosaics are understandably a little intimidating. Fortunately, ready-made mosaics are readily available, to which our only advice would be to consult an expert on correctly installing mosaics to walls and floors. Watch our video here.


The alternative is to use small sections of various colours, hues or materials, rather than a full installation. With little effort, the use of these sections or full mosaic sheets between other tiles can really accentuate a space. It’s this technique as well as the use of colour that will dominate future tiling trends.
Do you have what you need?
Now that you have a view of some of the most popular layouts used in the industry, you’re almost ready to go. Before you do, it’s important you use the right materials and equipment to ensure the best results the first time around. Different types of tiles, as well as where they’re being installed, will dictate which adhesive system is required – each fulfilling a specific function.
Should you need DIY advice, or assistance with substrate preparation, screeding, tiling installation or waterproofing, we’ve put together a comprehensive selection of guides for you. Check out any one of our tiling-made-easy guides. Remember, the choice of grout colour also significantly impacts the overall aesthetic. Consult our grout colour chart to make sure you enhance your look.
For technical advice please contact our experts on 0860 000 TAL (825) or email: [email protected]
Photo credits: www.johnsontiles.co.za