Trowels, squeegees and sponges: selecting and looking after your tiling toolkit essentials
You wouldn’t try to fix a car if you didn’t have the right tools on hand, and you’d certainly think twice about using an ill-equipped mechanic to do the job. So why would you take the same risk when deciding to tile your home? A botched DIY job can easily cost as much as a botched car repair to rectify, so it’s important that you have the right tools before you begin.
What you’ll need
Safety first! Tiles are sharp and they are easily broken, so protective gloves and goggles are a must. A dust mask will also come in handy when mixing your tile adhesive and grout. Finally, save your knees and invest in a pair of knee pads.
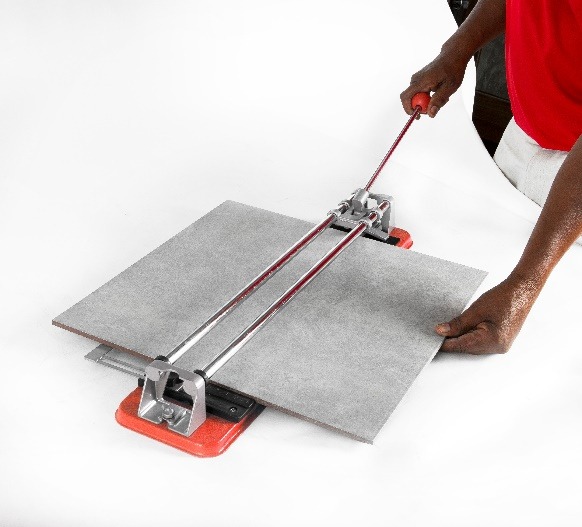
Tile Cutter
A nifty tool that allows precision cutting without chipping or breaking tiles. They are available in a range of sizes and in manual or electric formats. Be sure to check the size of the tiles you’ll be cutting before you invest in a tile cutter, to ensure that it can manage that size tile. If you’re planning to cut tiles on the diagonal, you will need a larger tile cutter to accommodate the extra length.
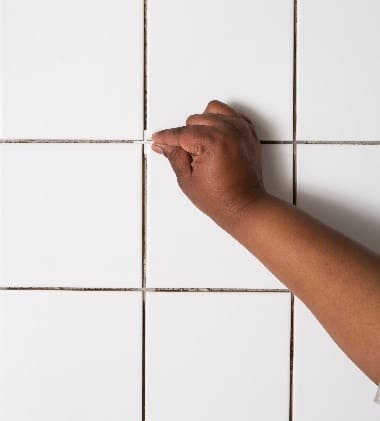
Tile Spacers
Poorly spaced tiles are the downfall of many an otherwise-beautiful floor. Take your project from DIY to professional by making use of spacers to keep even spacing between your tiles… just remember to remove them before the grout is applied into the joints. Spacers are available in a range of sizes.
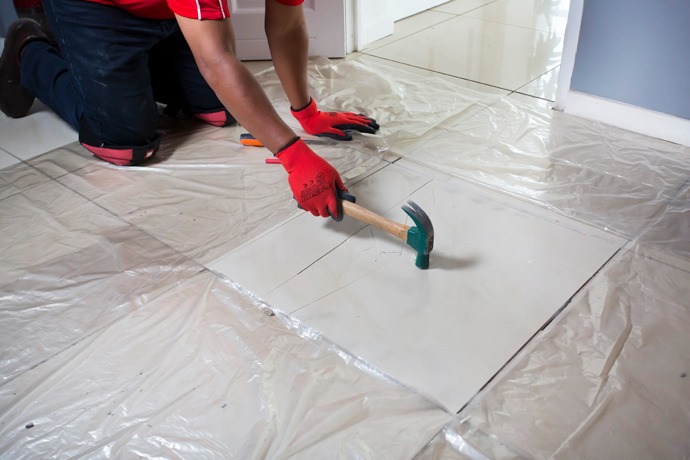
Rubber Mallet
Do NOT attempt to substitute this with a plain old hammer – you’re guaranteed to chip your tiles or worse. A soft rubber mallet is the perfect tool for gently tapping the tiles into their new adhesive beds without air pockets and voids forming, to ensure a good bond.
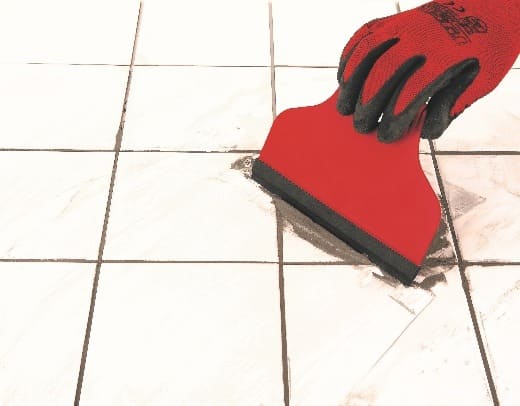
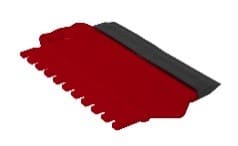
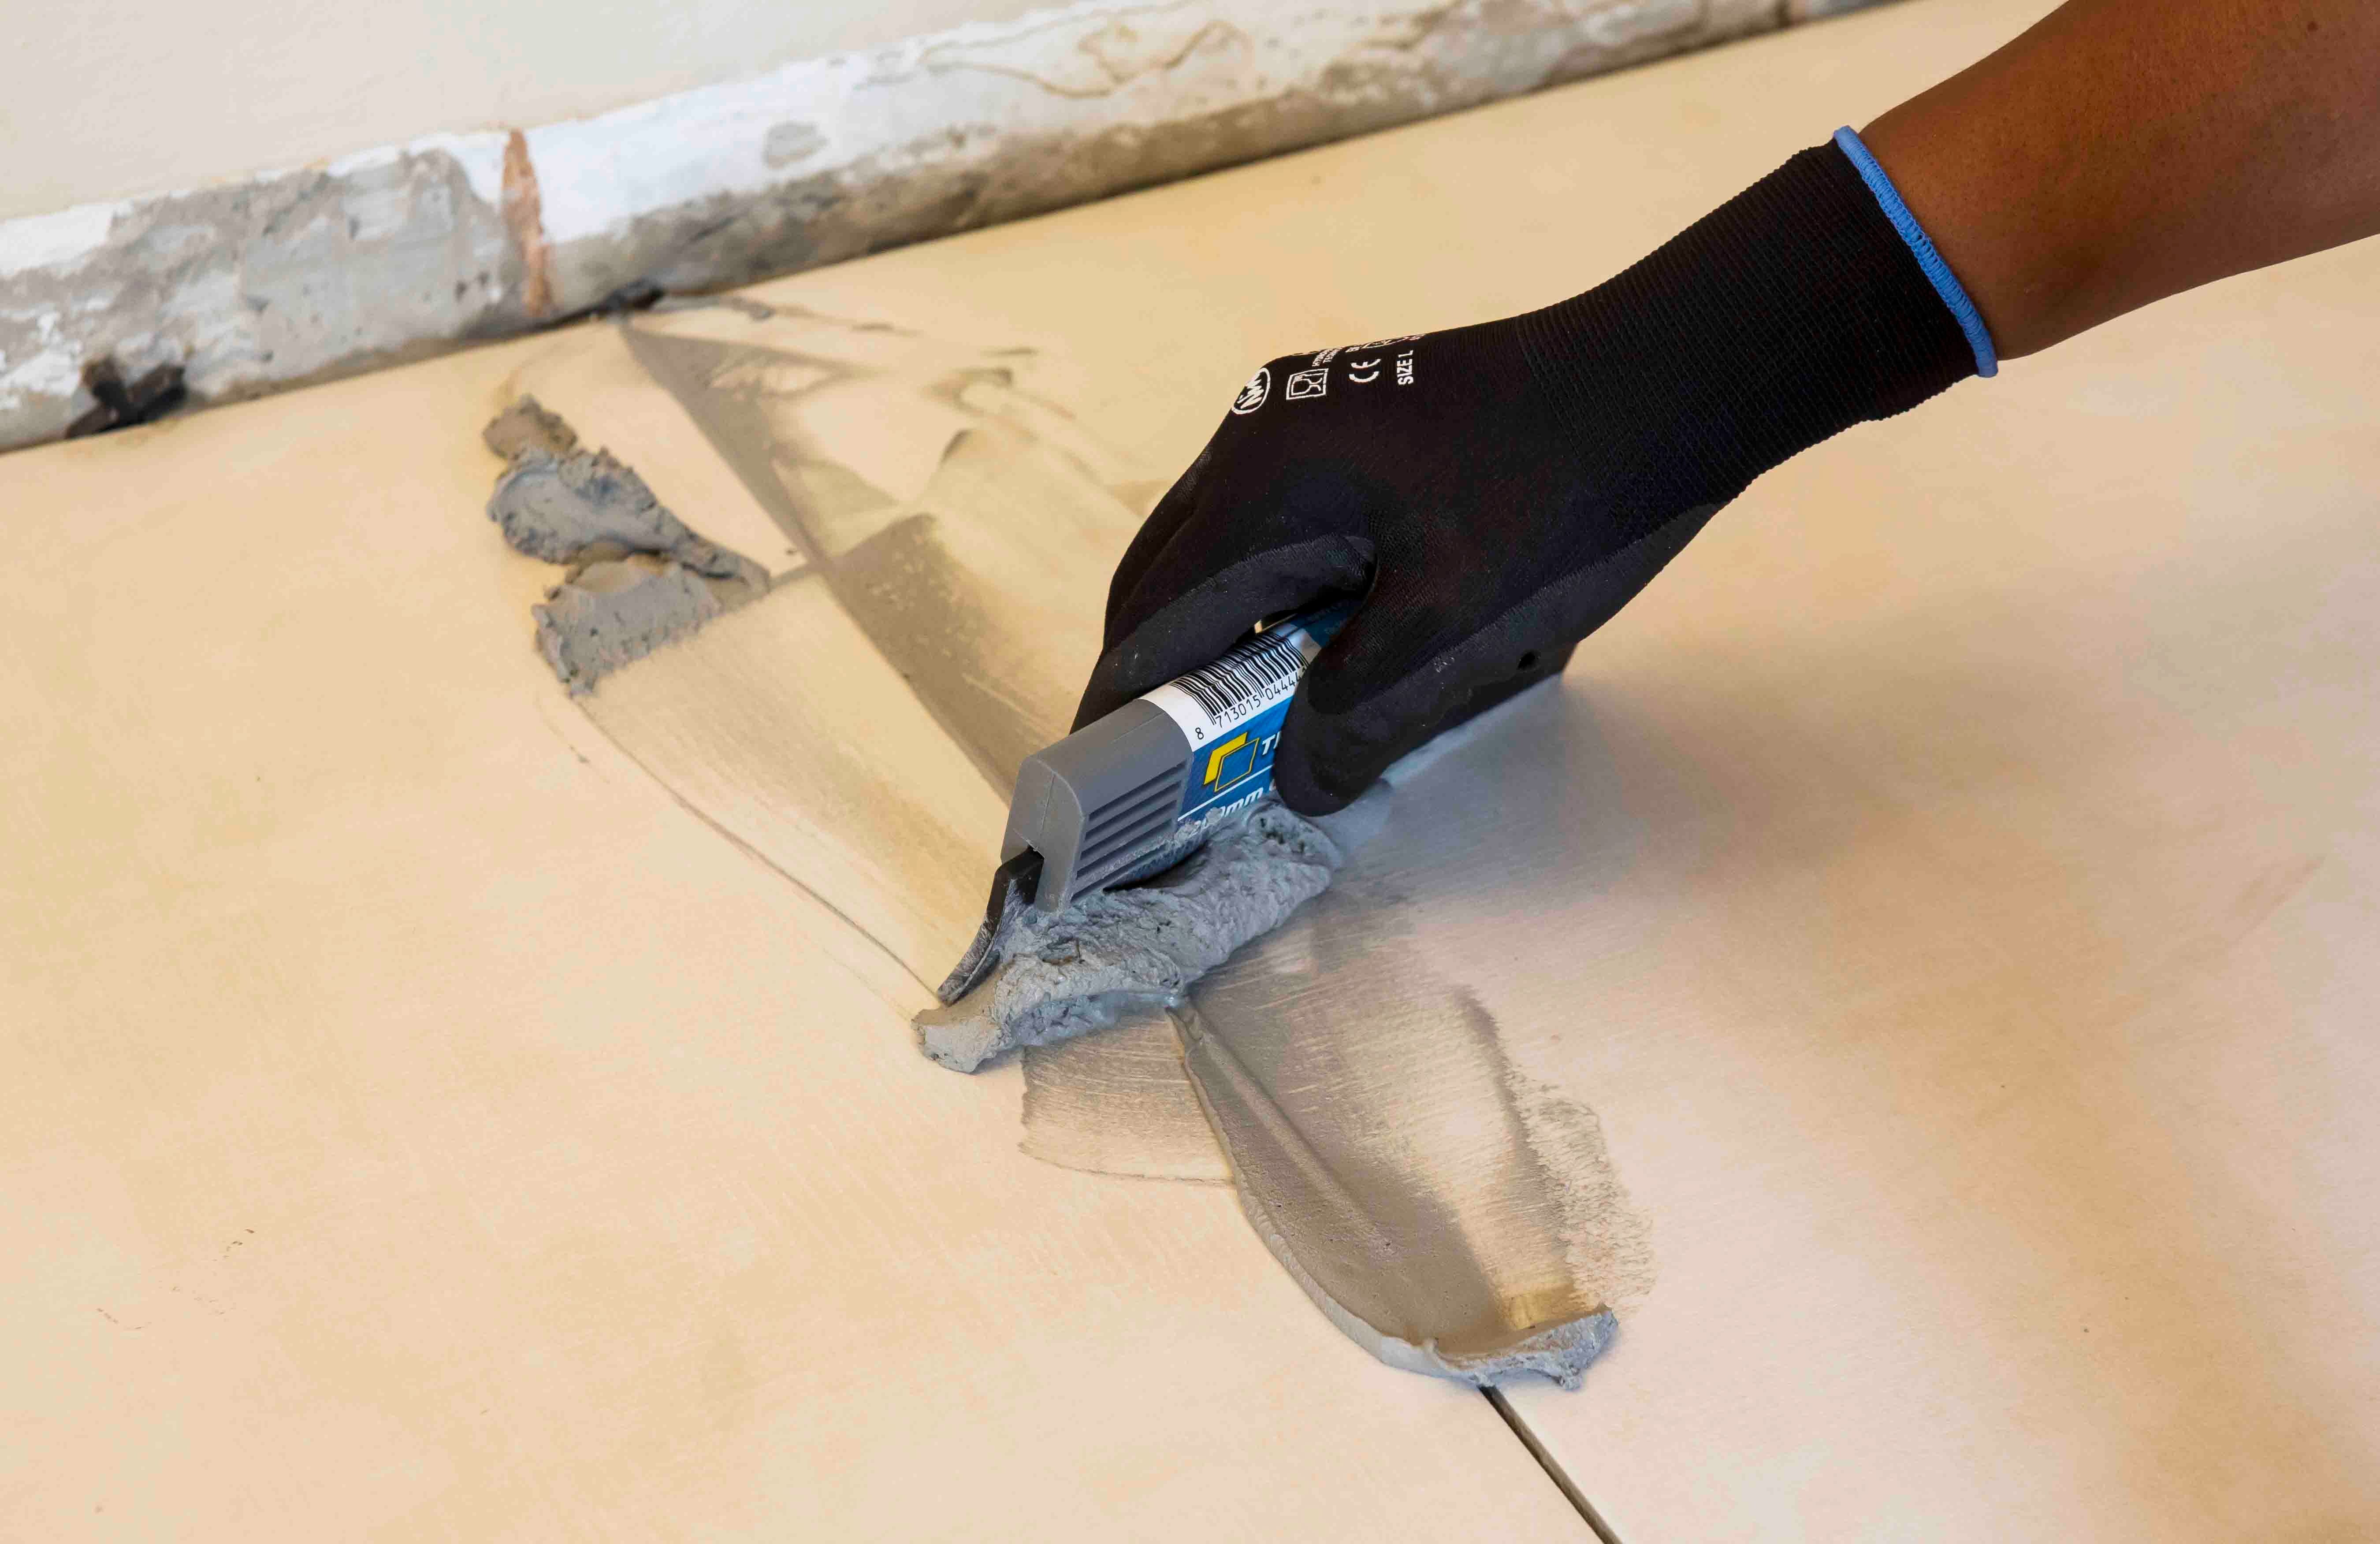
Squeegee
A good squeegee will help deliver a professional looking finish. Use the flexible edge to work the grout into the tile joints, wipe the excess grout from the tile face and smooth the surface of the grout once the joint is filled.
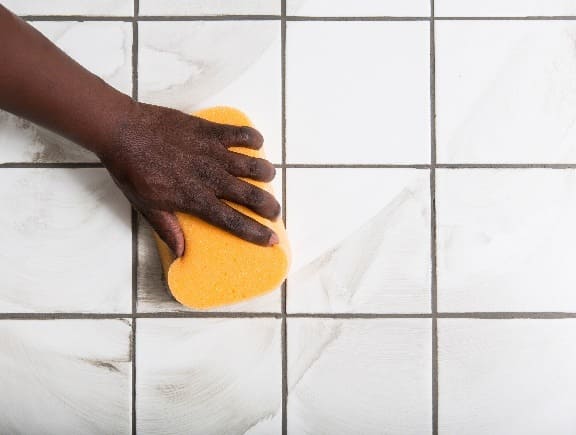
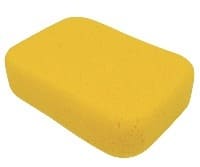
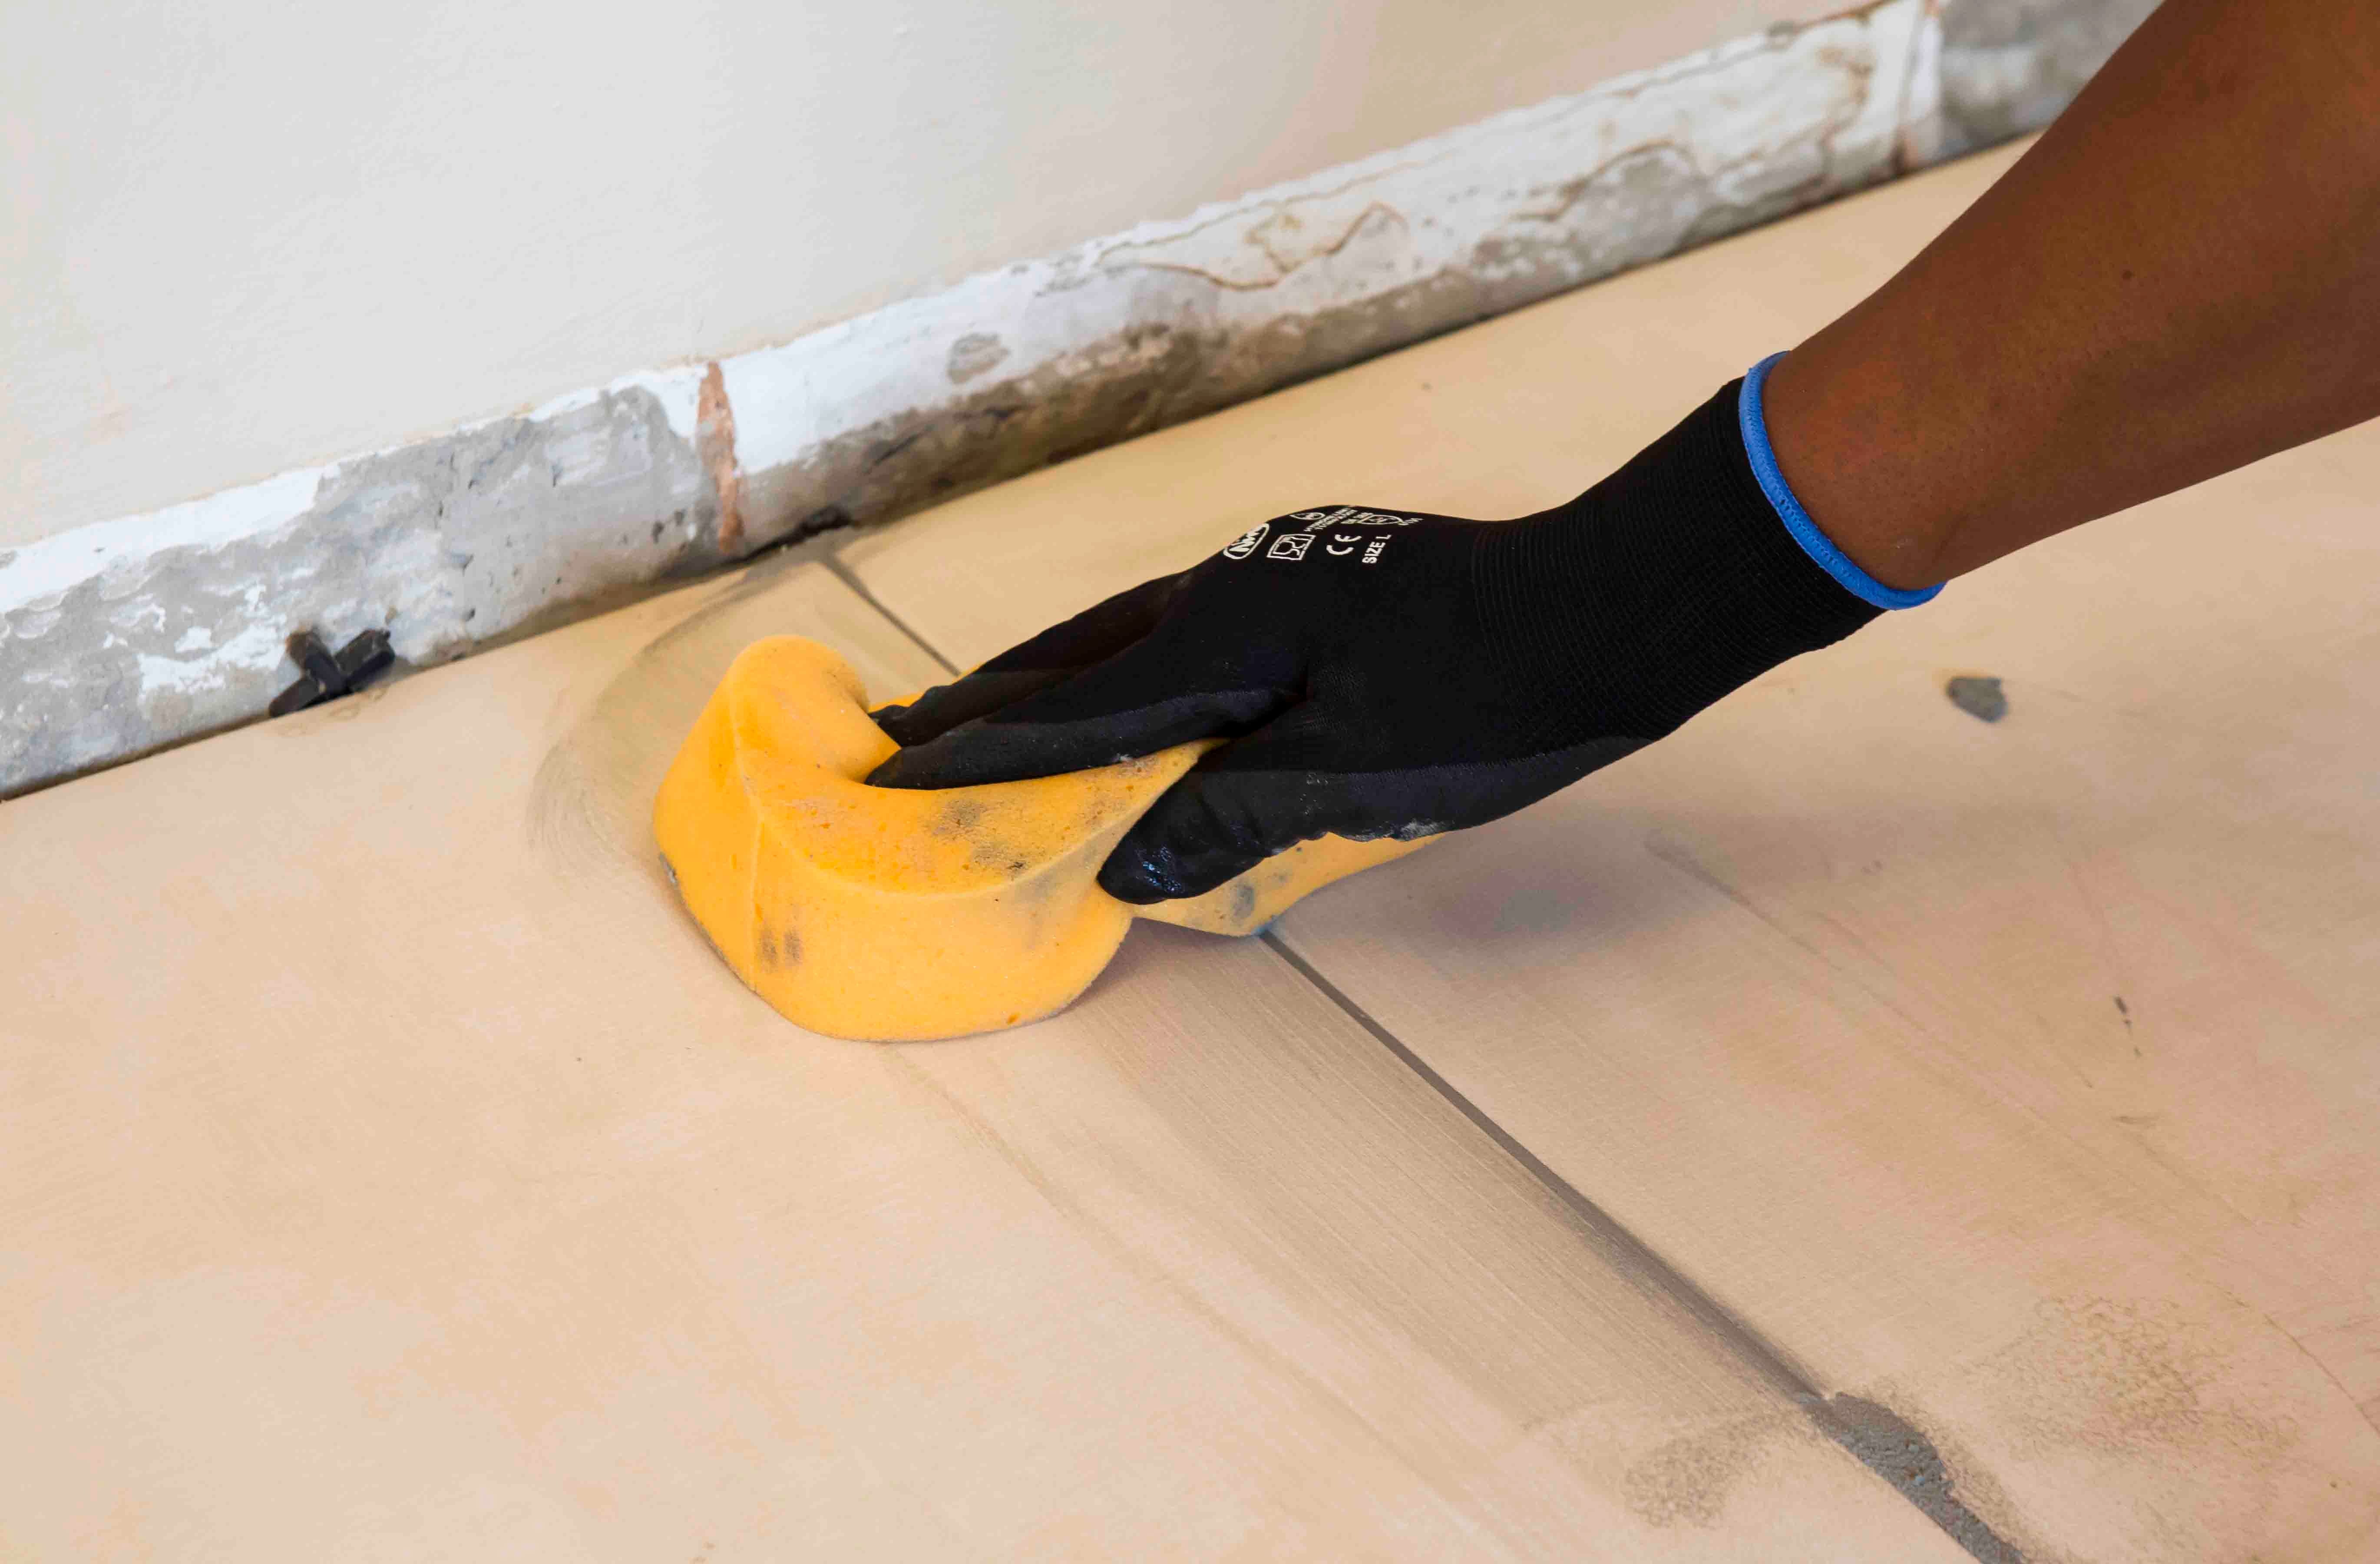
Grouting Sponge
Made from dense foam, a damp grouting sponge helps remove the excess grout from the tiles once you have finished grouting. The rounded edges help avoid gouging out your newly installed grout while cleaning. Use a new sponge for each project, particularly if the grout colour is different.
Now that you’re all kitted out, here are some tips for keeping your tiling toolkit looking and performing like new, no matter how many tiling installations you take on. Firstly, only purchase good quality products from reputable manufacturers, and only use the right tool for a specific job. Improvising only makes the task more difficult and time-consuming.
Keeping your tools clean is another way to ensure they last longer. Never allow any grout or adhesive to dry on your tools.
Wash them after every use, and dry them thoroughly to discourage any rust from forming. Replace worn trowels as necessary.
As the old saying goes, failing to prepare is preparing to fail. But with the right products and tools at your disposal, as well as a little extra guidance from the professionals, you are already halfway to achieving a magazine-worthy tiling installation.
Where necessary, use a grout squeegee to apply additional adhesive to fill in any voids in the grout joints.
Keeping it clean
A good quality sponge is your secret weapon to remove excess adhesive from the face of your newly installed mosaics. Use one with rounded edges to prevent grout being gouged out of the joints during cleaning. Ensure the sponge is damp, not wet, as excessive water can affect the performance and integrity of the adhesive, potentially ruining the installation
The bottom line
Mosaics’ small size and wide variety of home applications make them a stylish feature in your home. For the best results, it’s important not to neglect attention to detail, as well as the specialised tools and products that are needed to achieve a beautiful and long-lasting installation.
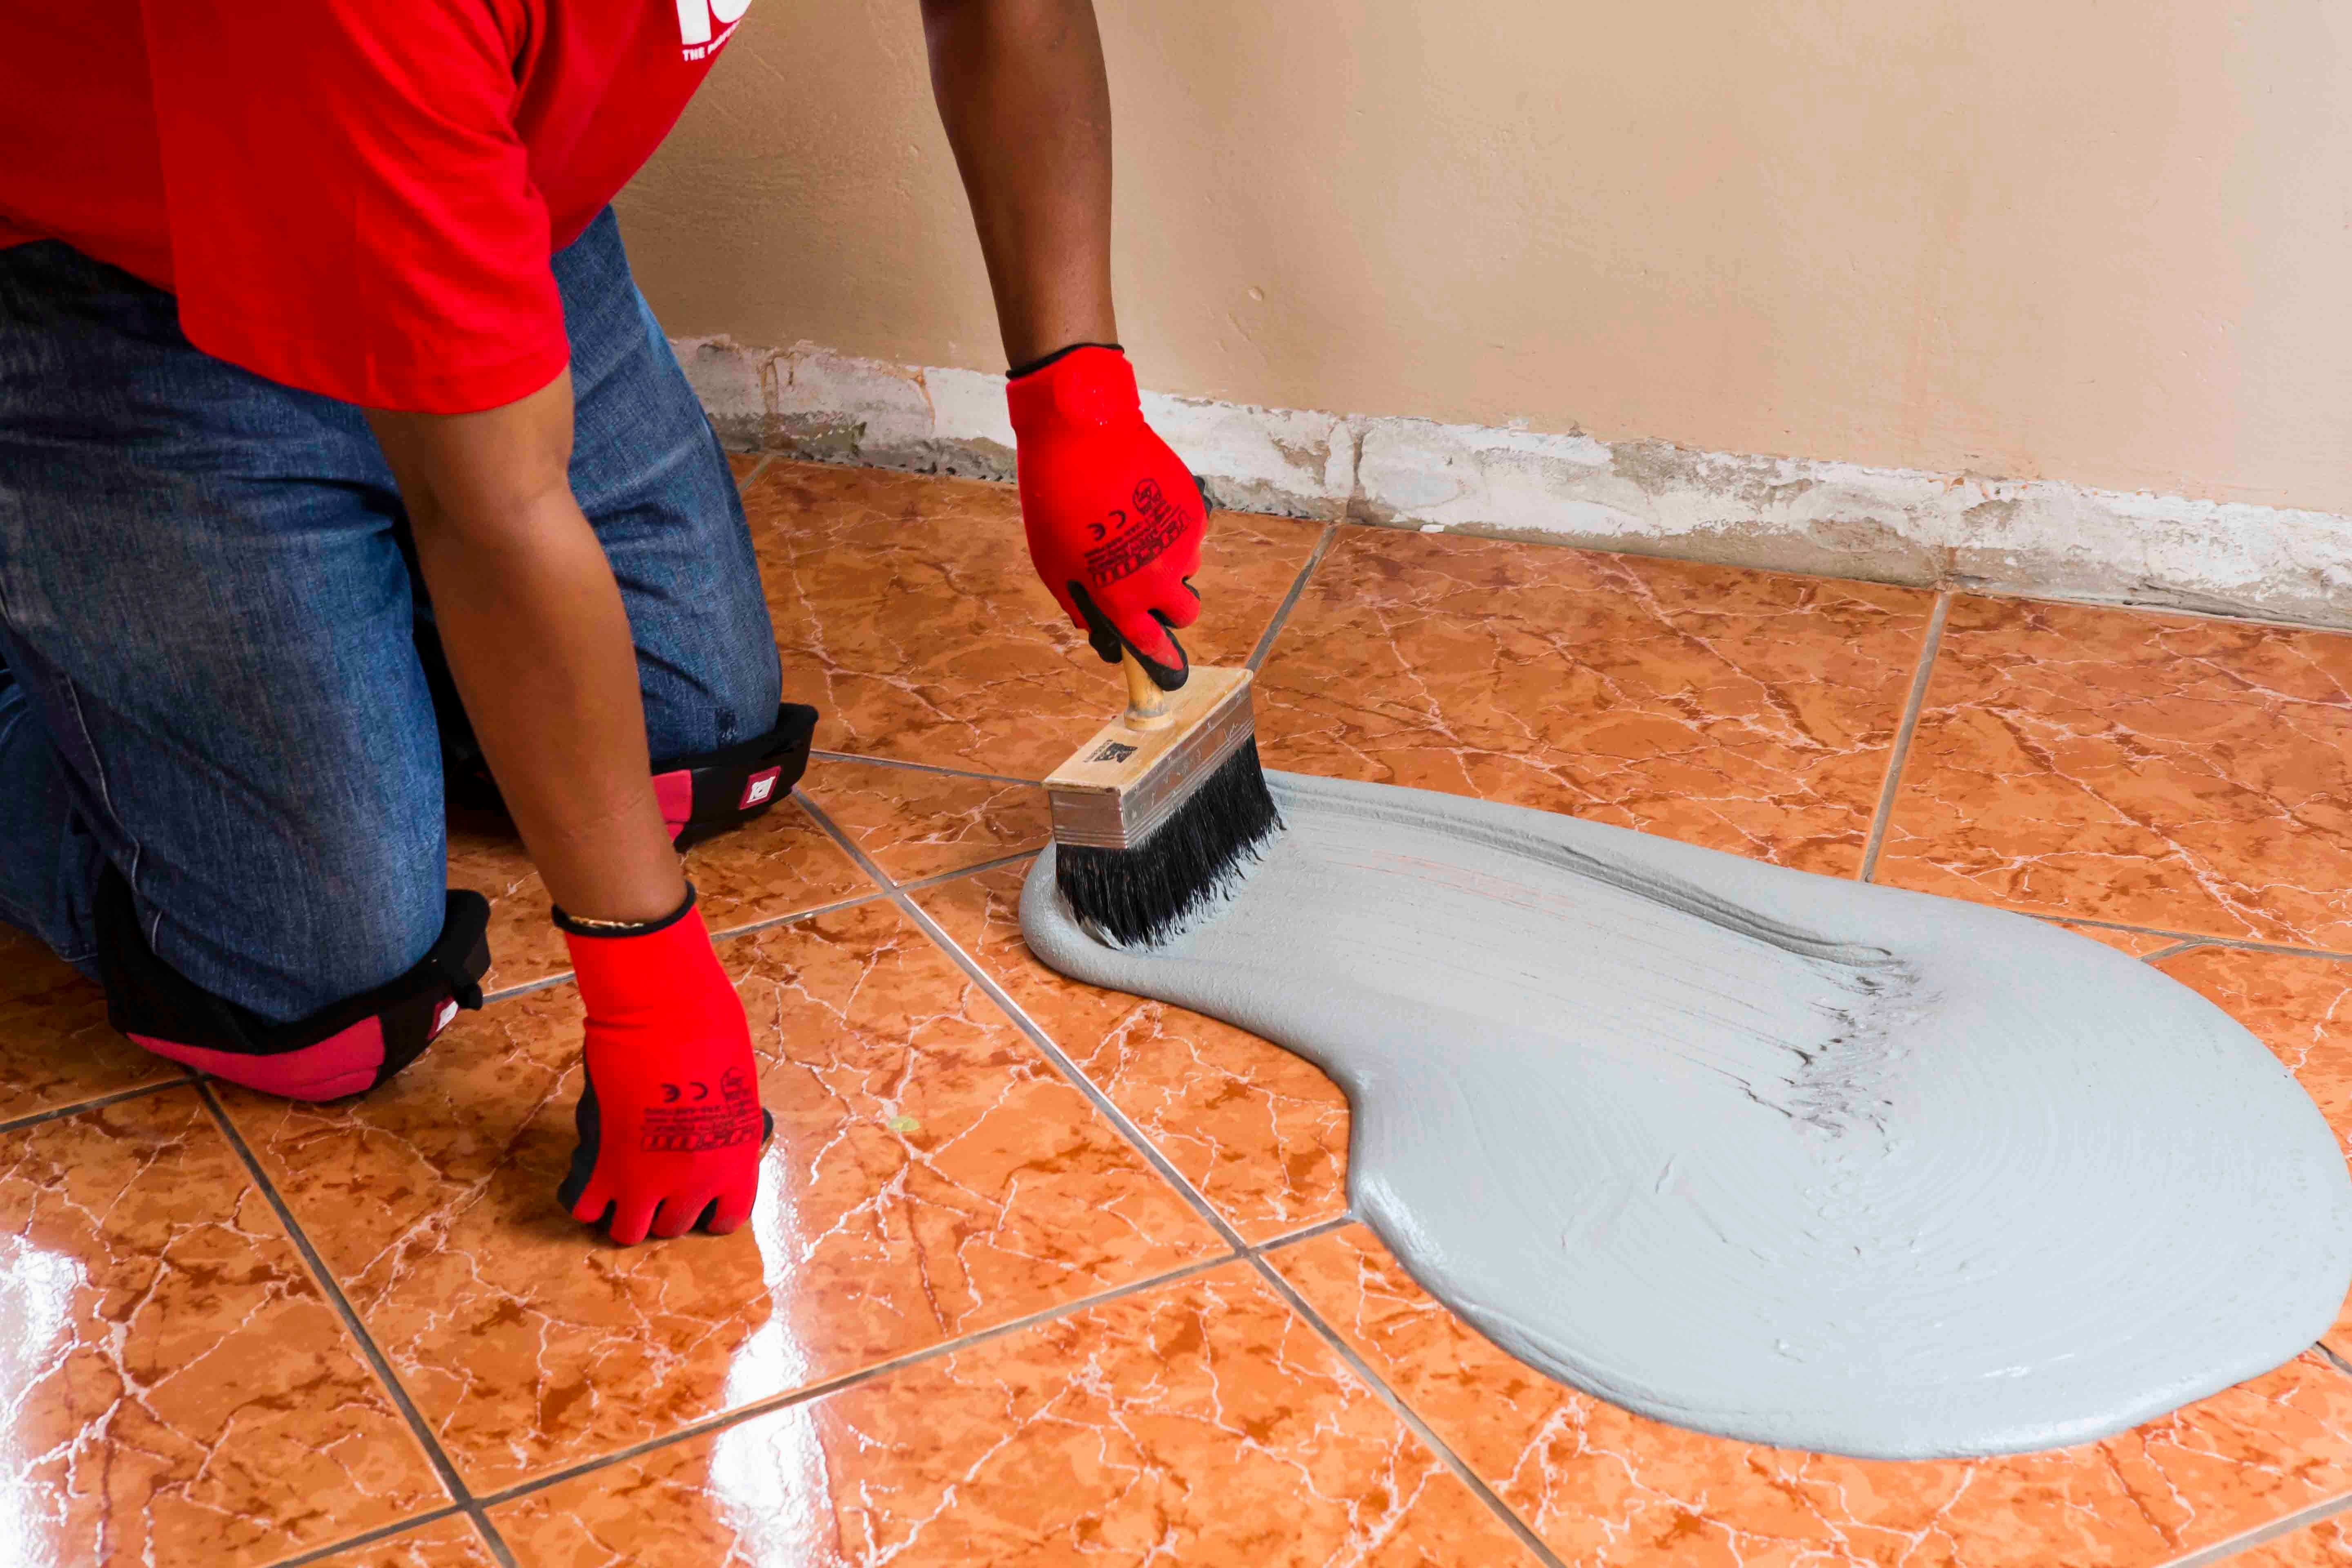
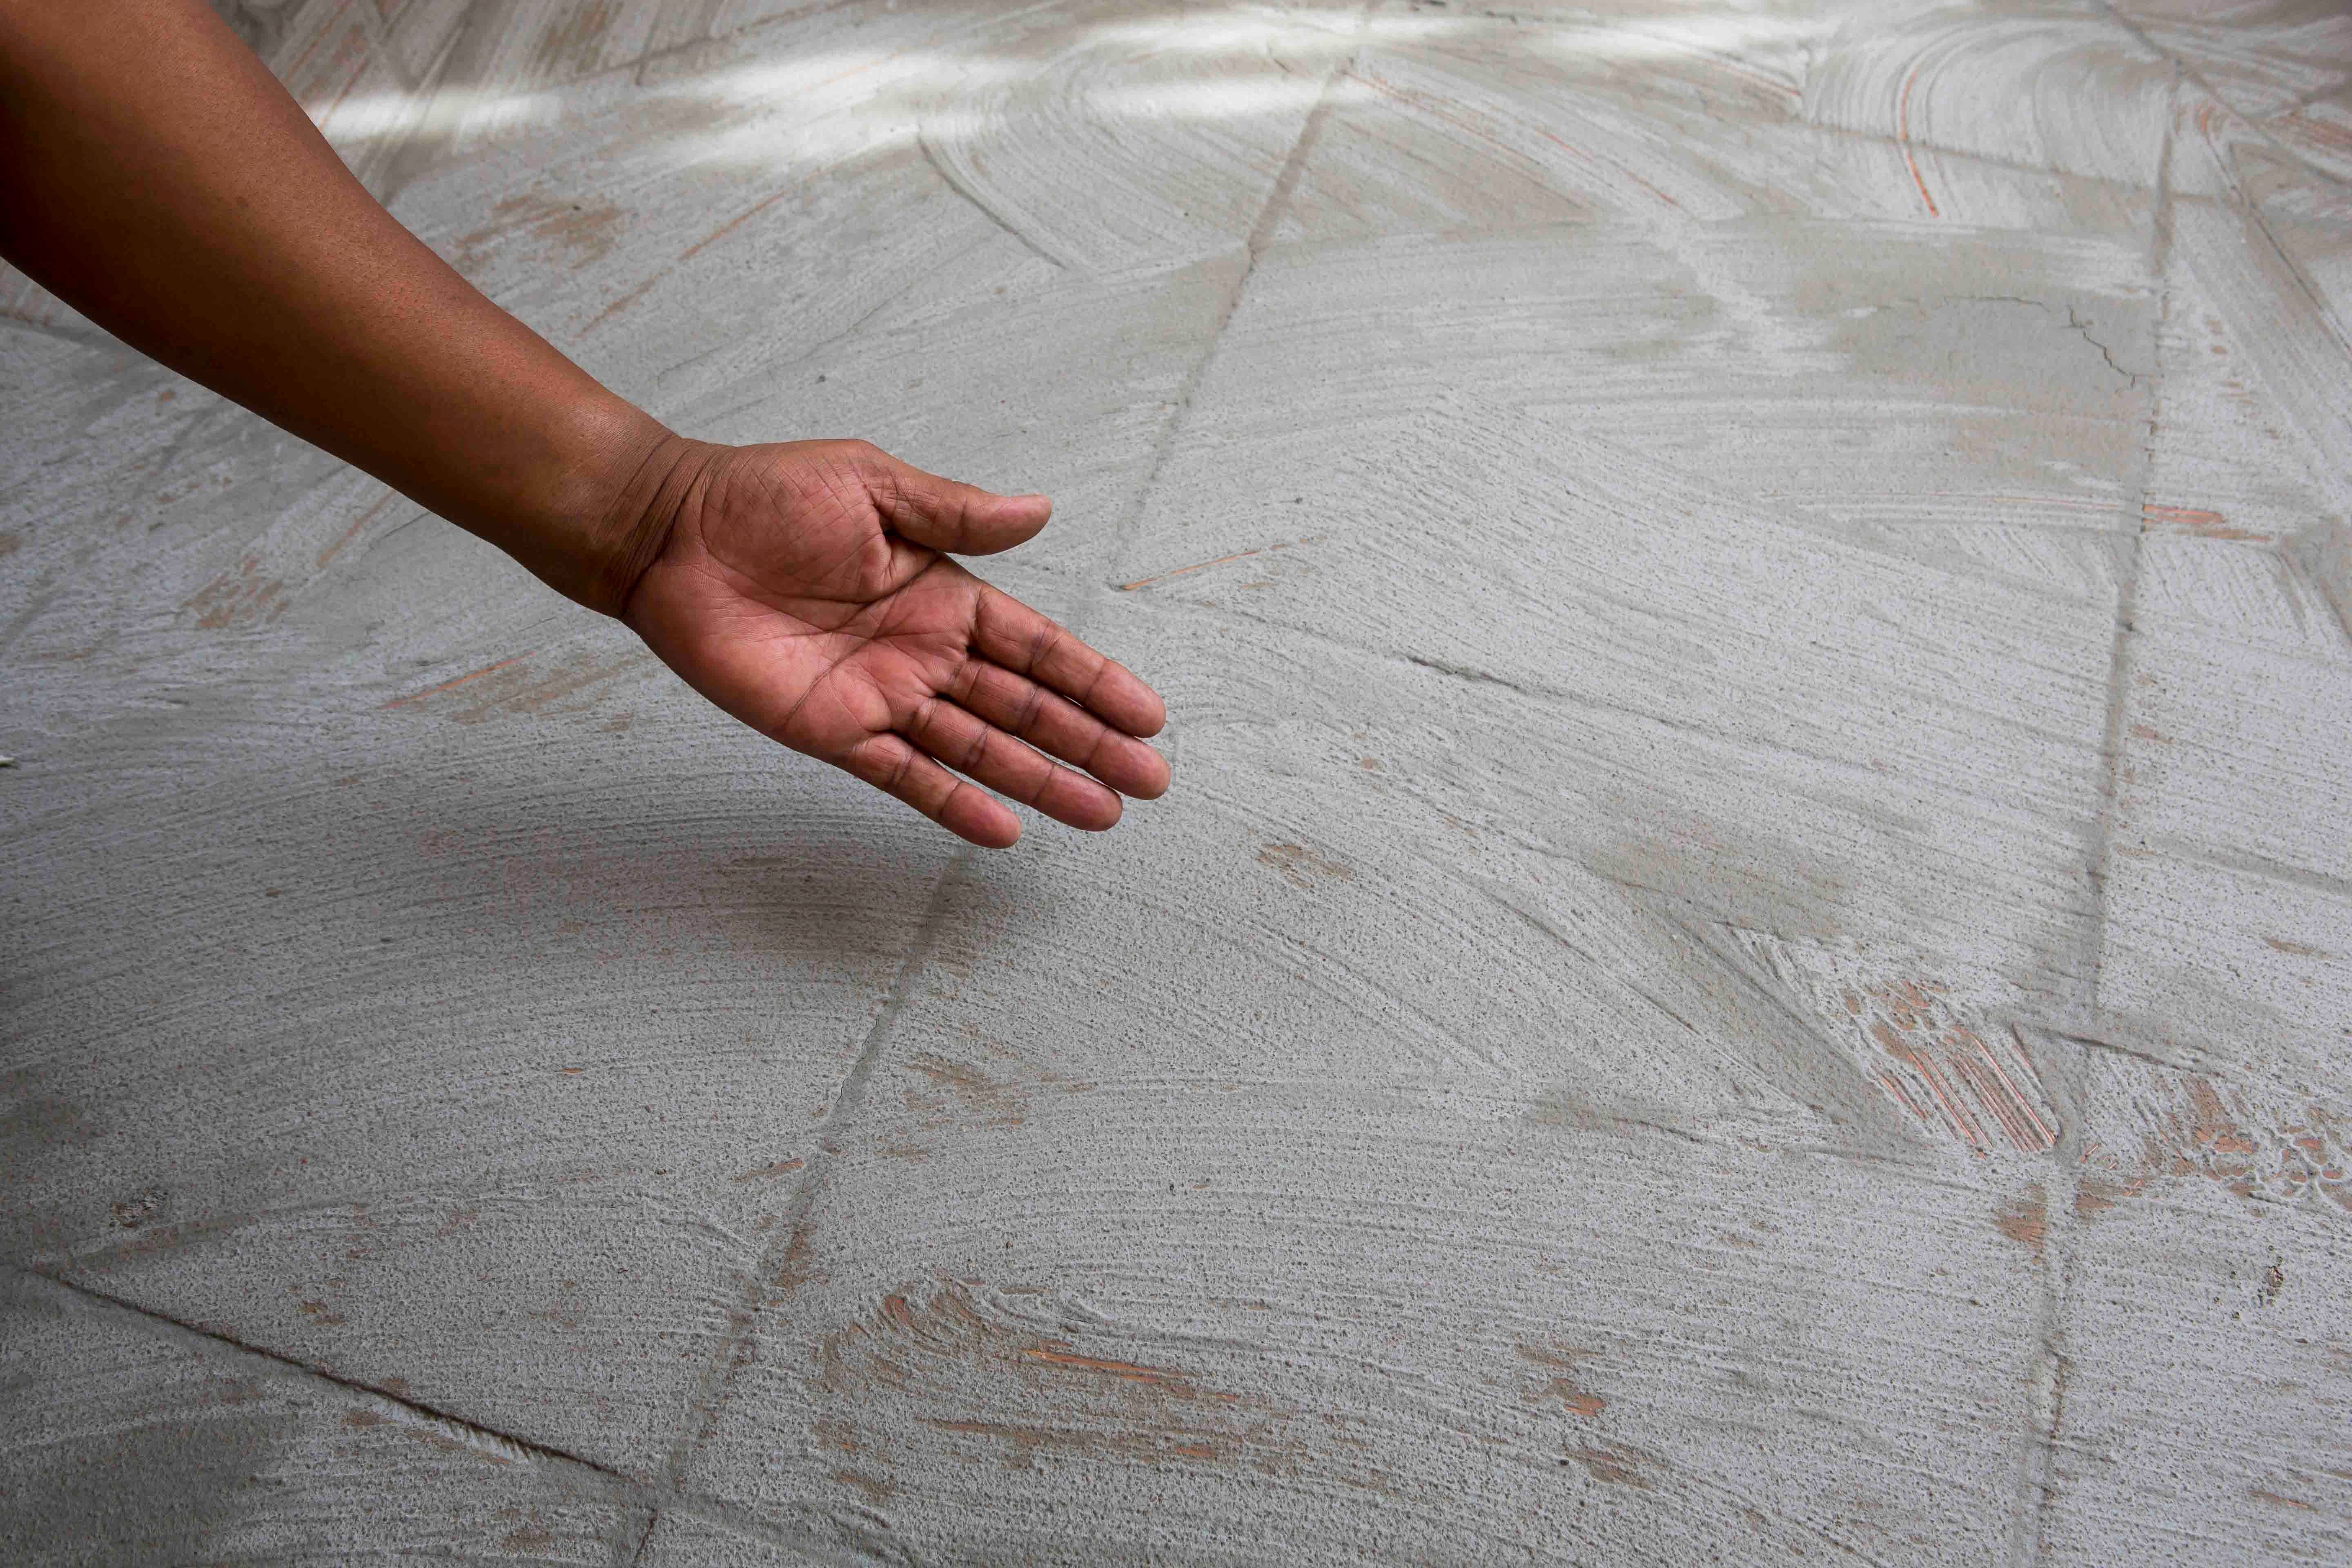
This is applied using a builder’s block brush and ensuring complete coverage of the existing tiles.
The adhesive can be applied once the slurry priming coat is touch-dry (i.e. no visible transfer when wiped or rubbed).
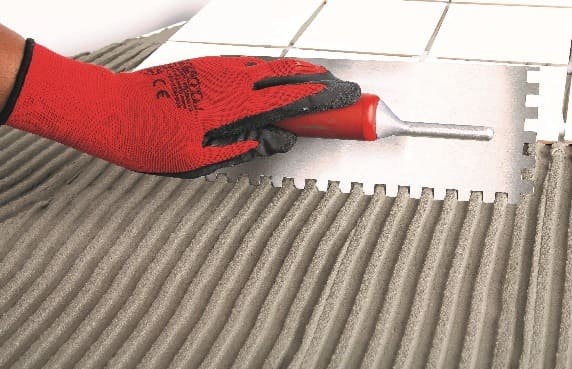
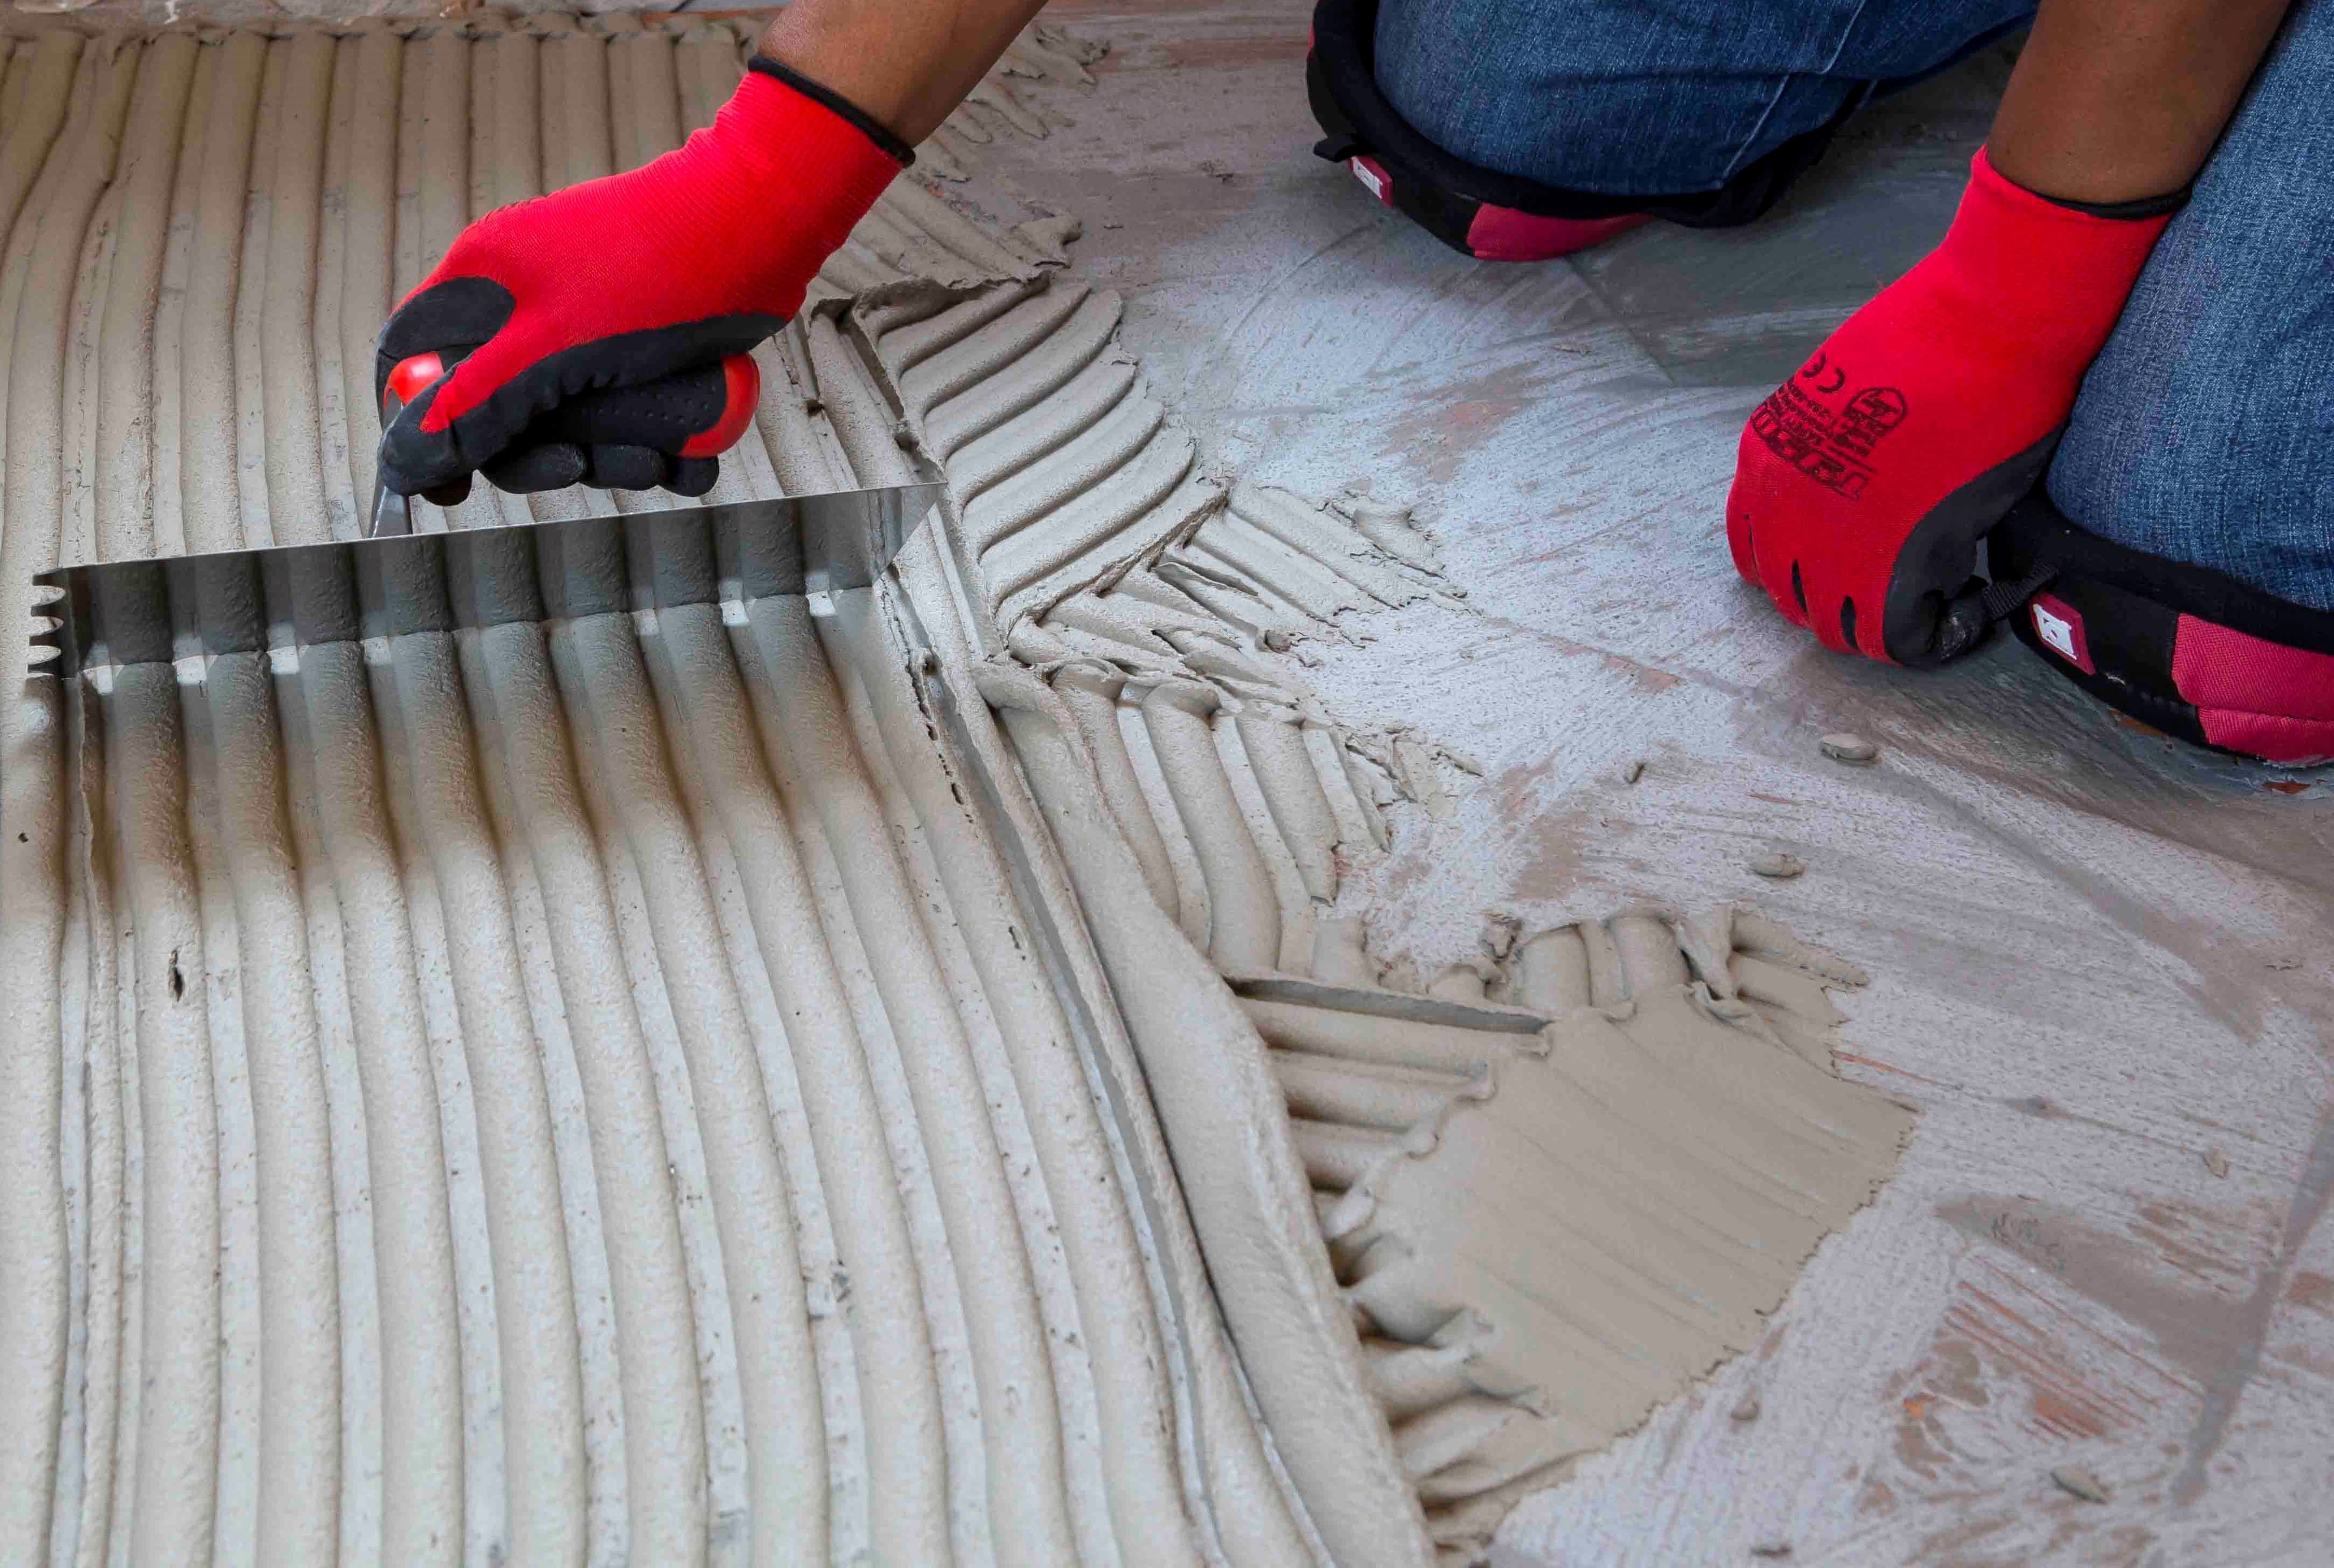
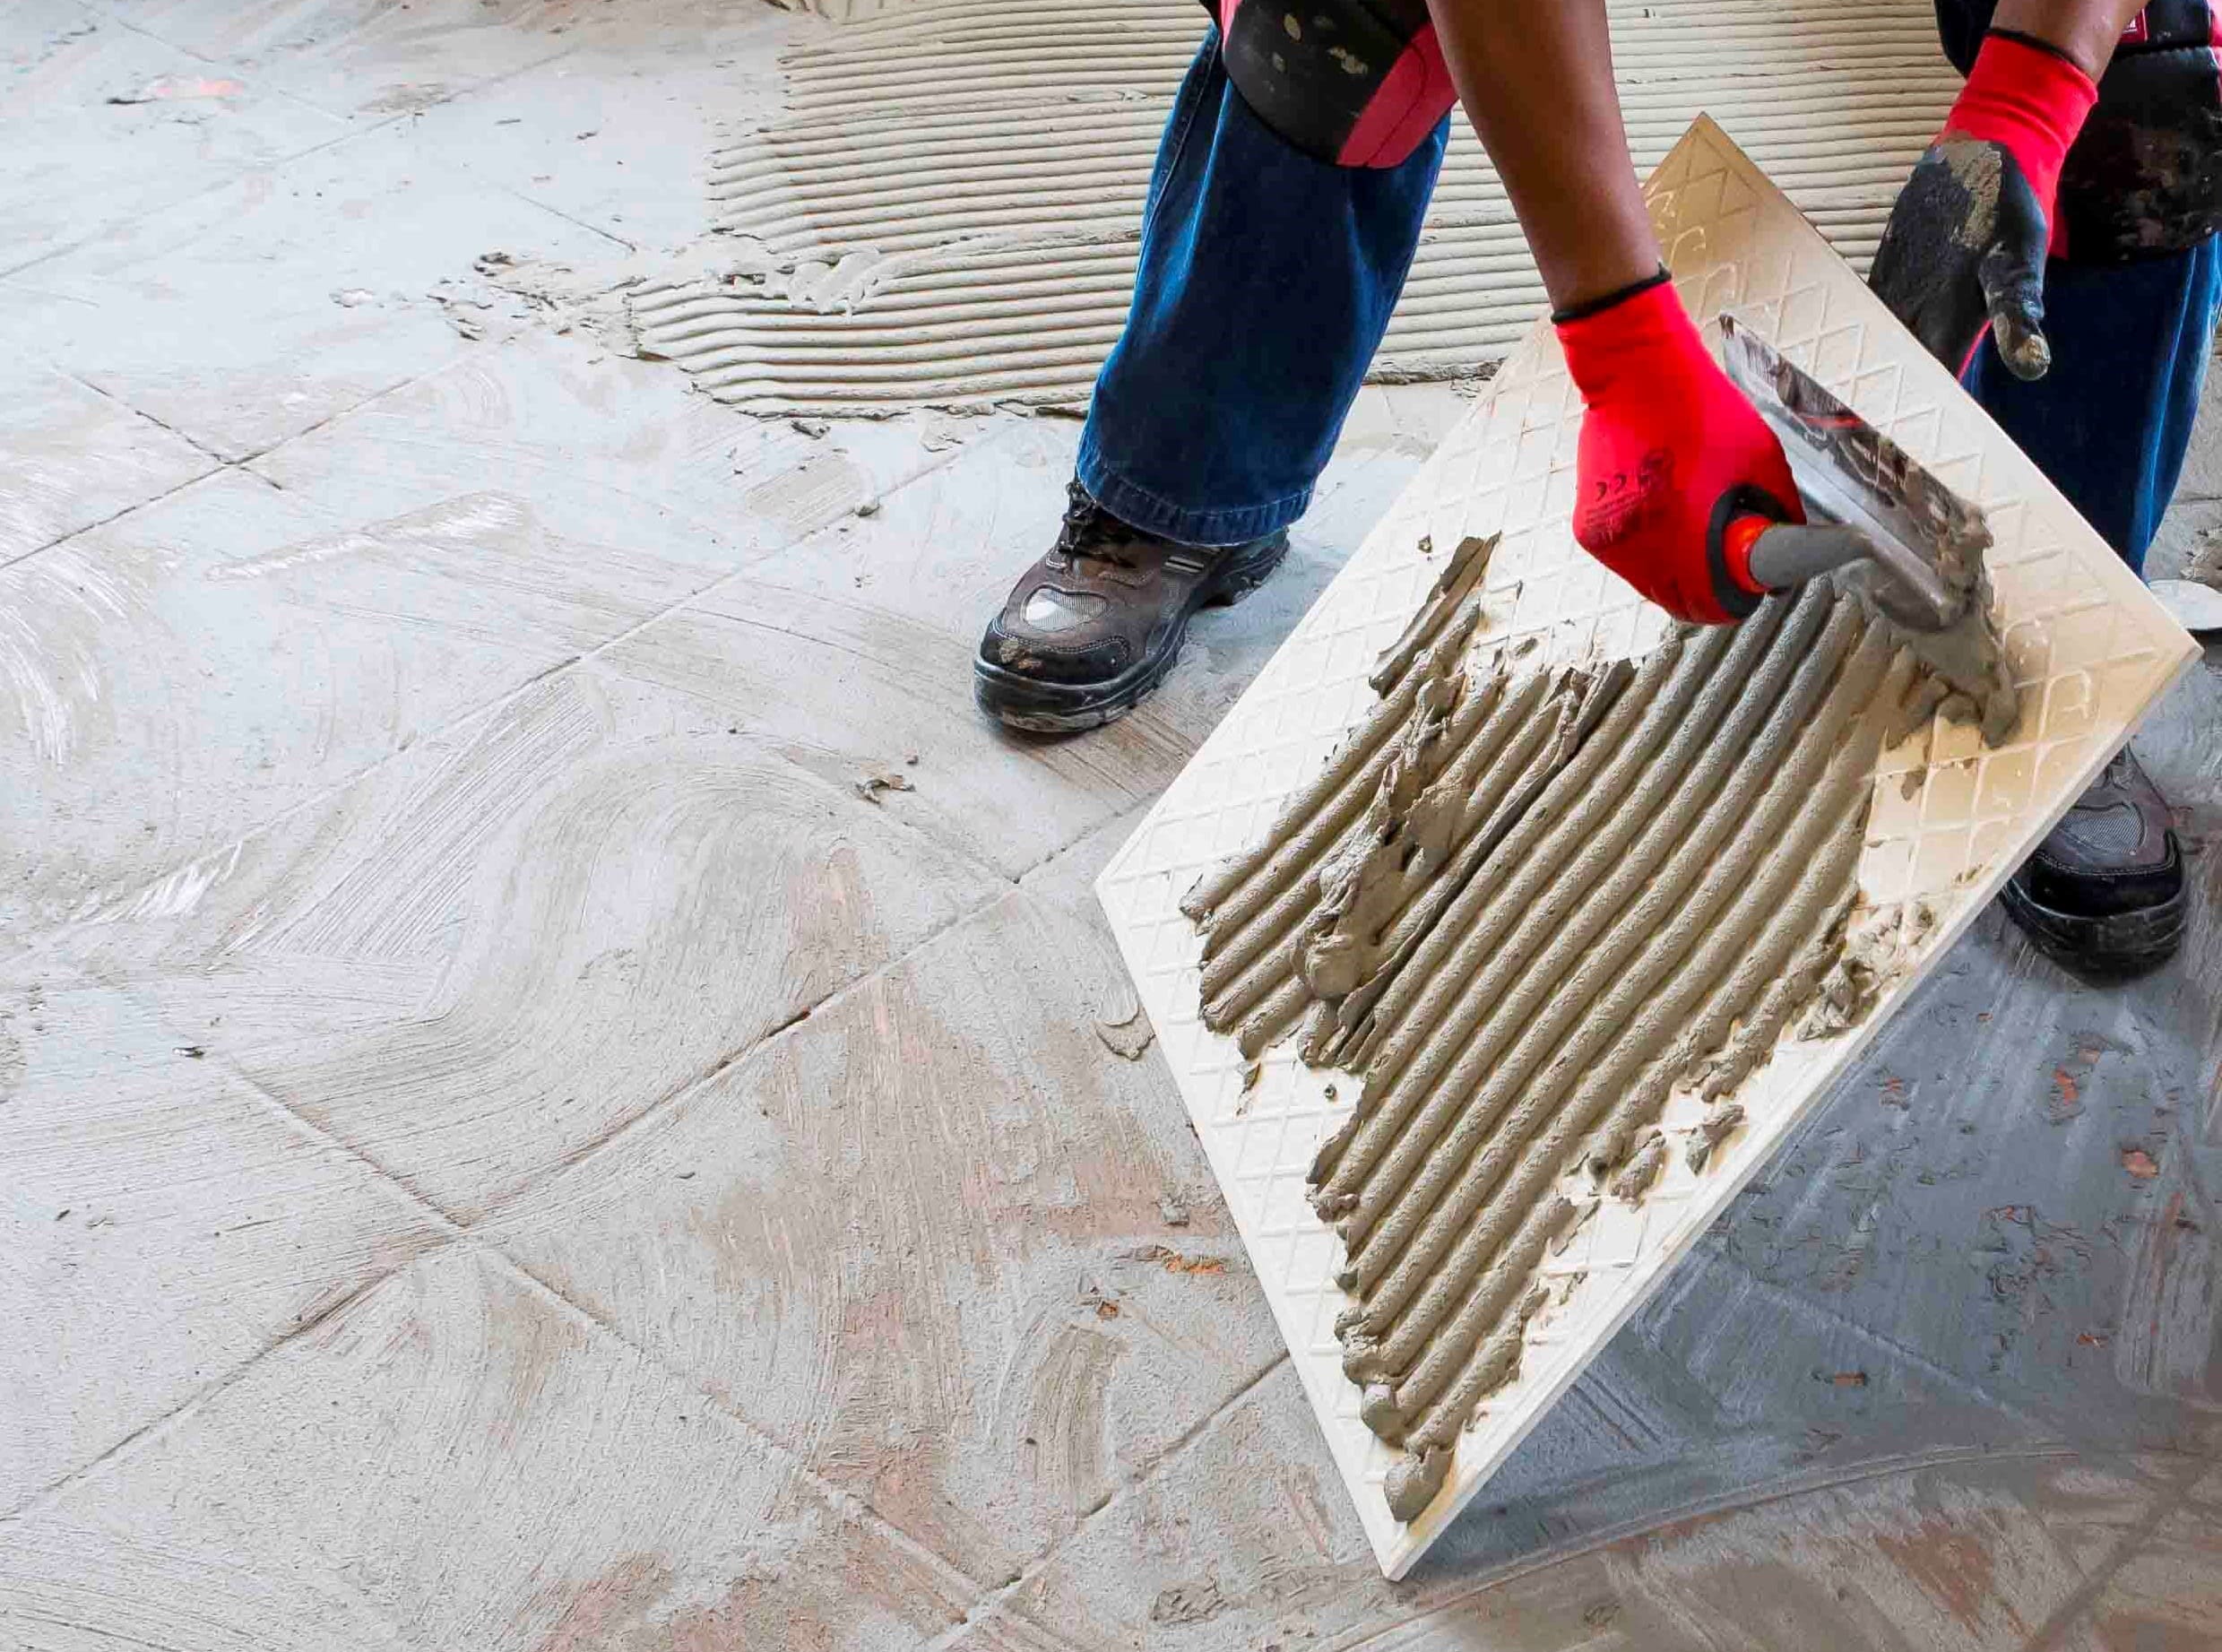
When replacing tiles, it is not always possible to apply the TALFIX directly to the floor, in which case apply the adhesive in a solid bed onto the back of the tile, ensuring complete coverage. Gently trace the notched side of a floor trowel through the adhesive to create ‘ridges’.
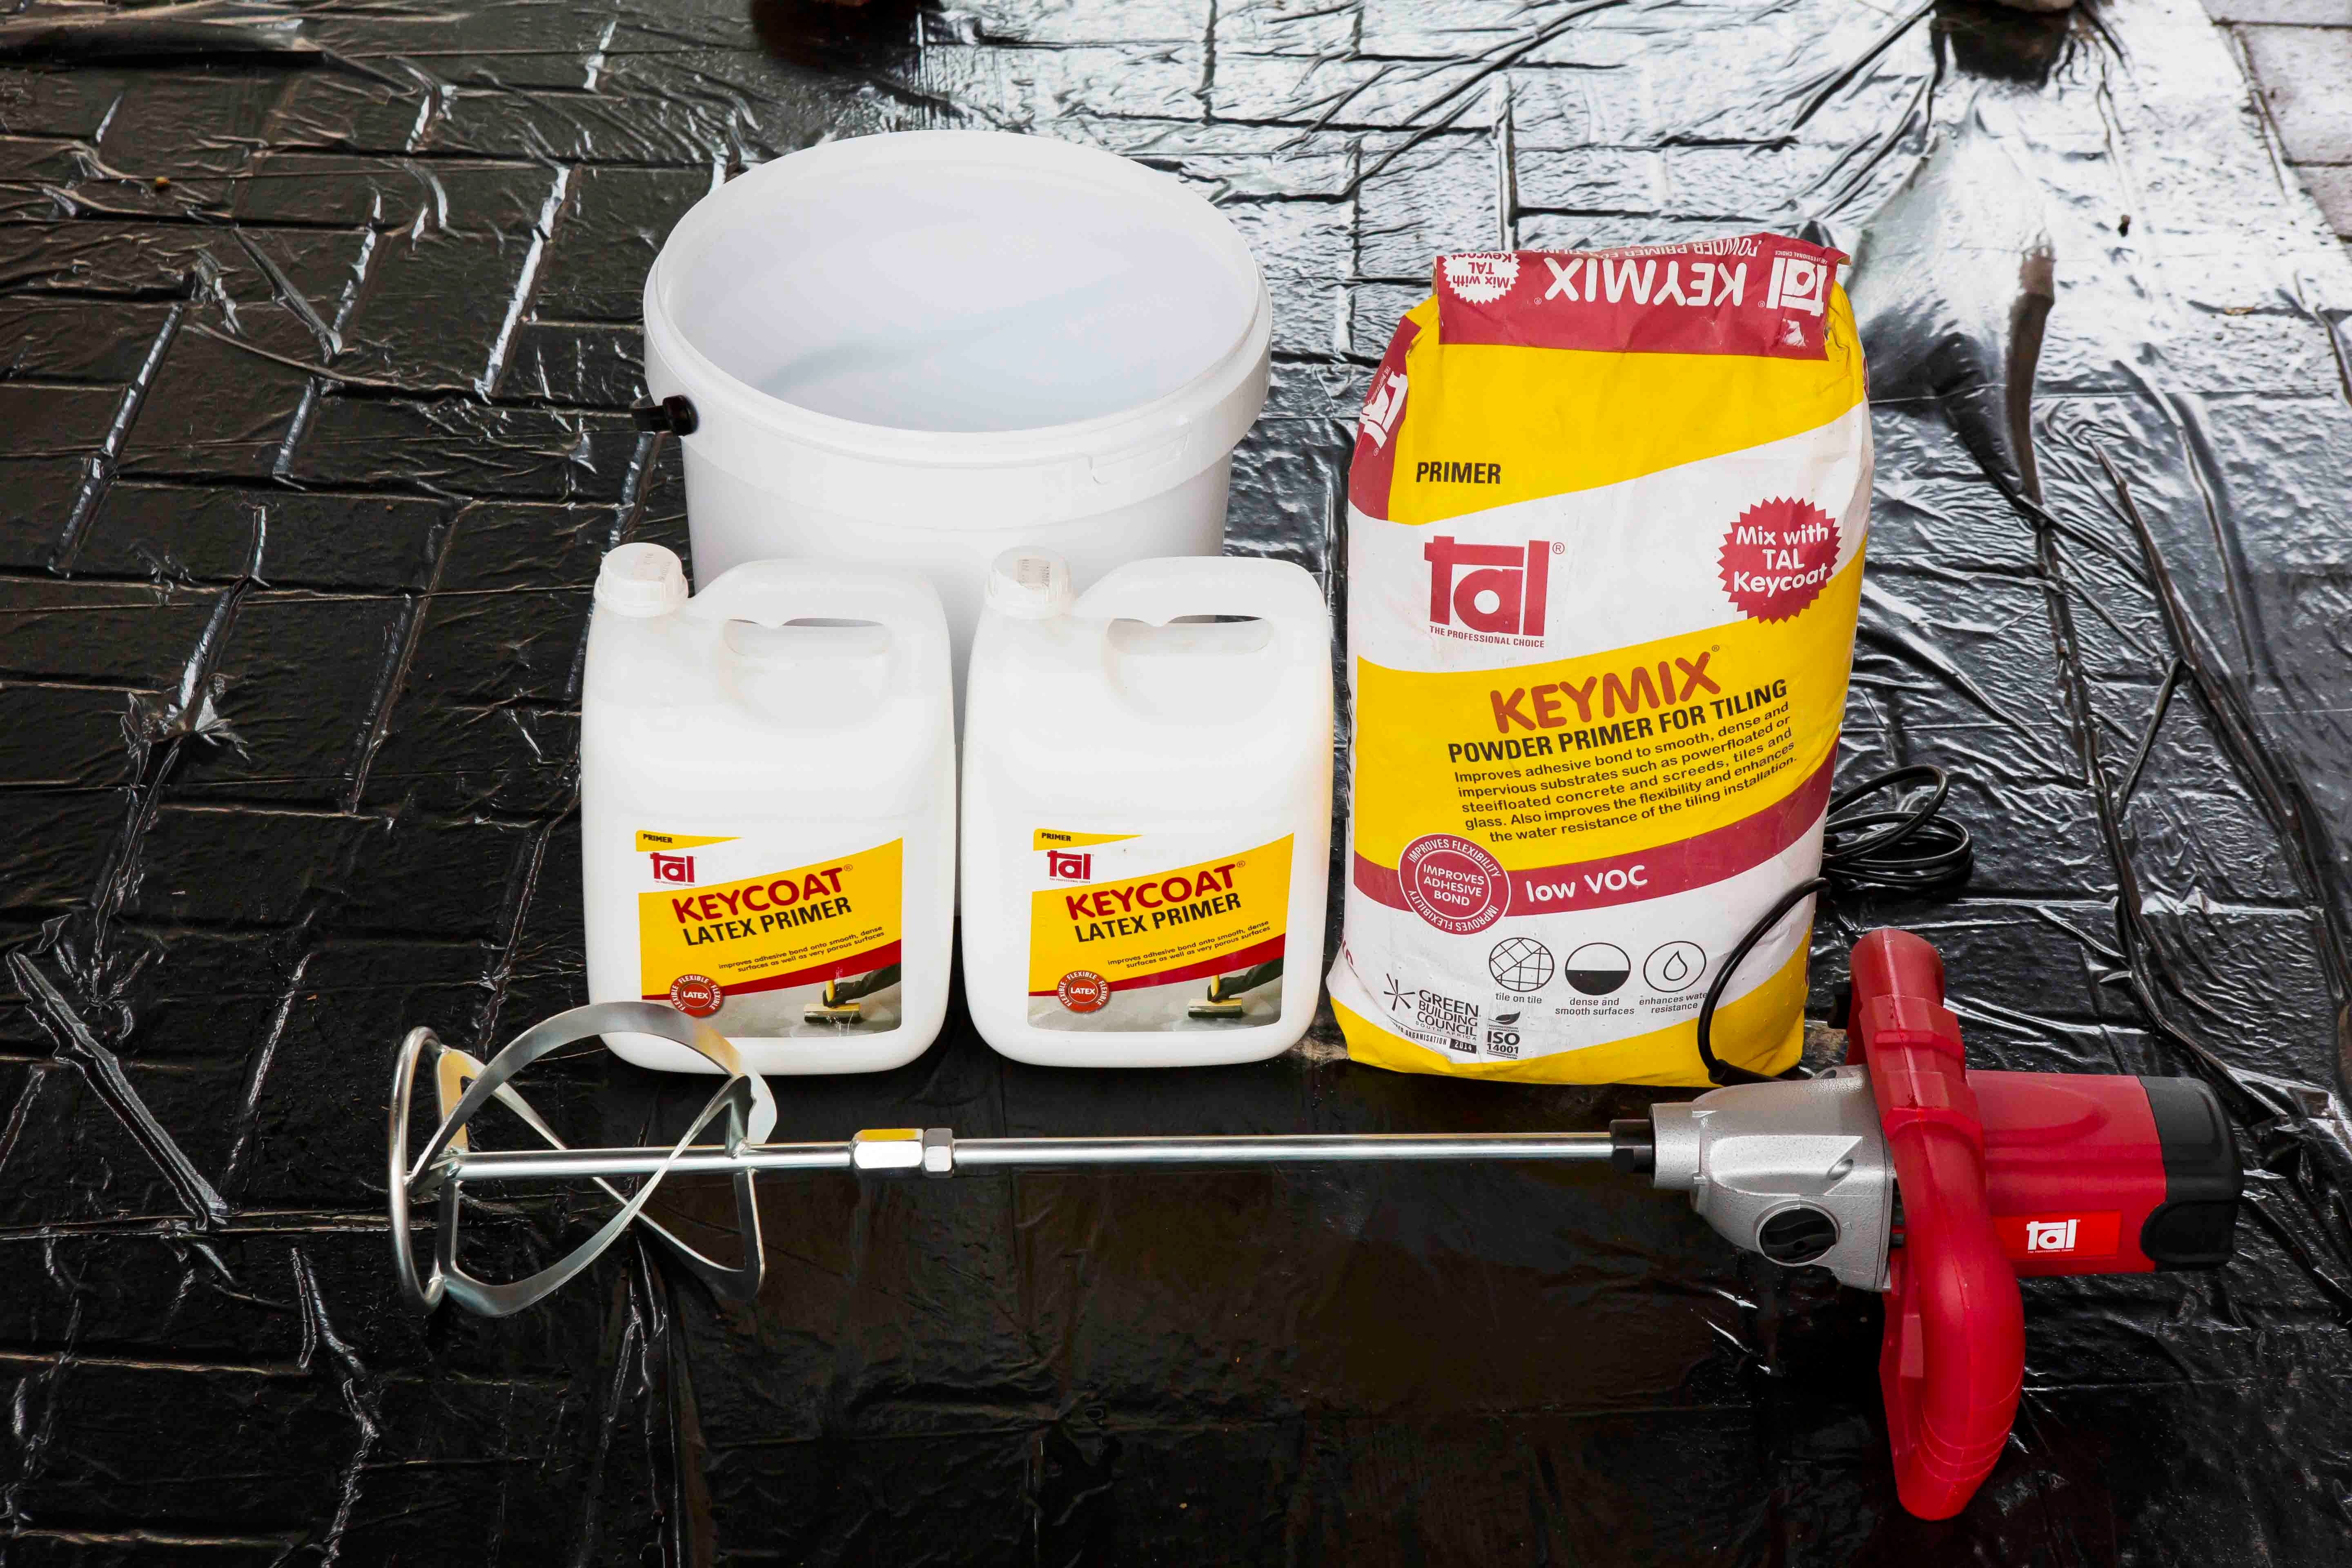
Adhesive system
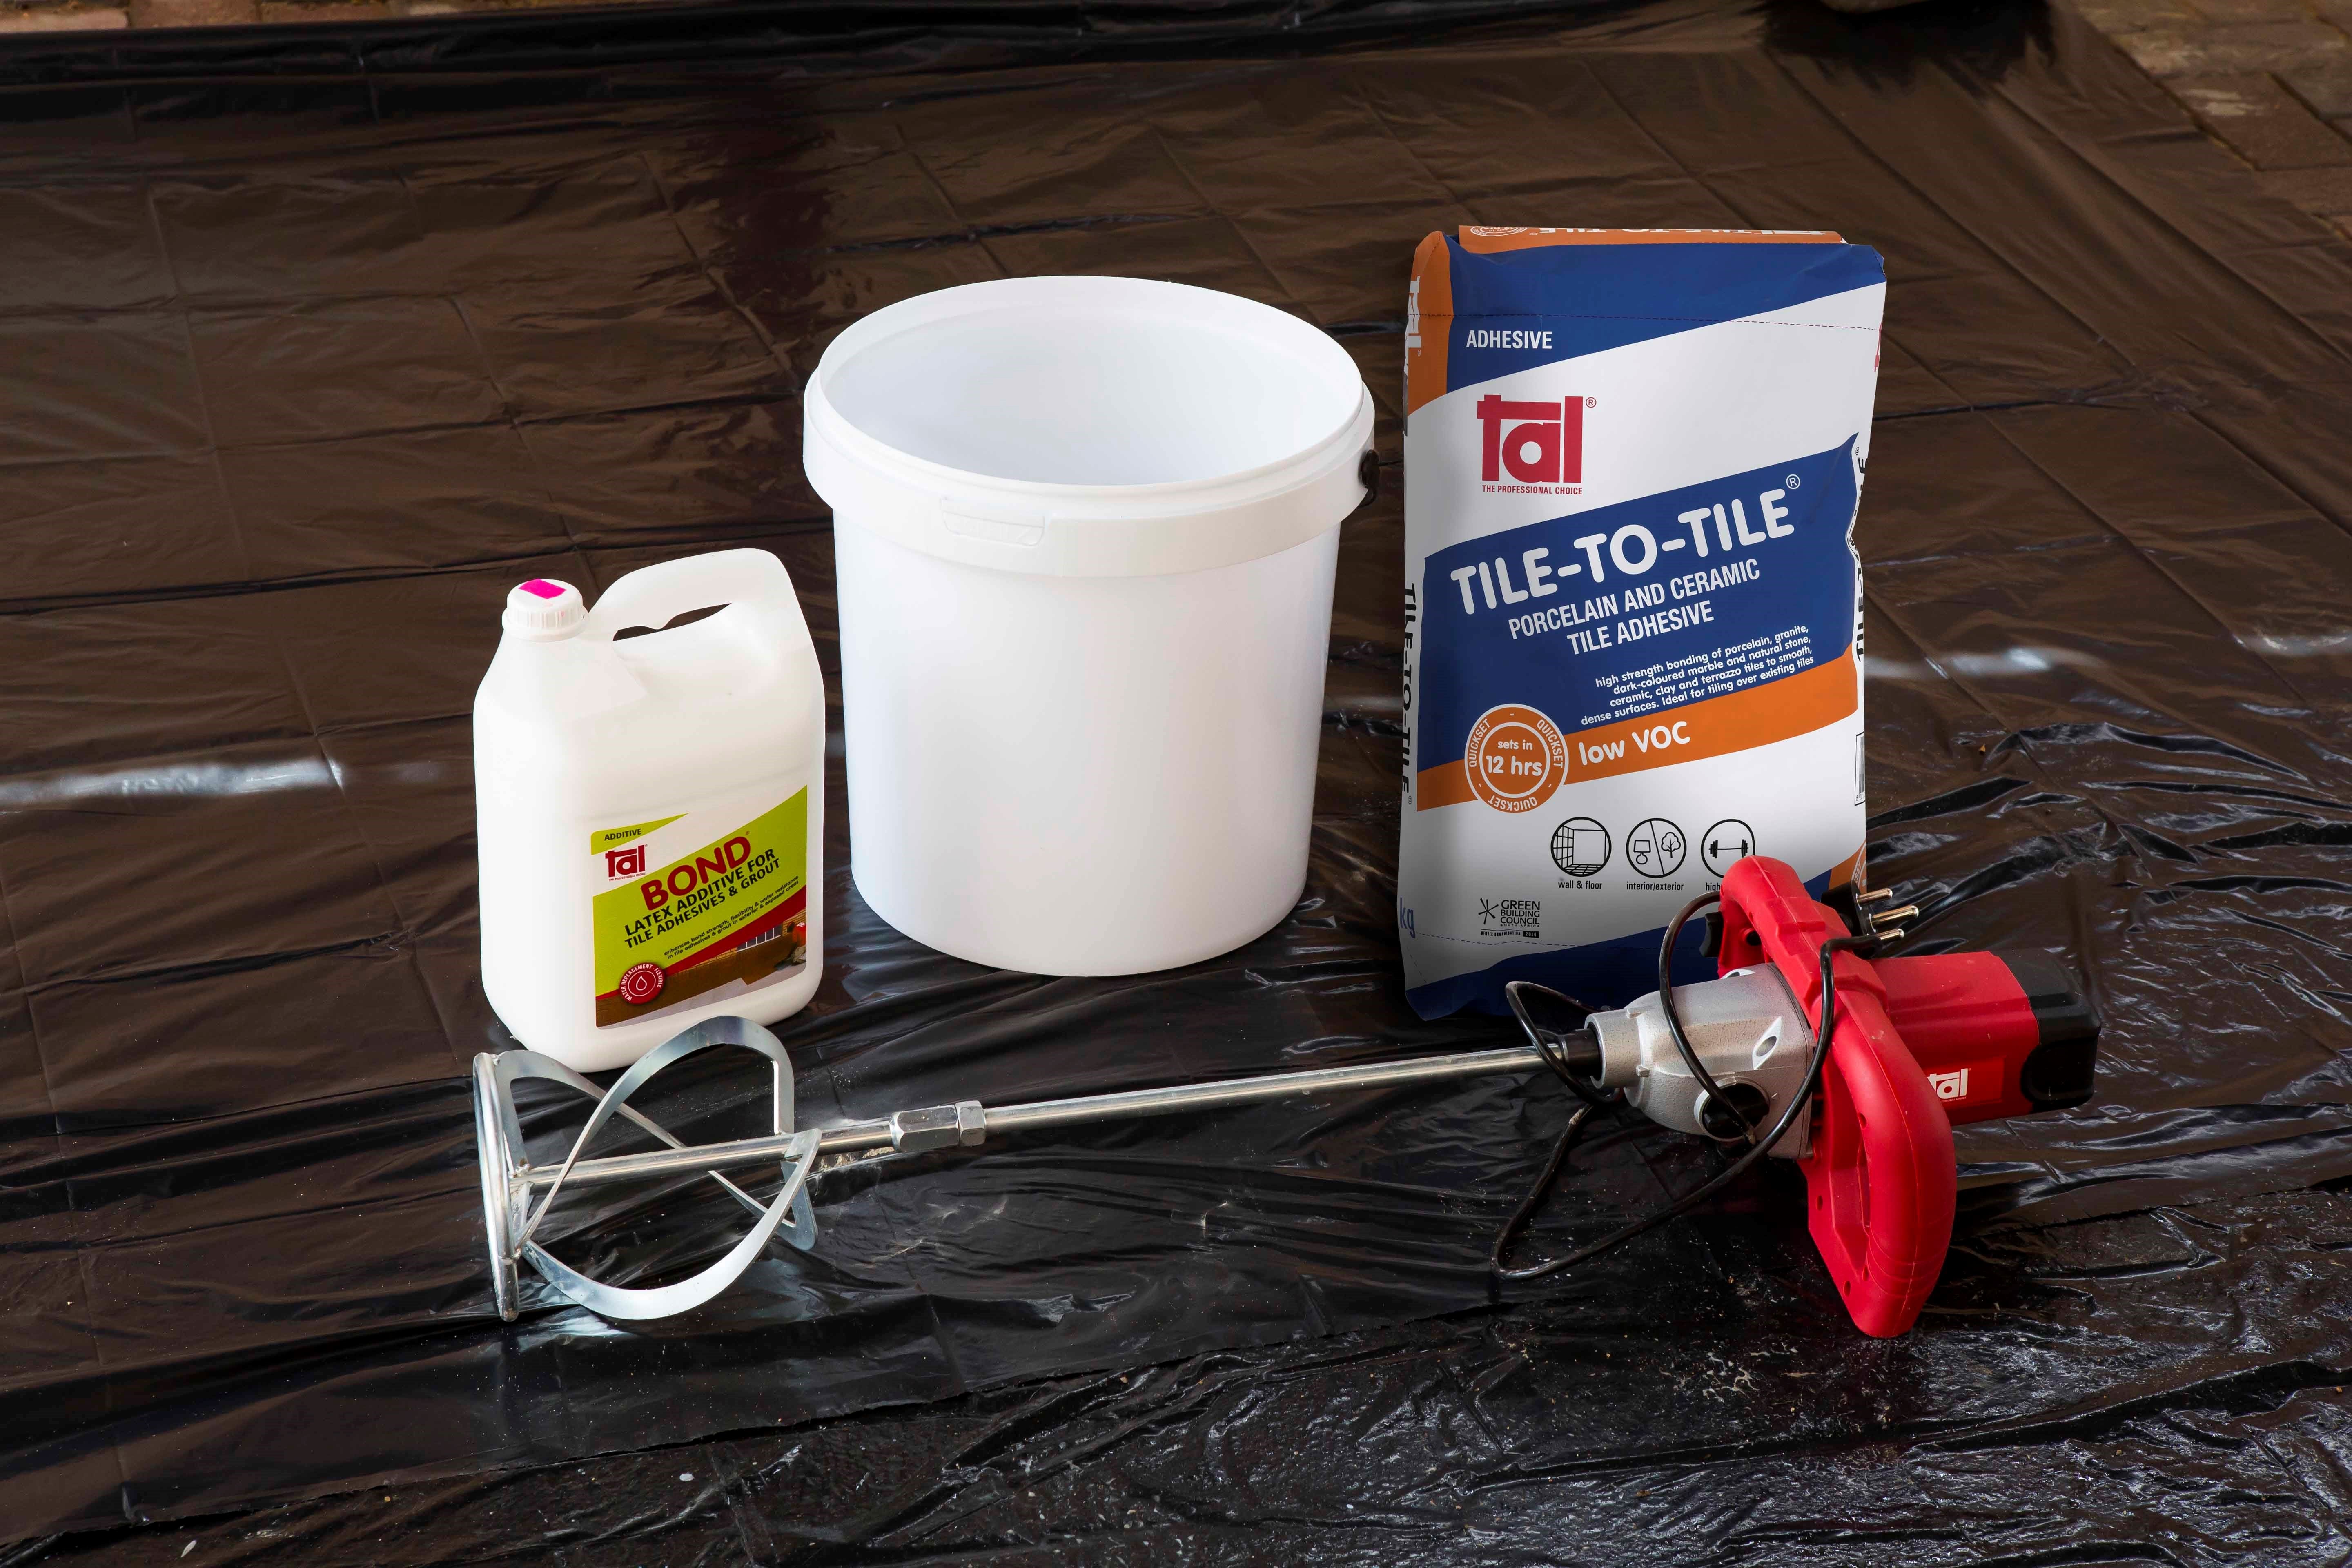
When tiling onto existing tiles, it is important to only use a quick- or rapid-setting adhesive, as the existing tiles will present a dense, impervious surface, and standard-setting adhesives will take longer to dry. Too early trafficking of newly-installed tiles before the adhesive has set sufficiently can result in hollow-sounding or loose tiles.
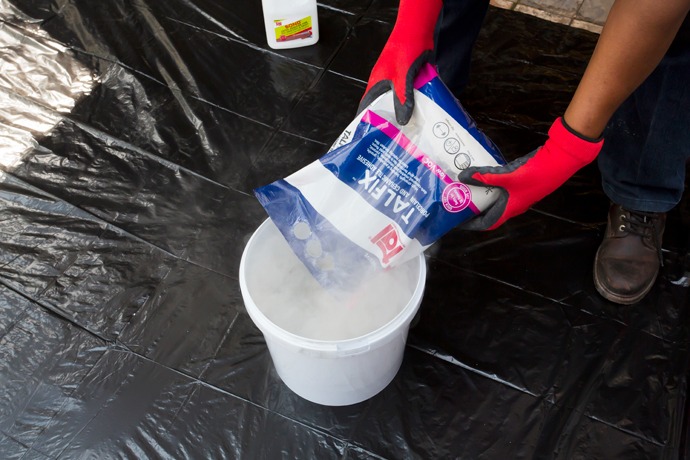
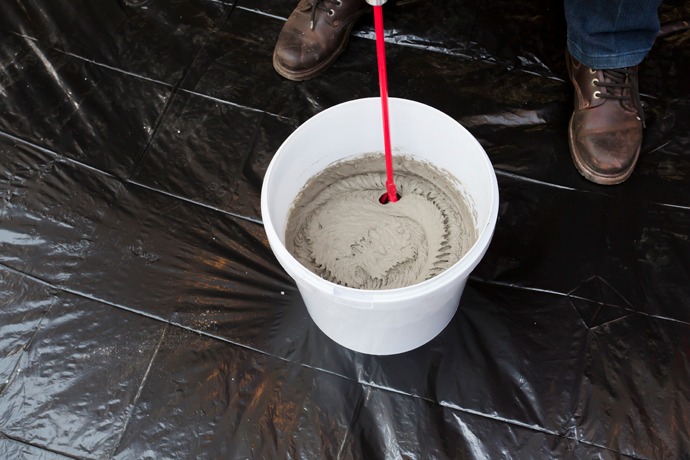
Use TAL Tile-To-Tile quick-setting adhesive for tiling onto interior surface beds. When tiling onto suspended slabs and for external installations mix the TAL Tile-To-Tile with TAL Bond, replacing the water in the mix. Alternatively, TAL Bond Powder can be added to the adhesive mixing water.
Ensure that there is a solid bed of adhesive at least 6 mm thick beneath each tile.
Back buttering with a thin coat of adhesive may also be required when using large-format tiles to ensure full contact with the adhesive bed.
Grouting
Grouting should not be carried out until the adhesive has set sufficiently to prevent the tile installation from being disturbed during the grouting operation (always refer to the adhesive packaging for setting times). When using TAL TAL Tile-To-Tile, allow a minimum of six hours before grouting.
For interior surface beds, use TAL Wall & Floor Grout for filling tile joints up to 8 mm wide. TAL Quarry Grout can be used in wider joints up to 25 mm wide. On suspended slabs and for external installations, replace the water in the grout mix with TAL Bond, or add TAL Bond Powder to the grout mixing water.
Particular care must be taken to clean the grout off the tile face before it hardens completely. This is especially important when an additive such as TAL Bond or TAL Bond Powder has been used. A tile sample should be tested beforehand to ensure that no grout is absorbed through the glaze or into the tile body, thereby staining the tiles permanently.
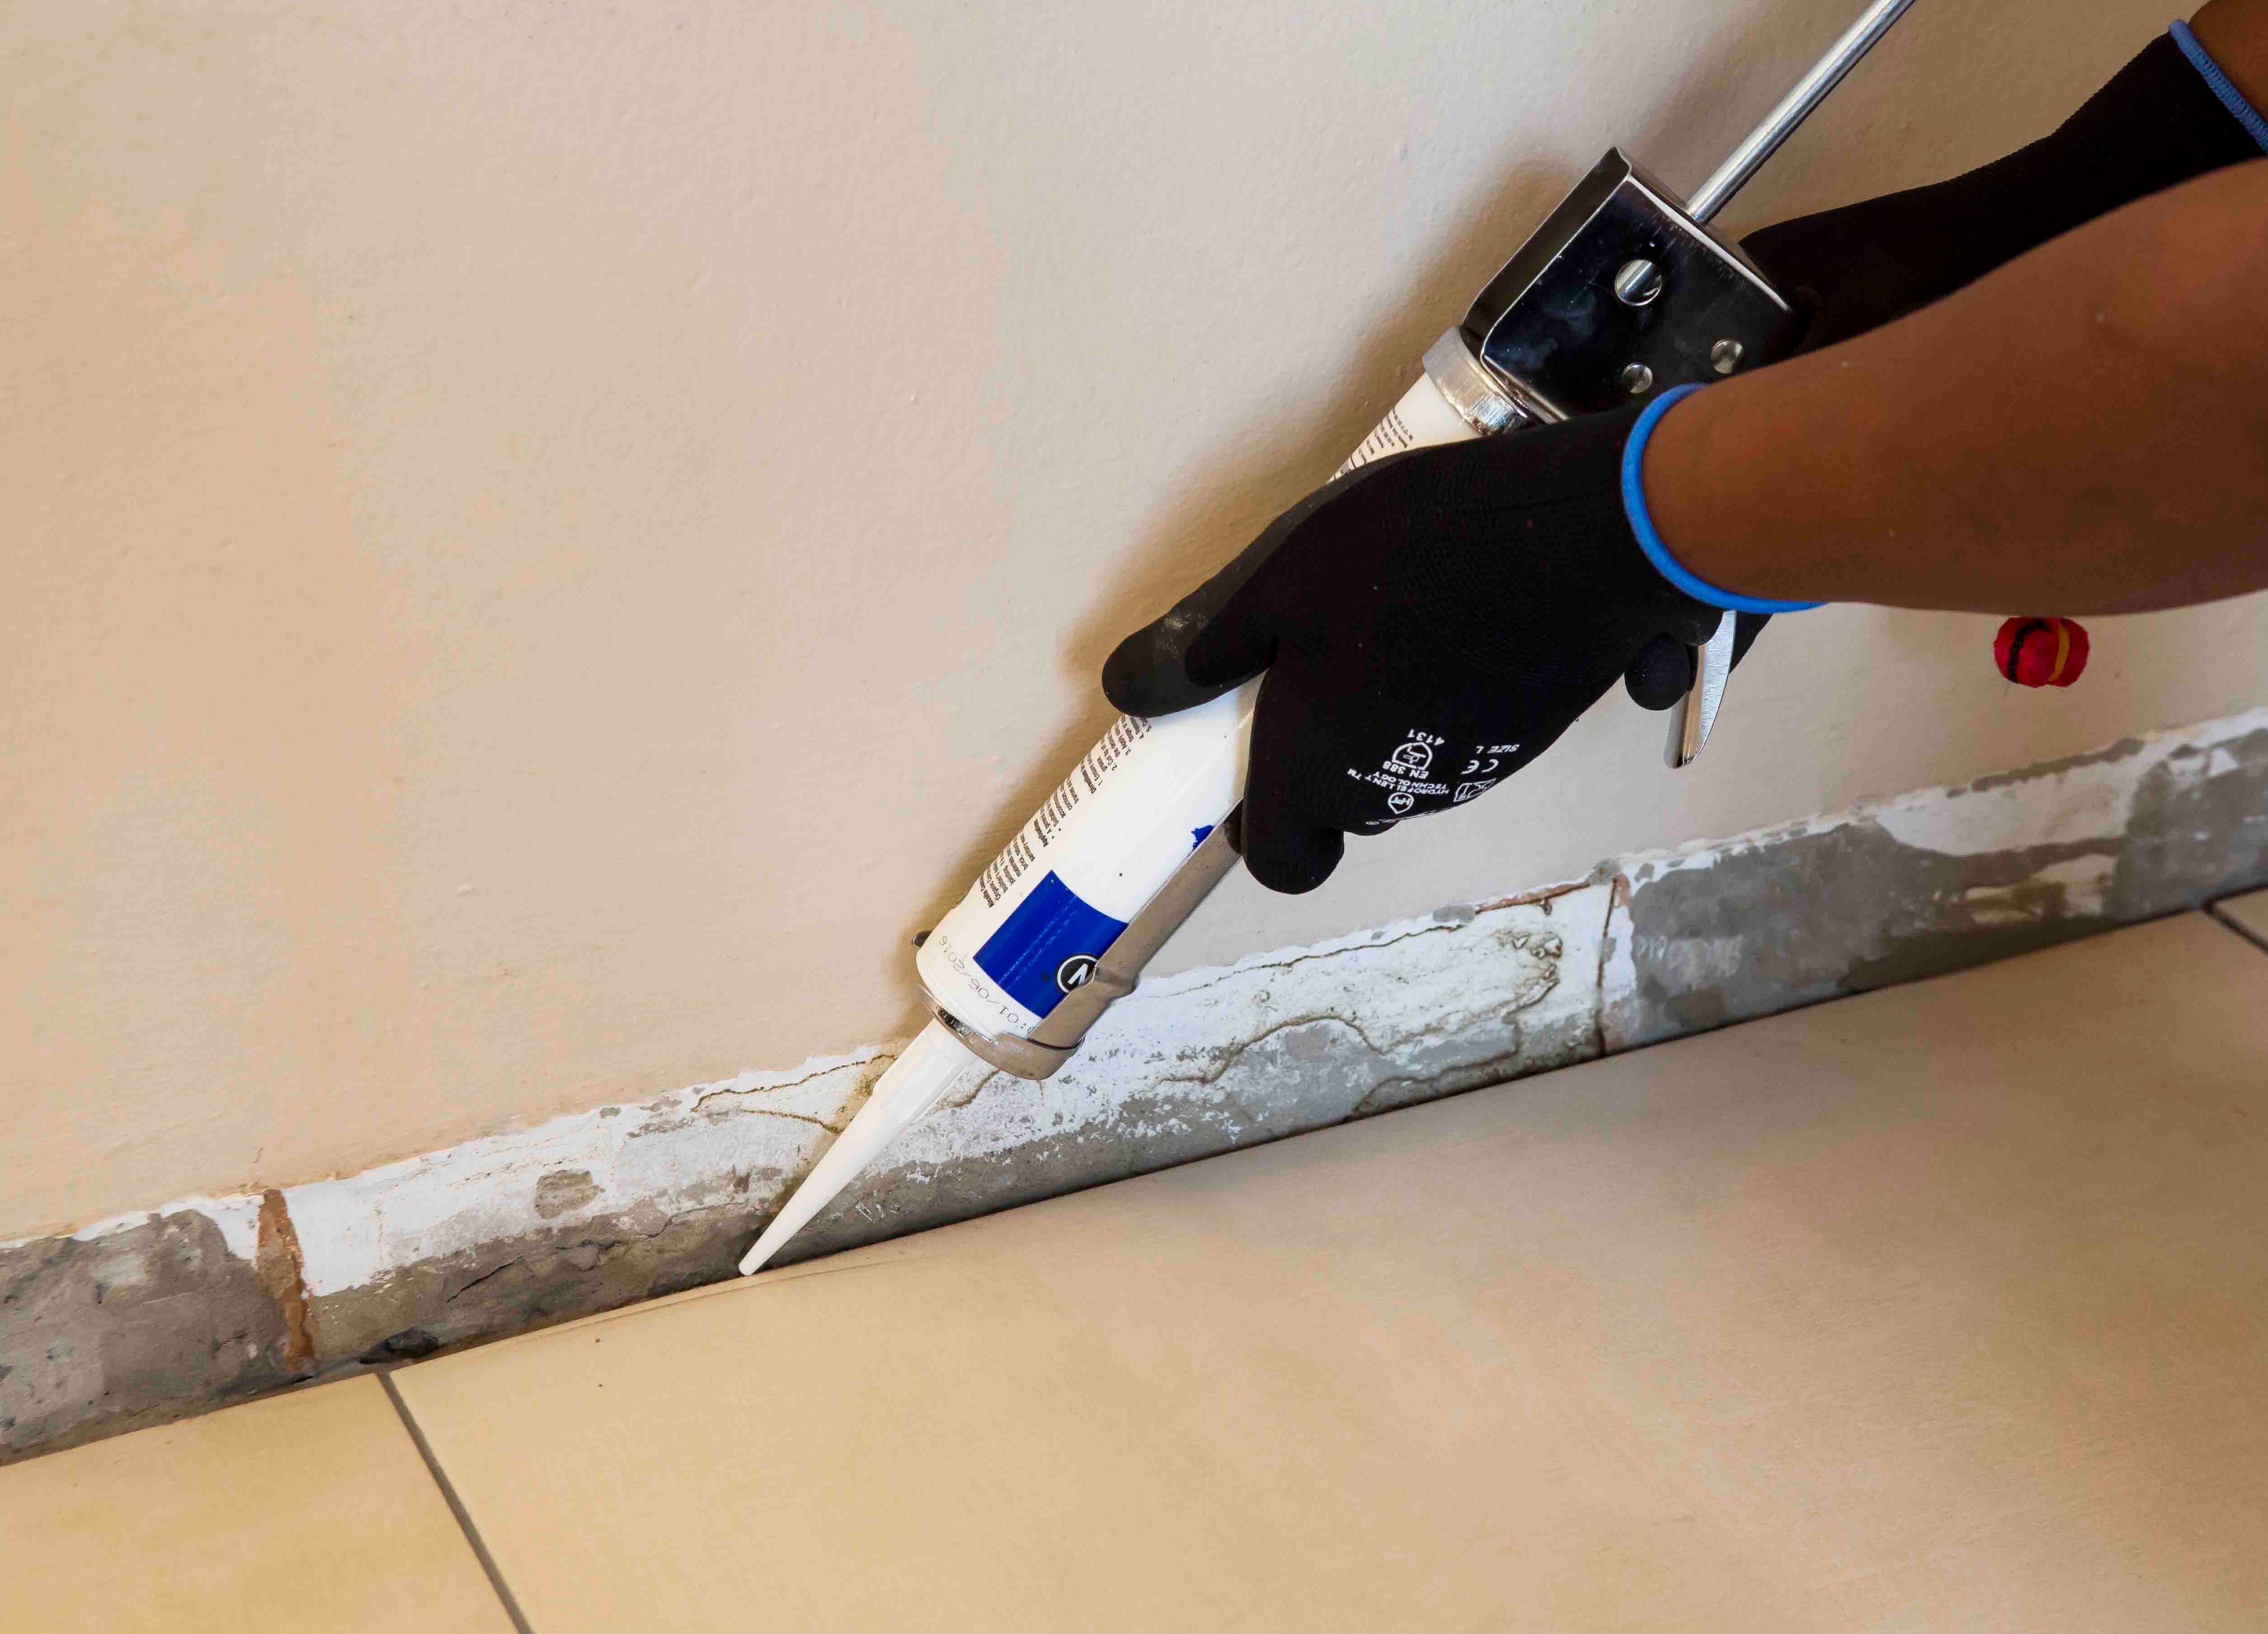
Movement joints
The lack of movement joints in tile installations is a major cause of tile failure. When tiling over existing tiles, the existing structural and movement joints must be maintained in the new tile installation. The movement joints should be at least 5 mm wide and extend through the adhesive and both tile layers.