
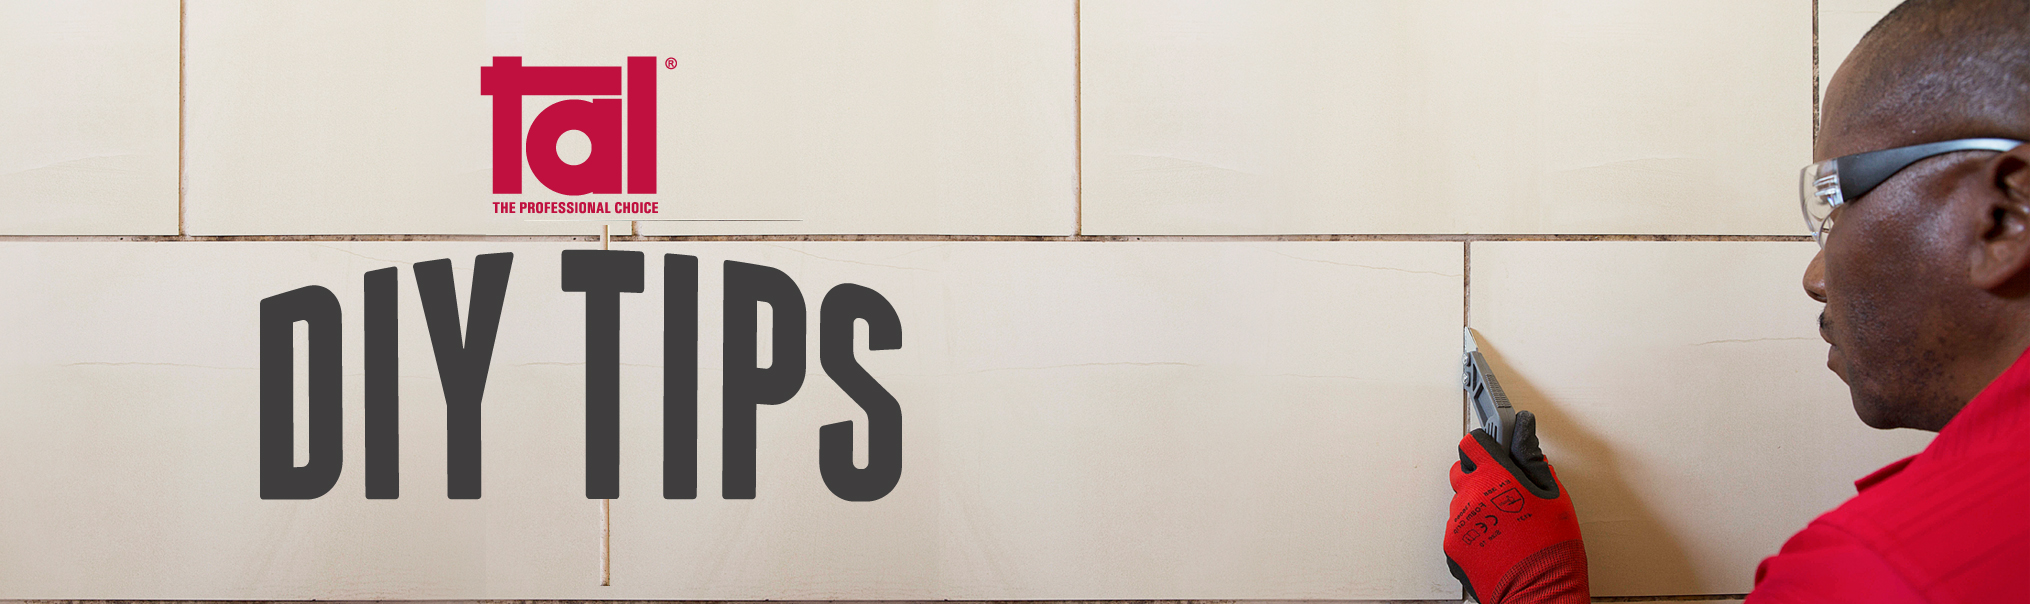
How to get your bathroom ready for visitors: Tile & grout refreshment tips
Before April, with a couple of weeks of school holidays and many public holidays it is an ideal time to start working those little broken, chipped and cracked tiles or grout refreshment you’ve been meaning to get to.
Replacing broken or cracked tiles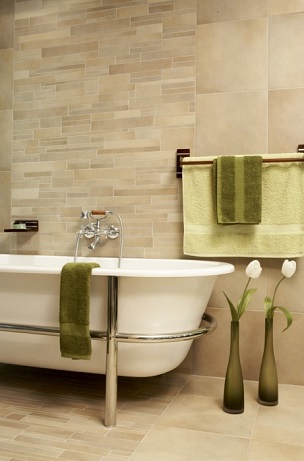
Replacing cracked or broken tiles is fairly straightforward and doesn’t require much in the way of tools – in fact, this will only take a
Step 1: Remove the grout from around the tile with a Tilemate grout rake. Run the blade back and forth in the middle of the grout joint and eventually you will wear away a line of grout all the way to the substrate. Scrape gently as using too much force may knock the tiles loose. Cover the adjacent, undamaged tiles with newspaper so that they don’t chip or crack.
Step 2: Now that you’ve cut a clean line all the way around the affected tile, carefully break it with a hammer, removing the fragments with a chisel. Also clear away any adhesive that remains on the substrate.
Step 3: Carefully remove remaining grout attached to the sides of the adjacent tiles with a small chisel and hammer. Tap the chisel gently with the hammer to avoid chipping or breaking the edges of the surrounding tiles.
Step 4: Replace the tile, using TAL’s rapid setting adhesives which will allow you to walk on the new installation soon after the damaged tiles are replaced. Mix the indicated amount of adhesive (according to the instructions) and press the tile firmly into place.
Step 5: Once the adhesive has set, clear the joints of any adhesive residues and apply grout into the joints with a grout squeegee. Allow the grout to set for 2-3 hours (see grout packaging for instructions) and remove the excess from the tiles with a damp grout sponge.
Refreshing tile grout
If your tile grout just needs to be refreshed, there are a number of options to pursue. Depending on the state of the grout, you can use specially formulated cleaning agents which clean old and dirty grout or use a grout pen or scrape out the existing grout with a Tilemate grout rake and regrout the joints.
How to choose the right grout and apply it:
- Where possible, avoid using white or light coloured grout for floor applications as this type of grout tends to discolour over a period of time and dirt accumulates in the grout joints, showing up more against light coloured grout as opposed to darker coloured.
- Read the packaging instructions before grouting. Important information regarding water to powder mix ratios, application steps, drying time and cleaning are included in these instructions and will ensure a long-lasting application.
- Work carefully to ensure that you don’t scratch the tile’s surface when you apply cement based grout to soft glazed tiles, highly polished tiles or glass tiles.
- Test some grout on a sample tile to ensure that there is no staining caused by the grout being absorbed through the glaze or into the tile body.
- When applying TAL Wall & Floor Grout to high-traffic areas, such as the kitchen, passage and entrance hall as well as wet or exposed areas, replace the water in the mix with TAL Bond, a latex additive, to improve water resistance and flexibility. This will also deepen the colour of the grout.
- Use TAL Goldstar Grout Sealer to seal the top layer of the grout and minimise grout discolouration.
couple of hours out of your day to complete.
- You will need the following: replacement tile, grout rake, small chisel, hammer, grout, tile adhesive, grout squeegee and a grout sponge.
- Be sure to keep all tools and materials away from children and also wear goggles when breaking broken tiles.
Step 1: Remove the grout from around the tile with a Tilemate grout rake. Run the blade back and forth in the middle of the grout joint and eventually you will wear away a line of grout all the way to the substrate. Scrape gently as using too much force may knock the tiles loose. Cover the adjacent, undamaged tiles with newspaper so that they don’t chip or crack.
Step 2: Now that you’ve cut a clean line all the way around the affected tile, carefully break it with a hammer, removing the fragments with a chisel. Also clear away any adhesive that remains on the substrate.
Step 3: Carefully remove remaining grout attached to the sides of the adjacent tiles with a small chisel and hammer. Tap the chisel gently with the hammer to avoid chipping or breaking the edges of the surrounding tiles.
Step 4: Replace the tile, using TAL’s rapid setting adhesives which will allow you to walk on the new installation soon after the damaged tiles are replaced. Mix the indicated amount of adhesive (according to the instructions) and press the tile firmly into place.
Step 5: Once the adhesive has set, clear the joints of any adhesive residues and apply grout into the joints with a grout squeegee. Allow the grout to set for 2-3 hours (see grout packaging for instructions) and remove the excess from the tiles with a damp grout sponge.
Refreshing tile grout
If your tile grout just needs to be refreshed, there are a number of options to pursue. Depending on the state of the grout, you can use specially formulated cleaning agents which clean old and dirty grout or use a grout pen or scrape out the existing grout with a Tilemate grout rake and regrout the joints.
How to choose the right grout and apply it:
- Where possible, avoid using white or light coloured grout for floor applications as this type of grout tends to discolour over a period of time and dirt accumulates in the grout joints, showing up more against light coloured grout as opposed to darker coloured.
- Read the packaging instructions before grouting. Important information regarding water to powder mix ratios, application steps, drying time and cleaning are included in these instructions and will ensure a long-lasting application.
- Work carefully to ensure that you don’t scratch the tile’s surface when you apply cement based grout to soft glazed tiles, highly polished tiles or glass tiles.
- Test some grout on a sample tile to ensure that there is no staining caused by the grout being absorbed through the glaze or into the tile body.
- When applying TAL Wall & Floor Grout to high-traffic areas, such as the kitchen, passage and entrance hall as well as wet or exposed areas, replace the water in the mix with TAL Bond, a latex additive, to improve water resistance and flexibility. This will also deepen the colour of the grout.
- Use TAL Goldstar Grout Sealer to seal the top layer of the grout and minimise grout discolouration.
[Back]
blog comments powered by Disqus


