
Trowels, Squeegees and Sponges: Selecting and Looking After Your Tiling Toolkit Essentials
You wouldn’t try to fix a car if you didn’t have the right tools on hand, and you’d certainly think twice about using an ill-equipped mechanic to do the job. So why would you take the same risk when deciding to tile your home? A botched DIY job can easily cost as much as a botched car repair to rectify, so it’s important that you have the right tools before you begin.
What you’ll need
Safety first! Tiles are sharp and they are easily broken, so protective gloves and goggles are a must. A dust mask will also come in handy when mixing your tile adhesive and grout. Finally, save your knees and invest in a pair of knee pads.
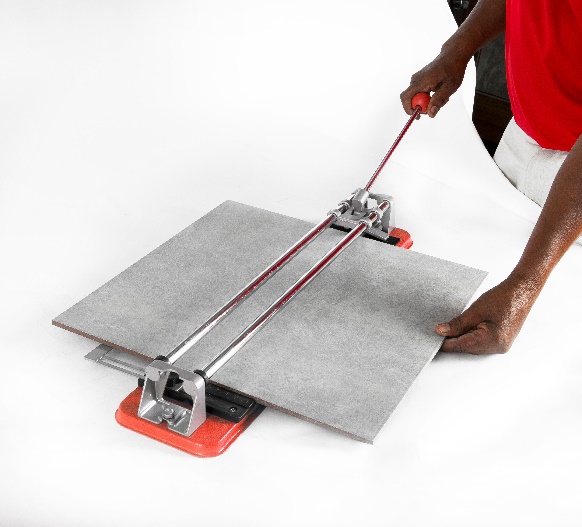 Tile Cutter
A nifty tool that allows precision cutting without chipping or breaking tiles. They are available in a range of sizes and in manual or electric formats. Be sure to check the size of the tiles you’ll be cutting before you invest in a tile cutter, to ensure that it can manage that size tile. If you’re planning to cut tiles on the diagonal, you will need a larger tile cutter to accommodate the extra length.
Adhesive trowel 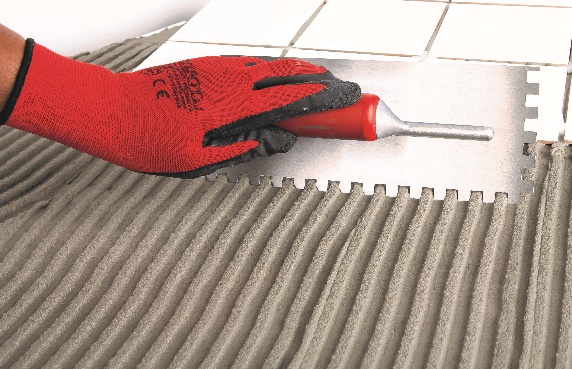
A DIY tiler’s best friend – trowels are used to spread the tile adhesive evenly, to ensure good coverage and appropriate thickness. Trowels have a notched and a straight edge. The straight edge is for spreading the adhesive before trowelling ridges into the adhesive with the notched side. Wall trowels have notches of 4mm-6mm in width for lightweight tiles, however, if you are installing a large tile on the wall, rather use a floor trowel. Floor trowels are available in sizes from 10mm-20mm.
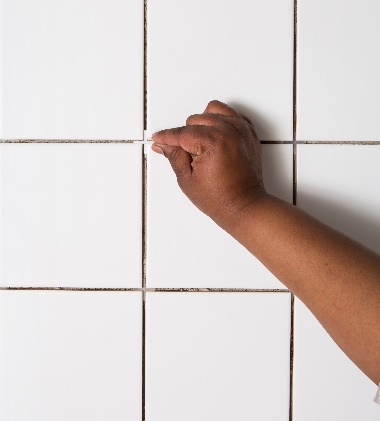
Tile Spacers
Poorly spaced tiles are the downfall of many an otherwise-beautiful floor. Take your project from DIY to professional by making use of spacers to keep even spacing between your tiles… just remember to remove them before the grout is applied into the joints. Spacers are available in a range of sizes.
Rubber Mallet 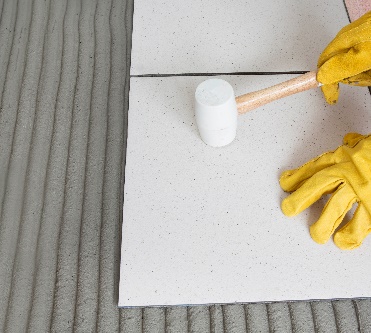
Do NOT attempt to substitute this with a plain old hammer – you’re guaranteed to chip your tiles or worse. A soft rubber mallet is the perfect tool for gently tapping the tiles into their new adhesive beds without air pockets and voids forming, to ensure a good bond.
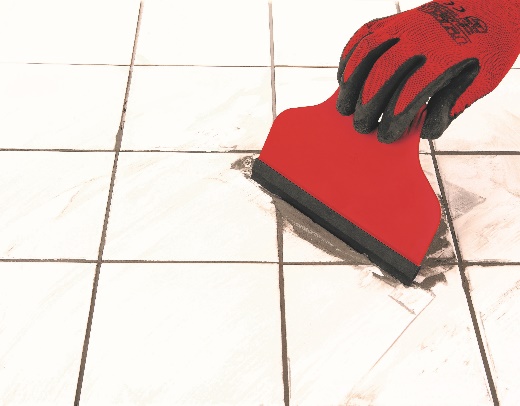 Squeegee
A good squeegee will help deliver a professional looking finish. Use the flexible edge to work the grout into the tile joints, wipe the excess grout from the tile face and smooth the surface of the grout once the joint is filled.
Grouting Sponge
Made from dense foam, a damp grouting sponge helps remove the excess grout from the tiles once you have finished grouting. The rounded edges help avoid gouging out your newly installed grout while cleaning. Use a new sponge for each project, particularly if the grout colour is different.
Now that you’re all kitted out, here are some tips for keeping your tiling toolkit looking and performing like new, no matter how many tiling installations you take on. Firstly, only purchase good quality products from reputable manufacturers, and only use the right tool for a specific job. Improvising only makes the task more difficult and time-consuming.
Keeping your tools clean is another way to ensure they last longer. Never allow any grout or adhesive to dry on your tools. Wash them after every use, and dry them thoroughly to discourage any rust from forming. Replace worn trowels as necessary.
As the old saying goes, failing to prepare is preparing to fail. But with the right products and tools at your disposal, as well as a little extra guidance from the professionals, you are already halfway to achieving a magazine-worthy tiling installation.
[Back]
blog comments powered by Disqus


