Tips for tiling tricky areas - part 1
By Tal | 2013-08-28
Tiling above the bathroom basin and kitchen sink, and around the toilet base, toilet pipe and a light switch can be a bit more difficult.
Here are some easy steps to follow when tiling over a basin and around a toilet base.
Tiling over a basin:

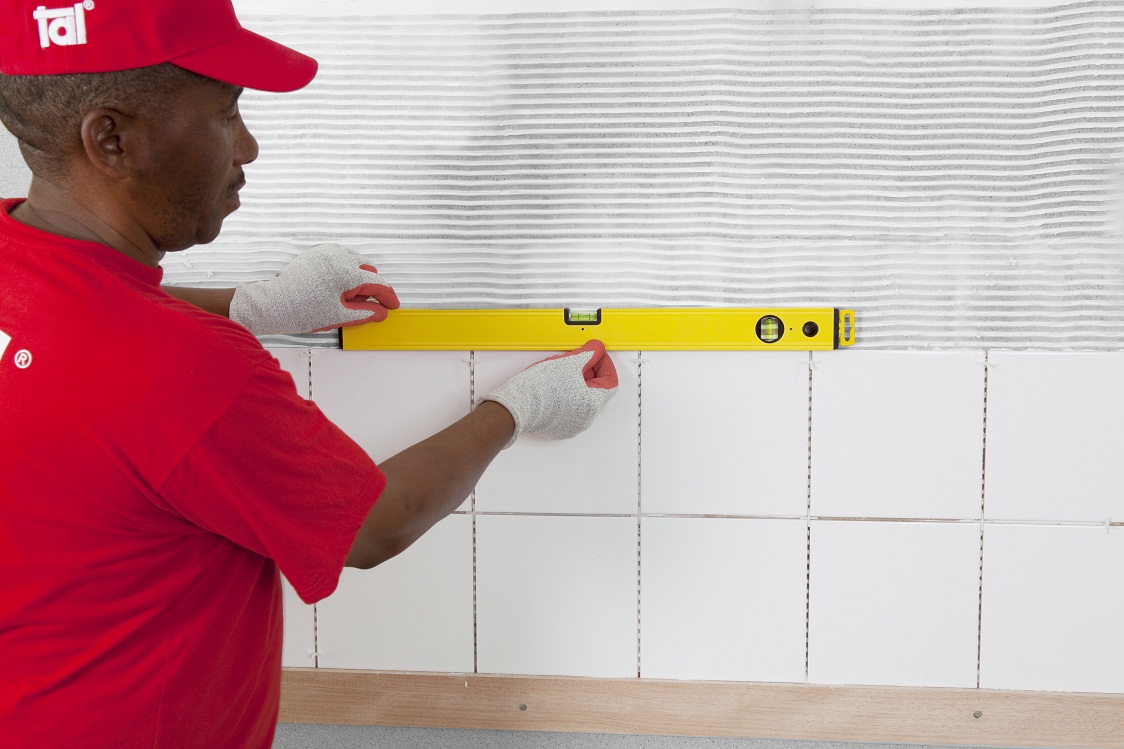
- Nail a horizontal batten to get a level starting line corresponding with the first full row of tiles above the basin.
- Tile from this point upwards, using the correct adhesive for the tile selected.
- Once the adhesive has set, remove the batten.
- Cut tiles to accommodate the space between the top of the basin and row of tiles.
- Tile this area, leaving a 5mm joint between the top of the basin and tiles. Fill this joint with a good quality flexible joint sealant, such as TAL Goldstar Sealmaster 1000 polyurethane joint sealant.
Tiling around a curve such as the toilet base:

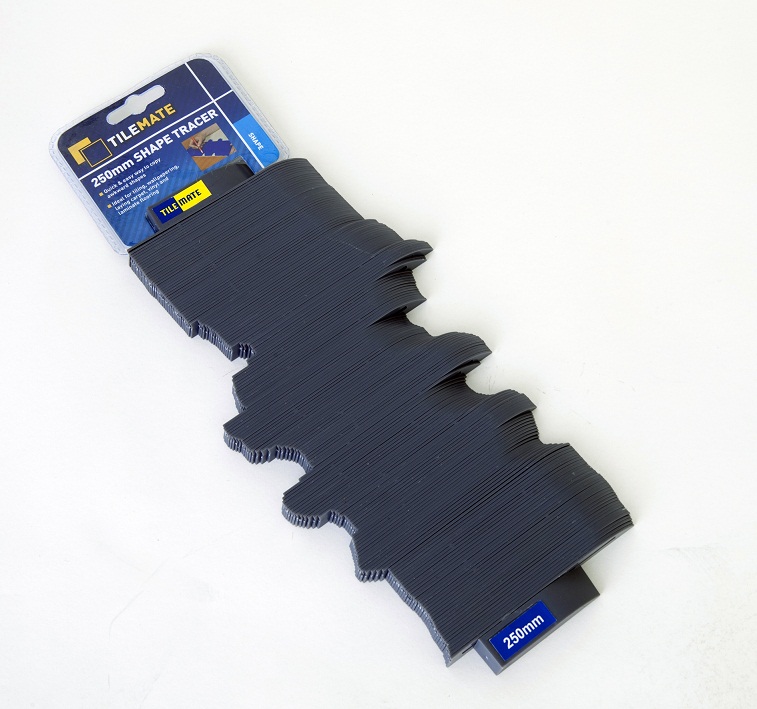
- Measure the curve of the toilet base by using a Tilemate profile gauge. This is a handy tool that assists you to cut a tile in the exact size you need it to be to ensure your tiling job looks perfect. It follows the curvature of an object, such as the semicircle at the foot of the toilet, and allows for precise measurement.
- Transfer the curve measurement onto the tile or tiles.
- Once the tiles have been cut to accommodate the curve of the base of the toilet, the actual tile installation will proceed as per normal floor tiling.
- Use the correct adhesive for the tile selected and leave a 5mm joint between the tiles and the base of the toilet.
- Fill this joint with a good quality flexible joint sealant, such as TAL Goldstar Sealmaster 1000 polyurethane joint sealant.
Be sure to visit the DIY tab on the TAL website where you’ll find more useful tips and step-by-step guides on tiling.
[Back]
blog comments powered by Disqus

