How to fix a cracked tile
By Tal | 2013-09-18
Cracked, chipped and broken tiles can allow moisture to penetrate underneath the tiles and can cause damage to the surrounding tiles. Replace broken tiles right away to prevent damage to the rest of the tile installation.
Here’s how:
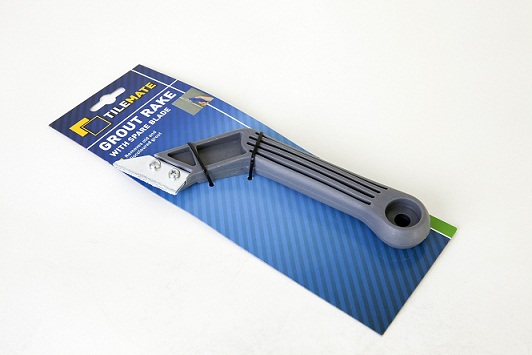
- Remove the grout from around the tile using a Tilemate grout rake, a small hand tool available from tiling retailers. Rub the blade back and forth in the middle of the grout joint. Avoid touching the edges of the tiles. Eventually you’ll wear away a line of grout all the way to the substrate. Take care not to damage or disturb the adjacent tiles.

- Once the grout has been sawn all the way around, break the tile with a hammer and remove the fragments with a chisel. Remove any adhesive that remains on the substrate and make sure the surface is clean, dry and free from all traces of dust and loose particles.
- Remove the grout that remains attached to the sides of the adjacent tiles. Use a small chisel and hammer. Tap the chisel with the hammer to avoid damaging the edges of the tiles.
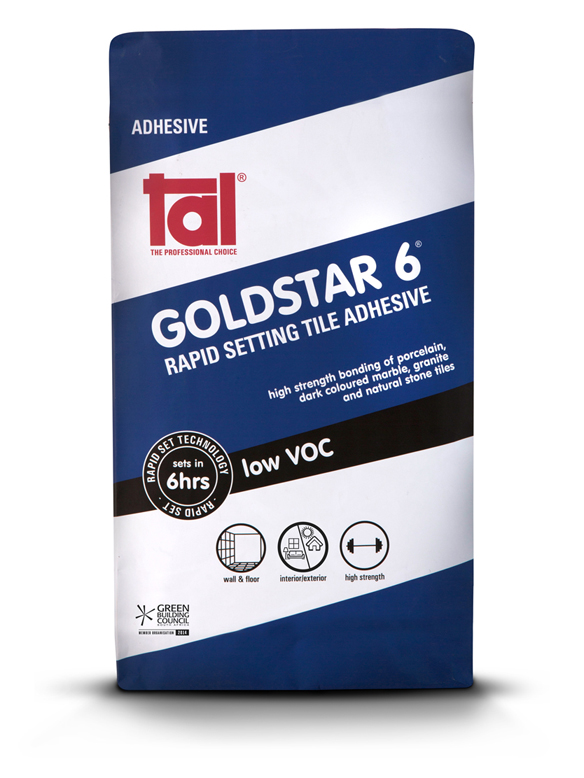
- To install the new tile, use a rapid-setting adhesive such as TAL Goldstar 6 or TAL Goldstar 2 to allow the tile to be walked on soon after installation.

- If you know the original grout brand and colour, use it. Even though it will not match initially, it will blend in after a while. If you don’t know the original colour, try to make a match as best as you can or mix a sample of the grout you intend to use, let it dry and compare it to the existing grout.
- Apply the new grout, such as TAL Wall & Floor Grout, by following the instructions on the packaging.
Find more handy step-by-step guides to assist you with tiling on the DIY tab on TAL’s website.
[Back]
blog comments powered by Disqus

